Previously, I had mentioned that we tackled a few projects this month and I was practically busting at my babybellyseams to share them with you. One of them was our stairway railing makeover. Before that we weatherized our house for winter and we switched out our door hardware to get them to match. And you can’t forget how Jeremy scrubbed off the paint from our exterior brick for a whole new house.
Well, I am back to show you one final project for 2009. It had a little something to do with #3 on our DIY To-Do List – “Out with Katie’s Desk, In with Cheap Storage”. Maybe this photo will spark your memory:
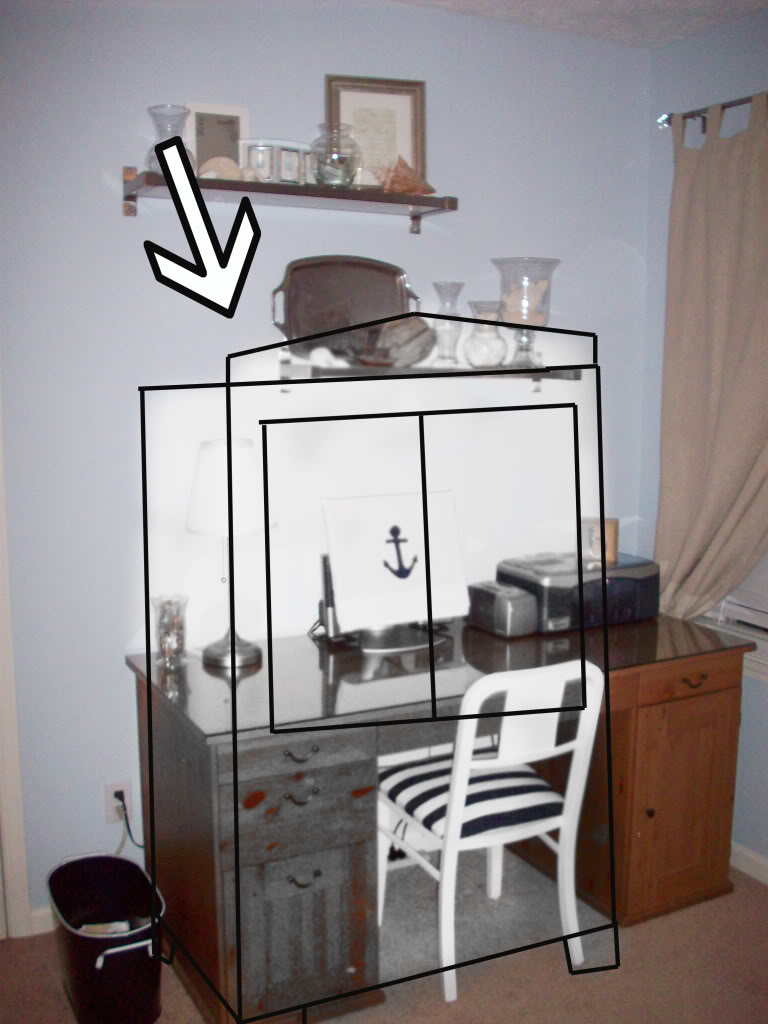
The plan was to sell my desk. That hasn’t happened yet. Mostly because it is hidden under a pile of paperwork and christmas wrapping paper. But that didn’t stop us from moving forward. My mom had given us a cabinet.
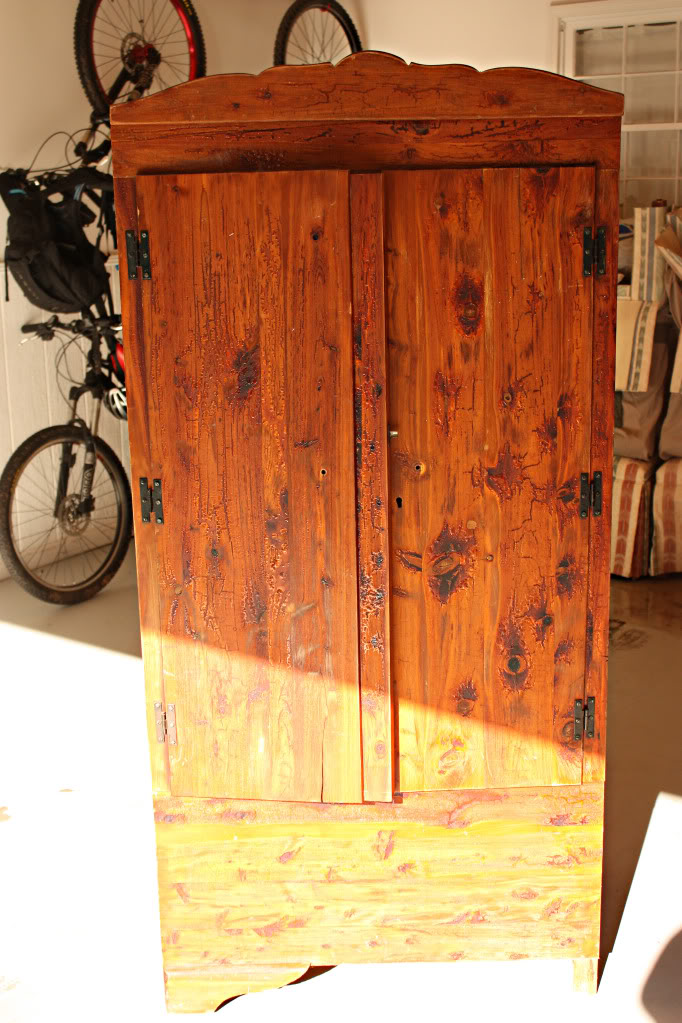
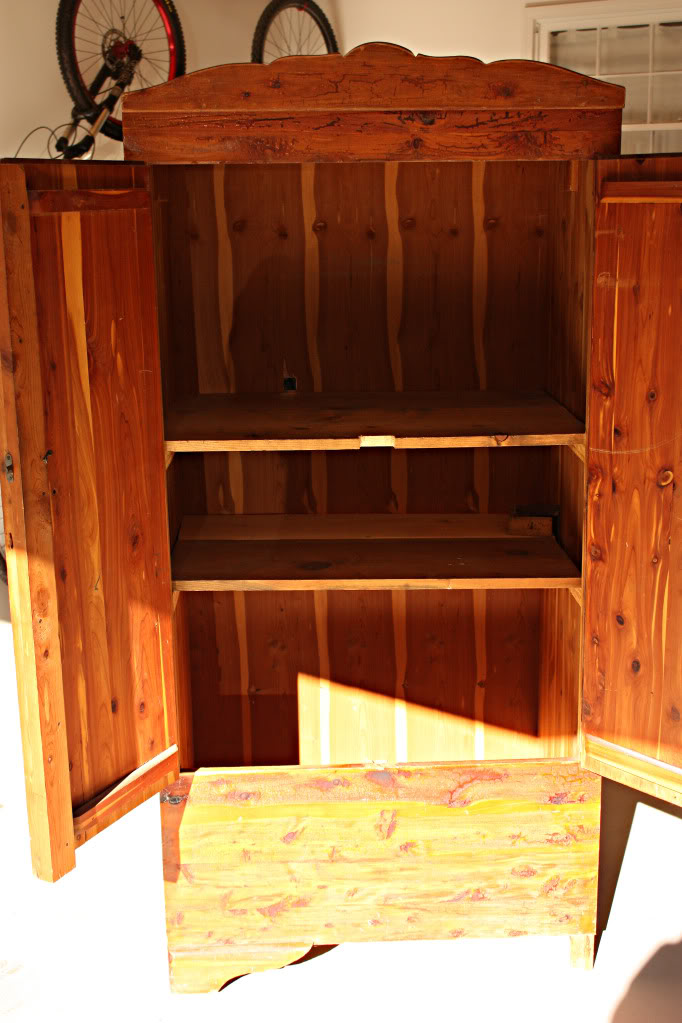
She had picked it outta a neighbors trashpile about 15 years ago. So needless to say it was suckier than Kelly Clarkson’s life withouuuuut yooooouuuu! 🙂
But since it was freer than Kanye’s tongue at award shoes, it was a storage offer than I couldn’t refuse. Especially since it had a couple shelves and a hanging rod that would be the perfect height for baby Bower clothing.
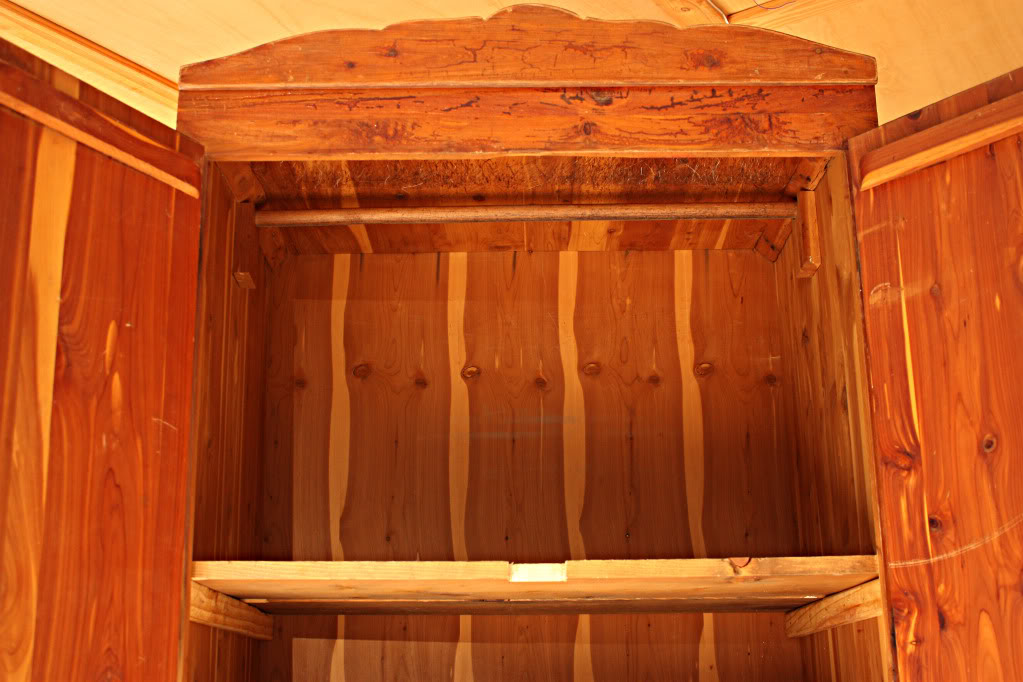
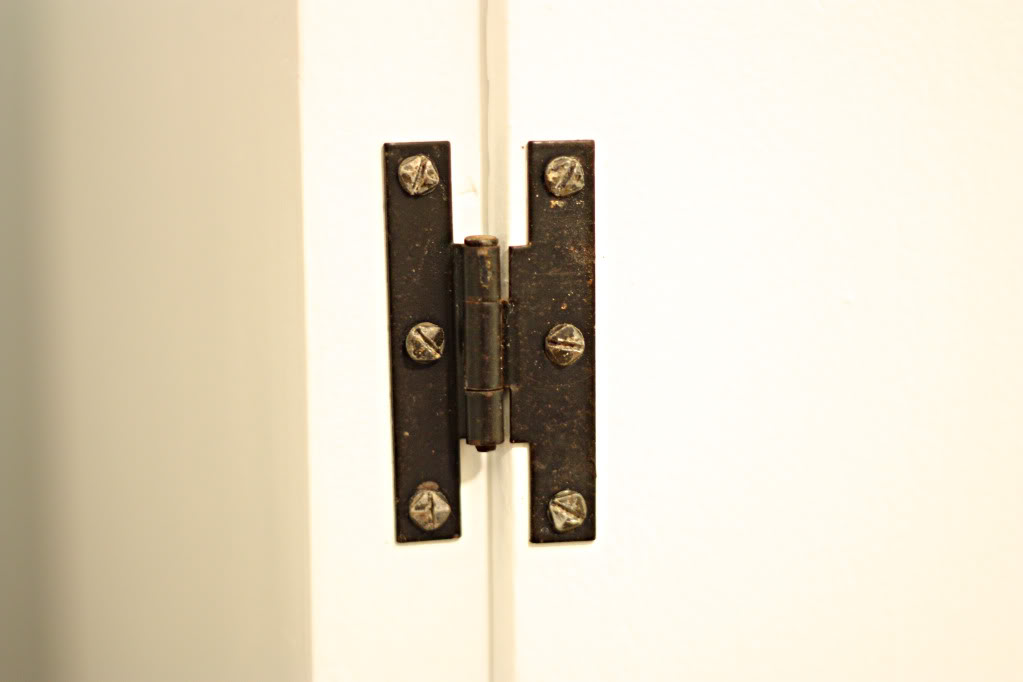
And actually the coolest thing about this piece was the old style hardware that survived many moons in my mother’s basement. It’s simple, rustic, and masculine (with a nod toward clean modern lines) – just like I want the nursery to look.
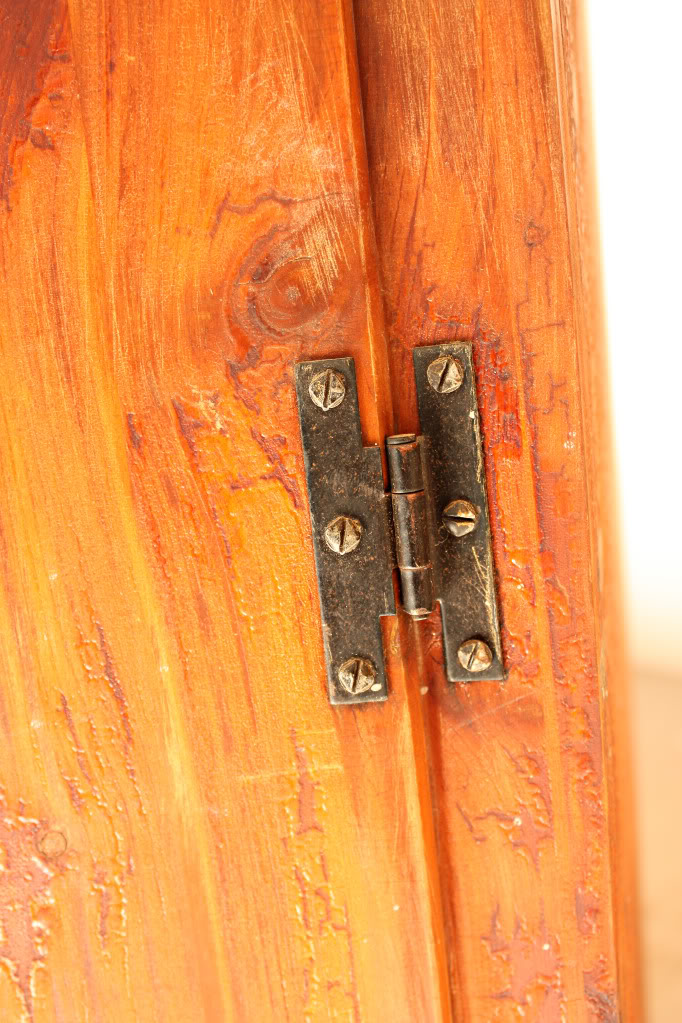
So I invited a friend over to help with the process.
Meet Emily.
She’s in the youth group that Jeremy & I help lead.
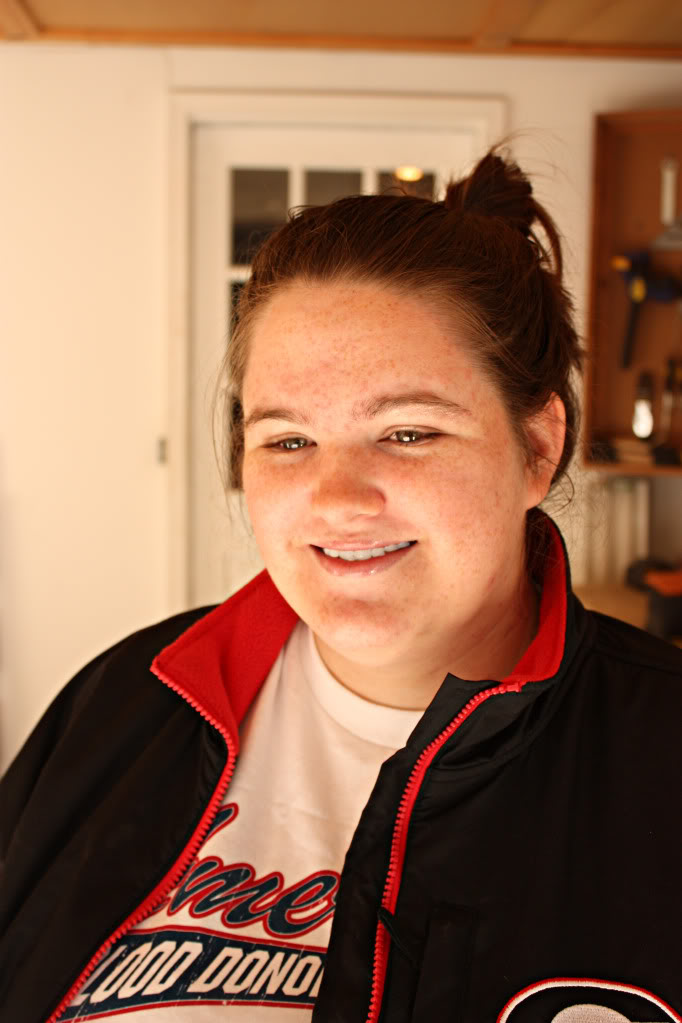
Not to quote Brit-brit, but she’s not a girl yet not quite a woman. She’s still in that awkward learning-how-I-fit-here-on-planet-earth phase. Wait. That’s me. Emily’s just fine….and she was a super big help. And I loved having her with me so that the DIY attitude could be passed on to the next generation.
So my helper Emily and I whipped out the right tools (curtesy of True Value and used on prior DIY projects),
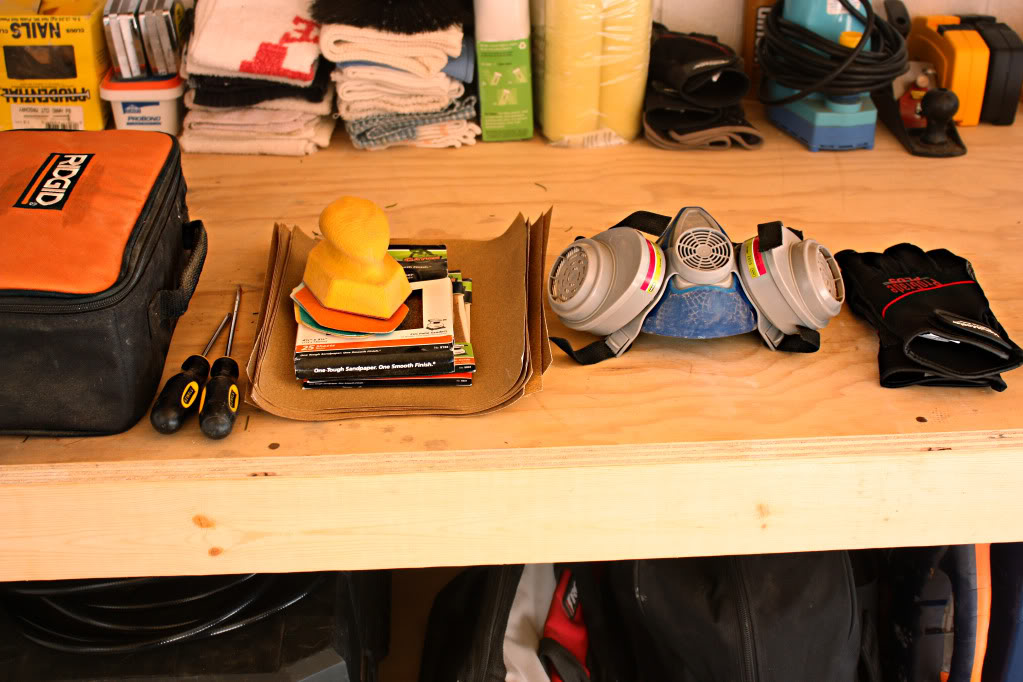
and got down to the nitty gritty. That’s right. Sanding.
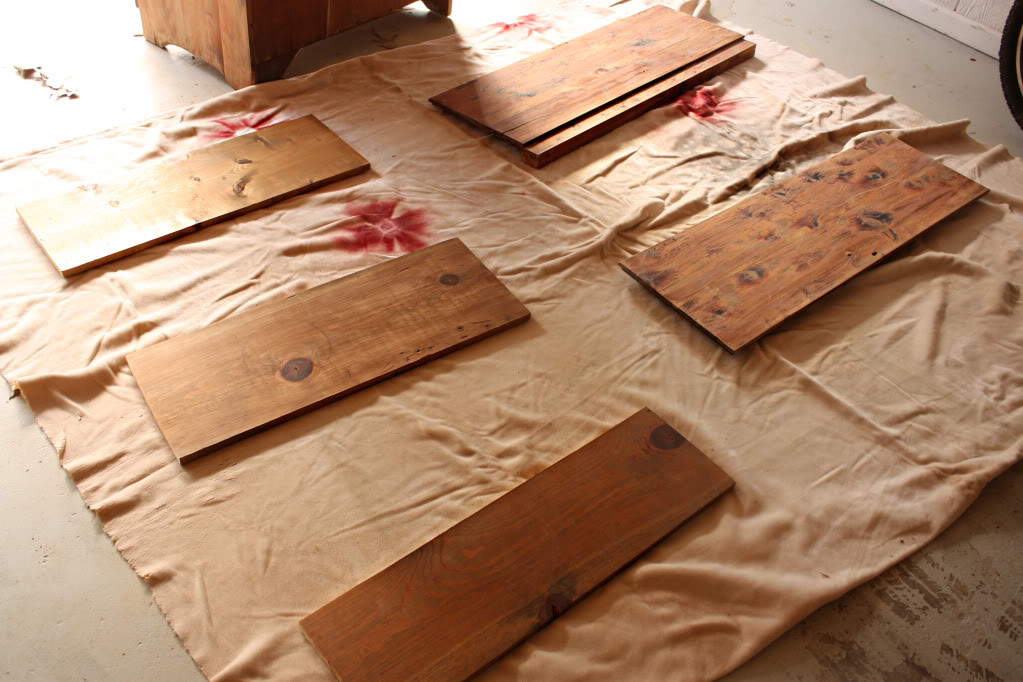
Just a side note – sanding this kinda wood was extremely different than anything else I have ever done. We first tackled it with the electric sander…but the sap in the wood would get ridiculously hot and become this oozing gel that ruined the sandpaper. So with four sheets of sandpaper rendered useless, we figured out that the best way to tackle sappy wood was to do a quick rundown with the electric sander, then hand sand any spots that looked especially ooozy. Then after manually sanding those areas, go back to the electric tool for a finished run over.
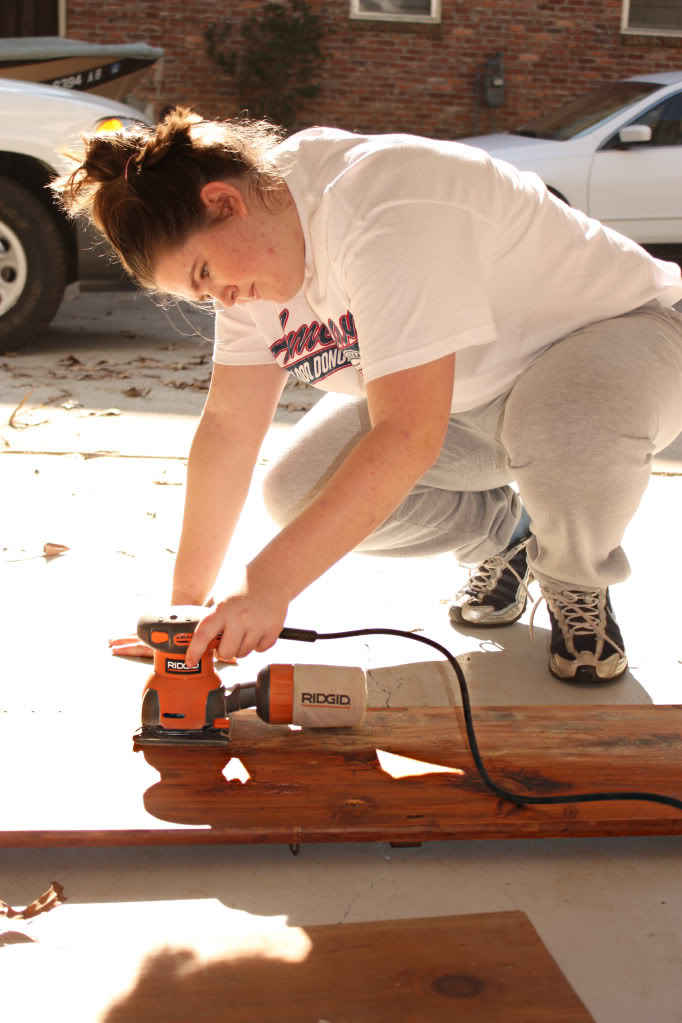
The knots were the ooziest.
They oozed sap worse than Serendipity reruns on Valentines day. (Call me John Cusack. Please. I own every one of your movies. We can be BFFs. My boyfriend says its okay because you aren’t my type. He is very understanding of my obsessions.)
Anyhoo.
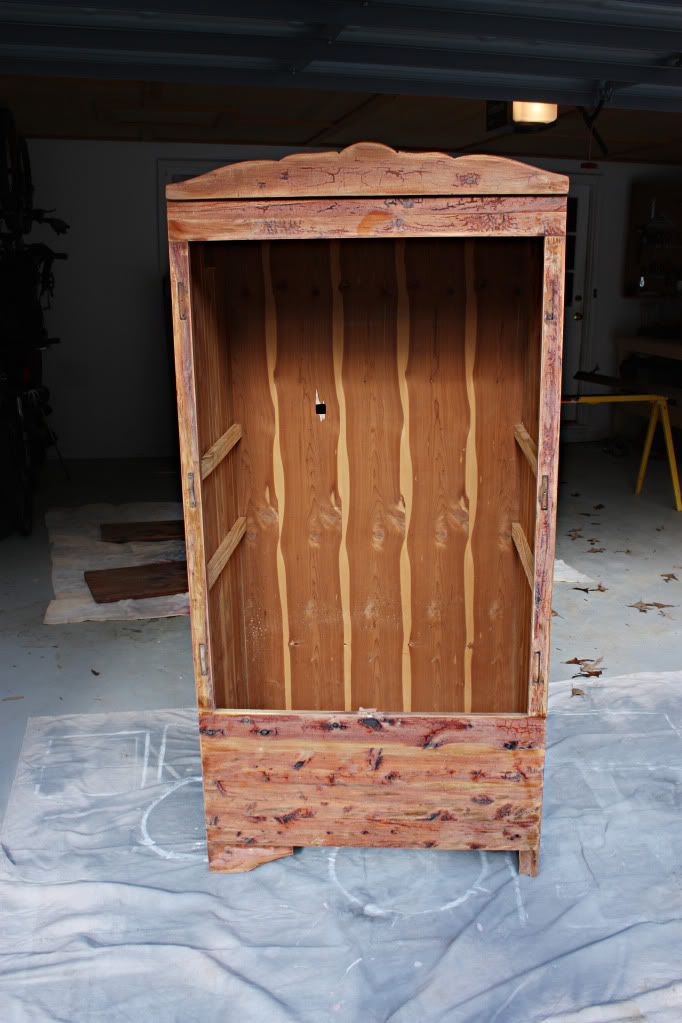
After we removed the doors and hardware and gave the entire piece a good sanding, it looked a little better.
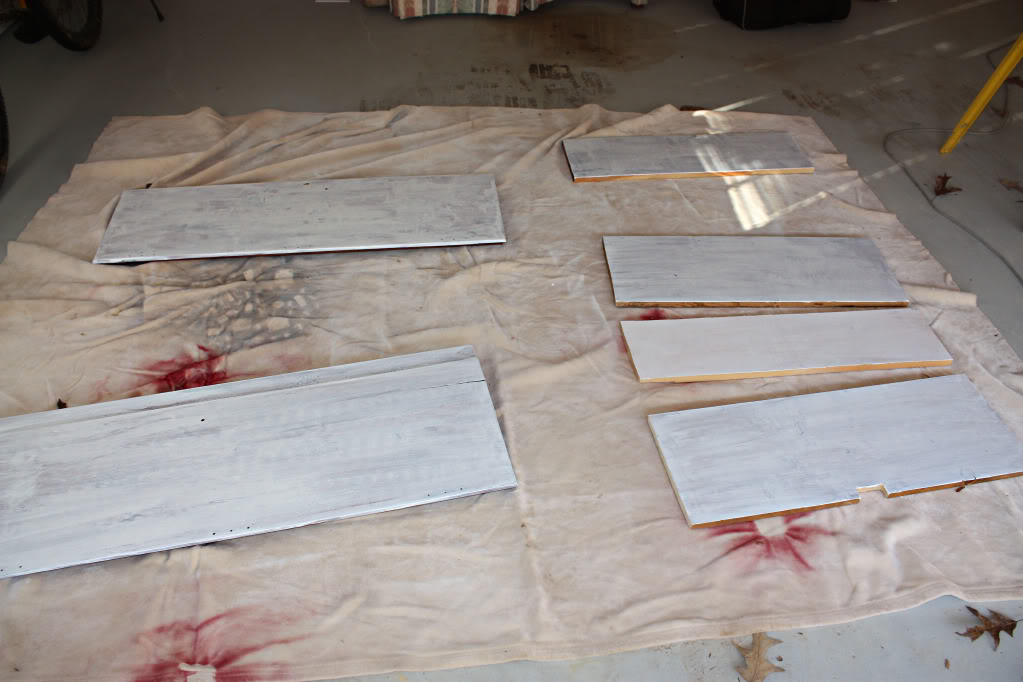
So we started with Kilz oil based primer and gave the entire wardrober a solid coat to seal in any stains, smells (did I mention it was in the trash?) and leaky oozers.
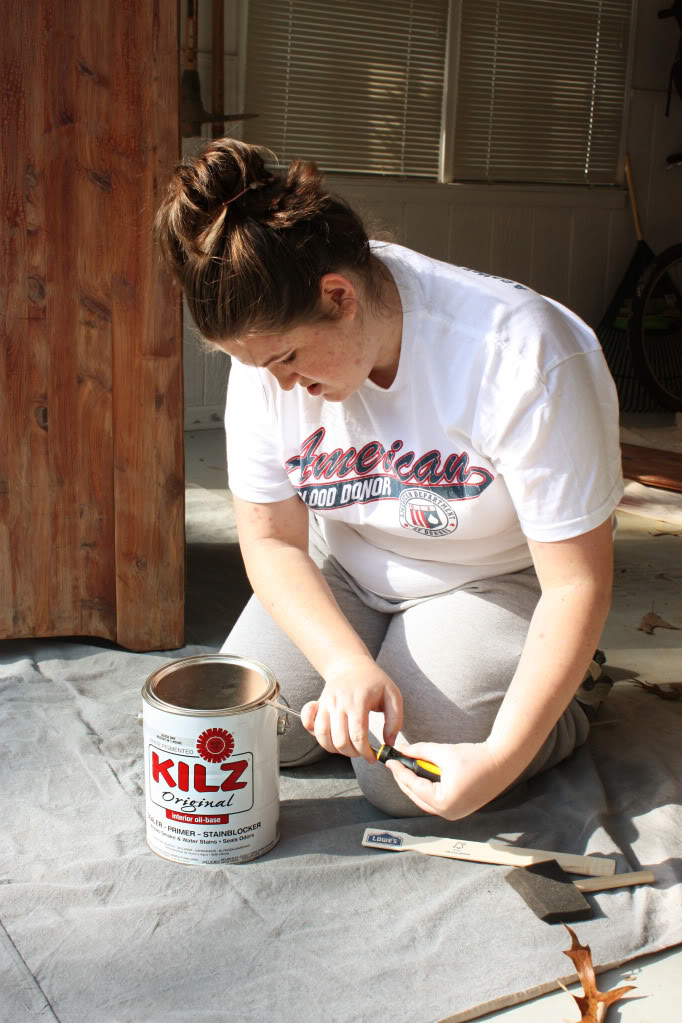
Since it was especially rainy here, everything got done in the garage. Which actually worked out for the best because we could make sure no debris got in our drying primer or paint.
I will say that it was rather uncomfortable trying to prime the inside of the piece while bending over my giant belly.
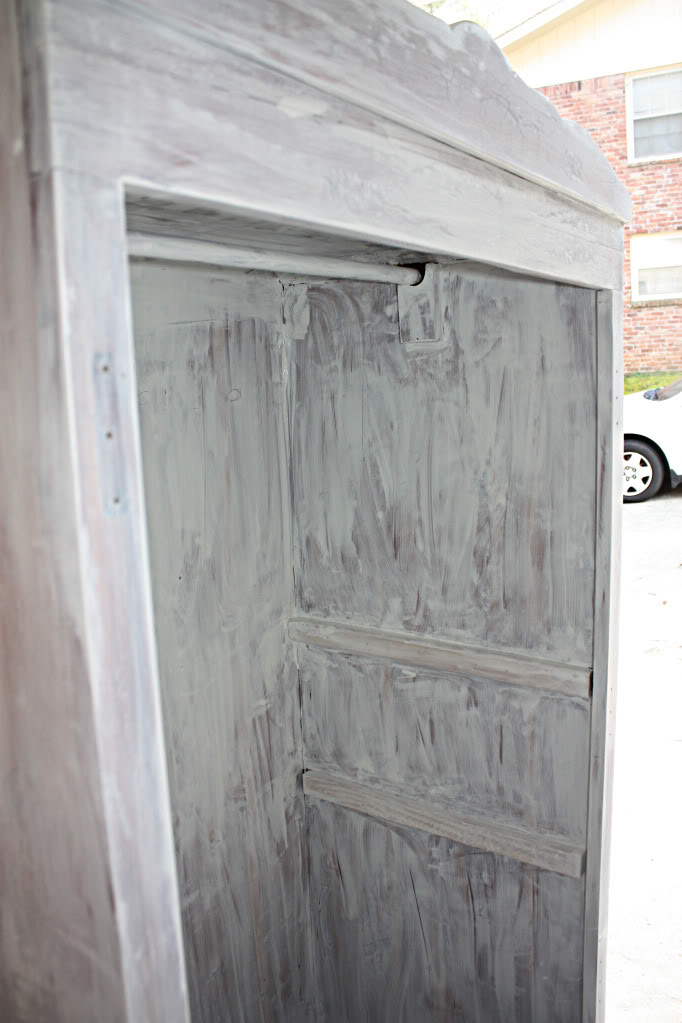
And so in the end, I recruited my boyfriend to do all the painting. Both Will and I thanked him.
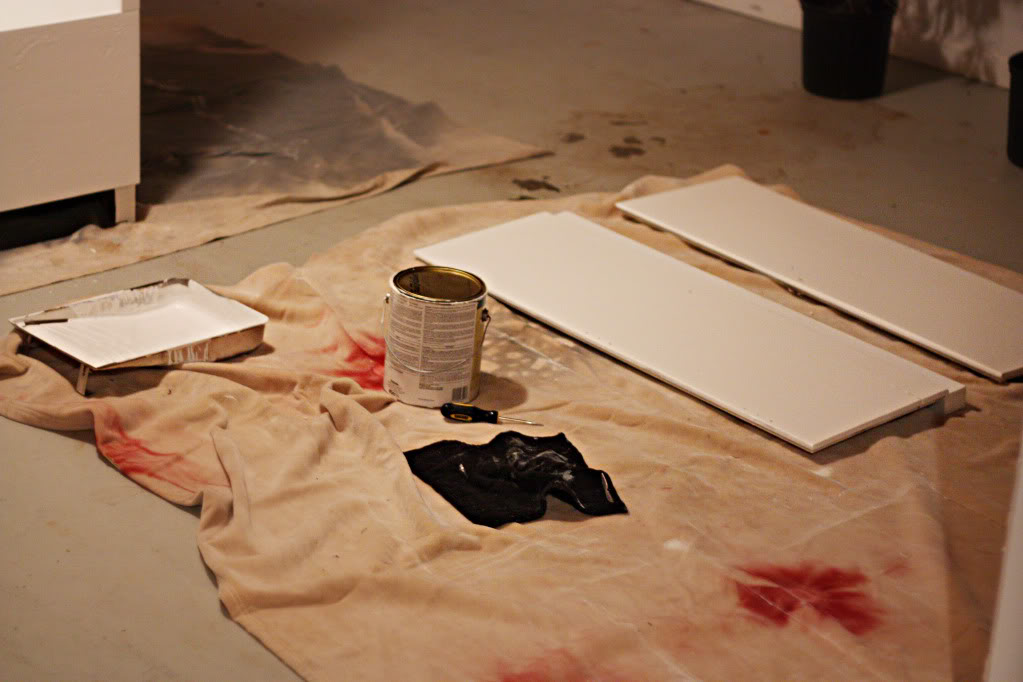
And after four coats of semi-gloss paint, it was exactly what I hoped it would look like. All except for the bottom legs. We are still contemplating a design for Jeremy to cut out with a jigsaw to cover the mismatching feet. I’ll give you the update after we come to a decision.
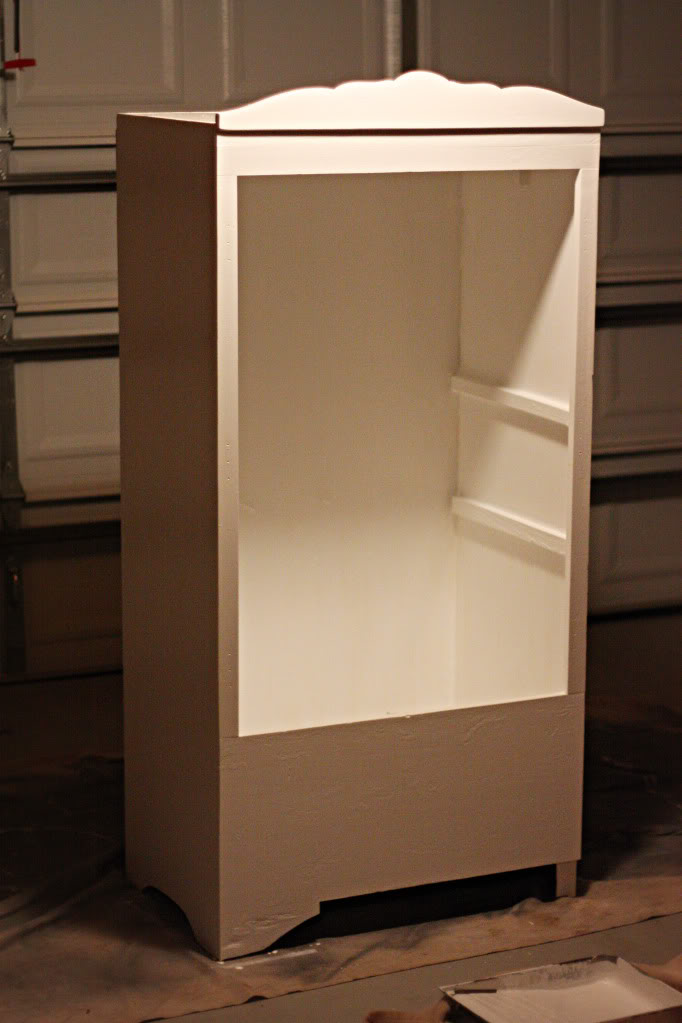
But the dissimilar feet didn’t hold us back. We moved forward (mostly because I can’t imagine helping Jeremy lift this unit up our stairs in two months). My studmuffin reattached the hardware,
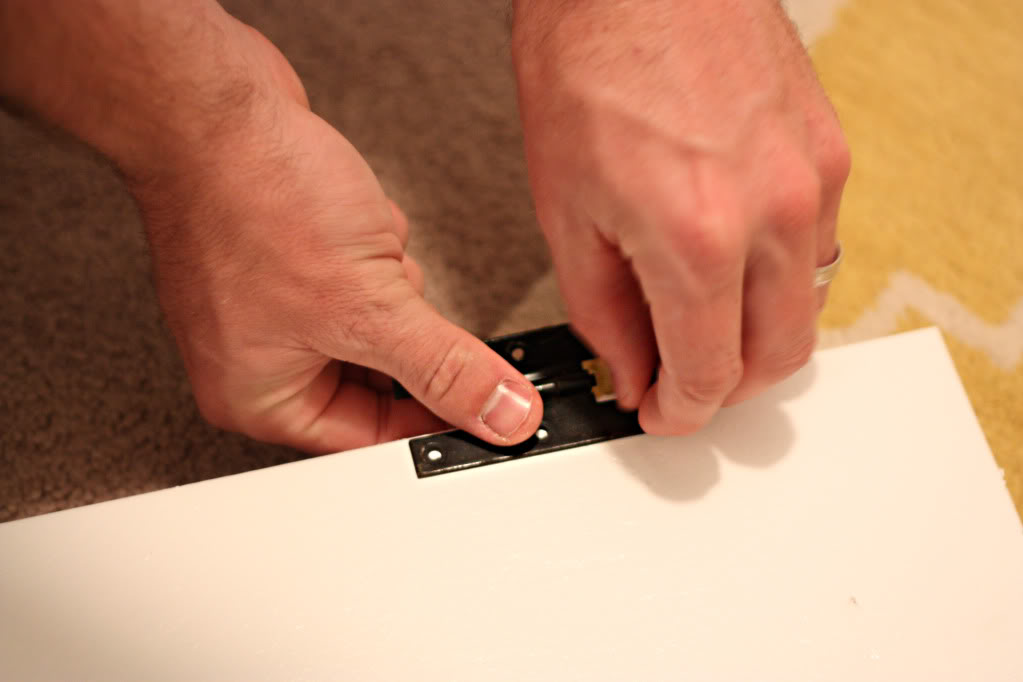
which looked fantastic against the newly painted doors.
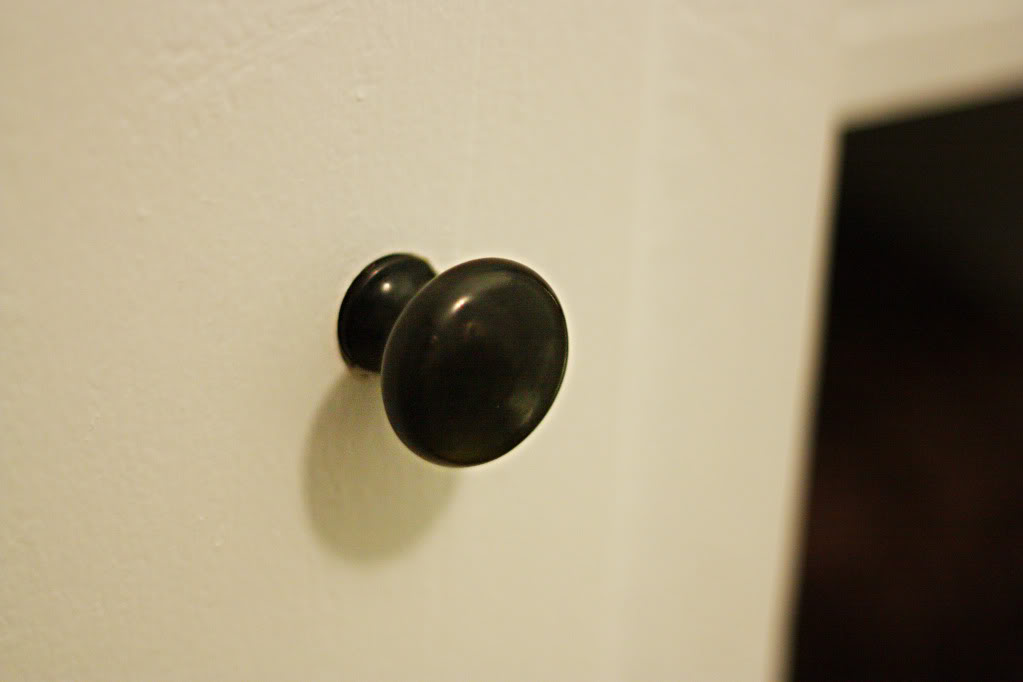
And I scored some matching oil-rubbed bronze knobs from the Pottery Barn outlet for the doors.
Now – are you ready for this?
Are you on the edge of your seat?
I’m talking about seeing the finished cabinet – not watching the ball drop.
3
2
1
Happy Wardrober!
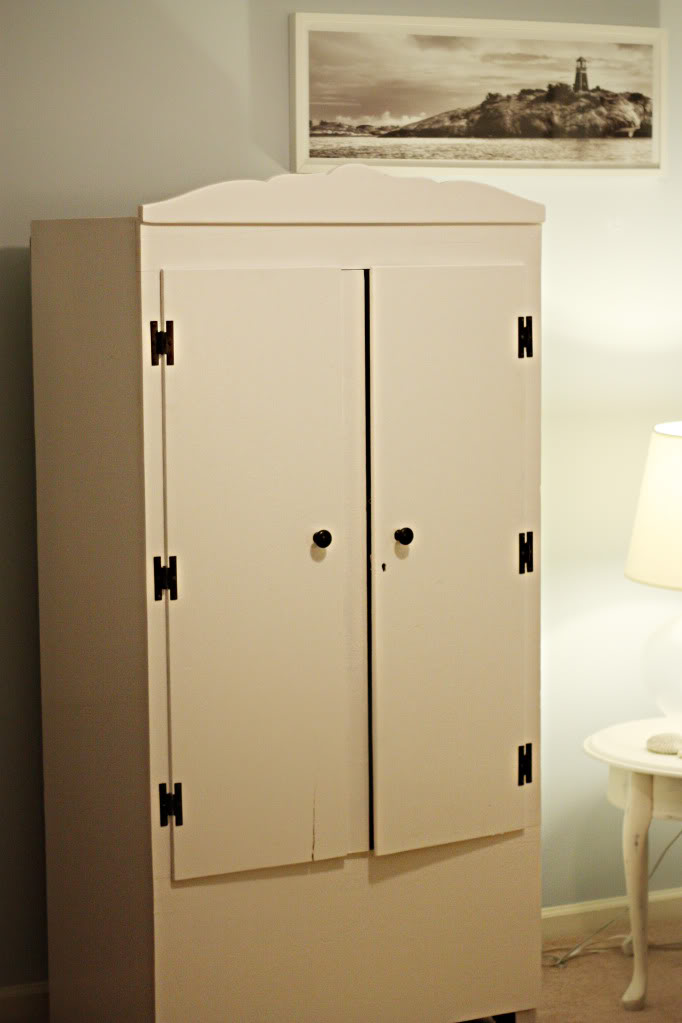
Looks great, right?
And for FREE!!!!
The best part about it – and I know you can’t really see it in these photos – is that the texture of the wood is still there. It still looks like that cedar-y grain is coming through…and I even love the giant crack in the door.
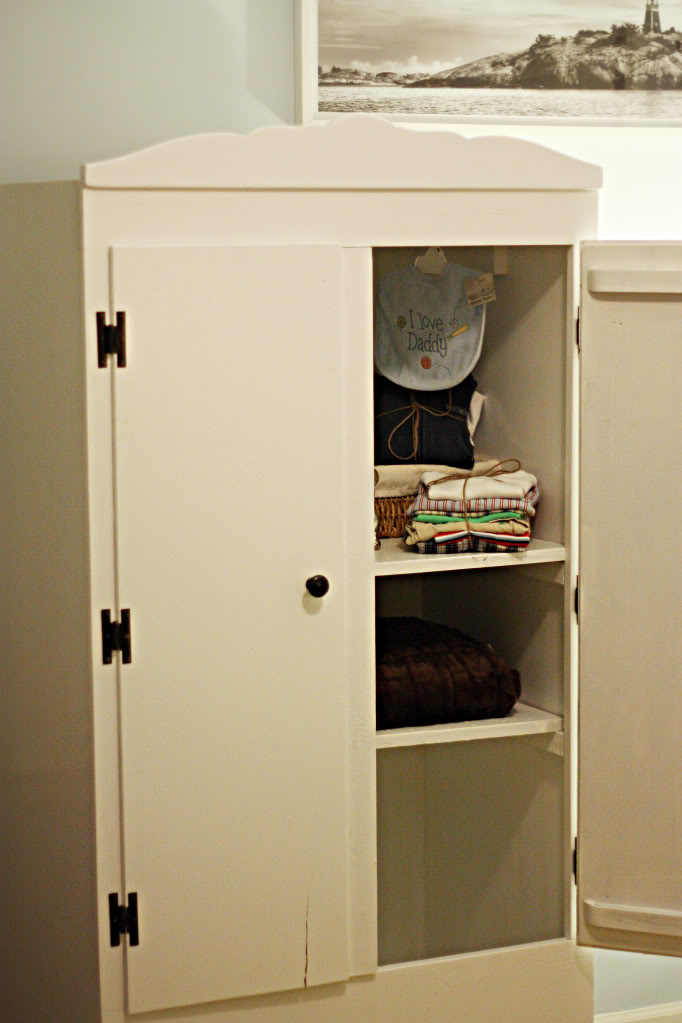
It totally goes with what we are looking to accomplish in the nursery. And did I mention that it was free? Yeah. It was. And it is great storage for a room that has little to none. And it was free. So now I am permanently tattooed in thanksgiving to True Value. Afterall – they made this project possible with their generousity and their DIY-lovin spirit. We can’t say thank you enough, you masters of all things hardwarian.

“I was one of five bloggers selected by True Value to work on the DIY Squad. I have been compensated for my time commitment to the program and my DIY project as well as my posts about my experience. I have also been compensated for the materials needed for my DIY project. However, my opinions are entirely my own and I have not been paid to publish positive comments.”
You seriously crack me up! I laugh because I could see myself saying some of the things you write!
If you ever run low on BFFs and need a new one….give me a jingle! 🙂
Keep up the great work!
Love it! I’m looking for a new (larger) dresser for our daughter’s room (to fit her clothes and her soon-to-arrive baby brother’s clothes). Craigslist is not helping, and I’m really hoping not to have to paint another piece of furniture (We’ve been painting enough lately), but neither do I want to drop $300-$400 on a dresser. Congrats on your free, well-done wardrobe!
Nice! It looks great and I do love that clean simple hardware. I thought this post was particularly interesting for two reasons: 1. I had no idea wood furniture could still ooze sap. That completely fascinates me for some reason. 2. I never thought of scoring free labor at my church youth group– great idea! 😉
Can’t wait to see the whole completed nursery.
I will tell you, you are an awesome blogger, and I love your projects, but you do know that all of the chemicals you are working with can cause birth defects right? I would hate for little Will to be affected!
Holy cannoli! That seriously rocks 🙂 I am always so inspired by your diy attitude, and our mutual love-o-craigslist ~ and I love that you are involved with your youth group ~ our “kids” were some of the most excited of all when we were expecting, Sunday night devotionals turned into a “touch Jenny’s belly & make lil’ man kick” free-for-all. But hey, we scored some fabulous babysitters! 🙂 Keep up the good work, I can’t wait to see what you’re up to next!
I wish I had your dedication to finish a project. It looks great. And again, you are hilarious!
That is incredible!! Question – do you have a list of any good thrift stores / goodwills in the ATL area?
GREAT work. Just wanted to say your baby will be fine — you are using the right protection obviously. 🙂
Just the first of many “helpful” insights you will get over the next, oh, 18 years!
Wow great makeover! You are so lucky you scored yourself some help. Having help mkaes projects so much more fun instead of daunting dontcha think?
I picked up a craptastic—that’s a techinical term…right? china hutch thing off Craigslist–including delivery… $90. Going to paint it white…very similar…it smells like the guy’s granny sat inside it to smoke…I am going to try the KILZ thing…but, the back of it is pressed board…the entire piece is solid wood EXCEPT the back?? Go figure…it is a really old piece…Any tips for painting that type of material??
Hey Sarah –
Well, I don’t technically have a list of good thrift stores…I have visited practically every one in my area (we live in East Metro OOP) and my favorites is a goodwill near Stone Mountain, Anna’s Thrift Store in Snellville, Metro Thrift in Lawrenceville and Thrift Store in Duluth. But I also hit up the Salvation Army in Decatur too as well as any yard sale or garbage pile at the end of the driveway. Happy Shopping!
XO – kB
Well, Ms. Carter, the back of these really old craptastic pieces are usually a cheap piece of plywood. If you are wanting to replace it completely – your local Home Depot or Lowes can cut one for you and you can reattach a smoke-free board with a few finishing nails. Now for option #2 – painting the existing back. First you want to prime your wood with a OIL based paint – try two thin coats at least (especially if you have an extra stinky piece) and then you want to paint with a water based paint (it’ll probably take more than two coats) to finish it off. It should be super-absorbant…that pressed board and plywood usually is…so when in doubt – extra prime 🙂
Good luck girl!
XO – KB
Hey katie, We just bought a house in Germantown TN. I know you might be familiar with the area. Anywho, it is a tad on the older side and needs some major updating to make me a happy camper. There are lots of bigger projects that we will get to eventually, but in the mean time how in the world can I fix some smaller things to make my staying home mommy all day self not go crazy looking at the 1980’s brass fixtures? Do you have any suggestions. Love your blog by the way, just started reading it at the end of Nov. Smiles,Katie
Hey Katie,
Well – so glad that a fellow Tennesseean could come drop in…you know that I love anyone from the Volunteer state 🙂 And I do have some suggestions. First of all – PAINT is your best friend forever. It can change the mood of a room, can improve the overall look of cleanliness and can be applied to just about anything. Just make sure to paint after picking your upholstery or fabrics…don’t pick paint and then try to match it with fabrics. Maybe you only have a pillow that you love or a pair of drapes…use that as your inspiration to pick your hue. And don’t forget that it can transform old furniture, decor, frames, and other cheap items too! Secondly – take one room at a time. Focus your energy on getting the most done rooms 100% completed. That way you can mark it off your to-do list and feel like you have a space of relaxation. And if that requires a little sprucing or a few new things – don’t overlook thrift shops & goodwills. Thirdly – baby steps. Remember that Rome wasn’t built in a day and your house will never be perfect. Mine sure isn’t. The most perfect home is safe for your family and allows a place for you to breathe. So take your time and if anyone says how they don’t like your brass fixtures – just tell em you are waiting for them to come back into style 🙂
XO – KB
WOW, AHHmazing job!! I really like the look the crack in the wood gives it, definitely following your rustic theme for baby Will 🙂
so i just read that the petersicks over at younghouselove are having a girl…bowers are havin a boy…seems like a match made in heaven!
Jillbinmd –
You are right. Sherry has already promised two white ceramic animals as a dowry…the other terms of the deal are still in negotiations…but we will let you know when we come to a compromise 🙂
XO – KB