Dudes & Dudettes, please be warned – this is the longest photo post ever. You may experience rapid aging effects as you scroll downward. But if you get the end, there is a prize….you will be annointed as the awesomest and oldest human being on planet earth (of course excluding my boyfriend. who is only awesome. and only mildly old…er.)
Ok – now that you have been disclaimed, let’s show you all we did to get our front yard actually completed.
Let’s recap where we left off – it looked like this:
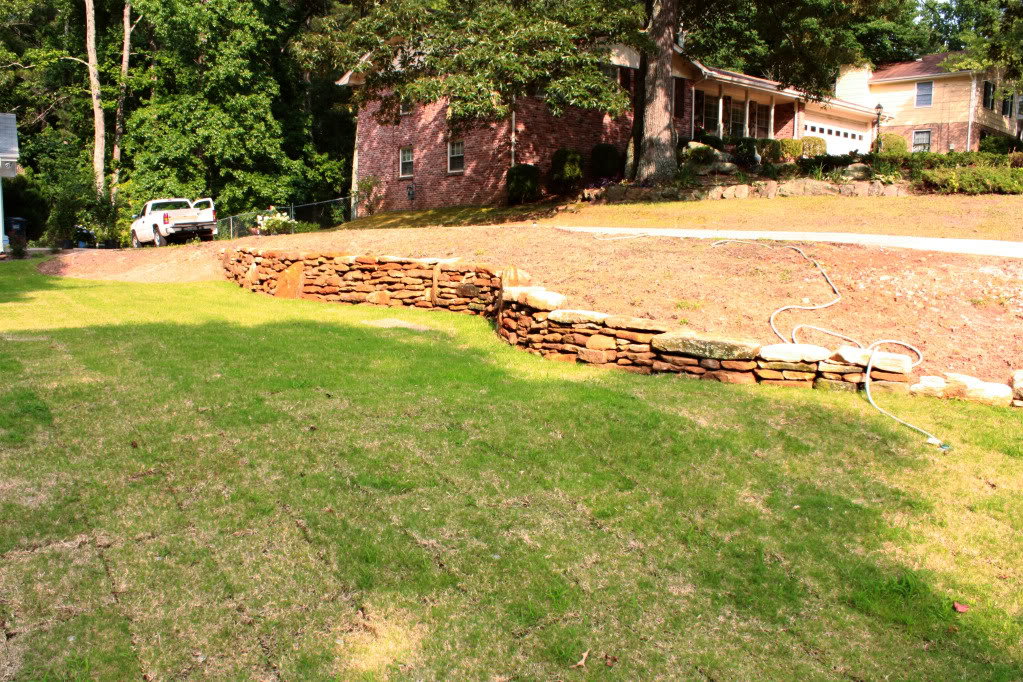
ONE
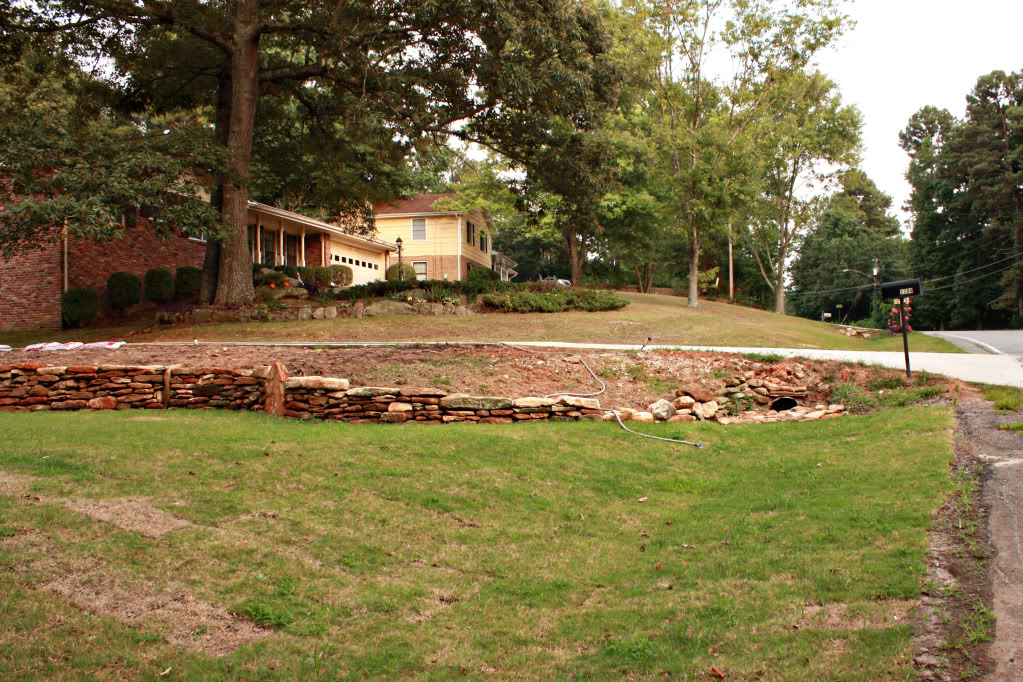
HOT
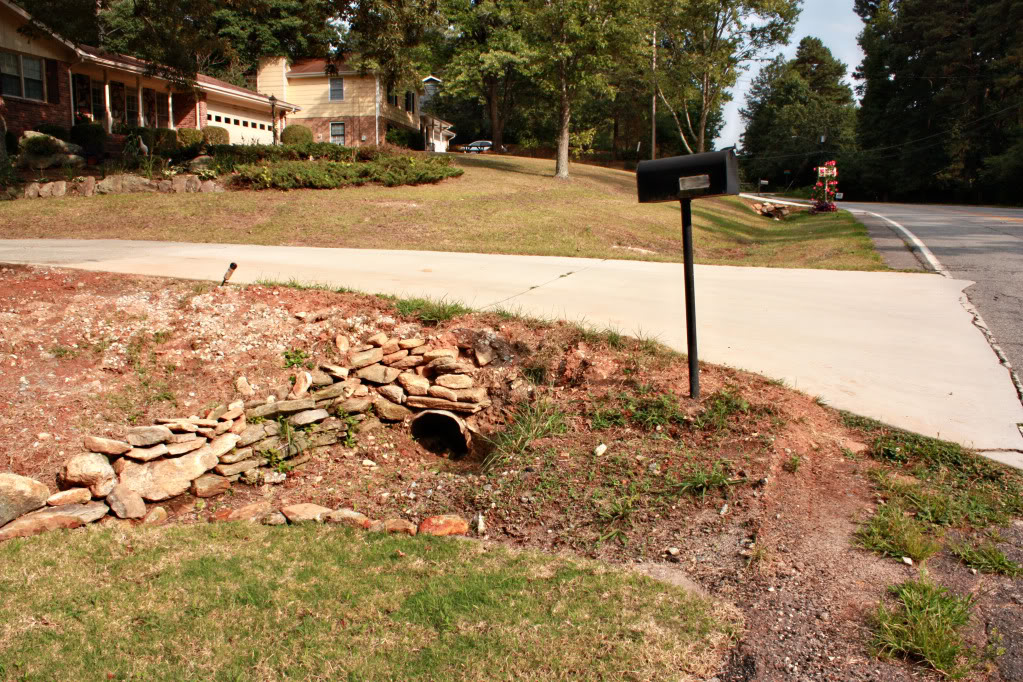
MESS.
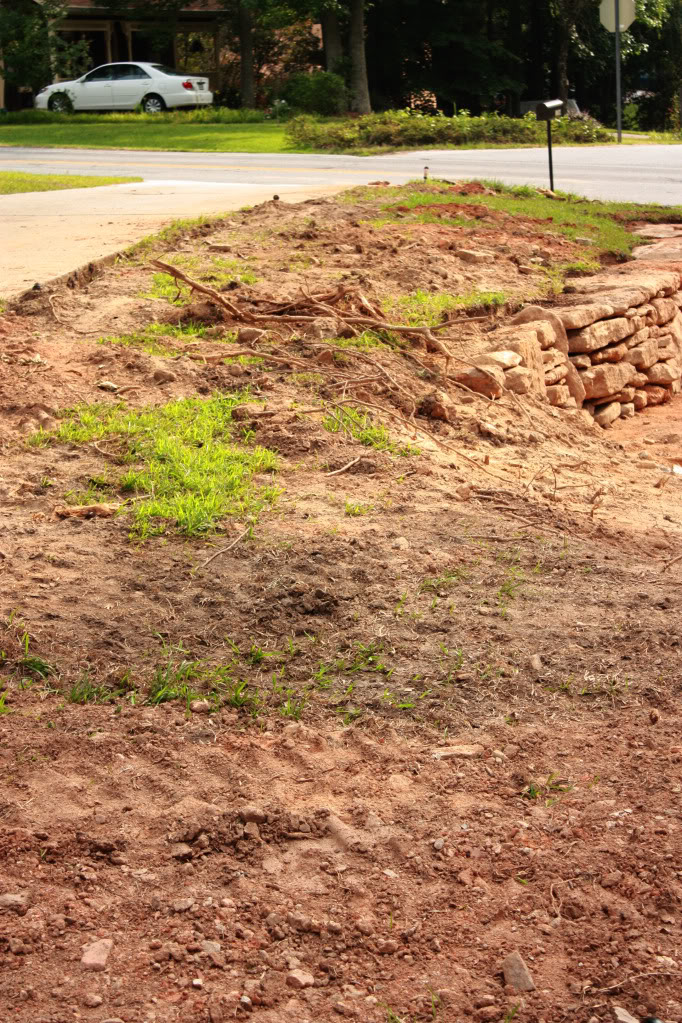
During our sod-installation, we decided to prep the area for any future growth.
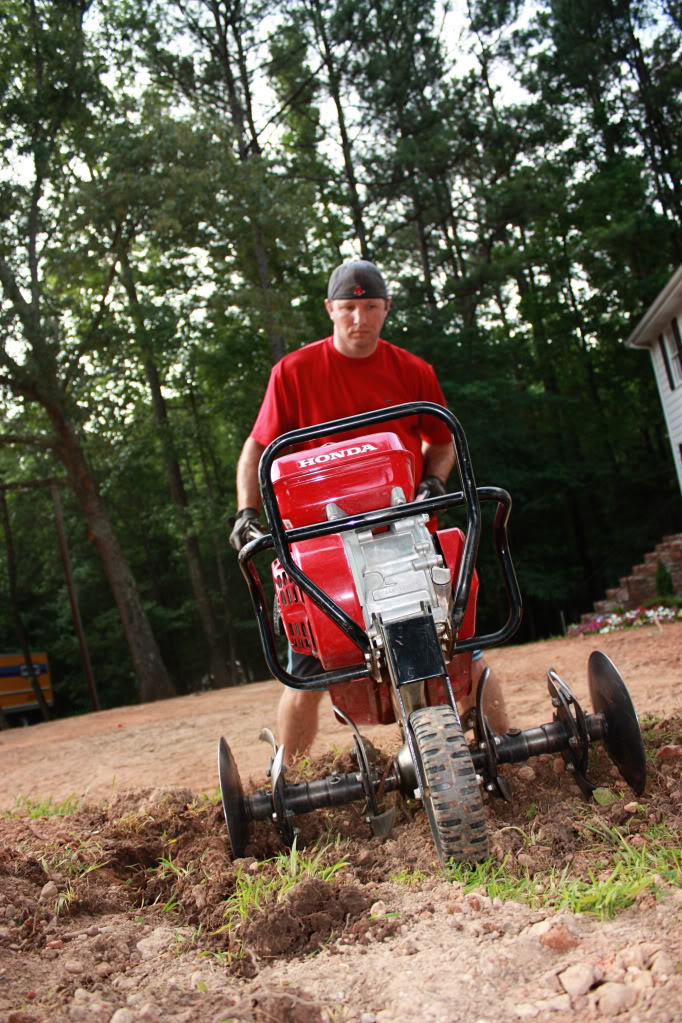
We rented a tiller for a day so that we could rough up the soil.
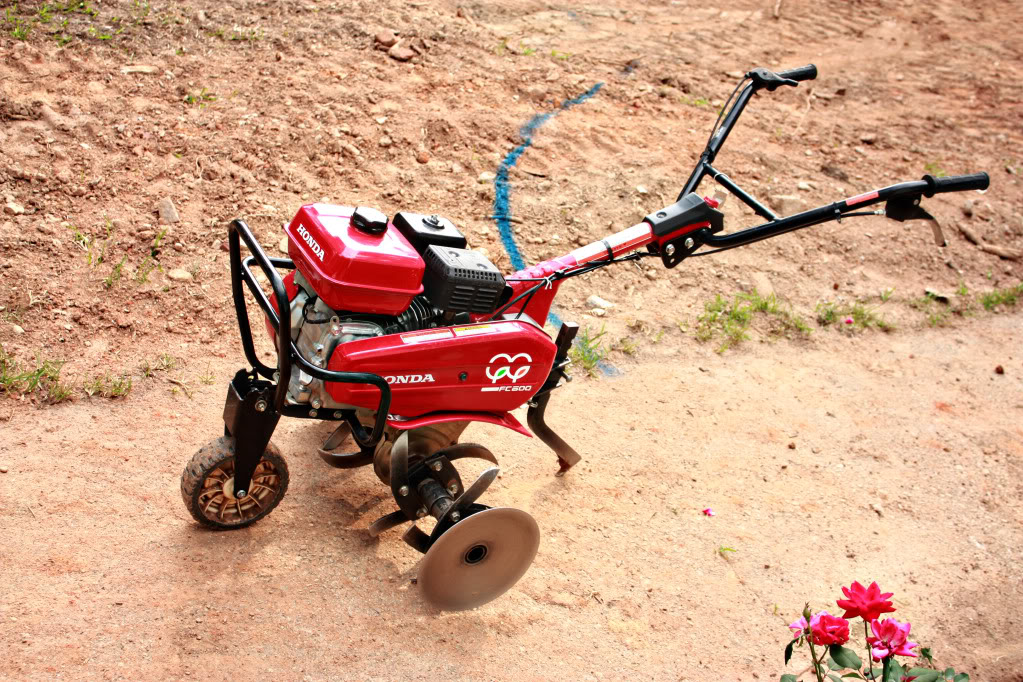
A tiller has these awesome blades that are supposed to pull up your compacted soil and aerate the area. Since we live in an area that is renowned for having red-clay-like dirt, we figured this way we could just pick up any loose stones and throw em into a bucket.
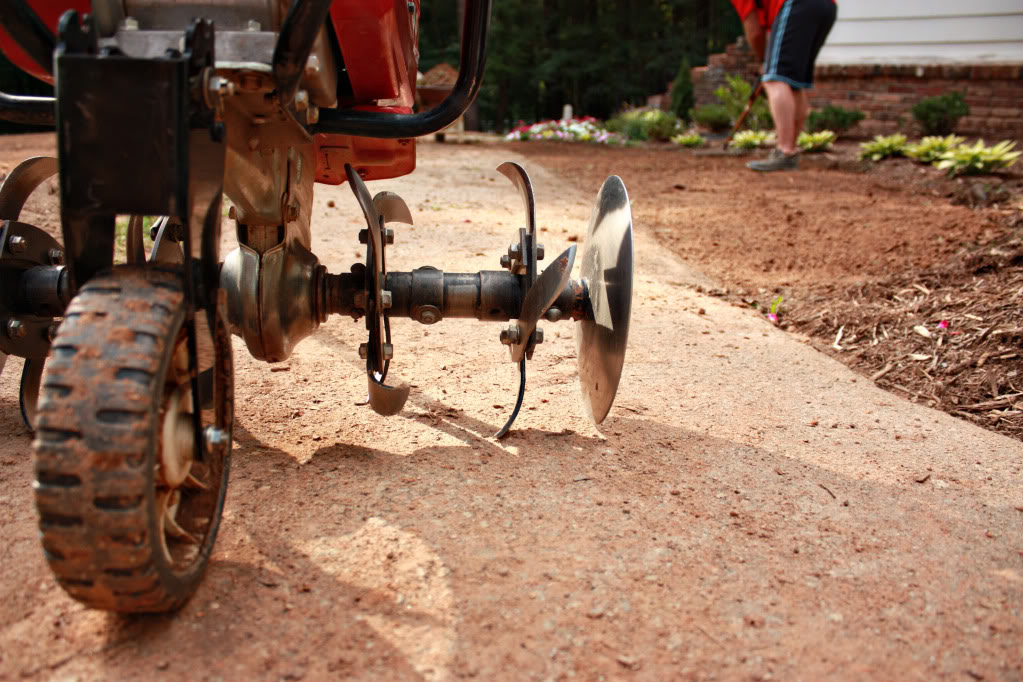
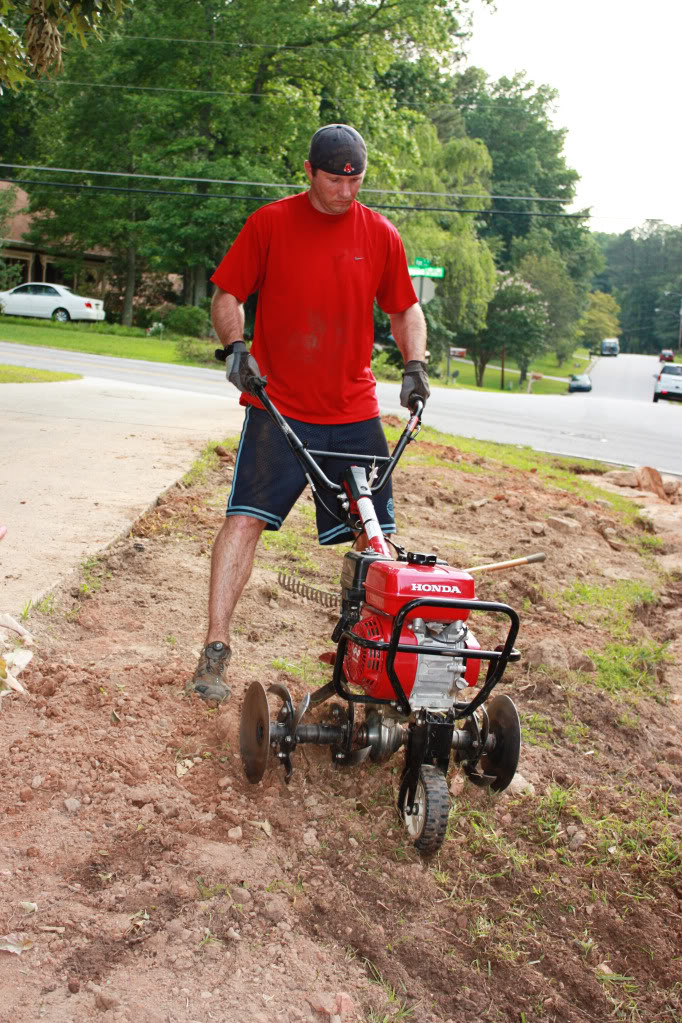
My dearest sweet boyfriend worked on it for a couple hours.
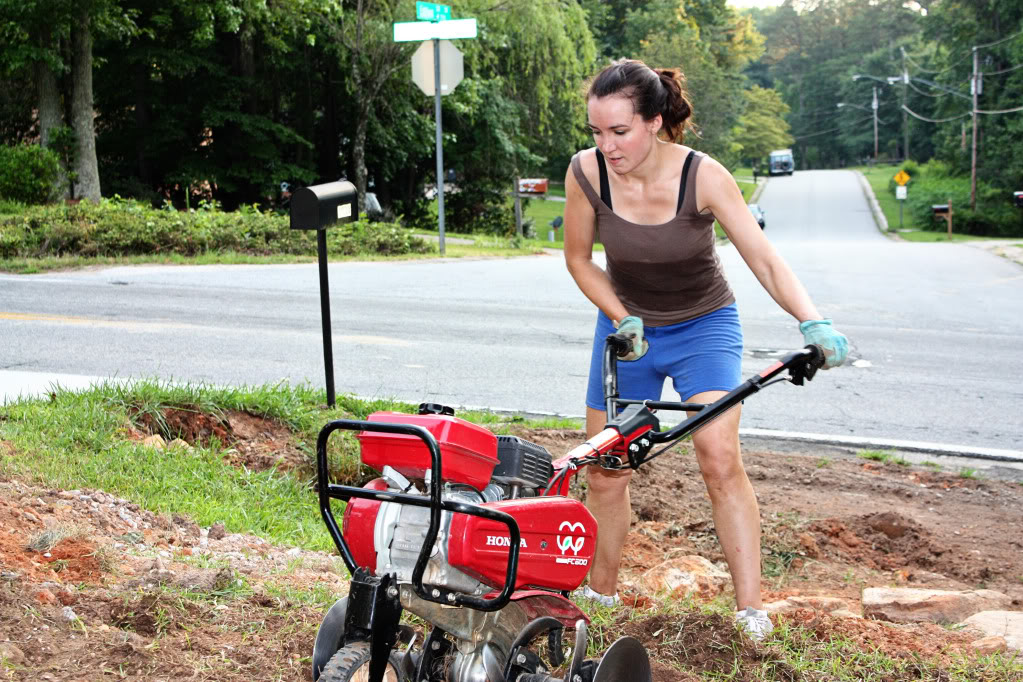
And then I struggled with it for, oh, about eight minutes.
(NOTE the disgusting stomach sweat…this was the longest eight minutes of my life.)
And then Jeremy took over again.
This beast is not exactly what we needed. We needed a crew of six strong-backed yardmen to dig up our giant rocks. You see, this tiller is not the best tool when you have rocky soil. It just scrapes the tops of the stones and can’t get under the rocks to pull them up. So consider yourself warned.
So after we tilled, we got one area decent enough to transplant seven azaleas and a couple knockout rose bushes. And then we called it a summer.
FAST FORWARD.
PRESS PLAY.
(ooops you missed it, rewind a bit and press play again).
There you go….perfect timing 🙂
Now that the weather has cooled off – and our blasted water company has brought the rates back down from the moon – we continued with our effort to transform the right side of our yard to be something a little more appealing than dirt. Dirt with rocks to be specific.
So we came up with a new plan (vs. our old plan and our very old plan):
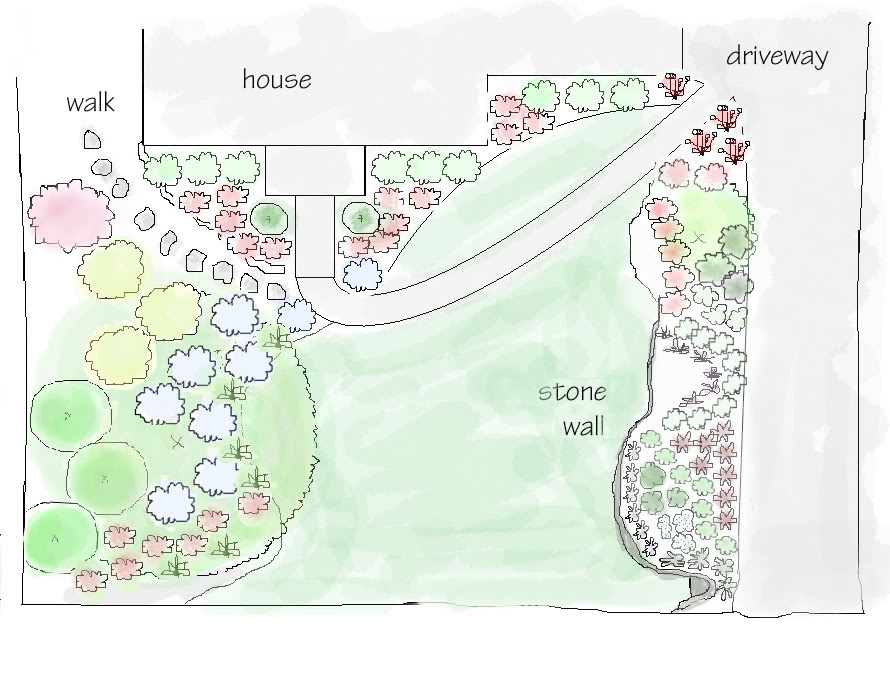
The new plan included some hollys, some azaleas, some hawthorns, some gardenias, a zone for bulbs and a bunch of other ‘pretty’ plants. It was all very exciting.
So we got to work prepping the soil. again.
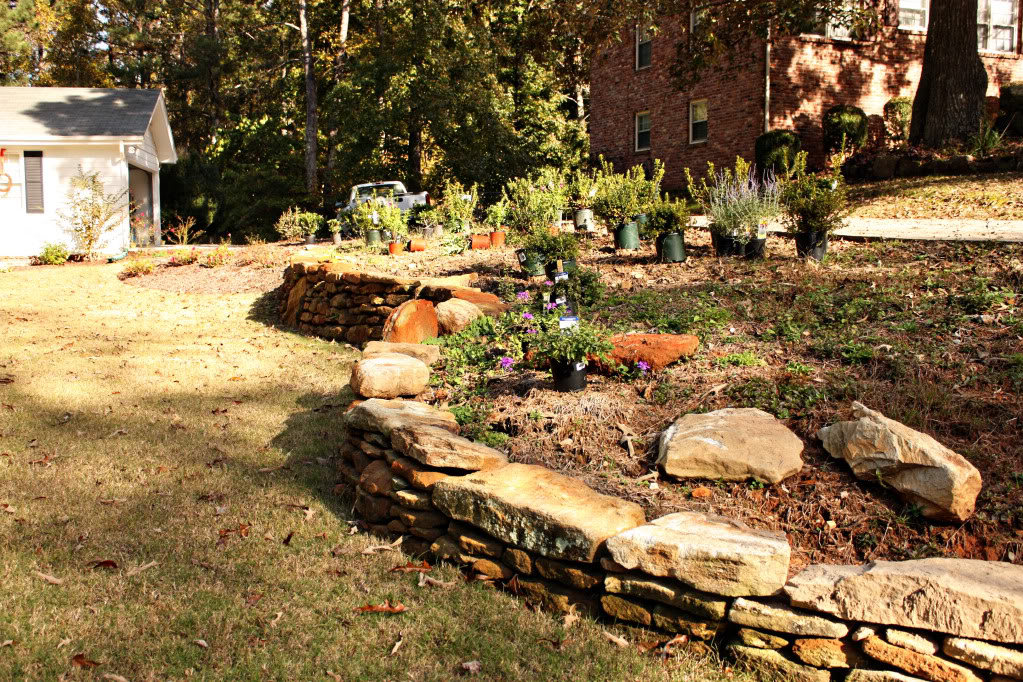
This time, as we laid out our plants, we discovered that we had even more rocks than we thought under our dirt.
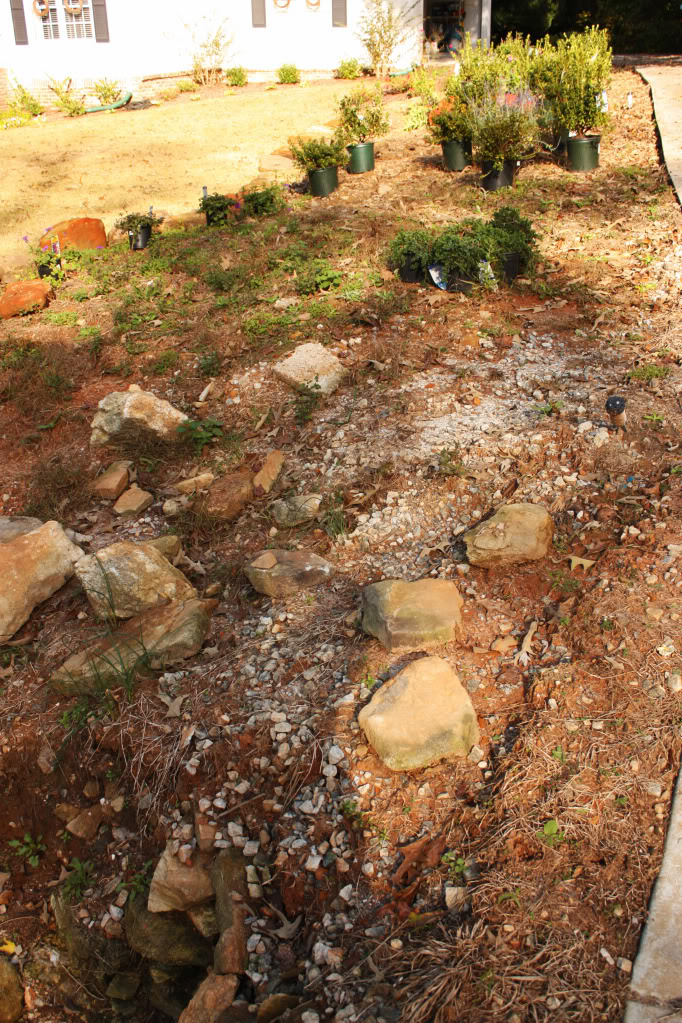
It was a lot of rock.
I kept telling Jeremy that whenever I had a knack for finding the big ones. He said that it was because I was digging too deep.
I would argue back that we needed to go deep to make sure the surrounding soil was mixed properly with the bagged topsoil.
And that is when he would mutter ‘Gravedigger’ under his breath.
He might have been right – my sciatica thought so anyway.
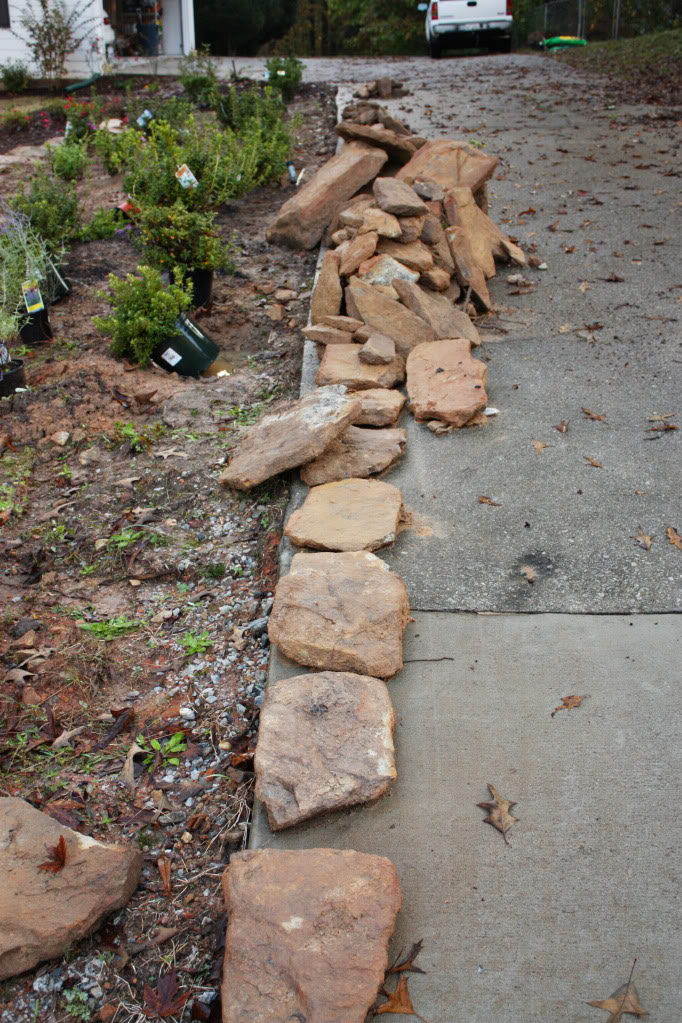
Especially when we found this one.
We call it “BIG MAMA”
I like to think it gave birth to Sylvester Stallone. (one hundred points to those who get this joke. Mom – it’s okay.)
She has brothers….smaller, weaker brothers. But they were nothing comparitively speaking. We ended up deciding that it was too big for our wall – and that one day it would make a lovely lawn boulder in the back yard.
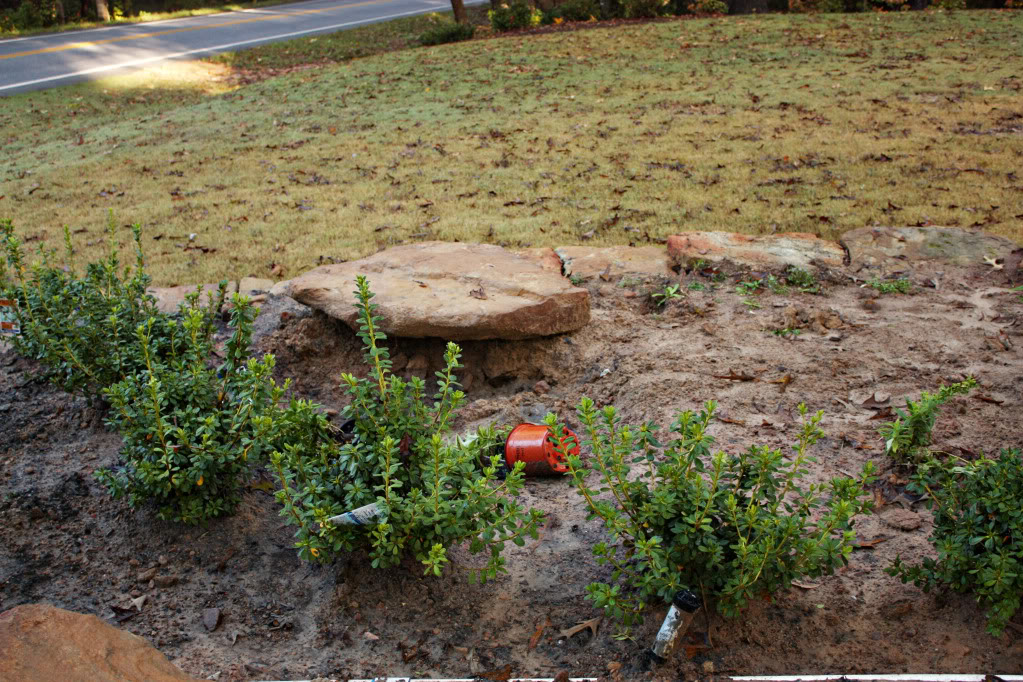
After we discovered all the rocks, we started taking inventory to see if we had enough to finish our stone wall. Afterall, it ended pretty pitiful.
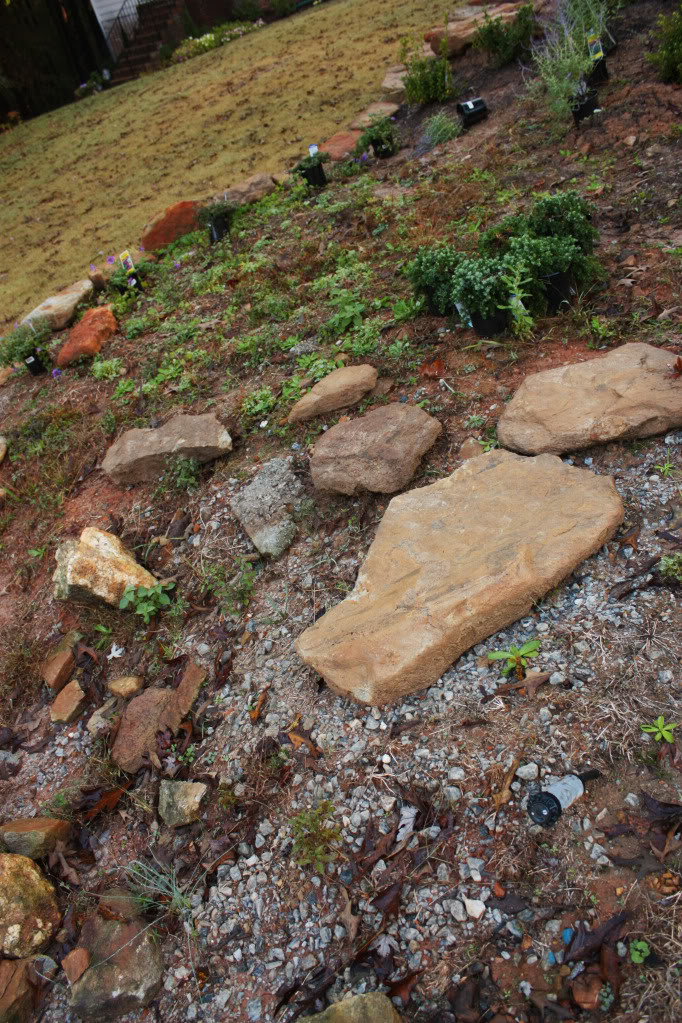
We figured out that not only did we have enough – but we would have some left over. This was great news because you don’t want to unearth boulders only to throw them out in the woods.
Plus we figured that we probably could move ahead building our wall without spending a dime. It would only cost us an arm and a leg. No seriously….our arms and legs were totally spent afterwards.
But my boytoy moved forward.
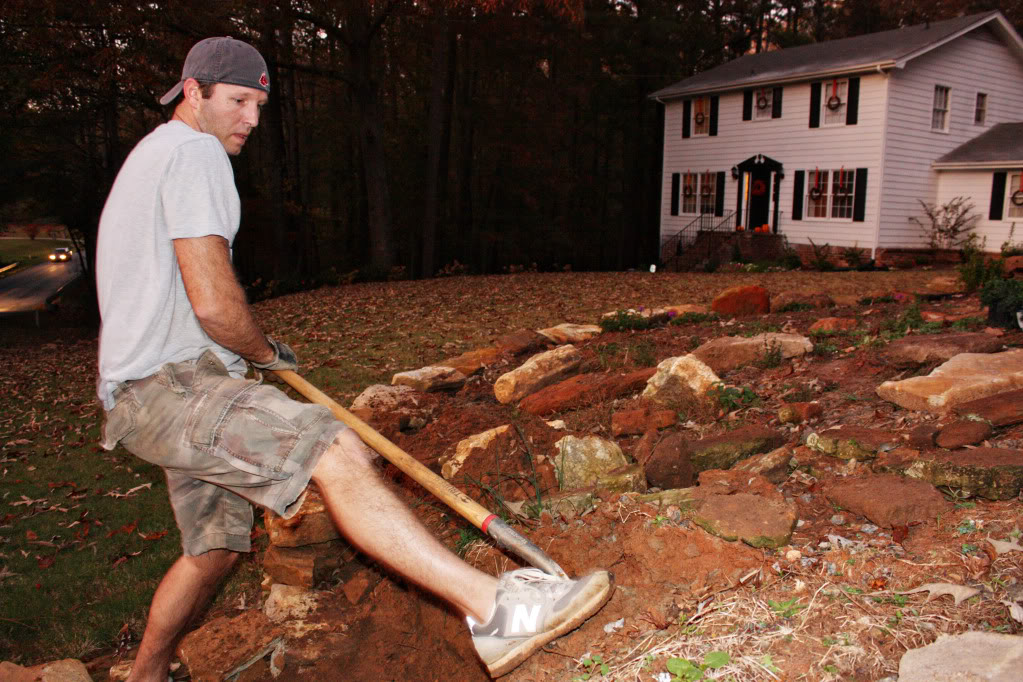
He continued working – everyday….for a week – digging up stones, dismantling our horrible drainage ditch, and removing the hideous rocks.
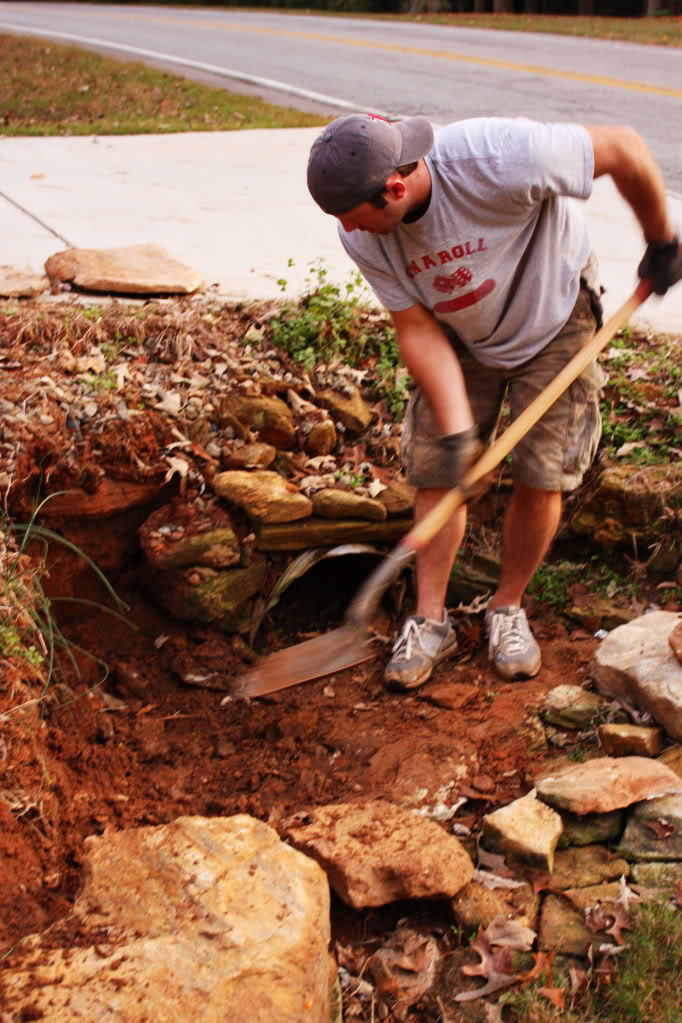
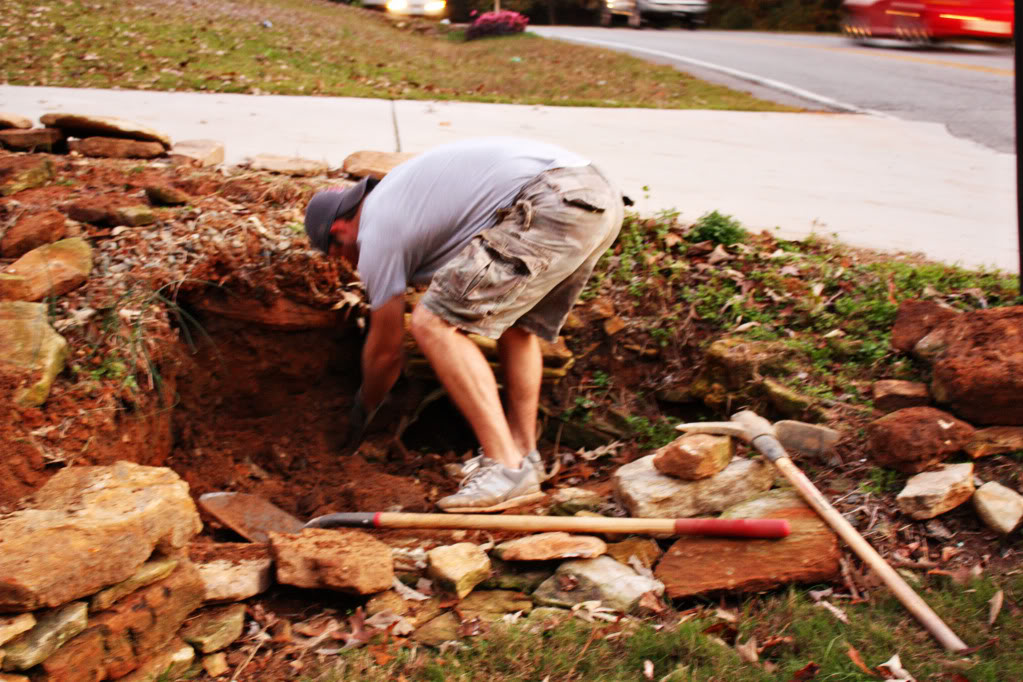
I know. Some of you might be thinking that I should be out there helping. But I figured out a little trick in order for me to get outta work. It’s called getting knocked up. If you go ahead and get preggars, your man is simply satisfied with you not talking about things like mucus plugs and amniotic fluid…and he will be more willing to get outside and work with dirt & stones. It’s a marvelous thing ladies. Just mahhhvelous.
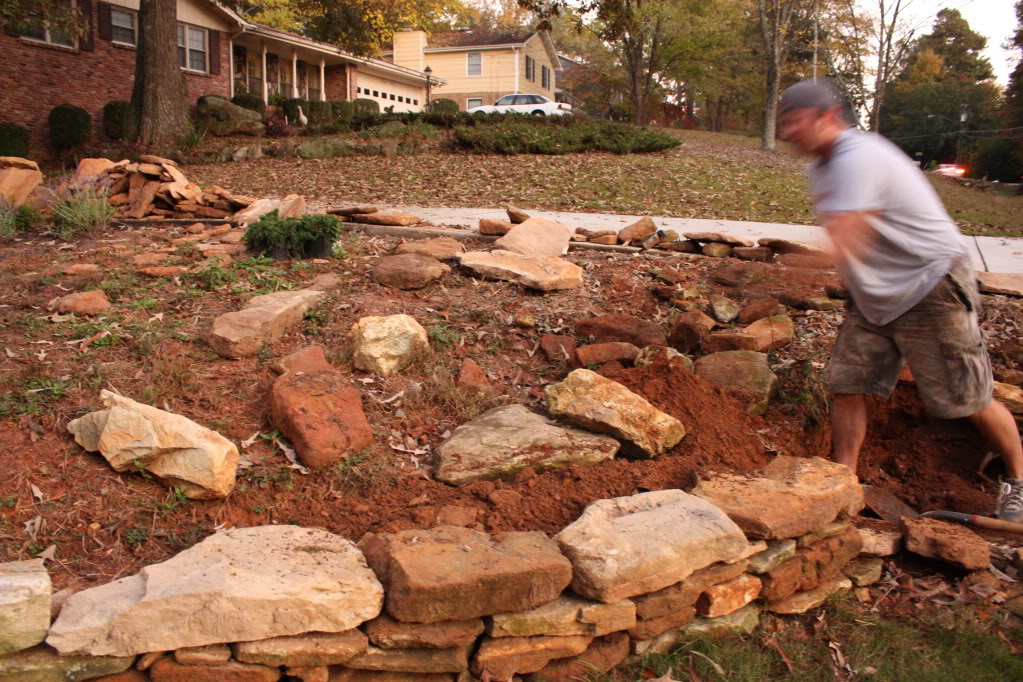
After Jeremy had dug out all the rocks, he worked on the great puzzle of finding the right stones to layer for a sturdy and goodlooking wall.
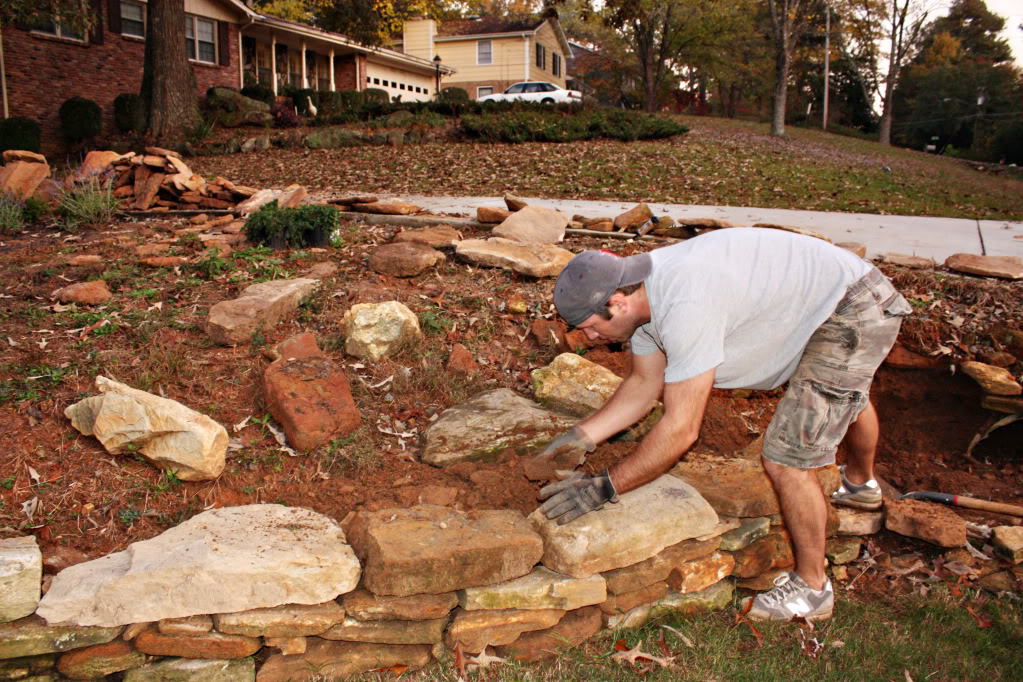
This first photo is for me 🙂
The stones were actually big enough to create a larger space for the drainage area – and we had enough to allow Jeremy to pick & choose some based on their appearance.
Oh – and that second photo is for me too 🙂
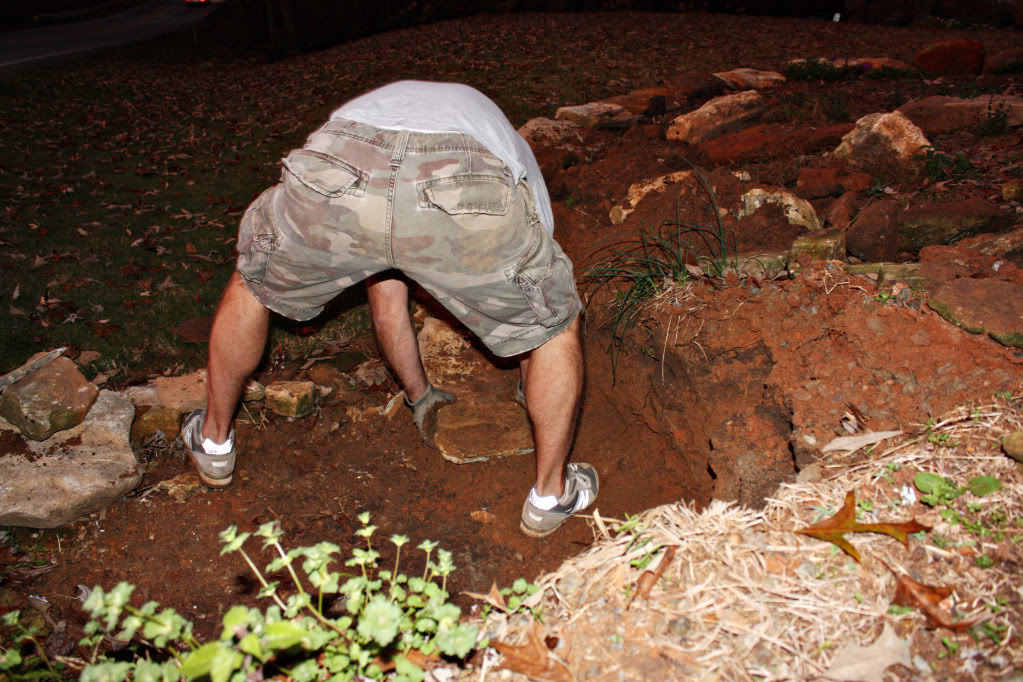
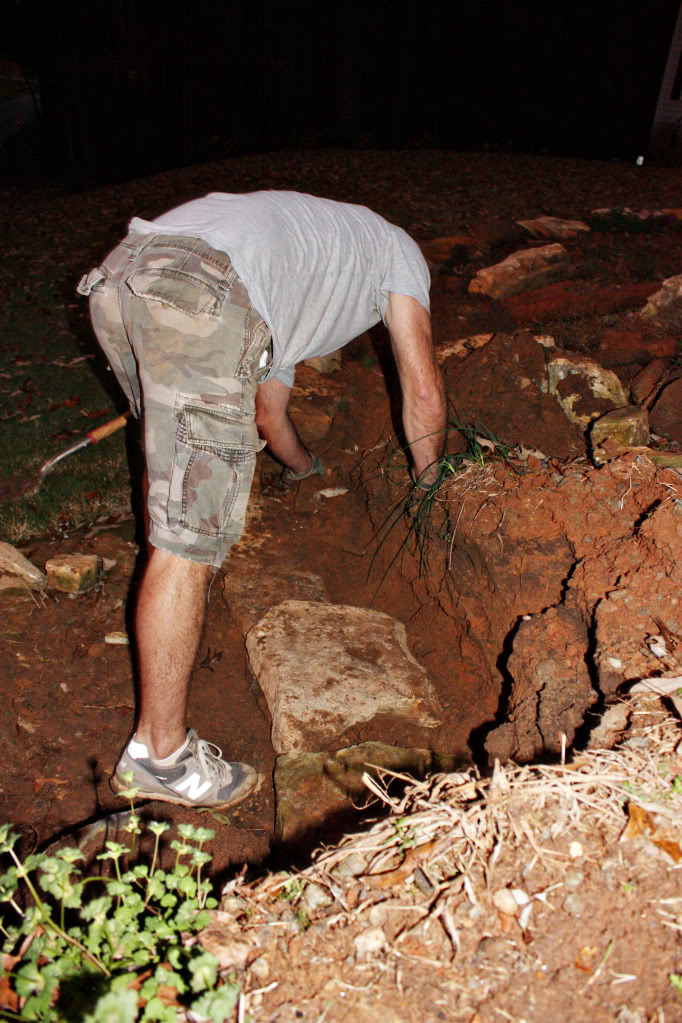
In the end, my boyfriend would recommend that you have some heavy duty gloves and plenty of daylight in order to tackle a job like this. Oh – and a credit card so that you can pay someone else to do it.
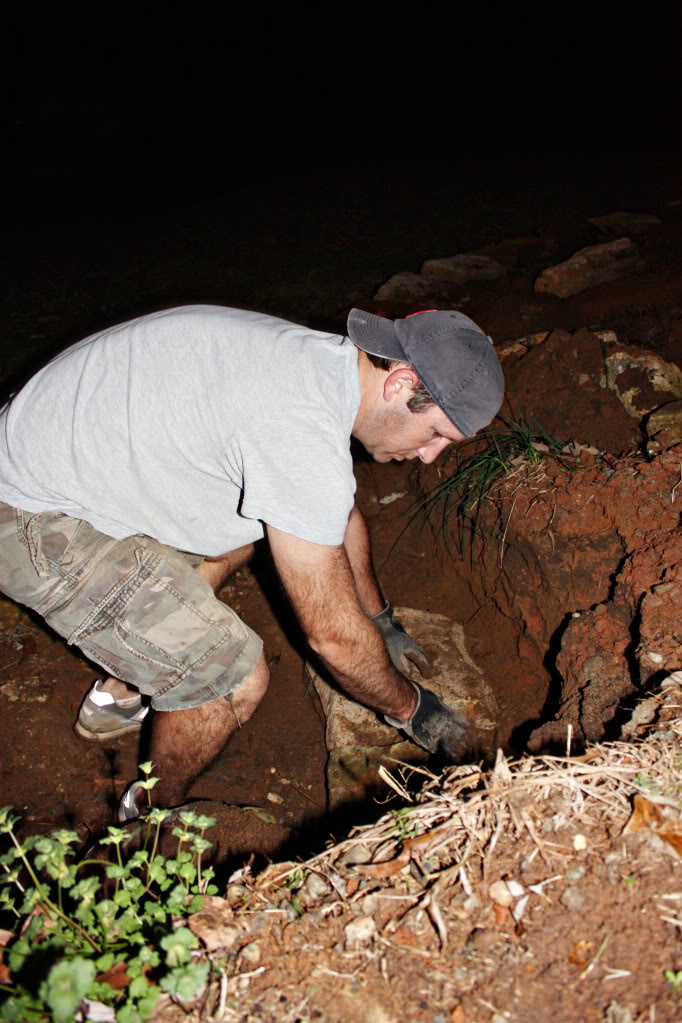
We had so many rocks that we even had some leftover. And when we reveal the finished product, I will show you what we did with the extras 🙂
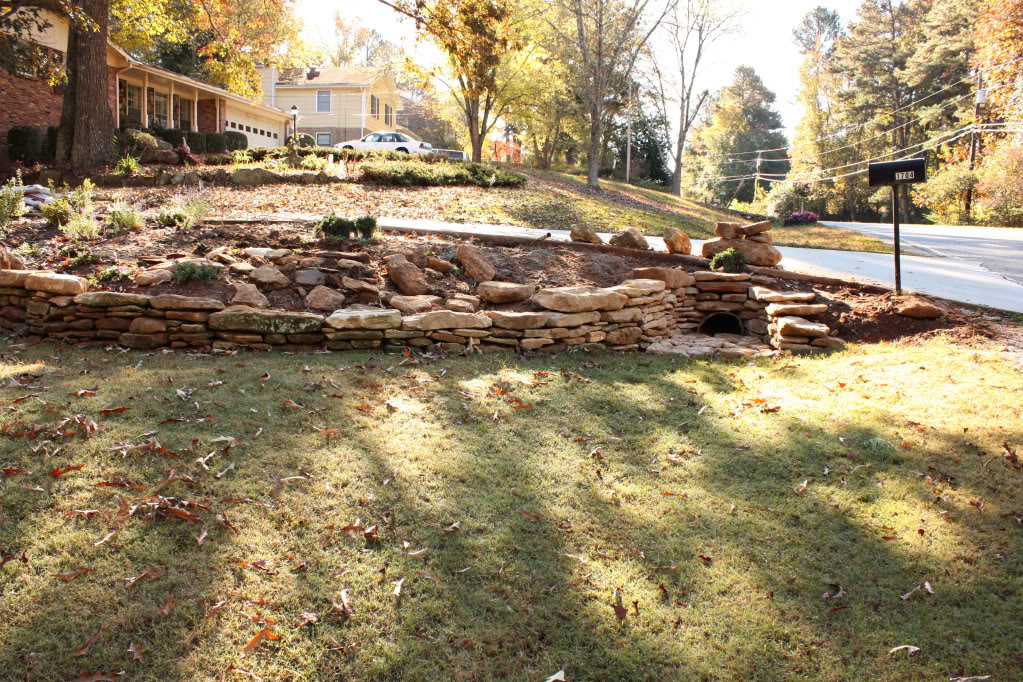
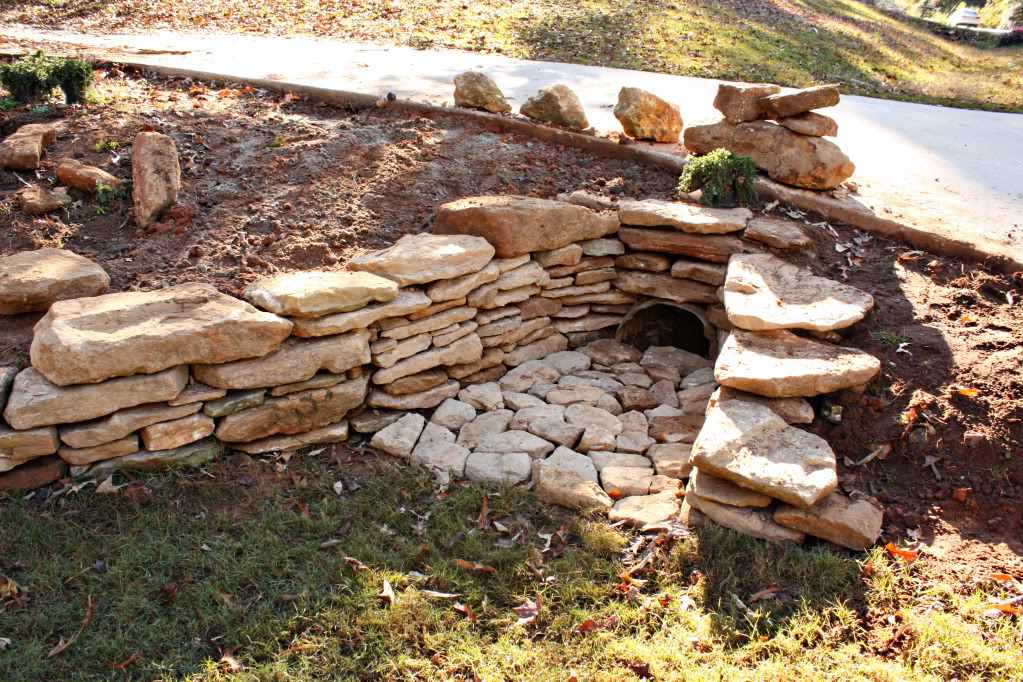
As for the drainage ditch – it really got an upgrade. Now it actually will drain stuff – and the pipe is actually visible! Plus the bed of rocks at the drain exit will prevent soil from washing into our new sod.
As for me – well, I worked on planting the bulbs as my hunk o burnin love put in the other plants (more on the finished beds in our next Right Side Story post).
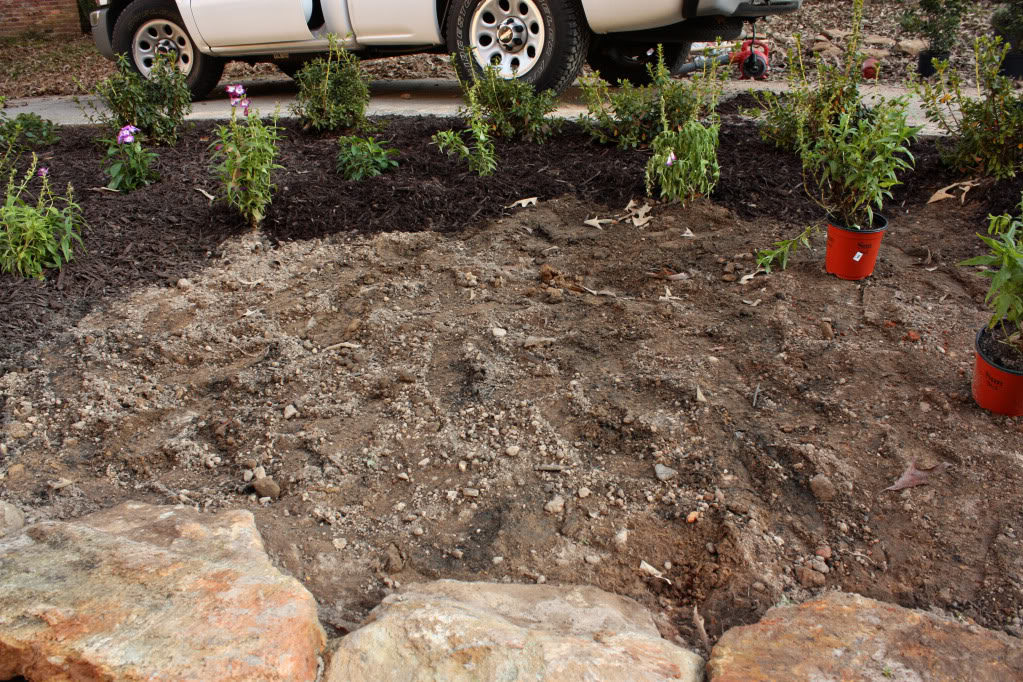
After we mixed some nutrient rich topsoil (aka cowpoodirt) into the existing bed, I planned our bulb bed based on the back of each bulb package. The taller blooms in the back – and the shorter ones in the front.
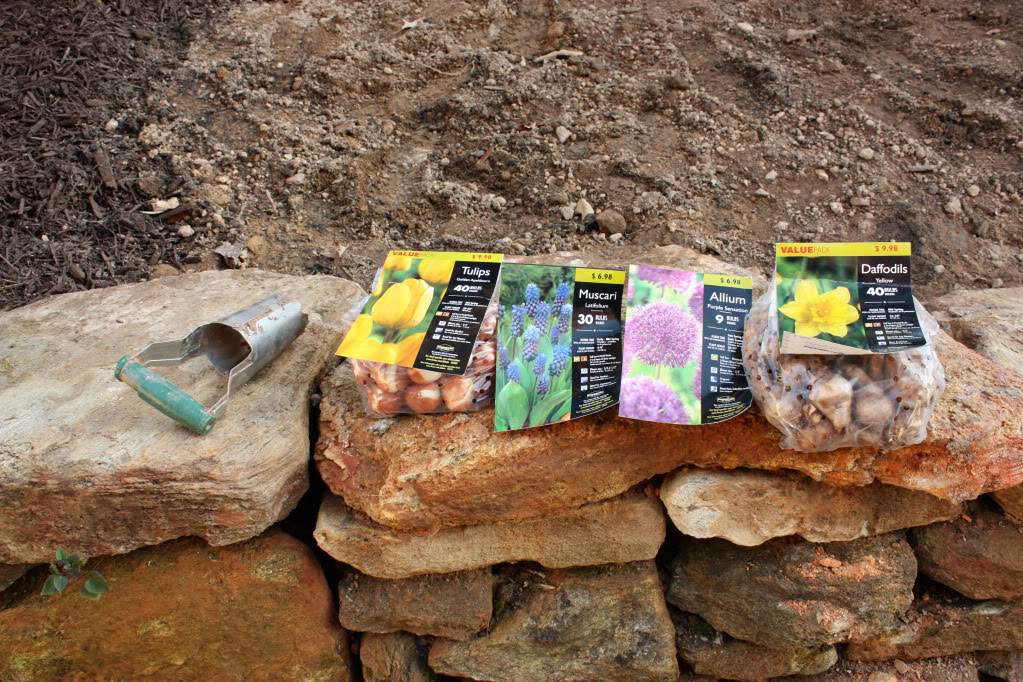
I stuck with our pastel color scheme – blues, yellows, & purple bulbs that would rebloom year after year. The tulips were Jeremy’s favorite.
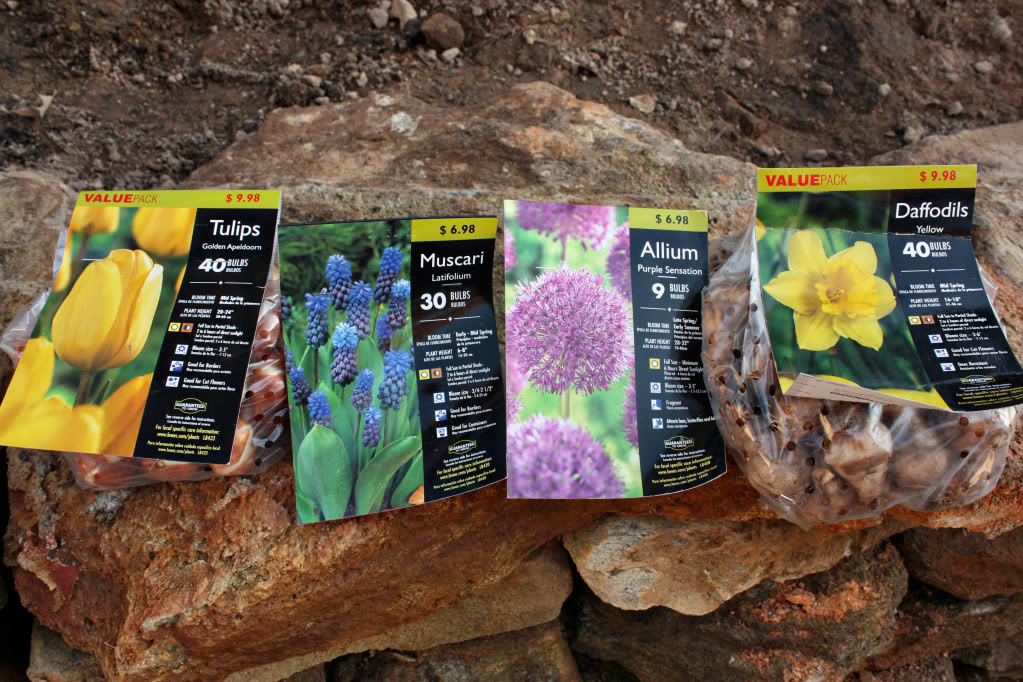
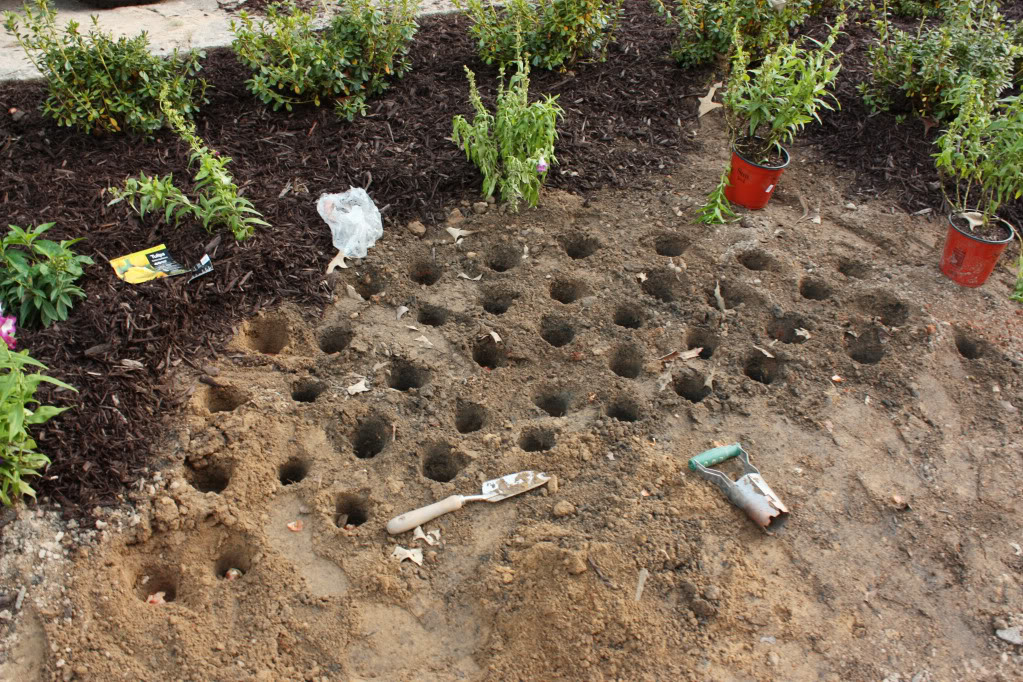
I took my bulb hole digger (that thing with the handle) and followed the instructions on the packages for the depth and distance between plants.
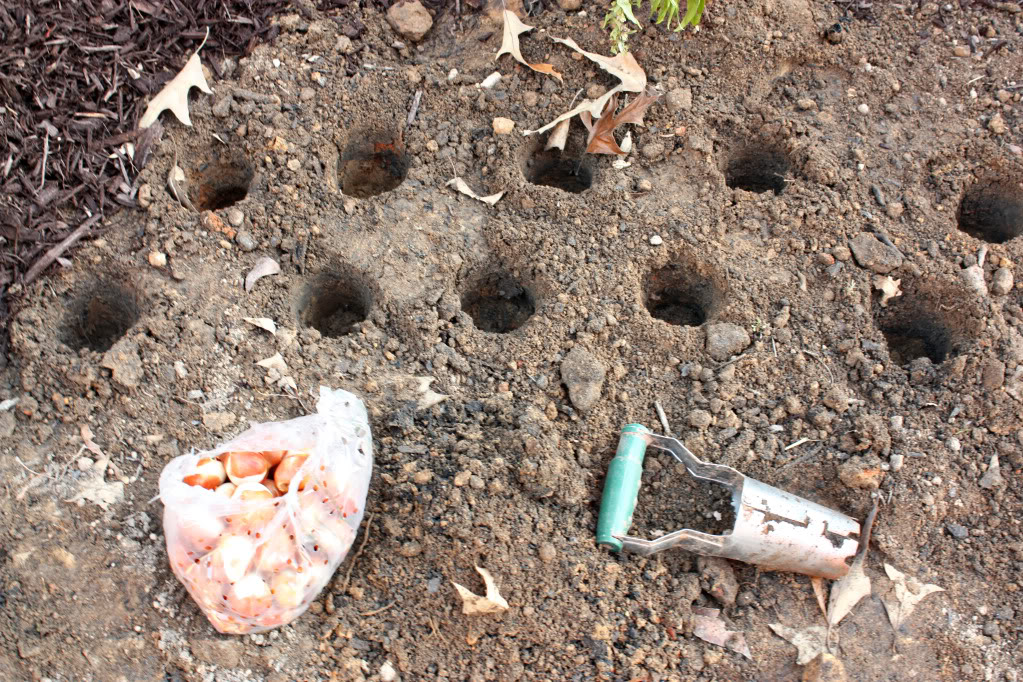
Here I am about 1/4 of the way through.
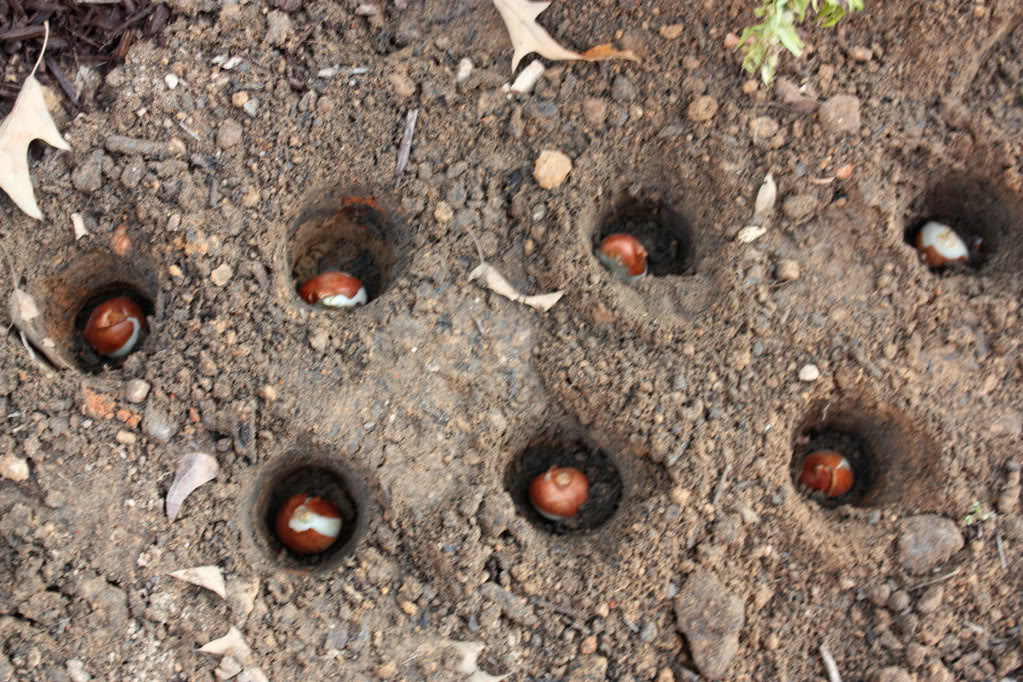
After all your holes are dug, place your bulb in with the roots on the bottom.
Then cover them up with dirt and mulch.
Jeremy is the mulch king in our house. He loves mulch. He does love mulching so much…but the effect of a uniform and rich ground cover – that he loves.
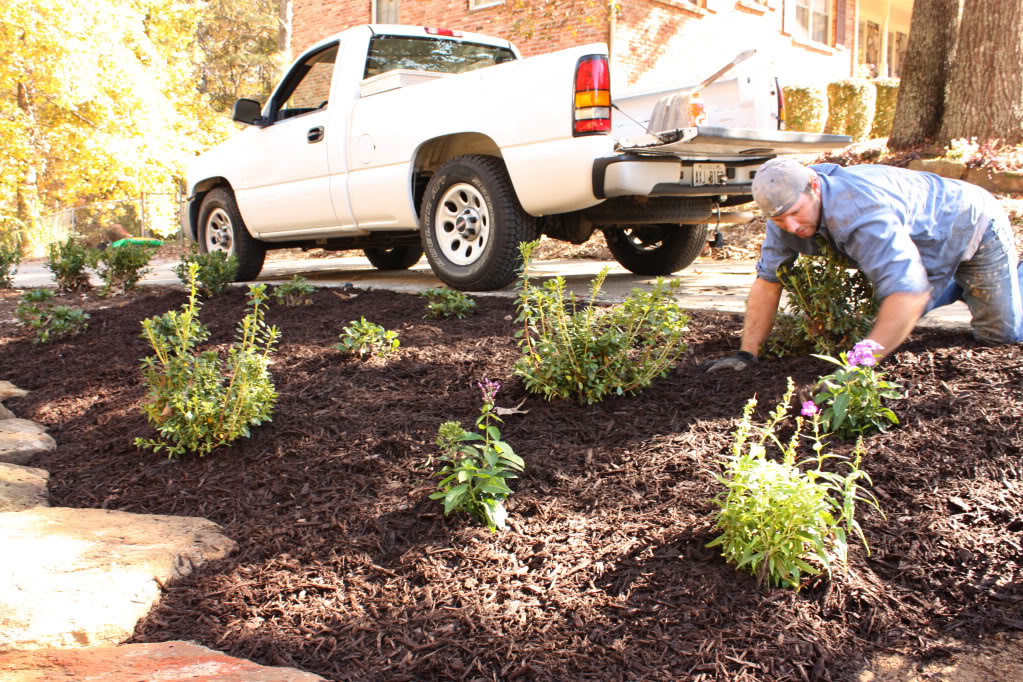
We always get it loaded up into our truck and we unload it using a snowshovel. It seems to work best for us.
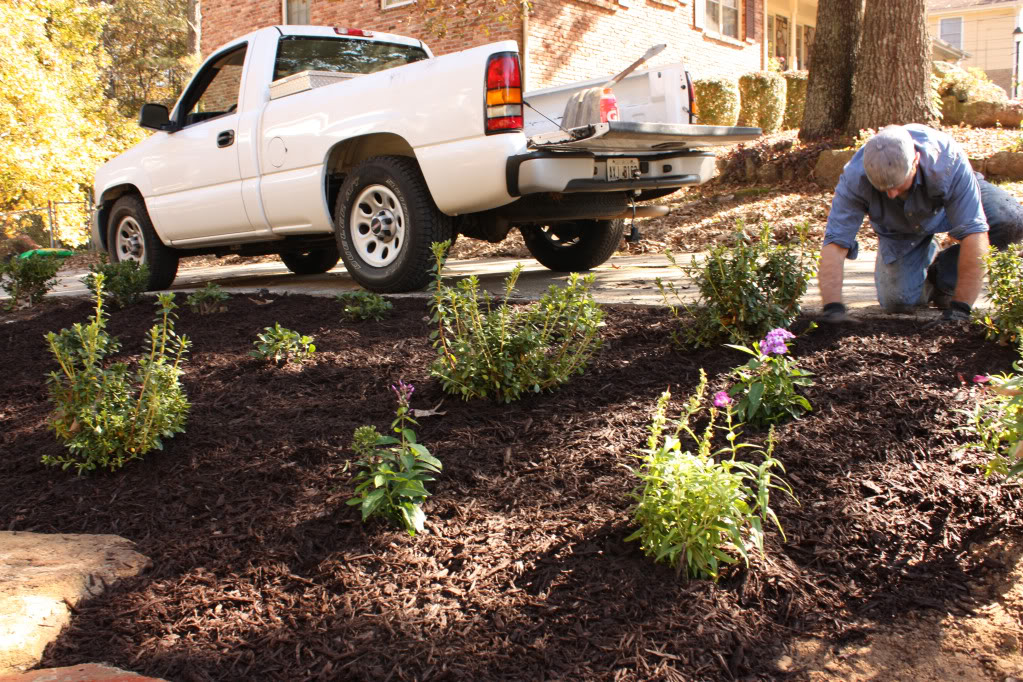
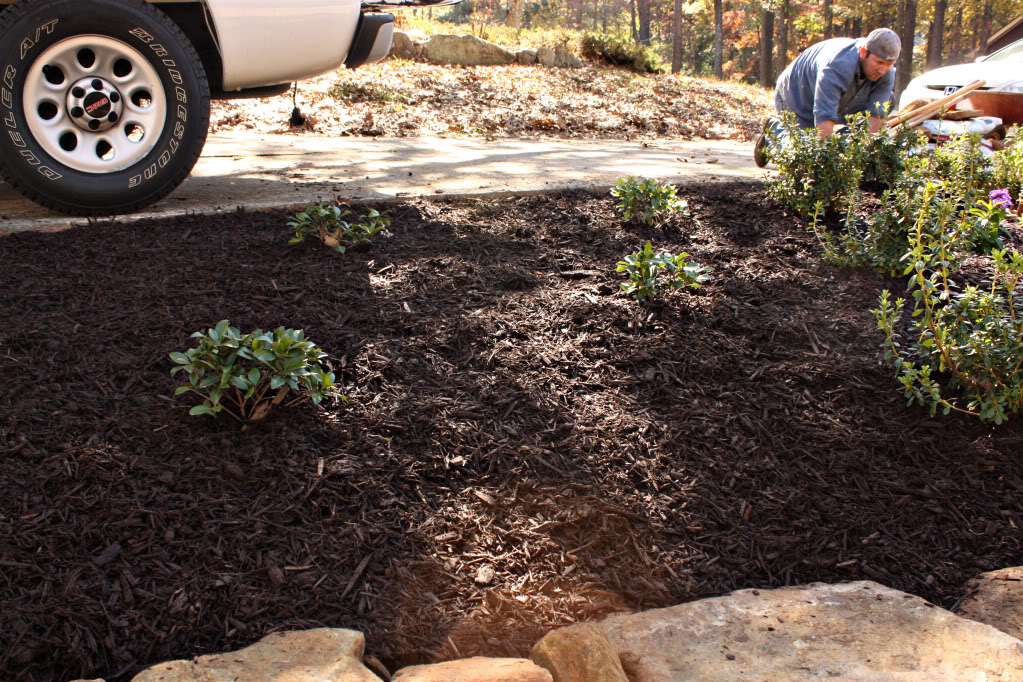
Mulch should be between 3-4″ deep to prevent wash-away. And look for mulch that doesn’t have a lot of dirt mixed in…the mulch that we prefer is deep brown in color and has lots of wood particles. If mulch has large nuggets – we think that it needs more grinding up – but the type that has lots of small – grainy (almost dirt) particles is too ground up. Look for a nursery in your area that carries a type you prefer and see if they can deliver…it definitely can add nutrients to your garden beds and is a really easy way to spruce up the look (and smell) of your yard.
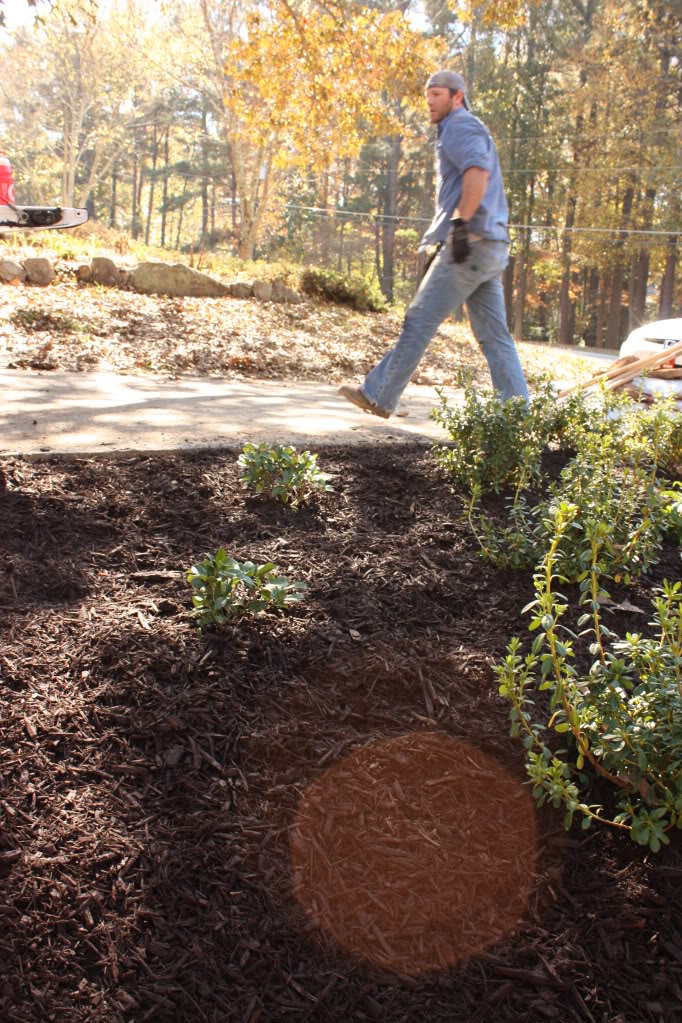
So there you have it – the low-down on each back breaking step toward yard beautification.
What do you think? Are we on the right track toward a gorgeous front bed – or is this toil for nothing? Anyone out there with an opinion on mulch….red, black, gravel, or pinestraw? And what kinda tool, if any, do you use for bulb planting in your area? Heck – anyone attempt to wrestle with a tiller before? Who won – you or the tiller? Oh – and anyone actually reach the bottom of this post….and live to tell about it? Well, friend, consider yourself the awesomest person on the planet….
And for those old fogies still reading – stay tuned for the next installment where we present our newly finished front yard. And believe me folks – it looks 1000% better 🙂
I love that you use your snow shovel for shoveling mulch. gotta love the South!
It looks great! Can’t wait to see those bulbs in action this Spring.
I live in Texas and there’s rocks everywhere here as well.. We used a tiller too and boy that was a LONG day. That was last summer and I have to confess that we still have a large trashcan in the backyard filled to the brim with rocks. We’re not sure how to haul ’em outta here! And we don’t have a big yard like you do to build a stone wall. Our rocks are weird shaped anyway, not flat and nice like yours!
GORGEOUS!!!! Wanna come do our yard next summer? I’ll pay you with lots of laughs and a deep dish pizza. Sounds enticing right? Hope you are feeling great~
Your yard looks great! I can’t believe you guys did all that by yourselves. That’s the kind of stuff I hope to do one day when I’m in a more permanent place!
I drove past a True Value hardware store the other day and thought of you! I had no clue there were even any in this area.
Congrats on the baby too!
Wow, Katie! What an amazing amount of work. Clearly I am impressed, because I looked at every last photo. And your drainage ditch puts most walkways to shame–it’s really a work of art. Functional and fashionable!
It looks great–I’m impressed with your boyfriend’s stone-puzzle ability. It looks like you bought those, they’re so nice and flat. They look like they were made for that wall.
Yay, I made it to the end! Just kidding, I love looking at your pictures. I feel you guys on the soreness level – my husband and I actually met the summer that we were both landscapers. Probably the sorest summer that I’ve ever had, but landscaping is a great way to get sore because when you’re done you can look behind you and see the gorgeousness that you just created. Can’t wait to see the finished result!
Wow looks great! Landscaping is hard work but looks so good when it’s done. We’re just starting our landscaping too…working on one flower bed at a time. I went bulb crazy this year and planted over +100 bulbs after I found some good deals at Costco.
One question/concern though. Did Jeremy put any landscaping fabric behind the rocks? Even if the rocks seem tight dirt can fall through and erode (though it might be slowly). Plus the fabric helps the rocks from shifting. We have a multi-tiered rock wall that has this very problem along our driveway. It creates a perfect place for weeds. We’re planning on redoing the walls early next spring and oh actually plant plants in it.
Good luck!
Have to admit – after seeing what you all just did, I’m really thankful I still live in an apartment for now. One day we will have a yard to take care of and that day I will use my credit card and have someone else do it. 🙂
Can’t wait to see what it looks like after all the work you both just did.
When we bought our home in northwest NJ in the mid 90’s, our daughter was in kindergarten. I immediately started landscaping projects and discovered a yard full of rocks. One day our daughter brought home a school project ( stay tuned, this will happen to you soon!) The subject of the project was “what do your mom and dad do for a living?” The answer? “My dad works for a bank, my mom digs up rocks”
Congratulations on all the hard work it looks great! I cannot wait to see the flowers in the spring! Congratulations on baby Bower! I hope everything is going really well for y’all! Have a great Thanksgiving!
Your yard is gonna be awesome! One small piece of advice that will make you want to buy me a Martini — get yourself a pitchfork for the mulch. It will totally save your back. Better still, there are special “mulchforks” with more tines closer together. Just be careful — those tines are sharp!
Hi Sheila –
Actually it’s funny that you proposed the pitchfork – we used one and found that it wasn’t as effective (or held as much mulch) as the snowshovel. I will have to keep my eyes peeled for that mulch-fork though. It did seem like the problem with the pitchfork was that the mulch fell through the tines 🙁 Thanks for the recommendation!
XO – KBlubber
Wahoooo momma! Lookin’ foxy. Can’t wait to see the finished product!
No Joke! After a few hours of counting sheep last night, I thought I’d catch up on blogs. Then I ran across your post. Thankfully, it was so long that anything and everything that occupied my brain fled. I quickly fell asleep, and dreamed about rocks. Okay, well maybe not that part. But the novel certainly helped.
The rock wall and drainage area look awesome!
I have never seen a classier drainage ditch. Major points to Jeremy for that one. And for you for picking him.
We own a tiller, that belonged to my parents. We just use it for our garden each year. MO soil is quite rocky also. For our gardens growing up my dad would till the soil, then he created a wooden frame out of 2×4″‘s with chicken wire or something similar (the frame also had a handle that I think looked like a frame hinged off of the chicken wire frame, and dumped shovelfuls of dirt into the wire, which retained the rocks and let the soil drop through. Of course, the rocks were not as large as your boulders, but for the finer, hard-to-sort rocks.
For the boulders, there are landscape material companies who will actually dig up those rocks for you, pending that they can retain them for resale. Since you wanted to keep yours (they look quite nice), that would not have worked for you. But my in-laws live on a farm and they are approached occassionally to be allowed to dig in their woods for very large boulders.
I’m sure the finished product looks amazing. The real treat will come in the Spring when your flowers are in bloom and beautiful and you can both stare at your lovely new baby and lovely new yard taking in the fruit of your, uh, labors. 🙂
I have to show my husband this. On second thought I don’t want him to feel like a wimp. I am so impressed that you did all that yourselves.
Sherrie – I have never heard of that wooden frame & chicken wire sifter…it sounds like something that would really come in handy around these parts as we have rocks both big and small 🙂 Thanks for the info – and I am sure that it will come in handy one of these days!
XO – B, KB
The drainage ditch with the upgrade is my favorite part! This looks amazing. Your neighbors must love you for upgrading your front yard so beautifully. Can’t wait to see the full result.