Chalkboard shapes are super simple to create. I love the wall hangings versions that are different animals or letters (like these from The Land of Nod) and the ones that light up (like this one) but I really loved the idea of creating word bubbles that you could make personalized with your own message. Like for wedding or birthday photo booths! Target sold some cardboard word bubbles in a set but they were very wedding specific and honestly cardboard just doesn’t last abuse. The survival skills of cardboard vs wood are like a newborn vs Bear Grylls. I just don’t see a newborn cleaning a freshly caught electric eel. No offense to those “my baby can do anything!” people 🙂
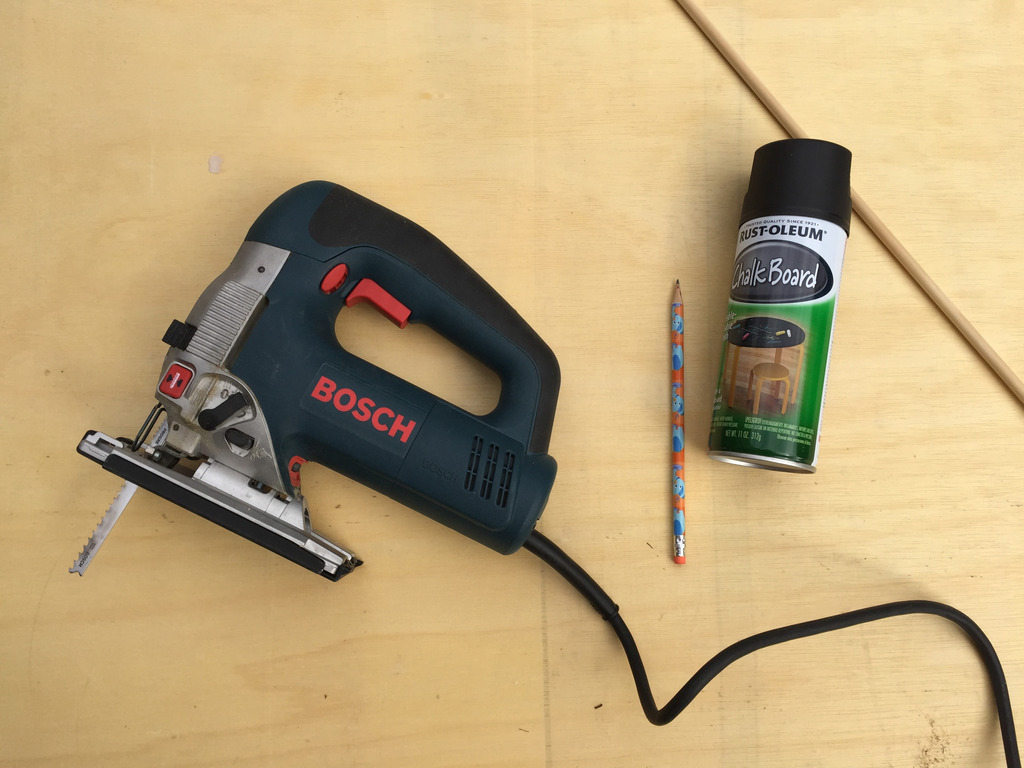
Okay…so consider this the easiest possible tutorial on making wood chalkboard cut-outs. It’s uber easy. First you need a piece of 1/4″ thick plywood. Ours was leftover from a different project and it’s relatively inexpensive. You will also need a jigsaw, a pencil, some sandpaper, Rust-Oleum’s chalkboard spray and if you want to make it a hand-held word bubble, then you will also need a 5/16″ dowel rod.
Draw your shape on the plywood. Don’t worry if the wood is crazy or has knots or whatever….just draw your shape.
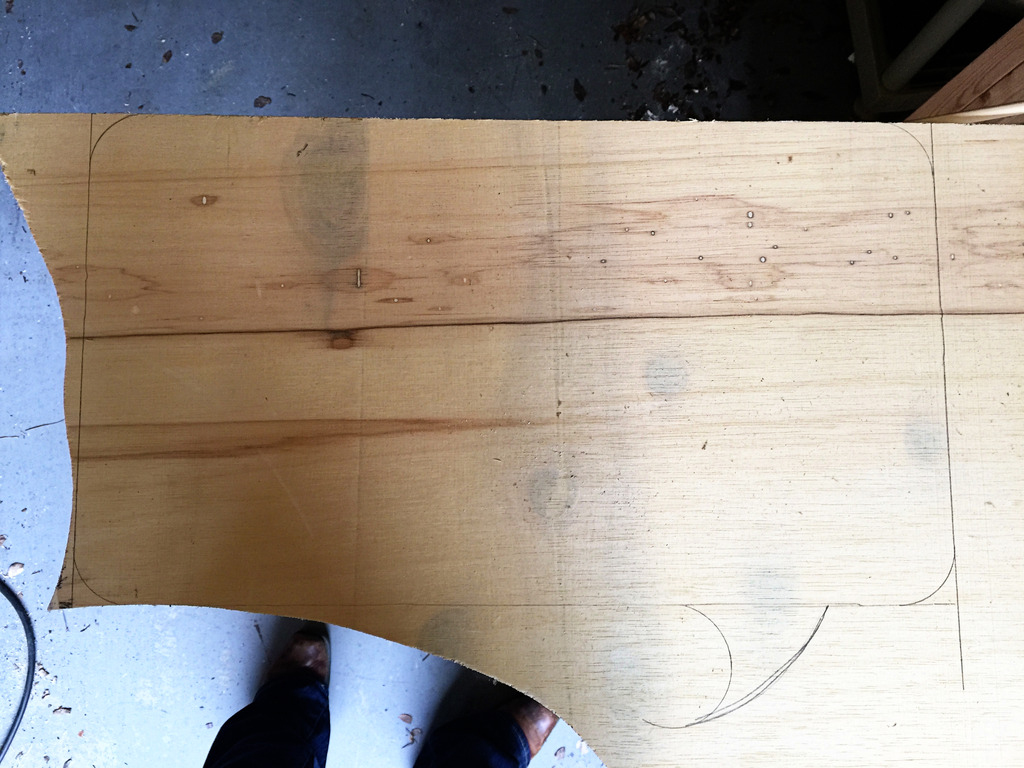
Slowly cut the shape out with the jigsaw and sand away any rough edges. You’ll also want to sand the surface so that the board has a nice smooth area to write on. You can do any shape you want. I think the crazy star shape is perfect for a super hero room 🙂
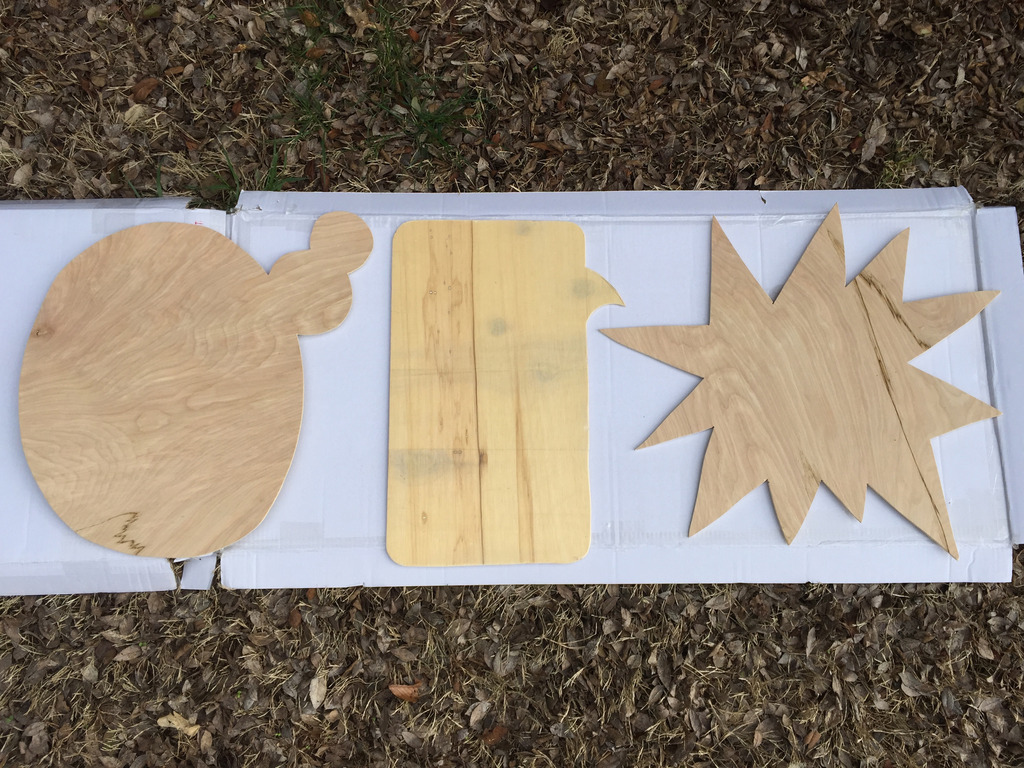
Spray the boards with the chalkboard paint and give it multiple thin coats. The more the better 🙂 I used one can and made all three of these but had a little leftover.
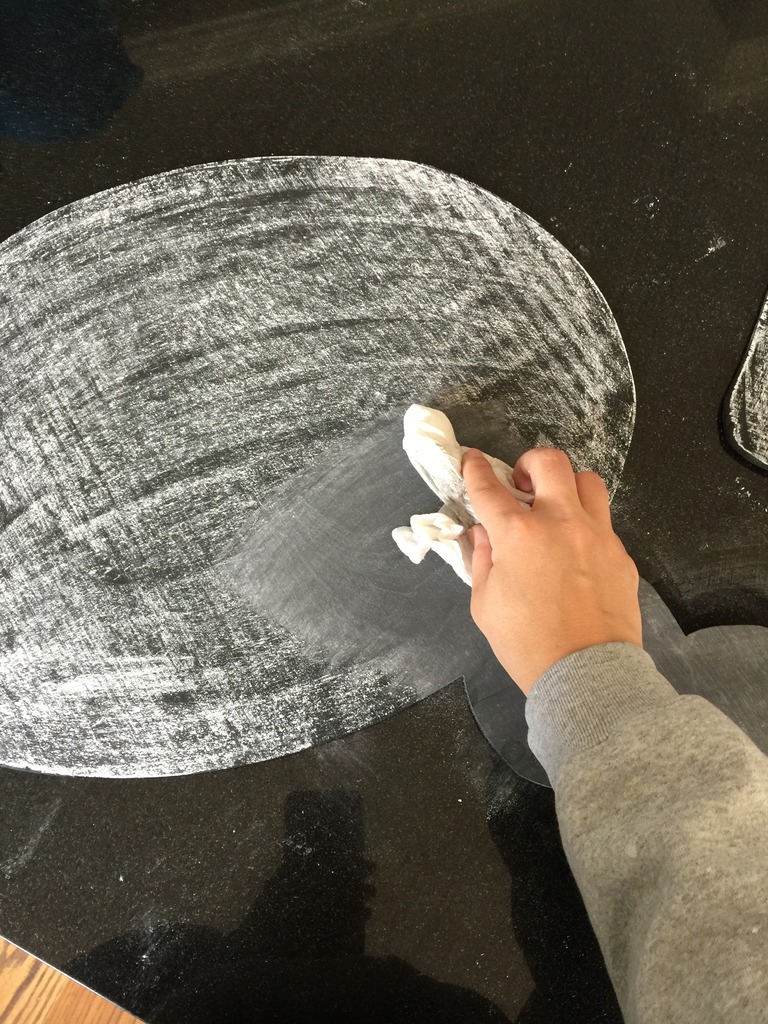
Then after it has dried at least an hour, you want to rub the side of the chalk all over the black surface. This will make sure that there won’t be future ghosting (where you can see the first thing somebody wrote on the new boards).
Hot glue the dowel rod on the back and you are ready for your message!
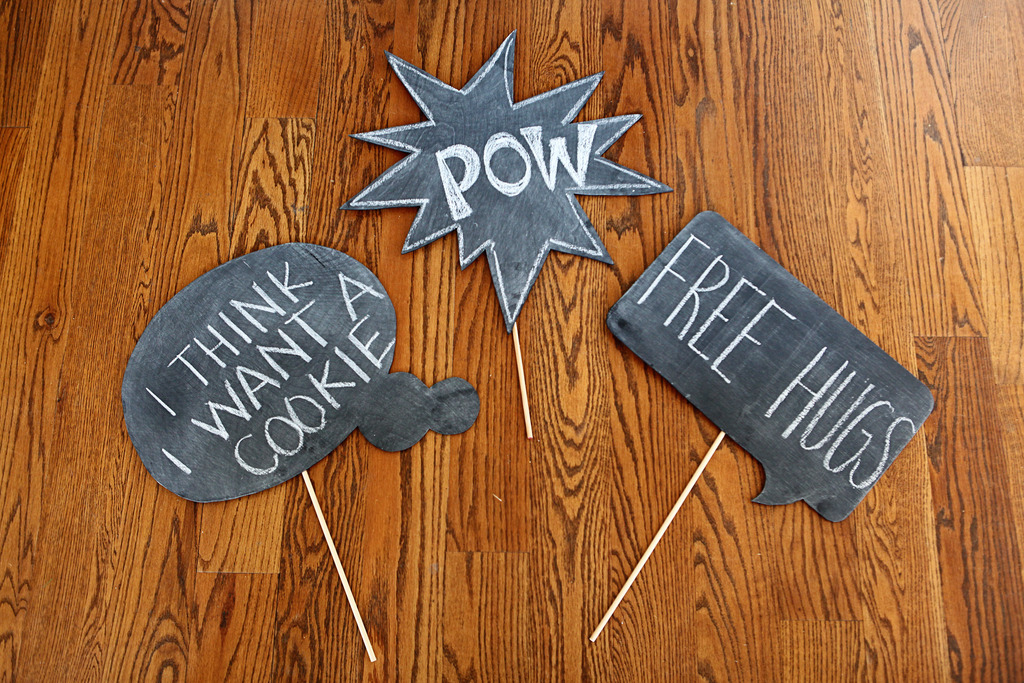
Super fun, right?! I love these. I even think they are appropriate for every day life. Can you even imagine the selfie possibilities?! 🙂
p.s. We are at the beach this week but I still have tons of fun posts for you! Tomorrow I have a clothing post that I am super excited about…and then we start back with the basement kitchen posts! And if you follow us on Instagram then you know we have had our first floor painted…WAHOO! So that means I get to share that and start decorating! So. Many. Excites.
Love these!! I can’t believe how easy they are to make!
My kids were amazing babies that could actually clean a freshly caught electric eel, just saying 😉 . I love these little message bubbles and want to have them around at all times. Then I can stealthily put them by my kids when they are doing something and finally have funny captions in all of my family pictures. Or you know, edit it that way. But having these would be so much more fun. I like this idea for a party picture booth or something.
I have a huge to do list before my daughters birthday on Sunday and you may have just given me another one, so thanks;)
This would be so cute for a first day of kindergarten picture, I think I’ll look at Target to see if they still sell them since I don’t have the time to make them myself. Kindergarten starts next week! Nervous and excited.
Are you going to post about Will starting soon? Our oldest is the same age as Will, he is going into kindergarten right?
Yup! He sure is! I am gonna LOSE it 🙁
xo – kb
Hi from New Zealand – just wanted to say I love your site and you have such inspiring ideas. Must try these wood chalkboard cut outs with my kids – they do look super simple to make!
Me too, Just the thought of this Thursday has me tearing up! And it’s only a half day for the K’s on Thursday and Friday. By Monday I will be out of tears!
These are super cute! I’m thinking they could make a really cool cake topper (or decoration for a party food table).