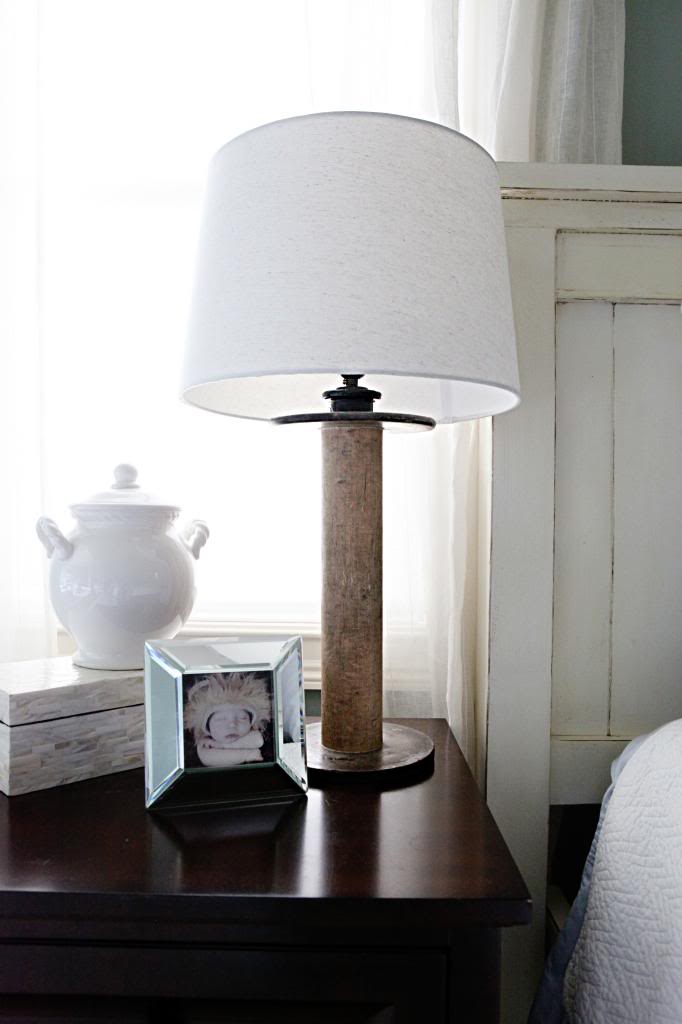
As you may remember, Jeremy built a couple lamps out of these giant thread spools for the Bower Build Off. The spools were an antique shop find and only $4 a piece. The total cost of this project was $4 for the spool, $13 for the light kit, $22 for the shade and we also used a bit of spray paint that we had in our stash so we spent $39 per lamp (which admittedly isn’t the cheapest price ever). I argue though that $80 for two matching lamps, especially really large ones, is reasonably priced. And if you want to save money…buy a cheaper shade 🙂
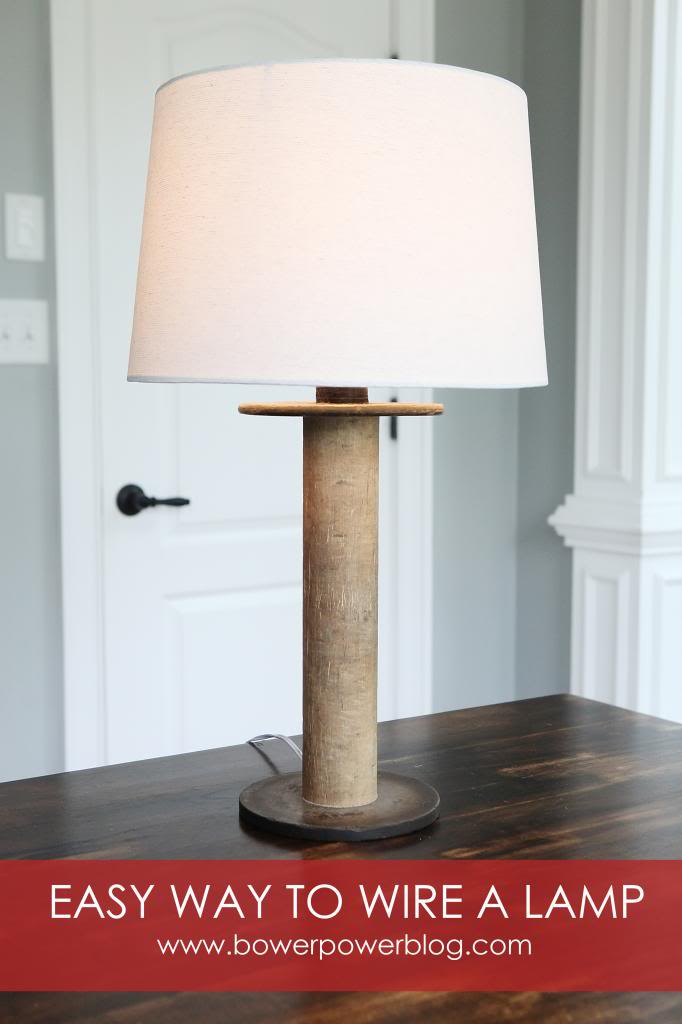
Alright so the fun part about this project is that it is super speedy. It’s kinda shocking how fast you can do this project. It’s a five minute thing. I actually think the cleaning of the spool is the longest part. Jeremy wiped the whole thing down with a Clorox wipe and it was good to go.
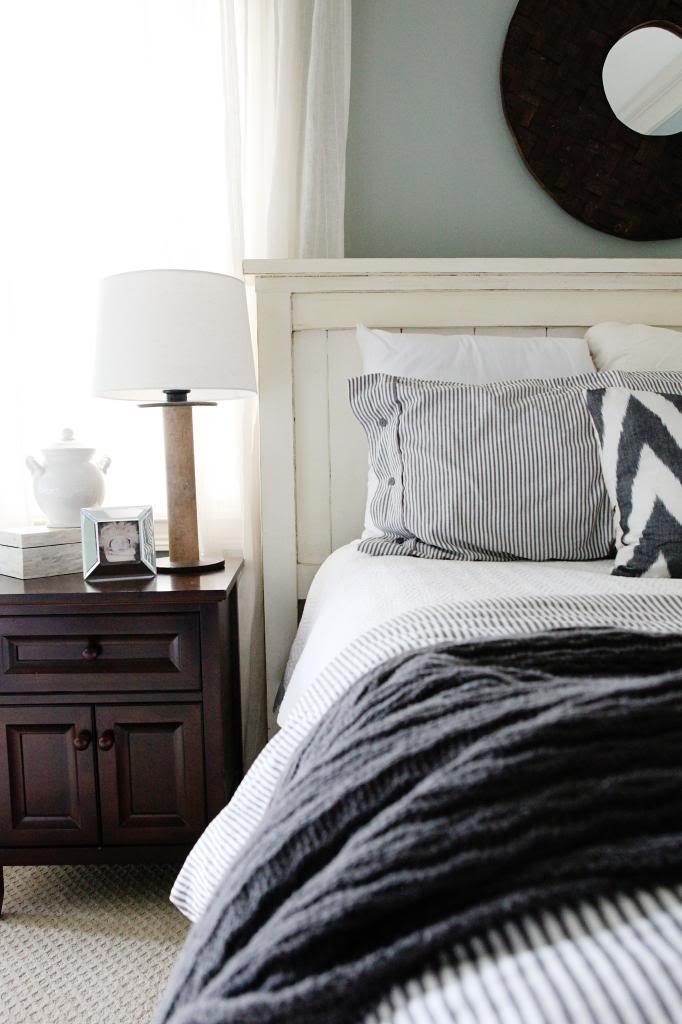
The Make-A-Lamp kit is from Home Depot. They come in gold….not my thang….so that’s why we spraypainted. I had leftover Rustoleum’s oil rubbed bronze. Since this area doesn’t get a whole lot of exposure (like a door handle would), you can do this part two ways….just spray the heck outta the gold bits. Or you can do it the right way and sand the exposed gold parts lightly with a high grit sandpaper, clean it, prime it with a spray metal paint, spray paint with your color (thin multiple coats), and then spray a clear sealer. I’ll let you guess what method we did 🙂
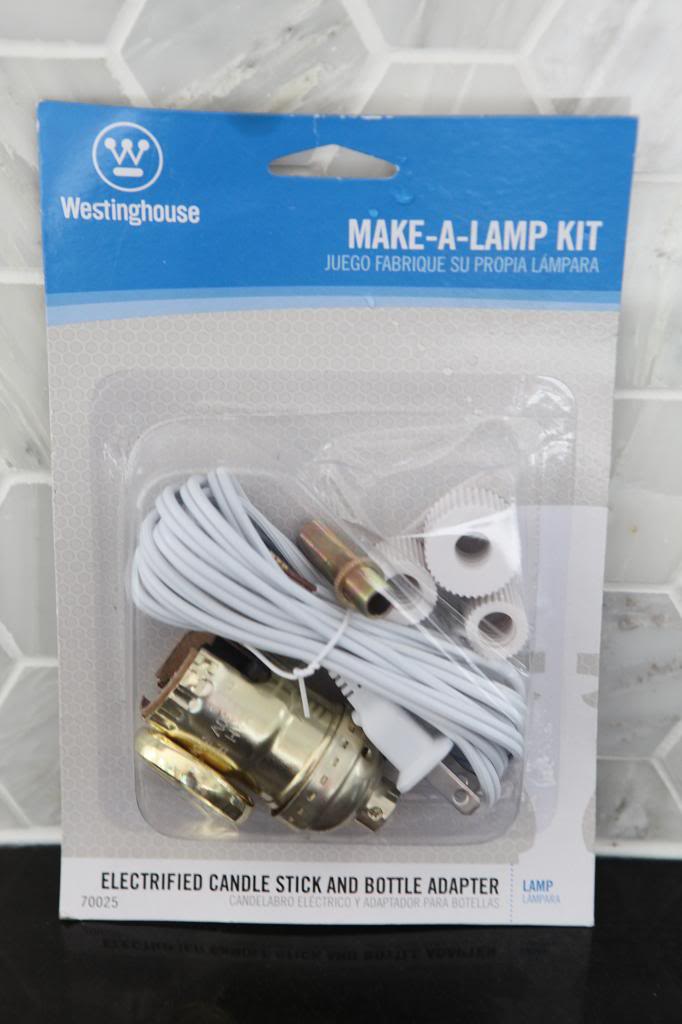
Part of the prep work involved cutting a groove in the bottom of the spool. This was a rubber type material so I have no idea if this is the right way – but it did work. Jeremy used a table saw set to the right depth. If you are fancy you would have a router…we aren’t and we don’t.
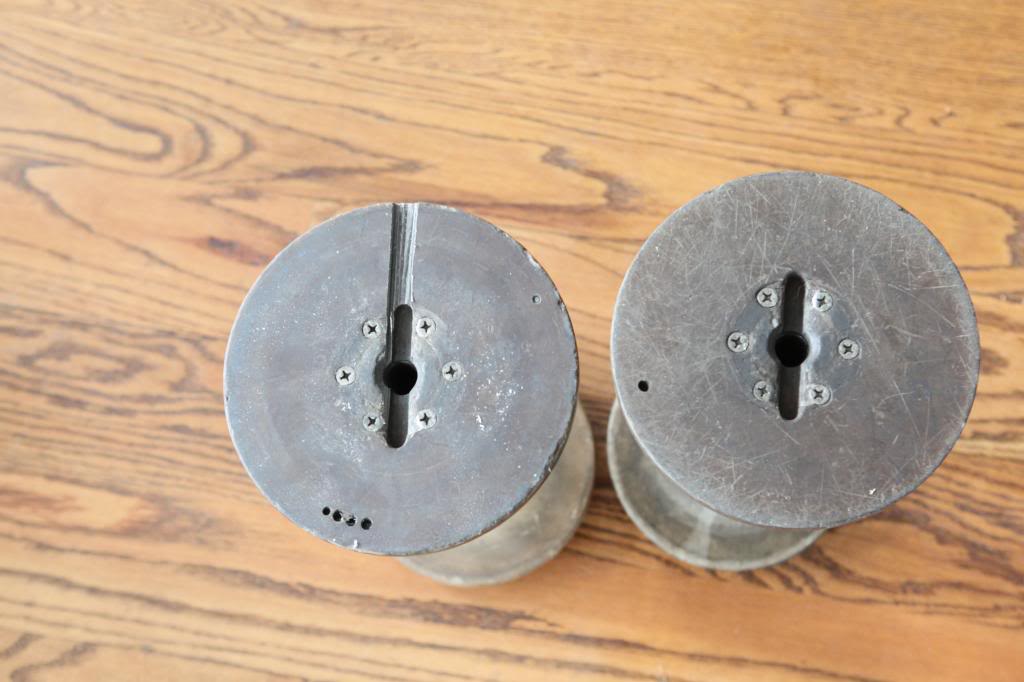
Theoretically the wire should always have somewhere to go…so if you are doing this with a glass jar, or a wood scrap – just make sure the wire has a place where it can exit.
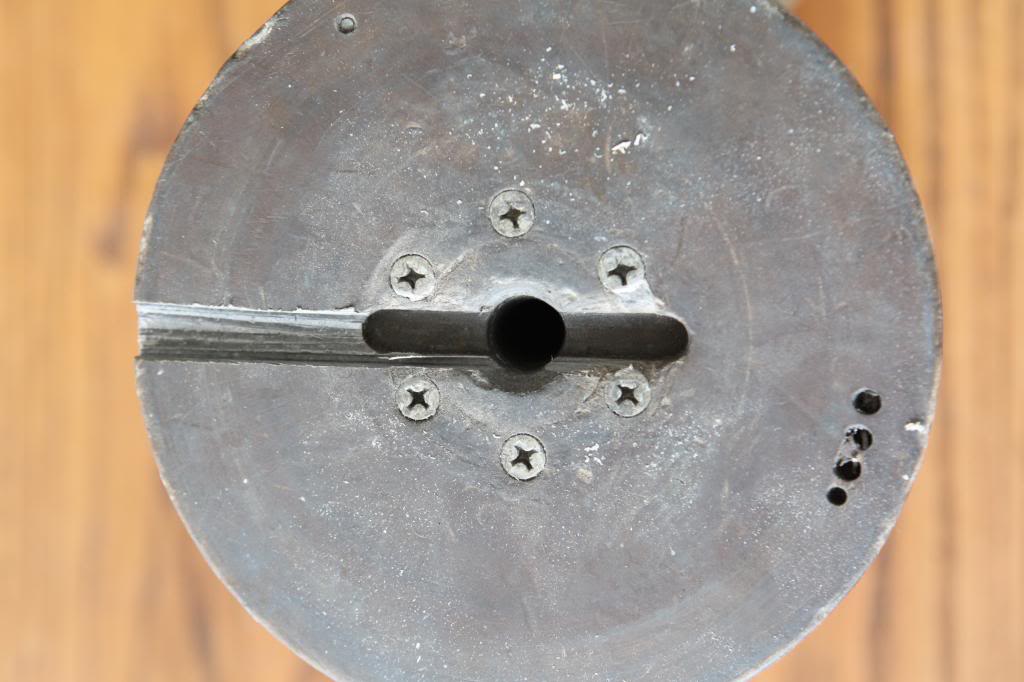
Now comes the fun part…the wiring. Watch out, I am about to make a five minute process take about twice that to read.
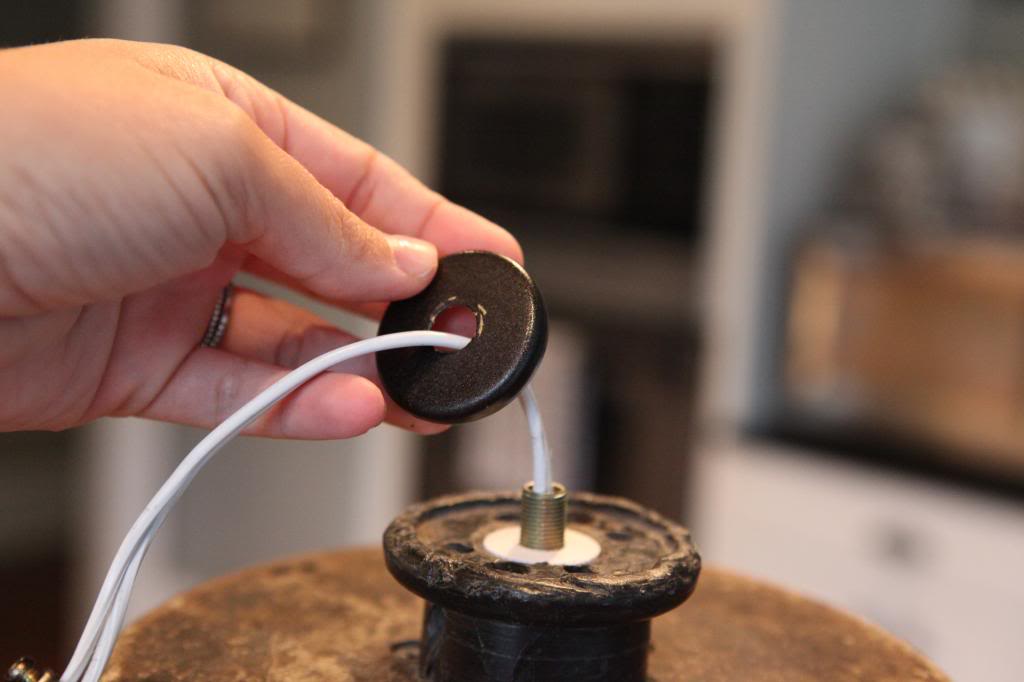
First push your wire into the hole (that’s what she said.)
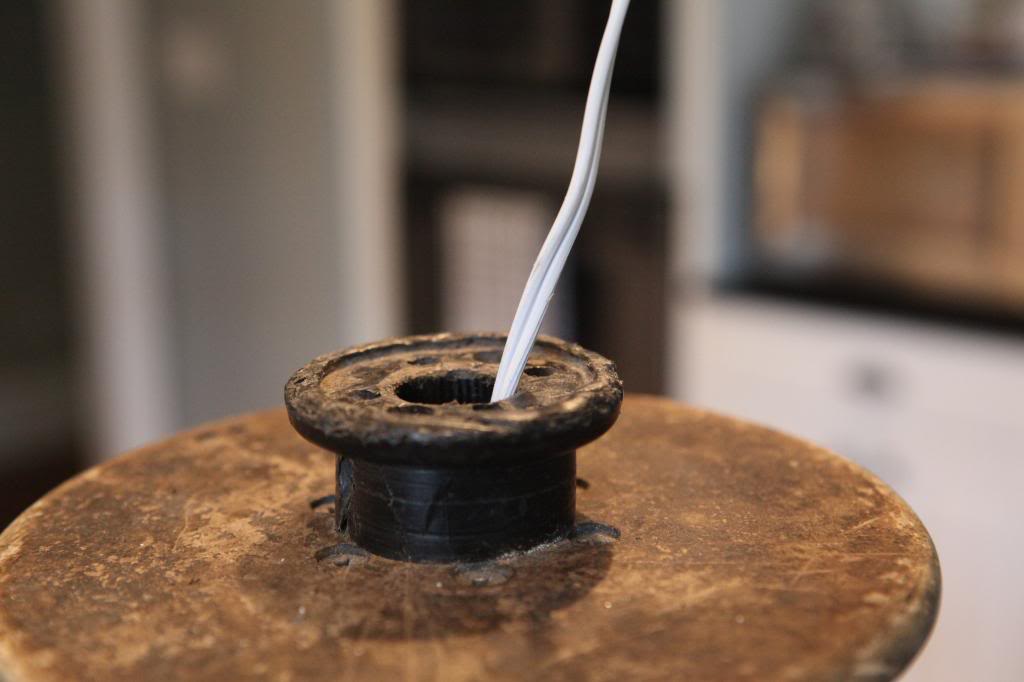
Next twist the metal threaded piece into the rubber plug and thread the lock nut (that really tiny circle thing on the bottom). Then you push that into the hole. By some miracle the rubber plug fit perfectly. I need to write the makers of the Make-A-Lamp a thank you note for their thoughtfulness.
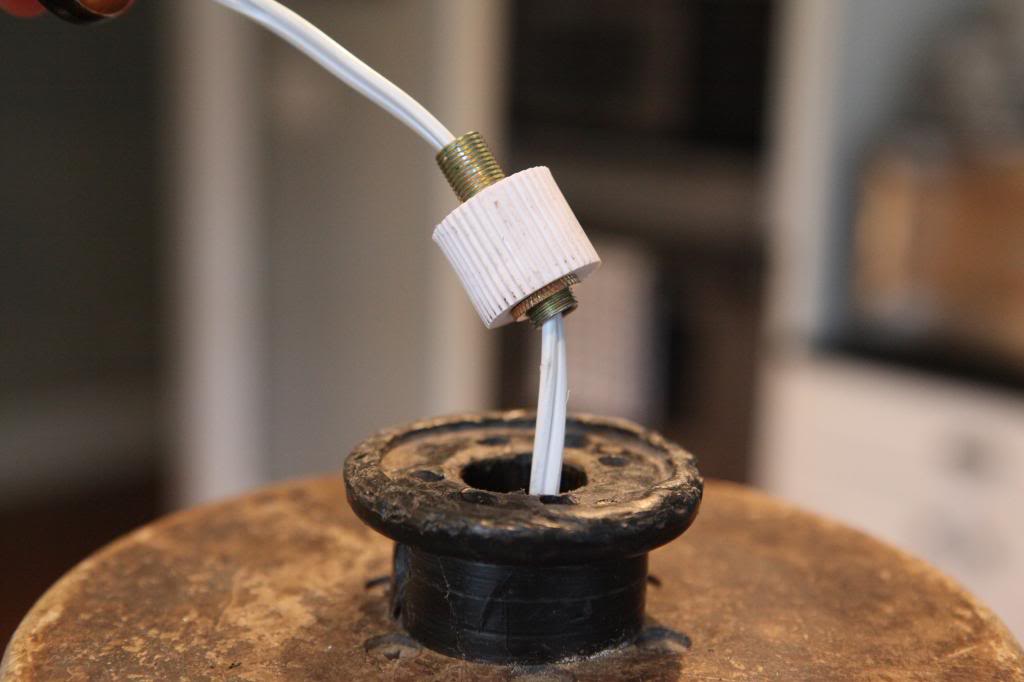
Push it till it’s flush. The threaded part should stick out. You’ll need it later.
Also…that threaded part is called a nipple….just savor that one for a moment.
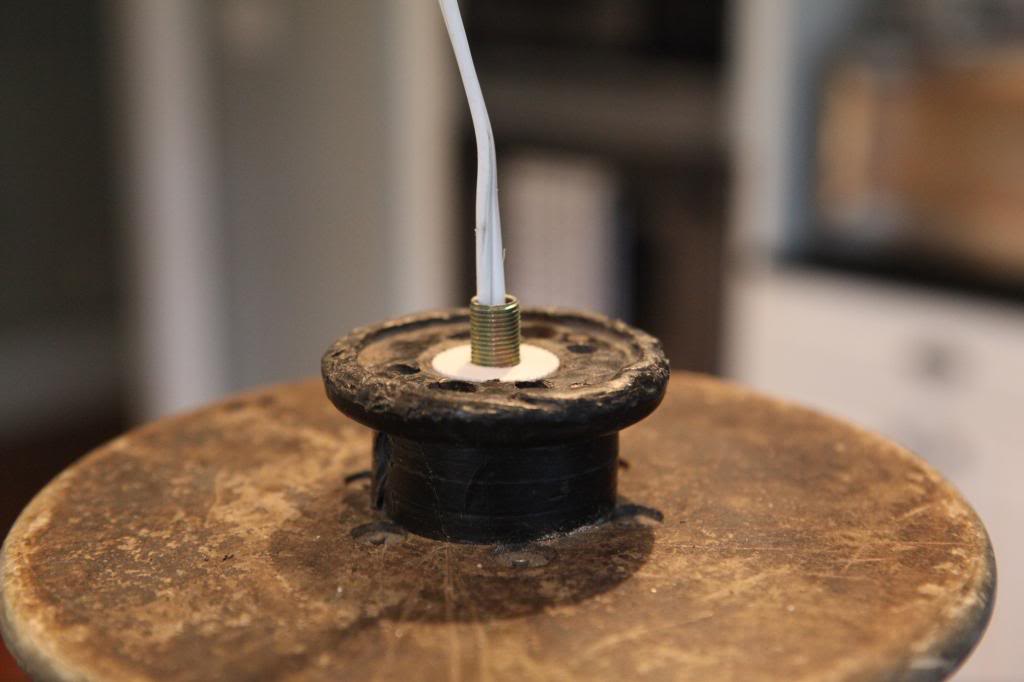
Then slip on this little cap.
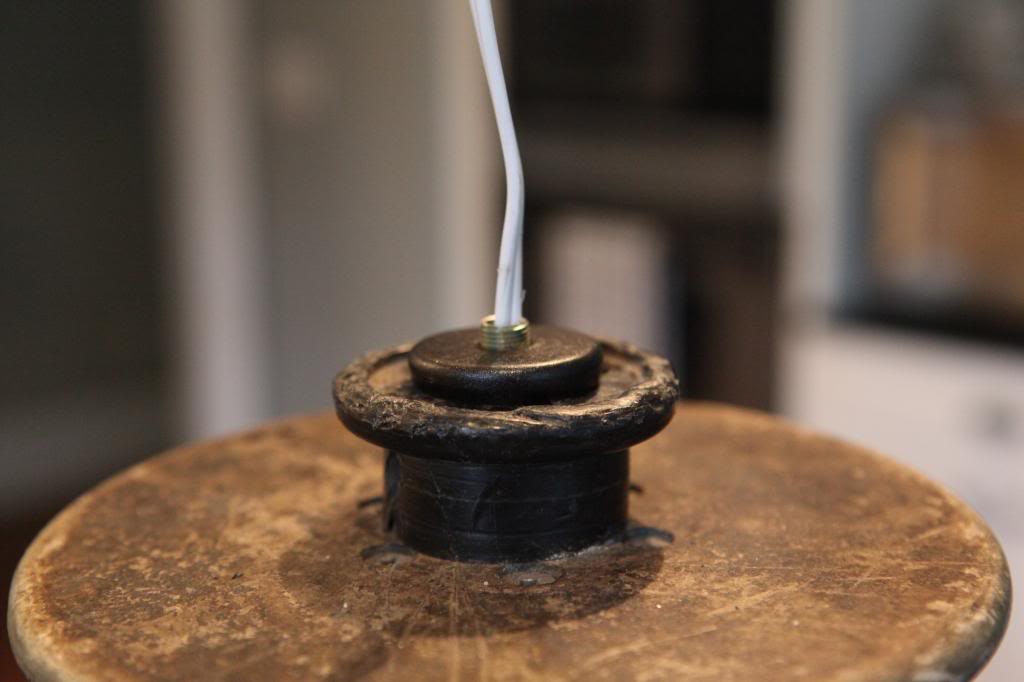
See how finished it already looks? You are almost done.
Next thread the wire through the socket cap. You will tie an underwriters knot (who knows what that is! Google it!) and then pull the wire from below the entire spool.
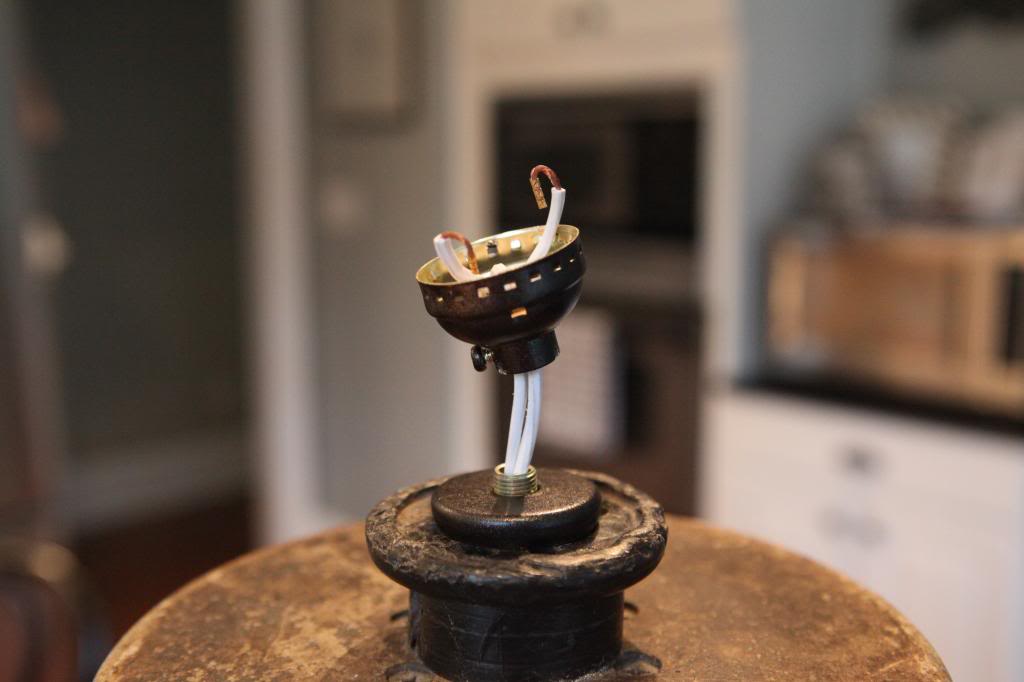
You want to pull it till the socket cap is close to the nipple and then twist that bad boy on.
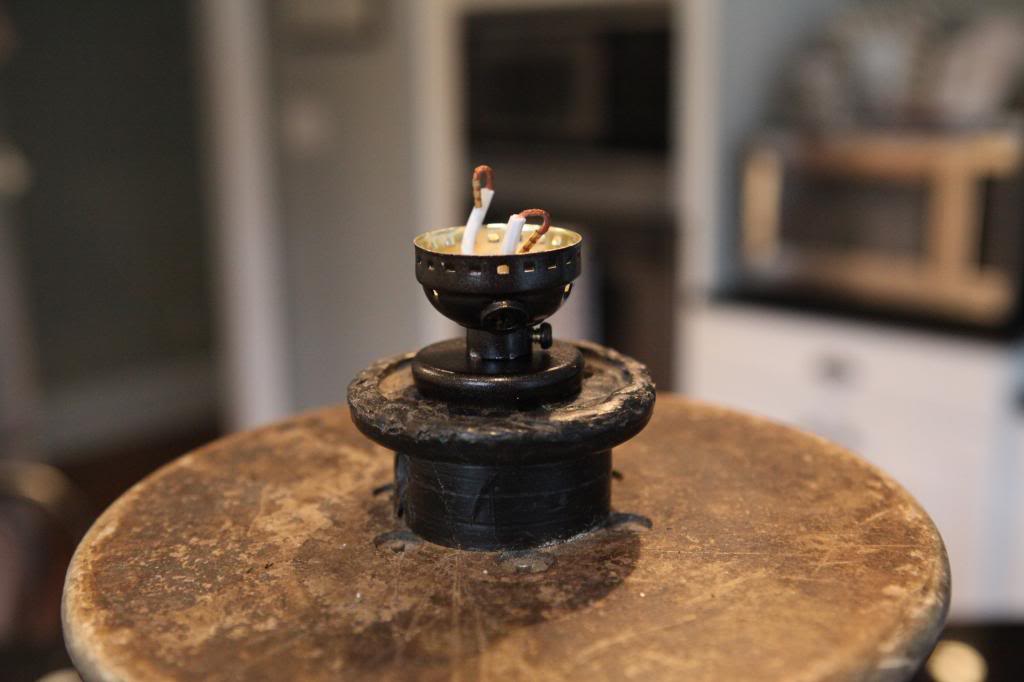
Here’s what the knot looks like for all you wanna be girl scouts.
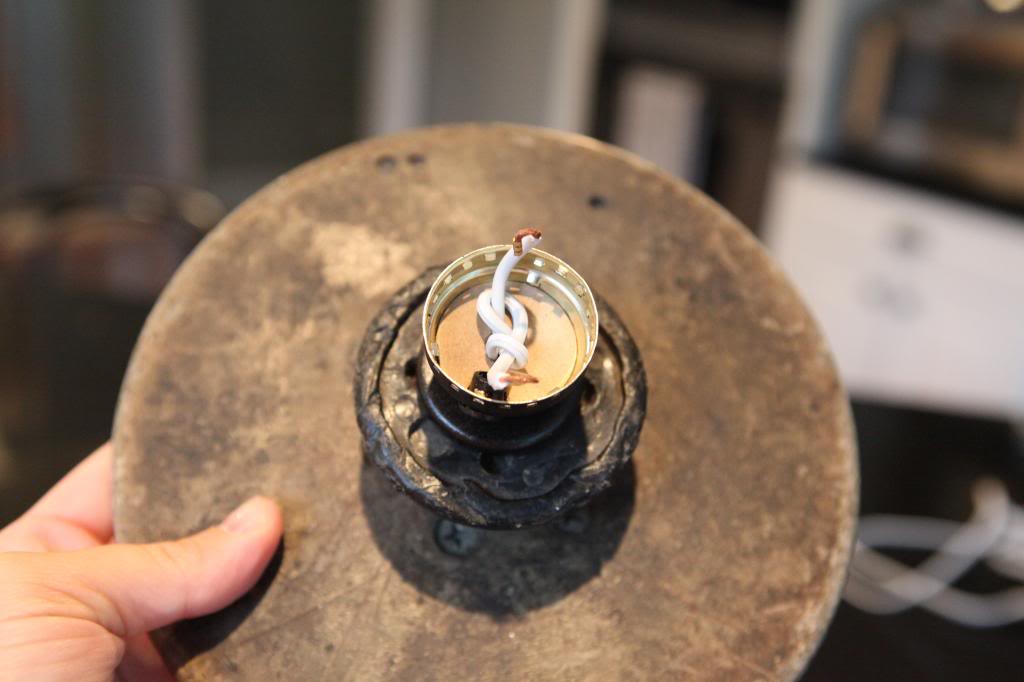
Hand-twerk it.
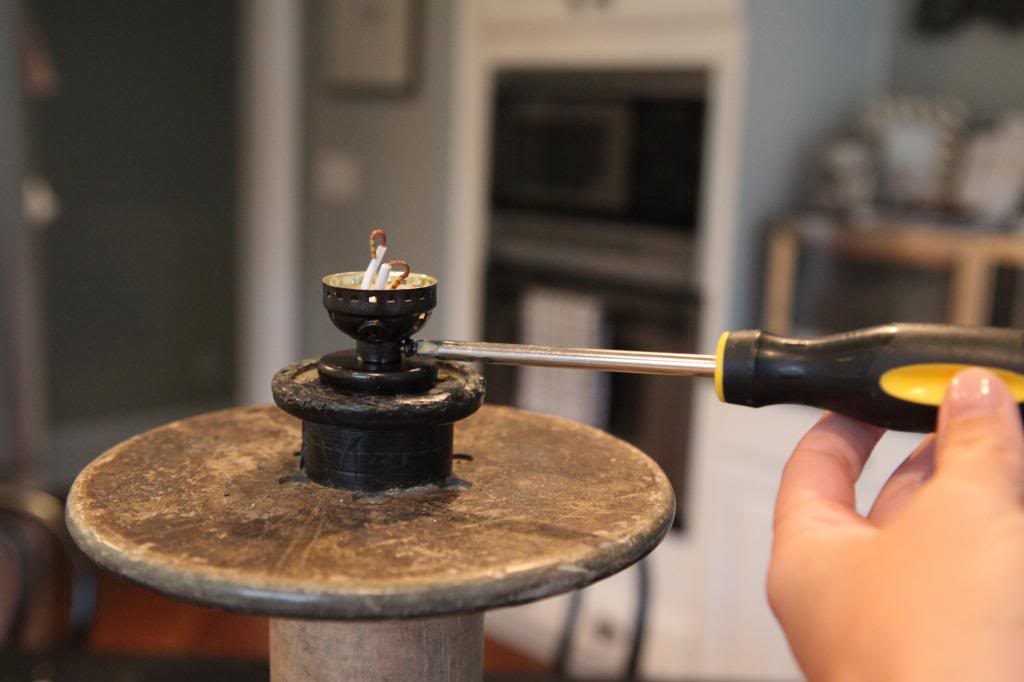
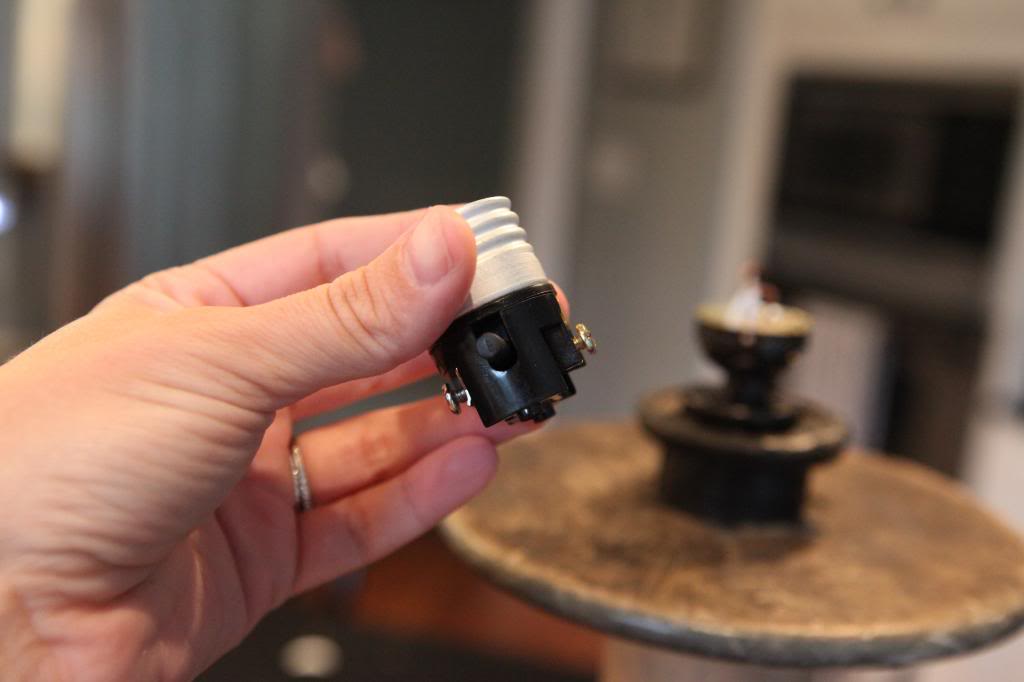
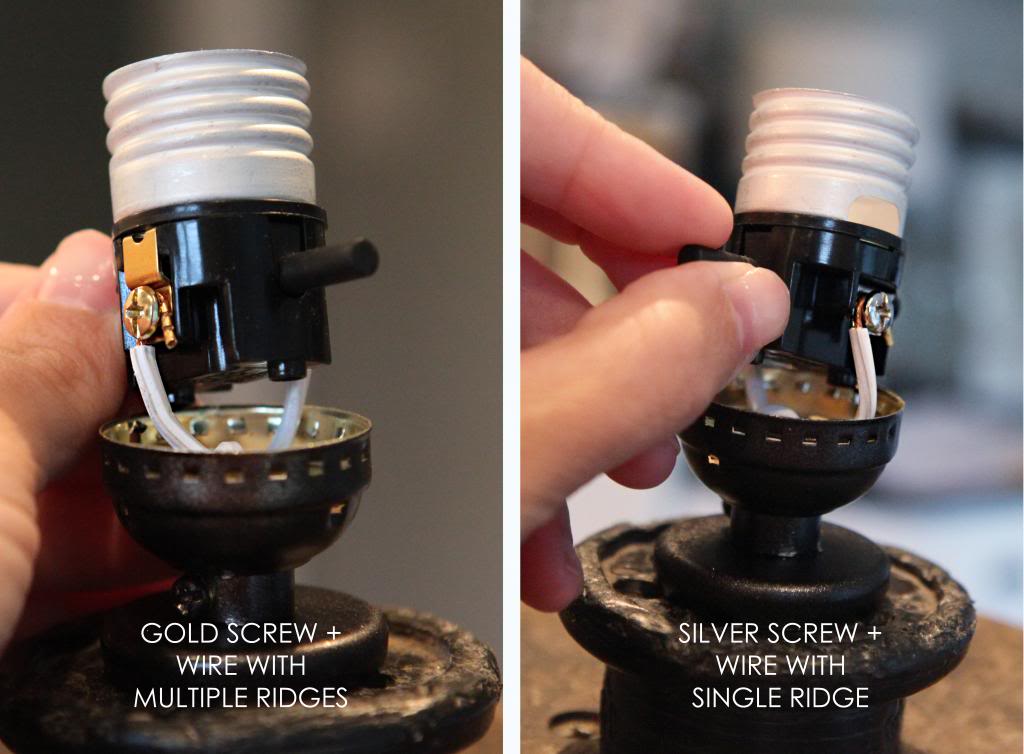
Next comes the socket bits. Note how there are two screws….one gold and one silver.
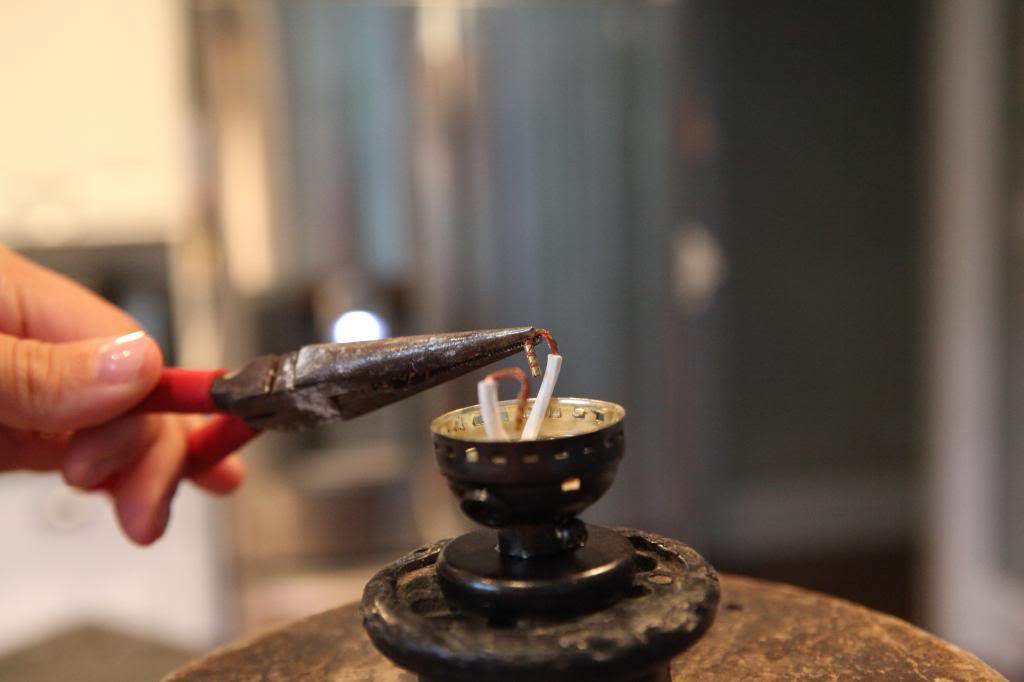
Bend the ends of the wire with needle nose pliers. This was already done on our wires but we staged this photo because we love you.
Next loop your bent wire parts over the appropriate screws. The wire should go clockwise around the screw. Hand twerk them screws.
oh and yes, it is difficult to decipher which wire goes to which screw…the best way is to look at the ridges on the white sheath….multiple ridges goes to the gold, single ridge goes to the silver.
Pop the cap on with the cut-outs lining up with the light switch. CELEBRATE!
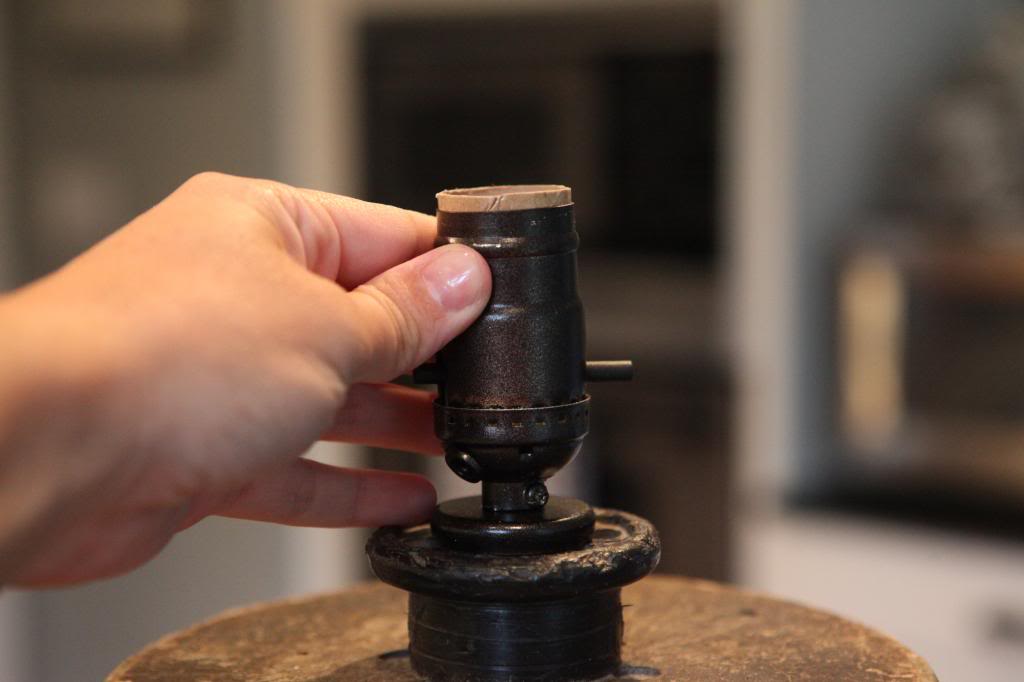
You are officially done!
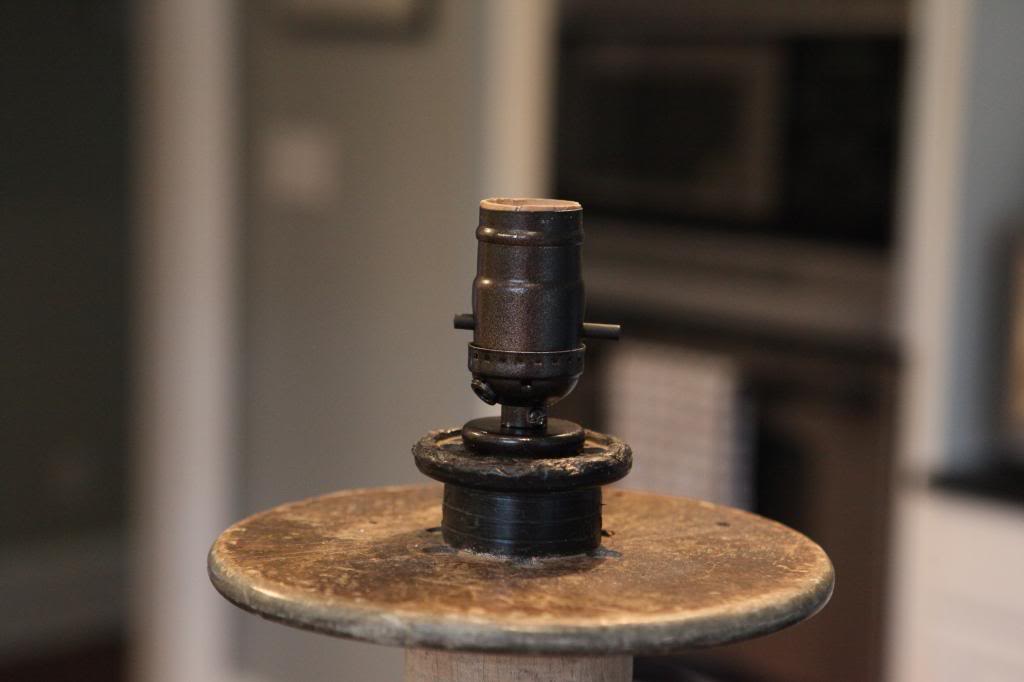
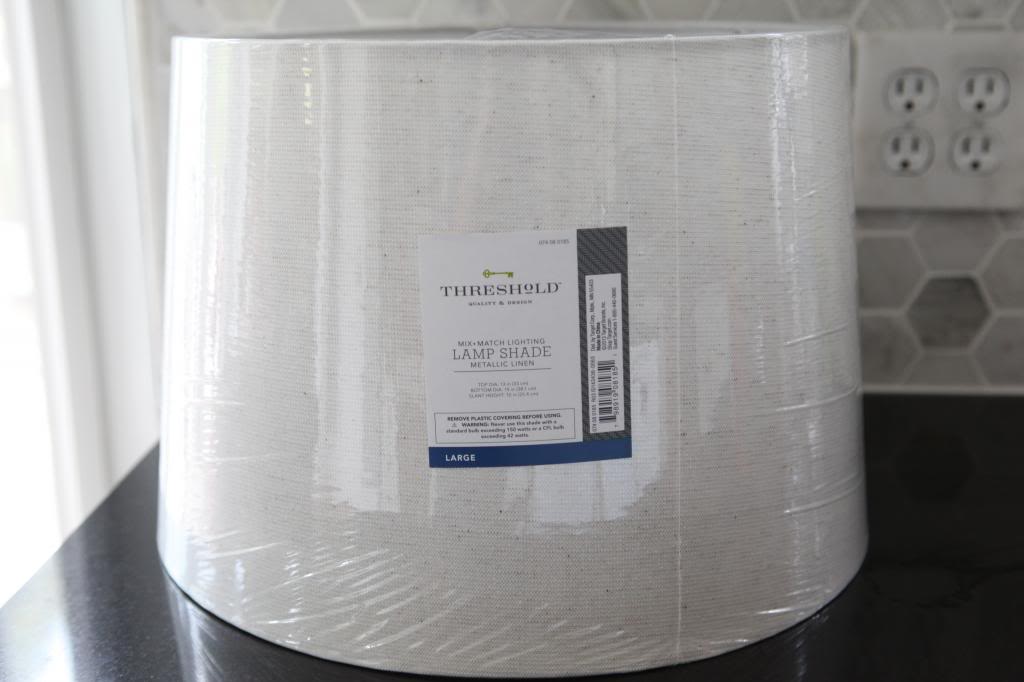
Well…almost. You still have to put your lampshade and light bulb in. We chose a lamp shade that had one of those built in harps…but if you need one, I think every home improvement store sells separate harps.
If you want the legit instructions without all the random thirteen-year-old jokes….you can click here.
And now to see Jeremy in super speed assembly mode….
Now if only we could wire a four dollar find that would keep Weston from destroying the house every hour of every day. One day I am sure that will be available for cheap 🙂 Granted, he will probably be 42 years old by then.
FYI if you buy the lamp kit parts separately it’s about half the cost… obviously not as convenient but if you’re trying to keep the cost down…
Amazing! I would buy these in a heartbeat!
“Slip on this little cap” totally deserved a “That’s what she said” too you know…
How I adore your inappropriateness!!!!!!! XO
MB
http://www.hystericallyeverafter.com
Dat bedding tho.
I love this… but truth be told, I voted for your bench. #bestfollowerever 🙂 I think I might support both of you and build the bench for by the front door and the lamps for the side tables in the living room. #istilllikejeremysprojecttoo! 🙂
http://houseofbennetts.com/2014/04/14/livingroomofficegym/
I love these lamps! Got to love having a handy hubby! Good job Jeremy!
Looks great! Love the high speed vids 🙂
I only watched the video so I could see Jeremy 🙂 One lucky girl Katie!
I’m always so impressed with what you guys do. My favorite posts are the personal ones like the day in the life posts. Would you mind doing one soon? I think a lot if us need tips or would just love a look into life with 3 kids! We are having our second in April and I’m already nervous!!
Cute pinstripe duvet–where is it from?
Wow that’s like way easier than I thought. You could make a lamp out of anything!
IKEA 🙂
xo kb
#bestfolloweraward
xo kb
Love both the bench & the lamp! I have two totally unrelated questions. One – are you going to put the archives back on the website? And two – did you slip cover your white couch in the living room or is that Pottery Barn? If you did make the slip cover do you have a tutorial? Thanks!
The first lamp I ever wired took me 30 minutes (kept having to back up and re-do something I’d skipped the first time thru). The second lamp took me five minutes. Once you learn the sequence of steps, it’s dead easy! Although I never got to hyper-speed like Jeremy… Most of the lamps in our house are made by me or my dad. This was a fun project post!
With that Rogue shirt on Jeremy is the Rich Froning of lamp wiring there in fast forward!
Oh dear lord…don’t say that out loud…he would be smiling ear to ear 🙂
xo – kb
You could also argue… they are not kmart specials, and everyone else doesn’t have them. Great price, great project. Love the look too. I wish I had spools to make some!
I like your new clean and happy look of the site. Still, the code is still wrestling with you. As I scroll down the first page to read the rest of your posts (13th September), some posts are repeated, in this order:
– cutthecord
– cutthecord
– Wired
– cutthecord
– cutthecord
– Wired
See where’s the trick and if you can somehow tame the code back to behave nicely and non-repetitively 🙂
Seriously this code might kill me.
xo – kb
I’m trying to figure out the archive situation and no I didn’t make the slipcover, it came with the couch.
xo – kb