One of the best things about the internet is that people are constantly taking old ideas, putting a fresh twist on it and sharing it with all of us! I love it! And today I am here to share a lighting idea that a fellow blogger shared a fresh spin on and how I put it in my own home. Let’s talk about wire-free sconce lighting! So how many times have you wanted to put a little light somewhere in your home and hesitated because it would require paying an electrician, doing some drywall repair or just cost way too much for such a small improvement? Both hands are up. I know. Me too. Well…that is behind us because today I’m sharing wire free sconce lighting.
For years now people have been putting battery operated push-lights under cabinets, in travel trailers (where wiring was impossible), even putting them in light fixtures….but when the super-stylish Brooke from Nesting With Grace shared how she found push-lights that operate with a remote control…it was a game changer! It means that you no longer have to actually PUSH the push lights (also called puck lights) to turn them on. That means you can put it in places that are awkward, out of reach and even places where you couldn’t feasibly put any accent light. Thanks Brooke!
So let’s get right to it!
FIND YOUR SPOT
So with this application, you are adding accent lighting. This wouldn’t work as a lighting plan for an entire room. This lighting is great for adding warmth, interest and balance to a room. If you are mounting the light very close to a reading area, then it would also work as task lighting. But in general…this is accent lighting.
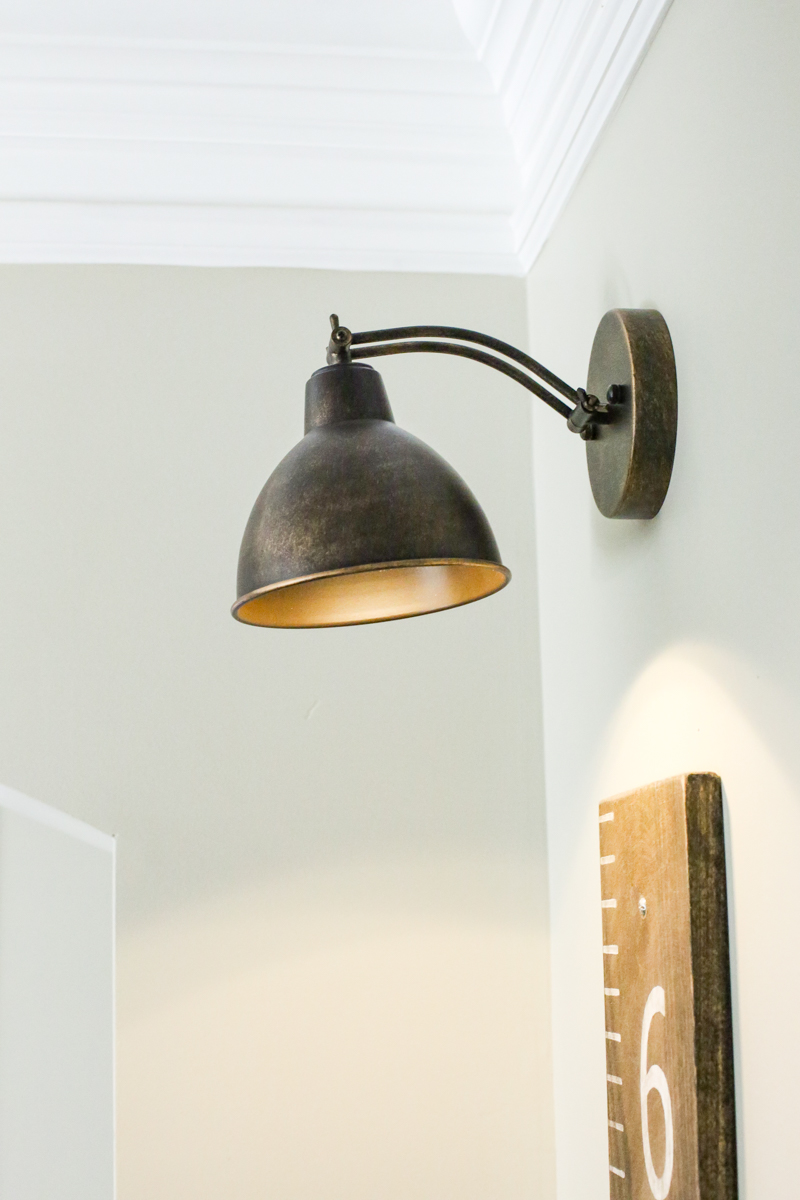
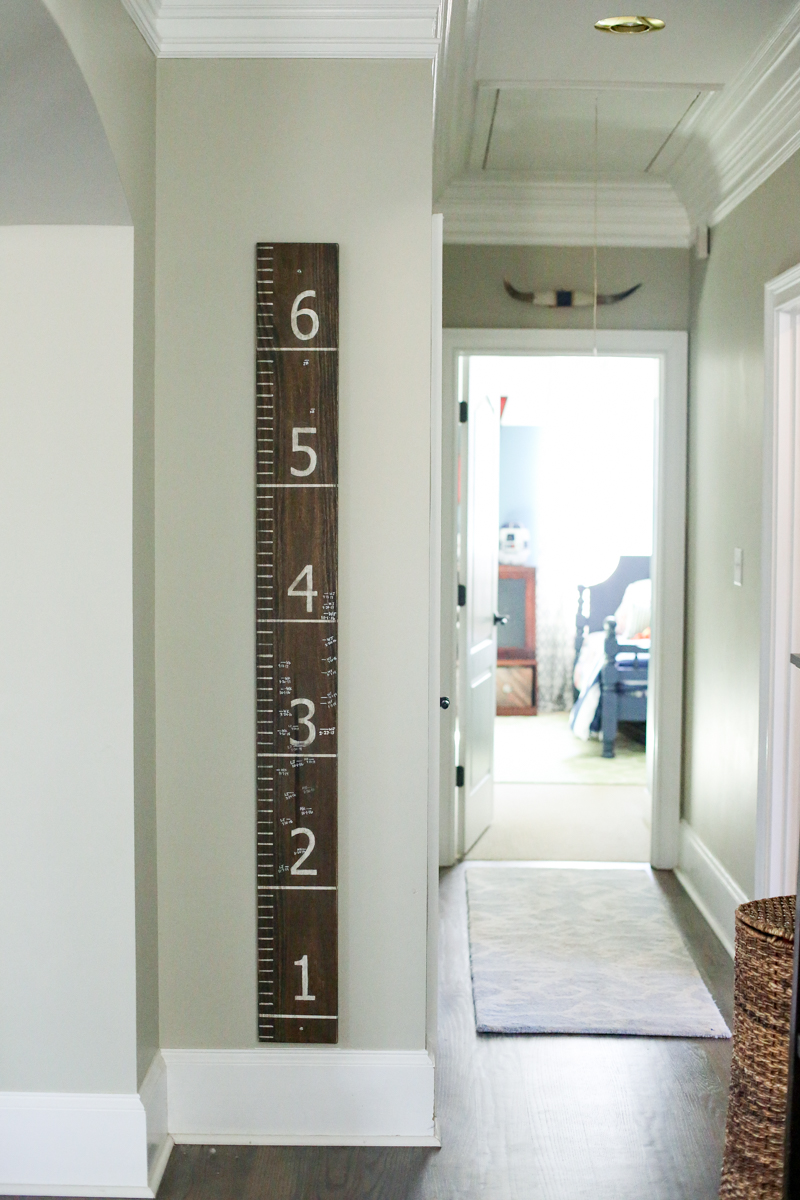
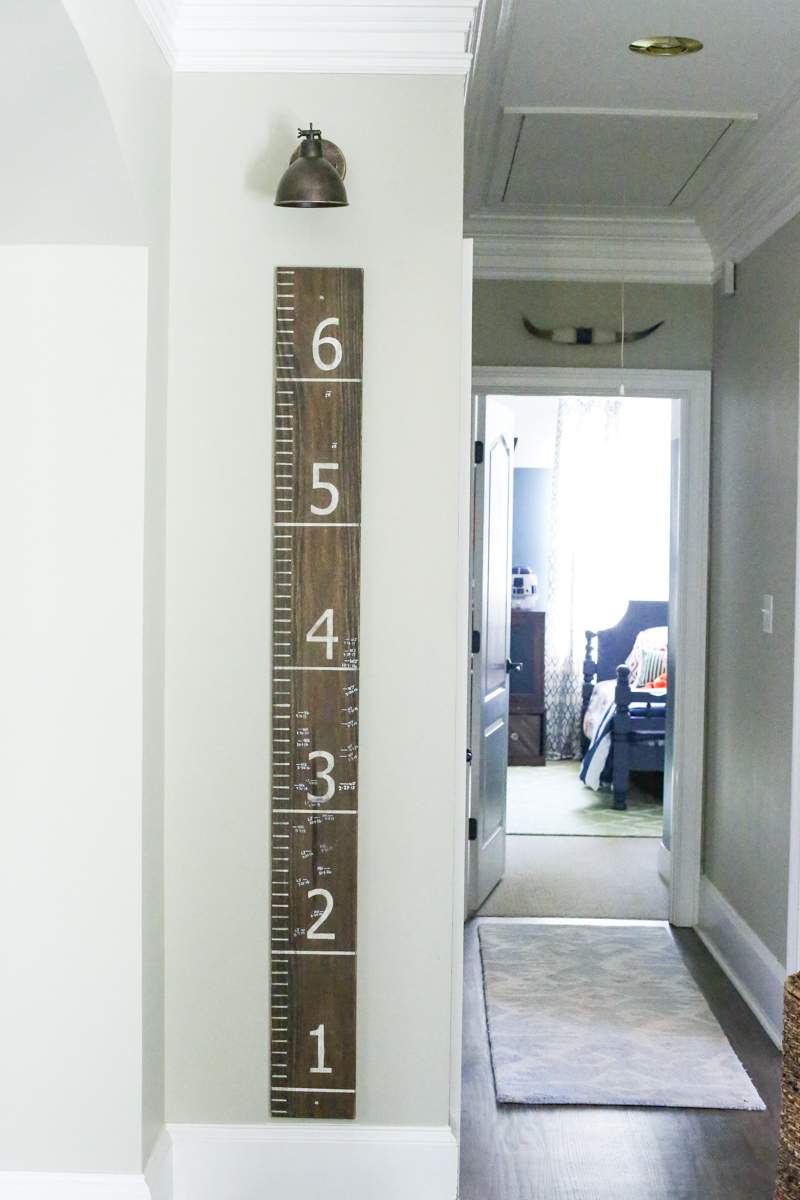
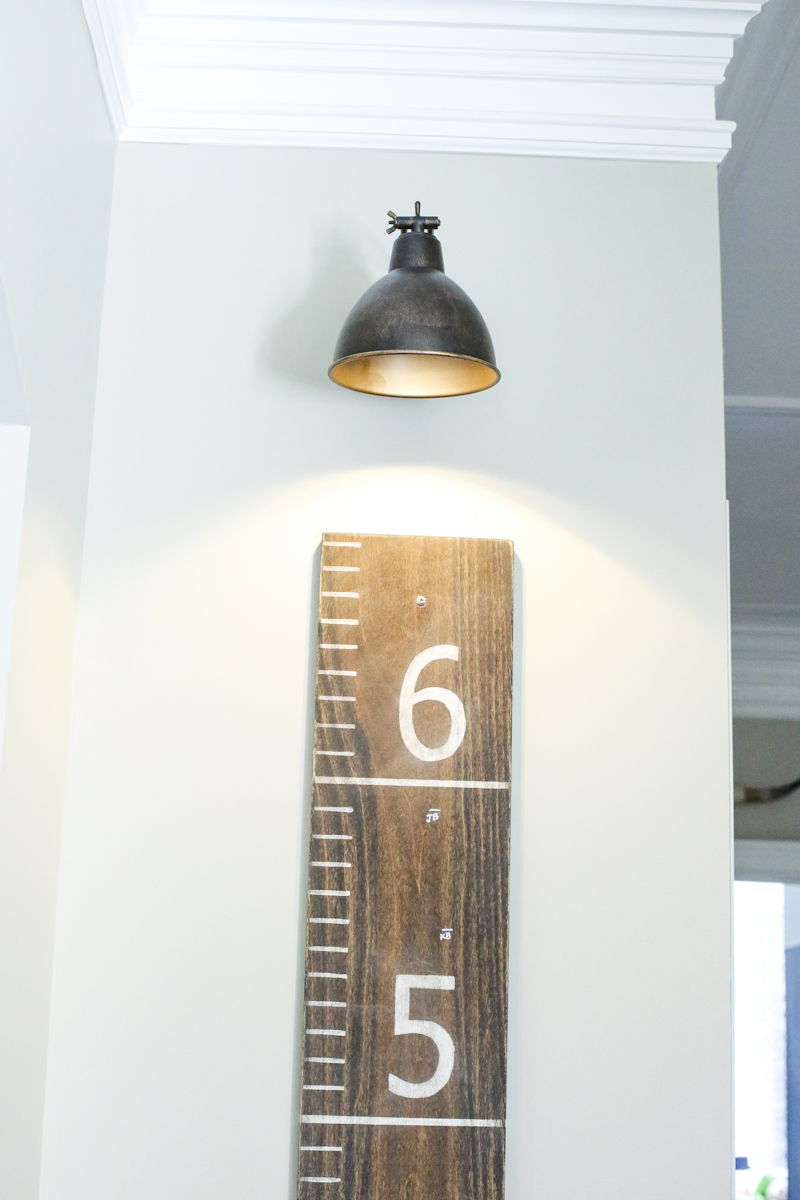
The spot that we chose was over our wood growth chart. It has always looked a little empty above it because we mounted it so that the numbers actually line up with the real height. The gap above it was just begging for a sconce.
GET YOUR MATERIALS
The light fixture itself is important to choose so that it can disguise the push light. I would recommend a sconce that has a shade that is either metal or fabric. Since the push light doesn’t look like a lightbulb (still waiting for someone to make a remote controlled battery operated LED light that screws into a socket and looks like a lightbulb!), it can look weird if visible.
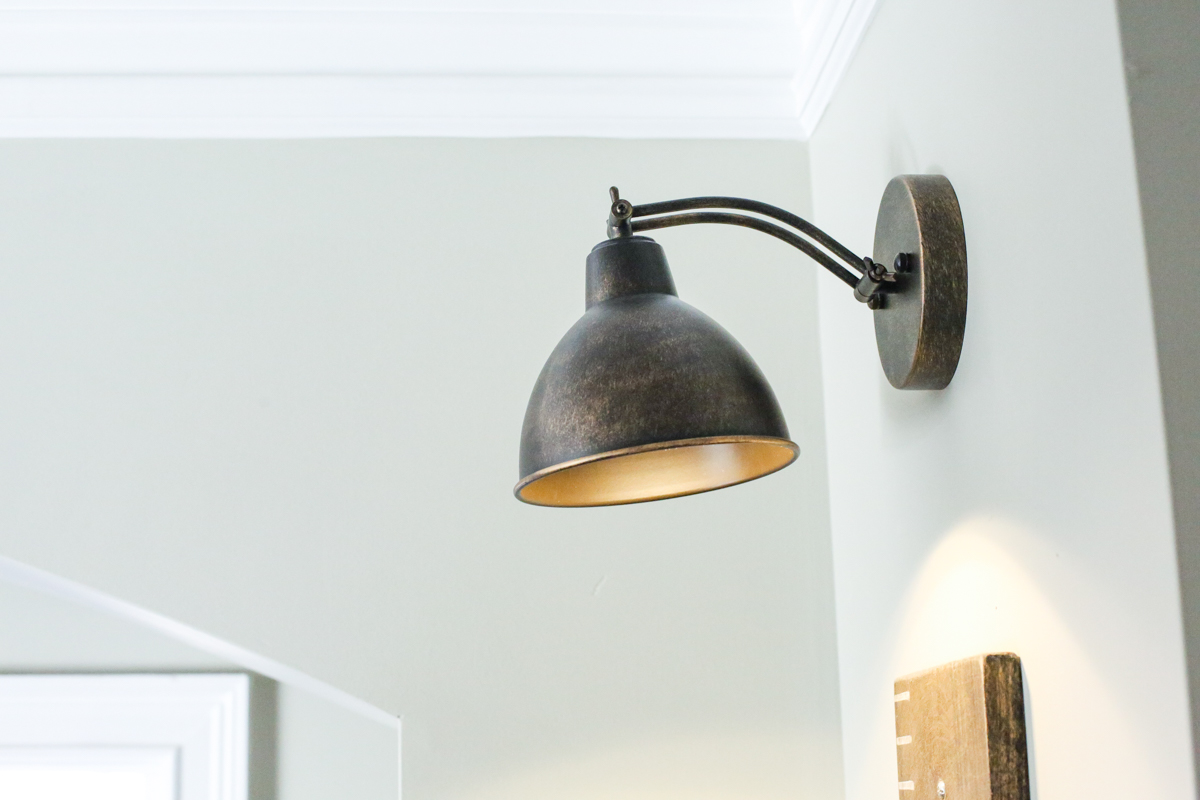
I chose this swing arm sconce in the color “old gold”. At $30 it is a fairly affordable option.
In the package, you get the light itself as well as a mounting plate. You will want to remove the plate by unscrewing the small mounting nuts on the front of the sconce cover plate. Don’t lose them! Those mounting nuts are important!
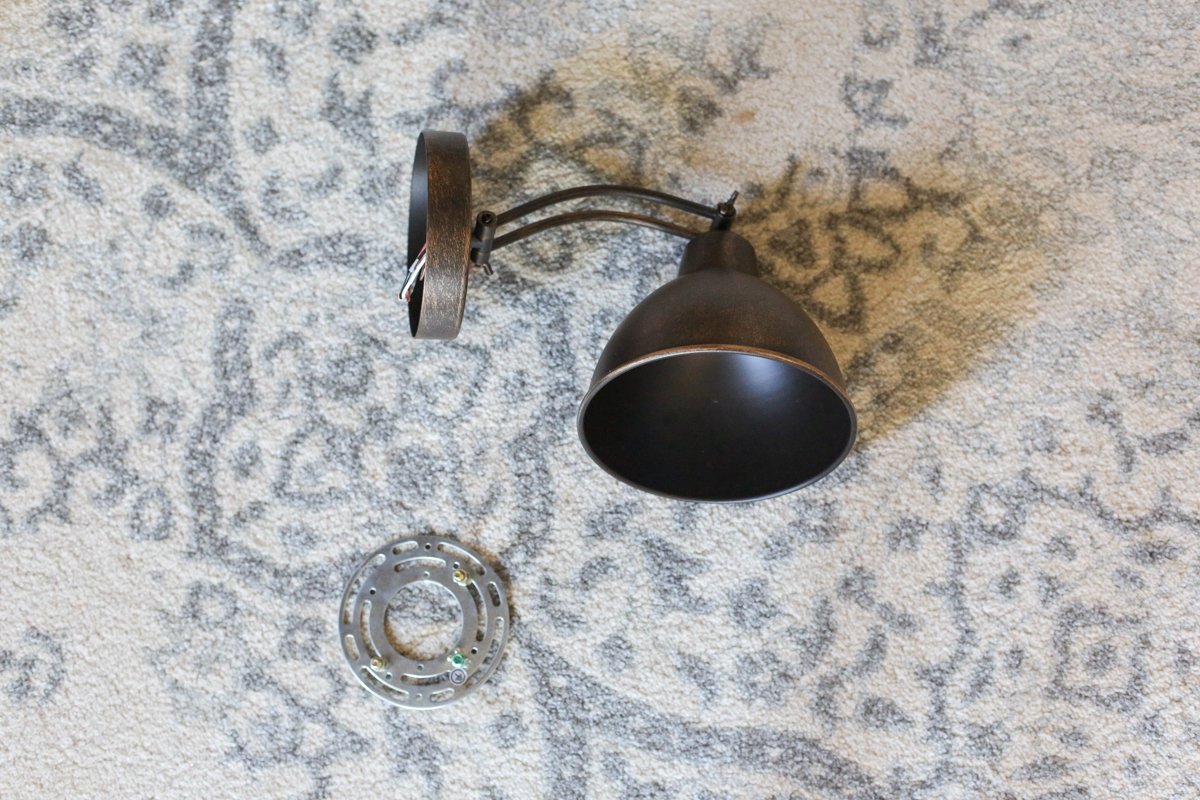
The inside of your light fixture will look like the photo below. It will be ready for a light bulb to be screwed in.

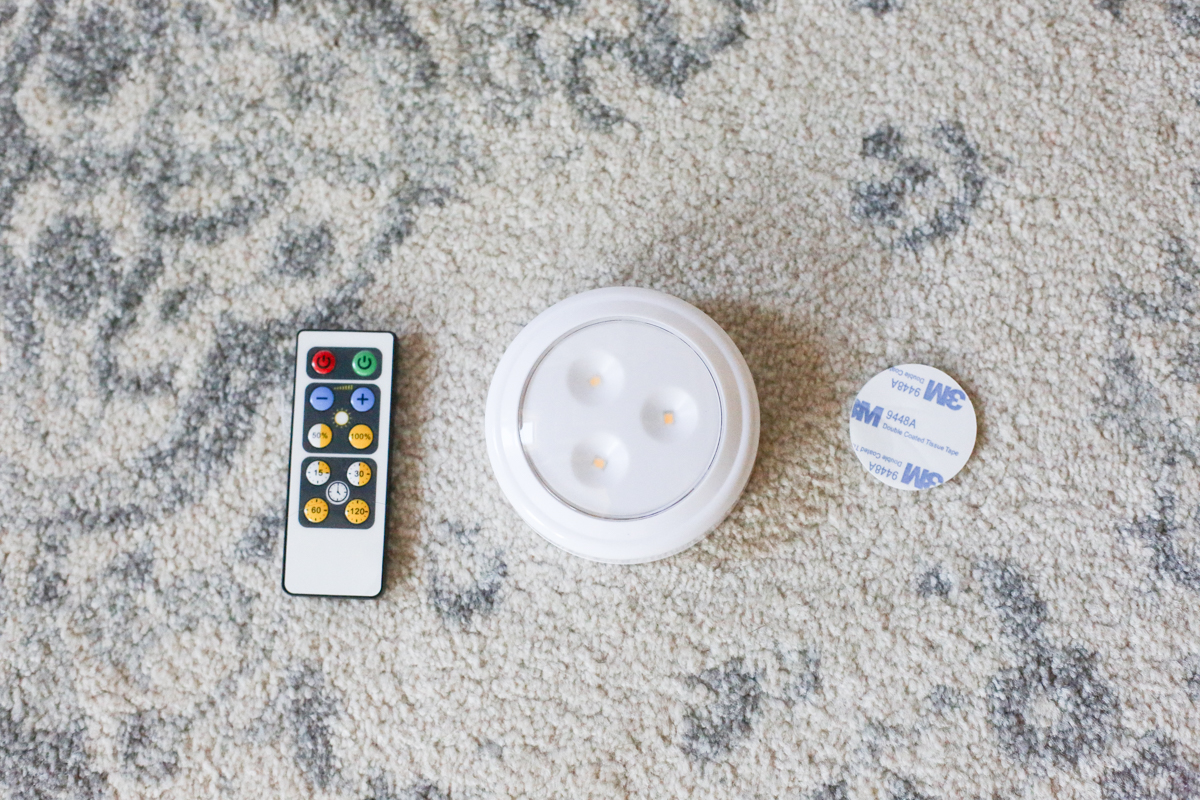
But remember…this is not for regular lightbulbs. When someone does finally make a battery-operated, remote controlled, LED light bulb that does screw in – you bet your bottom dollar I will be telling you about it! But for now we are going to be using these push lights. I bought a pack of six (to make them more cost effective – under $6 a pop) but you don’t need to buy six at a time. The individual ones cost about $10 and I know there are cheaper options but I don’t know if they come with all the pieces!
Our light comes with a remote and it’s already loaded up with batteries. You will need to remove the small plastic piece and test it first before putting it in place. I used the 3M mounting circle that came with this light. Here is the link.
MOUNT THE PUSH LIGHT
There are many ways to mount the push light but I am gonna only show you one way in this post. On the back of the push light, it has instructions on how to replace the batteries. The back screws off and you can remove the bulkier piece of the light that has the small little LEDs and the battery pack.
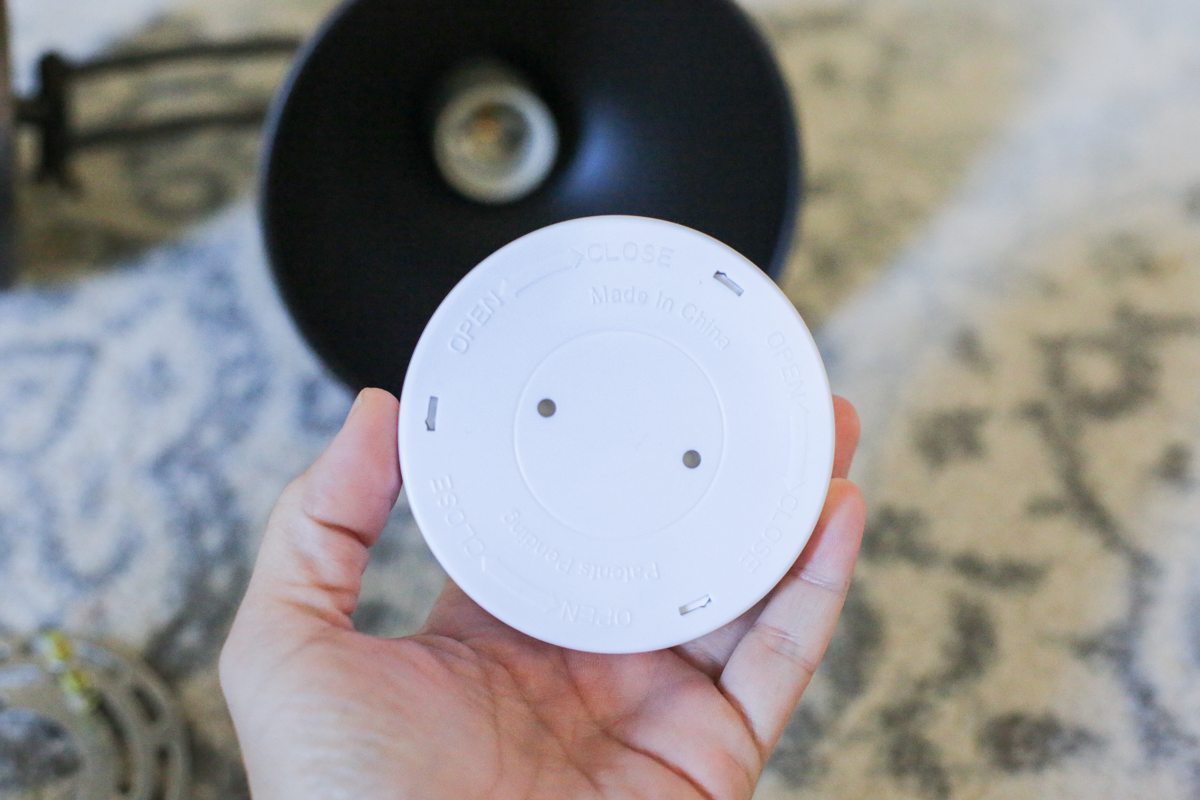
So remember that small 3M mounting circle? Just peel off the back and pop it directly onto the bottom of the socket.

Press firmly and hold for a minute.
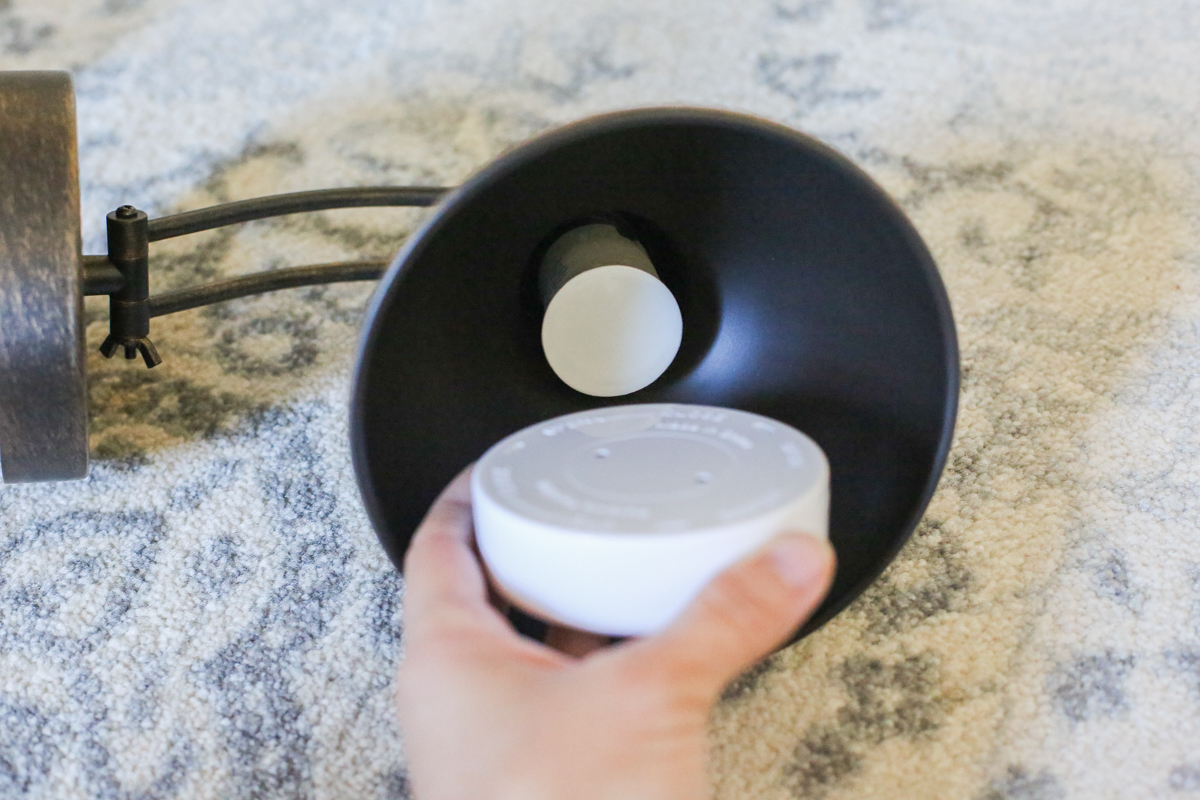
Then peel off the other side of the protective paper and firmly place the push light onto the mounting tape.

I held it in place for a minute or so (it doesn’t say to do that but I use a lot of 3M velcro strips and they always say hold for at least 60 seconds so I figured it wouldn’t hurt!). Boom. It sticks!
Remember that the backside of the light (where the wires would have connected with electrical wiring) is no longer needed. I simply pushed it aside and made sure it was out of the way.
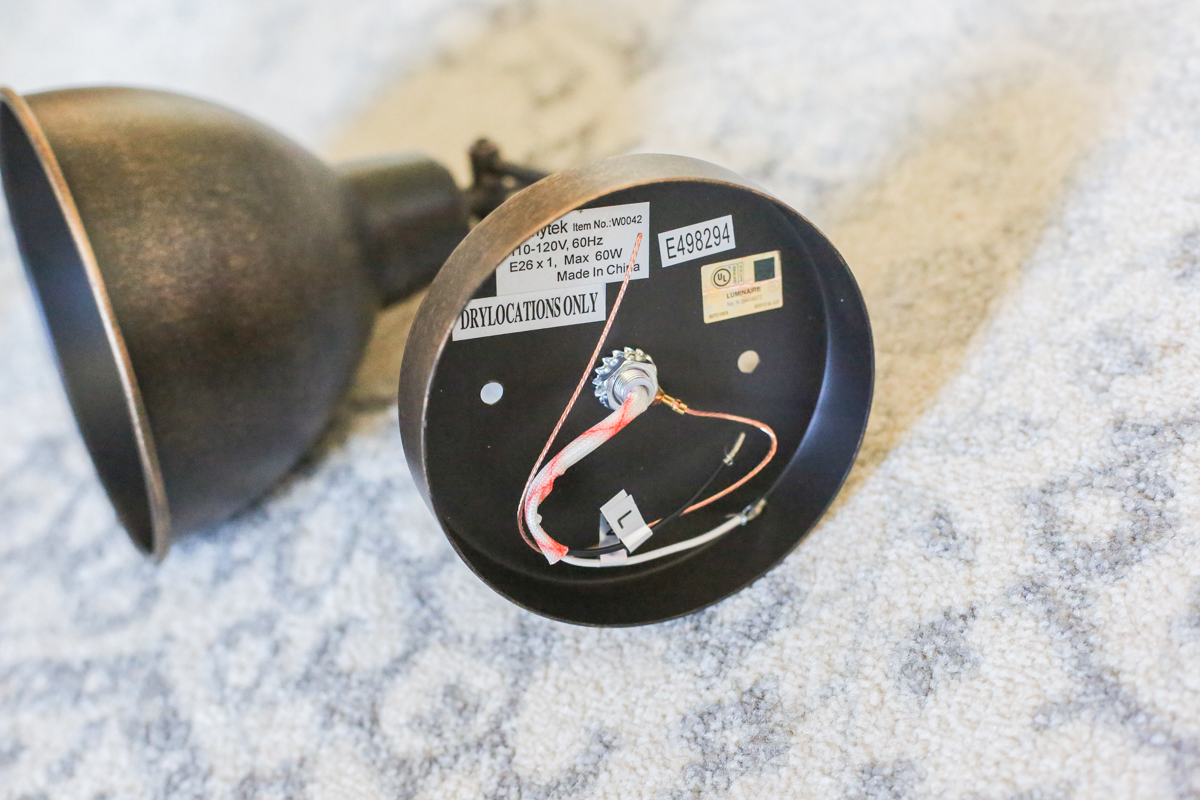
MOUNT YOUR PLATE
So now it’s the most hardcore part of this lighting adventure….the mounting of the plate. This is not rocket science. It’s not even basic 2nd grade science. It’s like kindergarten science…..find the middle. Put the plate there. Make sure the screws are sticking out. And screw in place.

I used these 1 3/4″ screws. I could have done something heavier but these are so light and the fixture will just be the only weight.

The flat head screws are just screwed in and GUYS WE ARE ALMOST DONE!
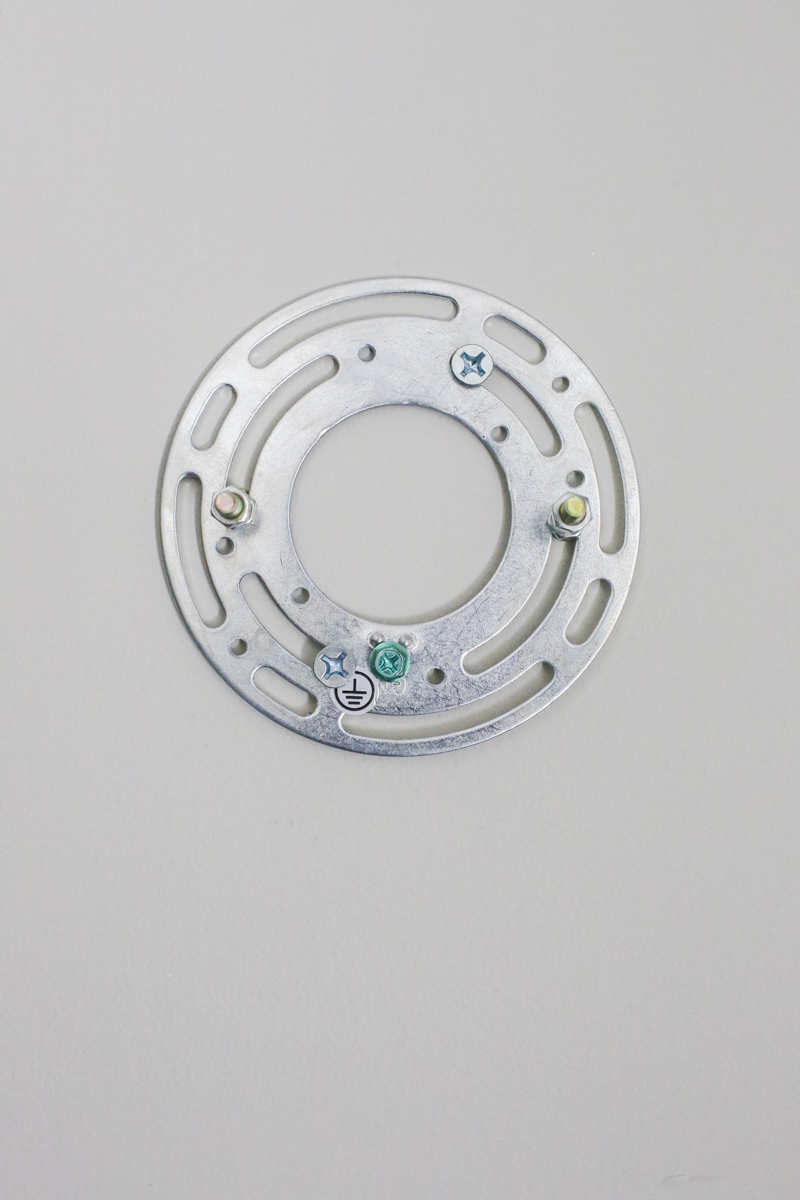
HANG THE LIGHT UP
The fixture is going to slide onto the mounting screws that come out of the back plate. I lined up the holes and twisted on the mounting nuts. (guys don’t get me started on that sentence. I tried. I am literally trying so hard. please appreciate this.)

ENJOY!
Once the mounting nuts are on, the light installation is complete!
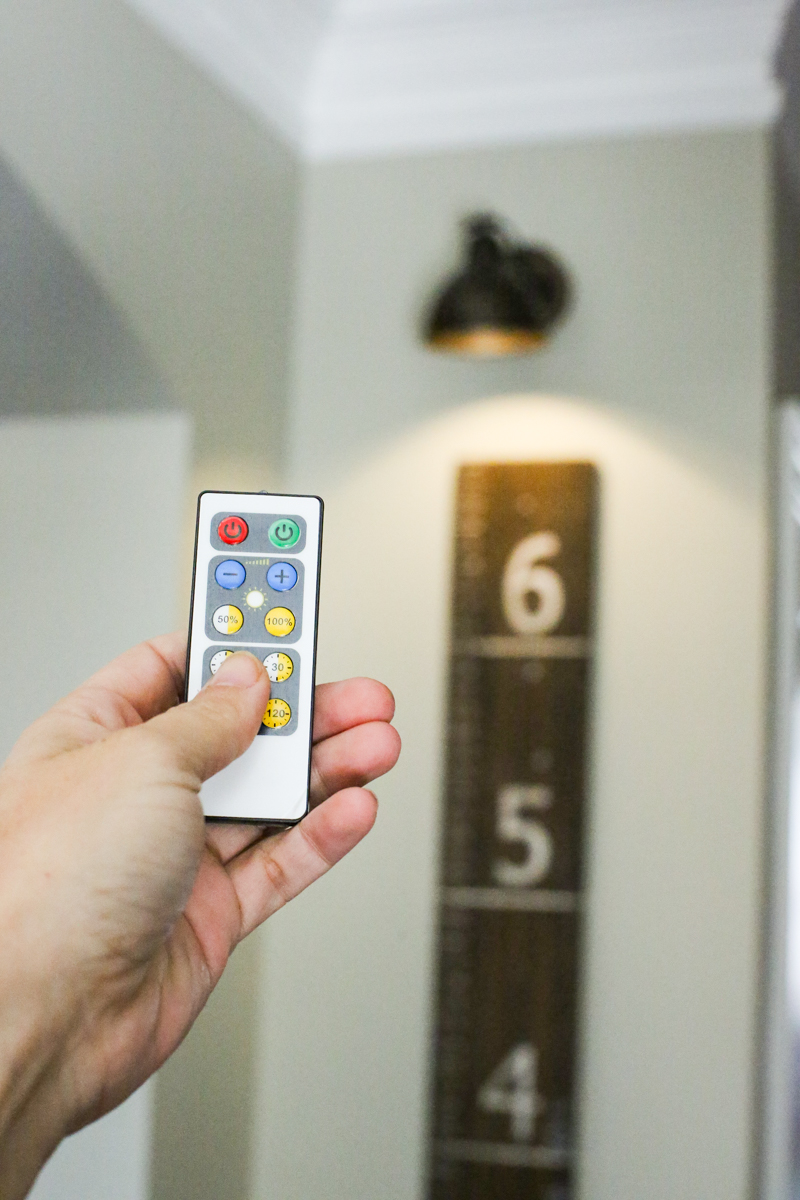
And are you ready for the part that makes this magical? It’s the remote! That’s why Brooke calls it the Magic Light trick….because it really is magic!
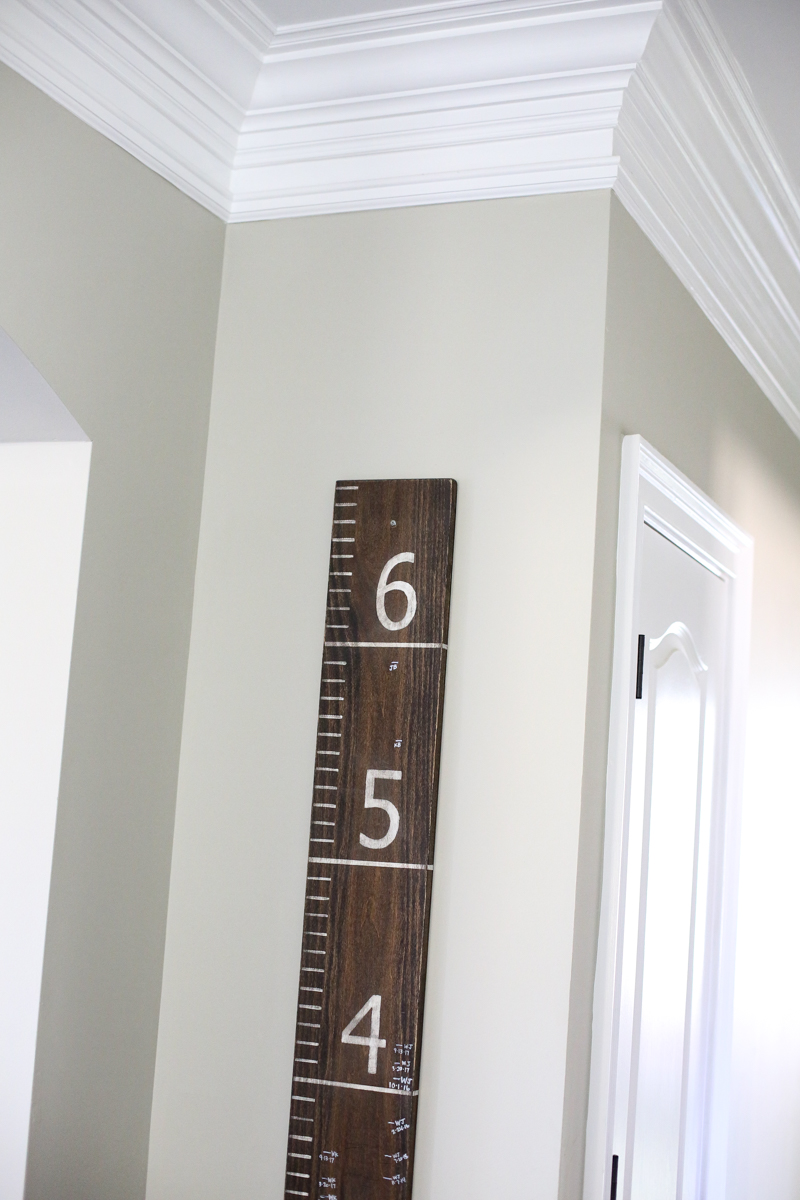
And just for reference….this was the before….
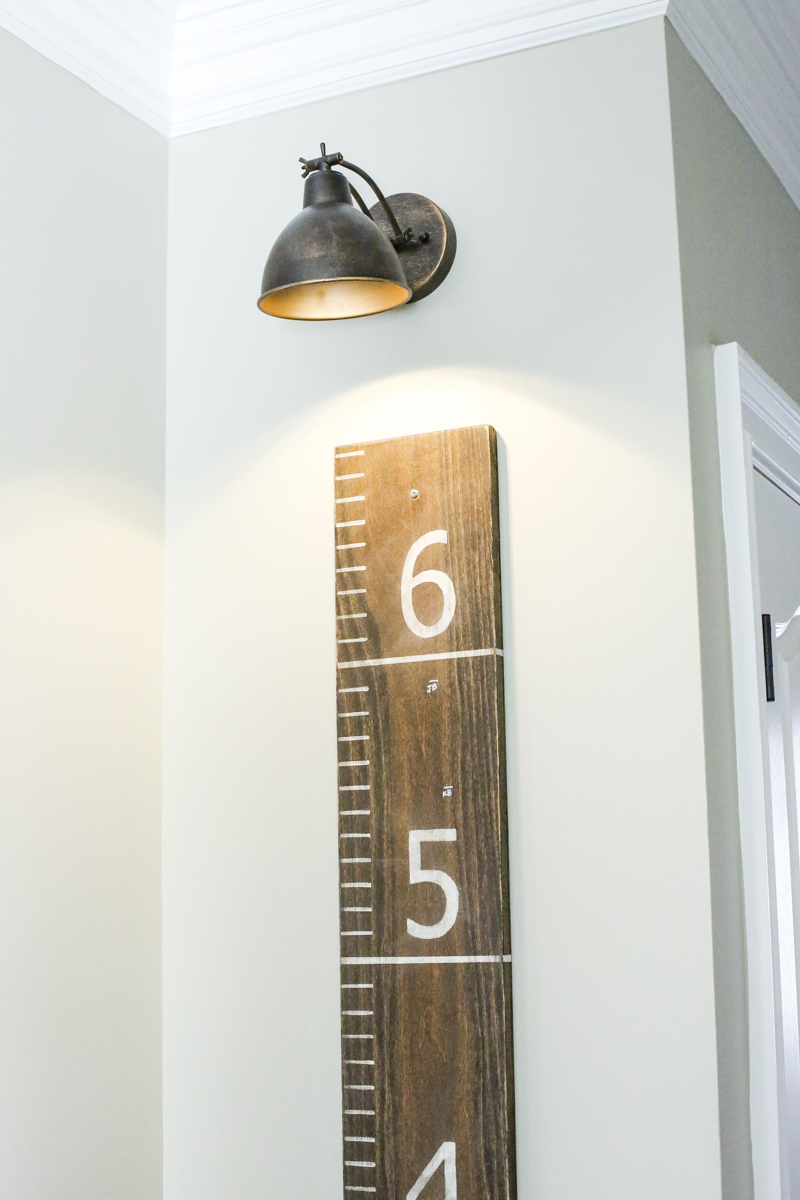
and now the after! Like it was always meant to be! That’s the best kind of projects 🙂
Some of you asked on Instagram how long the batteries last. Honestly I don’t know. But I imagine that with LEDs they can last a fairly long time. Online it lists the run time as 100 hours at 100%. That’s a long time! And we don’t use these all the time. They are strictly accent lighting. The batteries can be switched out easily if I needed to. I just simply reach inside the sconce, carefully twist the bottom off the push light and change the batteries. Then I simply twist it back on till it clicks back in place.
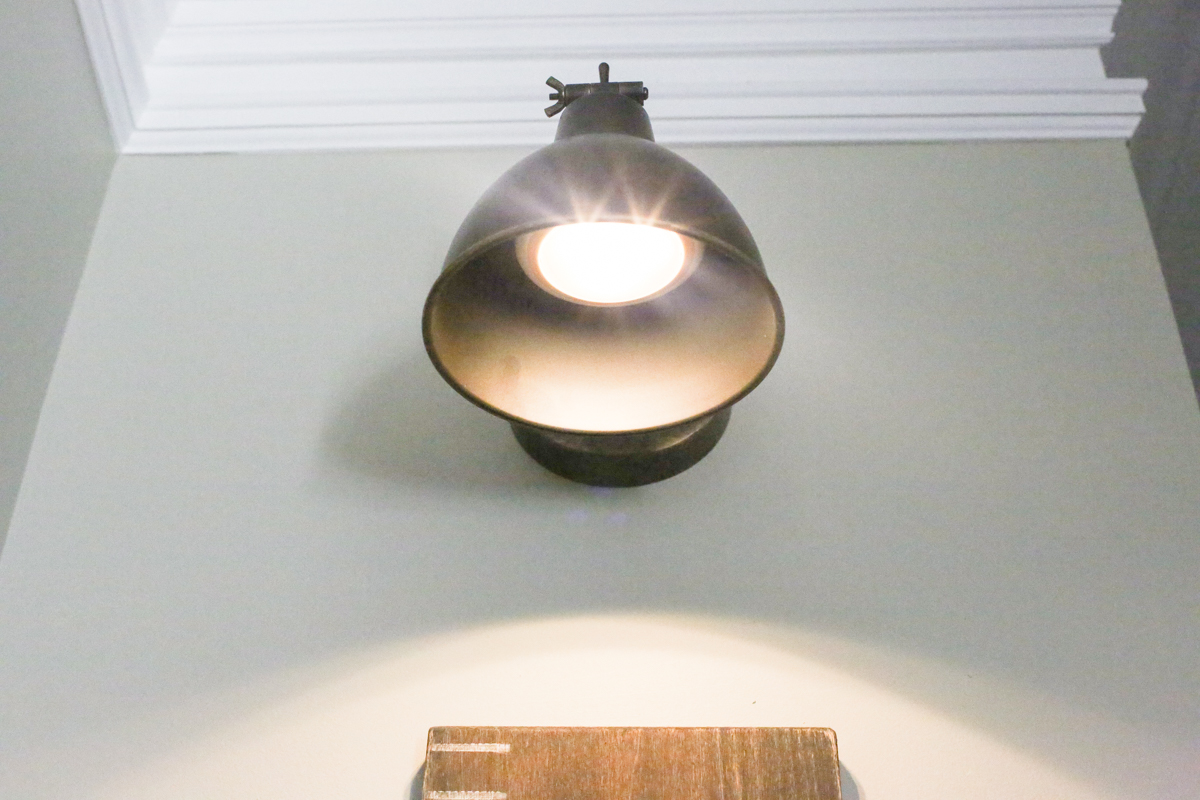
I got several questions about what it looks like when it’s on. Does it look cool or warm? What is the lumens that it produces? It is a 3000K warm white glow.
And you can definitely tell it’s not a light bulb if you stand underneath them and look directly at them but honestly – it really is the last thing that most people would ever do….especially if the light is ON.
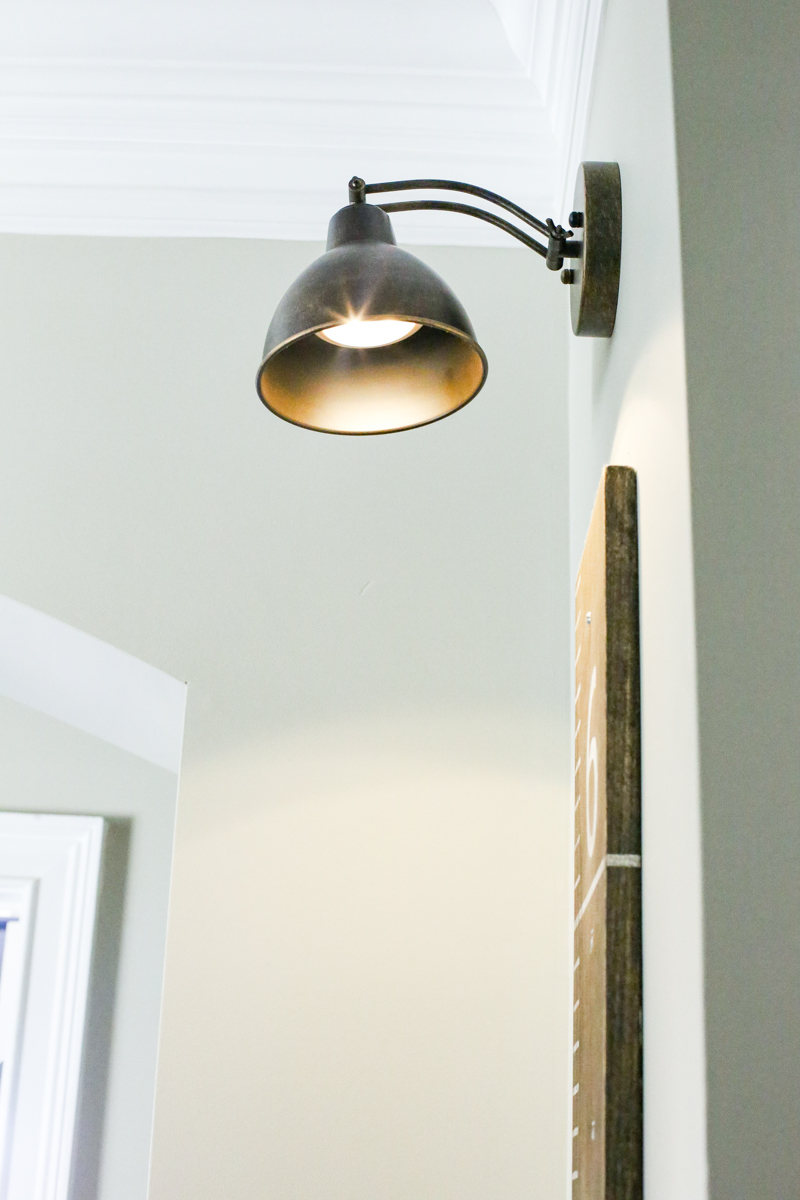
I love the fact that if I decided to move, or change my mind about this particular light that it is like removing a frame. It has two small screw holes and let’s be honest – I make more holes than that hanging photos! It’s the perfect solution for renters or apartment dwellers too because it requires no commitment!
I also installed three sconces in the little boys room and I am soooo happy with the way it turned out.
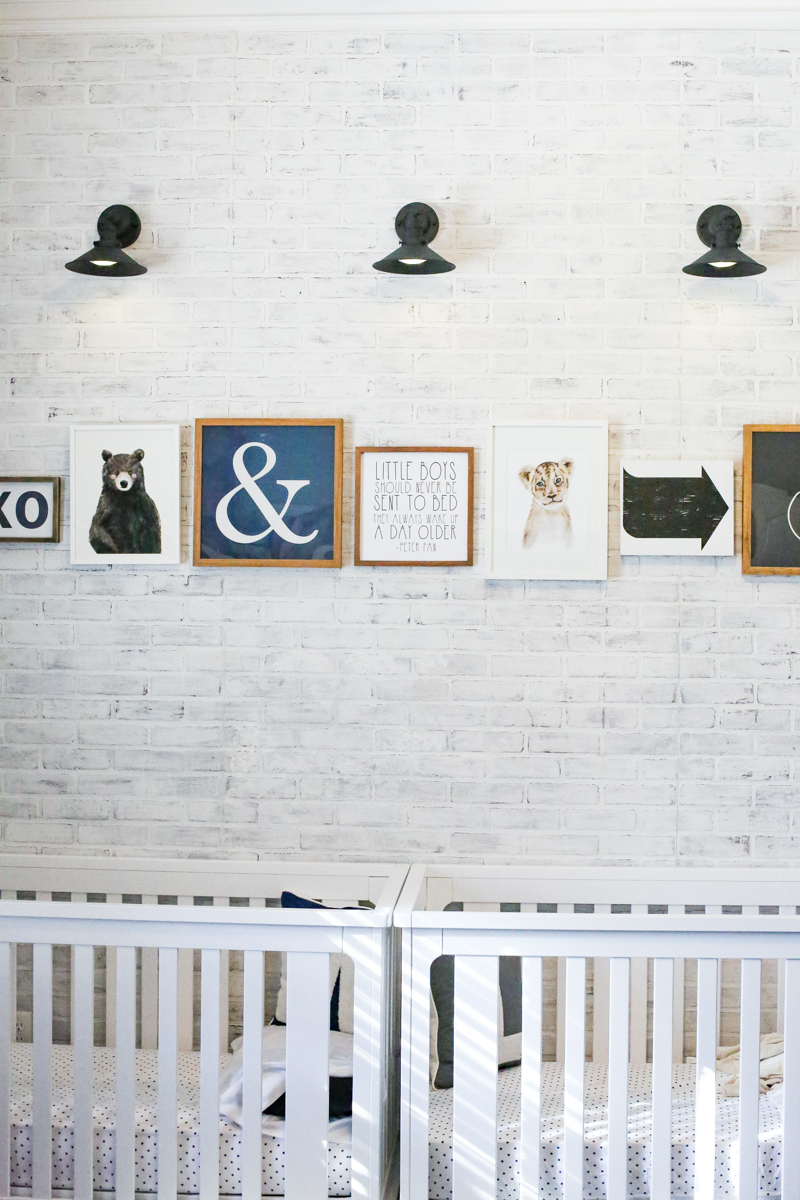
They have very tall ceilings in their room and this helps balance everything out! Here is the link to the sconces I bought.
**Unfortunately it looks like the seller sold out of these sconces that were only $22! And now they are charging $50 from their “other sellers”. Boohiss! So here is the exact same one from a different seller that is $36. If I see a lower price, I’ll update this post!

So there you have it folks! A really fun and easy update that would work in ANY home and just add so much! I would love to see your wire-free sconce lighting! And happy DIYing!
This is perfect! I’m thinking this might be the perfect “reading light” solution for my 7-year-old’s room! Thanks so much for sharing! 🙂
It’s a good idea, I just don’t need any more remotes (or remotes getting lost) in my life, right now.
hahahahaha! Truth!
xo – kb
Brilliant! I think I will use this idea with a motion night light I have to make it look better!
Such a great idea! Are the three sconces in the boys’ room operated by the same remote?
I ordered mine when you posted about it the other day! Made it in a few minutes and I am in love! Magic is sooo the word for it!
Yup! All work with the same remote!
xo – kb
Love it! I have a tall open staircase and have wanted some gallery lighting above the artwork, but didn’t want to deal with the electrical! Totally going to do this. Thank you!!
Since I am unfamiliar with push lights… does the remote come with them? Thank you!
Yes it does come with it in the one I linked!
xo – kb
FYI, on the sconce link for your boys room, it now shows $25. Looks like the price may fluctuate!
LOVE this idea though!!! Our master bedroom has vaulted ceilings, which we love, but there is no attic access and we have one ceiling fan light. I have always wanted some sconces by our bed, but I didn’t want wires showing and my husband can’t get into the attic to run wires behind the walls. This is perfect!
Good to know! I think they go by how the links are coming!
xo – kb
I love this idea and installed a couple over our sofa where there is no light. But one of the puck lights keep falling out. And I can’t think of another way to attach the puck light…the part that isn’t sticking is where it adheres to the rim of where you would screw in a bulb. It sticks just fine to the puck light itself. Maybe I should try gorilla glue? As a last resort, I will invert the sconces as they can be used either way, but I think they would give off more light pointing downward….
YES! Gorilla glue would be a great option or you can do a combo of hot glue and Gorilla to get it to stick within one minute!
xo – kb
How many different remotes do you need when you have 3 lights in one space? Where do you stash the remote for the light in the hallway?
Just the one! You can point it at one and turn it on or you can point it at all three to do it at the same time. We use the same remote for the hall as the boys room so we just put it on the top shelf in the kids room.
xo – kb