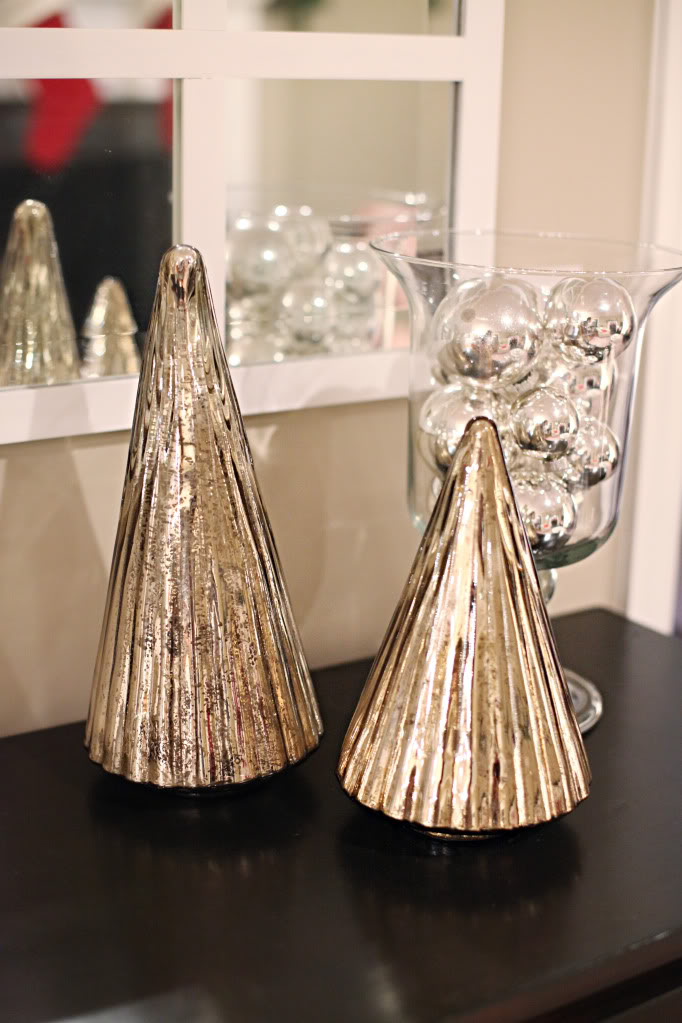
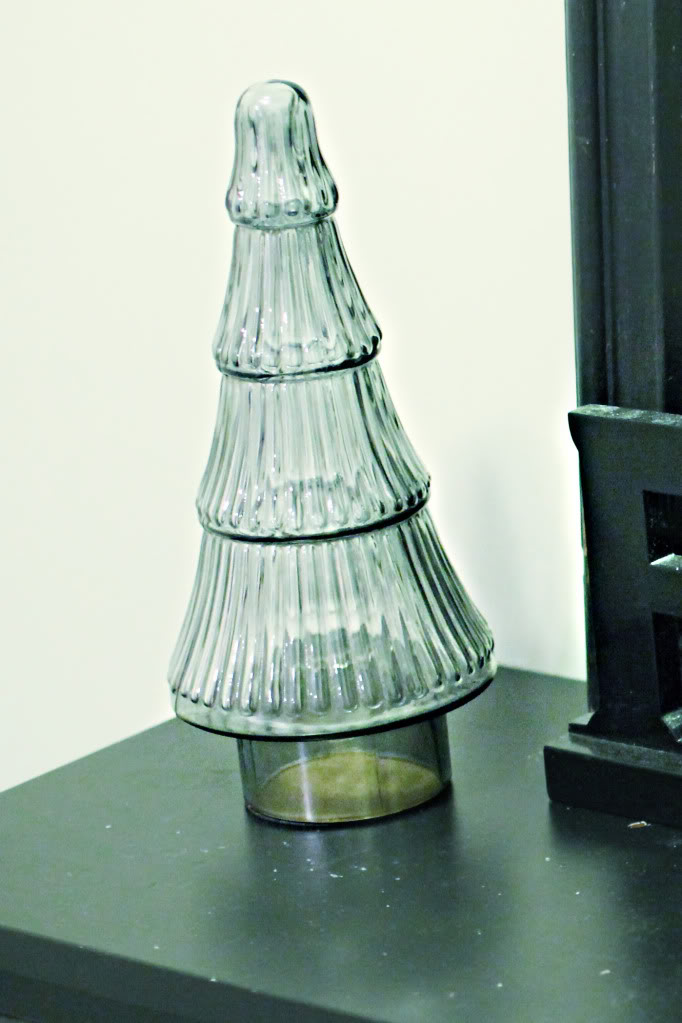
Earlier today I shared my obsession with christmas cone trees. It’s a sickness people.
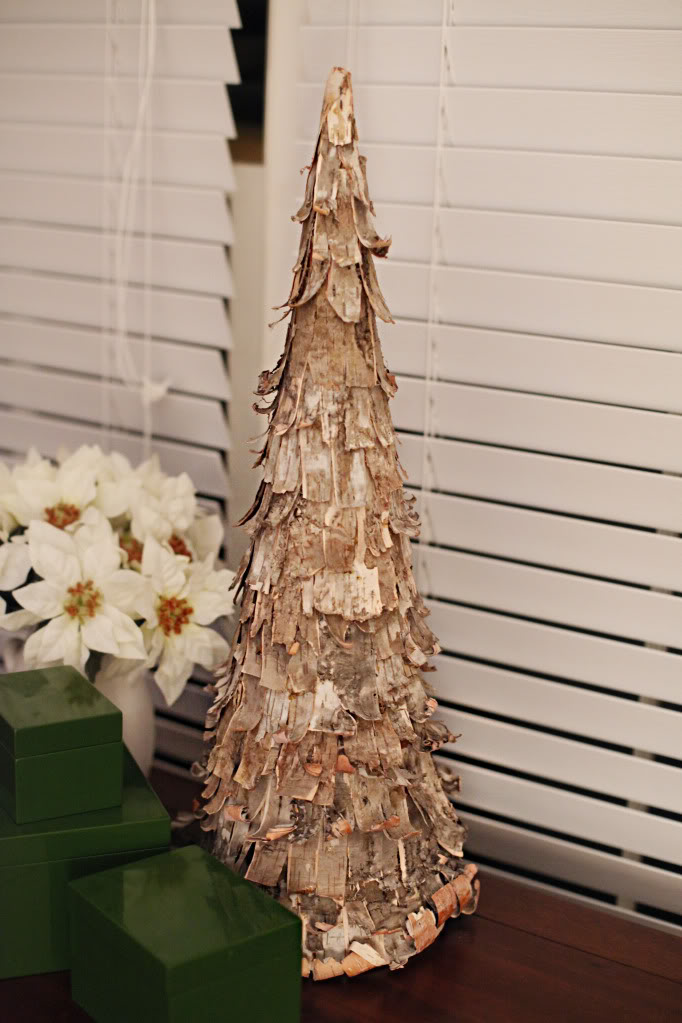
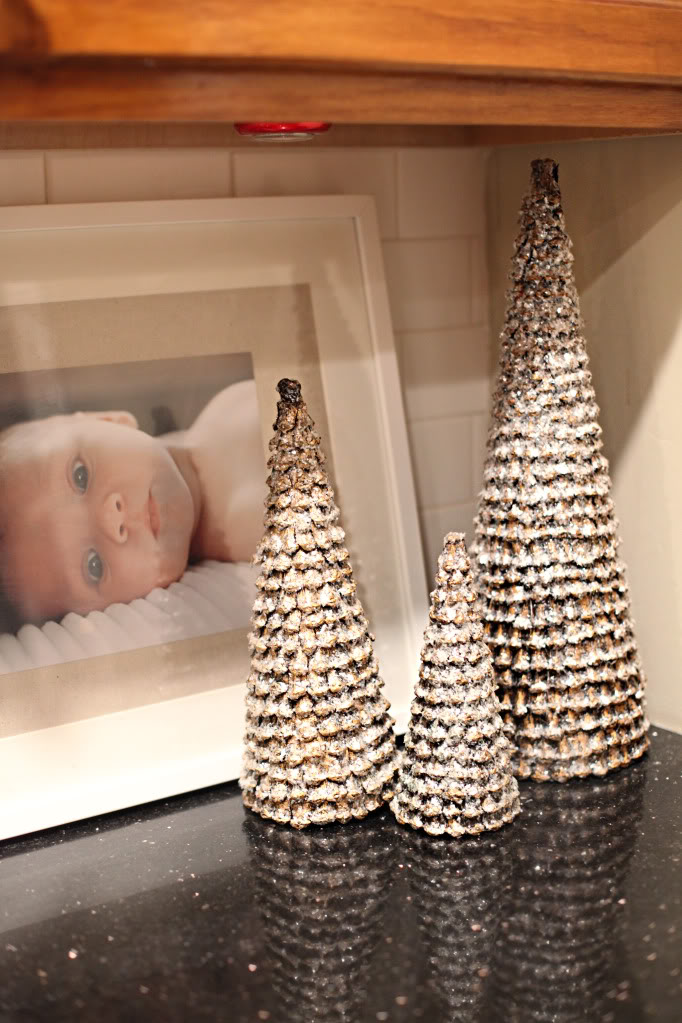
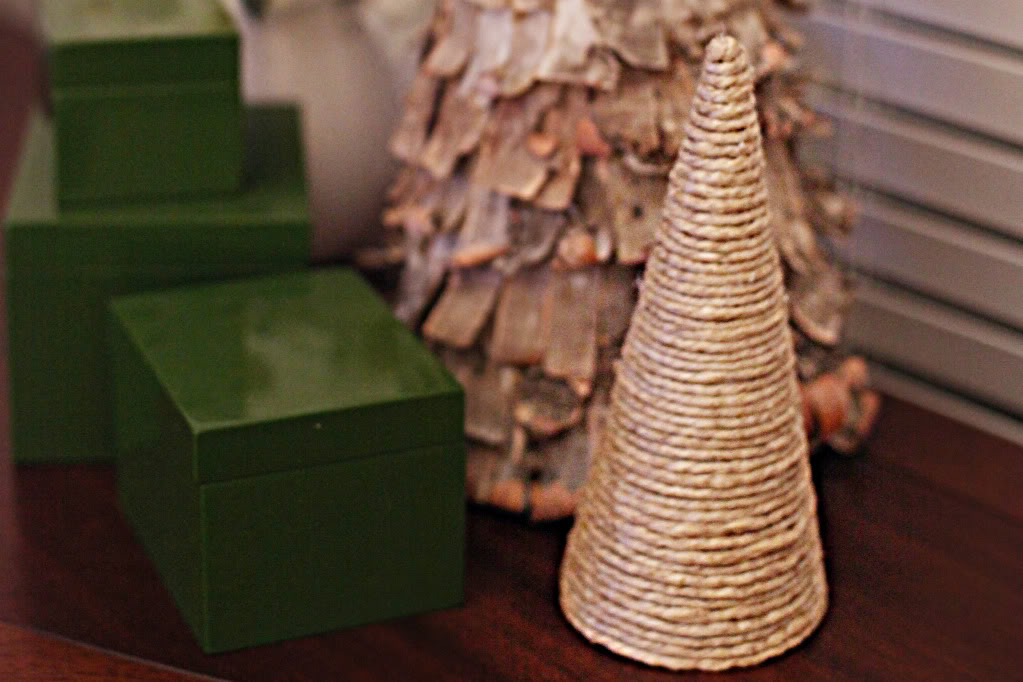
And then I shared how to make this little hemp wrapped ditty. It’s like Kate Hudson…cute, little and one with nature.
And now I am back to share how to make this little paper tree…let’s call her Natalie Portman. I think it fits. She’s light, delicate, and stylish.
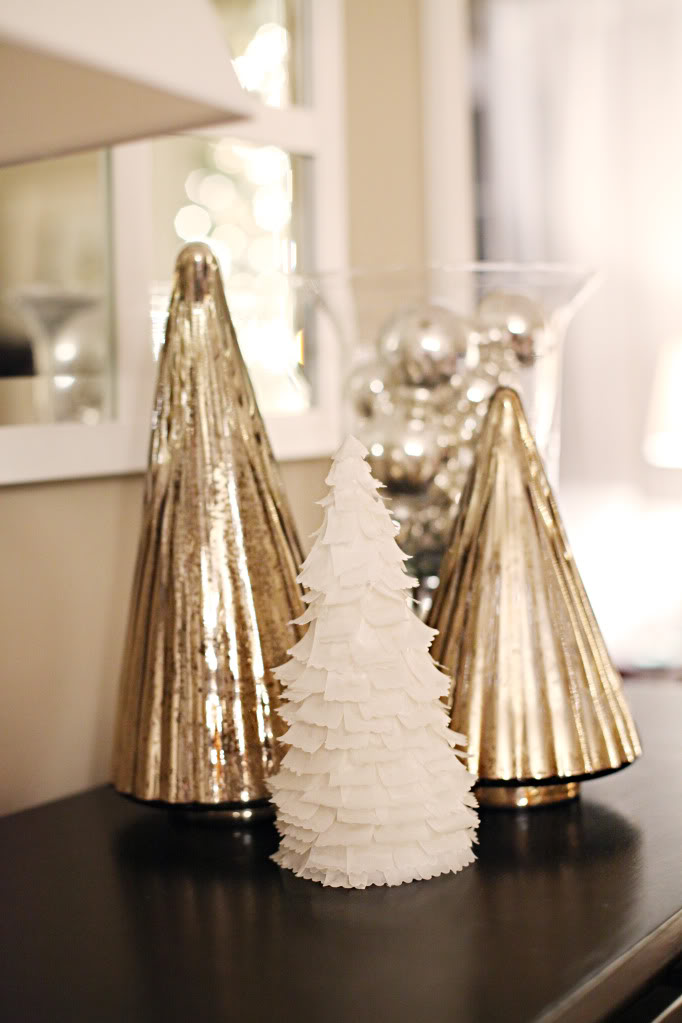
AND CHEAP. That attribute is not like Nat…(see how we are on first name basis now? It’s like I name a craft after her and WAHLA…instant friends with a celebrity. Seriously though, call me Nat…let’s chat about the bald head thing and if you ever want to pull a G.I. Jane again. )
Okay – back to crafting trees.
I did the same process as before with the hemp tree to form the base.
Cardstock. Trim. Roll. Tape.
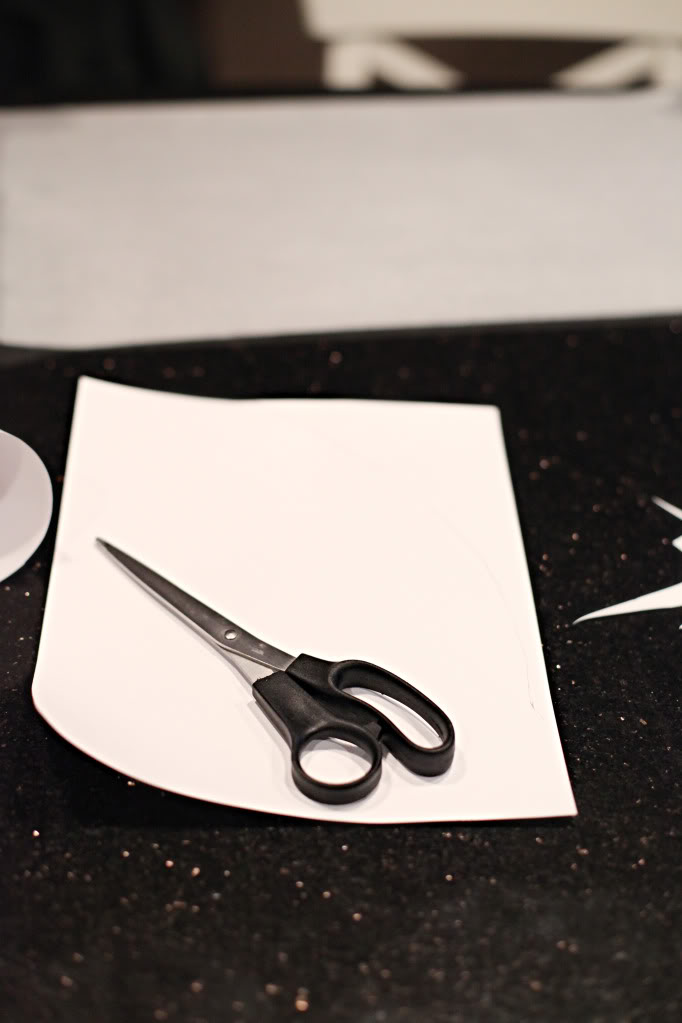
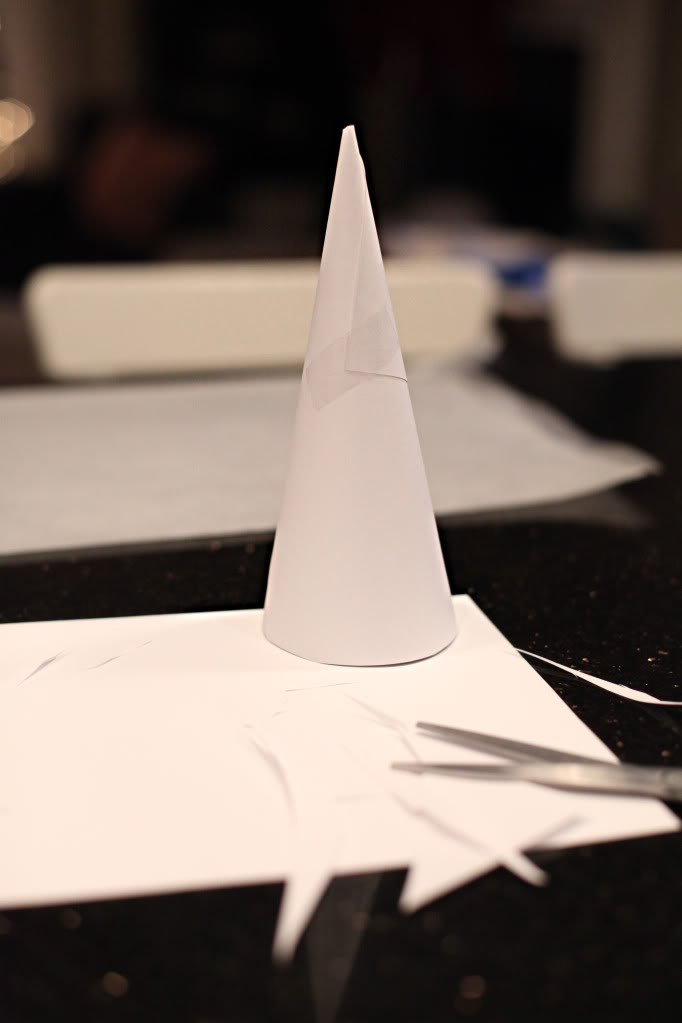
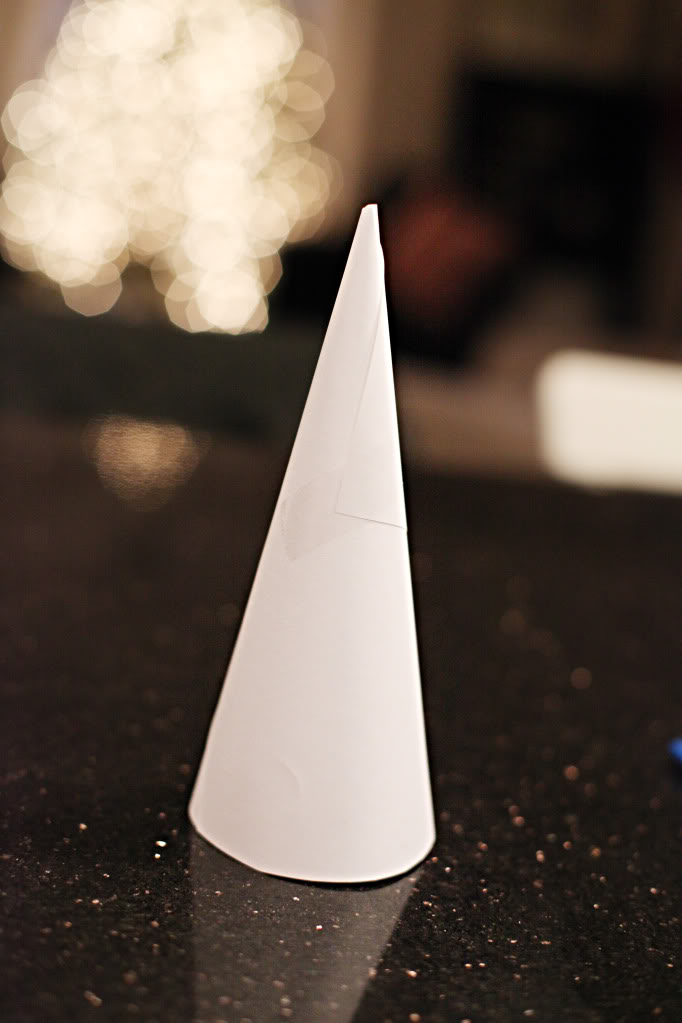
Now here’s where I ventured out on a limb. I could have used plain white paper. Or even velum paper. But I didn’t have time to search through all my paper to find velum. So instead I created a bit of a see-through wax paper conglomerate of my own.
I took three pieces of wax paper and ironed them together. My setting was on low…and I used parchment paper on either side to protect the countertop and the iron.
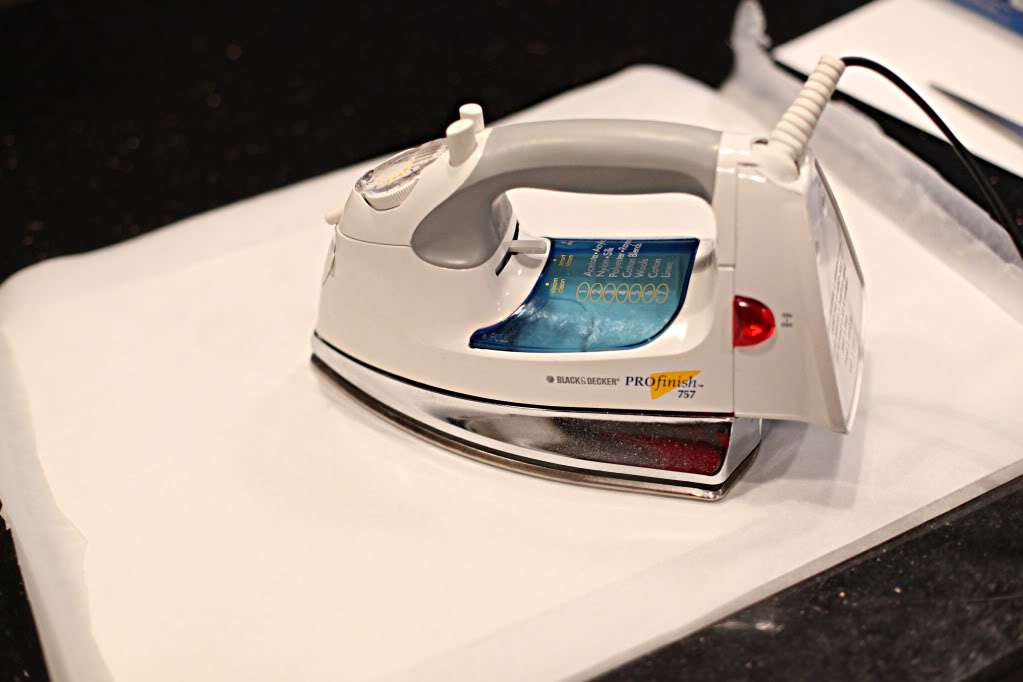
I love it. Did you know that you can use this same method, then cut circles and make a capiz light? yeah. Awesome.
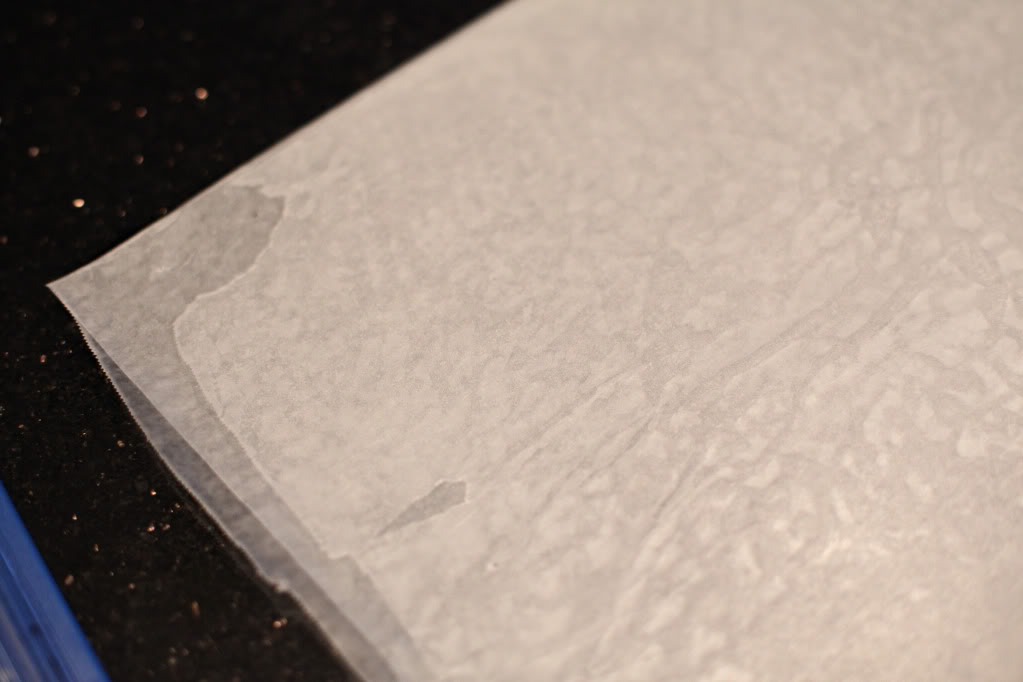
But we aren’t doing that today. We are making a Nat tree. So focus Katie.
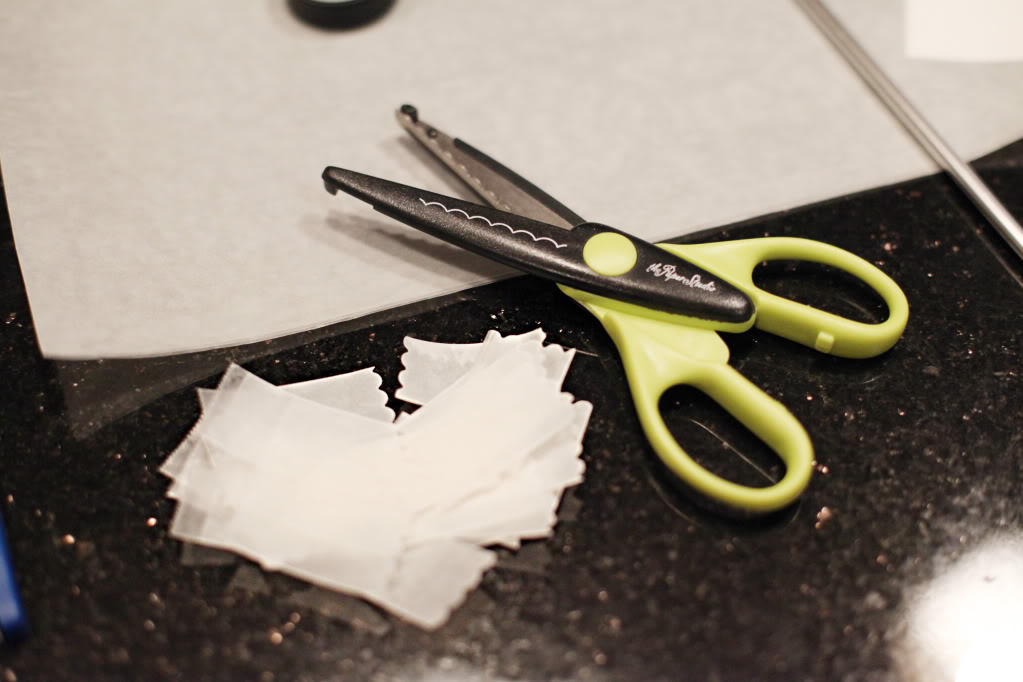
I took a pair of scallop edged craft scissors and cut little tabs. They were about an inch wide and an inch and a half long.
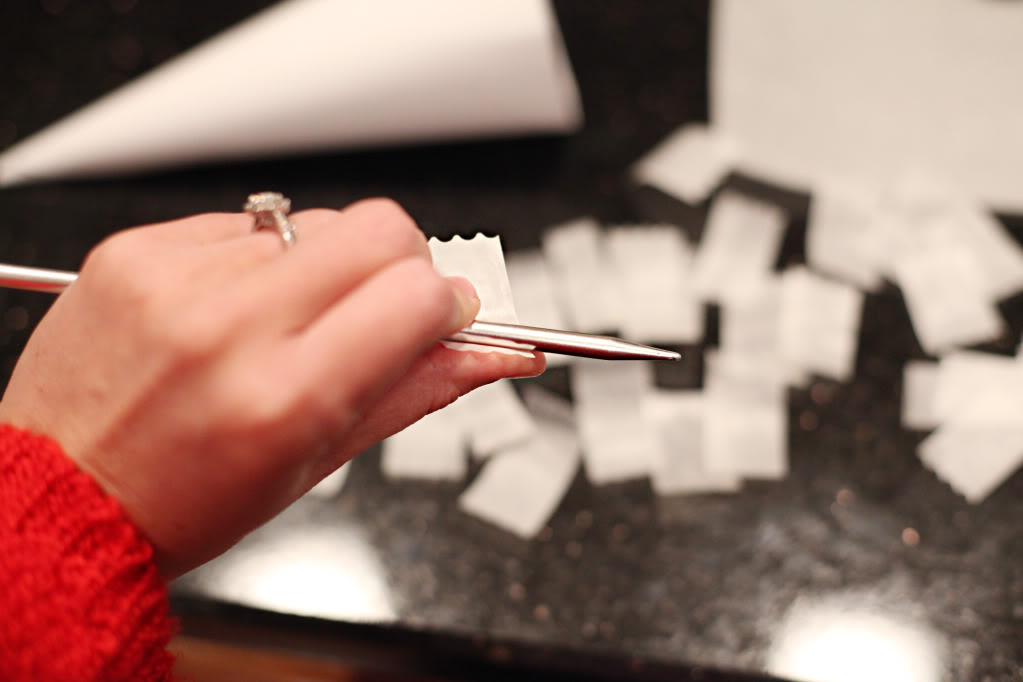
Then I took a knitters needle to add a little bend to the wax tabs. I could have used a pencil…or a pen…but I found the knitters needle first…so that’s that.
Then comes the hot glueing part. Squeeze and stick. Squeeze and stick. Rinse and repeat.
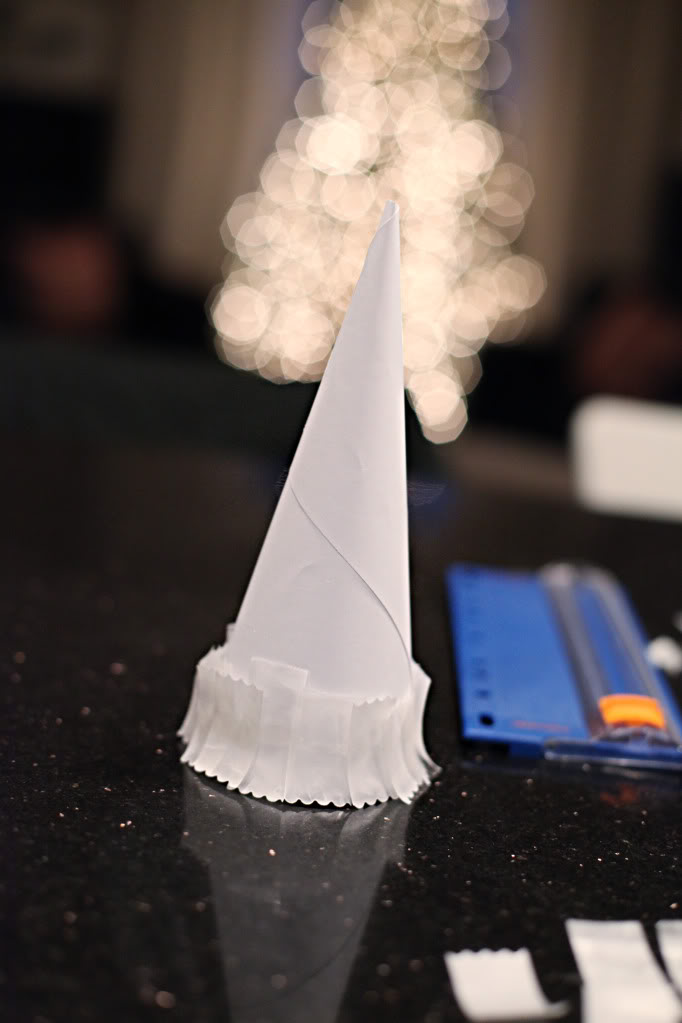
Keep going…and going…and going.
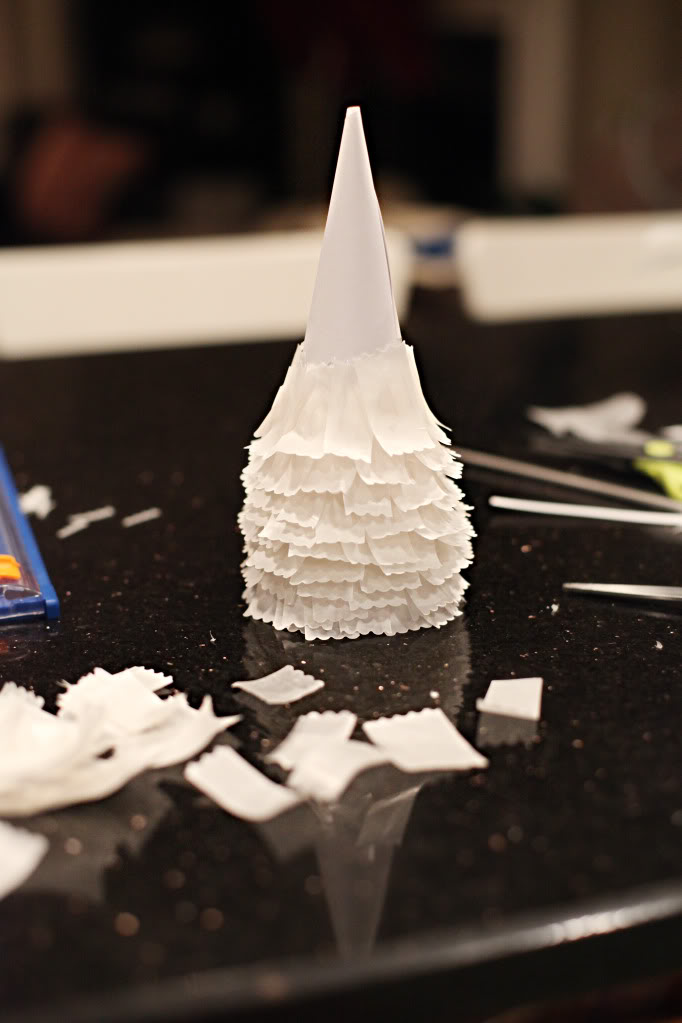
Finally you are the top. My top wasn’t lookin so hot.
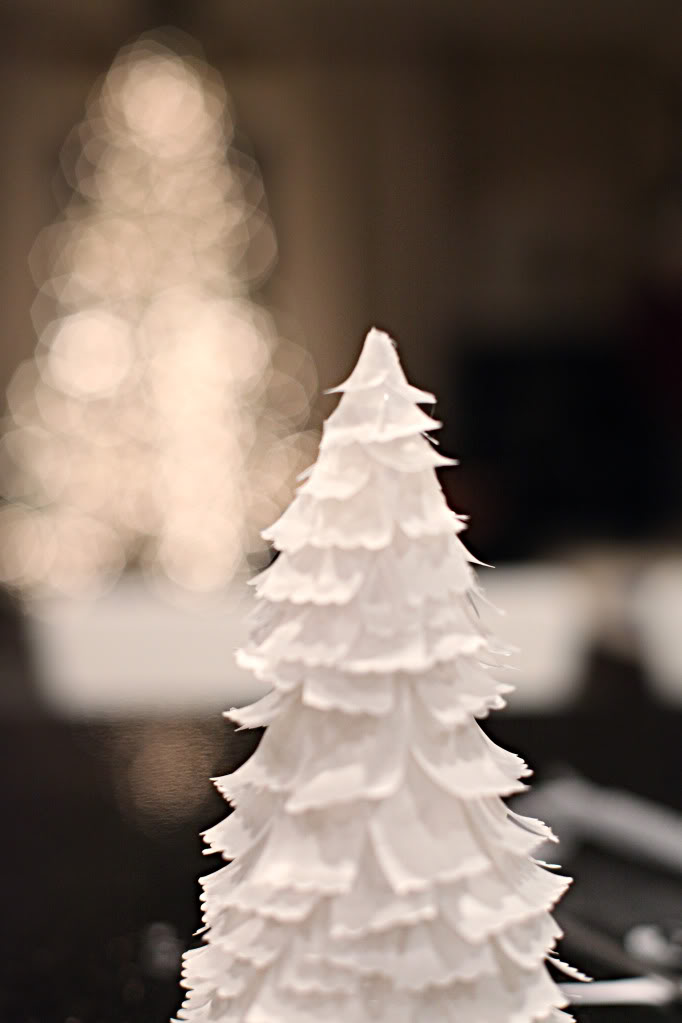
So I cut out a little circle and glued it on the top to cover up the massive amounts of hot glue.
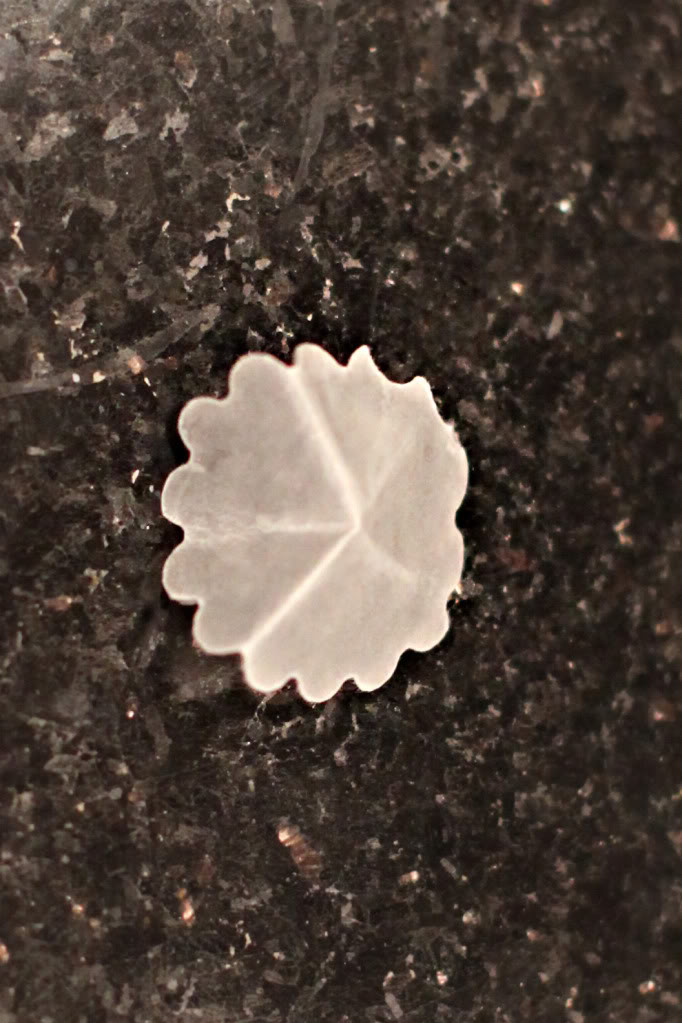
Soooo cute!
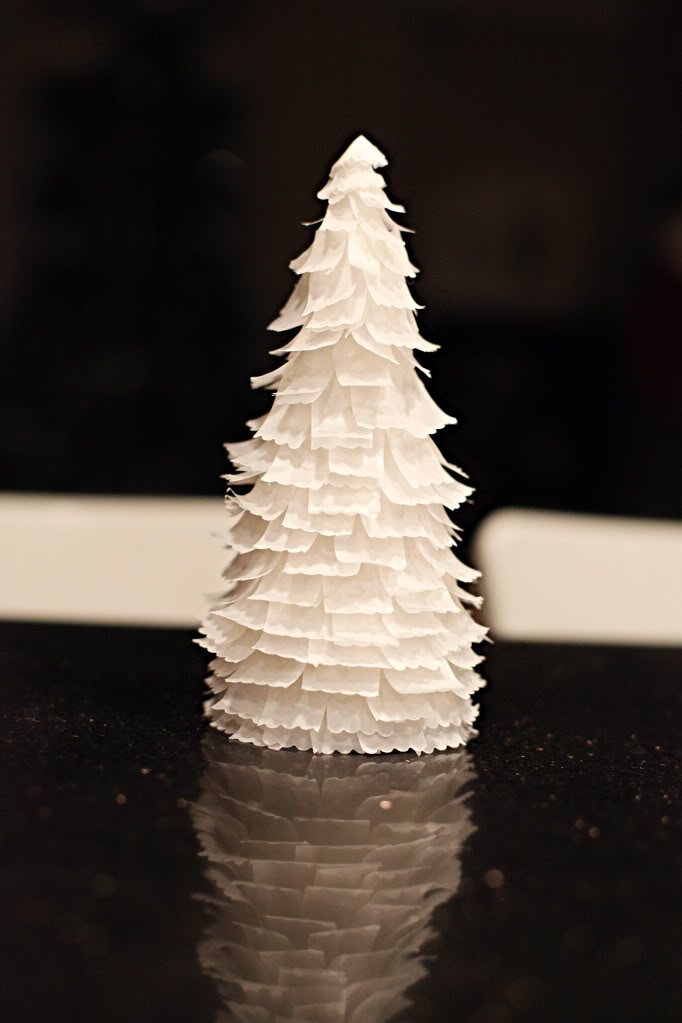
What do you think?

Isn’t the little flutteriness just darling?
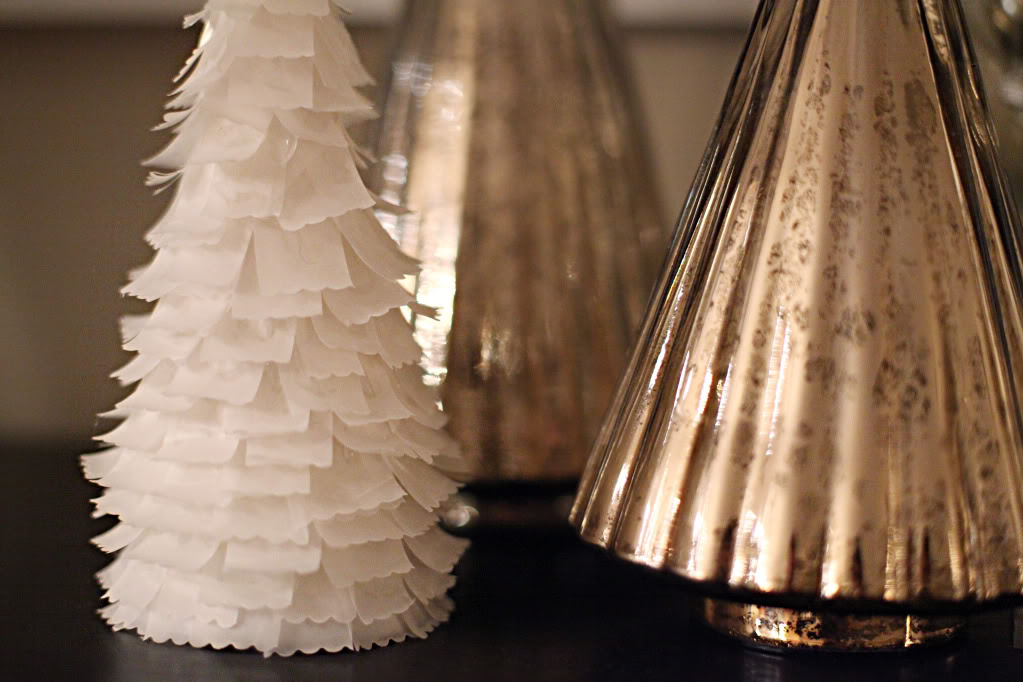
And I know that it doesn’t look any different than paper…but in real life, it has this great transluscent quality.
Anyone else crafting trees this year? I know I listed some great ones in the Craft-mas post. And yes…there is one more to go. That’s what trio means. Three. or it could mean a cereal shaped like trees. Either or 🙂
I love this! I think Nat 😉 turned out great! and I really love the idea of using the wax paper. I’m definitely going to have to try that out sometime.
I’ve just nominated you for a stylish award. Stylish girl. Pop over to graciously accept it here:
http://becandrichie.wordpress.com/2010/12/23/stylish-yeah-right/
xo
Adventures of a Pastor’s Wife
LOVE LOVE LOVE this one!!!!
I’ve wanted to make one of these. Thanks for showing us how you did yours! It looks great!
In the words of my 4 year old son, “You know what I’m thinkin’ ’bout?” I’m thinkin’ ’bout you blogging how to make a capiz fixture outta wax paper!!! They are usually so expensive – I must know how to make a knock off right now!
That. Is. Awesome! I’ve always thought that decorative trees were a bit pricey, and never was gung ho enough to go after Christmas shopping to get one without feeling guilty. You’ve given me an easy fix. Thanks so much for sharing! 🙂
That turned out extra cute! But did you burn the heck out of your fingers pushing those little wax skirts on? Do you still have fingerprints?
Oooh I love it! So very crafty and fun! 🙂
heehee! Amy – I thought the same thing when I started this sucker…but you know what? I didn’t have a single issue. Maybe the wax paper blocked the hot wax from burning my fingers…or maybe my fingers have limited sensitivity from tackling past drywall projects….I’ll never know 🙂
xo – kb
This is great! I have two more blank tree forms at my house and have been stumped as to what to do with ’em…. now I know!
I love this idea! I’m going to have to steal it for next year – what a stylish tree. It would be awesome to do an arrangement of three. Thank you for this wonderfully crafty and FREE decor idea!!
OOH! This is my favorite of the three. Wish I had your patience to pull it off.
Love the trees. Hate the “wahla.” “Voila,” pretty please? (I know, I don’t speak French either, but it’s up there on my internet pet peeves list with using “it’s” as a possessive instead of “its.”) Sorry to be annoying.
Spelling PoPo…no 🙂 I promise I won’t misspell their or there, it’s or its, or threw and through, mmkay…but the wahla stays.
xo – kb
kattayy beeee- i know your name is Katie B. but um you see i just saw your little convo with the spelling police and cwwrraakked urp.
{some peeps are funny– on Kendi Everyday they told her they were no longer go to follow her because she shopped @ Walmart…. ummm yeah}
Anyways, all that to say: This tree is preciously cute!!! With wax paper?! You go girl.
mine would look like a fourth graders.
ps. will you give Will away in a giveaway? Thanks 🙂 just playing.
Or i’ll be your babysitter when you come to ChattaVegas!! haha
Omygosh you are so funny,!!! I am making one tomorrow just because you cracked me up love your look I’m having fun don’t, take this too serious attitude!
Thanks for this tutorial! I made one of these for myself and posted about it on my blog (http://atightsqueeze.com/2012/12/23/christmastime-is-here/). I linked to this post of yours since I followed your directions although I used computer paper rather than wax paper. I LOVE love LOVE this tree! It just looks so sweet and wintery and was so easy. Thanks for the instructions =)