Disclaimer – This is a sponsored post brought to you by Behr®. All opinions are 100% my own.
It’s summer!!! Time to get outside and enjoy the freedom of late nights and fireflies and eating dinner on the porch! I have a confession – I absolutely love love love the fact that all my kiddos are home and there is no school and no schedule. I am notoriously late for just about everything….so not having the stress of ‘being somewhere on time’ is huge for me! It’s truly like a mental vacation. And now that I am able to spend more time at home, I have really enjoyed getting some backyard time. The evenings are my favorite. Just chillin’ by the sound of cicadas and drinking sweet tea with lots of lemon. But just like everyone else in the universe, there are also things I would love to improve in our outdoor area…so you can imagine how stoked I was when I was invited to be in Behr’s Think Outside the House Challenge.
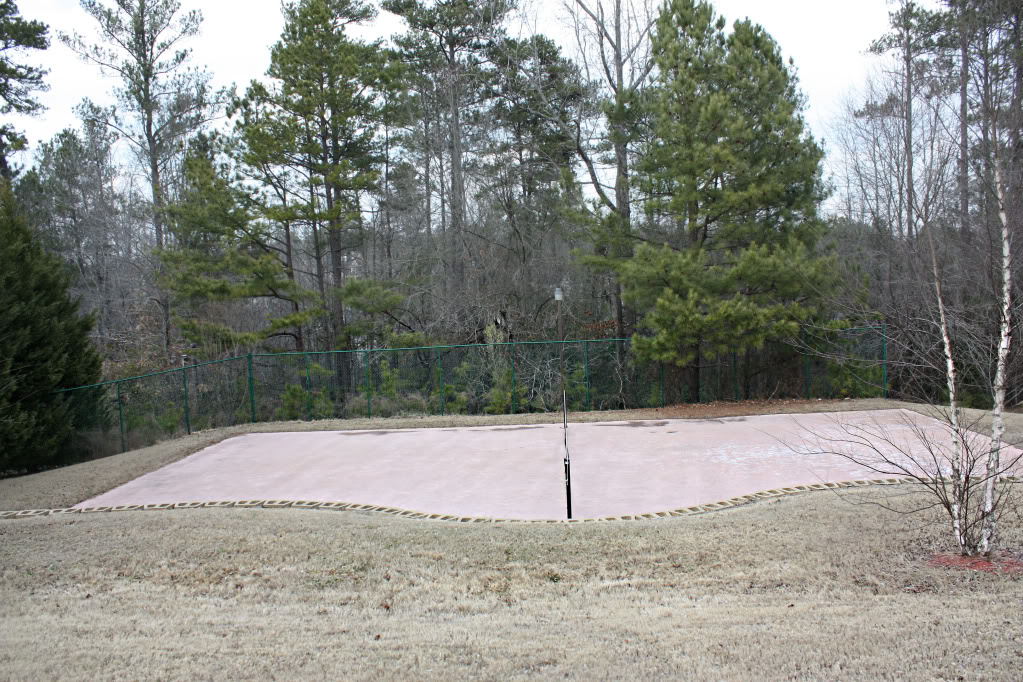
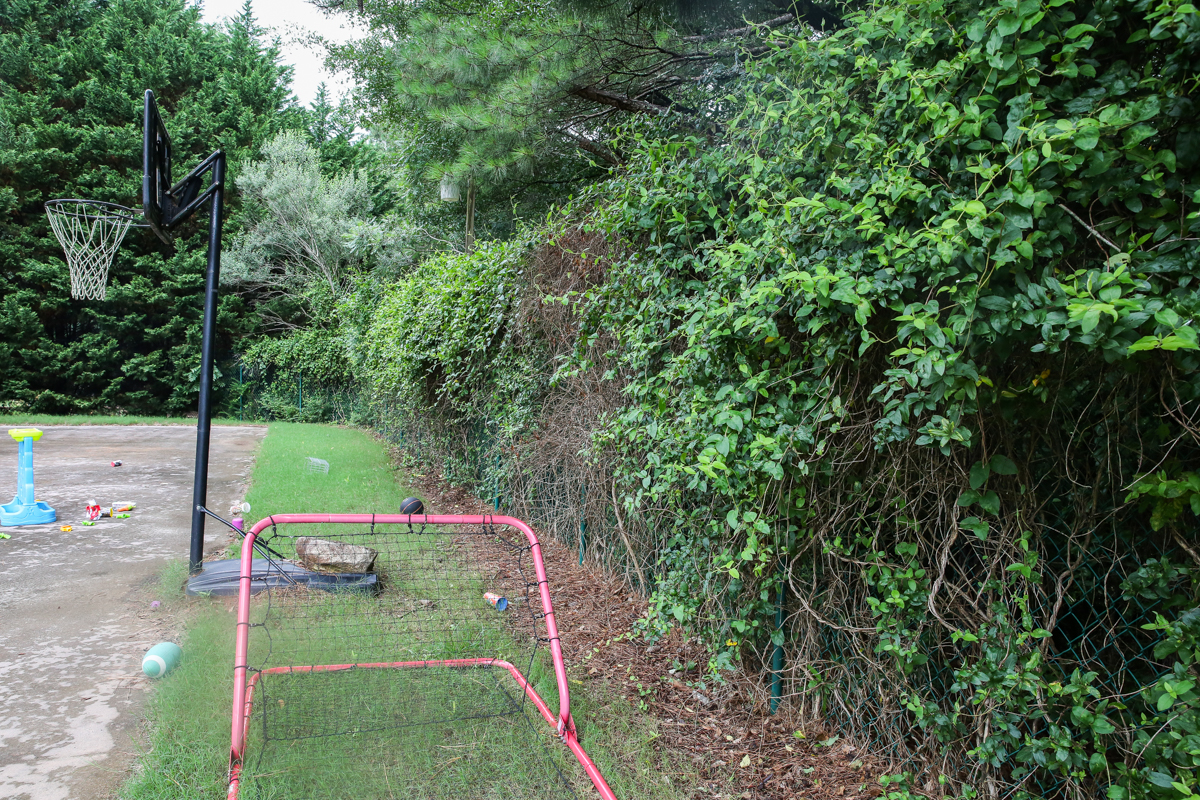
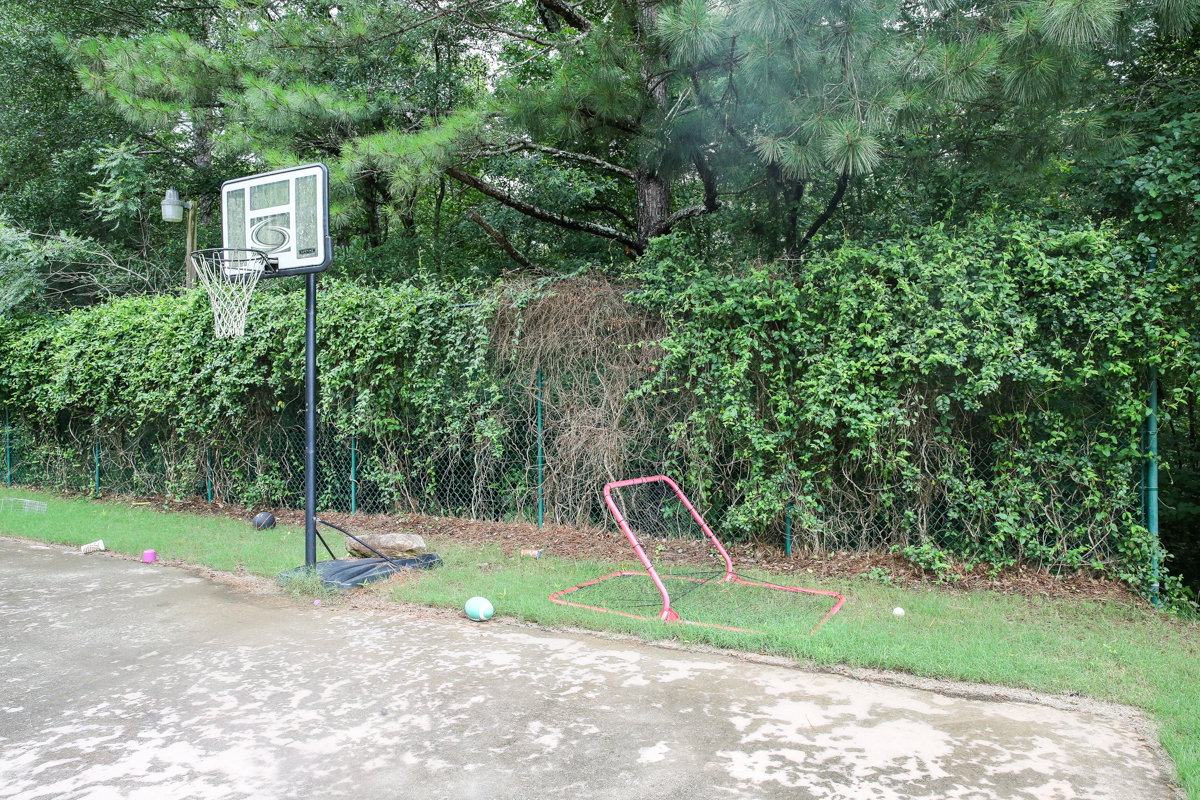
This challenge was to use Behr® Exterior products to improve your home outside within one weekend and a budget of $1,000. It could be a patio, a porch, a yard project….anything goes. Since one of our goals was to improve our court area, I knew exactly what we should do! I wanted to tackle the first phase of “PROJECT : YARD GOALZ” (yup…spelling it with a Z….that’s how you know I’m serious.). If you don’t know what our outdoor court is….it’s this weird concrete pad that is in our backyard. It’s too small for a regulation tennis court and we joke that it’s the perfect size for pickleball!
What is PROJECT : YARD GOALZ ? Well it is a little project that includes the backyard transformation in order to make it the ultimate fun party pad. We have too many kids to go to other people’s house….so we need to make our house the place to be….the place to chill and party and generally speaking…feel like all your dreams could come true. I’ll outline the rest of the plan soon….but the first step is to do some general clean up and that includes our crazy chain link fence on one side of the court. It has always been an eye sore (as most chain link fences are) and we wanted to use this challenge as motivation to change it up.
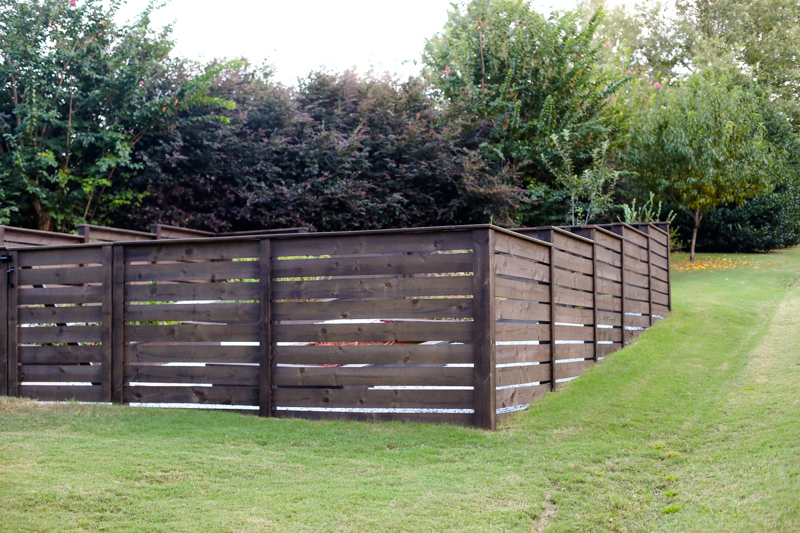
Chainlink fences are great because they are budget friendly and can provide a barrier when you need it for safety or security. But ya don’t hear people often say “Hey look at that beautiful chain link fence!”. I wanted to transform ours into something that went with the rest of our house and looked cohesive with our other fence on that side of the yard. Remember this fence that we tackled last year?
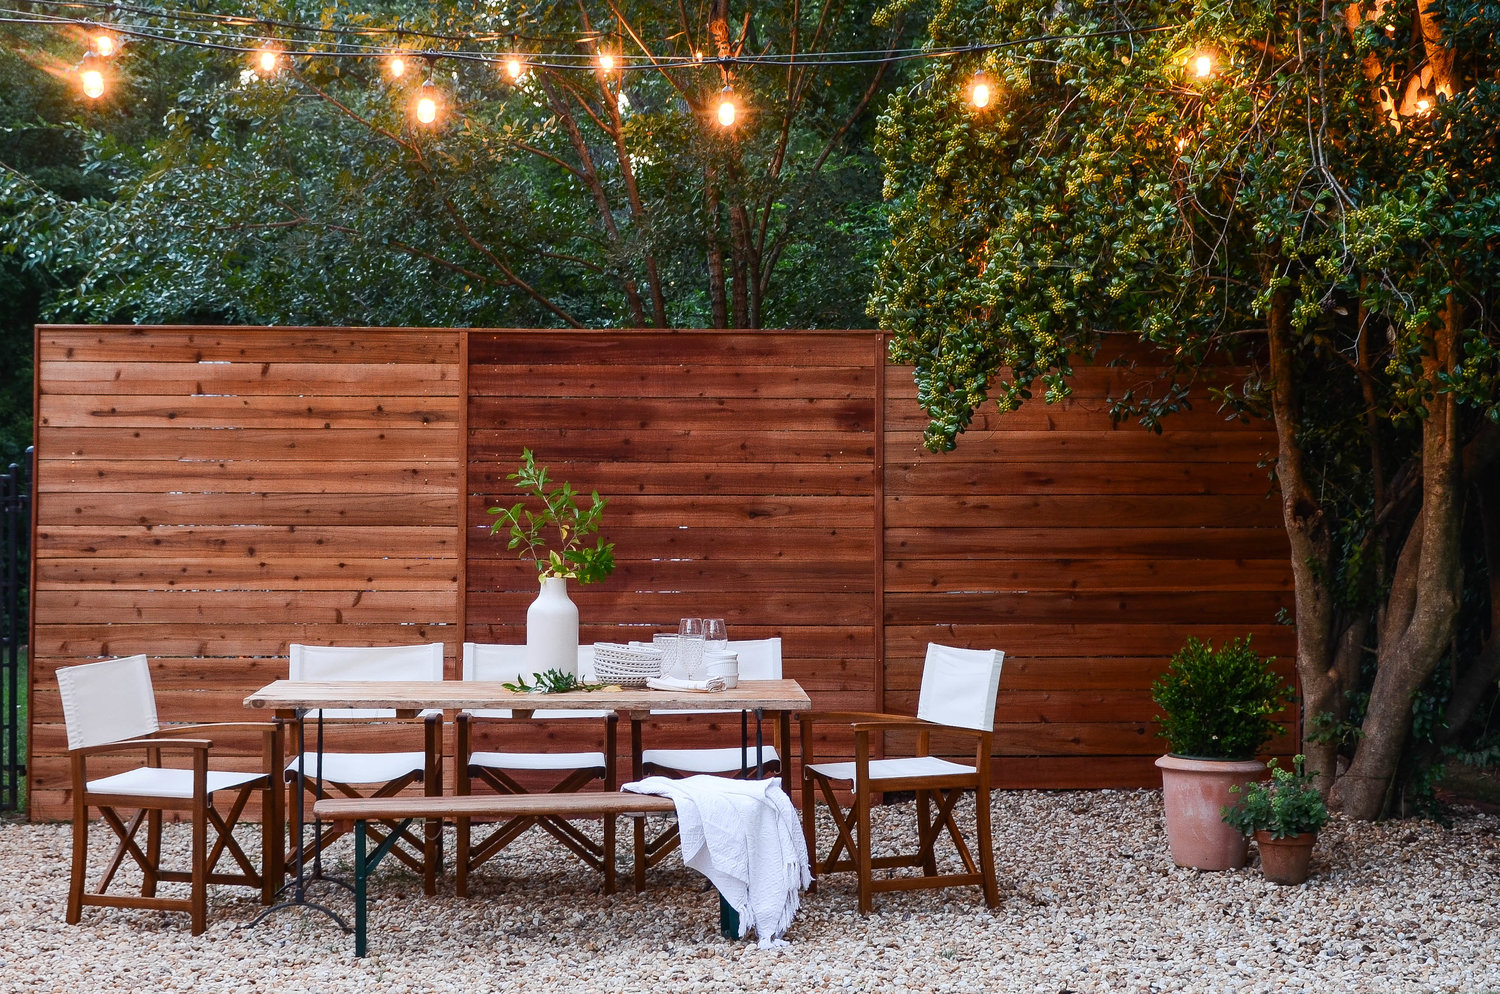
We wanted to turn our chain link fence into something similar. Same vibes. I found a post by one of my friends Michelle where she created a panel and attached it directly to a chain link fence so I direct messaged her and she walked me through what she did step by step. Isn’t her fence beautiful!?
Here is her blog – you should definitely go tell her that she has amazing taste.
Now back to our pathetic chainlink issue. Jeremy and I measured the fence and we quickly realized our fence was going to be a challenge. It is 8 feet high and almost 100 feet long. That is a whole lot of pickets!
It was also covered in honeysuckle….which I love. The scent and the fun part of pulling off the blooms and squeezing out the sugary sweet liquid is one of my favorite things!
I definitely wanted to keep some of the honeysuckle. I like the idea of it growing over the fence and having a healthy manageable vine with annual blooms.
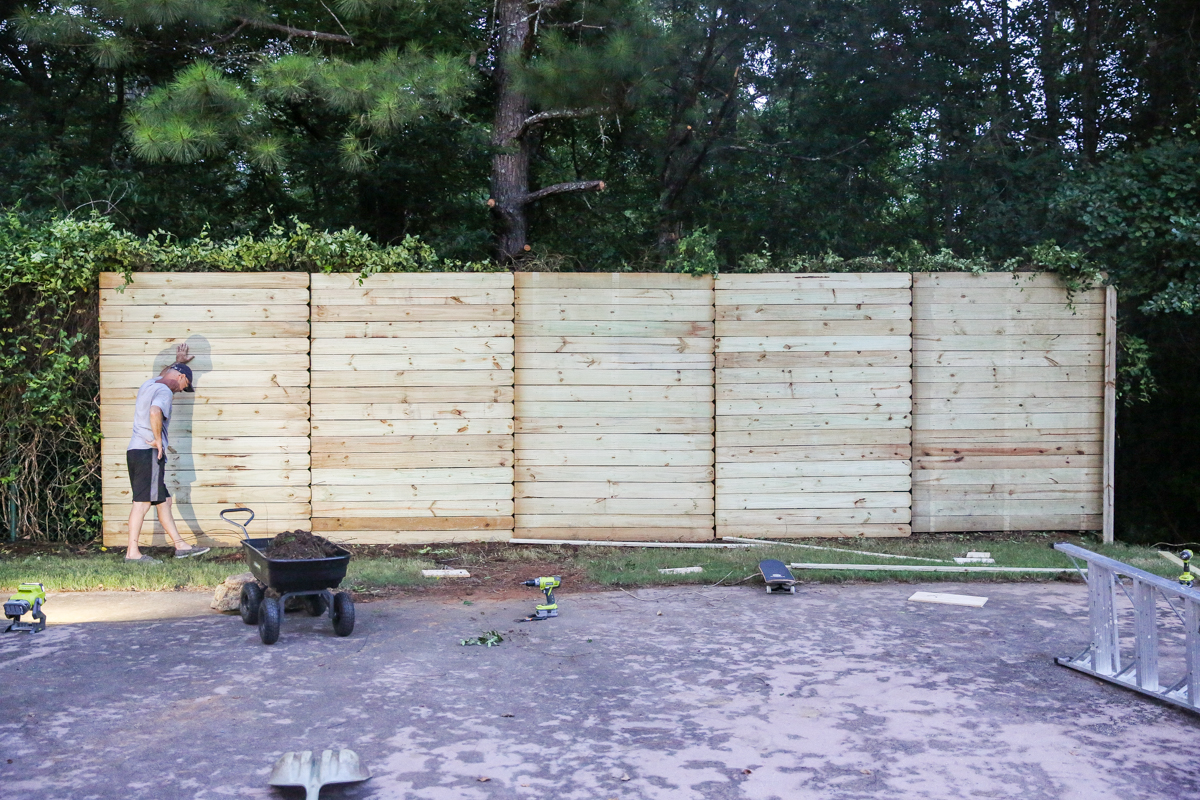
So the plan was to build panels and attach them directly to the chain link fence. That would mean that we would not need to dig support post holes or use concrete!
But when we got to The Home Depot®, we realized that the fence panels that we were going to build were eerily similar to the ones they already had in stock….except theirs were already assembled and had dog ears. In the end, we decided to buy the panels pre assembled and attach those so that we could save ALL.THE.HOURS. I will give you the full tutorial later.
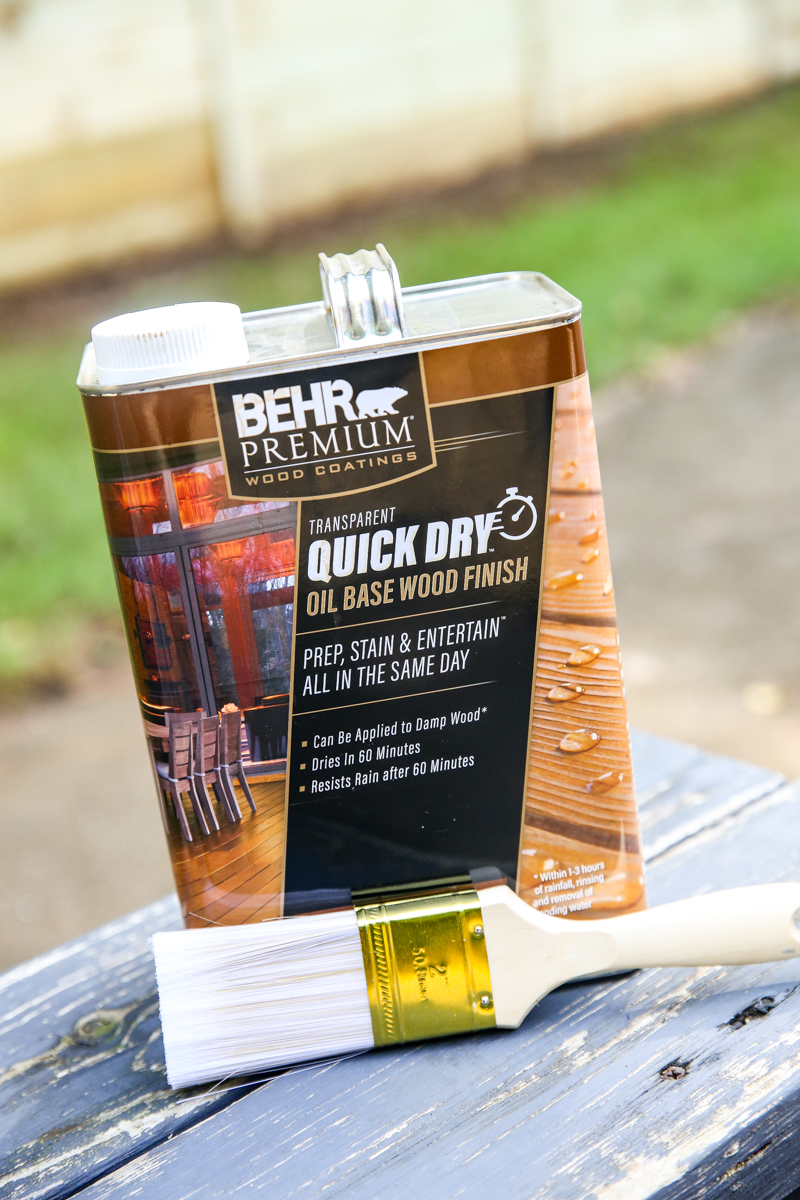
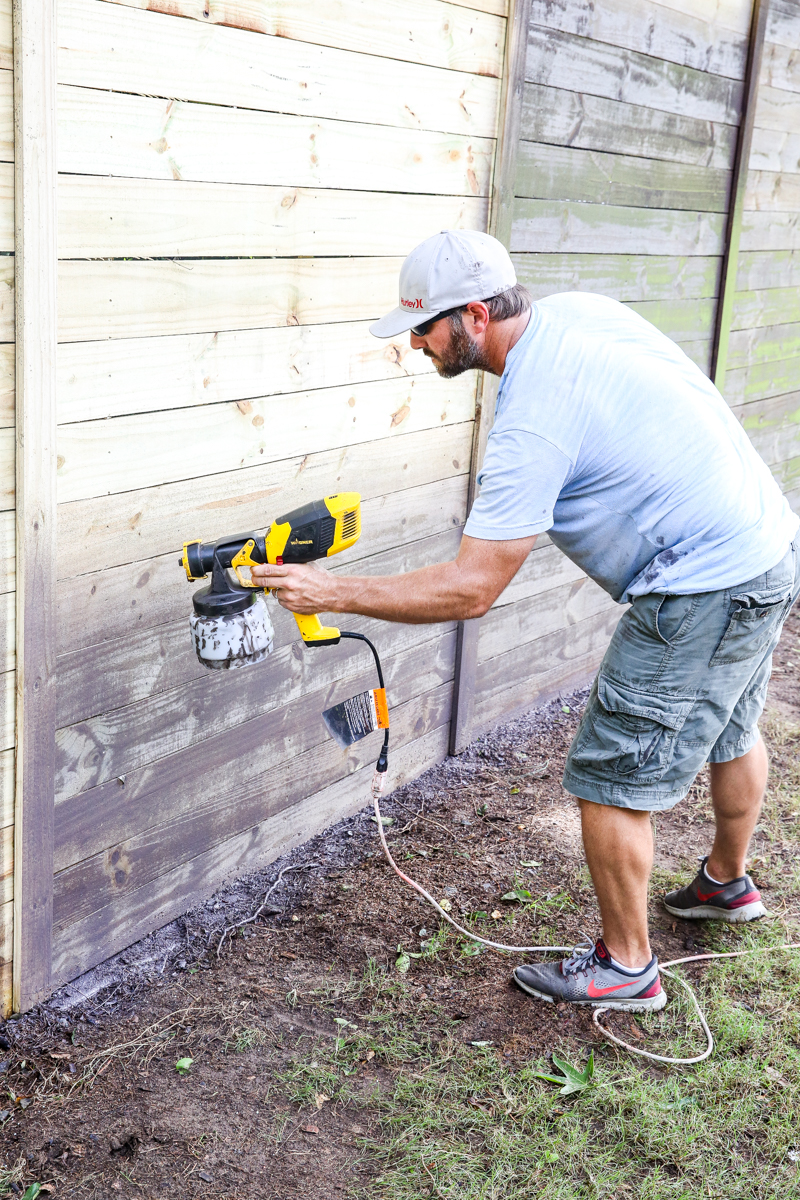
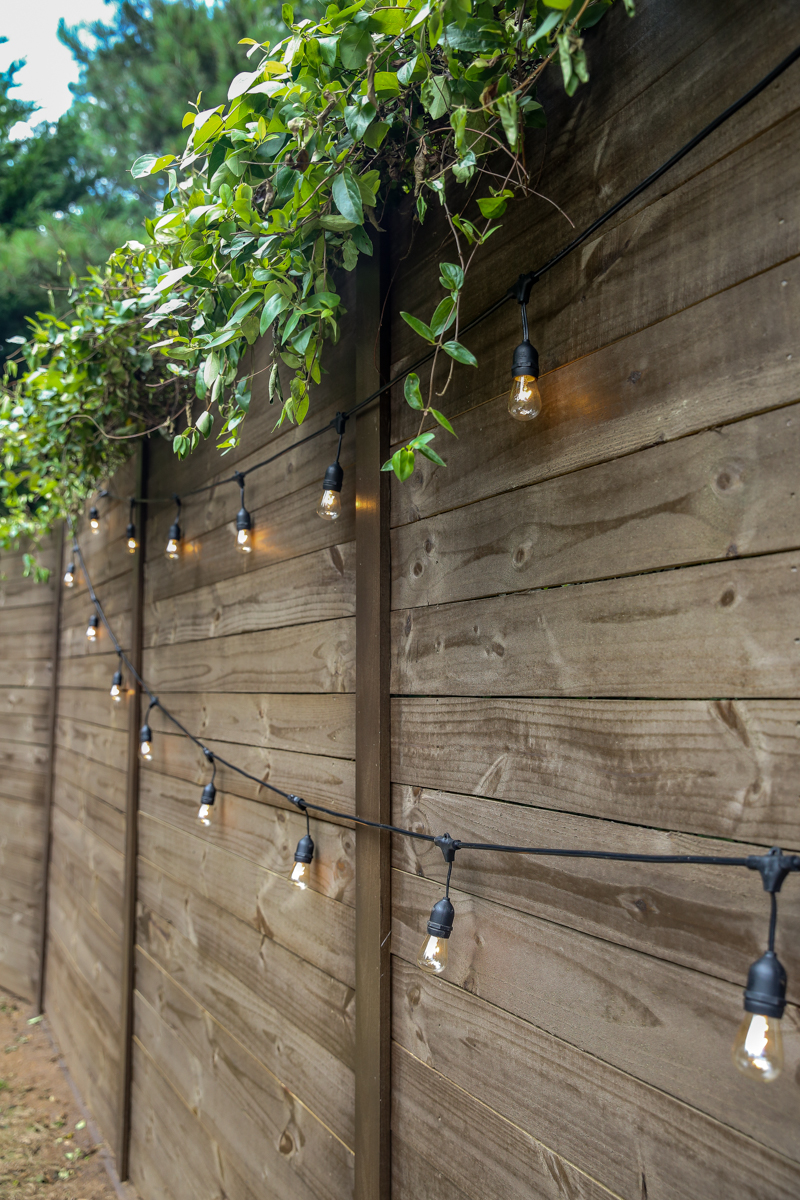
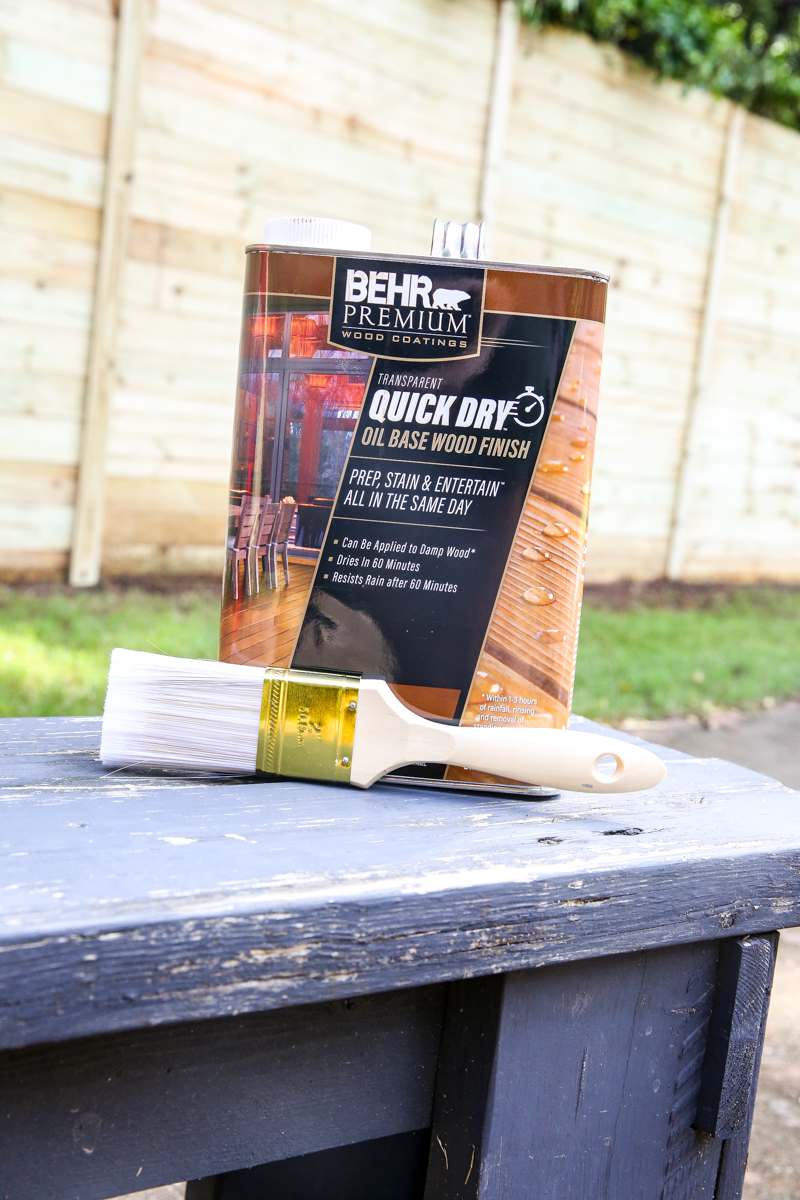
The finished fence was quickly installed with the help of Jeremy’s dad (literally I did nothing.) and soon it was ready for stain. Here is where the real transformation happens. Stain has this super natural ability to transform wood into something GORGEOUS. And personally I was super excited to try out the new BEHR PREMIUM ® Transparent Quick Dry™ Oil Based Wood Finish . It comes in the same color as our deck and our garden fence but it is a new product that boasts a one hour dry time and one coat coverage.
We broke out our sprayer and read the instructions for the Cordovan Brown colored stain.
The great part about this stain is that you can apply it on new wood, slightly weathered wood and even wood that has been damp recently. The weather here has been unpredictable with the summer storms so this was a great solution for us.
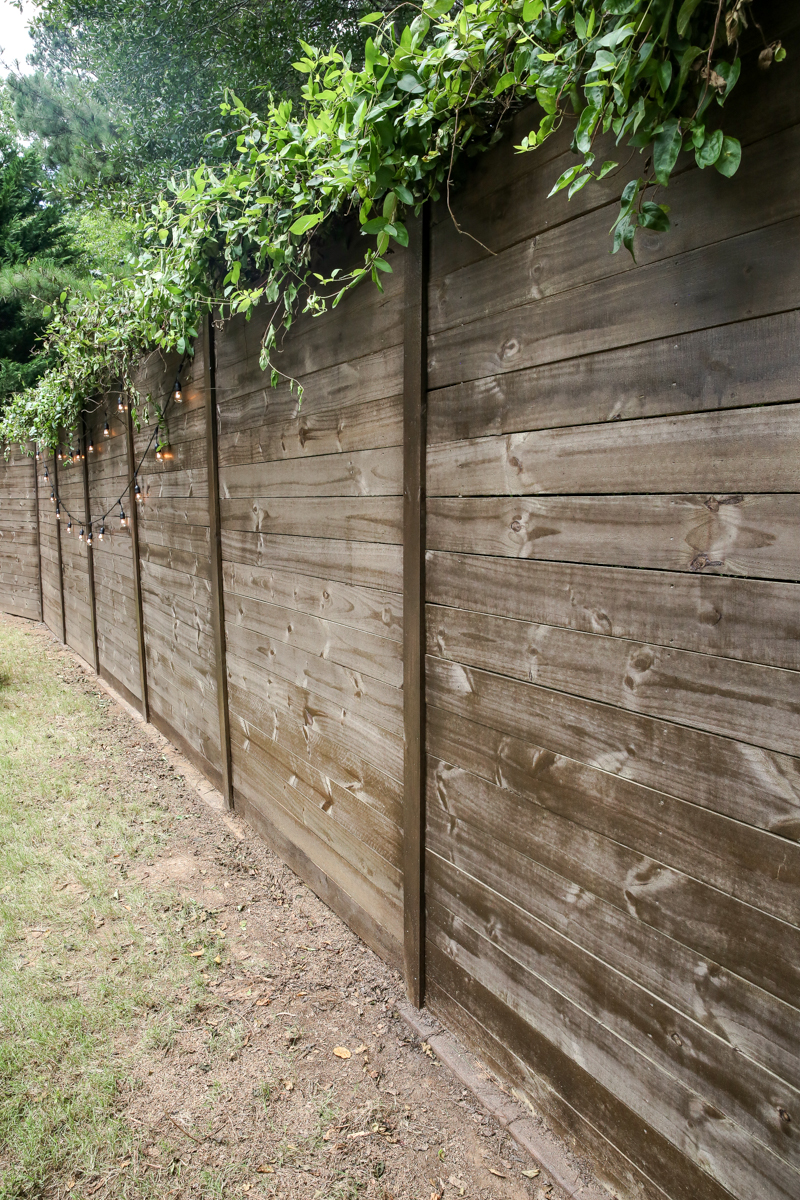
LOOK AT HOW AMAZING THE WOOD LOOKS!
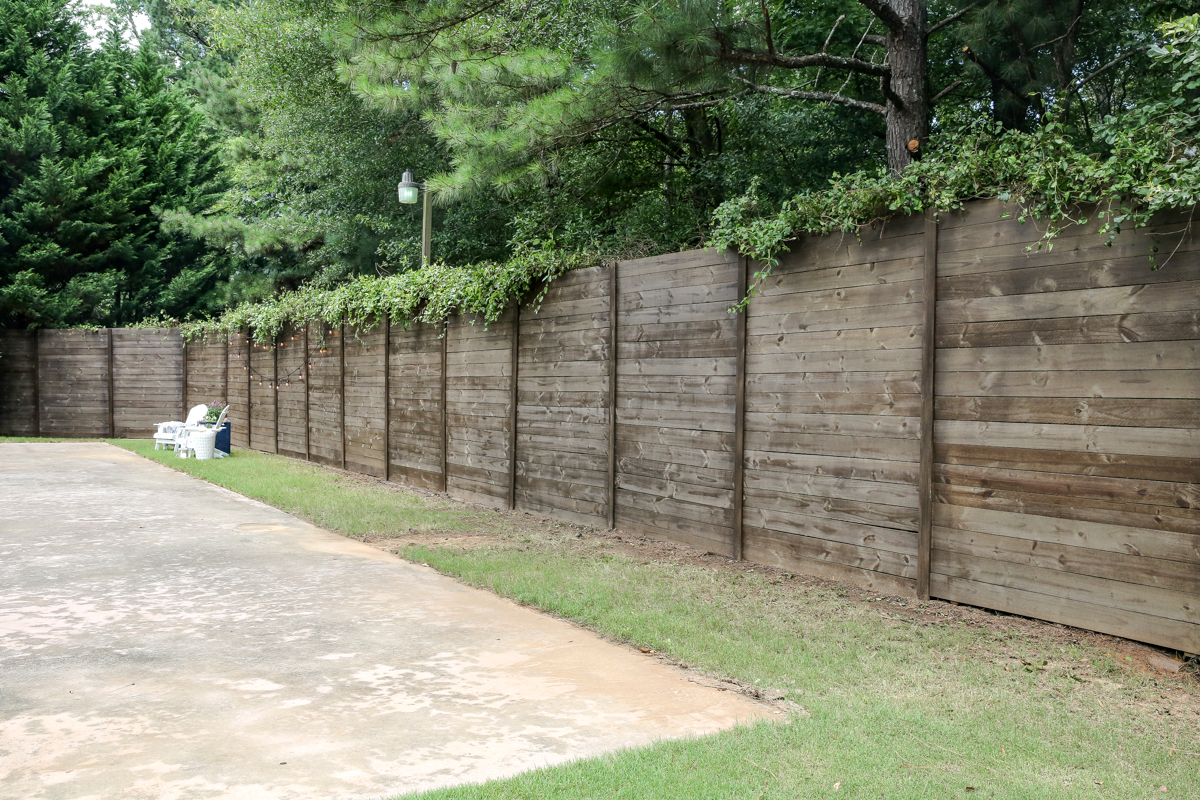
It took Jeremy one day with his dad to get the fence up and one morning to get it all stained. It was the best feeling seeing it all done so quickly.
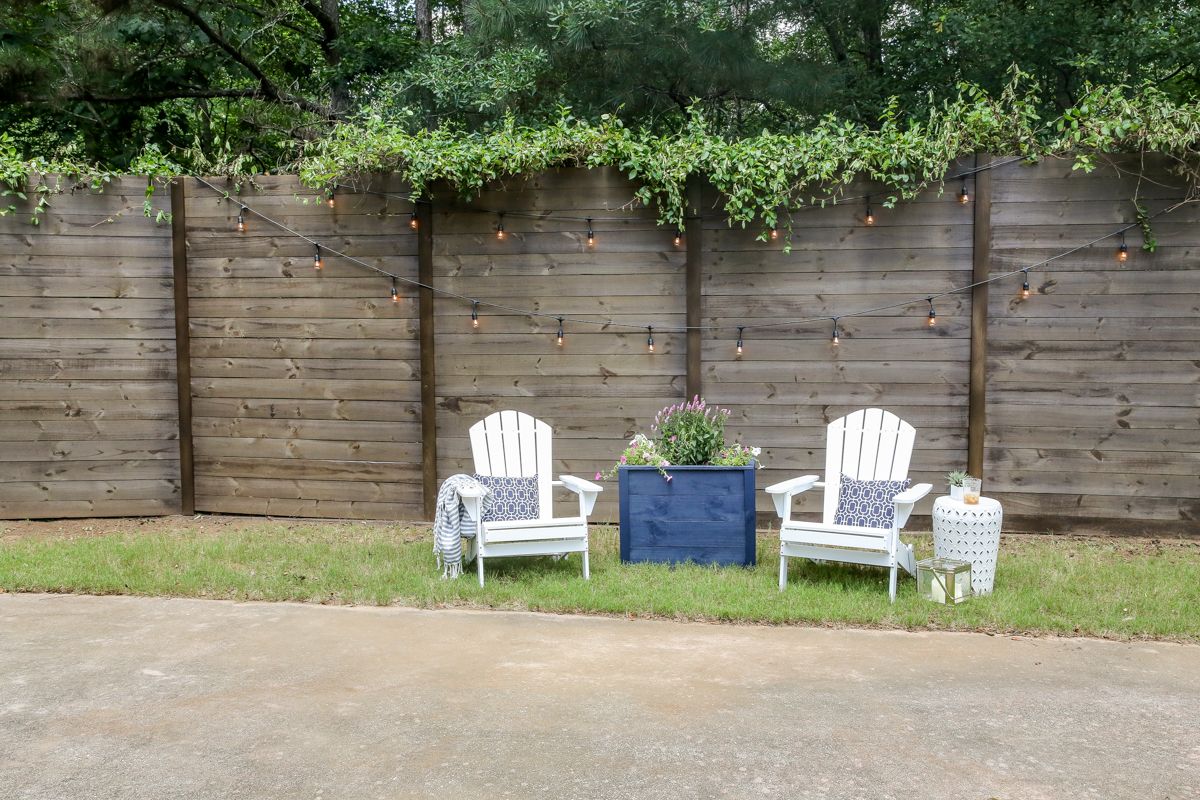
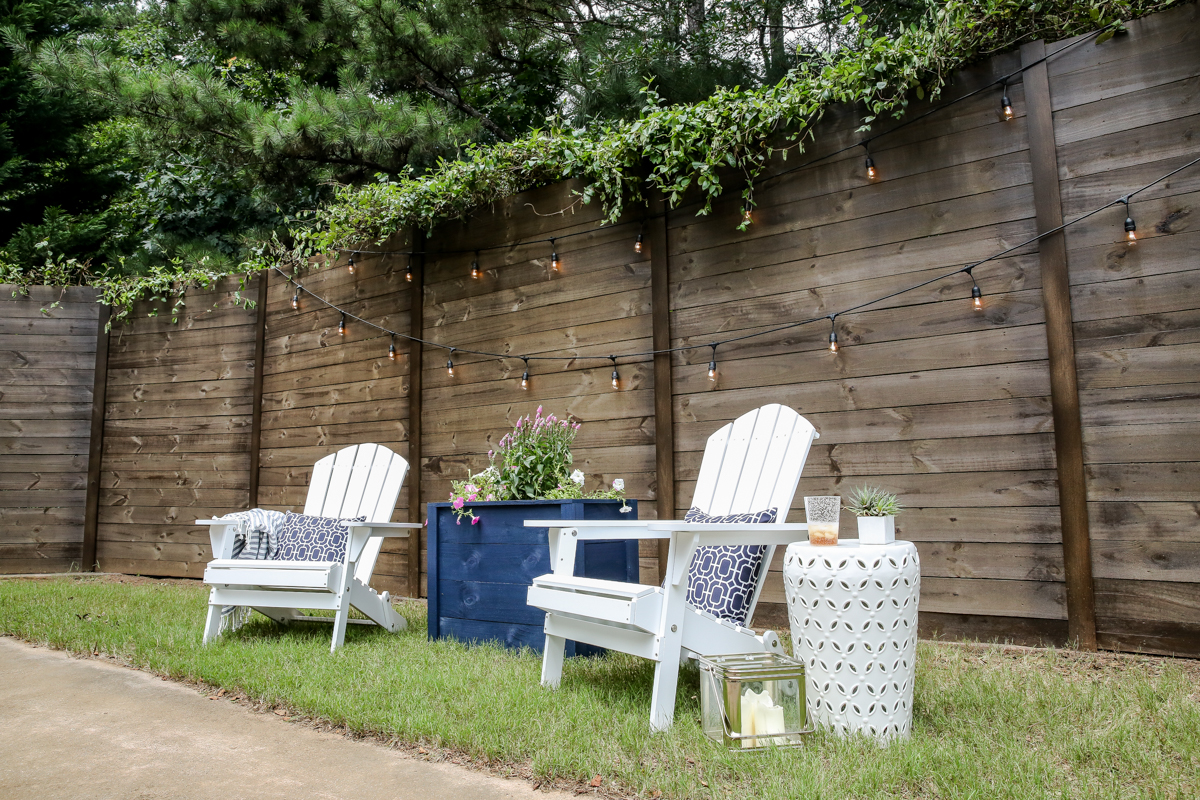
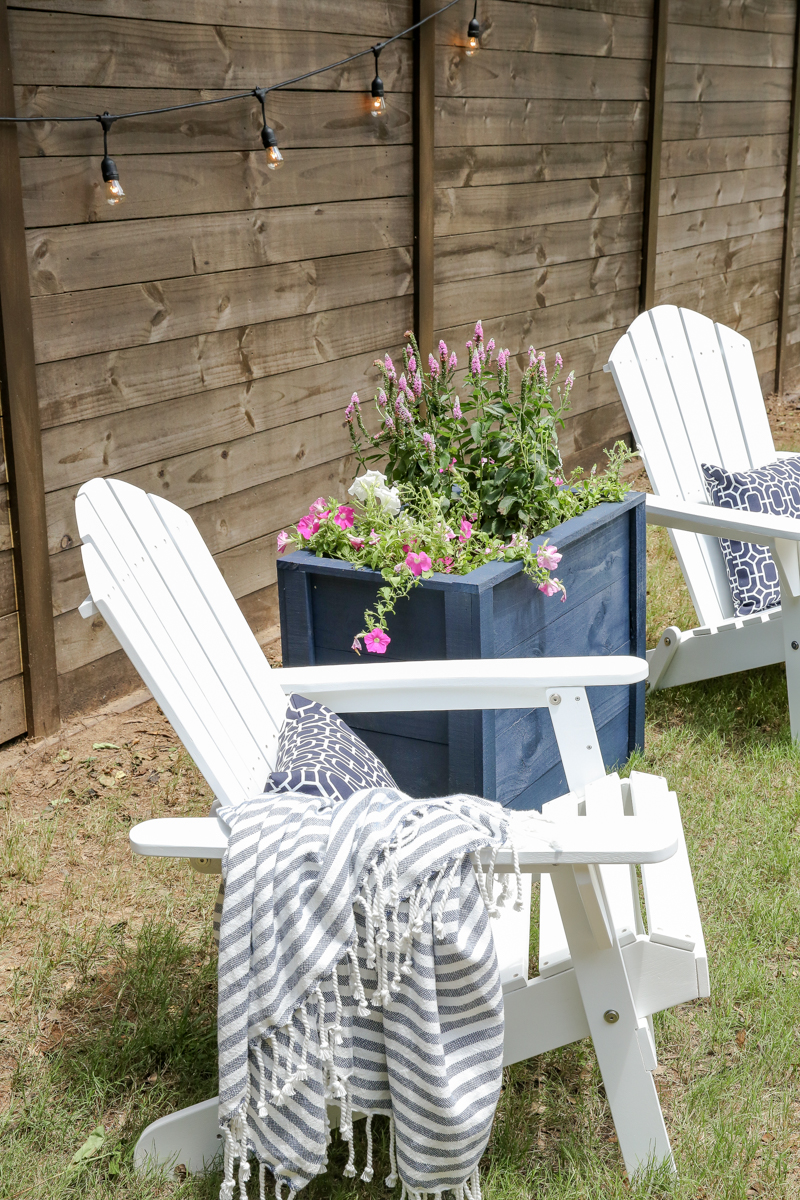
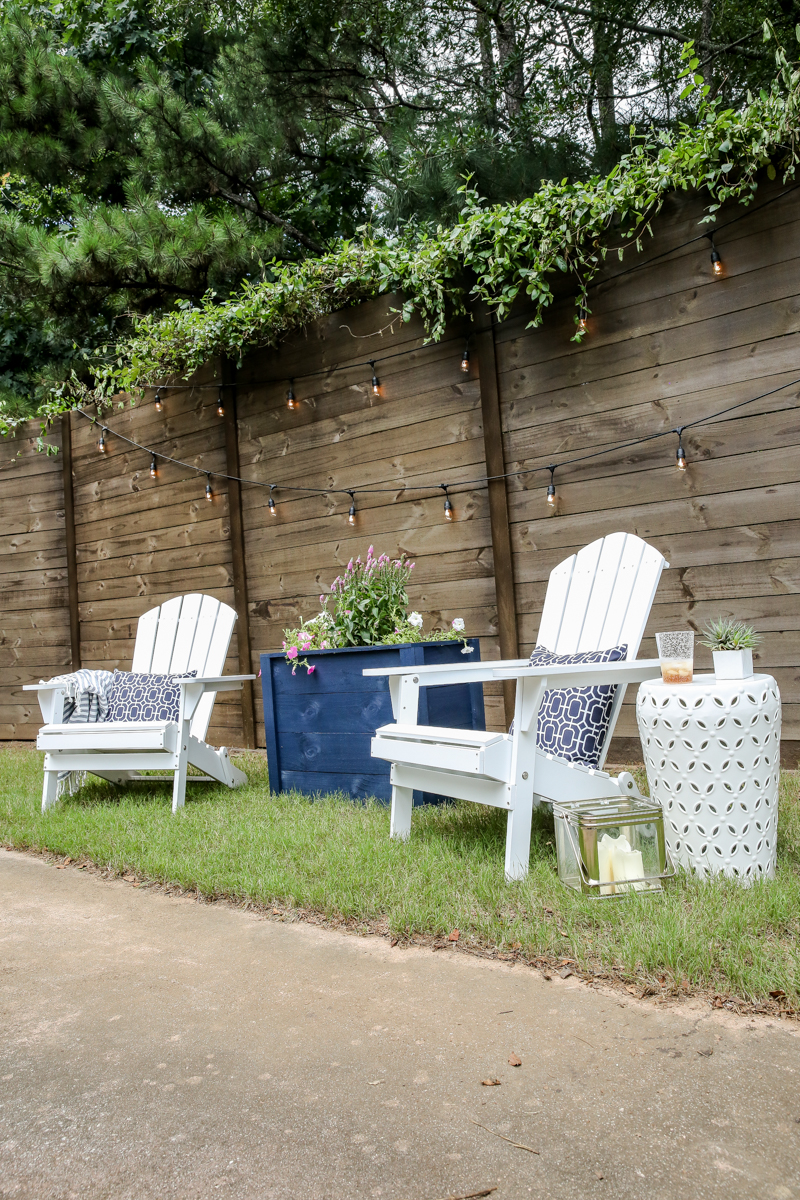
Since we use this space as a spot to watch the kids play, I wanted to spruce up one corner area so that I could sit out here and chill. I got a couple cute chairs and also added a small side table and planter.
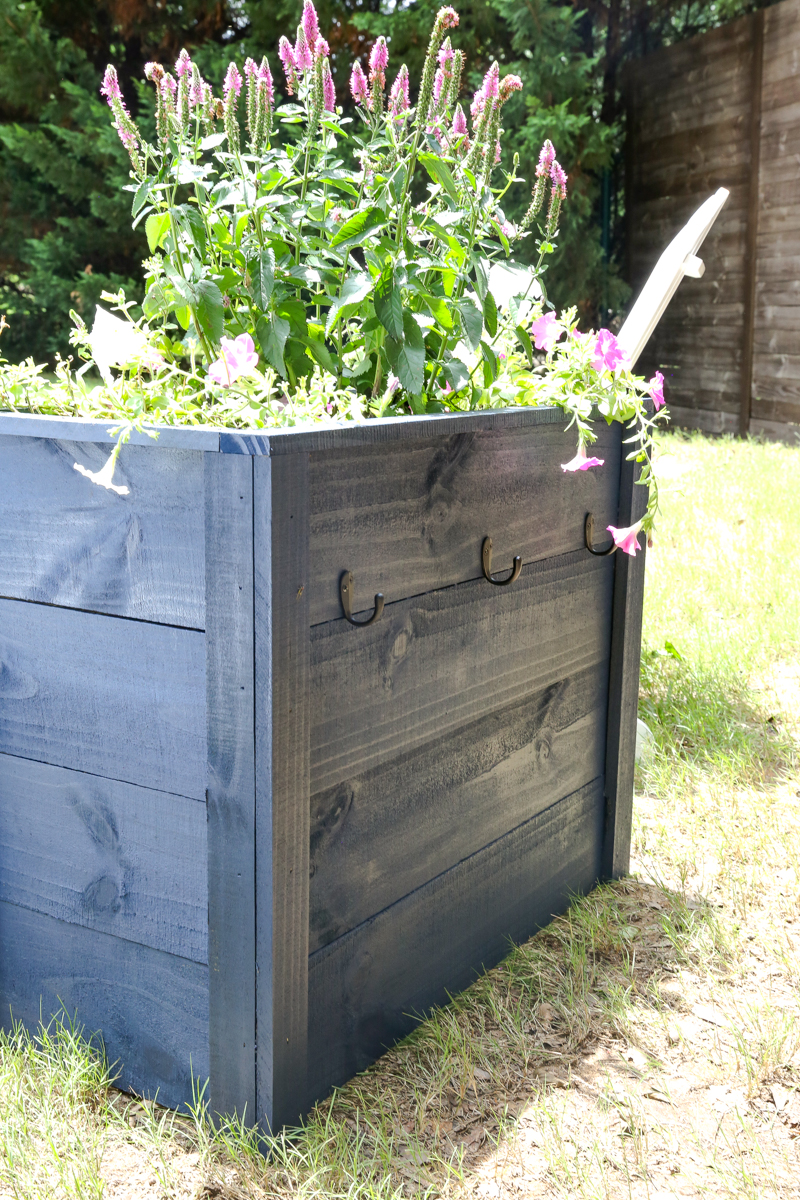
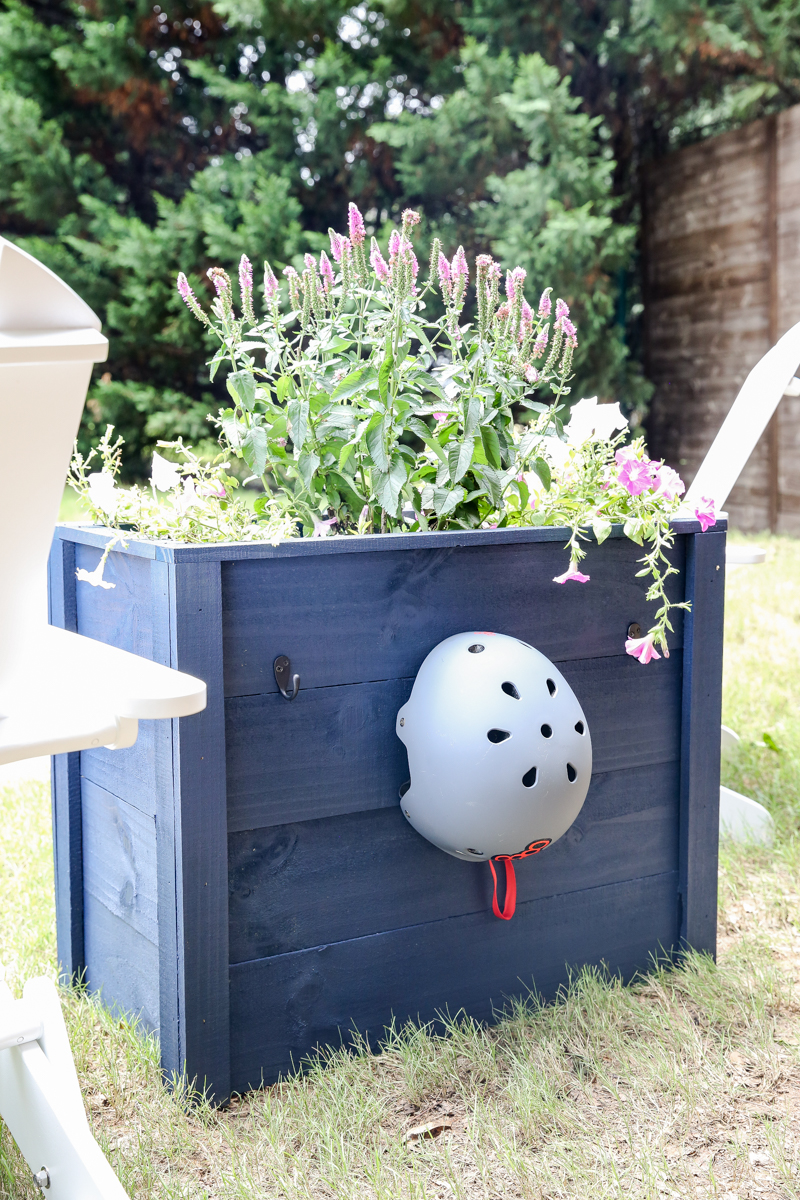
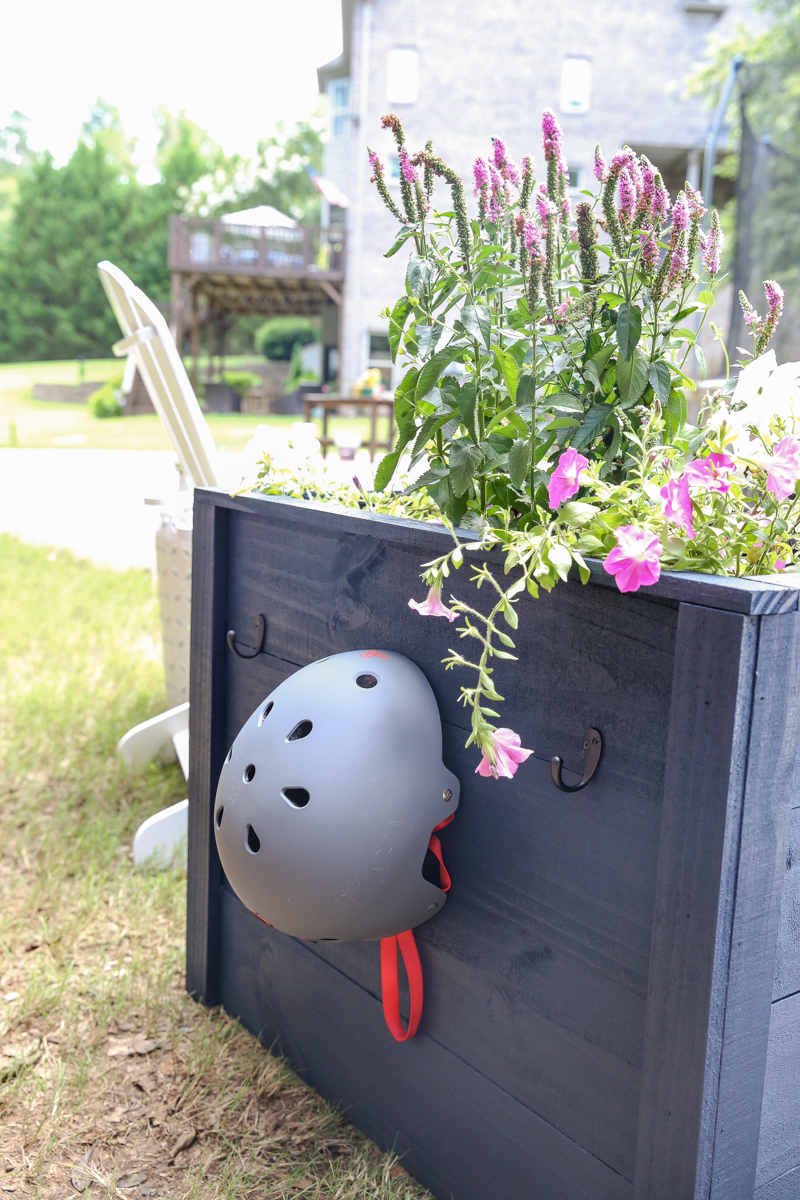
The planter I built as a spot to hang up helmets too. It was made out of the leftover pallet wood and has some hooks on the back so that the kid’s can hang up their helmets if they happen to take them off. It drives me nuts when the kids throw their helmets down….I mean…the reason I buy them helmets is to keep their head safe….which is impossible if the helmet is broken.
I’ll share the full tutorial on the planter soon too!
I really wanted it to pop with the white of the chairs and the deep rich color of the newly stained fence so I made the planter a dark navy. I used the BEHR PREMIUM PLUS ULTRA® Exterior Paint & Primer In One for this.
Did you know that you can protect wood that isn’t pressure-treated with exterior paint and it will hold up outdoors? It’s true.
And if you use a couple different types of wood, the paint is a great way to make it look cohesive. I did that here because I was just using all scraps!
All that to say – I am loving how our outdoor area is shaping up and I can’t wait to tackle the next part of our backyard transformation.
Now who wants to come over and chill with me in my yard?! 🙂

It looks so lovely and we have a similar setup but I am SO CURIOUS how you handle mosquito control? I wish we could have a more hefty mosquito control system or something without constantly breathing in chemicals. Am I missing something to be able to enjoy our backyard? They are like the state bird here in Texas I feel like. We’ve taken out bushes and brush, grass is kept clean and low, lots of citronella candles, we fogged, put on bug spray, but they are relentless here in Texas! I just want to sit in our adirondack chairs and sip a glass of wine but I get like 40 welts within 5 minutes! Please share secrets! And before it’s suggested….we have black thumbs which is why we went with a minimal-plant backyard…..in case you suggest specific plants that require lots of upkeep!
It looks awesome Jeremy & Katie! Can’t wait to hang out again! Dad
You know…I have done a lot of research…do you know what type of mosquito is in your area? And what blood type you are? Because that all matters!
xo – kb
The fence looks awesome. That’s a great solution. I love that Jeremy’s dad commented above 🙂 So sweet.
It looks great!
Here in Canada, our mosquitos will carry us away. We swear by our Thermacell!! We purchased it at Cabelas. I love that I don’t need to spray anything on our bodies. Mosquitos can definitely ruin a good time!
This is amazing! I would love to do this to my chain link fencing at least on the street side but need the other side to be pretty too and I think only one side of fence panels are the pretty side, right? I have a huge property so it’s a lot of fence!
Build a few bat boxes for your local bats. You will see a huge decrease in mosquitos.
Beautiful work! Great job! I feel like after years of reading your blog I’m still seeing new places around your house/property.
I love it!! I’ll be night over to have some freshly squeezed lemonade .
Great job!!! Can’t wait for the planter tutorial. I have a lot of scraps j think may work. aND that blue??? Beautiful!!
Oh my gosh–what a transformation! Stunning!! (And how cool to use the chain link there as a support?!?!?) So smart!
More like Project Yard SKILLZ! Yer skillin’ it out there!
You didn’t say what kind of sprays you’ve tried so I’ll suggest something with DEET (worked very well for us in the Amazon jungle recently so I would expect it to handle TX mosquitoes!) If you want to try something more natural, sprays with lemon eucalyptus have been found to be very effectiv. Also, I think it’s Off that makes a very useful little device that you attach to you belt or set on a table nearby that has a fan that circulates a repellant to create a cloud of protection around you. It works very well!
Did you use the regular fence panels, like this, and just turn them sideways to make the pickets horizontal?
https://www.homedepot.com/p/6-ft-H-x-8-ft-W-Pressure-Treated-Pine-Dog-Ear-Fence-Panel-158083/203733689
What’s a dog ear?? *googles it*
Looks great – can you share how you attached the panels to the chain link? We’re intrested in adding some to ours for additional privacy in one area. Thanks!
Freakin crap woman! This is unreal!!!!! I need to do this! We wanted to replace our chain link with cinderblock and it’s $24000+ . I may be texting you.
Consider building bat houses. They eat TONS of mosquitoes, and they’re kinda cool, too 😉
Holy crap. Cinderblock is CRAZY! I never knew that it was that expensive! It’s not a thing people do here I guess….but yeah…this is a MUCH cheaper option 🙂
xo – kb
I will be doing the whole tutorial on the blog this week! Stay tuned!
xo – kb
Yes that is it!
xo – kb
Perfect! izabella-decomanka
I second the ThermaCell! We have the Halo type which creates a 15×15 ft barrier, plenty big for most decks or sitting areas. If you need more coverage, just get a second one. It has totally changed our summer nights in hot humid mosquito-haven NC!
Thanks to all for the replies on the mosquito control! We have the Asian Tiger mosquito and that Aedes one that is famous for carrying Zika (not in Texas but it’s the same mosquito). I’m not a crunchy mama by any means, but I do have concerns when I think of the long term effects of all these chemicals around for my little ones, which is why I’ve been trying to find alternatives to Deet. Even sprays with Deet though don’t seem to dissuade these skeeters from dining on a fancy dinner on the kiddos and me. I’ve heard about the Thermacell so I may have to try that! Thank you!
How did you attach them to the chain link exactly? And then did he just put wood strips over the “seams” ? I’m thinking of trying this but would be attaching the wood and not sure i can make it work but i’d love to be able to hide my nasty neighbor’s fence this way!
More soon! I promise!
xo – kb