About once a week I try to give you a sneak peek into one of the photography shoots that I’ve recently done. I also try to give you photography newbies some tips. You know…stuff that I have learned, stuff that could help you, stuff that has helped me, just general photography stuff. But with all those posts about photoshopping and working with lighting and suggestions on how to work with kids, I realized that I kinda need to start at the beginning for some of you. Afterall, you are just like I was…inspired to take photos of the important people in your lives and you have a pretty decent camera (and some of you even have access to the editing software too)…but somehow it doesn’t translate into great photos. So that is what this post is all about: Where to start when it comes to photography. Let’s call it Photography for Beginners.
First let’s talk about your camera.
I recommend purchasing & shooting with a camera that has the ability to turn off the flash. If you don’t know how to do this on your camera – read your manual. Yeah. That book that is probably in the box your camera came in. When you use just a standard camera’s flash, it blows out the foreground and results in portraits that have loads of shadows and discolorations. Let’s assume that you have a good SLR camera (like the Canon Rebel or Nikon D3000) and it has a bunch of different modes – like auto, manual, Aperature Priority or Aperature Value mode (AV), and Shutter Speed Priority mode (TV). I suggest that if you are starting out…STAY AWAY FROM AUTO. Don’t go there. Don’t touch it. Don’t look at it. Don’t even think about it. It’s a sure fire way to take a craptastic photo. And to never learn the right way to actually use your camera. It’s like a drug…and you’ll get hooked and then years down the road, we will catch you compulsively picking scabs on your face in a corner while jonesing for a decent family photo. Not cool.
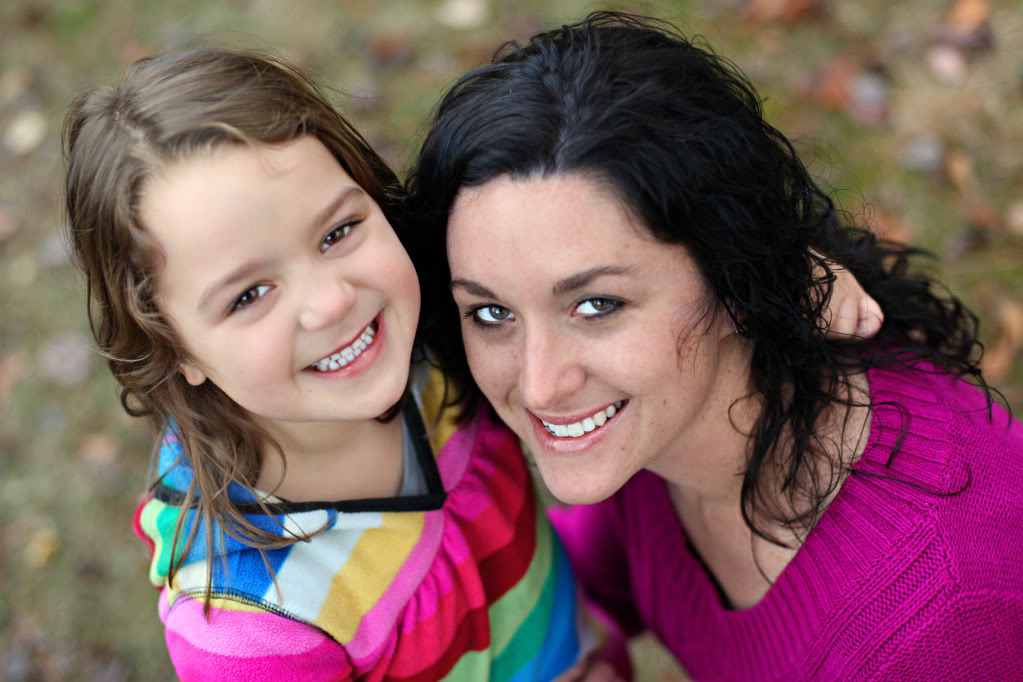
Now let’s talk about the time & place to take a photo.
The best time to take a good portrait is early in the morning (with an hour or two of sunrise) or late in the day (an hour or two before the sun sets). This is the time that the sun isn’t directly overhead and you will be less likely to be struggling with harsh shadows and the forehead glare (I call it headlights). Also, have your subjects either face the sun or face directly away from it. Practice with your favorite calm and obedient child to see the difference. Below you can see Tara was facing the sun – resulting in a very flattering highlighting of her features. Test to see what you like best. Switch it up during the same shoot for a completely different result.
The best location to take a portrait is one that allows the subjects to be relaxed. Then look for a place that has minimal distractions in the background. Also…since you are shooting at the forementioned dusk or dawn – there shouldn’t be a lot of direct sunlight. But if there is…go to a shady area – have your subjects in a shady area and you should stand in the shade too.
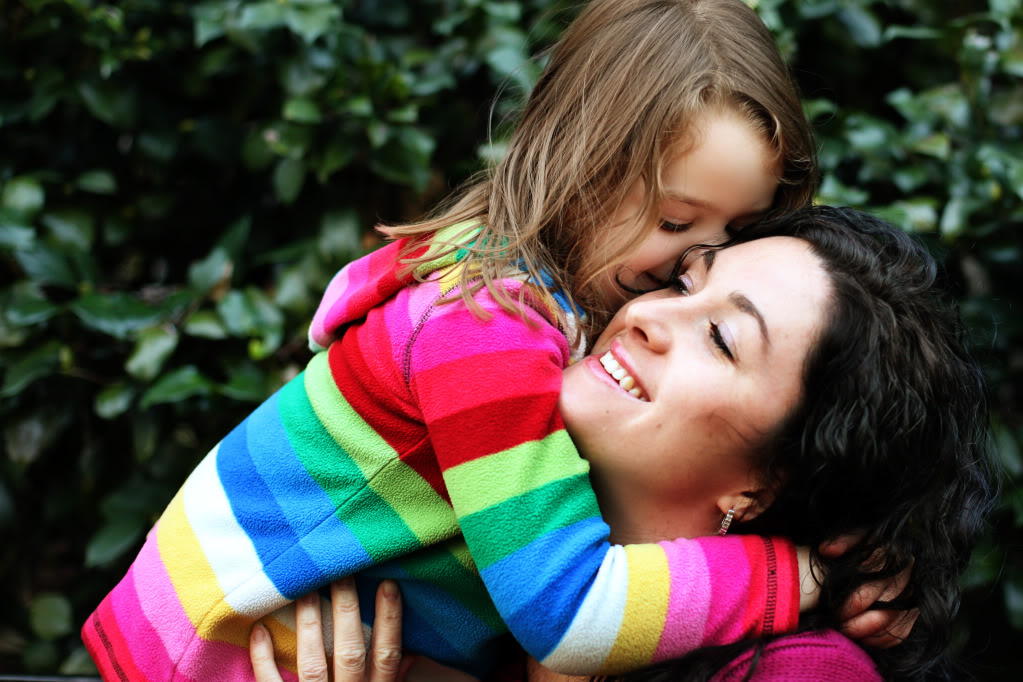
Now that you are in the right place, at the right time with the right camera, let’s talk settings.
The number one thing I tell people is that you can’t duplicate perfect lighting just by setting the camera on the same settings. You need to be flexible with your particular situation. That being said…let’s start somewhere easy. Imagine a triangle. This triangle is the key to proper exposure (or perfect lighting for you normal talkin’ folks). One corner of the triangle is the ISO setting. The other corner is your f-stop (that setting on your camera that is f/____) and the third corner is the shutter speed. If you can get the right combination of these three things…well, then you just shot a perfectly exposed photo. (enter happy dance here).
Now for an exercise. First, go outside with your test subject at the proper time. Now put your camera on the AV setting. This mode will automatically set your shutter speed according to your f-stop. Now set your ISO to 200 (if it’s really bright outside) or 400 (if it’s a little more overcast). Now I want you to get really close to your subject and set your f-stop as low as it can go.
Take the photo.
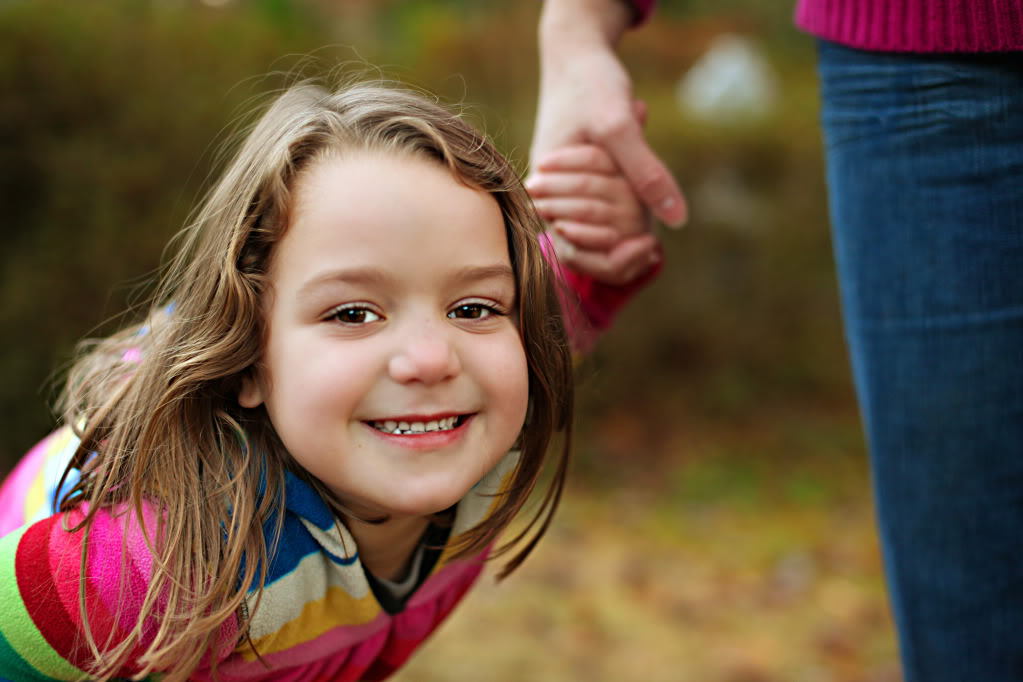
Now what SHOULD happen is your background should be slightly blurry – like the photo below. If the photo looks too light – then notch that ISO to 200 or 100. If it’s too dark, then move that ISO to 400-600. You want to make SLOW adjustments. Note the differences.
Now go back to your original settings. This time, slowly adjust the f-stop up and then down. Note what happens.
Now let’s talk about basic portrait rules.
1. Focus on the eyes. You know that little red dot that appears when you press your trigger half way down? Yeah…it should be on the eyes…ALWAYS the EYES 🙂
2. Put your subjects in the upper third of the photo. There is more to the rule-of-thirds but for starters…put em smack dab on the upper line that would slice your photo in thirds.
3. Don’t shoot below your subject. Listen…this can work sometimes…but for beginners, it’s smart (and the most flattering) to be on eye-level or above your subjects. You will avoid many-a-double-chin this way.
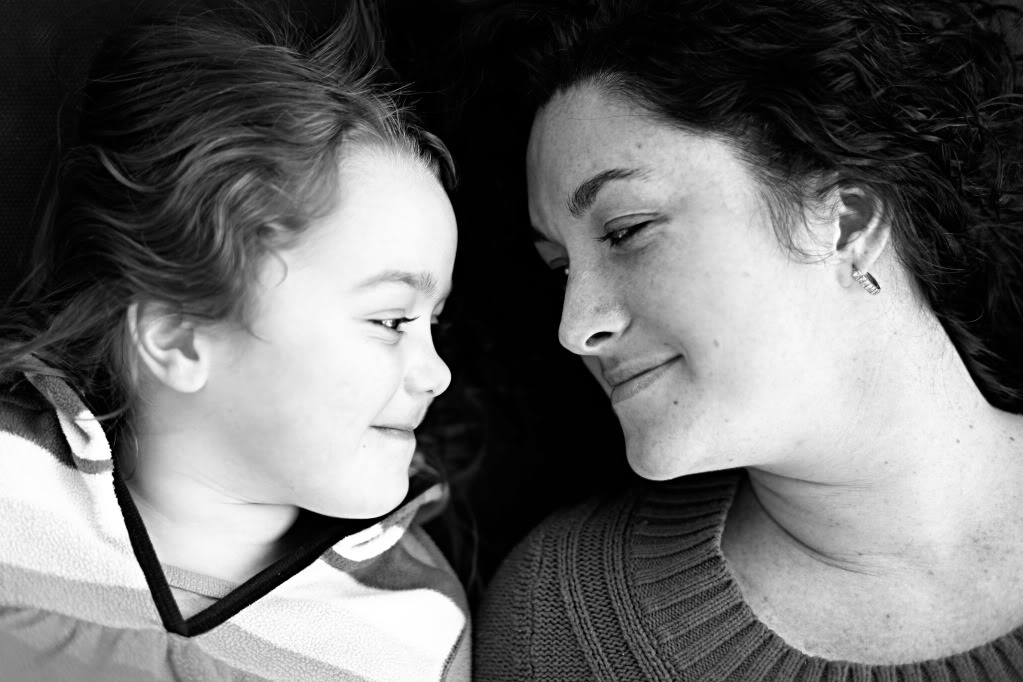
Lastly – SHOOT SHOOT SHOOT.
Practice literally all the time. Practice on leaves. Practice on trees. Practice on the mold that is growing up the side of your house…whatever you do, take out your camera and get clickin. Practice different angles. Practice different backgrounds. Practice different lighting. PRACTICE.
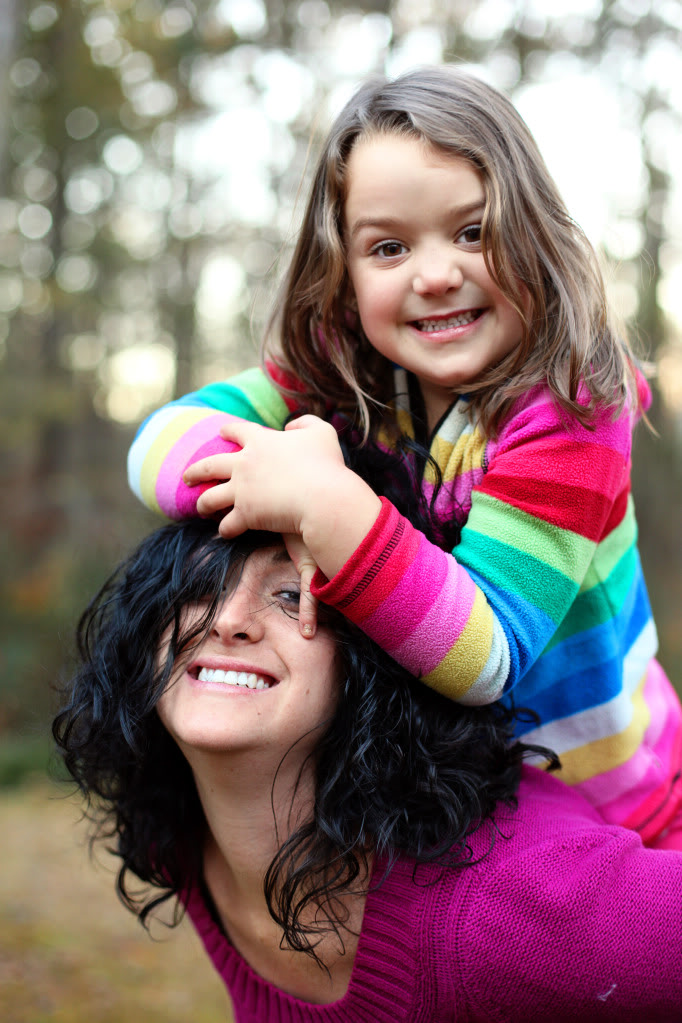
And remember, Rome wasn’t built in a day…and neither will your skills. The key here is to improve. And don’t be afraid to ask questions. Afterall, photographers are some of the nicest people in the world…I should know 🙂
Not to switch gears on ya, but how cute is Clara? Man that girl has personality. It’s like oozing from her pores. Kinda like pus…except less disgusting and totally more adorable.
Great post Katie…and perfect timing. I have it on good authority that santa may have a Nikon d3100 in his bag for me this year, and I am already feeling excited, anxious and totally incompetent…..Your tips were really helpful and, as always, your photos are beautiful. I’m sure I will be referring back to this post once I get my hands on my new toy!
Happy Holidays!!!
This post could NOT have come at a better time as my Canon Rebel arrivedin the mail on Friday 🙂 Ive been reading (and REreading) the manual and trying to keep my fingers from turning that dial to the little green square button! Last night I discovered how to change the shutter speed. HELLO!!! Suddenly the 400 pictures Id taken of my Christmas tree showed that it actually had lights on it!! 🙂 HA! Im sure I will have some questions for you once I digest this entire post. Thank you for sharing all your knowledge with us. I know you consider yourself an amatuer, (I beg to differ, however) but since you learned just by DOING, you knowledge is invaluable!
Katie, thank you so much! I must say that I am totally stuck on “Auto” and have been holding off on reading the “other” part of my manual, but this is GREAT motivation to do so. Thank you again!!!
Dude, you ROCK!!!!! ‘Nuff said. 🙂
Great tips as always, Katie! Thanks!
I got a Canon Rebel T2i as an early Christmas present and I’ve learned so much in the past two weeks! I’ve bookmarked several of your photography posts (and others as well) and I’ve been practicing like crazy!
The wonderful thing about digital cameras is that practice doesn’t cost a thing. In the film days you’d have to wait and pay for film processing, but now it’s all instant! Love it!
My camera cost an arm and a leg, but I already know that it was worth it. I’ve wanted one for years! Please keep sharing more photography tips.
I am so excited about these posts! I have a nikon d-60 and have been reliant on the auto setting for awhile now. I need to try one thing at a time to get it so I am excited to try the assignment.
Thanks so much for the post, Katie. I received a rebel xs last week and have been hard at work figuring out Av mode. Quick question—when you turn down the fstop superlow often times the speed is still slow leading to blur…..any thoughts on this…
Can I tell you how much I love these photography tips? More please!
I have a couple of questions:
1. How do you get your photos so perfectly crisp and clear? Is it the lighting? Is it your camera or some fancy lens? I have a Nikon D70, so I’m wondering if maybe I need a better camera, or something other than the basic lens, or maybe I just need to learn how to actually use it!
2. Now that it’s getting colder outside, how do you take good photos inside? I have such a hard time finding good light indoors. Suggestions please!!
I’m going to look into buying a new camera after Christmas so I’ll have to save this link. I love your pics of Tara & Clara though. So precious.
great post. however, every time I use the AV setting my focus looks totally off.
Is it user error?!?!? The only way I get CLEAR images, despite focusing, is ON the auto setting. ;-(
This post came at I time when I am seriously thinking about getting myself an SLR. Not the top of the line or anything, but something a little better than a point and shoot.
We had a family member take a holiday picture of the Hubs and I with our for our holiday card. The picture looked fine on the camera and not too bad when we designed our card, but when it printed it was NOT all that I hoped for. It turned out a bit fuzzy and the light seemed extra yellow (we took the picture inside with artificial light which was probably the problem).
I feel like I really should focus more on learning HOW to take good pictures because I know I won’t regret it when I have a family and want to take pictures all the time.
I hope that someday I can take pictures as beautiful as yours!
I agree with everyone else. Perfect timing. I’m hoping to move up to an SLR from my (pathetic) ten year old 3 megapixel camera this year. More lessons along these lines would be great. Thank you!
Also, that photo of Will at the top of the screen is so incredibly cute I had to go volunteer at the church nursery to get some more babies in my life. Okay, I was actually going to do that anyhow, but he was motivational.
Thank you so much for posting this…… I AM STUCK on my AUTO setting and have been since I got my Nikon D3000 Camera three months ago.
I now know how to change the F and ISO setting BUT ONE QUESTION:
How do I set the setting to the AV setting???? I don’t get that…
Also, I am LOVING your blog. Saw you on YHL and have been following you since… Love you both!
Thank you so much for writing this! I have a feeling my hubby is getting me a DSLR camera for Christmas (and if not I think I’ll buy one) and I am sooo anxious to learn to use it and capture the world as beautifully as you do. This is such a helpful and simple tutorial and I’m excited to create some GOOD pictures finally.
Hi Amy,
On a D3000 it is the “A” setting on the wheel on the top. Turn it till you are on that setting and then go adjust the rest 🙂
xo – kb
Hi Kacey,
Okay – so without writing an entire book about exposure, here’s the lowdown on focusing. When you are using the AV setting, you are basically setting up the f-stop and then allowing the camera to set the shutter speed. Imagine you are taking a photo of a tree in the middle of a field. Every foot from you to the back of that field is a slice. The f-stop number tells the camera how many slices to focus on in a single photo. The lower the f-stop, the fewer slices…so you might have the bark of the tree…but not the grass before it or after it in focus. Now if you bump up the f-stop, your tree is in focus AND so is the foreground but not the background. Now keep bumping it up and suddenly EVERYTHING is in focus. Now let’s throw a moving object in the photo. To capture a moving target, you gotta have not just the f-stop set correctly but also your shutter speed has got to be high enough too…I recommend at least 1/200 if you have a human in the shot…higher for kids 🙂
Does this help at all? Anyone else wanna chime in?
xo – kb
Hi Courtney,
1. Properly exposed photos are detailed photos…and I also use post-processing techniques like sharpening and boosting the colors. No my camera is just a standard Rebel XSi and I use the cheapest nifty fifty lens available (50mm).
2. Photos inside require good natural light and having your subjects face the windows 🙂 Also, I would recommend a lens that has the lowest f-stop you can afford.
xo – kb
Hi Stacy,
Turnin the f-stop down low does result in blur if your shutter speed is dropping below 1/200 (if you are really steady then sometimes you can cheat this number – but 1/200 is a good guidelines when dealing with portraits). My recommendation is to invest in a nifty fifty lens (50mm f/2.8) and move outdoors 🙂 Also, a tripod can help and so can moving your ISO to the highest setting…it gives some grain to the pics but in the end, I would rather have grain than blurface 🙂 Hope this helps!
xo – kb
Katie,
Thank you so much for writing this post! My husband bought me a Canon G12 last month (my first “real” camera!) and I’m definitely still learning how to use it! I followed your steps and took some good pictures today. Thanks so much for the tutorial and I hope you do more of them in the future!
Such fabulous tips!!!! Thank you so much…now I’m going to play around with my ISO & f/ thingie… = )
I just got the Nikon D3100 two weeks ago and haven’t had a ton of time to practice… I read the teeny tiny little book and thought, “there has to be more than this!” Yep – a CD with about 260 8 1/2 x 11 pages!!! I can never seem to be able to figure out how to control more than one thing (ISO, shutter speed, and aperature).
So, Saturday we went outside to try to get some good pictures of my girl and to play with it. OH. MY. GOODNESS! An almost 3 year old does NOT make a good practice subject! 🙂 I told my husband I’m so excited for No. 2 to arrive in March so I have someone immobile (and non-verbal) to practice on. 🙂
Thanks for the posts – they’re helping a lot of us it seems.
Thank you for this post, Katie! I’m a total beginner at taking photos and this was VERY helpful. I don’t have a tripod and I’ve been blaming all my bad photos on that…but now I think I’ve been using the wrong settings, too. Anyway, I’ll be sure to go through every bit of your advice and practice, practice, practice!!! Thanks again!
Thank you for this perfectly-timed post! With our first baby on his/her way, we felt it was the ideal time to upgrade our camera to a Canon Rebel. I’m going to be referring back to this often when it arrives! Gracias, girl!
This post is so encouraging! I totally agree – stay away from the auto and just experiment! It can be discouraging at first that it takes 10 minutes to correctly set up one shot and good a picture, but practice makes perfect!
I am still practicing… bigtime!! Therefore can’t wait to hear more of your tips – keep them coming, I love your pictures!
PS – My other recommendation would be buy an external hard drive.. !!
Thank you for this post! I got a Canon Rebel a few months ago and am finally starting to get the hang of it. I do agree with your suggestion: practice, practice, practice! As a result I have a ridiculous number of pictures of my dog 🙂
Your sis-in-law is beautiful. Has anyone ever told her that she and Katy Perry look alike?
The only people that tell me she looks like Katy Perry is blog readers…and I don’t know if she reads these comments but I will sure to make her next time we have a family get together 😉
xo- kb
I agree also, this post is amazing and came at the perfect time 🙂 Thankyou for writing it and I can’t wait to read more of them in the future! Esp after I get my new camera for christmas. xx
THANK YOU! I’m finally getting an SLR and need all the tips I can get.
Did you become so amazing at taking photos by yourself, or have you taken classes somewhere? Just curious! Hoping to get a SLR in the near future =)
I have not taken any classes Amanda…just lots of practice and a very willing subject (Will not Jeremy).
xo – kb
I just recently stumbled upon your blog and it’s now at the top of my favorites! Thank you!
I am REALLY looking forward to more beginners info on photography, as my hubby just surprised me with a Panasonic DMC-G10K. Like I said, I’m a beginner and after reading the manual (and trying to follow what in the world they’re talking about) I have a major issue I can’t figure out. Every time I try to take a photo that isn’t in the auto with the flash on, the subject is blurry and if they move a fraction they are a big blur. I’ve tried to change settings, but I just don’t know which ones to change to get it to look good. Can you help?
Well, I am not familiar with your camera but the first thing you want is to adjust your ISO. Try to make that as high a number as you can. Start there. Still Blurry? Then adjust your f-stop (it looks like f/4.0) and you want that as LOW as you can make it. Still fuzzy? Then drop your shutter speed to a SLOW setting like 1/100 or even 1/50. If you still get blurry photos then it might be your camera/lens capabilities are too minimal.
Hope this helps!
xo – kb
Oh boy! I am “crack attack” addicted to auto on my Rebel T1i. When my dh uses it he always switches it to those “funky letters” and when I get my camera back I look at him like he wiped his boogers on it! I guess I should really learn how to use those settings. I get so confused about fstop, shutter speed and ISO. I’m just so thrilled to have a camera that is fast enough to catch the kids (without the blurry photos I always had with my point and shoot camera) that I haven’t focused enough on making my pics the best.