As in “Tapestry That”. Get your mind out of the gutter you.
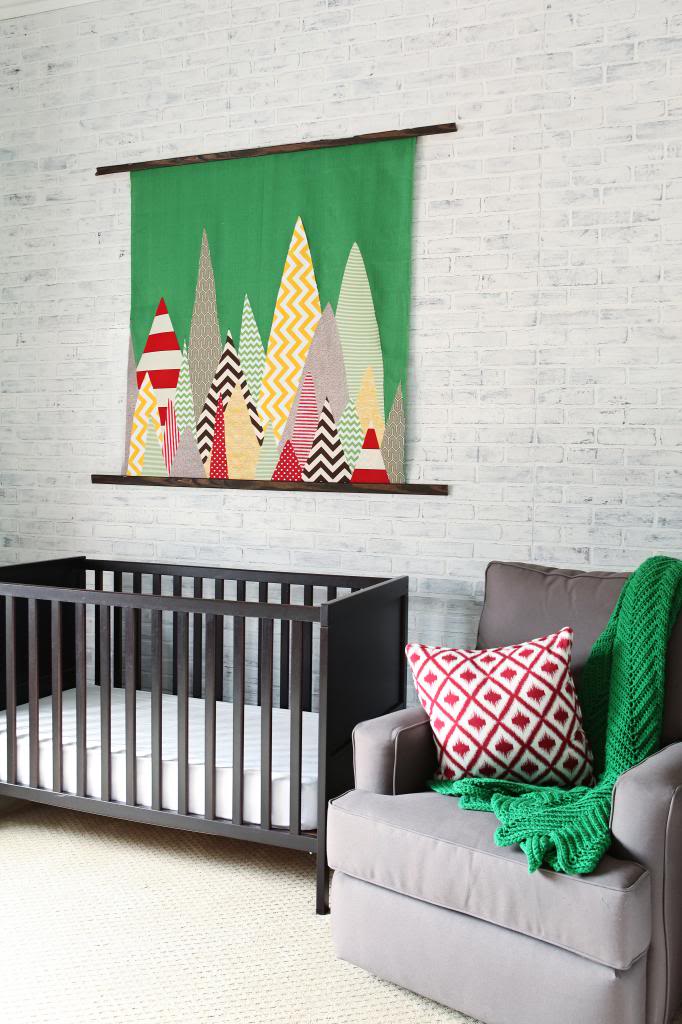
That’s right. Today we are finally showing the masses the world’s easiest way to make a hanging tapestry (like the one we have hanging over Weston’s crib).
This is a really easy craft for big impact. I liked it because it was a way to put in color and pattern on a wall in a large way. Since the ceilings in Weston’s room are 12 foot, this space can be overwhelmingly large. We needed a large punch in the pants on this wall to balance out the oversized wooden W on the adjoining wall and this easy wall hanging was just the way to do it.
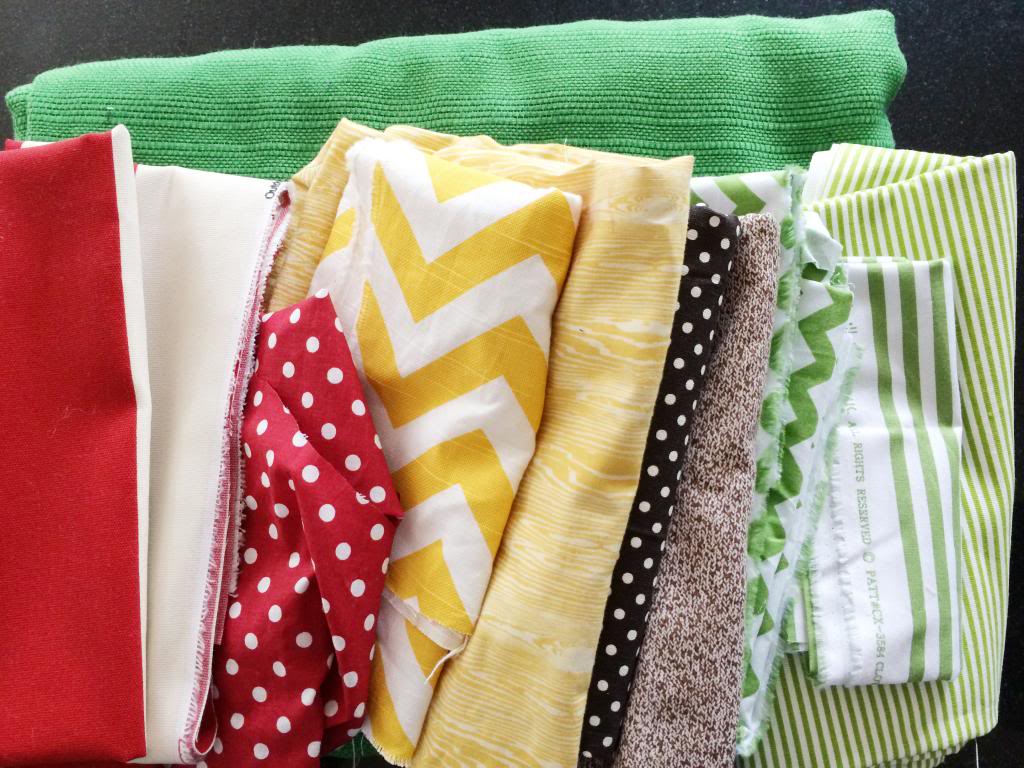
First step for this project was gathering fabric. I needed a bunch of different fabrics that were in my desired color scheme. I chose different patterns and varied the scale and color of the prints for added punchiness. I knew that I wanted green as my background so I needed to have an extra large piece of that. All the other fabrics could be one yard and smaller.
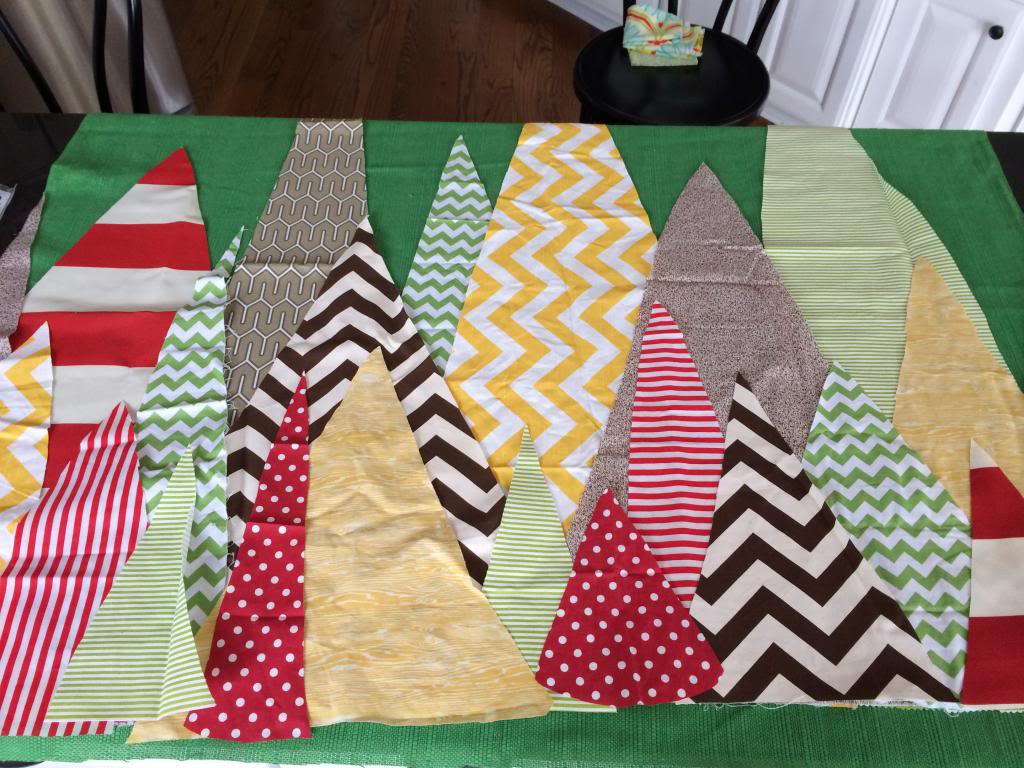
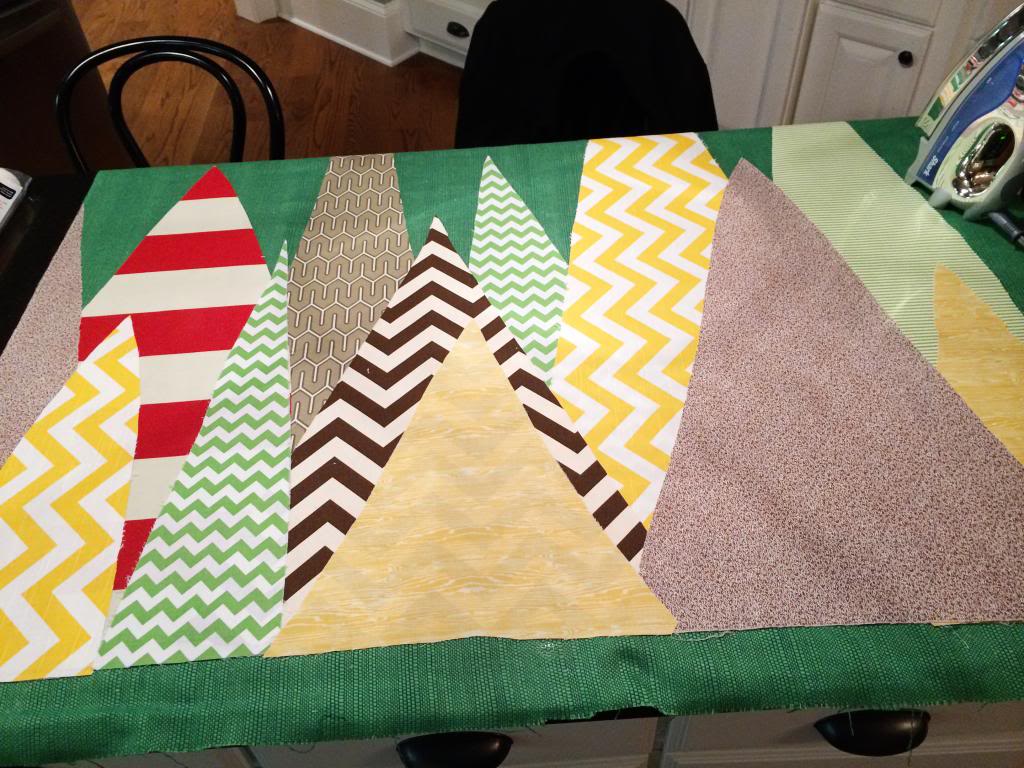
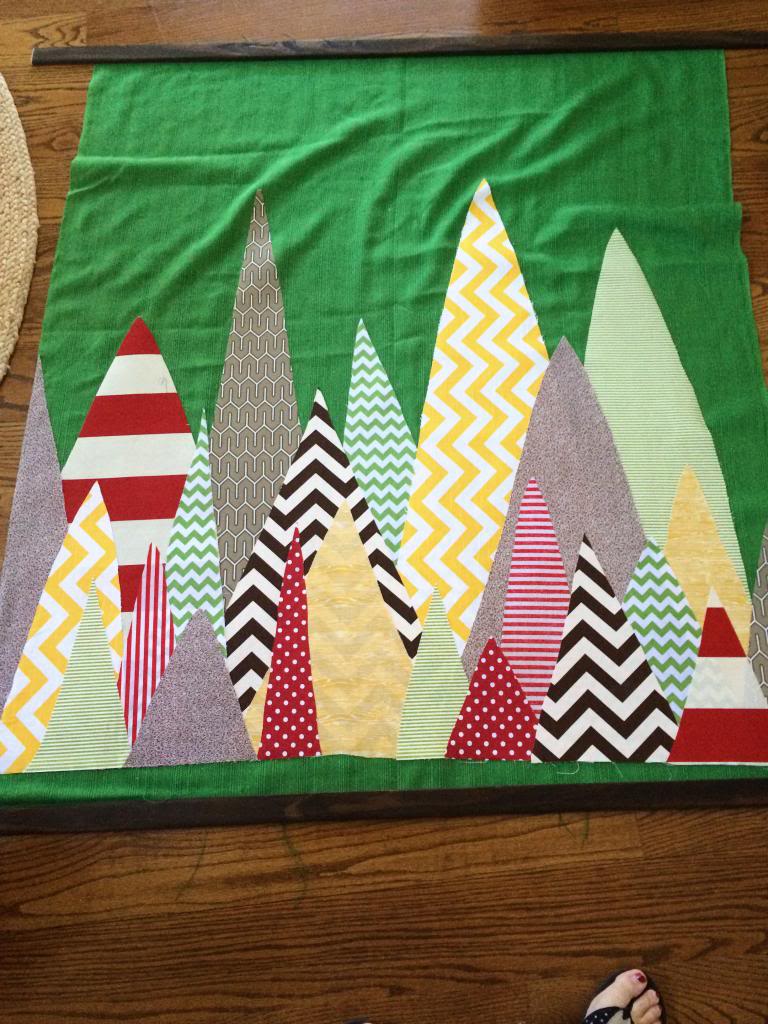
I first laid out the green fabric and then decided on my design (which is actually trees…although some people have called them surfboards and mountains…the original idea was trees). Since I didn’t want anything too complicated, the trees looked best when I varied and overlapped the height and pattern and kept the design simple. It helped that I took a photo on my phone too of my “end” result. Then I gathered up all the trees and plugged in the ole iron.
Did I mention that you will be ironing? a lot? This is probably the most I have ever ironed….ever….in the history of ever. You will be ironing till the cows come home. till pigs fly and till chubby becomes the new thin. (my fingers are crossed on that last one).
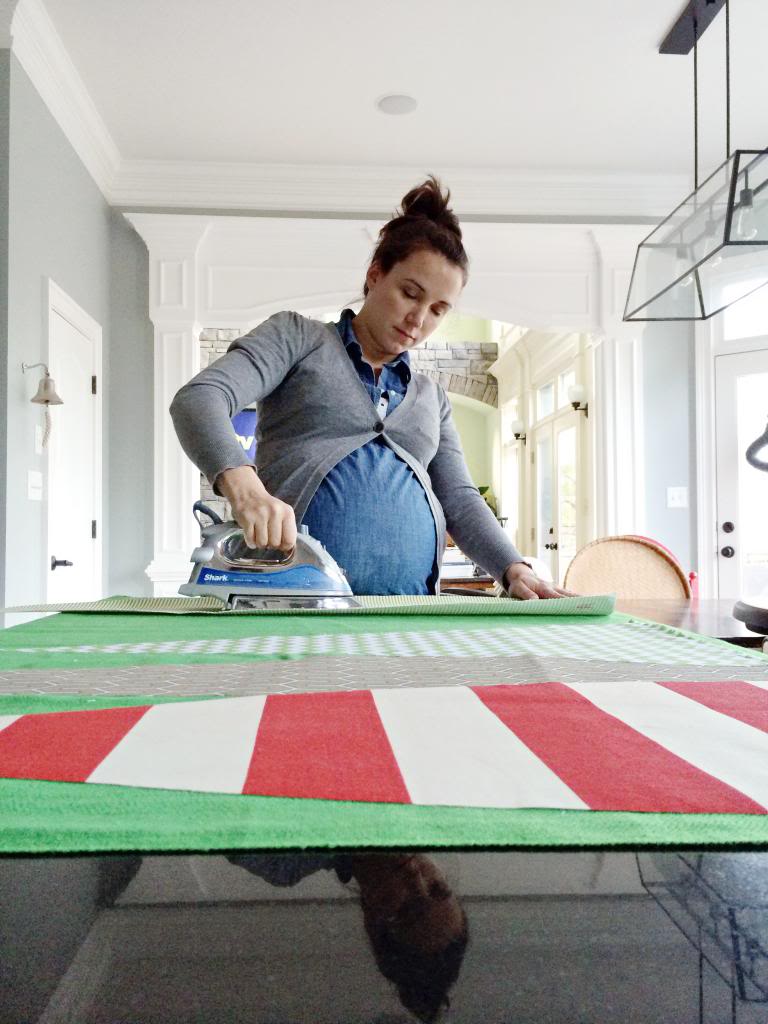
Yup. This is a no-sew project that just requires an intimate relationship with your iron.
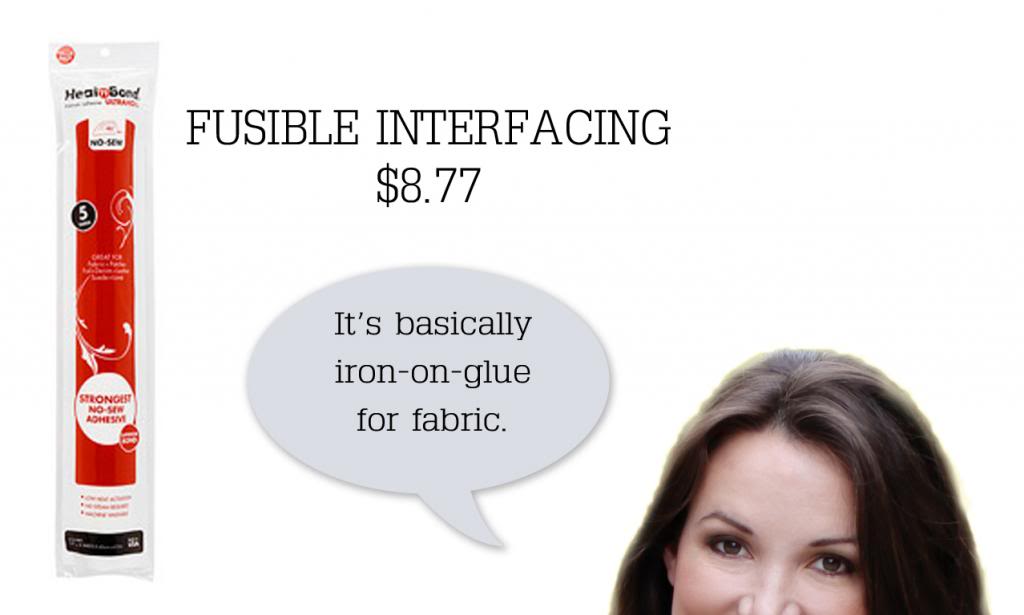
And with fusible interfacing. That’s what makes the fabric stick. It’s like hem-tape but in large sheets.
So here’s how it works:
You cut a piece to fit the backside of the fabric. The shiny side of the interfacing will go down on the wrong side of your fabric and then you iron (no steam) it on the non shiny side holding the iron a few seconds before moving to different parts of the ‘tree’.
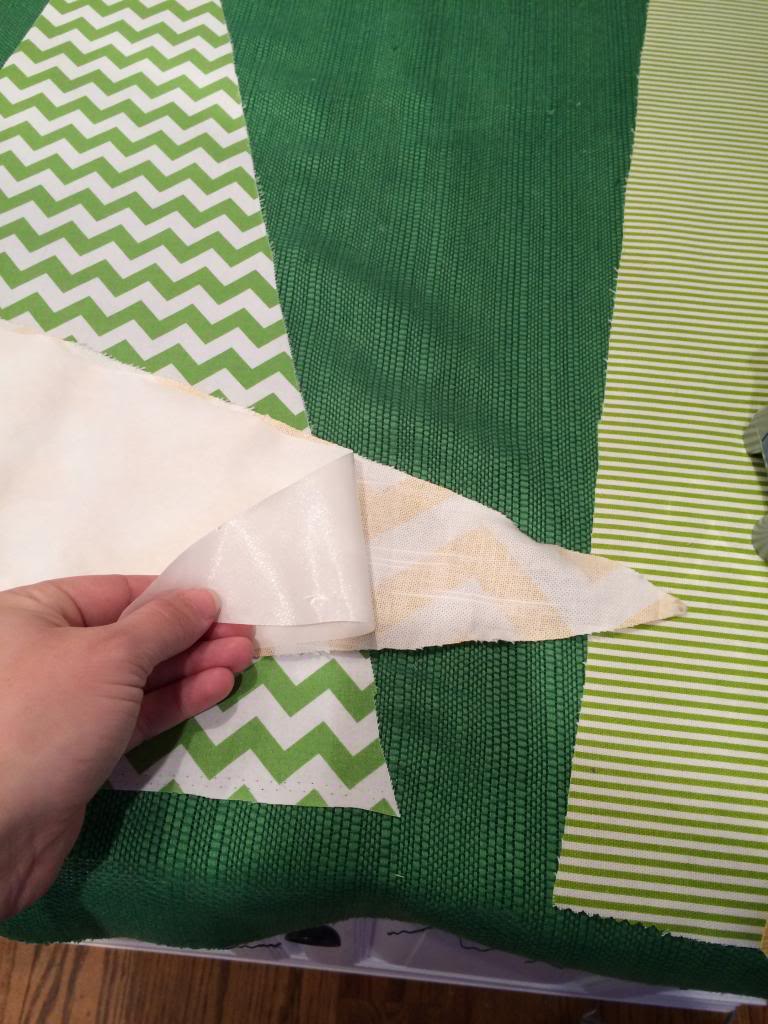
Then you peel the paper off the fabric. Now the fusible-ness is stuck on the fabric tree but not on the background. So that is when you position it fusible interfacing side down on the background and iron the tree again.
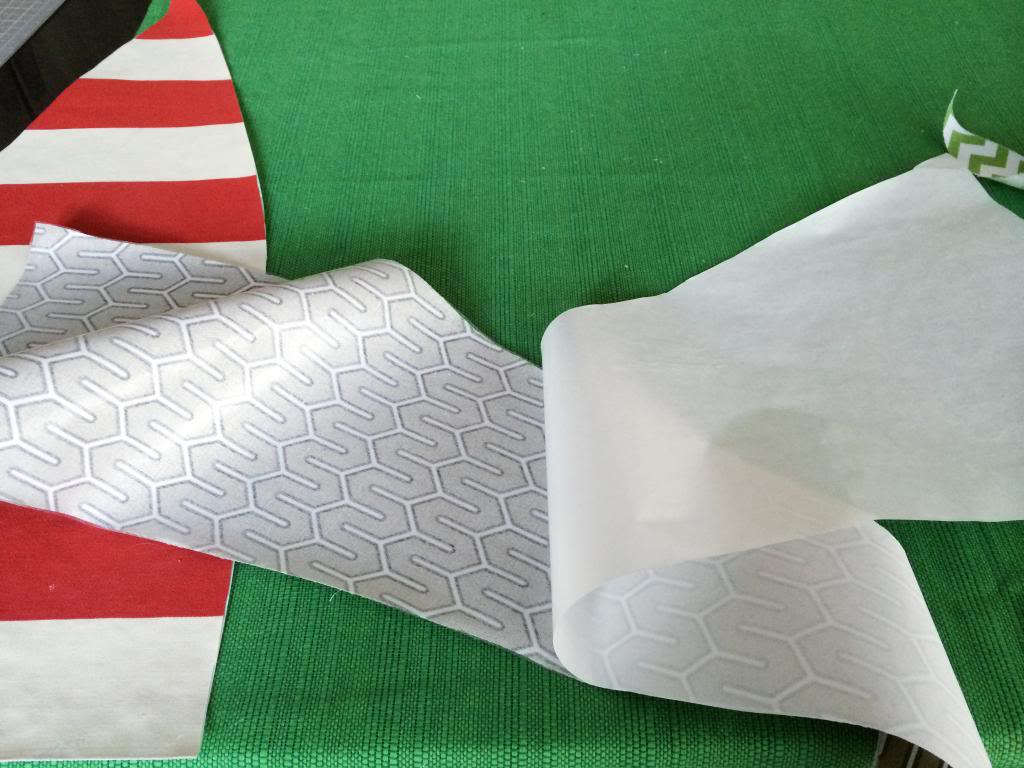
Continue until your back fabric pieces are all in place. Like I said before…you will know all the details of your iron after this. It’s favorite color, the way the cord moves when you dance, it’s favorite cereal. Important life facts.
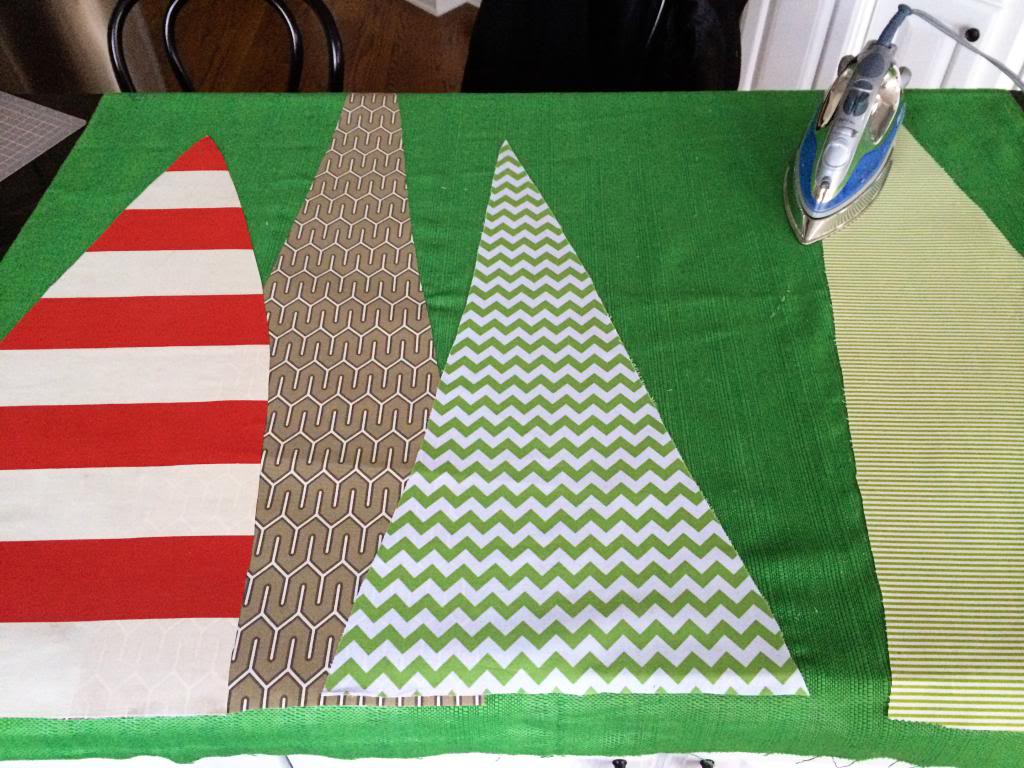
Layer by layer, you continue this process…ironing the new ‘tree’ over the last until it’s filled.
Then I ran to the basement (ok ok, it was more like a pregnant waddle) and pulled out two scrap pieces that we had from another project (they had already been stained to a dark walnut.
I just used a regular ole staple gun to fasten the fabric to the boards before taking it upstairs to see where it needed to be hung.
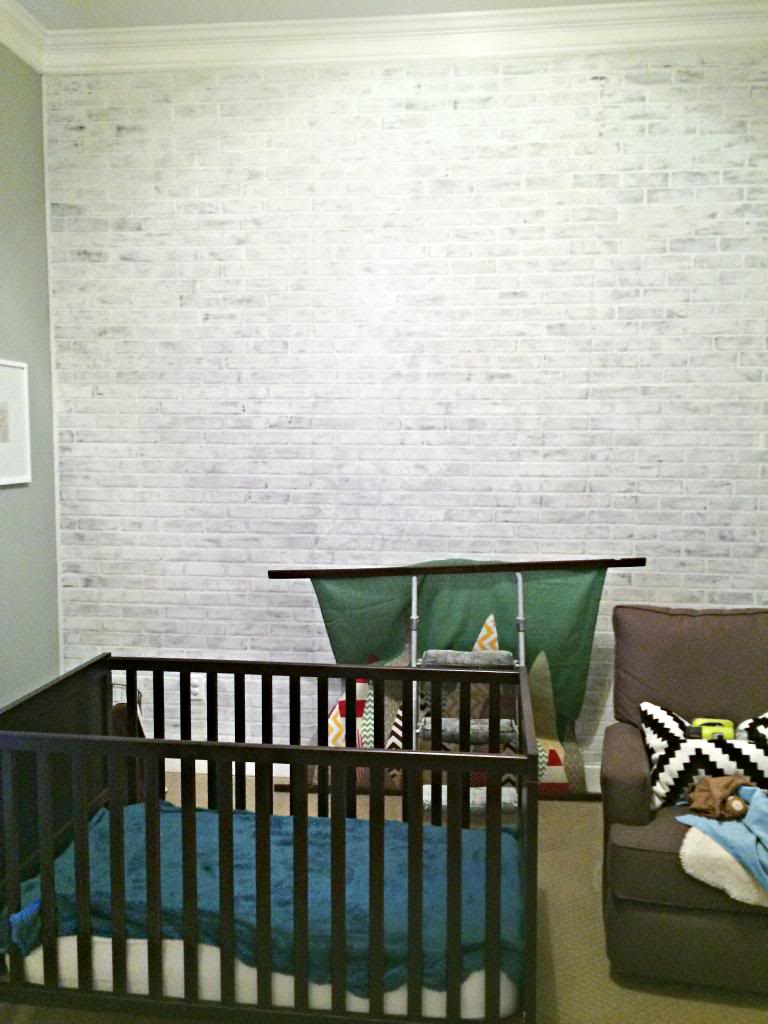
I used a simple fat nail to fasten it to the wall. It wasn’t the worlds fastest craft but for the sheer size, it totally was worth it.
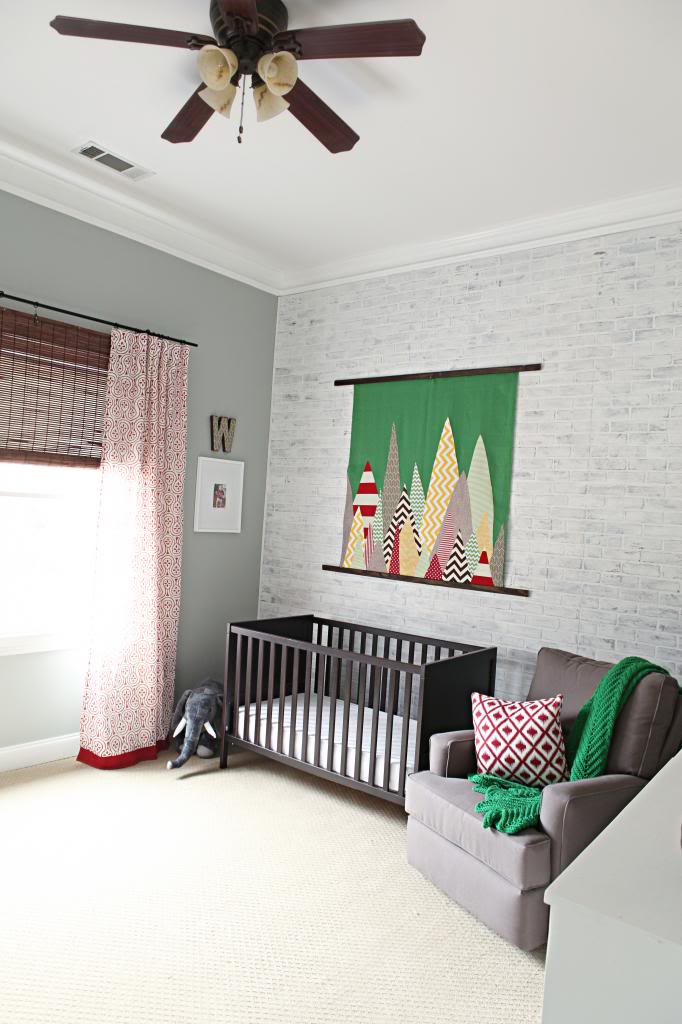
So that’s my little faux tapestry artwork wall hanging. Have you ever used fusible interfacing before? Was it awesome? Or was it just for patching up some torn up knees? Been there…done that 🙂
I really like the simplicity of the project! (Anyone can do this) I really liked th color combo you used as well! Very cute for a boy’s room. I’ve been toying around with ideas about what to do in my daughter’s room now that she’s older and spends more time playing in there. Thanks for a new possibility
http://www.mysimplesignificance.blogspot.com
Trees! They always reminded me of feathers in a headband. 🙂 Cute craft!
I love it! I know how to sew, but I hate to so I love a no-sew project.
I genuinely love this, Katie.. the colours are something I’d never go for but now that I see them I just LOVE them.
When my third was born in 2012 I came up with a pretty cool DIY art piece for her wall… no fabric fusing involved but I think it’s pretty awesome and I personalized it so it’s special too!
http://hystericallyeverafter.com/2012/08/08/and-on-a-lighter-note-its-craft-time/
Love it! Just an FYI, cheaper than the fusible interfacing sold in the packet is ‘wonder under’ which is sold by the yard. I believe it is a pellon product and is less thant $2.50/yd and often on sale!
I thought they were mountains. I was also thing how cool would it be to do a downtown skyline. I have barely started my 3rd’s nursery and he’s 8 months…ekkkk!
What a great idea! I’ll have to keep this in mind. 🙂
Looks like a million bucks! Love the simplicity behind this tapestry and the colors are so vibrant.
Katie, this looks great! and supppper easy! Thanks for sharing 🙂
Good work!! I love Mr. Weston’s nursery – your new add is the perfect pop of color up on that accent wall.
Also I recommend using a piece of scrap fabric between the iron and whatever is having the Heat n Bond or interfacing ironed to it, you do NOT want to get any of that sticky stuff on the bottom of your iron or it might get on your nice clothes that you are pressing in the future.
I love the tapestry!
I love how crafty you get with every day stuff… I need a more creative approaches to my home these days. ha. thanks for sharing. <3
Love this!! So creative, and seems doable!
Pretty sure I used fusible interfacing when I was 7 and I HADTOHAVE a heart (outlined with puffy paint) on a tshirt. Those were the good ol’ days.
I love this project and appreciate the way you explained it. This is a really fun idea.
Katie, We have the same fan in our living room. If the yellow tones in the shades bother you, I soaked mine in the sink and all of the yellow paint and brown squiggles came off. They’re frosty white now. Easiest project so far! And no ironing involved. 😉
This seems like a craft even I could do since ironing is something I do all the time. Too cute!
Ironing beats sewing any day. I love how it turned out!
My husband asked “are those the ‘Cones of Dunshire’?”. Which will only make sense if you’re a Parks & Rec fan. 🙂
Really? I will definitely have to try that because we have them in Weston’s room and in our master! Thanks for the tip!
xo – kb