This is gonna be a quickie post about how we tweaked the deck steps on our Rust-Oleum Makeover Deck to make them way better looking and sturdier too.
You can see the rest of the makeover by clicking here. The steps when we began looked a lot like an afterthought. It was messier than Lindsey Lohan at a college rush party. Kai! Alpha! Omega! Zeta! Kegger! Newt! Gingrich! Doesn’t it look like weirdly random?
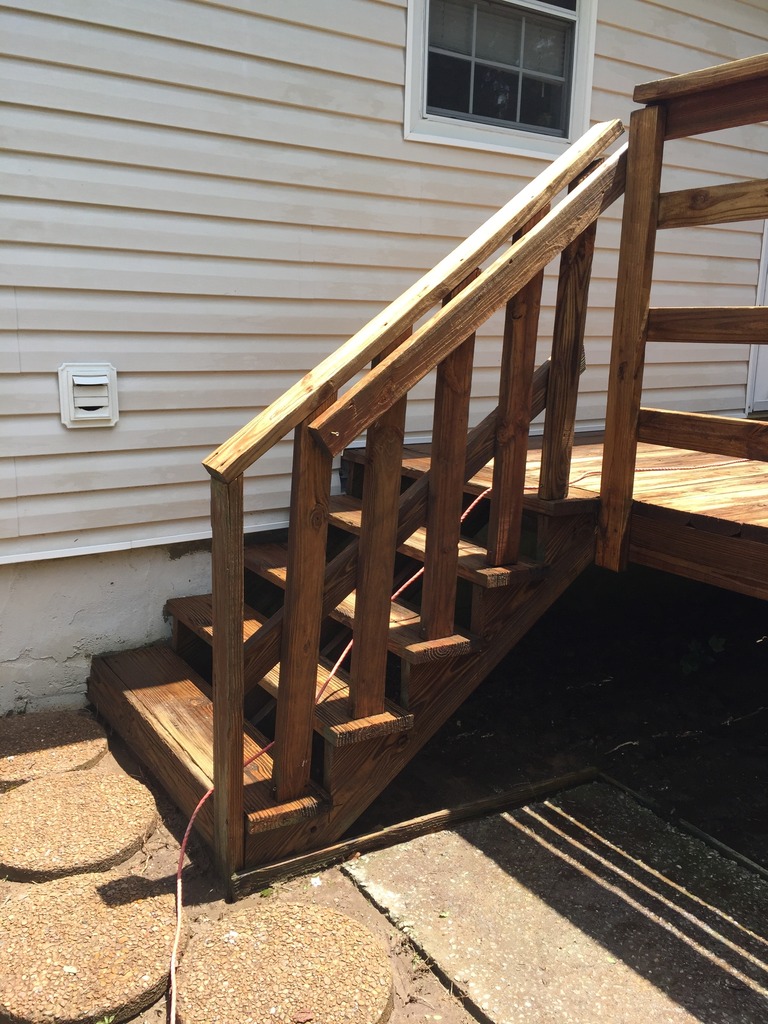
These photos were taken after they were pressure washed so they looked worse than this before!
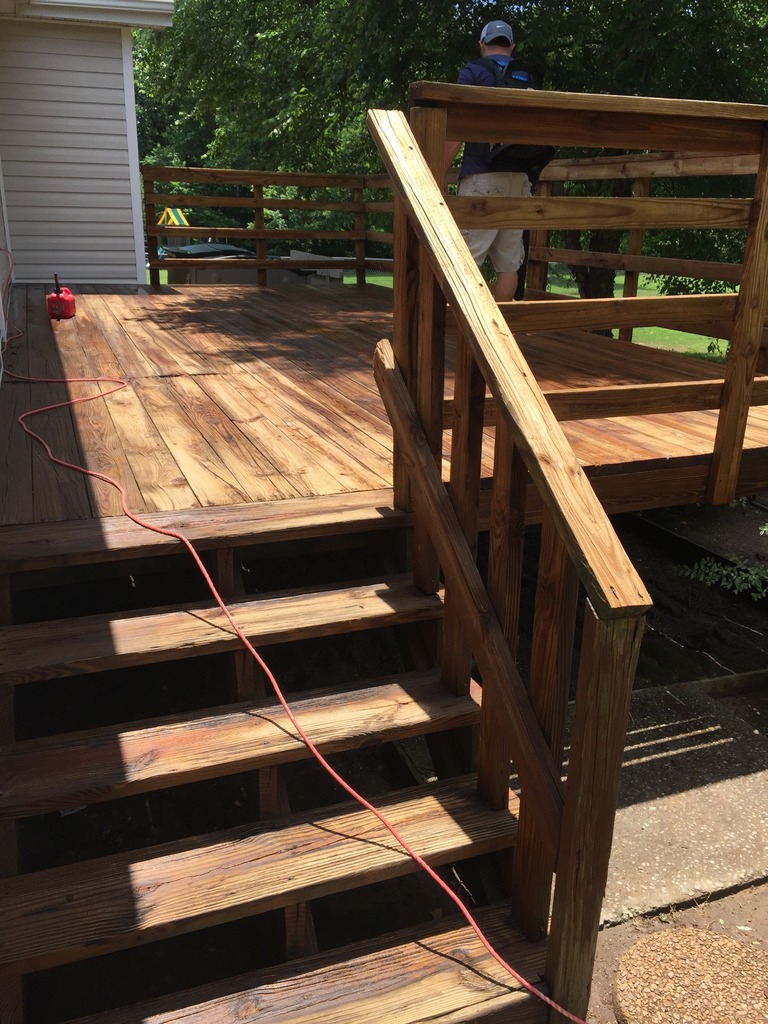
Jeremy and I had some scrap exterior lumber from our deck makeover so we were thankful that we had it already weathered (you should allow your lumber to weather for at least a month before applying a deck stain or paint or product). After we stared at this contraption for a while, we figured out that if we added a 4×4 post to the top end and we reworked the top rail as well recycling the diagonal supports, it would require very little time and only a few new pieces of wood.
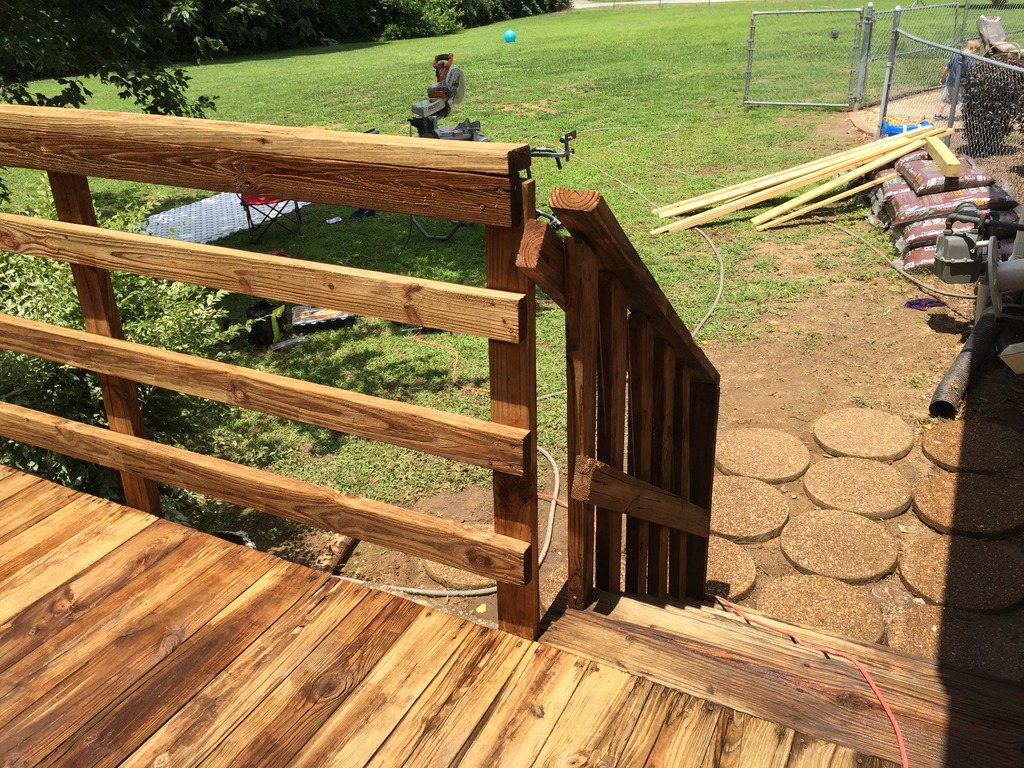
Jeremy started with demo by knocking off that top rail. It broke so we definitely needed to replace that piece. I voted that we go with a 2×6 for a wider rail and it would then look nicer and more expensive.
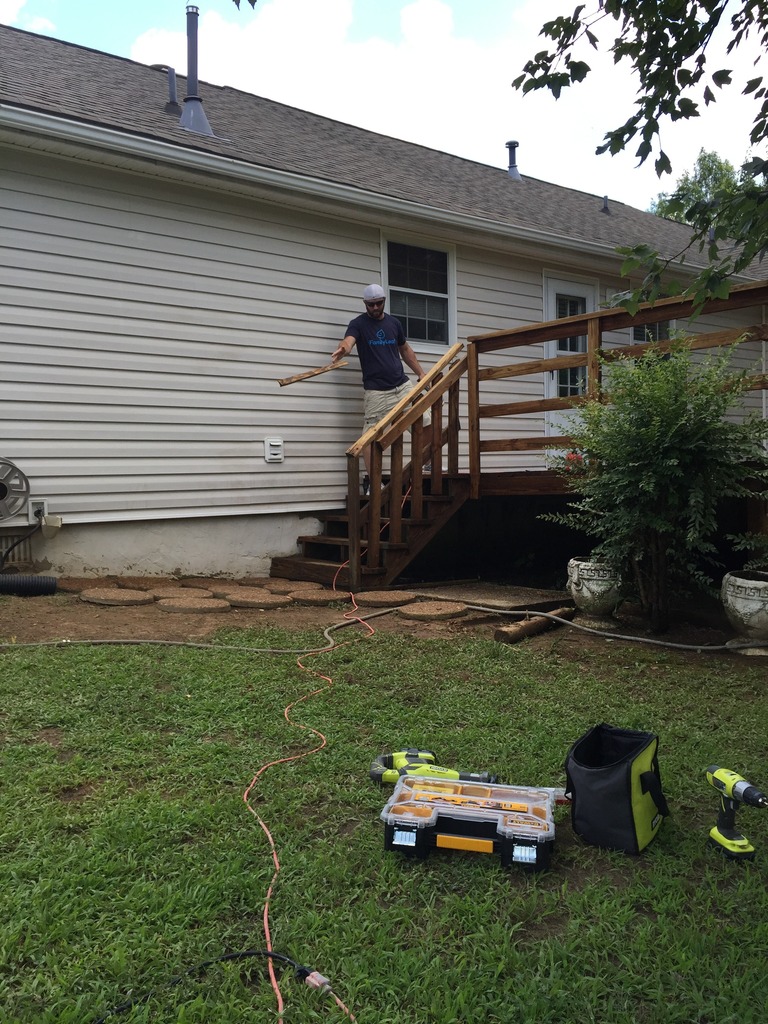
Then he removed the diagonal supports….they were weird. Jeremy saved those just in case we needed them.
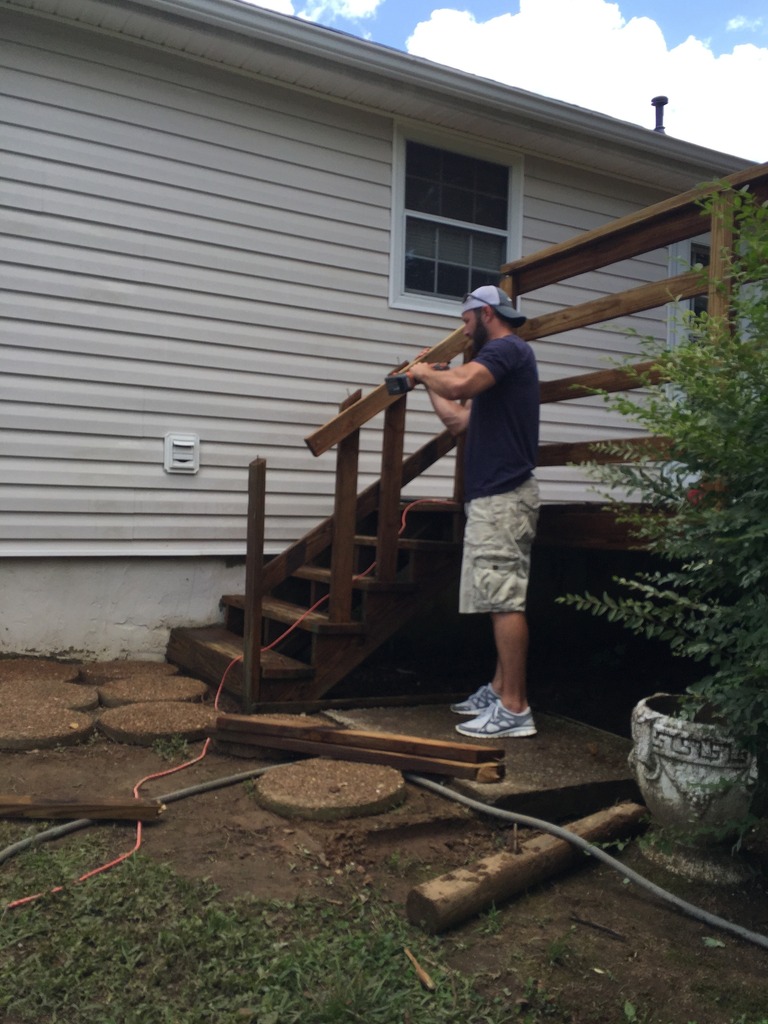
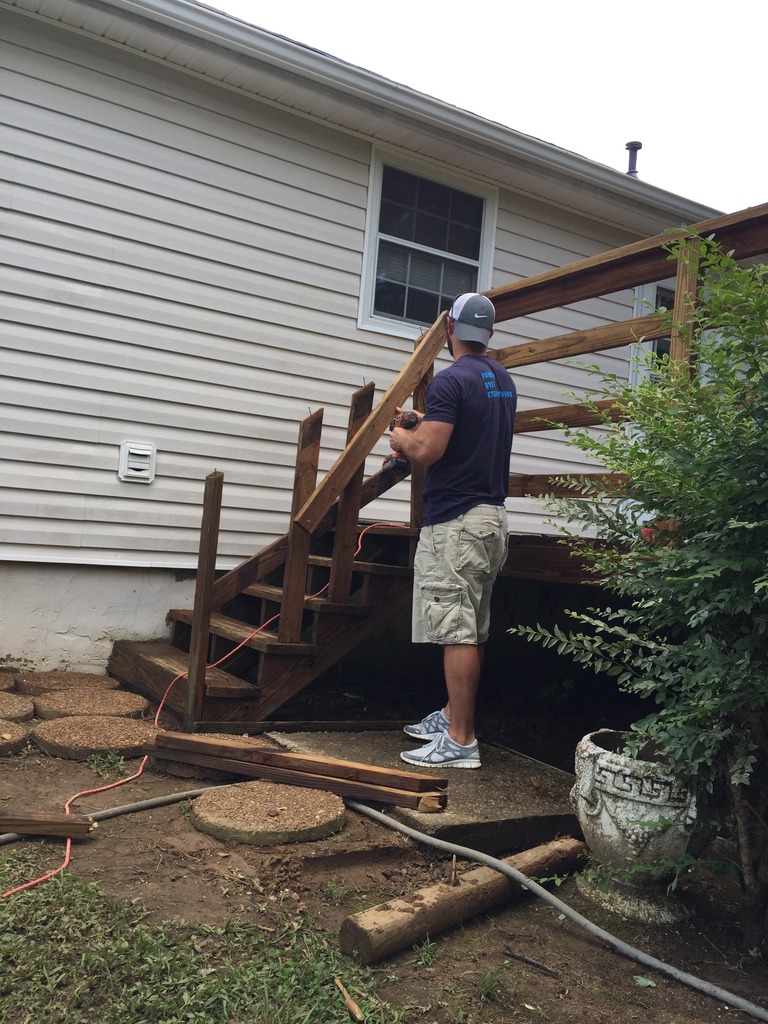
It’s always a good idea to save scrap lumber like this especially if it’s not dry rotted or cracked or warped. You can always find a way to use it later.
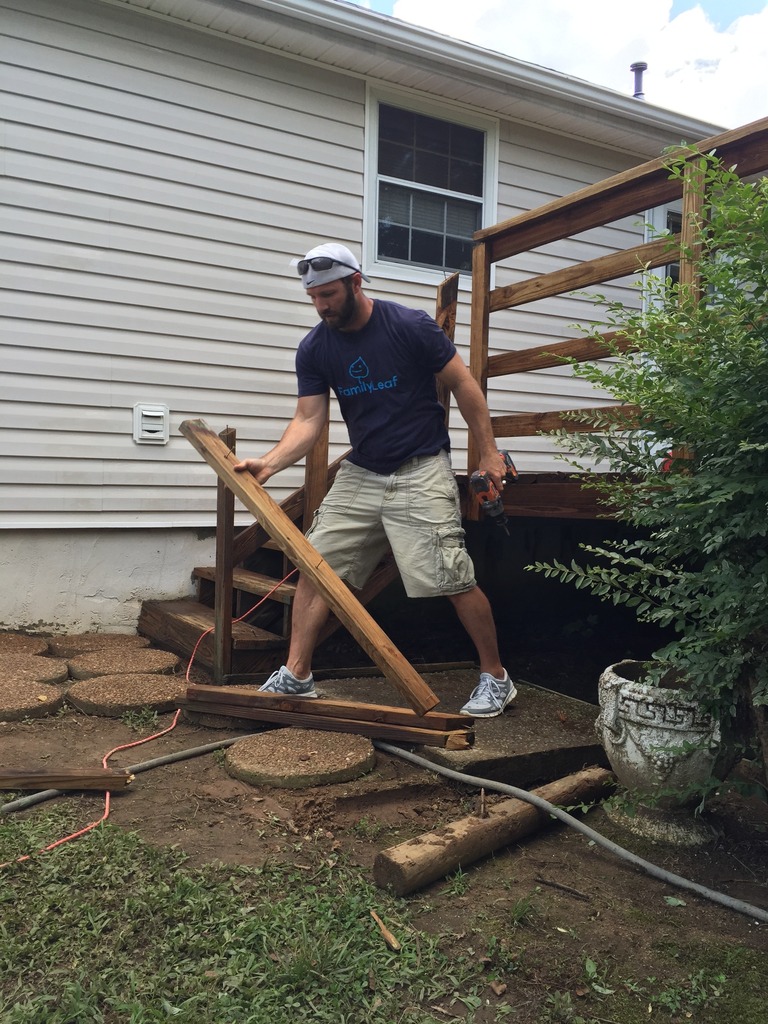
After we cut the 4×4 post to length, Jeremy fastened it to the deck joist and then also to the upright rail support next to it.
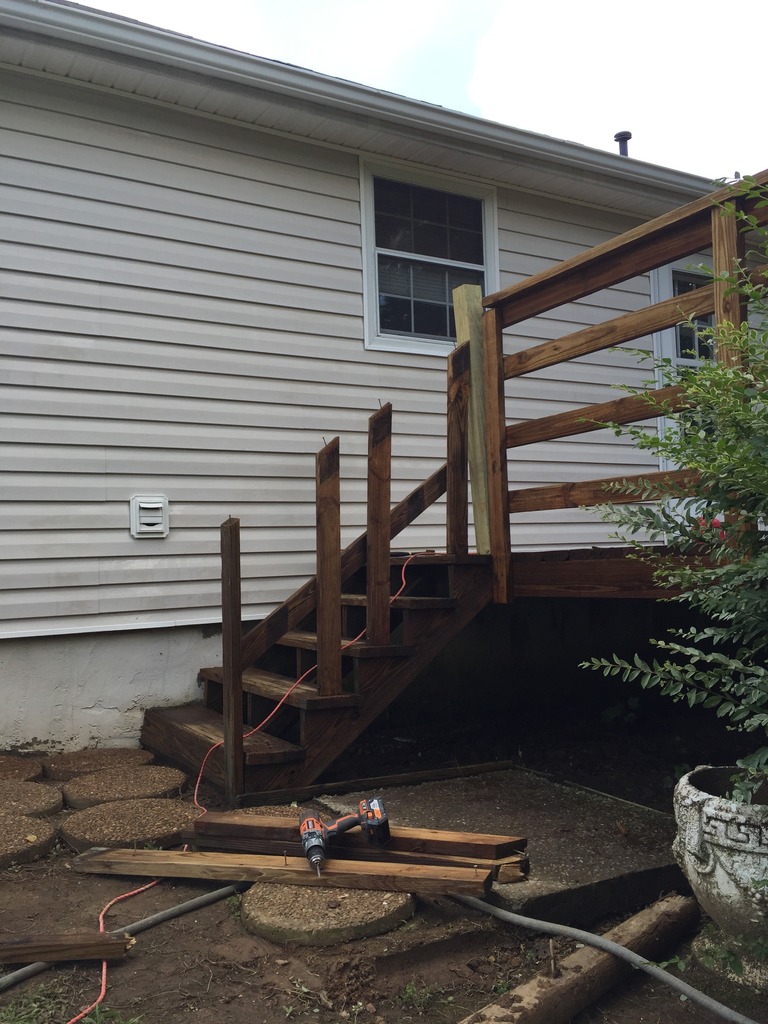
Upon closer inspection we saw that the end post needed replacing too…it was rotted around the base near the ground….so that original post was our template for a new 2×4.
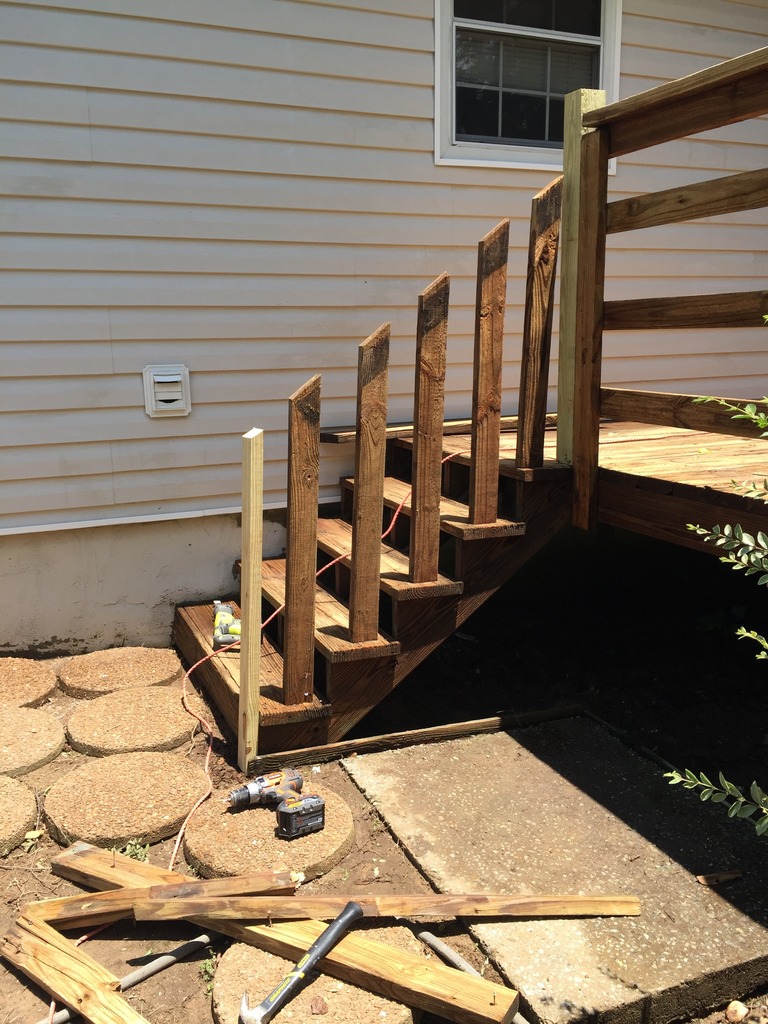
I got my wish with a new top rail…it’s a 1×6 and I love that it ties in the new 4×4 post with the existing deck railing.
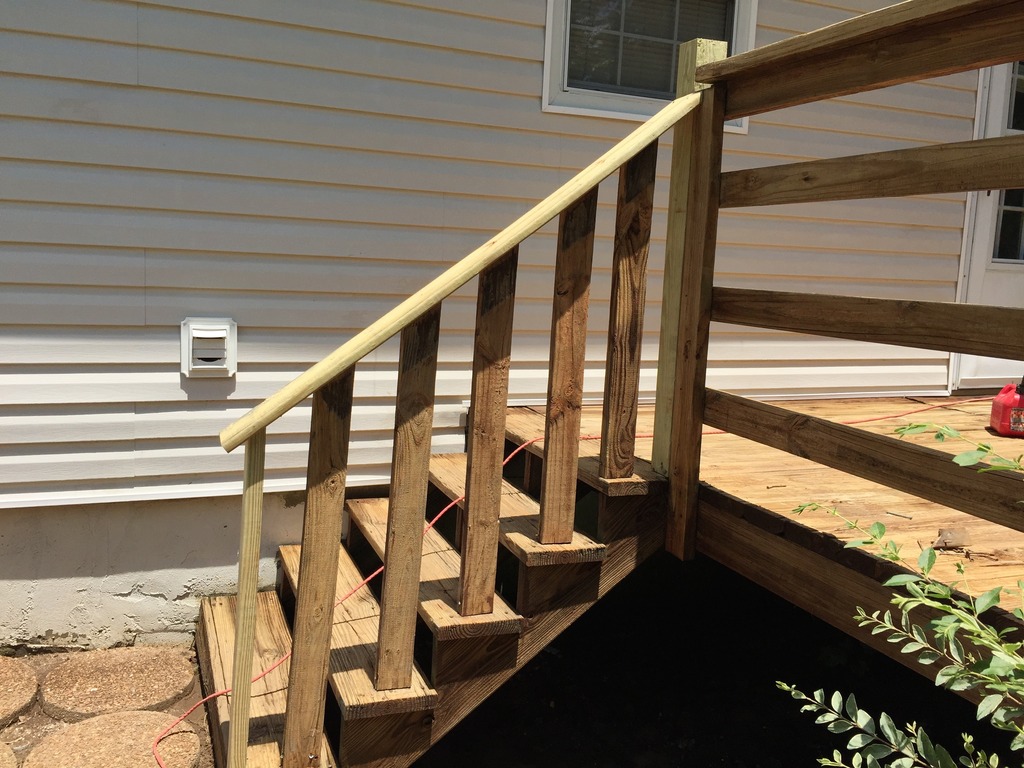
We probably could have stopped there (the point of this deck makeover wasn’t to replace all the boards but to show how worn and weathered boards could be made functional again with Rust-Oleum’s Restore Advanced 10x deck coating) but honestly I didn’t like the unfinished look. It needed more!
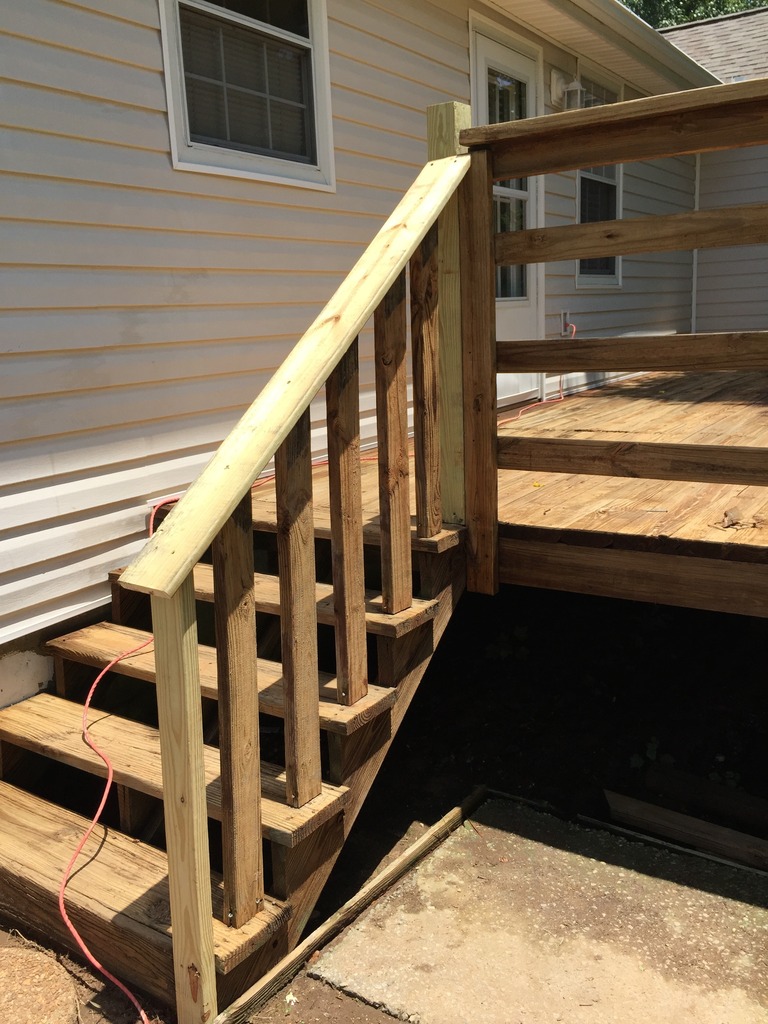
Two additional pieces of lumber attached on the same side (vs. one on each opposing side like before) finished it all off.
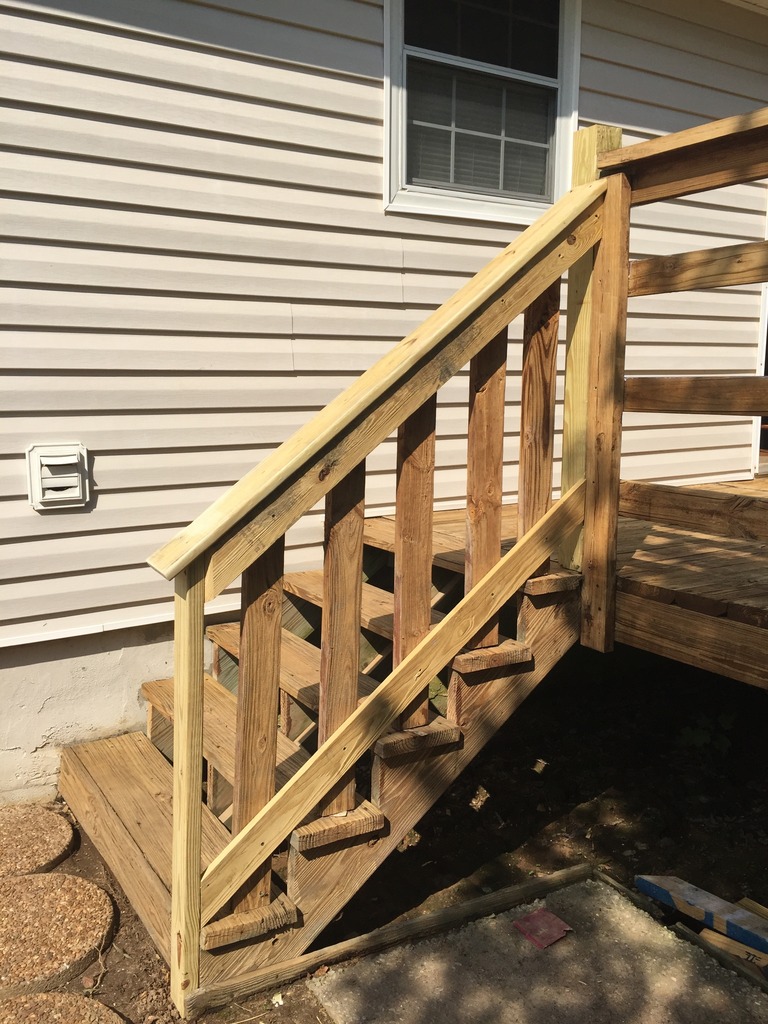
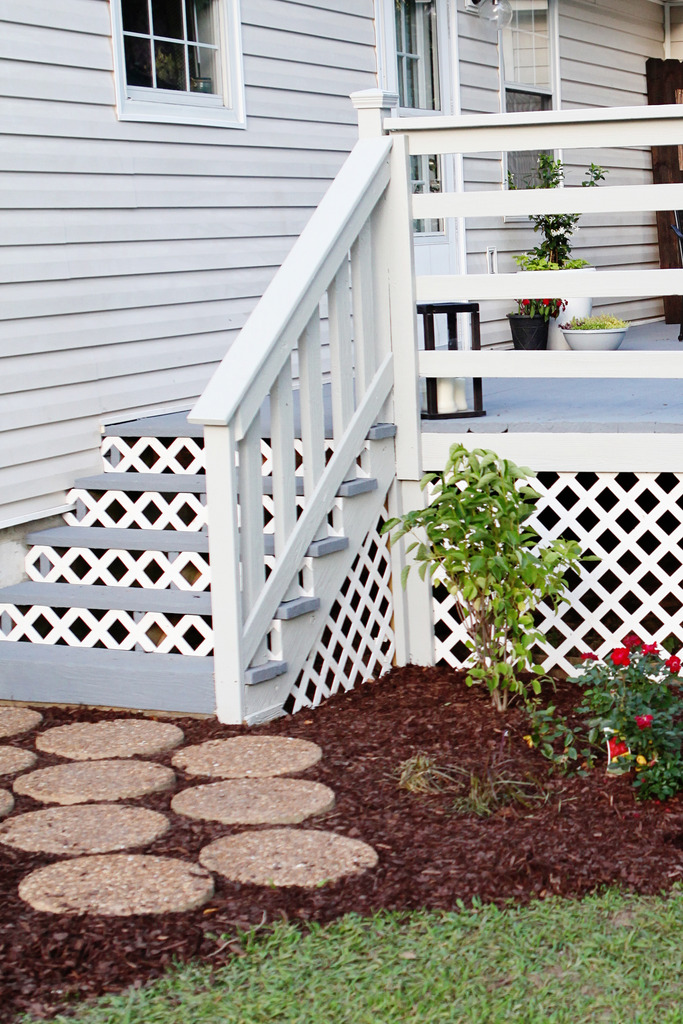
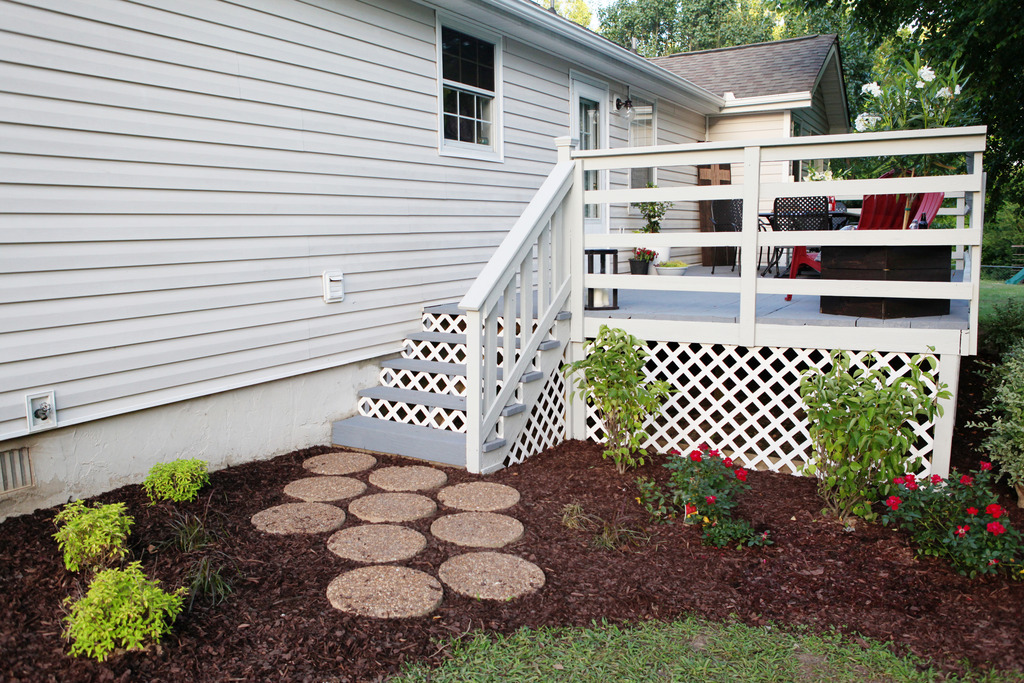
Doesn’t it look so much better?!
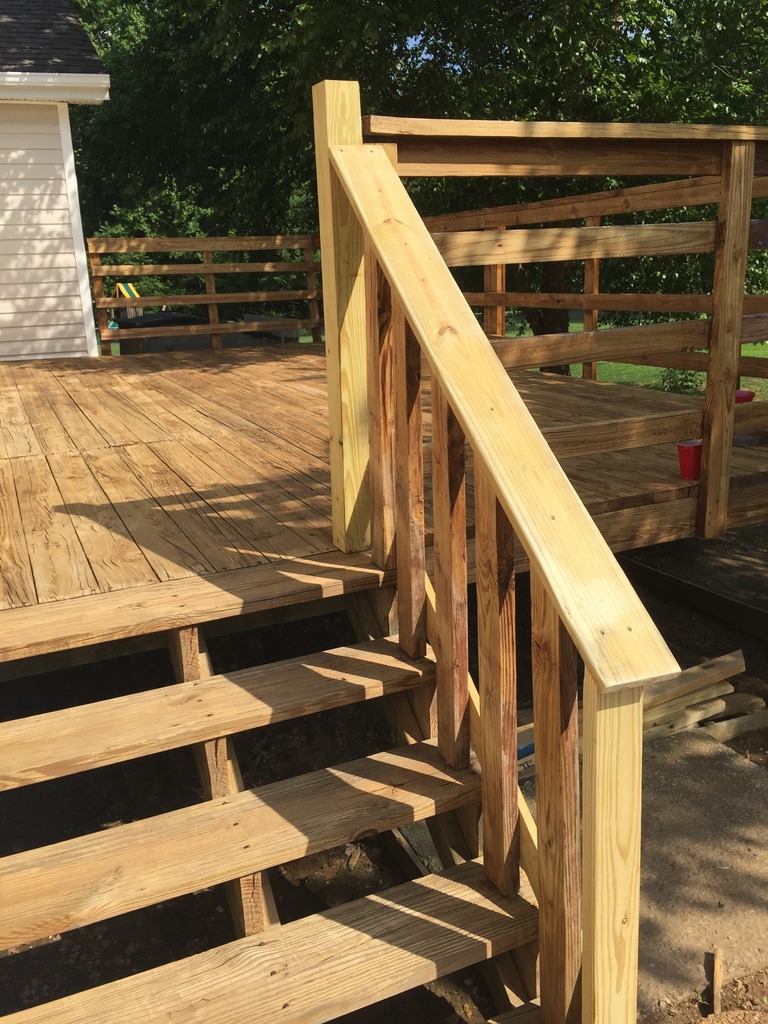
And it didn’t wobble at all….which is key for a railing.
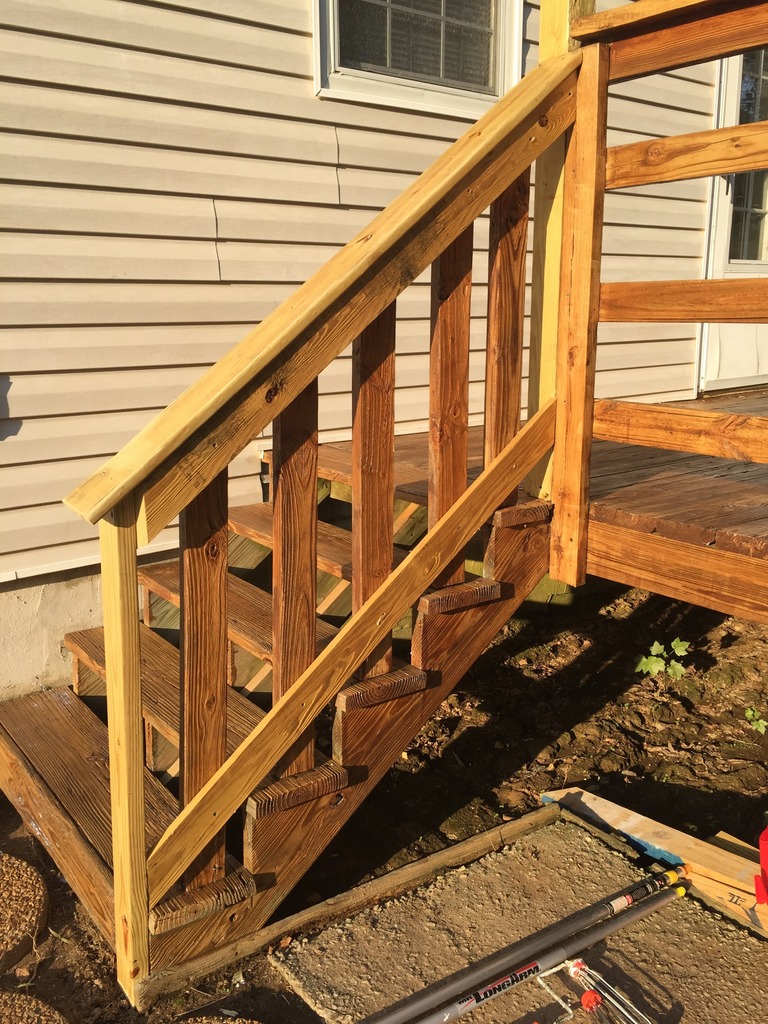
When it came to do the painting…it looked OH so much better.
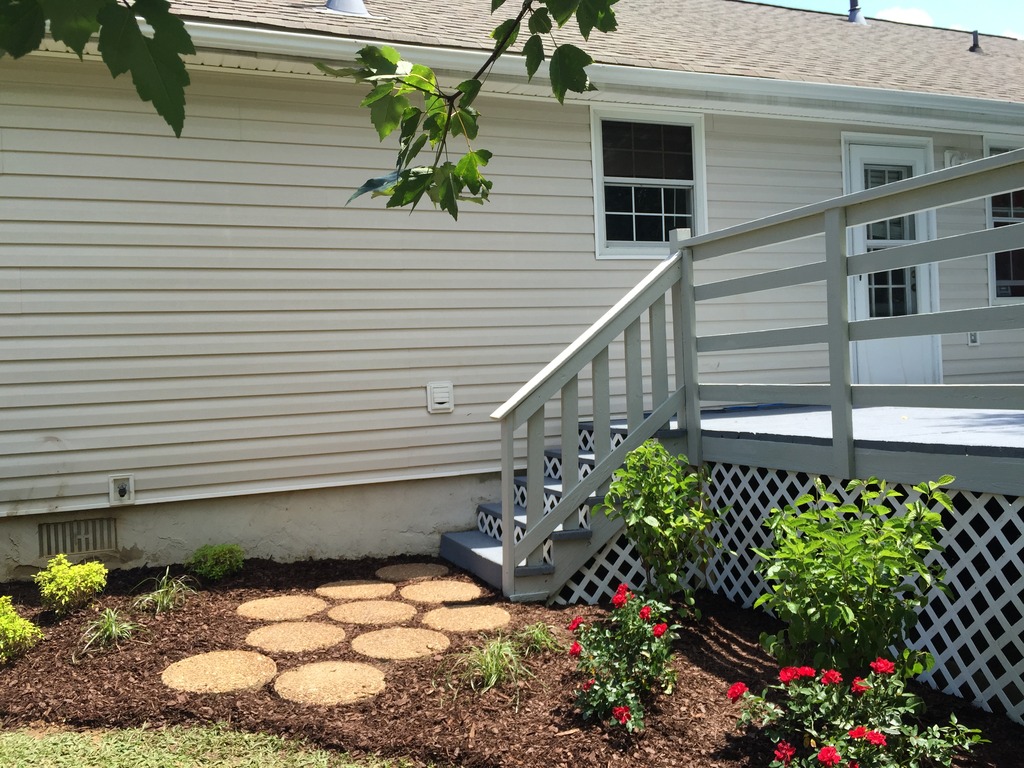
We went back and forth on the end cap piece on the post. It was a toss up between the solar lighted one that was black or the wooden one that we could paint to blend in with the deck. In the end, the wooden one won because we didn’t know if the solar version would look cheap or break or even shine at night. Anybody have experience with those bad boys? They look cool but I always take the doubters road on those and think it would be ugly in two seconds or require more work than their worth.
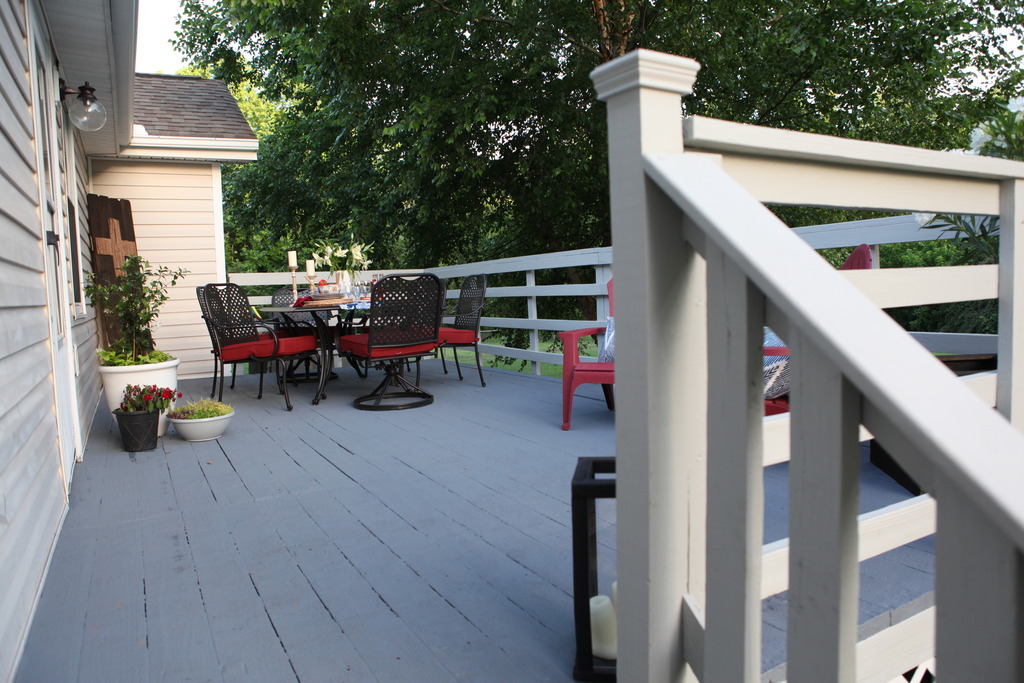
Either way, the stair railing looked so much better with a little planning and some simple additional pieces of wood! The lattice looks really good too….sets it all off, right?!
Now get outside and tweak those railings people! And make sure you send me before and after photos!
I’m off to put all those behind-the-scenes photos together for the post about the finished commercial! You are gonna just die when you see how great Jeremy did. He was so nervous and hates being the center of attention but he did really really well. Like you barely notice the booger on his face the entire time 🙂
But seriously…can’t wait for you to see it!
Our deck had the black solar caps already on it when we moved in. They don’t stay attached very well (the top is constantly crooked or falling off one of them) and they no longer light up, so it’s on the list to be replaced. They look much cheaper than the wood versions.
Wow! That really looks like a brand spanking new railing all together! I can’t wait to see the commercial….booger and all
We bought a house that had “expensive” solar cap lights (glass and metal and heavy). They were less than three years old when we moved in but even with new solar batteries they didn’t make it a whole summer. Plus they’d be super sporadic – on one day, half off the next. Annoying. I replaced them with super cheap white plastic ones this year (less than $10 a two pack). Our railings are white vinyl anyway, so looks-wise they’re fine. The light quality is SO much better. LED has come a long way in the last few years, and it was worth replacing them just for that difference!
Do we ever love a good deck makeover! Great job with this, it looks beautiful.
Anna
http://thepatio.wickercentral.com
You guys have done a great job on the deck, can’t wait to see the reveal! Brittney Bernfeld
I just bought some of those solar caps from Home Depot for my deck that I also just redid myself (the paint is the same color you chose!) and after 1 night, I’m already thinking about returning them. They look cheap (I bought them in the black color). Unless anyone has tried repainting those with deck solid-stain? To paint, or to return… hmm.
What a difference those two last pieces of wood make! We have some of the copper end caps that have the solar lights on them and they’ve worked great! We’ve had them for 3 years now. They don’t shed a ton of light but look really pretty at night. They flicker when they first come on, it made us think they were broken at first but they’re good!
I didn’t notice the lattice on the stairs the first time around! I love that!
The deck looks so pretty! I’ve read your blog for a while and was actually referred over to it from YHL (miss them 🙁 ) but love reading yours!
My grandma’s deck actually does have the solar caps. She doesn’t have wood beams but I’m thinking if the sizes are the same it shouldn’t matter because the caps fit right over the plastic railings. And they’re white! The only black part for those are the actual solar part and that’s at the top part. You do have to be a little careful with them because all four sides are glass that isn’t really attached to the lamp, just fitted in; so if they fall the glass can come out or break. She put her deck on about three years ago and all of the ones she has lit up fine. It’s only been this year that she’s had to go get replacements for them and that could be due to a few things like leavig them out in our harsh Jersey winter and having one or two get knocked off…because of a shovel.
You can get them at Home Depot or Lowes. These are the ones we have, and they’re really pretty:
http://www.lowes.com/pd_254599-67197-82191___?productId=3184405&pl=1&Ntt=solar+deck+lights
P.S. Your kids are beautiful! And Blue Apron is awesome.
It looks so much better! I’m a little sad you’re not out here in Austin to help me with my patio area that hasn’t been updated since 1969! It’s going to be an adventure for sure, but that’s just part of buying a house, right??
Katy
http://www.alittledailyhappiness.com
hi Katie! love your blog – I’ve been a reader for a long time and this is my first comment – anyways, I was considering doing something like this to my deck but then I just noticed something that has me hesitating. the picture of the finished deck where you’re describing the end cap on the railing —- I am noticing the deck looks dirty or worn or something… do you see what I mean? I definitely doesn’t look like this thing was just painted? did you notice it looks dirty after people walk on it because it’s a light color? thanks!
It definitely has a texture to the finish but it doesn’t show dirt any more than a normal painted surface would. It’s sort of more like a concrete in that respect…if you are thinking that you might not like to see anything then I would definitely go for a darker color to hide dirt.
xo – kb
That is good to know. I wouldn’t have thought about how LED is developing!
xo – kb
Let us know what you do!
xo – kb
Those sound like they definitely have pros and cons! I can’t imagine the stress of them on my deck with the glass 🙂
xo – kb
Looks great! How did you add the lattice to the base of the deck? Are you doing a post on that too?
I work at a building supply store, and while we sell the solar caps, we usually recommend the low-voltage lighting systems if you want anything more than ambient light. The solar LEDs are ok, but the light is weak and if it’s a cloudy day they might not charge enough. I love how the deck turned out!
LOVE the deck. It looks great! However, I’m greatly opposed to any lattice whatsoever on anything. Personal opinion. Love the color you chose. What a fresh space!
Little blocks of wood were added to the supports and then the lattice was attached to the blocks. Does that make sense?
xo – kb
haha! Anti-lattice 🙂
xo – kb