
Whoa.
That’s what Will said when he saw this next project. Whoa.
Of course, he also says that when he sees the trash can at the curb and when I’m opening a can of tuna fish and when I drop a cotton ball on the bathroom floor. So I’m sure it’s not due to the impactfulness of the item.
I, however, save my ‘whoas’ for only special occasions.
and this item is such an item.
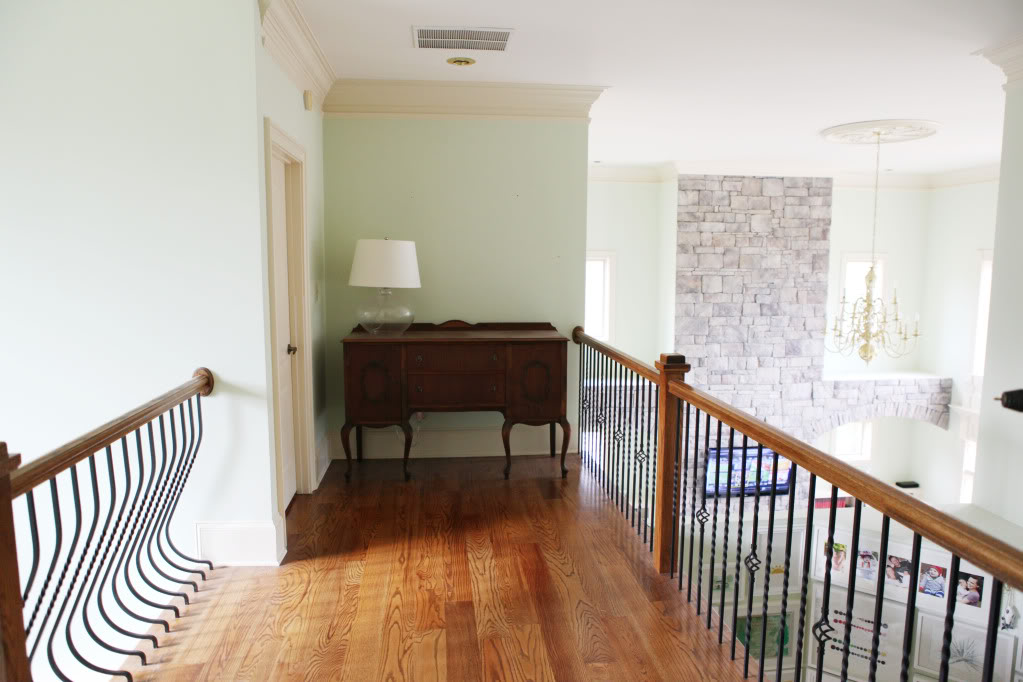
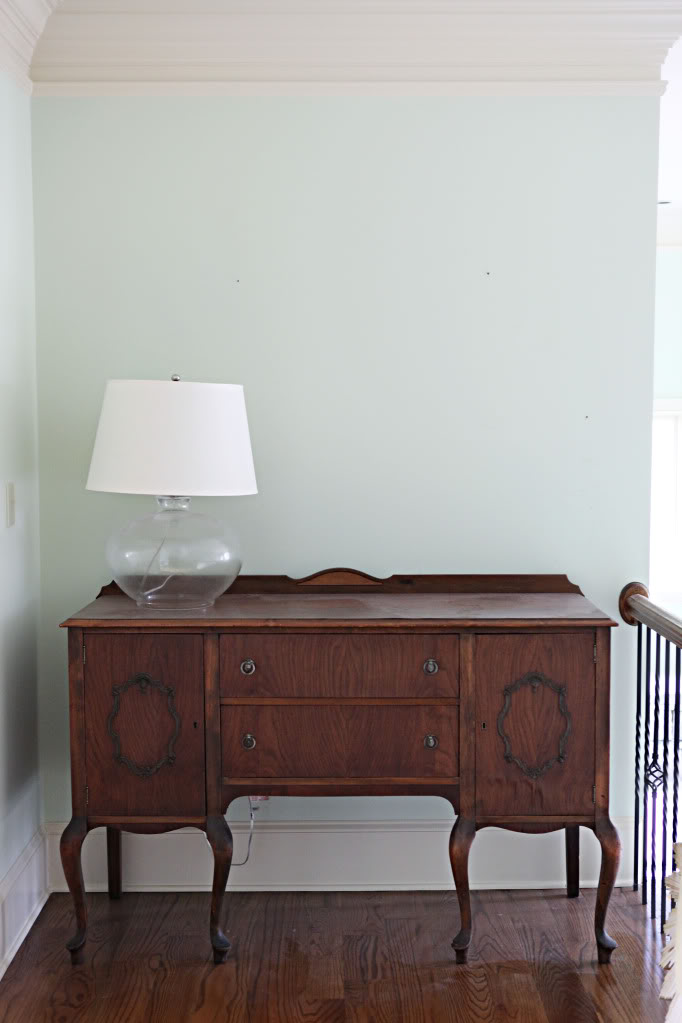
This little hallway at the end of our ‘catwalk’ across the foyer needed a little something. And our christmas list included a star-themed craft…and I kinda was feeling a mirror in that space. So when I googled ‘star mirror’ – I saw a whole bunch of one thing…starburst mirrors.
If you are a blog reader, you know that one of the number one trends this year for DIY crafters was starburst mirrors. Everyone and neighbor and their 90 year old grandma made one. I wasn’t really feeling them at first.
Then Layla made one and it literally made me rethink starburst mirrors in general.
Beatrice at The Crafty Bee made an awesome version this year.
So did Diane but with clothespins.
Craftnest tried their hand at it.
Crafty Sisters made a fantastic one inspired by Ballard Design.
Momtastic featured a great DIYed one in white.
Kate at Centsational Girl did an entire roundup of these bad boys and made her own too!
Janell made one and I love it.
Even the Nester created one that makes me jump up and down.
So it comes as no surprise that these bad boys are like velour jumpsuits. At first, nobody except JLo should be wearing them. Then all of a sudden you slip into one of those fuzzzy bad boys and BAM you are instantly Jenny from the Block and nobody can rip that Juicy Couture off the junk in your trunk.
Not that that ever happened. twice.
Basically, I decided a starburst mirror would look good here…even if it was temporary. I could always remove it if I hated it, right?!
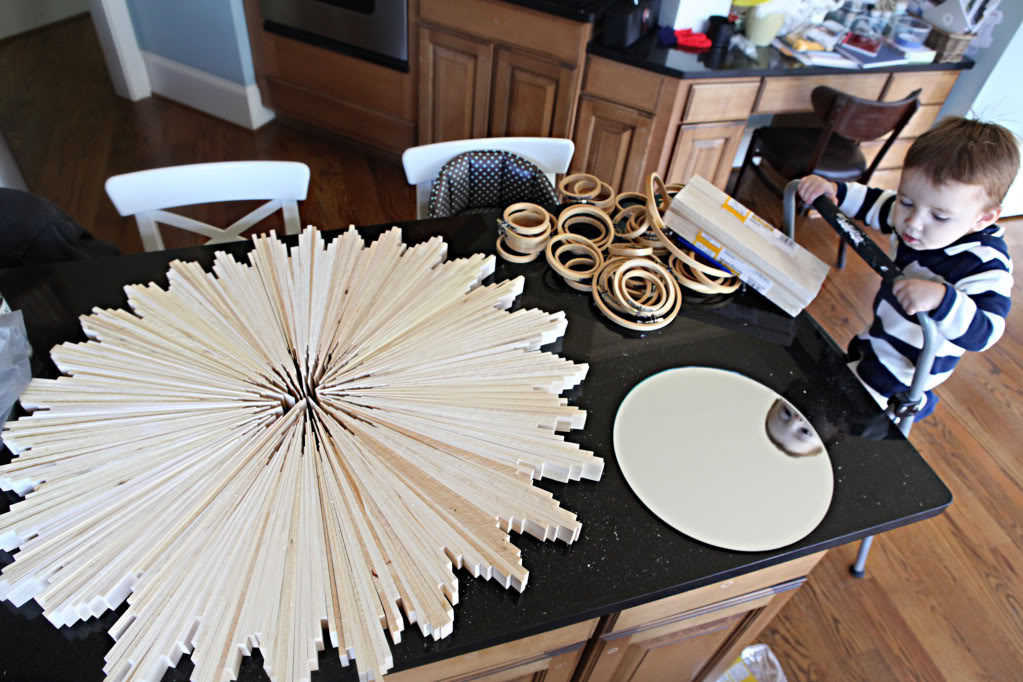
Six packages of wood shims later, I have the general idea of what I was creating.
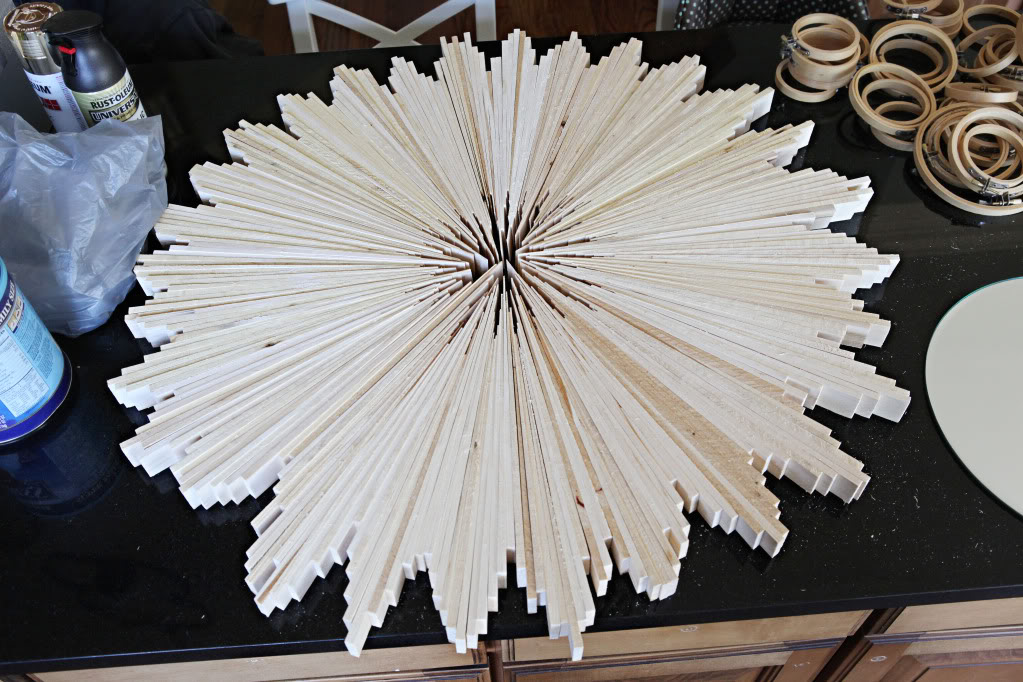
I didn’t want all the bursting rays to be uniform…just sortof the general outline. And I ended up really liking the chunkier rays (or clumping points) of the star better than the skinny ones that took less shims.
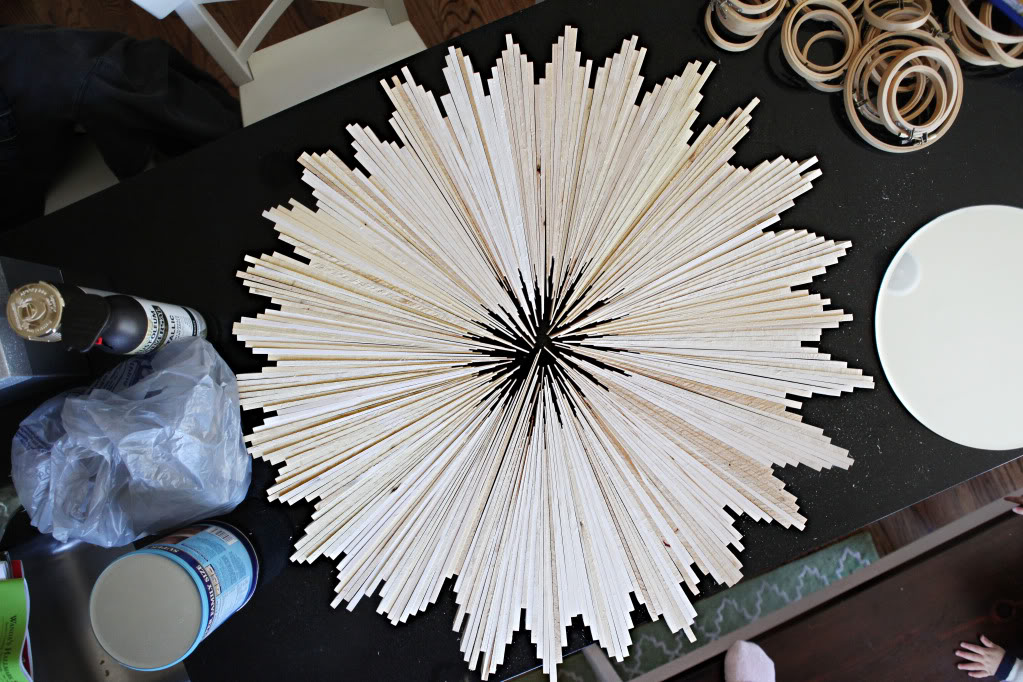
As soon as I had a general idea of what I wanted…there’s no science to it, just eyeballing it….I whipped out the old dropcloth and construction adhesive.
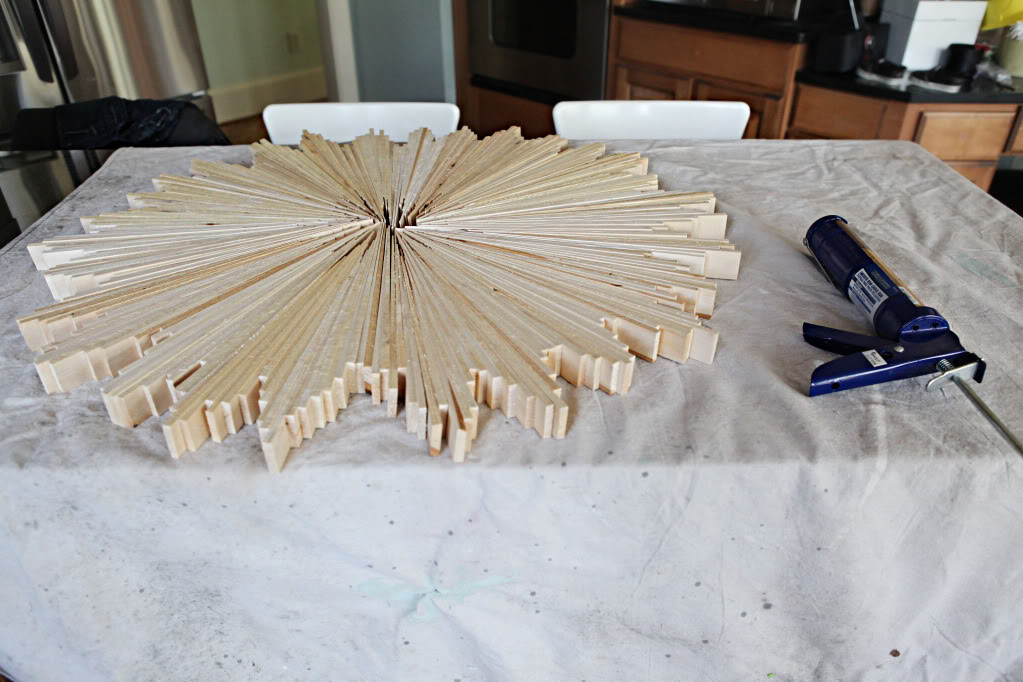
Then I applied the glue in light but even squirts. Which leads me to my next point…squirts is a disgusting word.
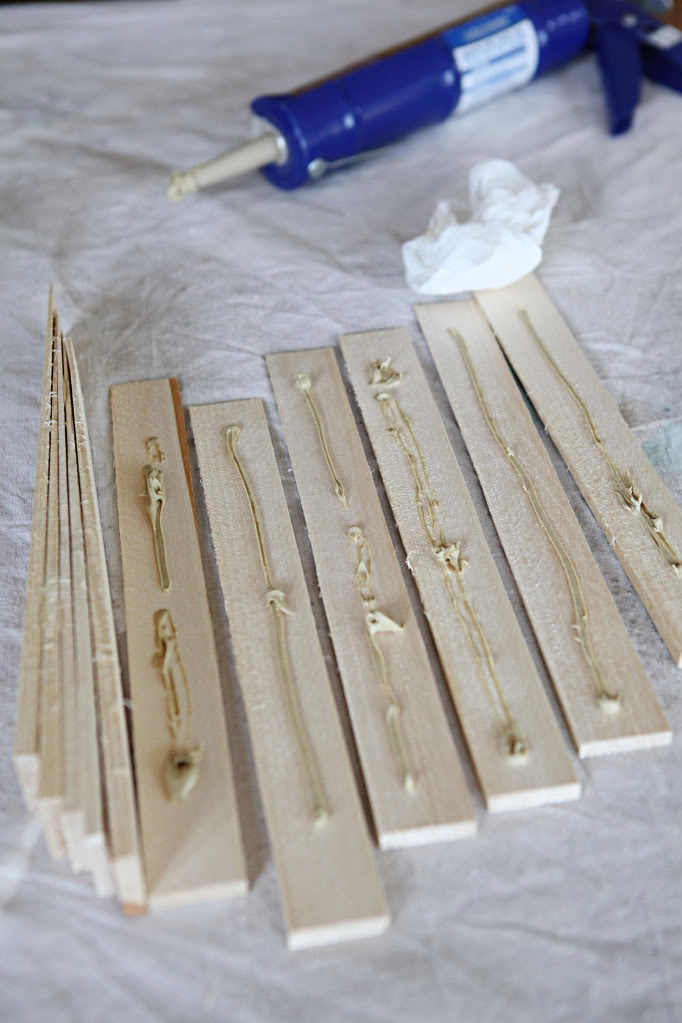
TIP: If you are attempting this at home, glue each shim together first to create a more managable ray and then glue all the rays together.
Then we used a piece of quarter inch plywood from our scrap pile to adhere to the back.
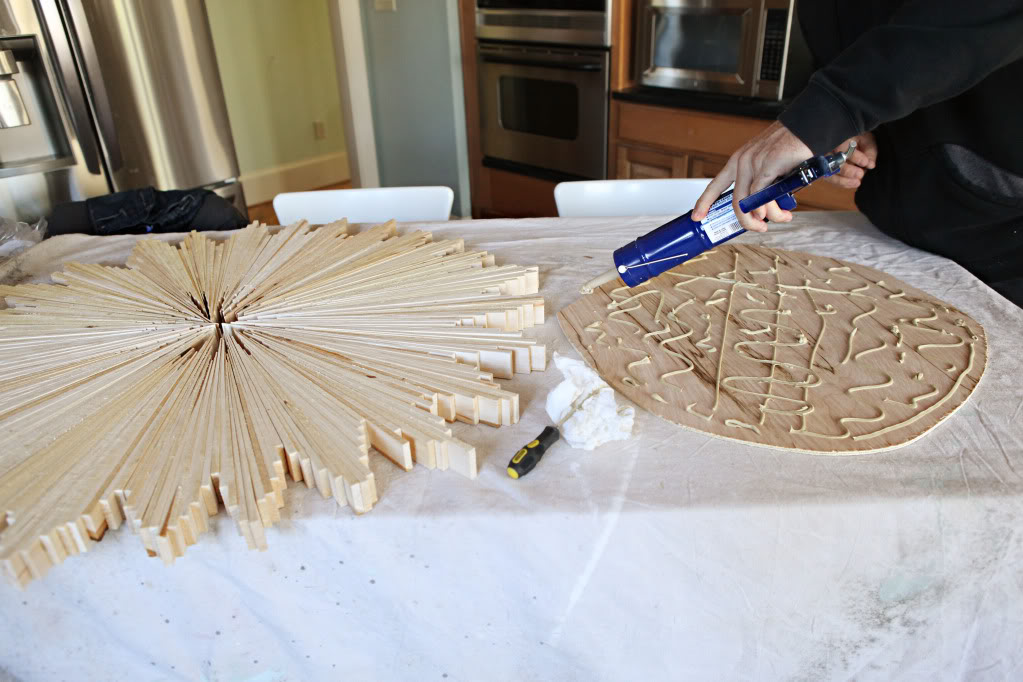
A little weight for pressure (no offense Martha)…
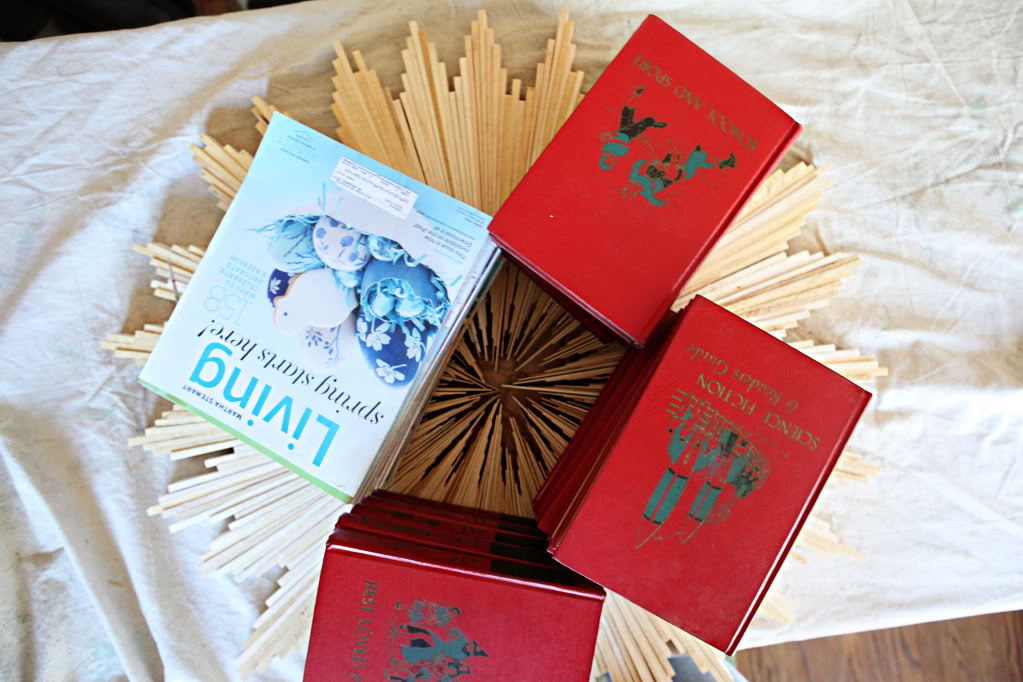
And then it was time to sand and paint. I used 100 grit sandpaper…just to remove anything blaringly obvious…like a shard from the shim end.
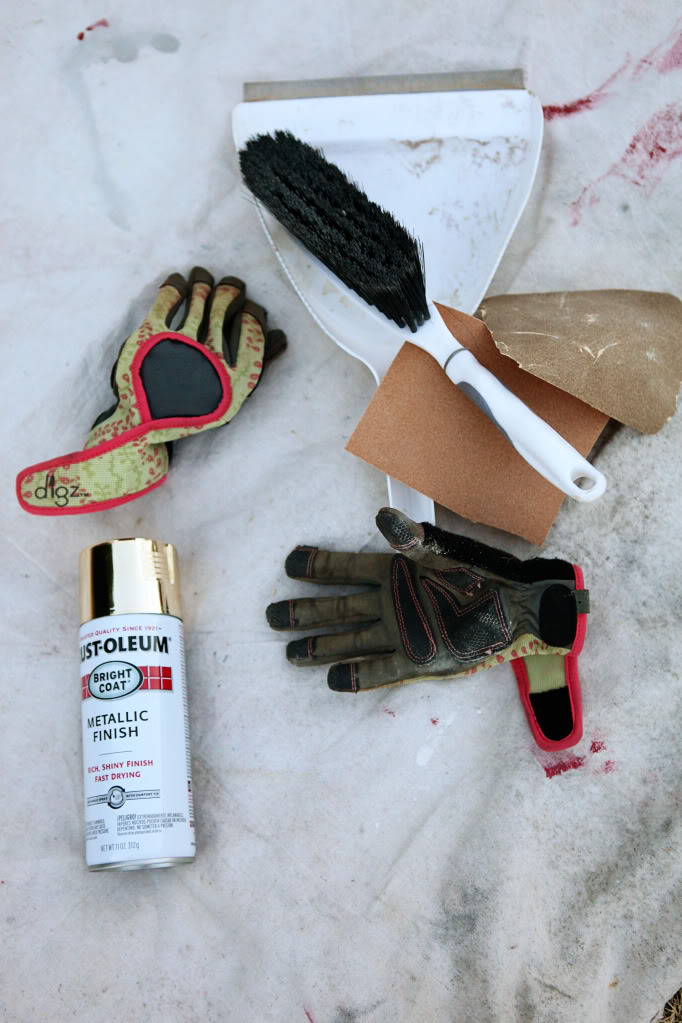
A quick dusting and I was ready for paint…
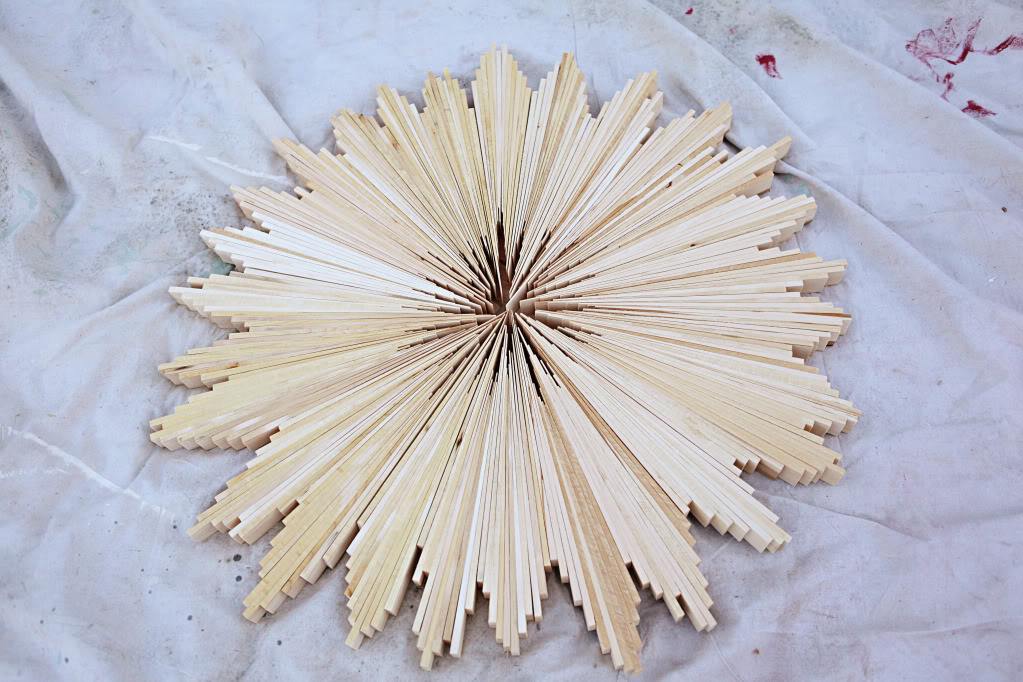
I went for Rustoleum’s Metallic Gold…you know to get the full star effect.
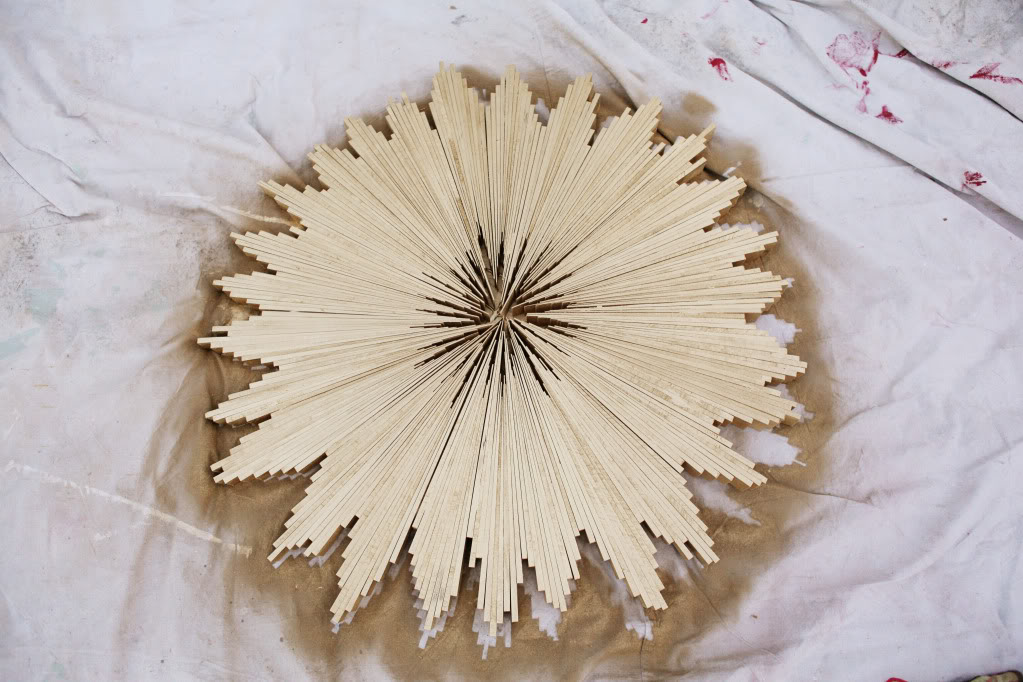
As it dried, I got my mirror ready. Actually this sucker is a candle holder mirror from Hobby Lobby that I used as a centerpiece for our wedding….cue the sentimental awws.
I removed the little felt feet….
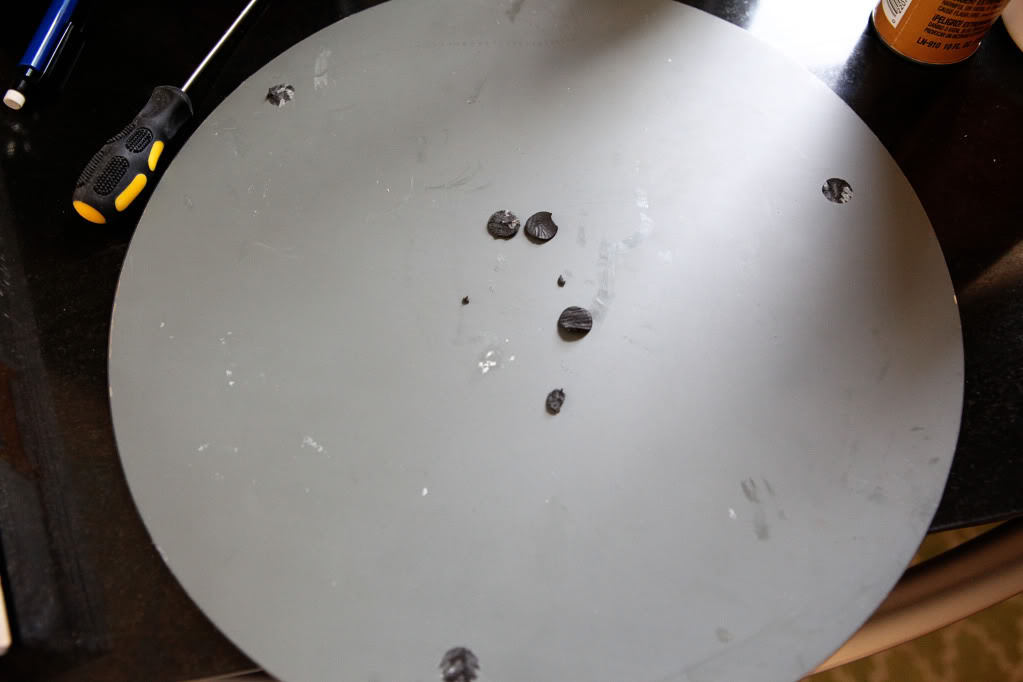
And applied some construction adhesive…
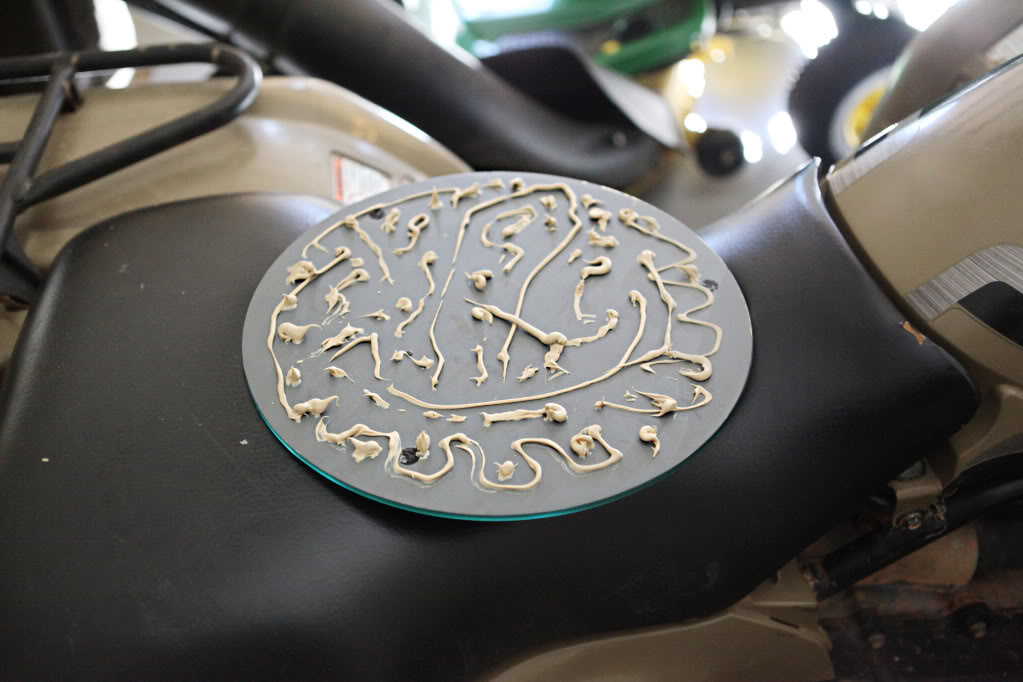
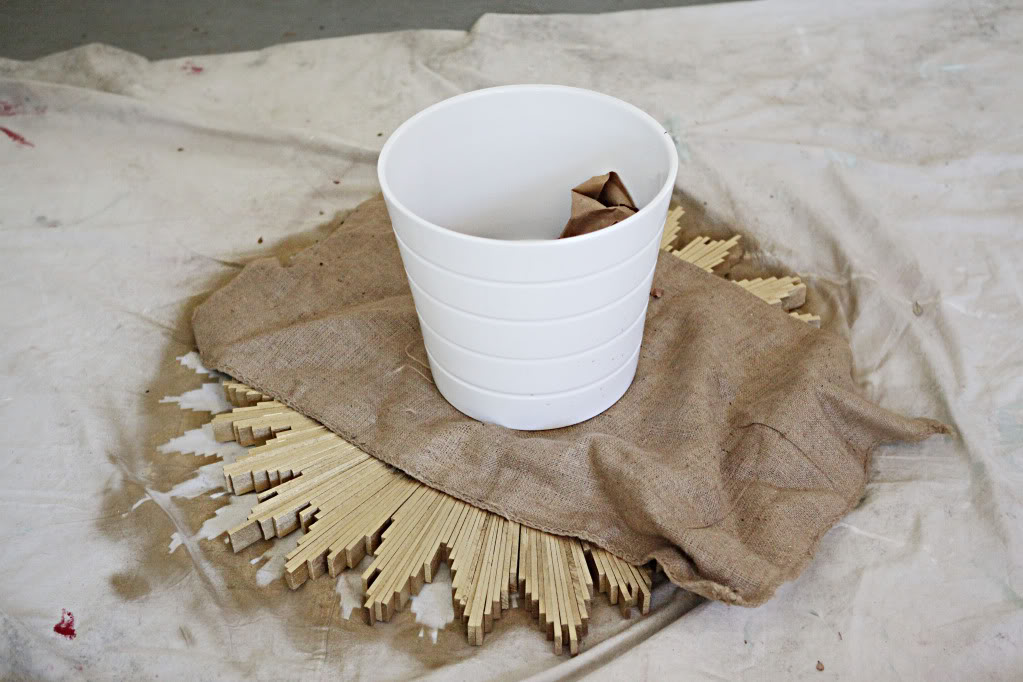
And then (since my mirror was dry) used a heavy pot to keep it anchored to the center of the mirror.
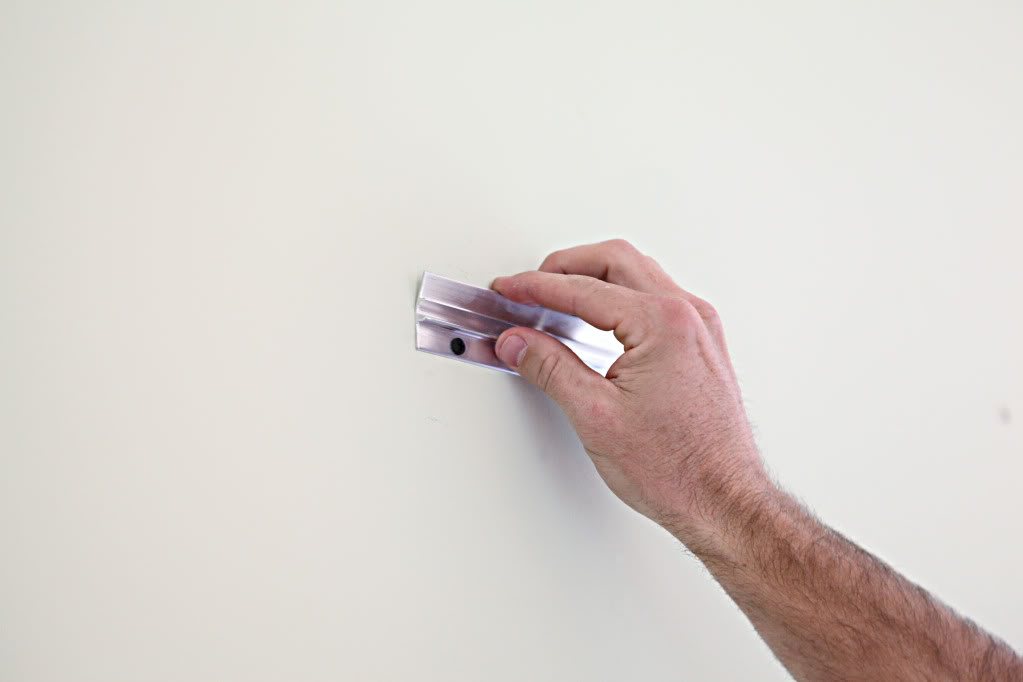
I splurged for this fancy picture hanging system from Hangman. It was $6 I think. A nail would have been cheaper but I was really worried that such a large and heavy item would come crashing down so I am glad we pulled the ole check card out for this thing that holds up to 75 pounds…plus, it really saved me a bunch of time.
ahem.
correction…it saved me a bunch of time listening to Jer lecture me on the safety of the mirror hanging aperatus…since he was the one that hung the mirror…and since all things in our house must pass the “JEREMY WEIGHT TEST”. That’s not even a joke.
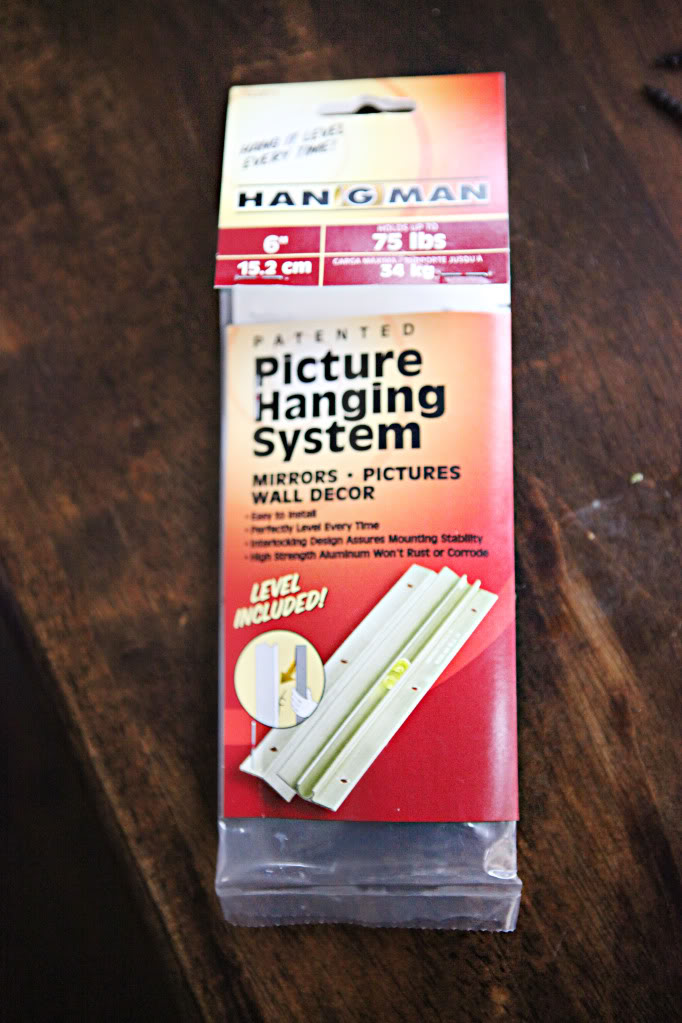
It’s really quite simple – one part attaches to the mirror and the other part attaches to the wall.
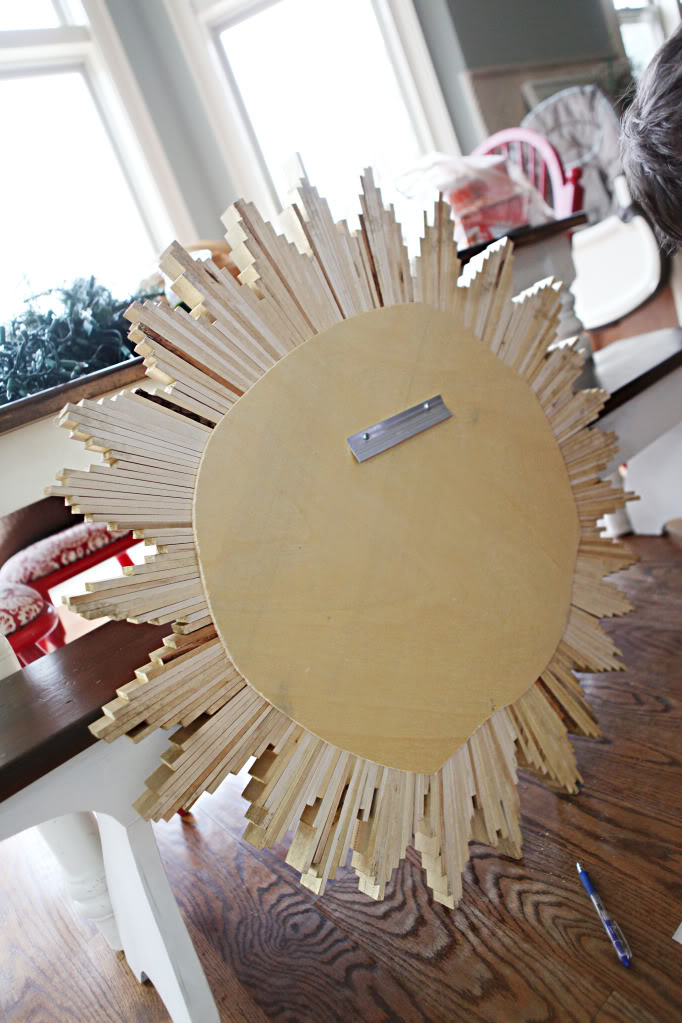
I wanted it smack dab in the center.

So Jer (yes that is his hand….my arm is way hairer!)…screwed it in and then the mirror sits on top…ledge hooking onto ledge.
SHIZAM.
Purty huh? Please ignore the fingerprints and the dusty floor.
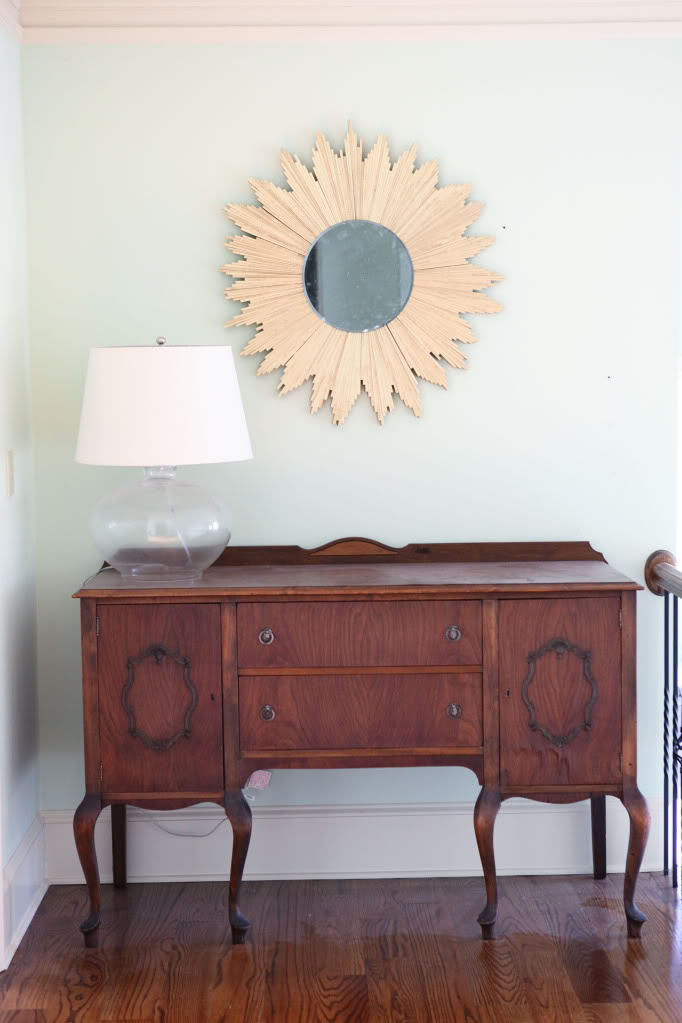
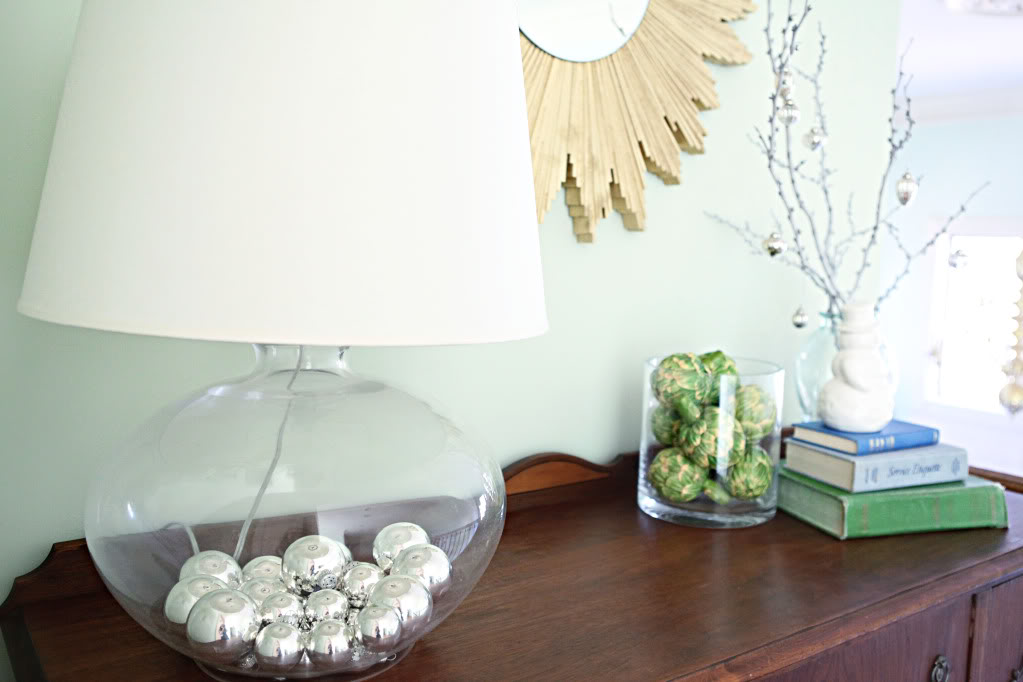
Since this is a christmas project (uh yeah, I know it doesn’t look Christmasy at all), I decided to get all Mrs. Claus on that buffet.

Again…look away from my dirty floors…they got swiffered this past week after I saw these photos.
Instead look at my subtle christmas display…
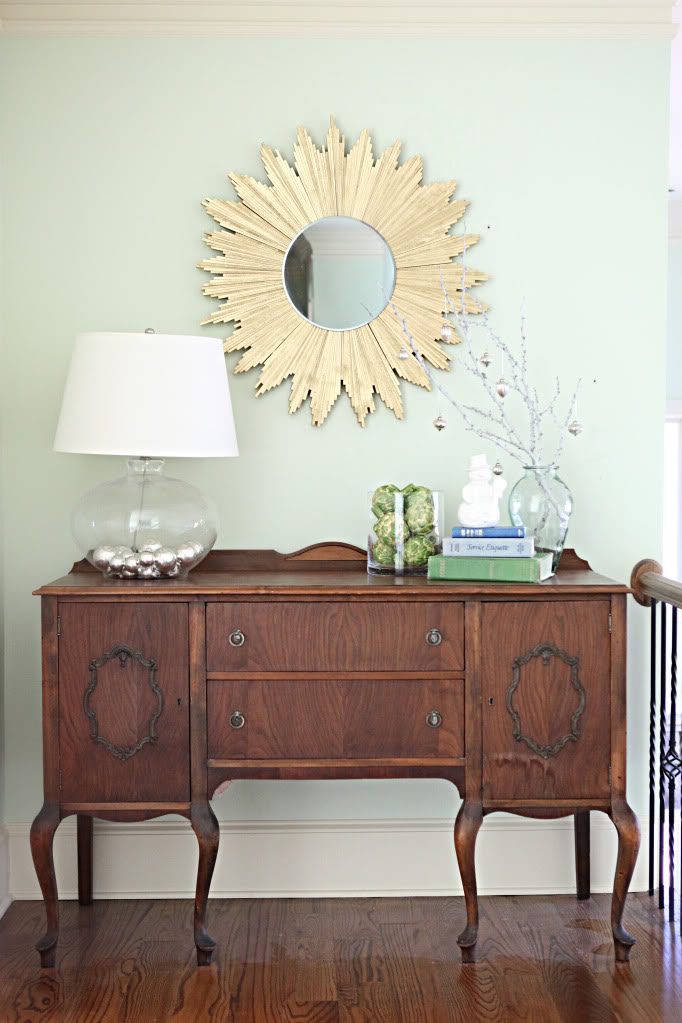
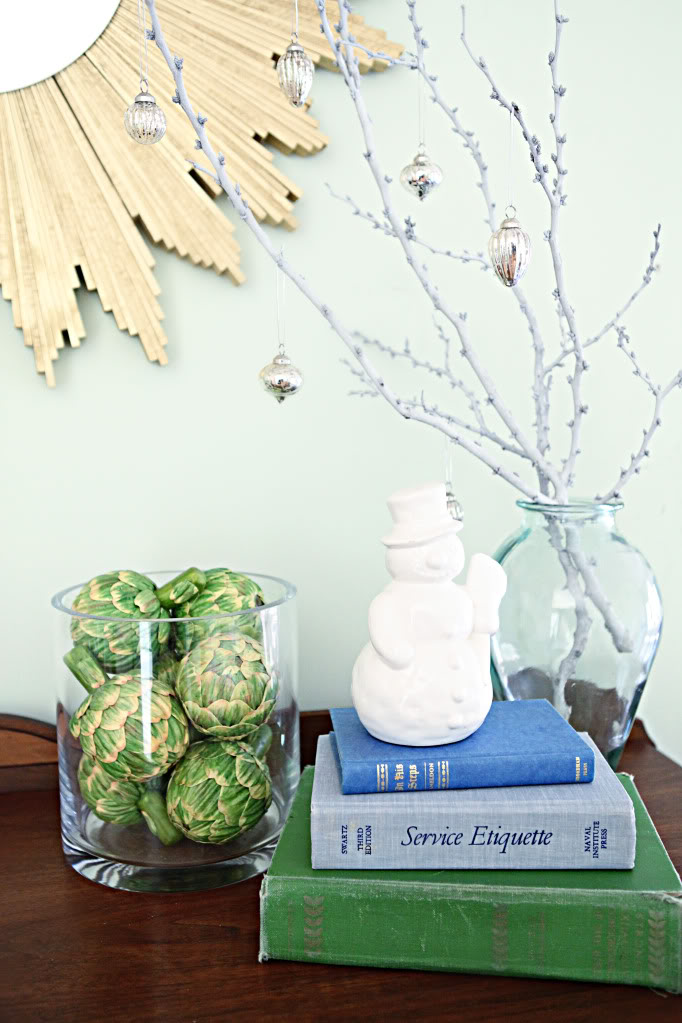
On one side is a sprig that Will ripped off some random bush outside…then I sprayed it with white primer to give it that hazy white look. Then it got adorned with some breakable ornaments (Will can’t reach that high yet!). A stack of books with Frosty on top, and a vase full of green artichokes finish off the look.
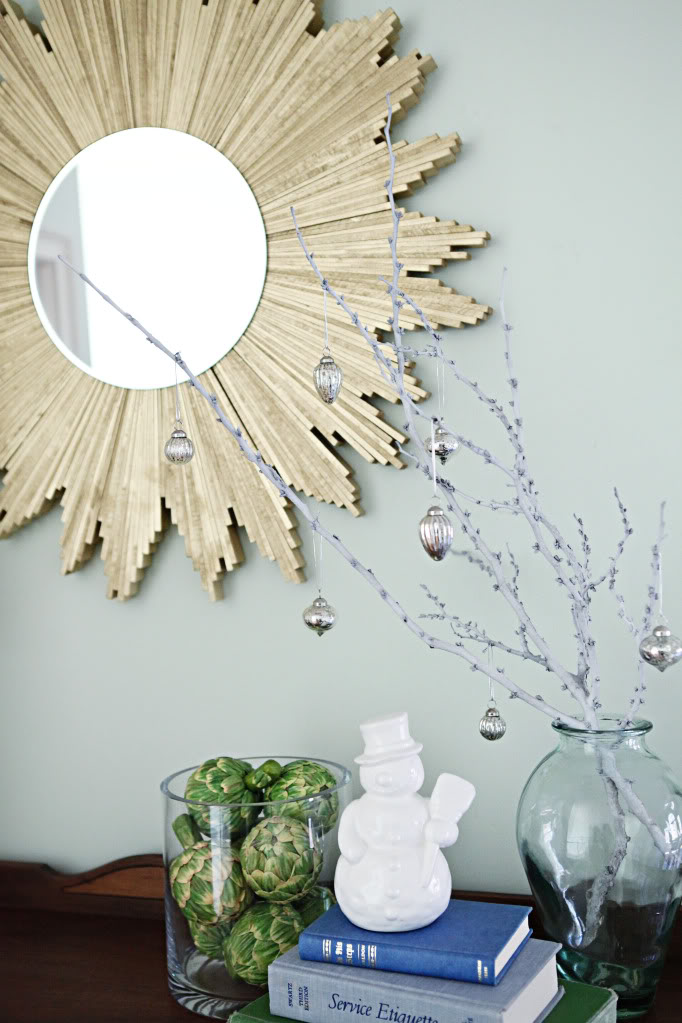
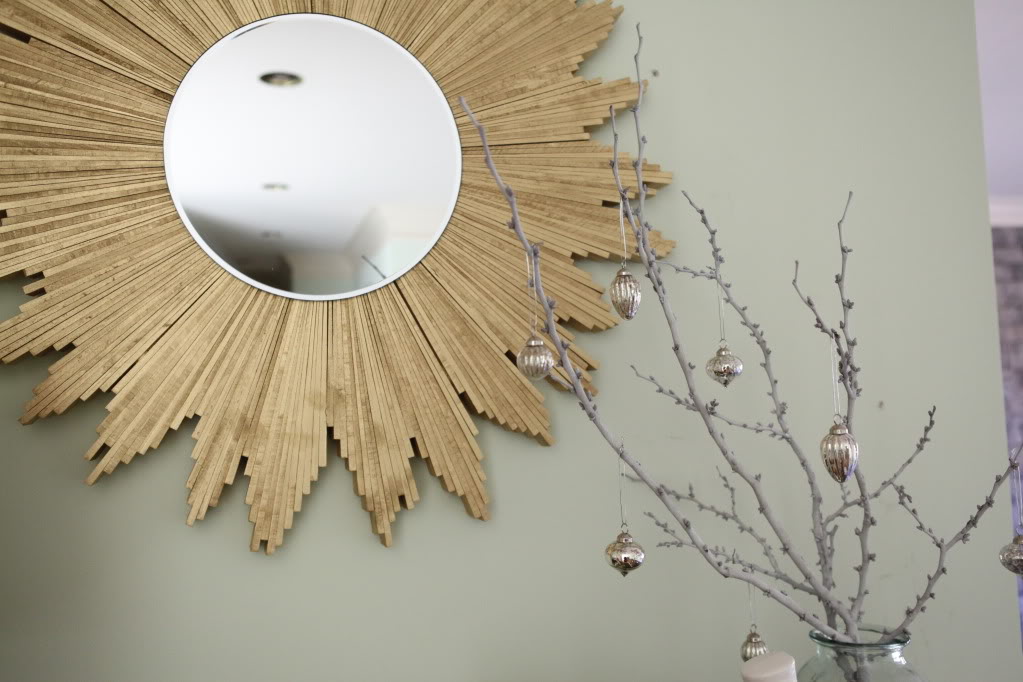
I got Frosty at Goodwill….
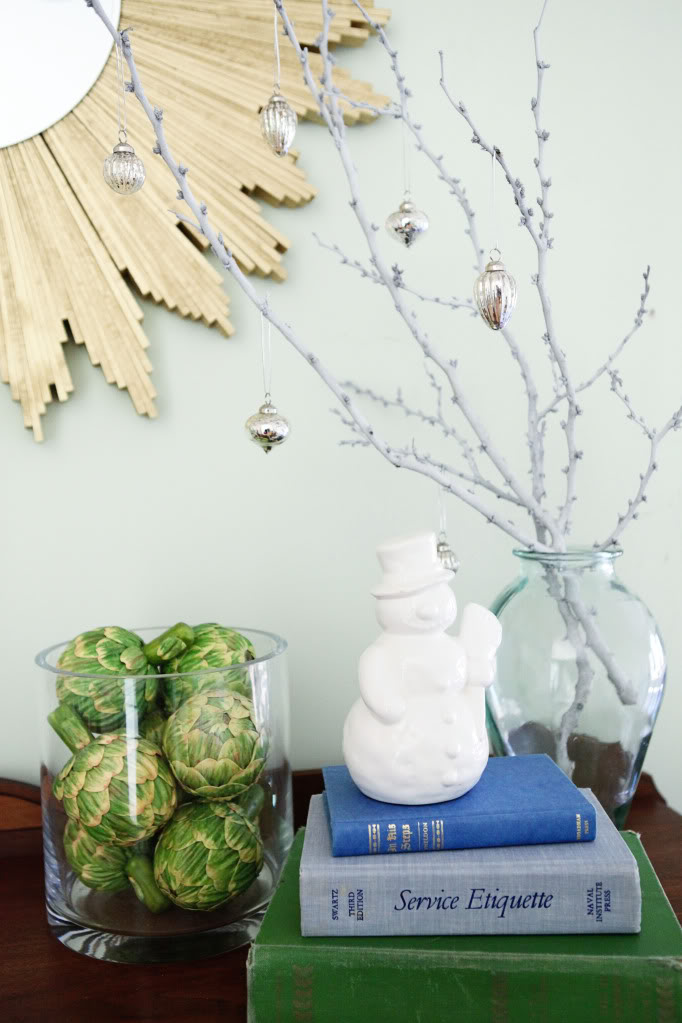
He’s a little worn around the edges…but he’s still got magic in that white hat 🙂
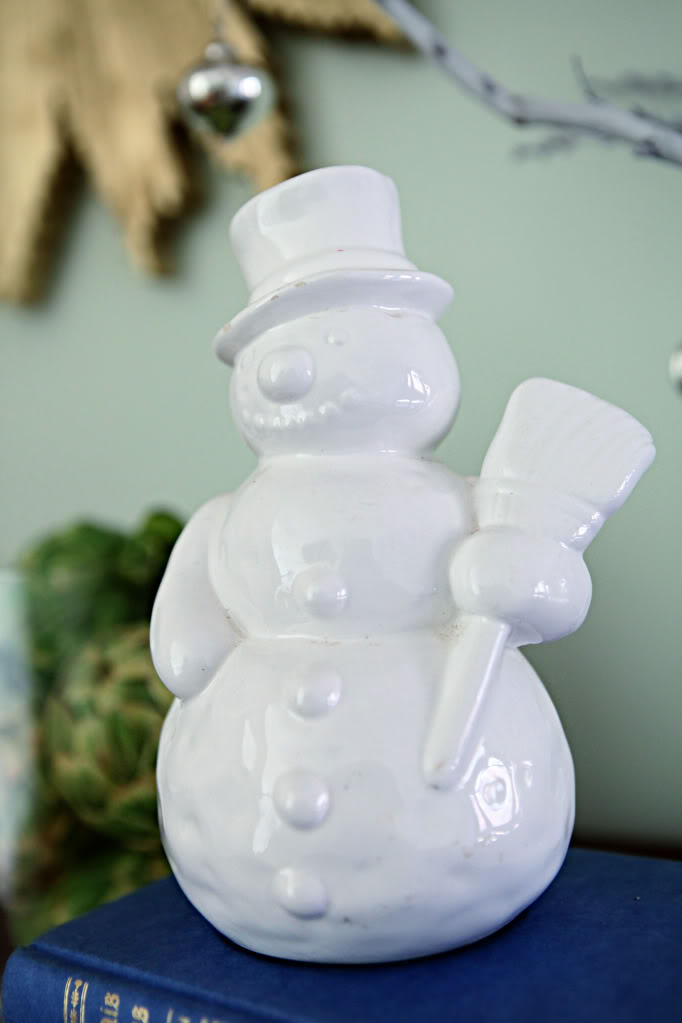
And on the other side is an oversized lamp from Pottery Barn outlet…I got it for a song a long time ago…and I slipped some silver ornaments into the base to give it a little more umph.
So that’s it folks – my star craft. Which I will be keeping up….all year long 🙂 Yeah. Whoa.
O Star of Wonder
Star of Light
Star with royal beauty bright
Westward leading, still proceeding
Guide us to thy perfect Light
I {heart} this star mirror! After the mess of Christmas is put away I might just make one of my own!
Love the way your mirror turned out! I also sent you an email to your Bower gmail acct… Just letting you know in case you’re like me and forget all about the email that you set up to attach to the blog. 😉
What an AWESOME job! seriously! so great! This is gonna be all over Pinterest I have a feeling 🙂
Beautiful job, Katie! I think it looks awesome!
Wow, that looks great. I did my own take on the Nester’s starburst mirror but I absolutely love all the ones I’ve seen that are made out of wood shims like yours. And I was taking a sip of water when I read that JLo/velour track suit comment and half spit it out/half choked on the water. Great analogy!
Super! I love it much more than the metal starburst mirrors I’ve seen all over the place!!!
I love it so much! It fills that space so perfectly!
Your version of a starburst mirror looks AMAZEBALLS! I’m so glad you tried it 🙂
Love. I saw a starburst mirror at Winners today for $40. This makes me happy knowing I can create my own that won’t cost as much and has the DIY appeal. Thanks for sharing! You’re great.
best starburst mirror EVER!!!
Your house is so pretty….and this came out really good.
This is stunning! By far my favorite DIY Starburst mirror tutorial so far. ‘Whoa’ is right! 🙂
It’s a beaut Clark … I mean Katie! (I’m sorry its my favorite movie of all time). I love the mirror, and like Addison said I think it is the best DIY Starburst out there! Happy Holidays!
LOVE it!
Oh, I was so sick of those starburst mirrors, but this one is way less severe and dangerous-looking. And, the color’s a lot less Gold and more champagne-y gold. Fun fact, our local pub (in a Dublin neighborhood) is filled with tacky and bizarr-o decor from the 1970’s…and 2 totally random starburst mirrors. Stopped me in my tracks when I noticed them!
This is by far my favorite of all the starbursts I’ve seen in blogland! I didn’t think I wanted one. . . but this one I could seriously dig. Awesome!
Love this!! I’ve been wanting to DIY one of these myself and I think this one is just perfect!
This is AMAZING! I never really like starburst mirrors until now. . . 🙂
Isn’t it weird to see good decor items in crazy places? I love it when that happens 🙂
xo – kb
Wowzers! That looks really cool. Now I guess I need to make one. Since everyone is doing it. But I am proud to say I never did jump on the J. Lo jumpsuit train. Maybe it is not too late.
It’s never too late Angela to be bootylicious 🙂
xo – kb
you are so right about this being the number 1 DIY thing. I never got it either, in fact I usually don’t like starburst mirrors that everyone seems to swoon over. BUT I really love yours! Now ya got me thinking maybe I do like starburst mirrors. Nice job!
I love how the mirror turned out! It looks great!
I love the mirror! May just have to give the ole’ starburst mirror a try myself!! Merry Christmas to you and your family.
Your mirror looks awesome! You did an amazing job!
This is most likely my favorite one I’ve seen yet! Looks amazing!
I have a Horchow starburst mirror that I love. I wanted another but did not want to spend the money on it. I have never liked the DIY blogland take on these until now. Katie that mirror is AMAZING!!!! I can not believe it was only six packs of shims and construction glue.
Way to go Katie, I am pinning it now!!!!!
Great job! Your mirror looks great! I have a question (I hope this doesn’t sound dumb)… was it hard to get those ornaments in the lamp without breaking them? How’d you do it? I’m sure I would have cracked a few.
Looks great! You make me want to go back and finish the shim mirror I started months ago …
SO AWESOME. I love it.
Your mirror looks amazing. You really have the best ideas. Thank you so much for mentioning my mirror. I am so glad you liked it and am beyond flattered that you chose to mention it on your awesome blog.
This is the best DIY star mirror I’ve seen so far… and we all know there are a lot. I am pinning this! 🙂
Beautiful! Never been a huge fan of these but yours I wonderful 🙂
Very nice! Love the non-uniformness of the starbursts as well. And that lamp just made me wish we had a PB outlet in VT.
Wow! That is gorgeous! All of a sudden I’m terribly interested in how much a packet of shims cost! I love it in the color you chose, it’s really very pretty!
I love this. It looks great! I would like to do a star burst mirror one day but I should probably wait until we decide which walls are staying and which are going before I do. Hopefully they’re still in style when that happens – it could be a while.
-Diana
This thing is fantastic, I think its my favorite of the DIY mirrors that I’ve seen! I think I need to pin it, and I definitely going to be making one of these bad boys for our house!
I made one of these for my mom for Christmas, same mirror from Hobby Lobby and all. I left the shims in there original state, so to jazz it up a little I added a row of bronze nailheads from Lowe’s around the mirror. I love that you painted it gold-thinking I may need to make another and give it the old spray paint treatment!
Have a Very Merry Christmas!
No word of a lie, I picked up shims to make my own starburst the other day. I haven’t got around to making mine yet…hopefully it looks as good as yours. I guess great minds think alike!
I was looking for yoga pants to sleep in the swear pants rack the last time I was at Goodwill, and there were tons of those velour ones. So you can be bootylicious for cheap. 🙂
Count me in the camp that wasn’t interested in starburst mirrors, but thinks this one is pretty great.
This is great! I’m going to try it over the long Christmas weekend with my mom!! I know your mirror is from your wedding, but what approx diameter mirror did you use? I can’t really get a feel for the size from the pictures.
I absolutely love love love that mirror!! It looks fabulous!!
Love it! Definitely a keeper. You could even paint it a different color if you wanted to change how it looks. But of course you knew that already. MERRY CHRISTMAS!!
I think this is my favorite of your Christmas projects so far! The mirror turned out great!!
Oh. My. Goodness. That is incredible – great job! No way anyone would think you made that (unless they read your blog!). Totally impressed.
Saw this on pinterest and clicked through – it’s exactly what I was looking for in my dining room! Definitely less severe looking than a lot of other starburst mirrors out there… going to have to give this one a whirl once it gets warmer/dryer here in the spring or early summer (my husband put the kabosh to spray painting in the basement – I did it once and we may or may not have smelled spray paint for about three weeks)
It’s probably about 12 inches across. They work as chargers too – and I have 10 inch dinner plates so that’s probably right.
xo – kb
I know what you’re saying about starburst mirrors…but this one is so much more subtle! Do you know roughly what you spent on the project?
It looks so good! I really like Frosty too…they don’t have that cute of things at our Goodwill. 🙁
Wow! Katie, you totally outdid yourself! I love the fact that you “sandwiched” the shims right next to each other, instead of laying them flat like so many other how-to’s! I actually have a starburst mirror that I paid a little too much for(even on sale). I would love to make two of these for my master bedroom, though, and they wouldn’t be so hard on the bank!! Thanks so much for posting. Looks like this is my first 2012 project! Have a Merry Christmas!
Great job Katie!! This star looks awesome!
Your starburst is my favorite in blogland. The problem I’ve had with most was that the mirrors always seemed too small- yours is the perfect proportion. Good job! Have an awesome Christmas with your sweet little family! 🙂
ohmygosh thank you! I’ve been wanting to make a starburst mirror but kept putting it off because I didn’t know how the heck to start. So, yeah, I will be copying you. Thanks and Merry Christmas!
This post was inspiring and really hilarious. Lots of subtle KB comedy. Thank you!
Love it all!!!!!! However, the lampshade sitting unevenly is making my OCD kick in!!!!!!!
That is fantastic! I love how you mentioned Will said “Whoa” when he saw it. My little guy says “WOW” for just about everything. Its a nice little ego boost : ) Happy Holidays!
You did a fab job on this fab mirror. 🙂
Whoa! No, seriously, I actually just thought that. Awesome starburst. I am not really feeling the trend but that far surpasses it because it isn’t cookie-cutter. Way to go!!!
That is the prettiest homemade starburst mirror I’ve seen for sure! Beautiful. Didn’t you have a spot in your old house exactly like that – I think it was by the door to Will’s room maybe? (Signs I spend too much time reading blogs…) You had a chair and that chevron topped table there?
yeah – it was totally similar! It’s funny how even little things like that make this house feel more like home 🙂
xo – kb
This looks awesome- great job!! Will you come make one for me??
LOVE LOVE LOVE that mirror! Definitely my next DIY project – thanks for the inspiration!
Love it!! Could you tell me how wide it measured when you were done? I did one of your other projects last year and it was really easy. I will try to send you some pictures and a thank you for the help!
lovely
lovely mary
Hi Katie! This is beautiful and I’m thinking about making one myself. Do you remember by chance the length and type of shims you used?
Thanks so much!!
We just used the standard shims at Lowes! They weren’t the itty bitty ones – just the cheapest ones that came in a multi-pack!
xo – kb