Disclaimer – This is a sponsored post brought to you by Canon. All opinions are 100% my own.
Sometimes it’s the smallest things that make you feel like you’ve won the lottery. Seriously. One time I found a Kate Spade gold foil print on clearance for $1.29 and you would have thought that I had been announced Miss America. There was glitter confetti falling all around me and I walked the aisles doing my best slow wave.
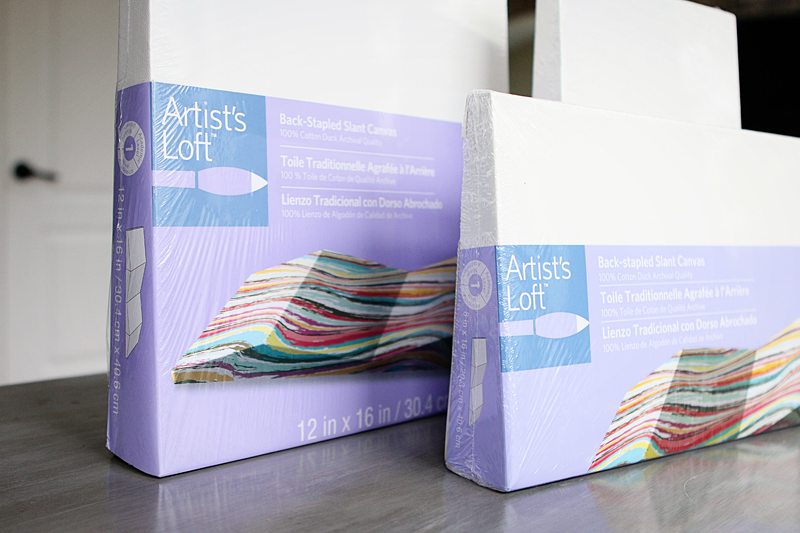
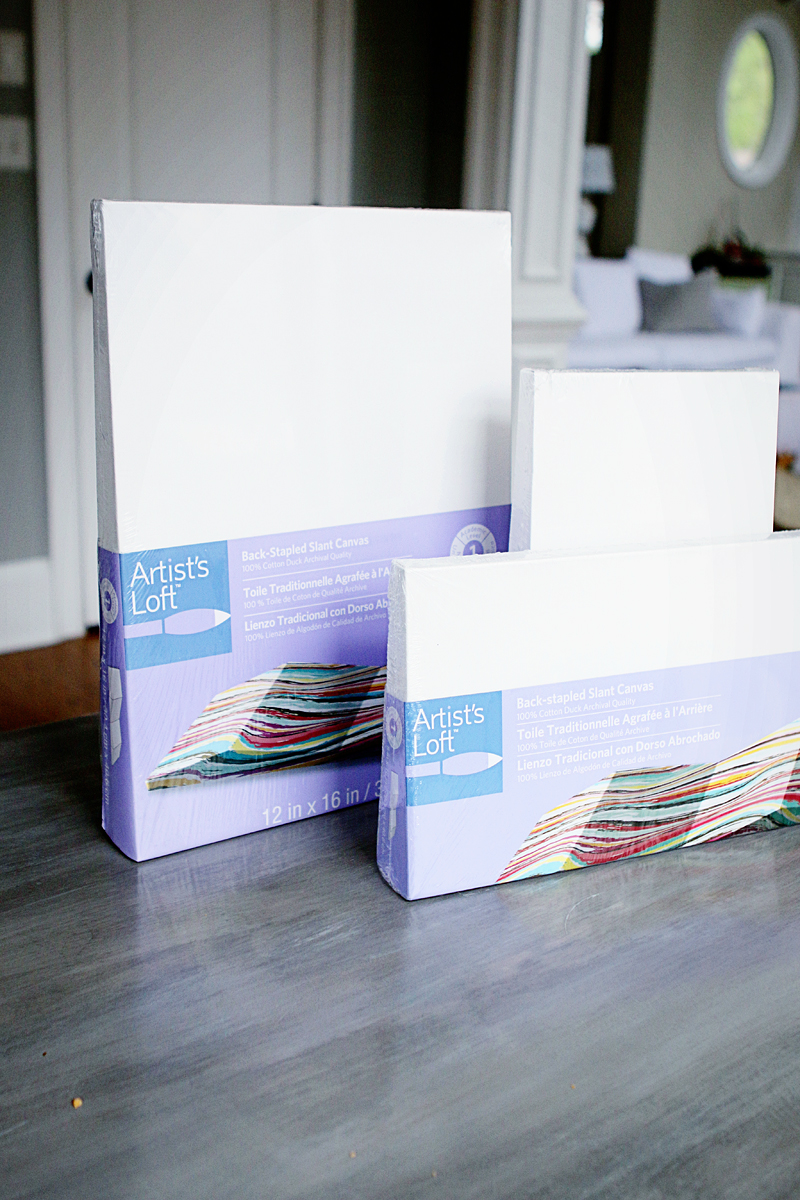
You can imagine my elation when I saw these cool slanted canvases at Michaels. I was not cool in that moment. Not cool at all.
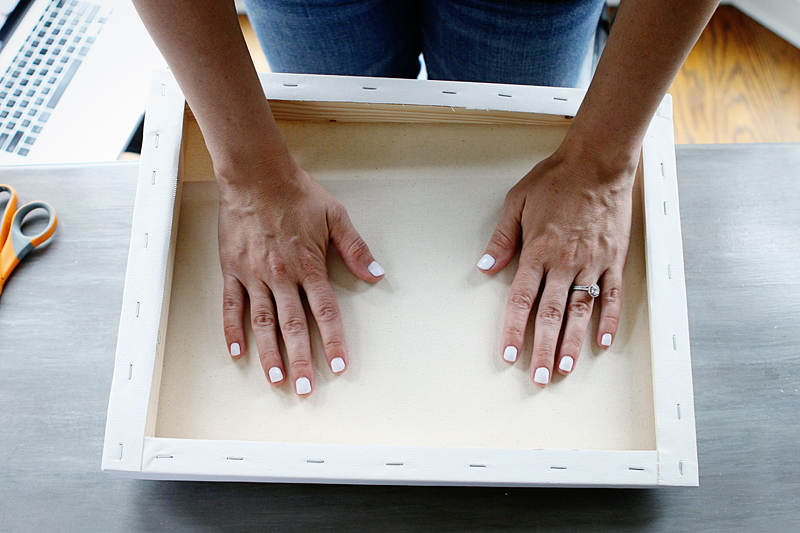
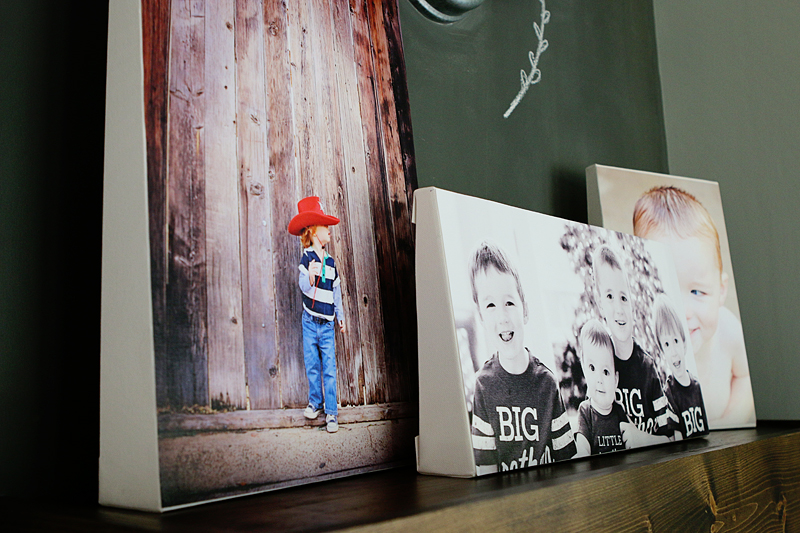
My first thought was these would be the solution to the issue of canvases that fall over. I have painted art on canvas before and you either have to hang them on the wall or frame them or add something to make them stable enough to stand up on their own. But these are wedge shaped canvases giving them plenty of stability and allow them to stand up on their own.
(please note the Cheez-Its crumbs on the table…#snackshappen)
The first thing I did was format my photos to make them the correct size for my particular canvas.
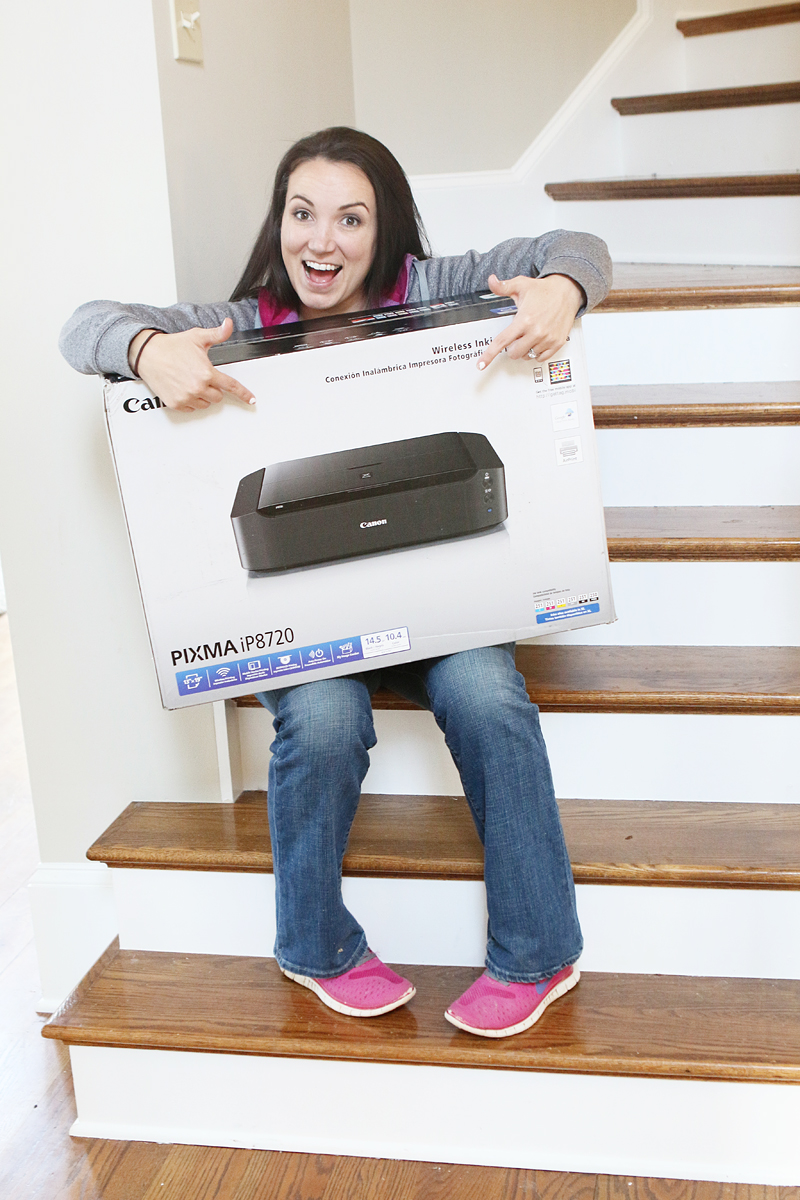
I was printing my pictures out on my Canon PIXMA iP8720 so they were going to be HUGE….which is amazing because you can see exactly what you are getting and can modify things easily.
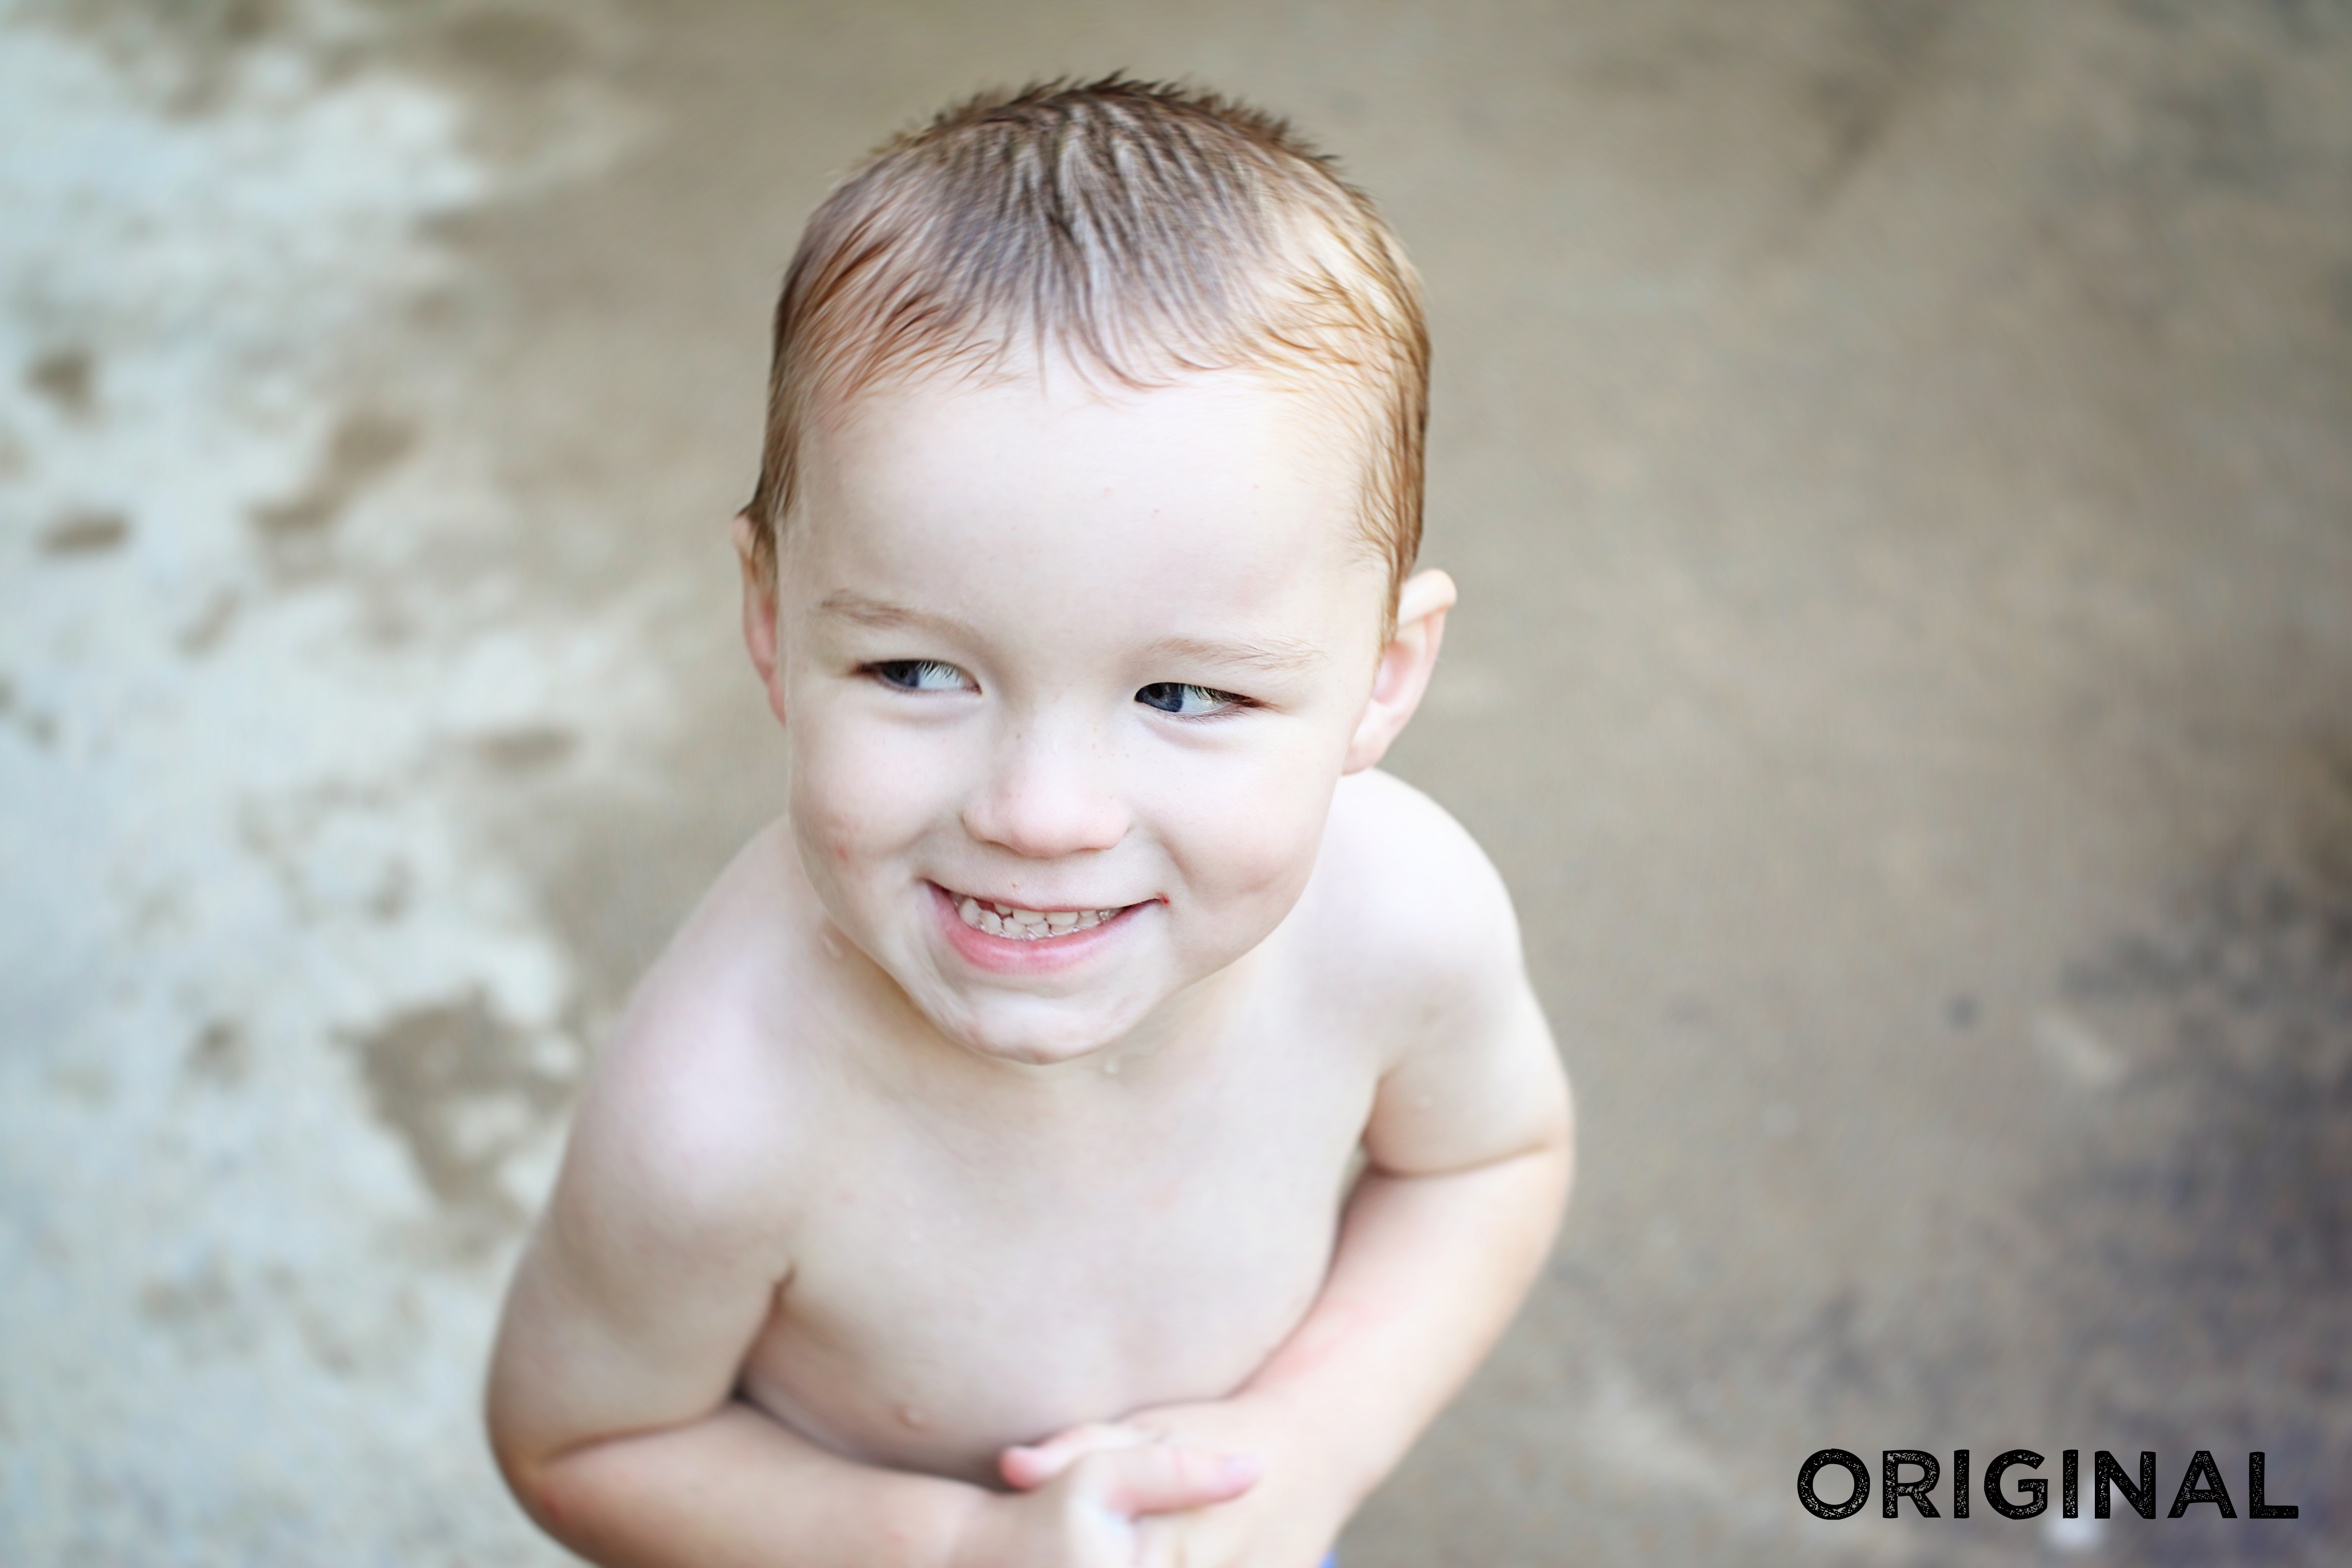
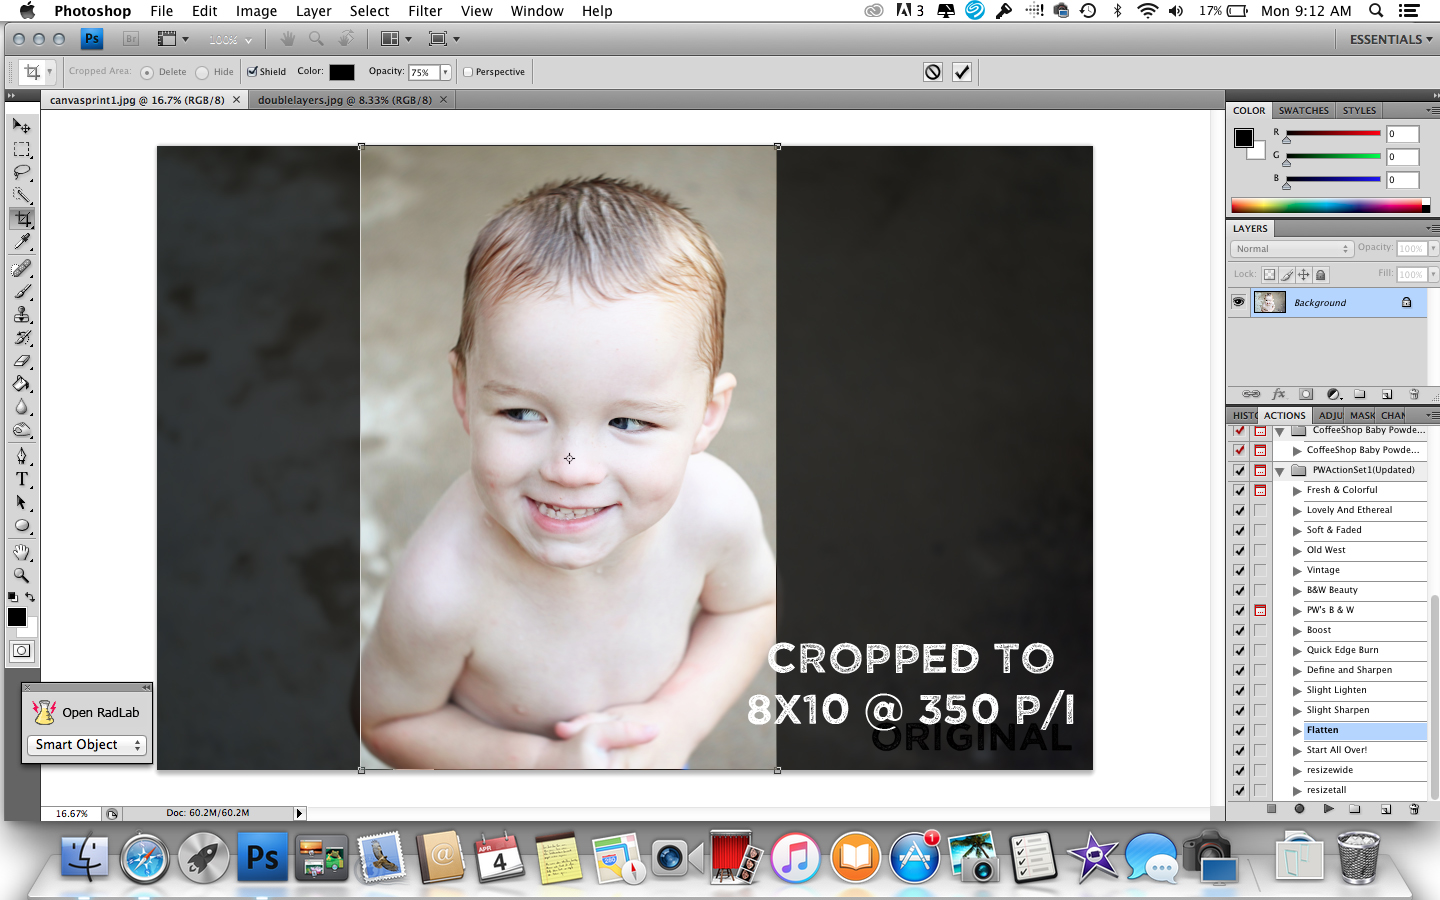
One of my originals looked like this….my little Munchie with his devilish grin and his sneaky little side eyes 🙂
I opened it in Photoshop and cropped it to 8×10 and changed the pixels per inch to 350.
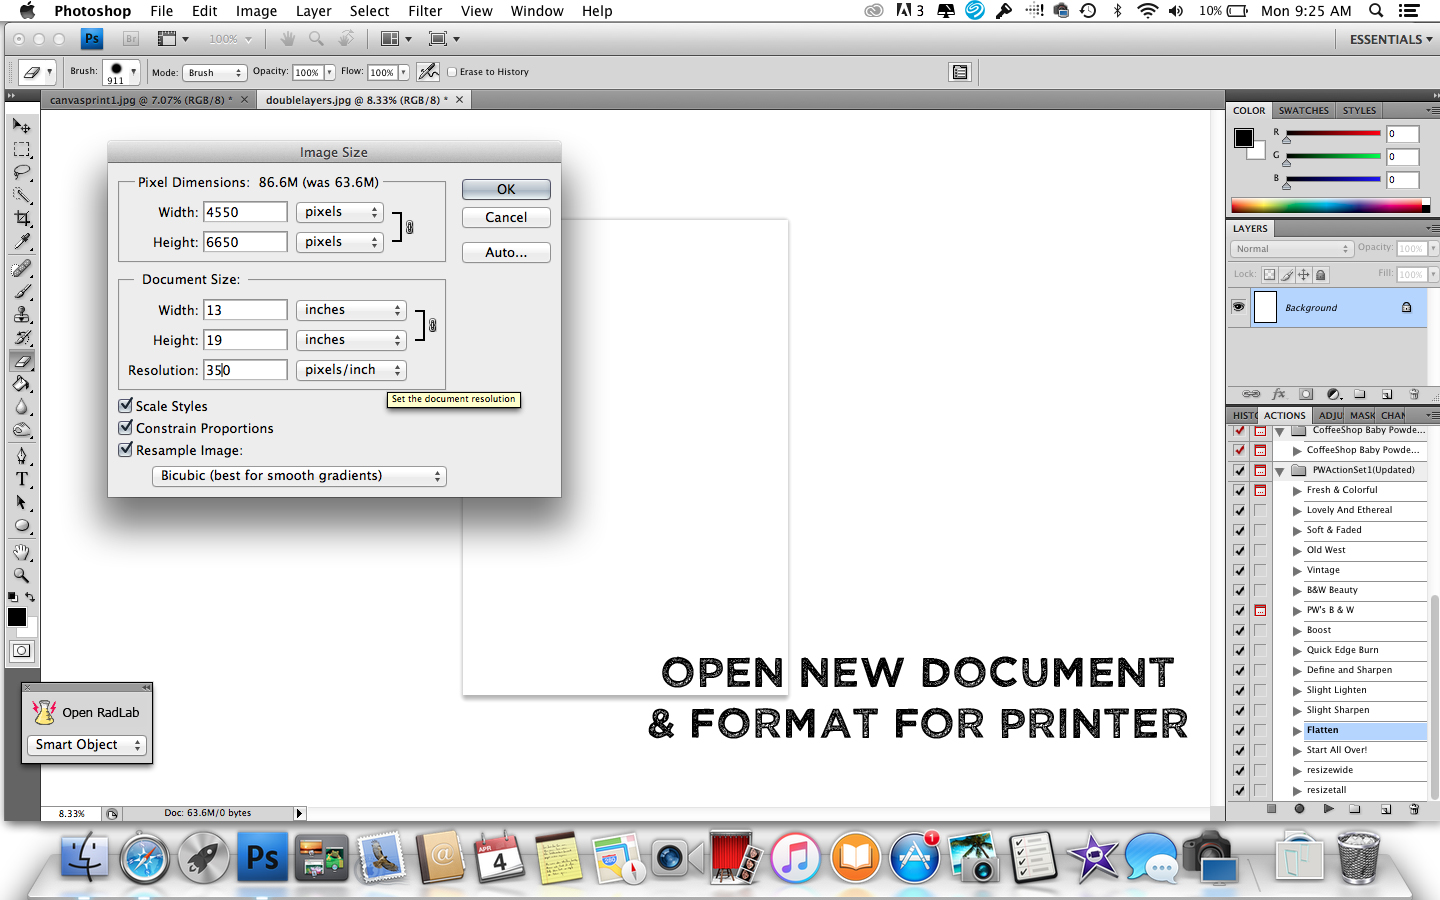
Then I opened a new file with a canvas that was the size of my printer paper. I made it 13×19 also at 350 P/I. I know….the PIXMA iP8720 prints BIG 🙂 #happydance
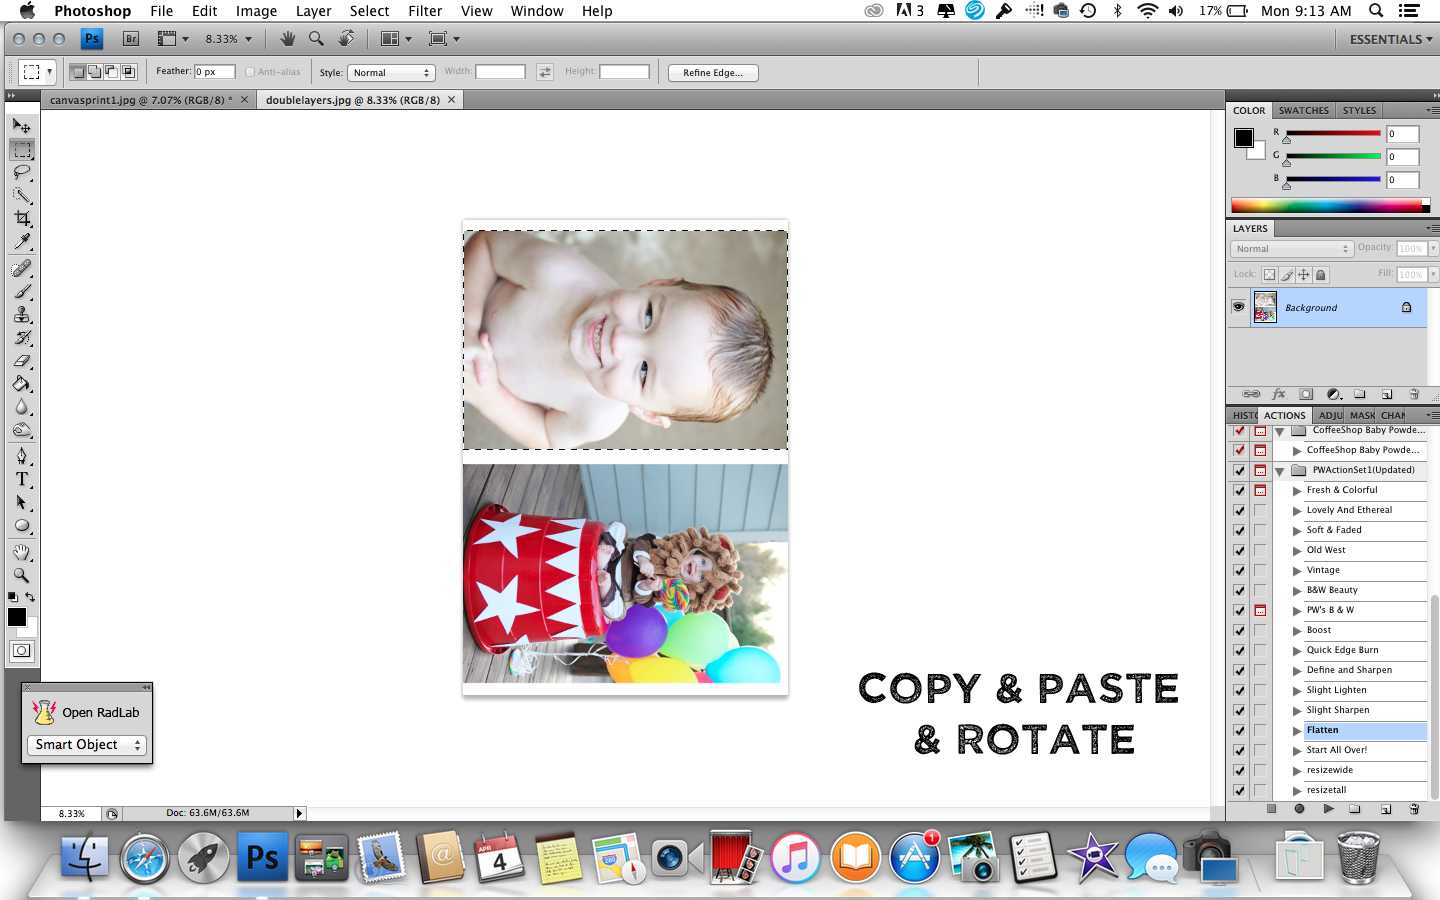
Then I just selected my cropped Weston image and copied and pasted to the new image. I did need to rotate it and made it slightly bigger because I knew that I would be cropping out his hands so that the focus would be on his sweet face. If I kept it the same size as it was pasted…it would be exactly the size I needed for the canvas. If I made it any smaller, the standing canvas would show around the photo….no bueno. And if I made it a bit bigger, I could end up losing needed details….so the tip here is – be careful with your cropping and resizing. I also pasted a photo of LJ so that I wouldn’t waste the rest of the photo paper 🙂
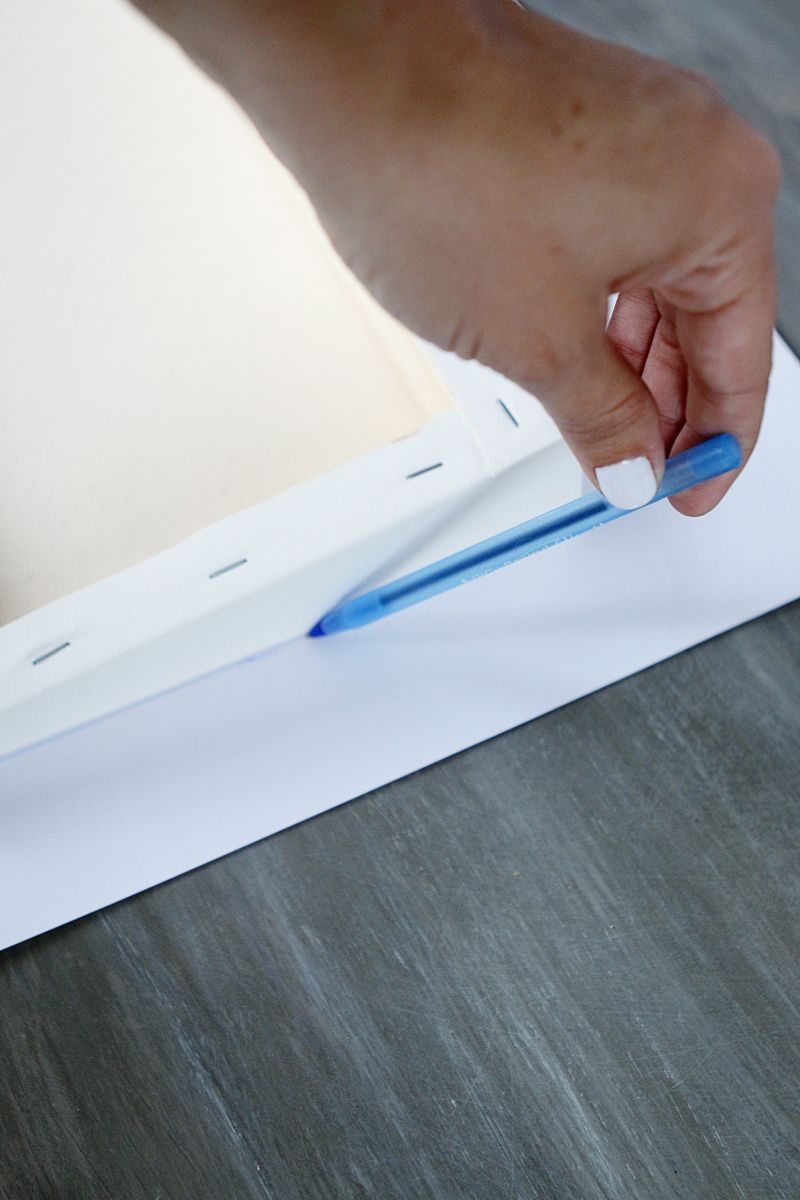
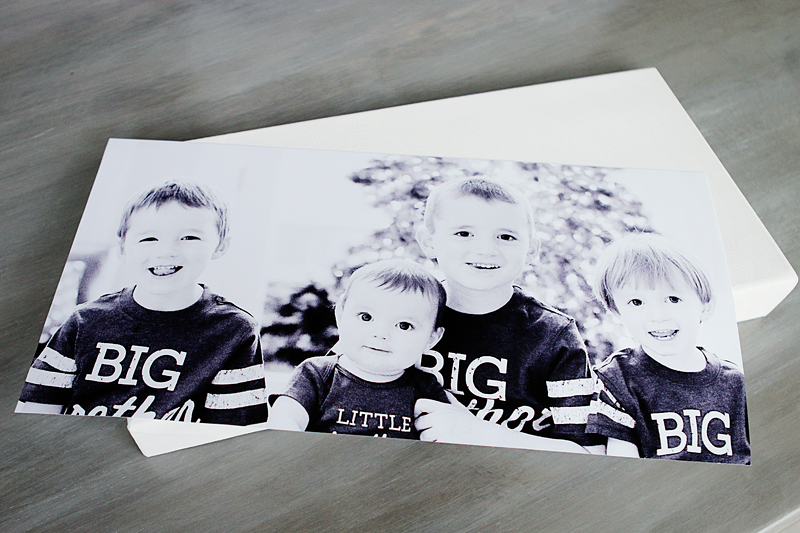
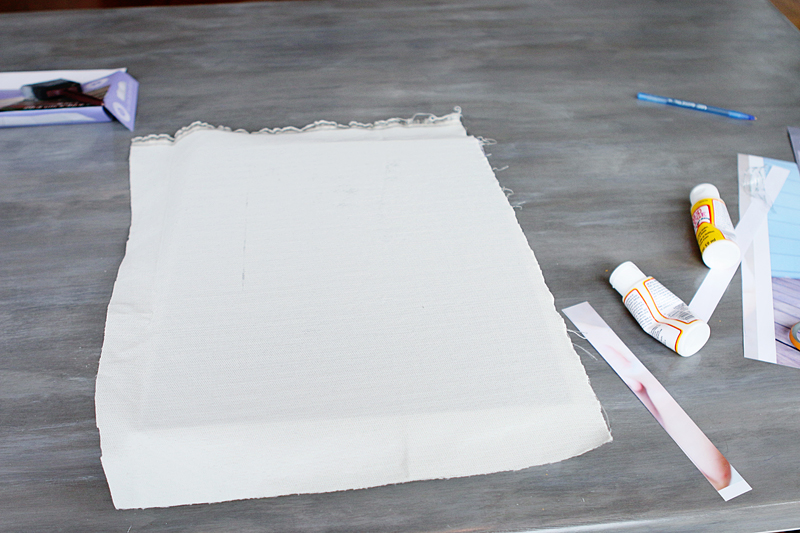
Once all my images were printed, it was time to cut for the canvas. I simply laid the canvas on top of the image and then traced it with a pen.
Then I cut my prints down to fit the front of the canvas.
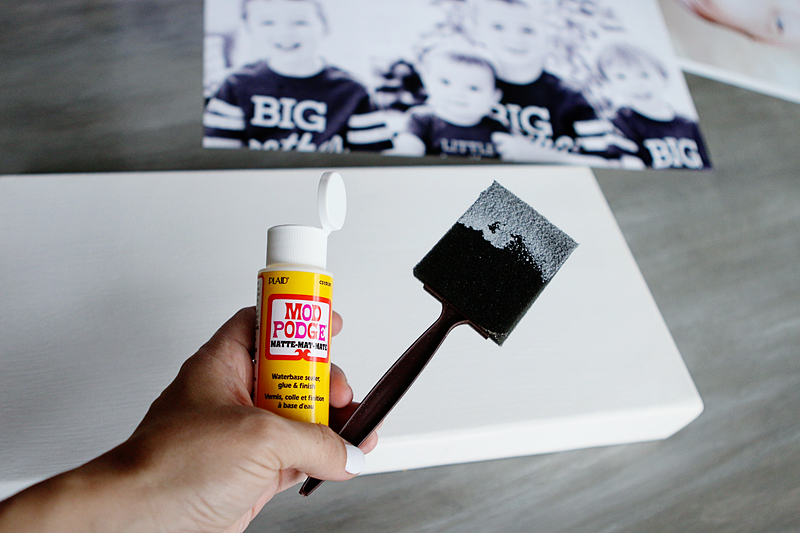
The canvas received a very generous helping of Mod Podge and I smoothed it with a sponge brush.
Then you firmly press your print on the canvas. You can stop there if you like but I wanted the prints to have that canvas texture so I tried out a technique that is supposed to give you the canvas feel.
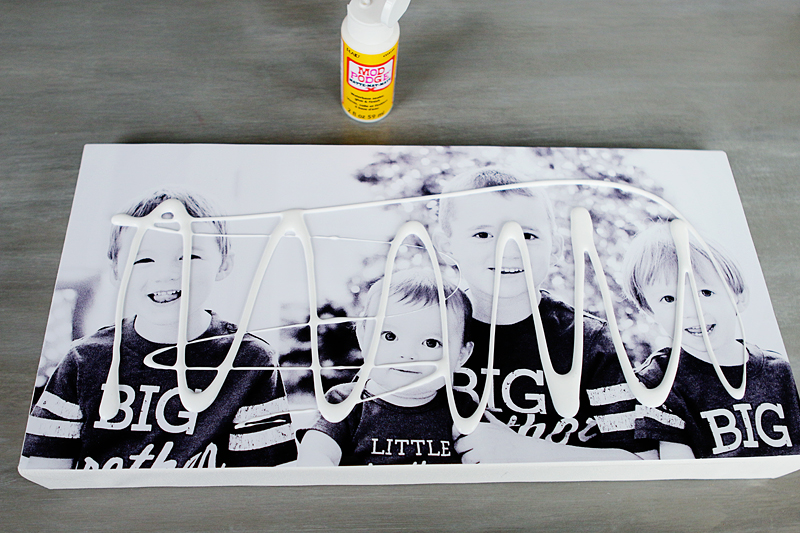
Basically you dump a lot of Mod Podge on top of your print and try not to freak out….
Then smooth that out evenly…
If you left it like this, it would have the brush marks on top of the picture.
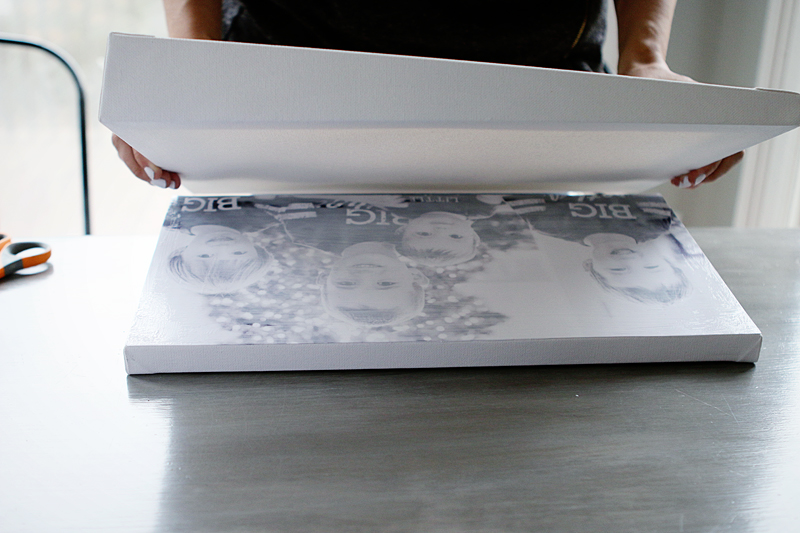
Instead of brush marks, you want to imprint on the top so you lay another canvas on top….
And press that down firmly and then remove…
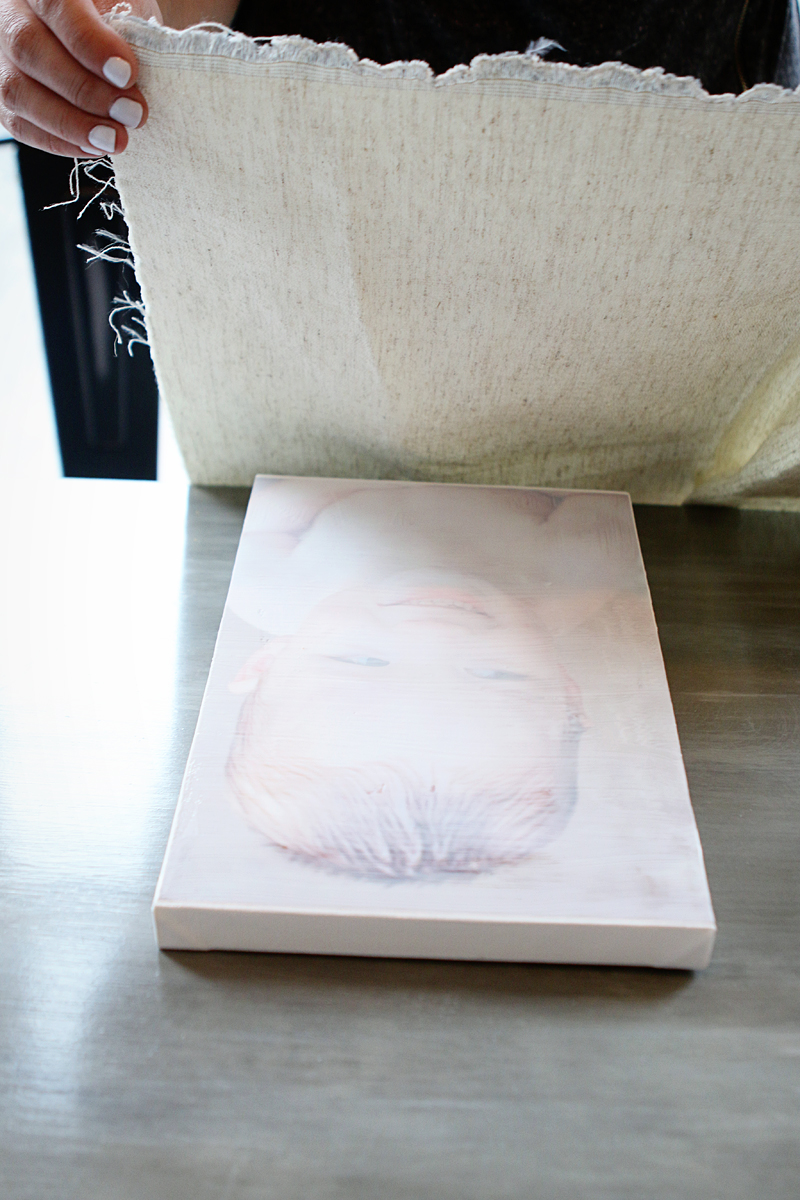
I didn’t like that method as much as the next one. You can also get the same effect by laying a piece of textural fabric over the top.
I like using a lot of Mod Podge and letting it settle for at least ten seconds before slowly removing the fabric.
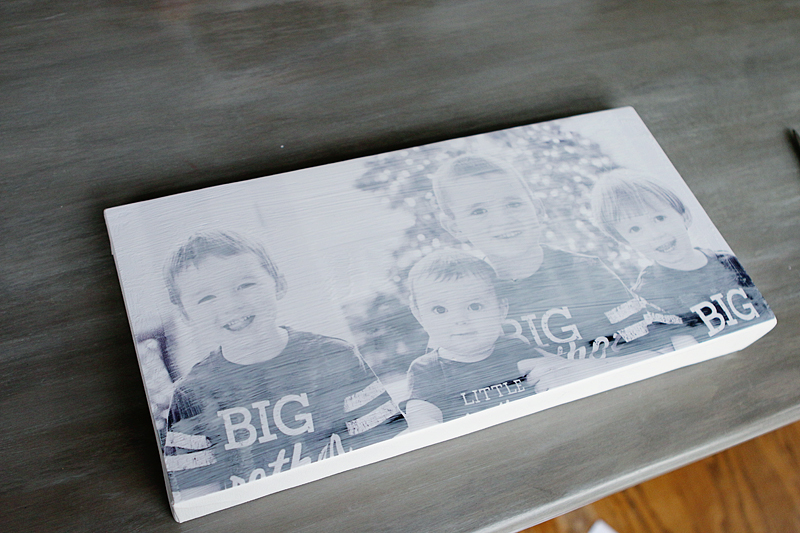
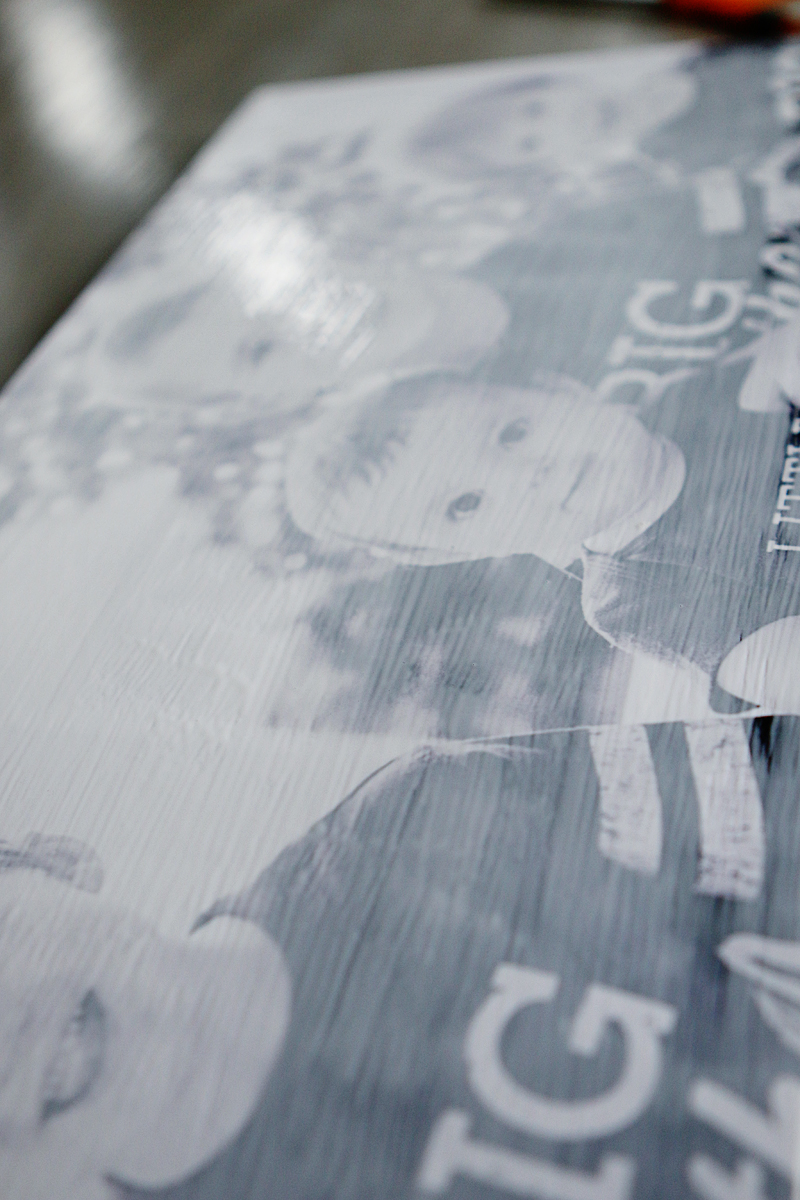
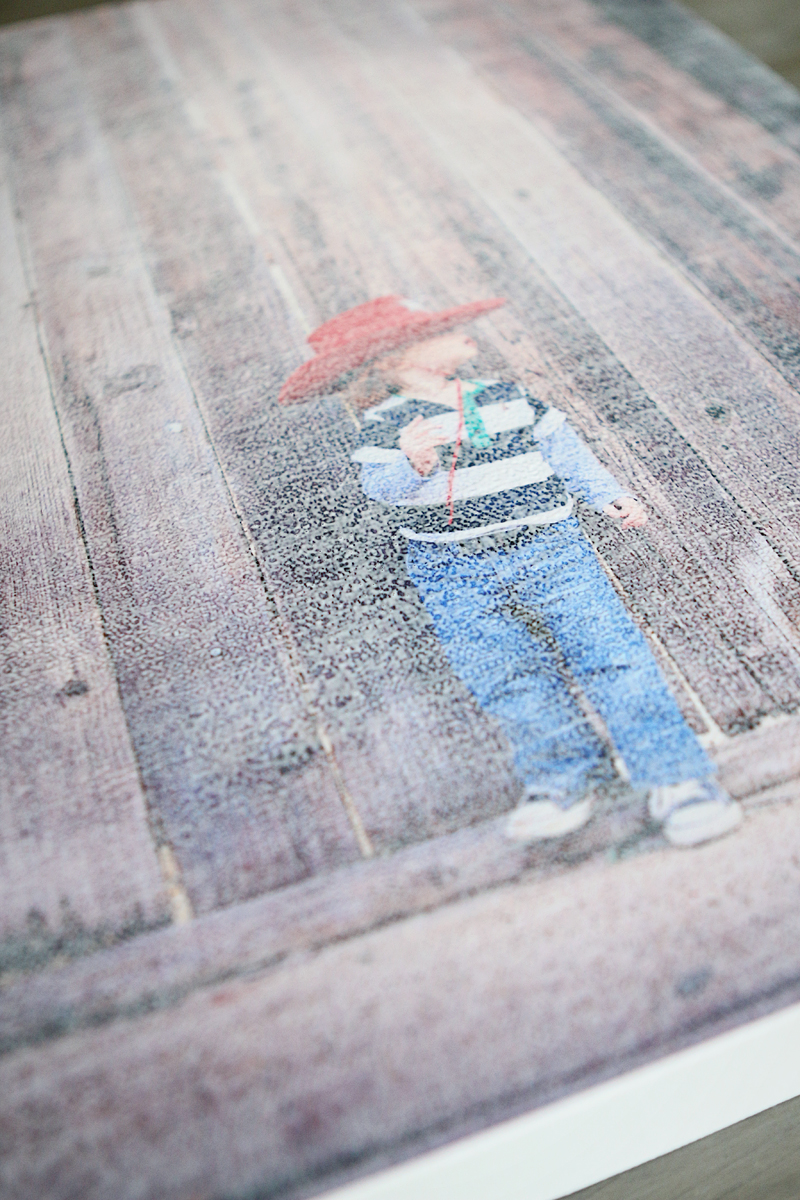
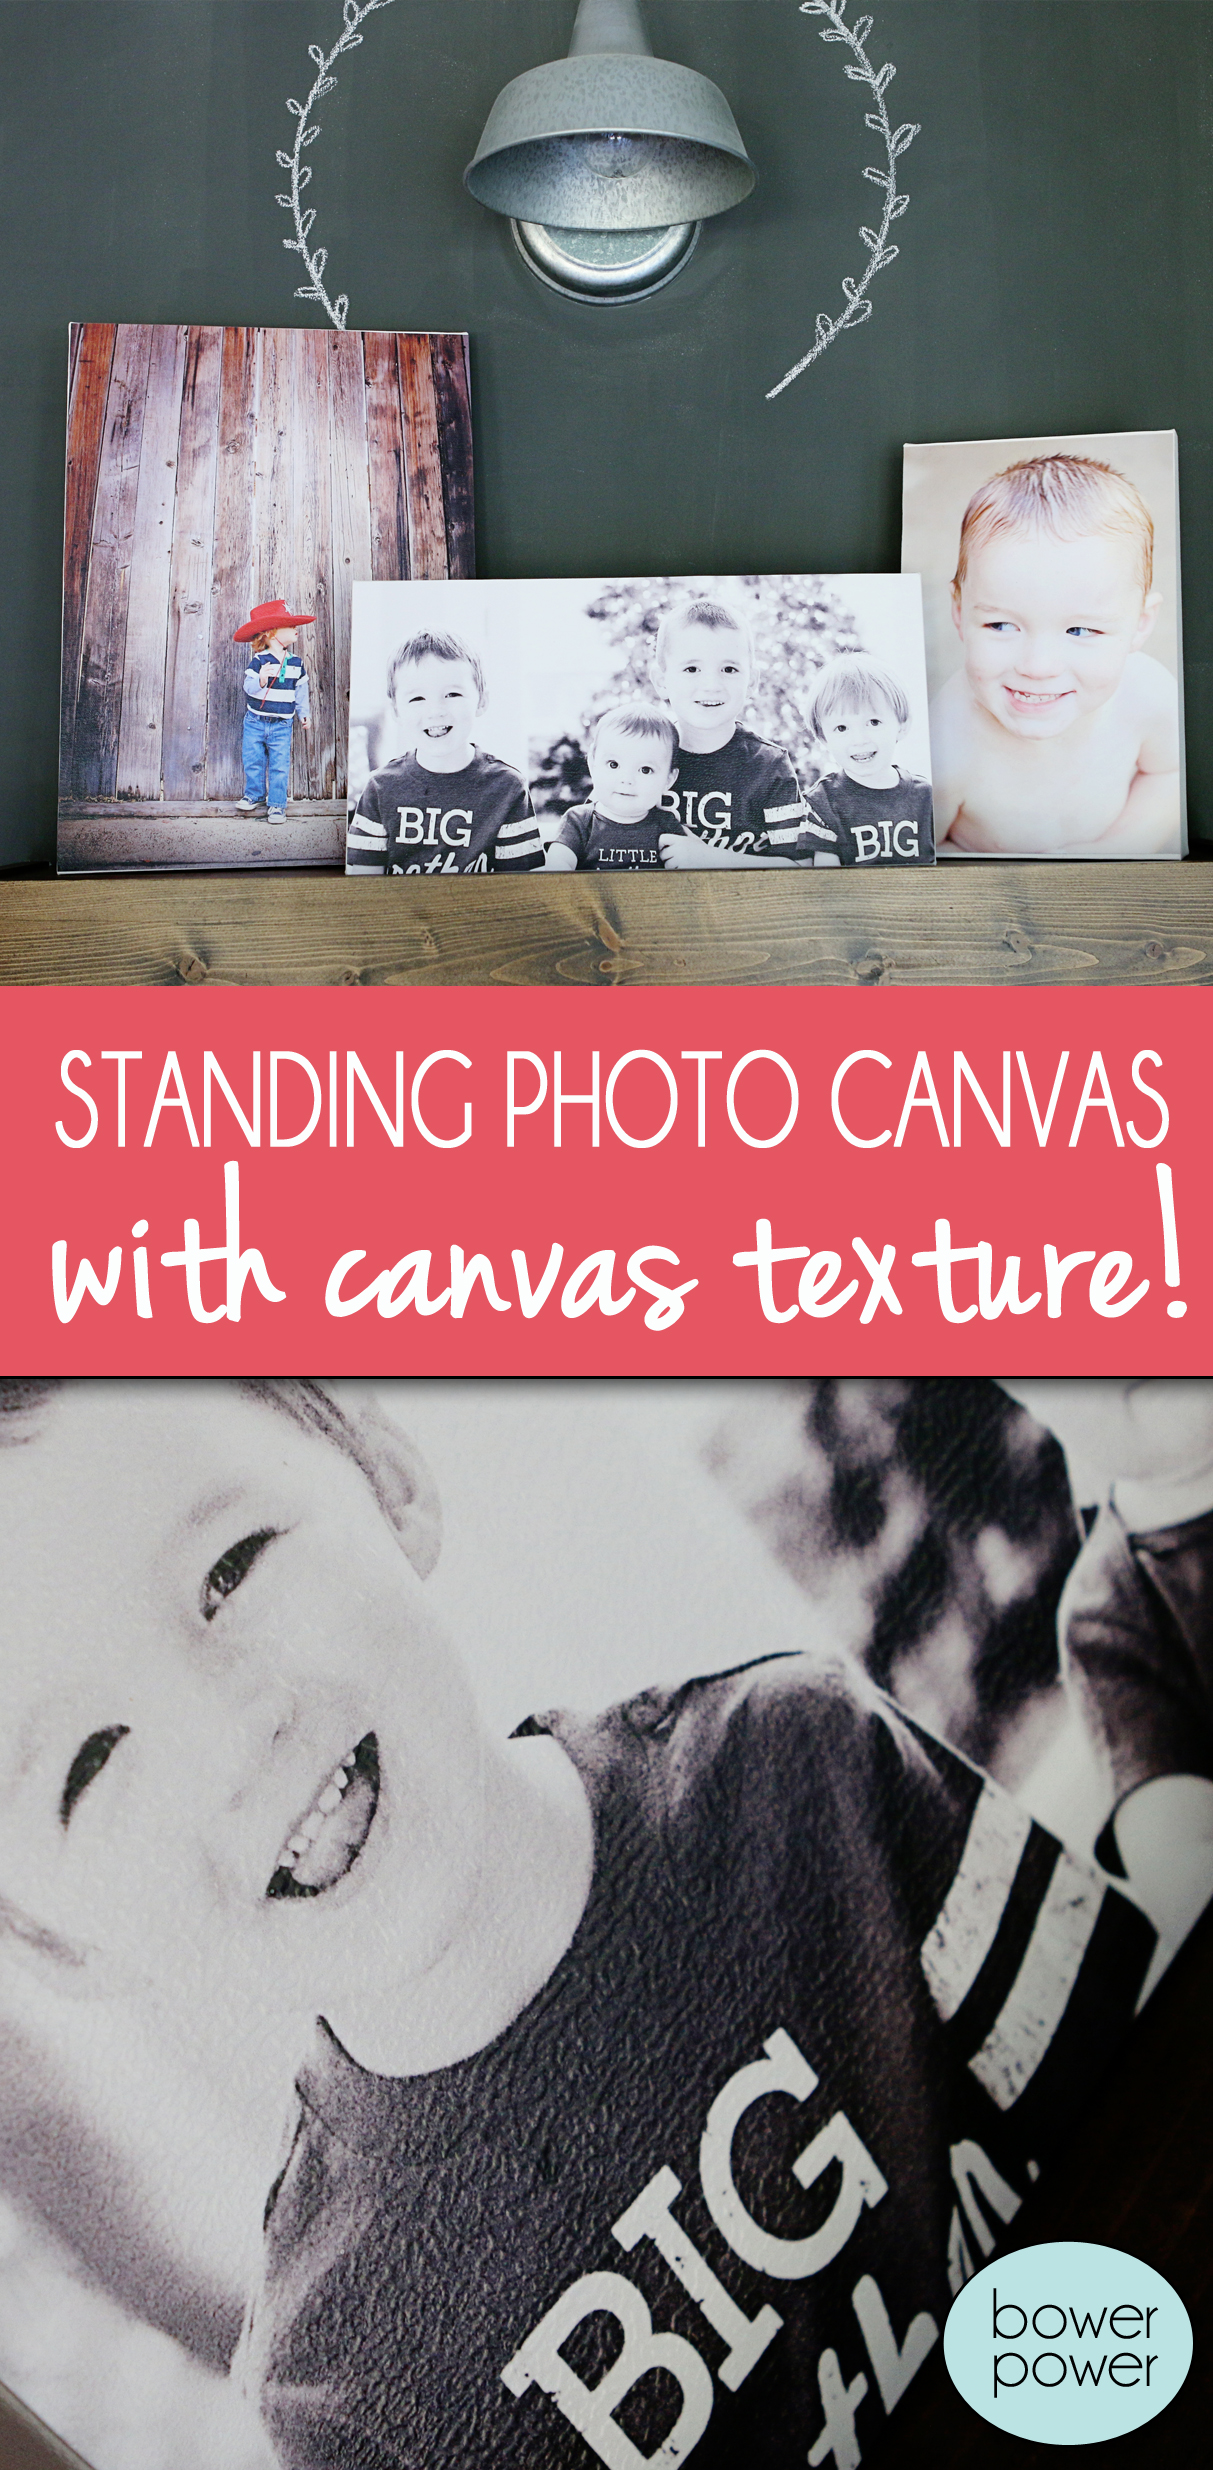
When the surface is still wet, it looks like the photo below but it will dry to look like a canvas texture.
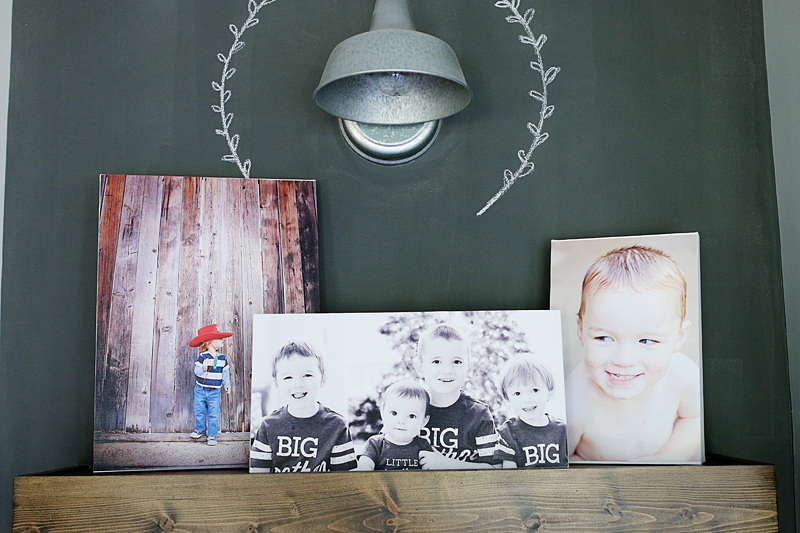
Let everything dry and then set them up to display! You can also do fun paint on the sides of the canvas – black, stripes, dalmation print, the possibilities are endless!
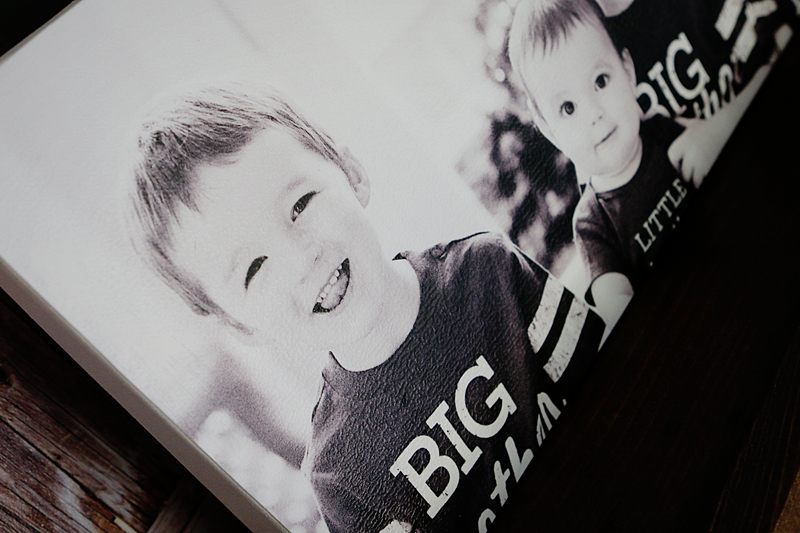
And that texture is spot on…
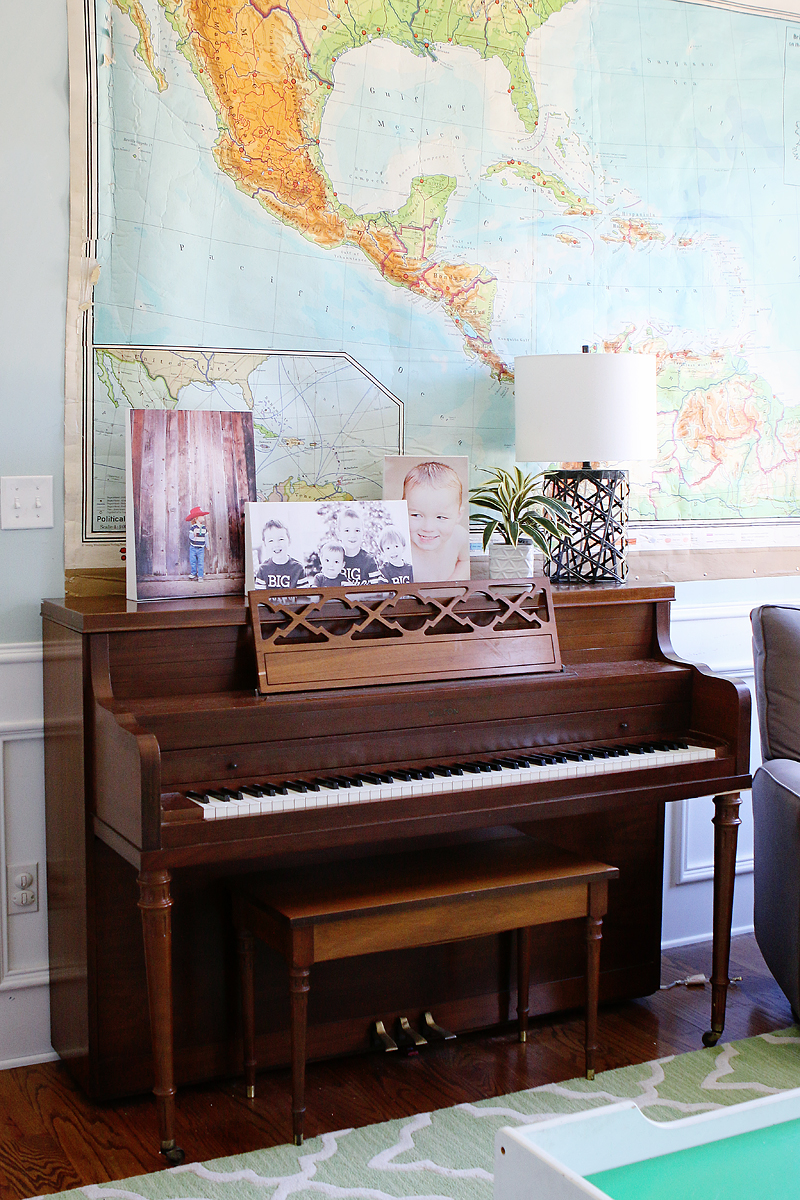
The best part is that they actually stand up on their own and require no holes in your wall or mounting hardware. Unlike regular canvases which can knock over with a light breeze – these feel very sturdy and still display your precious loves!
I especially like this application for any area that you would use a normal photo frame but this is much higher impact without paying an arm and a leg. In fact, all three canvases cost me $18 total ($2 for Mod Podge, $16 for the 3 canvases) – not too shabby for $6 a pop! So all you wedding family photo display planners….this project is your best friend. Grandpa never looked so good!
I love these so much that I even invited a few friends over to make some of their own! My girls aren’t super crafty (they died laughing when I tried showing them how to sand a piece of wood) but these are so easy that I think they could totally handle it! Plus, I know they would LOVE having prints of their own hanging up! The only question remains – what to serve as a snack? Chocolate or dark chocolate?! 🙂
Don’t forget to pin this image for later! Happy crafting y’all!

Those are neat. Soooo, is this printer easy to use for someone who is computer stupid? Is the photoshop the free version or one you had to buy? How large a picture can you print?
I am really enjoying the photo/Canon posts! Keep them coming!
I have an old version of Photoshop (CS4) but you can use the free trial that is available online. The pictures that you can print for this printer are 13×19 and borderless so you can fill up the entire sheet. And yes, after you have it set up, it is super easy. Just make sure that once you click print, that you select your PIXMA iP8700 series printer and choose the paper size of 13×19.
xo – kb
Such a cute idea!! I love the way your canvas turned out.
What would you recommend as a fabric for someone who doesn’t already have some? Can it be reused? I’m on my second Pixma & adore it so it’s nice to know that it will work for this project!
This is a great idea! I don’t consider myself crafty, but this seems very attainable. Thanks for always sharing a mix of projects.
I love this project! What kind of texture material did you use? I have seen where you press the other canvas on top but wasn’t sure how well that worked. I will have to try this with some photos I have printed.
What kind of paper do you use – regular, photo, or another special type?
These are so cool! I’ve never seen these canvases before. Did you have trouble with the ink smearing from the mod podge? That always happens to me. Love the little cuties’ smiles too!
Hi there! I had sent you an email a while back using the “Contact Us” button on your blog. Just wondering, do you still offer photoshop editing for pictures for a fee? I remember long ago, you were offering that? Just curious! Thanks, Wendy 🙂
These are great! What a clever invention! I’ve had that thing happen where you prop a canvas on a table or dresser, against a wall and the first time you close a door it falls back behind the dresser. Then, I just leave it there for a year because the dresser is too heavy to pull out 🙁 So this is super smart!
On the chocolate issue, you need both in my humble opinion. Because when do you ever have too much chocolate?
Oh, and the canvas printing project is cute too.
Love Love Love!! Shall I email you my pictures and mail you the canvasses and the money for labor costs or have you do the shopping for the canvasses? Name your price! You do an amazing job!!
Thank you. Btw, I have 5 boys. We should start a club for Mom’s of boys. Lol. They are sure different from girls.
So this is just regular printer paper and not photo paper?
It’s photo paper for best results. You can use regular paper in that printer (or matte photo paper) but personally I like the color results of the semi-gloss.
xo – kb
Hahaha! If only I had the time to do that I would! Maybe I can convince Will to make it a small business 🙂
xo – kb
I’m sorry I missed your email! For some reason my spam eats good emails and I see crazy ones! To answer your question – no I don’t take on photo editing requests any more. I wish I had the time!
xo – kb
Nope not at all!
xo – kb
Mine was a fabric that was a leftover….it was an upholstery weight nubby linen.
xo – kb
I used photo paper in semi gloss but it would work with matte too.
xo – kb
I used a nubby linen in upholstery weight…you just need a swatch and if you have a strip, you can lay it and then overlap the edges to cover the whole thing. I reused the same piece for three canvases and it worked great each time but after the Mod Podge dried, you will have to chuck the fabric swatch.
xo – kb
What a wonderful project. I love the texture on the prints. You make me want to spend some of my hard saved allowance on this printer. I am going to have to really thing about this.
This is so freaking cute 🙂 My husband has been talking about doing this as part of my son’s memory wall but we were reluctant to put more holes in the wall. And he recently discovered Mod podge for the first time – God help me. We have this printer and it is so great. Canon PIXMAs are my fav. Thanks for the great project!!!
Whaaaa? What is this witchcraft?! Thanks. As if I didn’t have enough craft supplies to spend my money on.
Love the canvases! xo
Send me a pic or tag me on Instagram if you do it! I’d love to see it!
xo – kb
I did this for Christmas presents, I did brushmarks horizontally then vertically and got a cool crosshatch texture. The fabric idea sounds better though!
What a great idea!!! For those of us without a printer, would this work with regular photo prints?? Thanks!
Sure! It would work – just make sure that you test your paper with the Mod Podge first so that you don’t have a paper ink that smears!
xo – kb
You’re so adorable! Making these, having your girlfriends over, showing off your family in so many photo projects. You’re the coolest.