Our garden posts are like that Energizer Bunny….they keep going and going and going….but I swear I am almost done and I know I might be a weirdo but this space is so pretty and peaceful and gonna be my happy place for a very long time. I told Jeremy that I appreciate the fact that he has worked so hard on this project….especially since he barely eats veggies. I mean….if I stuffed a lettuce leaf into an oatmeal creme pie….MAYBE. But the fact is…this is really for me….and having this area, making it something permanent and beautiful, it makes me feel closer to my grandparents. I know that homes are like that….rooms are like that…they can remind you of a person in a real visceral way. Well, this happy garden is that for me.
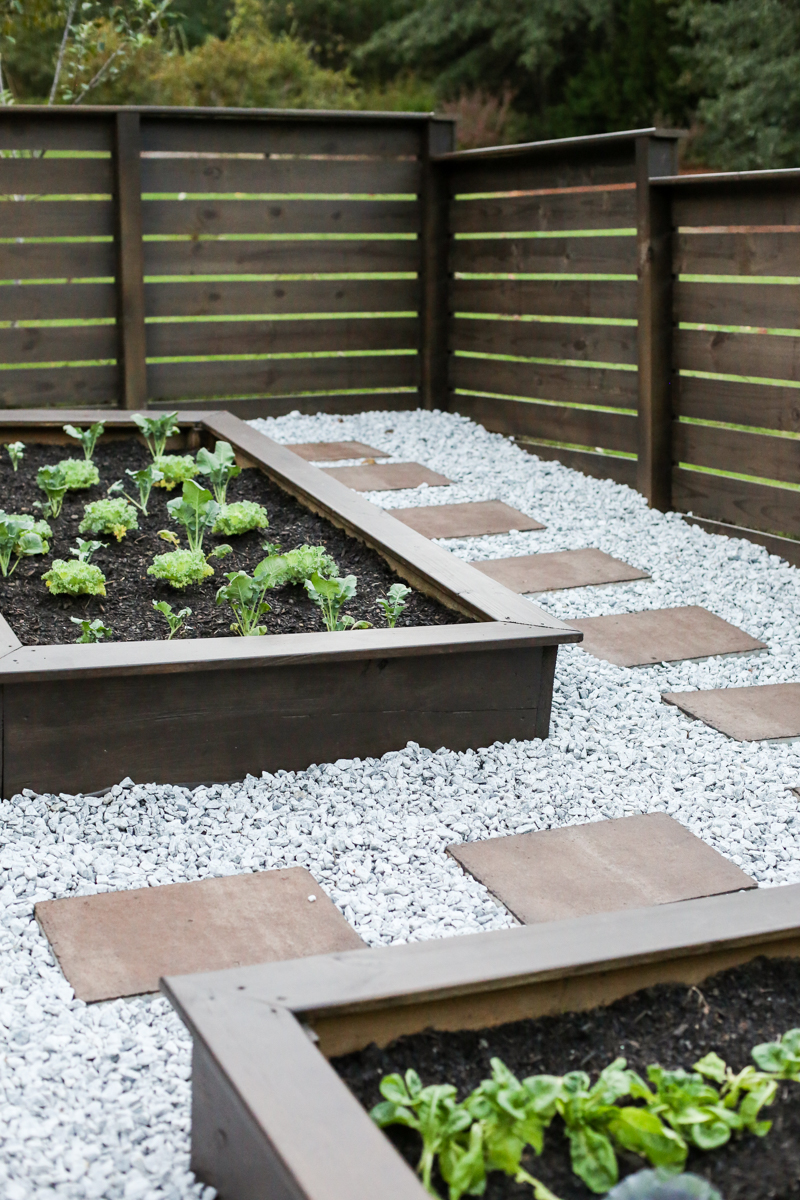
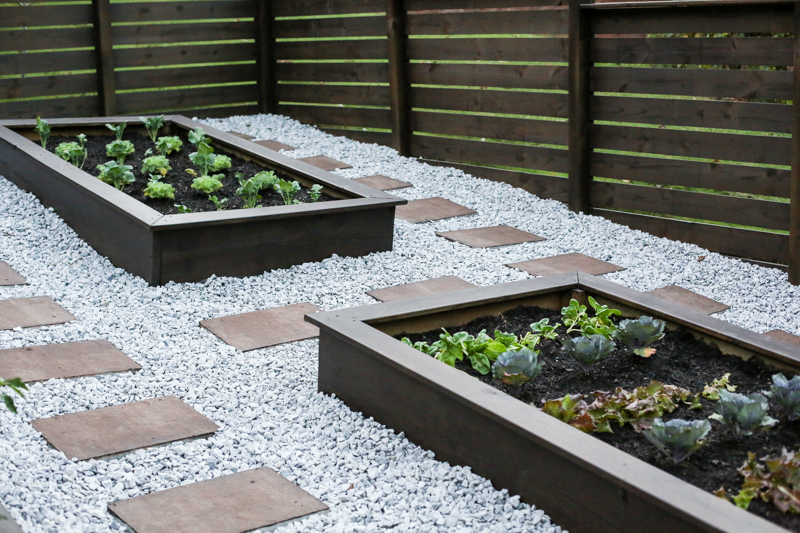
So today’s post is one of those that I wanted to share because it’s the final step in our garden transformation….it’s all about the paths inside the fence…check out how pretty they look now….
So the idea here is that we wanted to keep the grass out of the garden beds. We had graded the area before putting in the beds but we wanted to eliminate the need for weeding. Weeding is literally the worst. And our grass is more aggressive than the Hulk. And I should know what that feels like…I have four little boys that run around the house punching things and growling HULK SMASH!
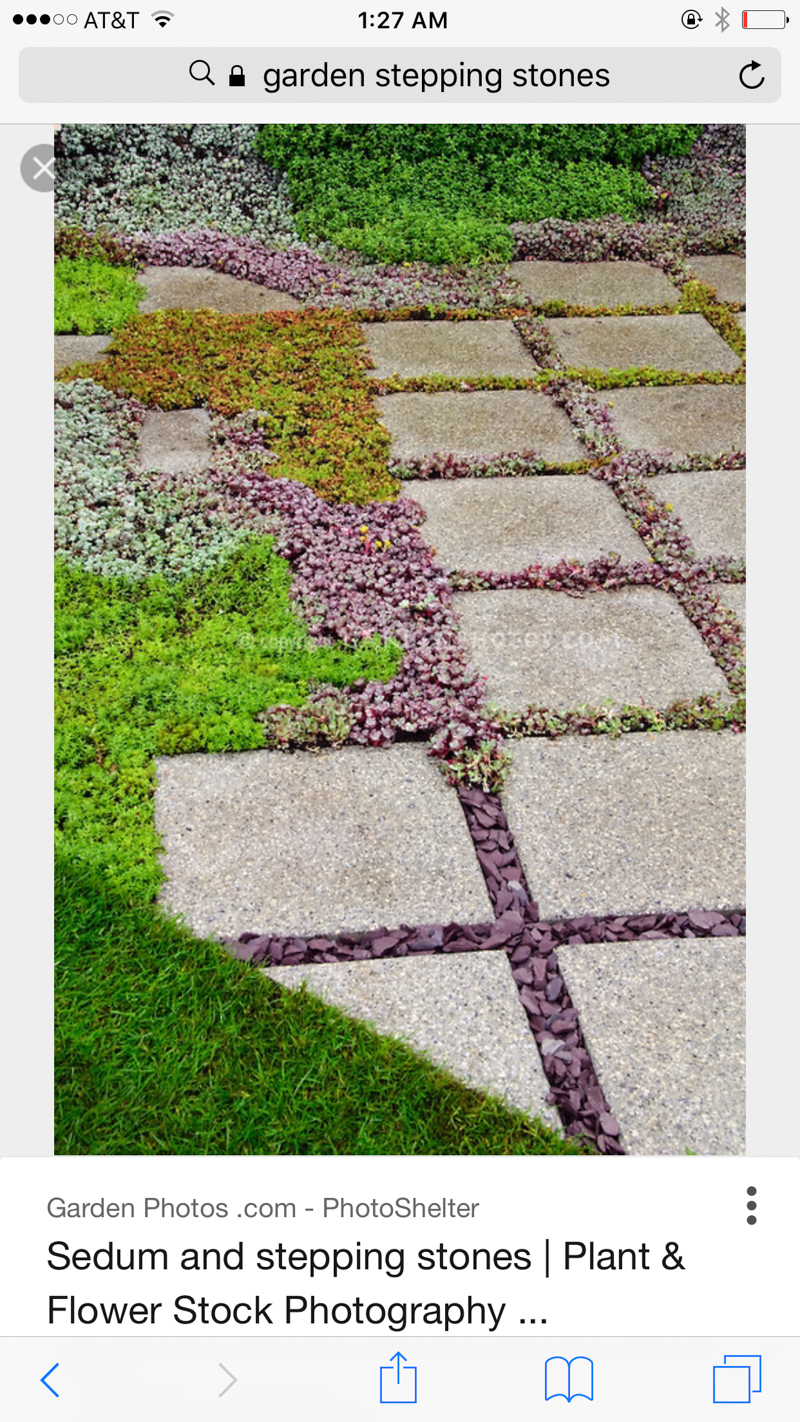
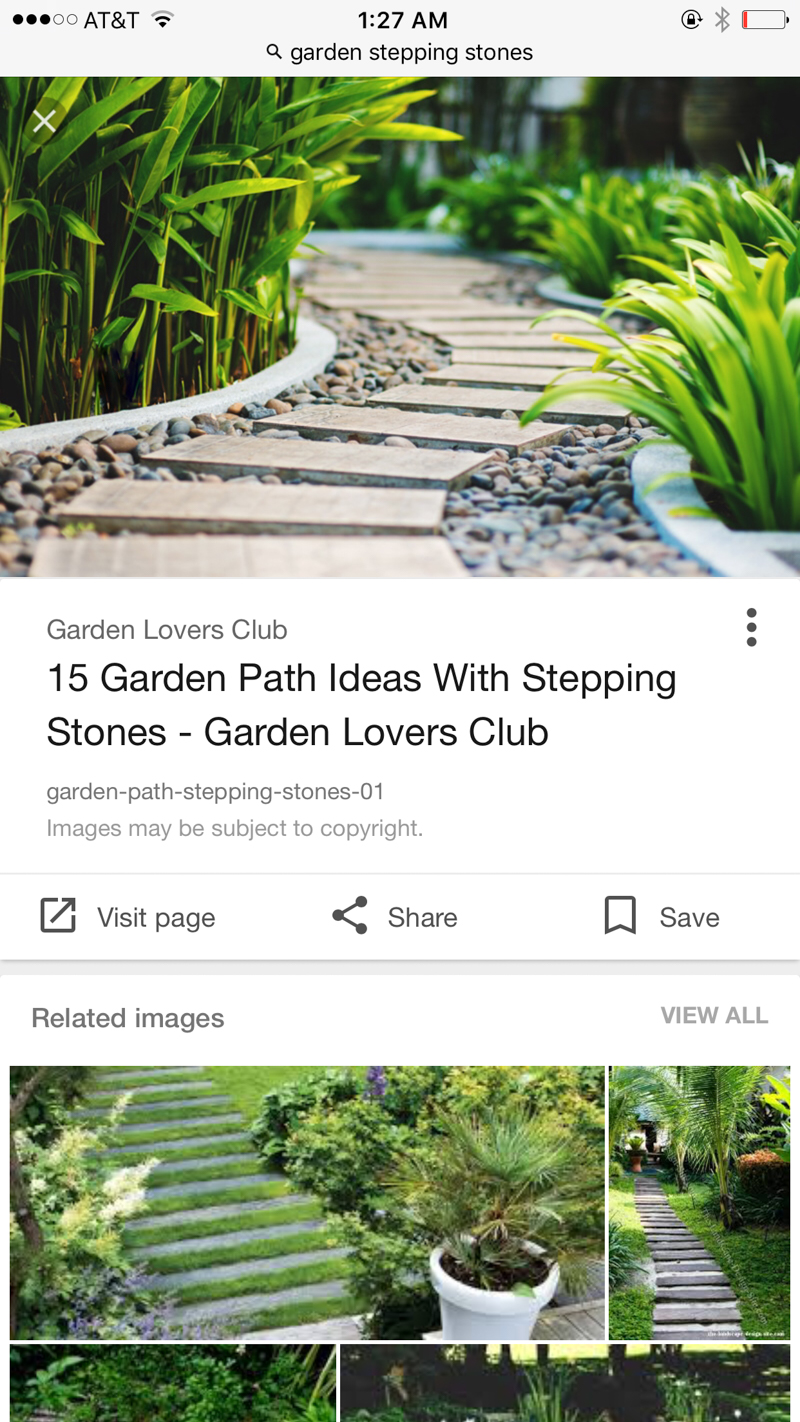
So the plan was to block all the grass to the outside of the fence. I blogged about that process of blocking the grass here. And now came time for the final part…whatever goes on top! What caught my eye in google searching was stepping stones with pebbles around it. Jeremy was more on the side of the mulch but I vetoed that idea because mulch is notorious for washing away when it rains….especially on this hill.
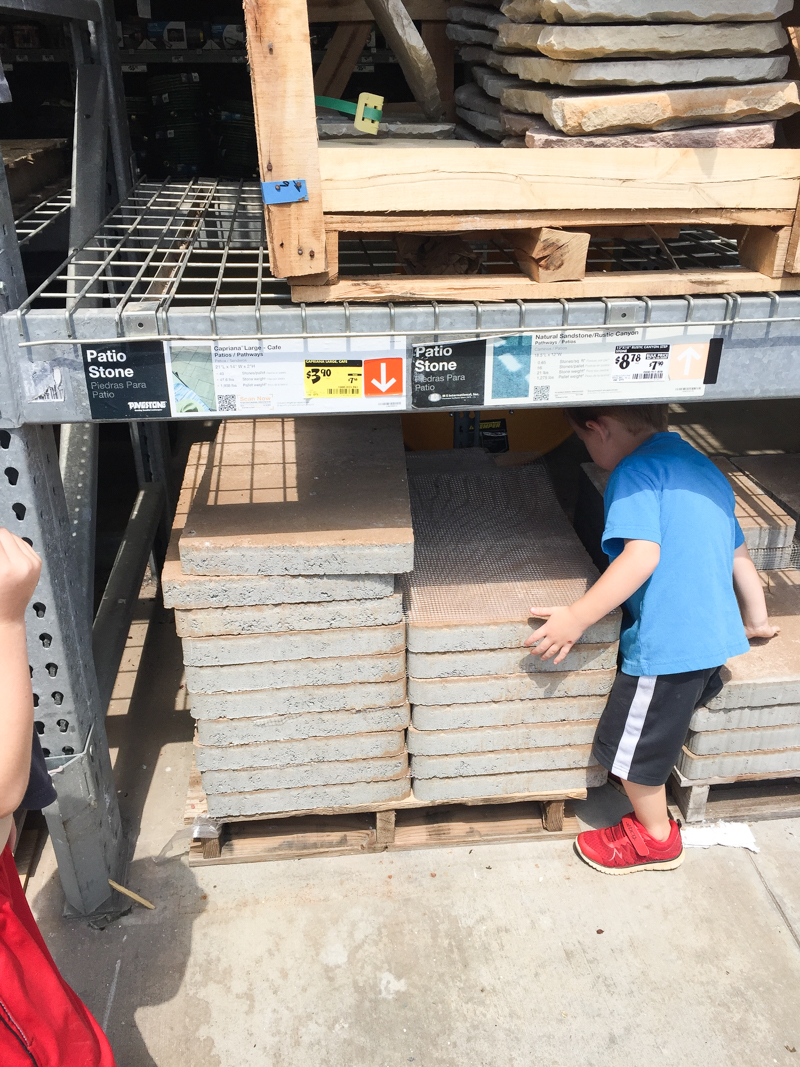
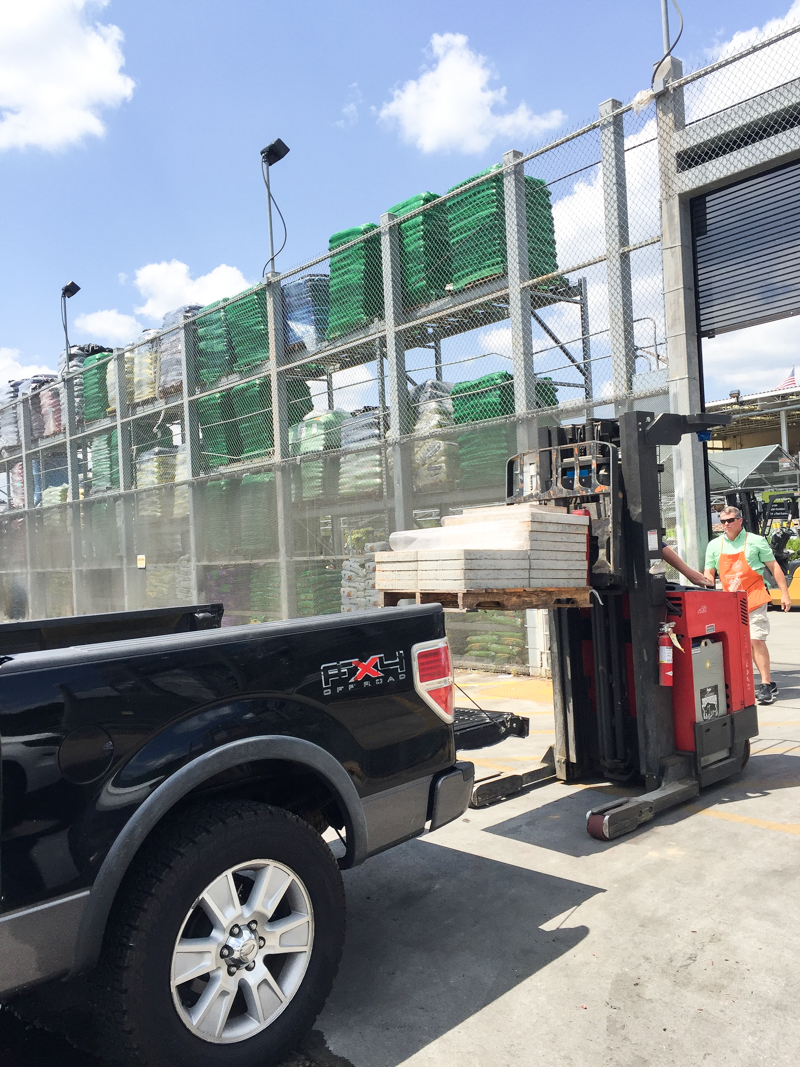
When we saw these big 21″ x 14″ pavers on clearance, I took that as a sign….we needed big ole stepping stones and would figure out what goes around it later.
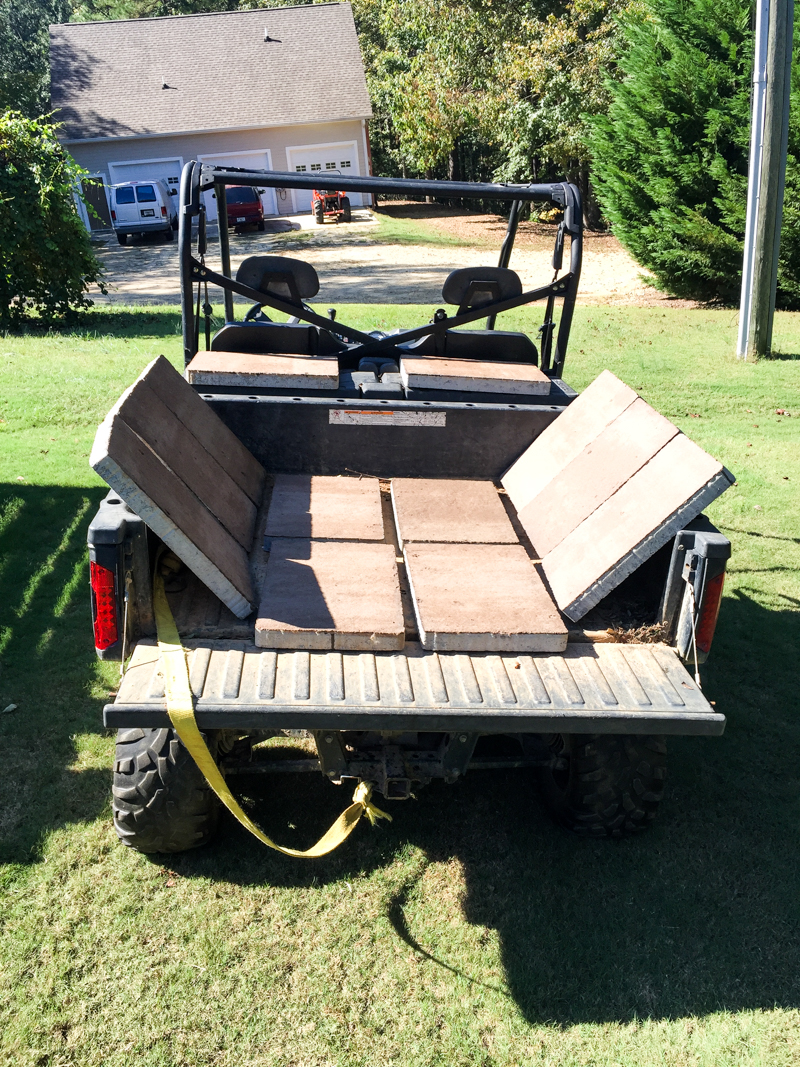
Thankfully that day Jeremy had his truck and we were able to load it up and take it home.
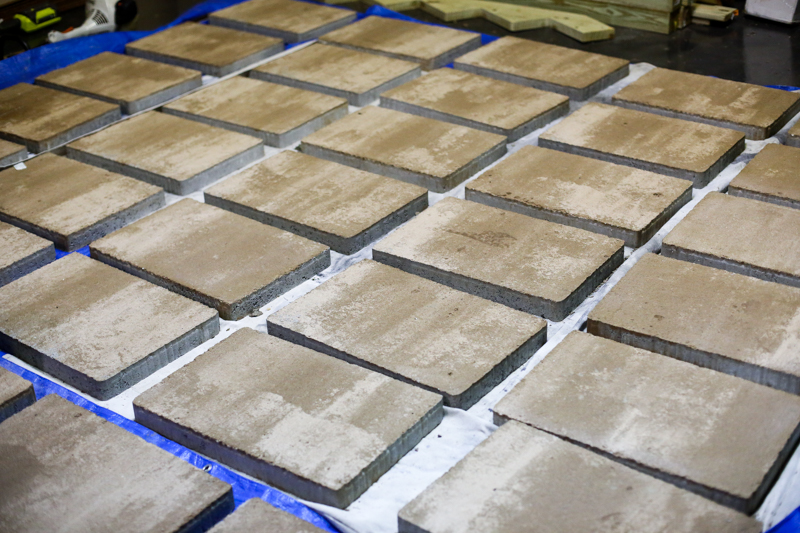
The problem was that they were all the wrong color. One side was unfinished concrete but very rough. And the top side was already stained a more red color….but super uneven so they looked splotchy.
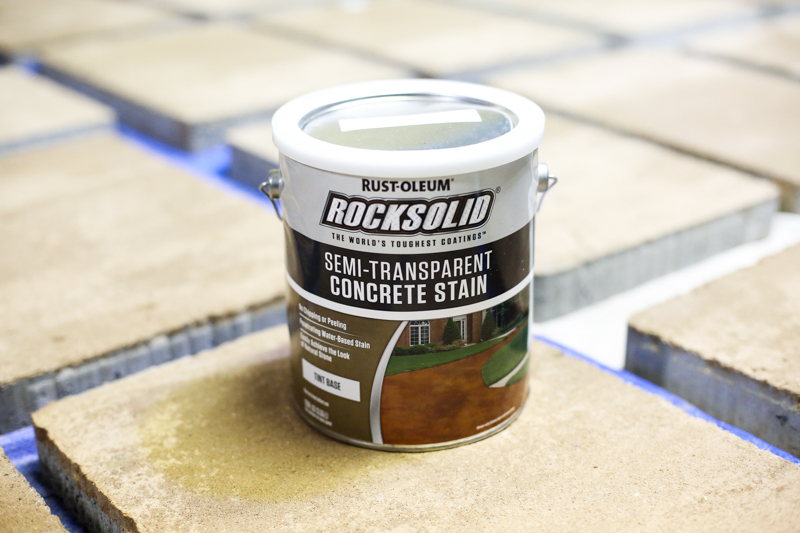
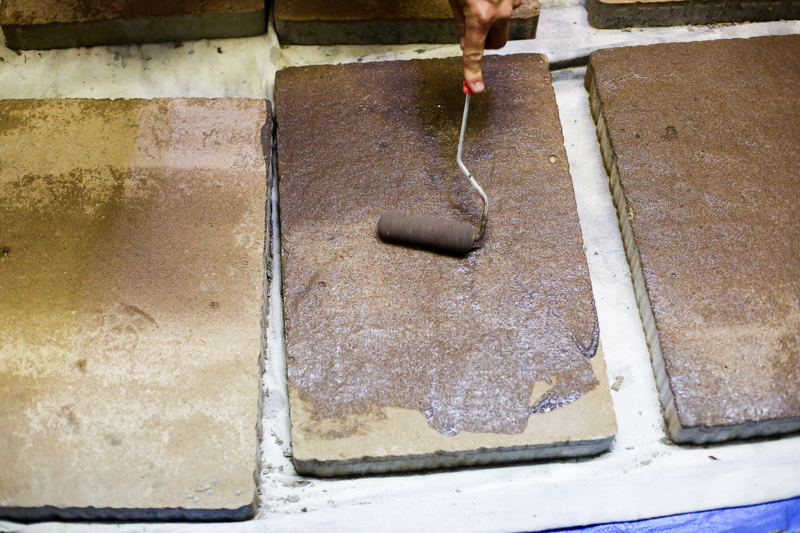
We did a little research and decided that we would use this Rust-Oleum RockSolid Semi-transparent concrete stain in Costal Rock (it’s the darkest color they have!) to hide all the red and make it look a little closer to what we wanted….a dark brown.
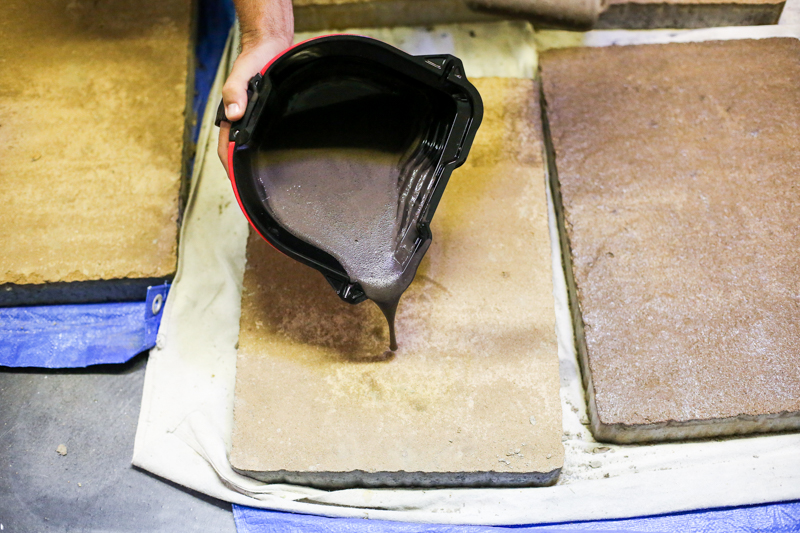
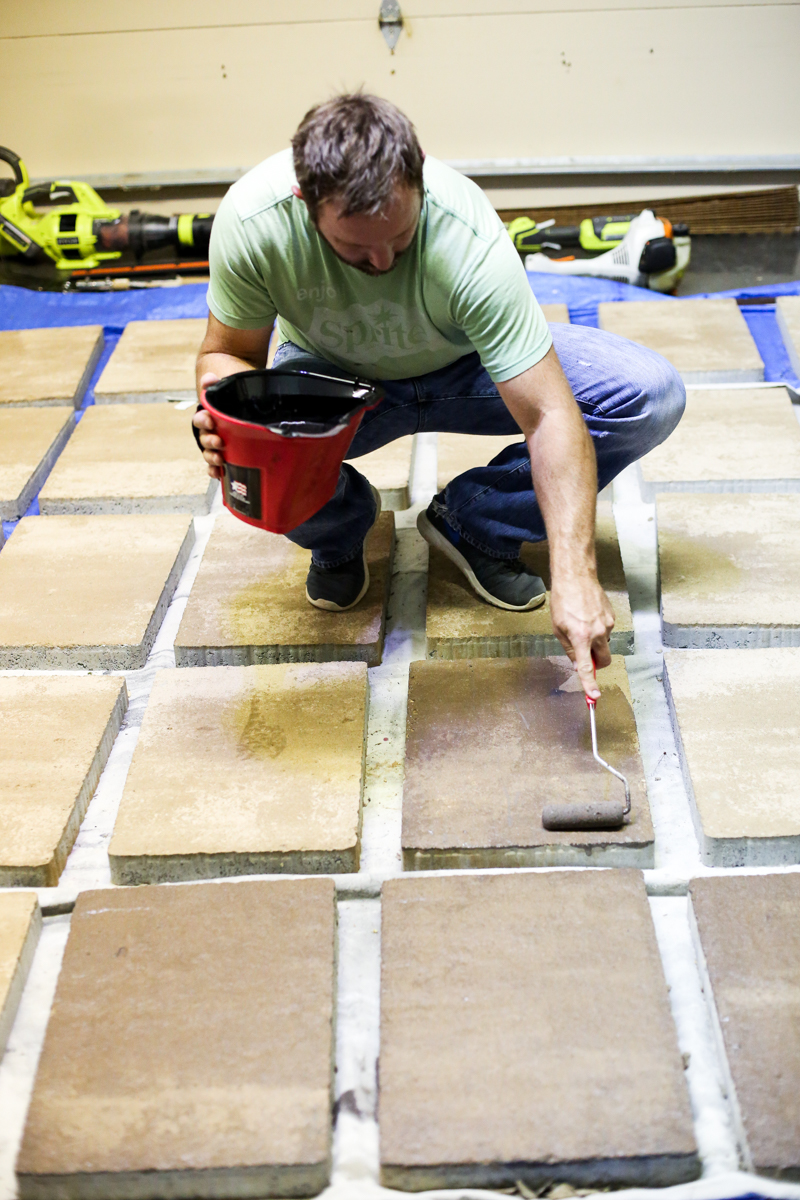
Jeremy poured it on and evenly coat the tops of each paver.
Nice finger tension there babe 🙂
We decided two coats would be the right color….enough to pop from the surrounding stones but not too dark (anything too dark in the Georgia sun would get REALLY hot).
Jeremy transported them to the garden and then had to hand bury them within the stone. What stone you say?
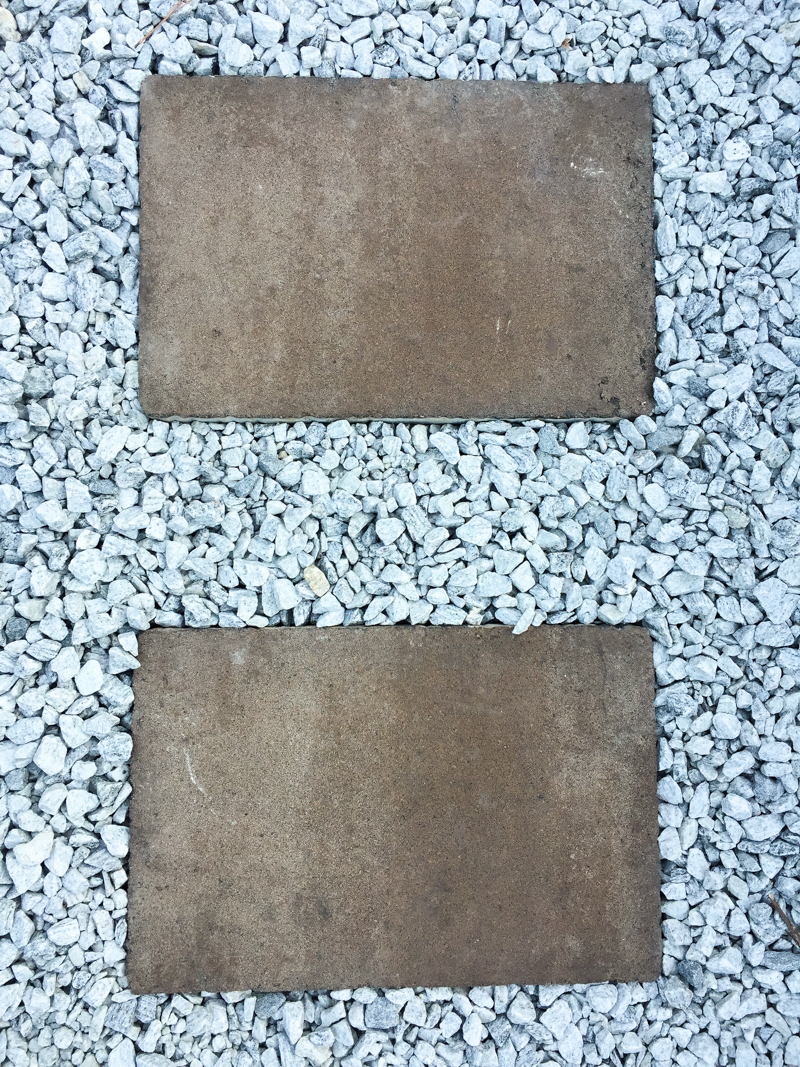
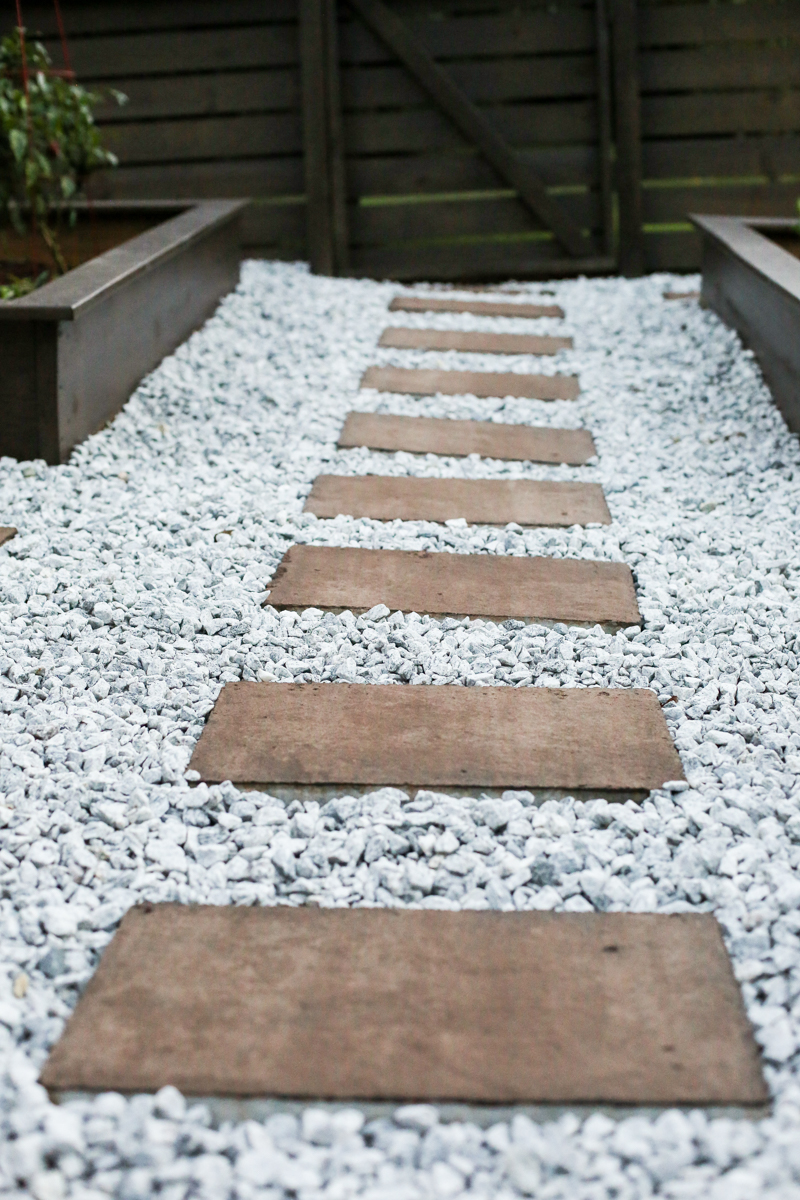
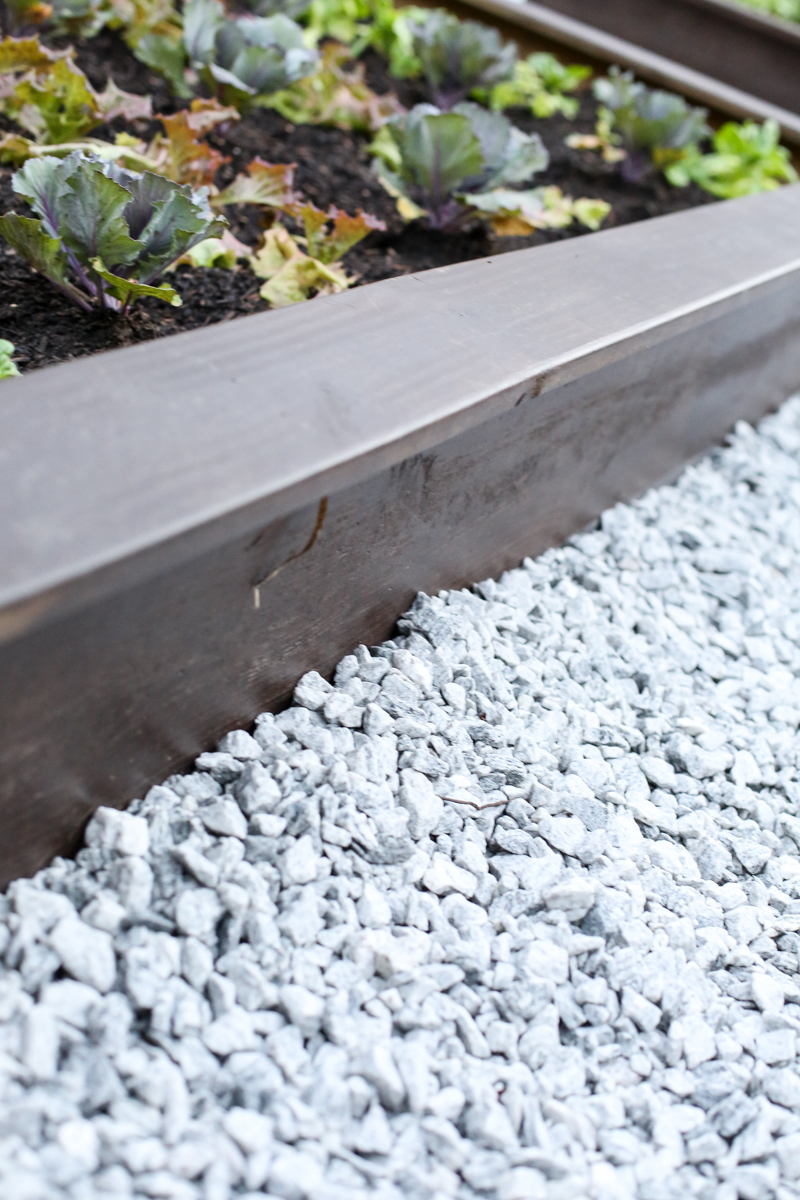
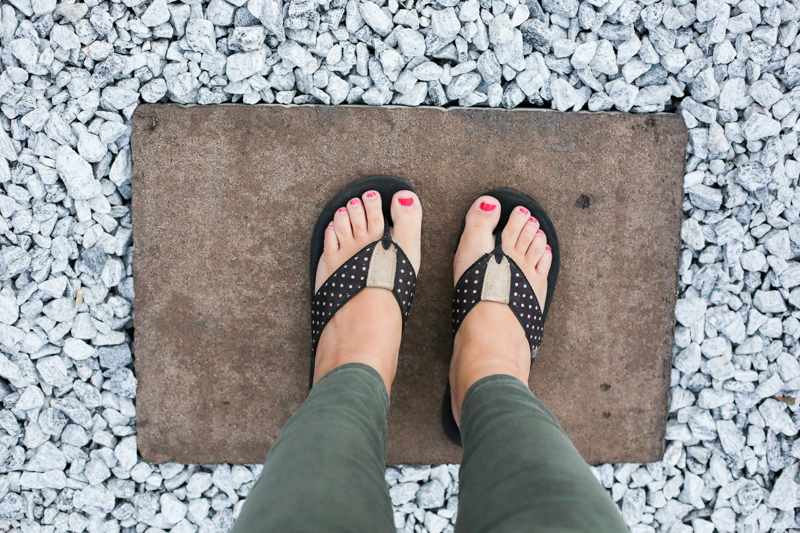
Well the 4 and a half tons of stone gravel that we got to go around it! Check out that contrast! Yay!
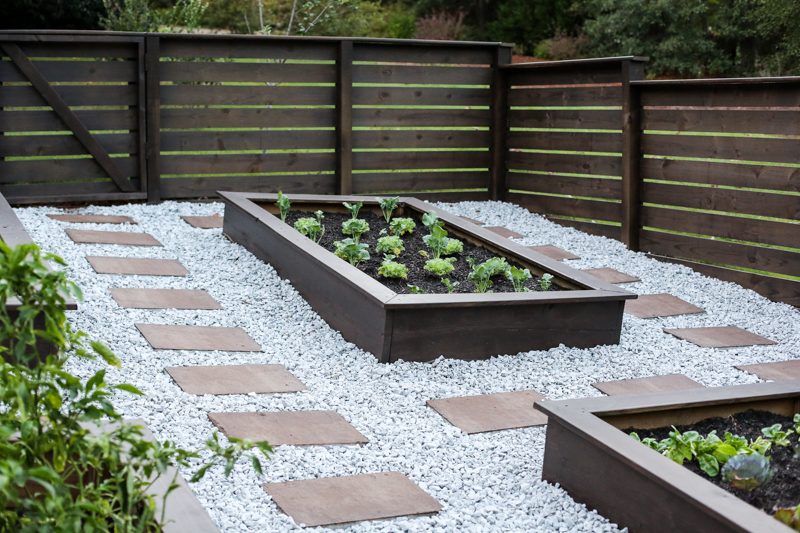
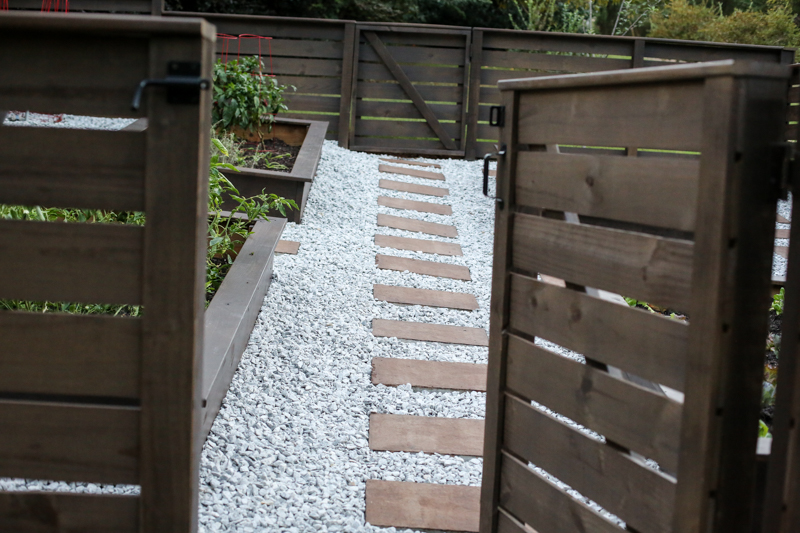
The pavers look so good all lined up and make it so much easier to walk in the garden.
As for lining them up, we centered them in the path and made them line up accordingly. One of the big things I wanted in this garden was wide paths and Jeremy delivered! For winter veggies (that don’t get tall) it doesn’t make much difference but when my tomato plants are full grown, these beds will be FULL and I like being able have room to kneel and weed!
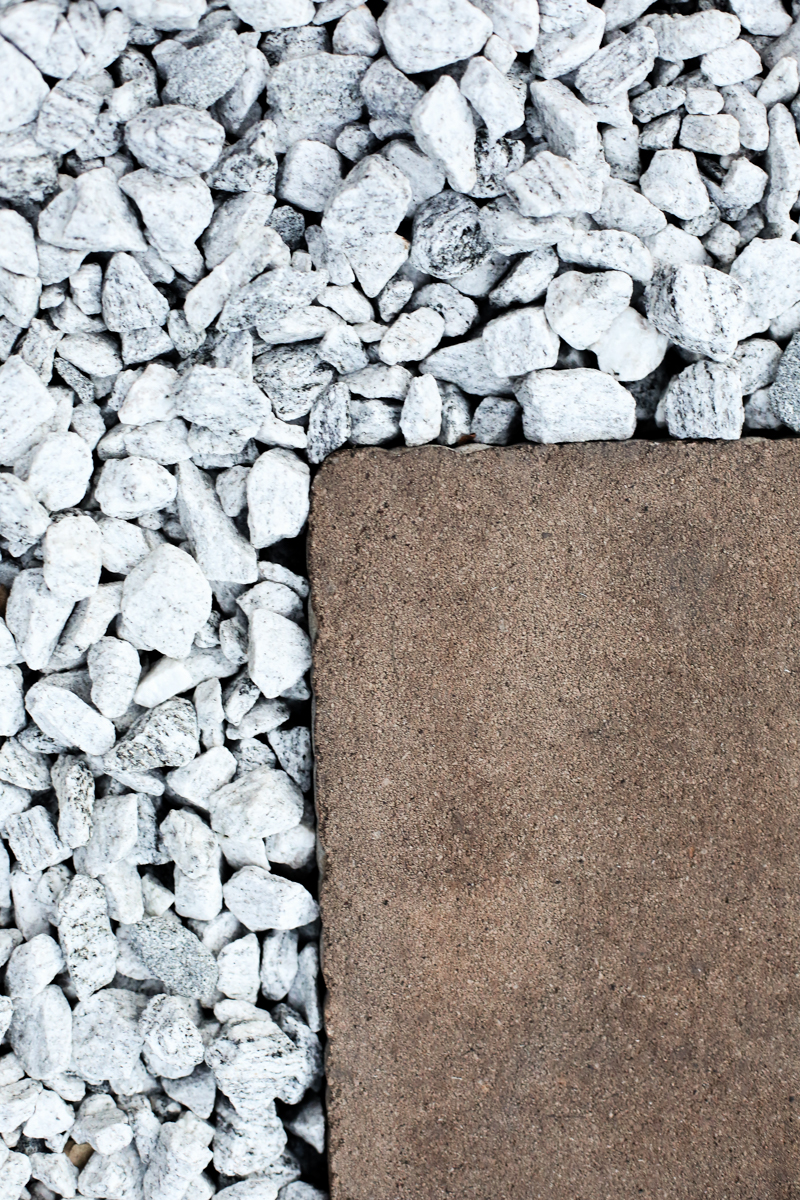
Here is probably the most accurate picture of the color of the new pavers….a nice warm brown.
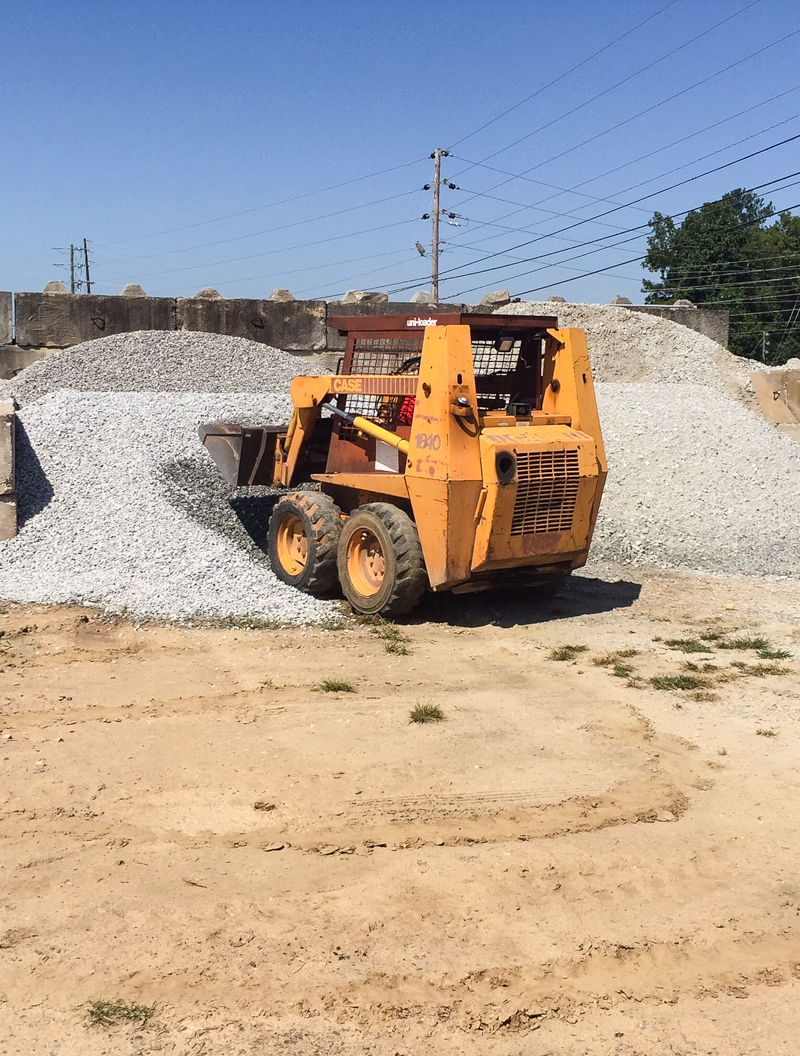
As for the stone, we actually went to a local stone yard to look at river rock pea gravel….which was $88 a ton. We knew that we needed about 4.5 tons and $398 for just stone was a little steep for our budget. Also the only colors they had were light brown and red….both of which weren’t speaking my language. I wanted lighter contrast.
I actually walked around the stone yard until we got to the granite gravel section and found myself really loving the light gray.
The thing that convinced Jeremy was showing him some pictures on Pinterest and the fact that the “57 stone” gravel was $36 a ton….more than half off the price of the pebble rock. That meant we could do the entire thing for $162.
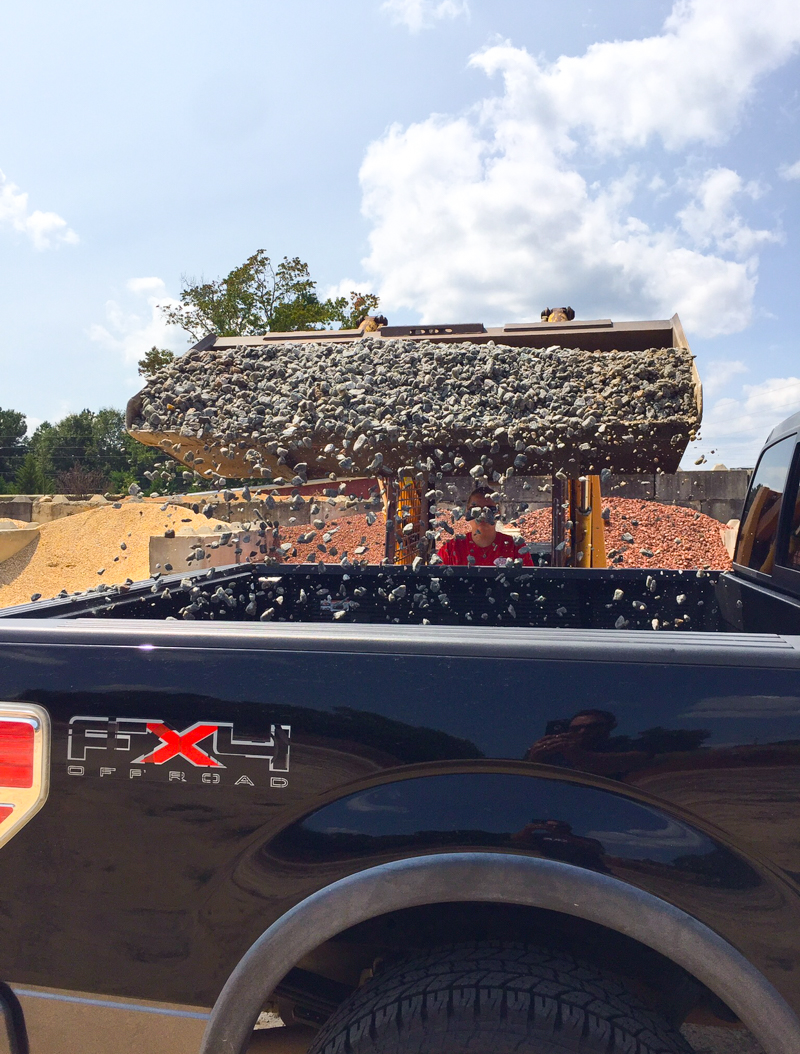
They loaded it two tons at a time into the truck….
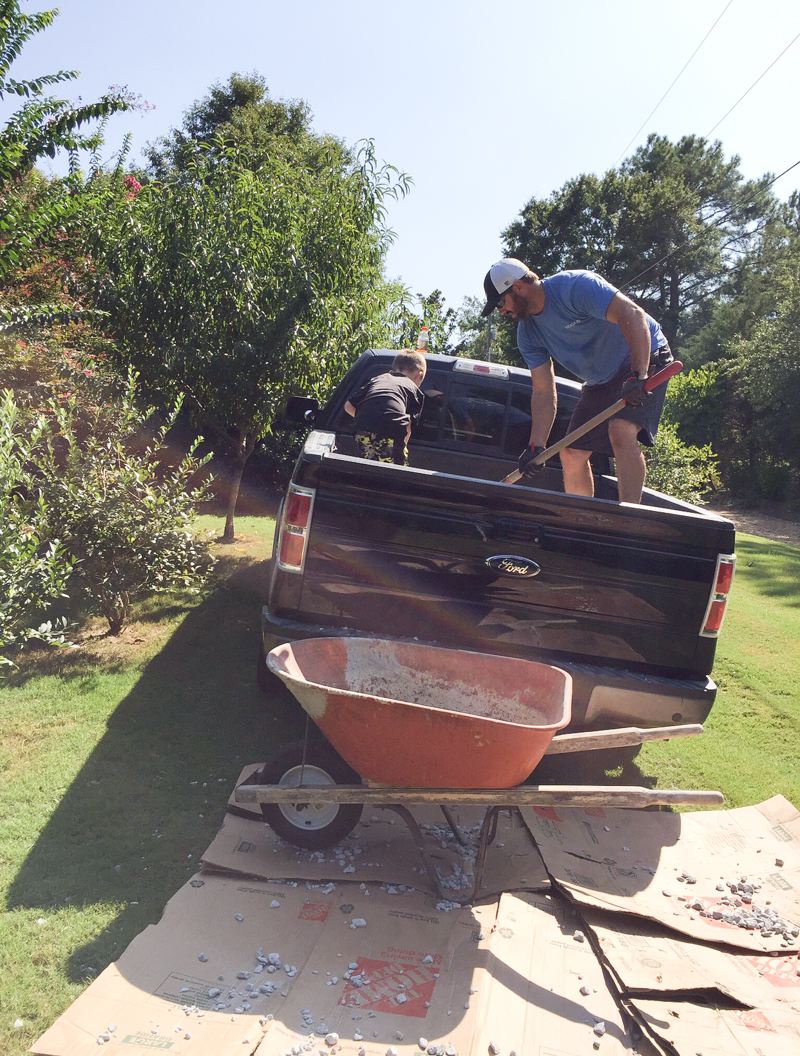
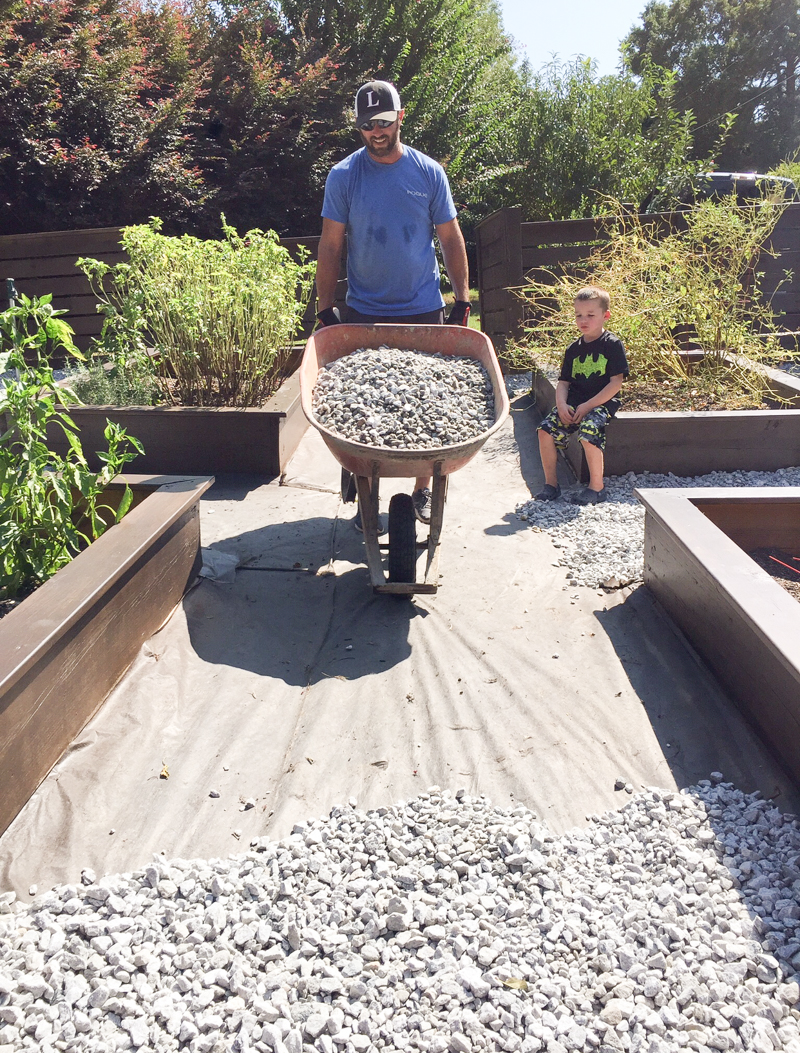
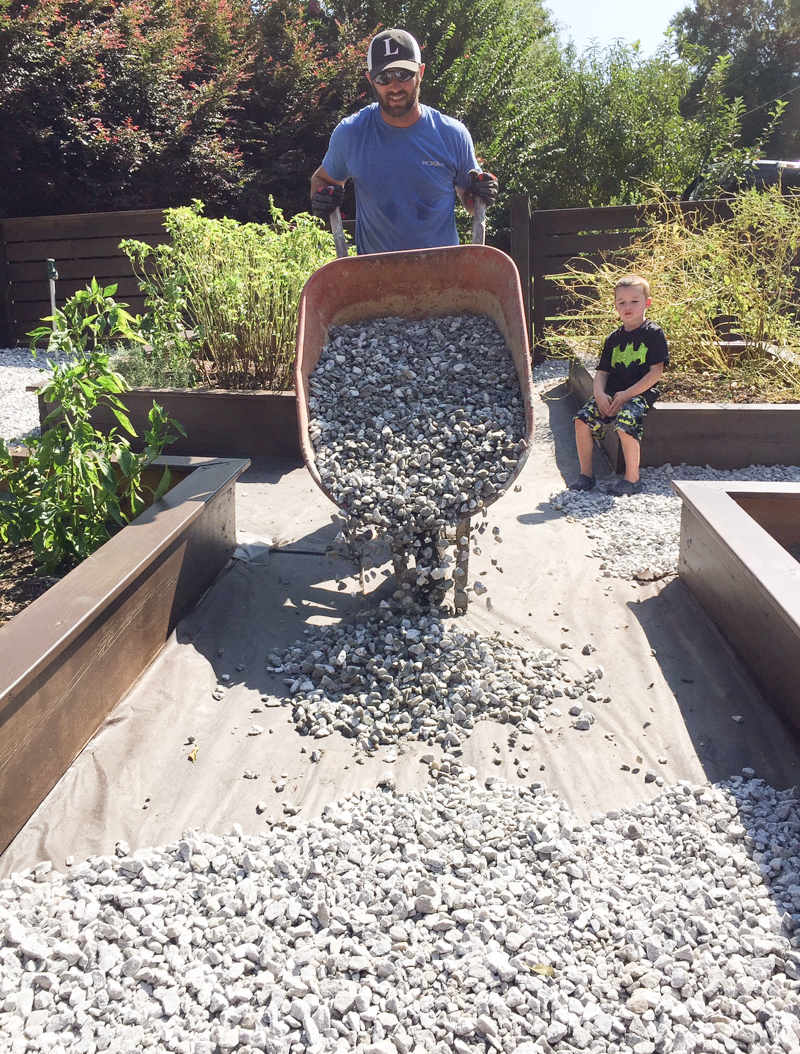
And Jeremy got it into the garden, one wheelbarrow full at a time….
He told me his best tip was to park the truck uphill from the garden 🙂
He filled it up to be about 2-3″ above the weed blocker and a little further on the edges where the fence or the garden beds are.
The final pathways are super pretty and the pavers are a gentle nod to the color of the beds (which we hand stained to match the fence) and the fence.
I gotta give a shout out to Jeremy….he did all the work. I literally did not lift even one pebble. And it looks exactly how I envisioned! Now to get some big flower pots and a bench and maybe a storage trunk for all the gardening tools and call it a day!
And I will keep you guys up to date about how these hold up! I imagine it will probably withstand our weather but if there is any fading or anything, I’ll keep you in the loop. And now that we have one stained concrete project under our belts, I am really wanting to stain our concrete patio under our deck. I might even get crazy and do an acid wash design….have you seen them!? They can look AMAZING if you do it right!
p.s. Speaking of stone….this is totally random but I found a look-a-like for my favorite black purse and I’m thinking of getting it in the color stone….I also like it in cherry….what color would you get it in? Also…this watch is half off and I feel like it would be a really sweet gift for Christmas….what do you think?

Gorgeous!!! How do you not have a patio set in there? It looks so relaxing.
I need to build a bench for in there because it really is so nice! Like if the kids are screaming and you can’t find me…you know where I’ll be hiding 🙂
xo – kb
Quick question. Do you mean tons or yards of the stone? Your garden looks great!
They referenced it as tons at our local stone place so that is why we call it tons….but honestly I am not sure I know the difference.
xo – kb
Love love! <3 The garden will be such a happy place for you!
Katie, I cannot get over how gorgeous this looks! Jeremy did a fabulous job – and I’m feeling totally inspired to build a garden at our new house!
Love your suggestions for the two gifts. I have the hardest time buying for my daughter-in-law. Maybe a watch would do the trick but I am never really sure of her tastes. (She is sweet and doesn’t say anything, just doesn’t use and I never see it again.) So, is a watch so personal or is that an ok thing to buy a d-i-l? Especially an expensive brand like Coach is?
Oh shoot I would love to get a watch from my mother in law! I think accessories are much more safe than clothing bc generally they are one size fits all!
xo kb
I love how this whole space turned out!! We want to do something similar with large pavers contrasting with smaller stones in our yard, but I had a technical question: do you have any issues moving your wheelbarrow across this surface? The area we want to redo is an access point for our workshop, so I didn’t know if it would be super wonky moving stuff across the contrasting materials.
In general, no. But honestly the number of times we move the wheelbarrow is few times a year. I really use a portable gardening popup can thing more.
xo – kb
Jeremy is such a sweetheart to build all this for you.
It looks so good and I love the idea of not having any grass to worry about in that area! Bless Jeremy’s heart because that is a TON (or tons I guess) of work carrying that back and forth! worth it in the end 🙂
Yes he really is!
xo – kb