I can only blame myself.
I mean….technically speaking, I could blame anyone….I could even blame you with all your irresistible wit and incredible good looks….it’s the internet after all…..but I’m gonna own up to it and embrace my mistakes…it really is all my fault.
So our bed turned yellow. Not vibrant newly sharpened pencils and taxi cab yellow….more like urine in a cup yellow (pregnant much Katie?) And in this case, we saw it yellow and let it mellow.
Back in the day, Jeremy built his first ever piece of furniture and it was a king sized farmhouse bed adapted from an Ana White plan. Proud wifey moment right there! He knocked it out of the park for his first build and we have slept so many great nights on that thing. And yes….done many other great things too 🙂 (Ewwww!!! But also hey HEYYYYY!)
I blogged about the building process and how we chose to use Antique White paint and glaze it with a dark brown and then apply a polyurethane because (AND I QUOTE) “we wouldn’t mind if it turned a little more cream colored. I think it would only add to the antique look.”
WHAT THE WHA????
When you say something like that, you have to expect it to turn straight up yellow. Which it did. Unevenly.
You guys really couldn’t tell much from the previous photos of our bedroom…..probably because those are lightened and cooled down in photoshop. I mean…I’m a blogger. I’m gonna cheat.
So anyhoo…when we decided to give the space a makeover, Jeremy said specifically that we absolutely had to repaint the bed. I felt like in my current state repainting it was completely optional….I mean…the uterus decides, right? Well, he took the bed apart and then I realized how right he was…there was no way we could NOT repaint the yellow bed.
I wanted it to be white but I also realize the style of this space is different than our old bedroom. In that space, we had a floor to ceiling wall of curtains, fresh turquoise walls, and more traditional lines. Now we are creating a more modern/coastal space with lots of grays, some industrial touches but overall it was going to be more clean and less warm.
So keeping that fact in mind helped me decide the finish. In my brain, modern is more matte. So I wanted a fresh white color to go with the grays and white bedding and matte finish to make the farmhouse bed more coastal modern. Warmer colors are definitely more inviting, but since the stacked stone fireplace is really close by (and it’s a cooler white), we knew that matte white would be a great choice. No glaze.
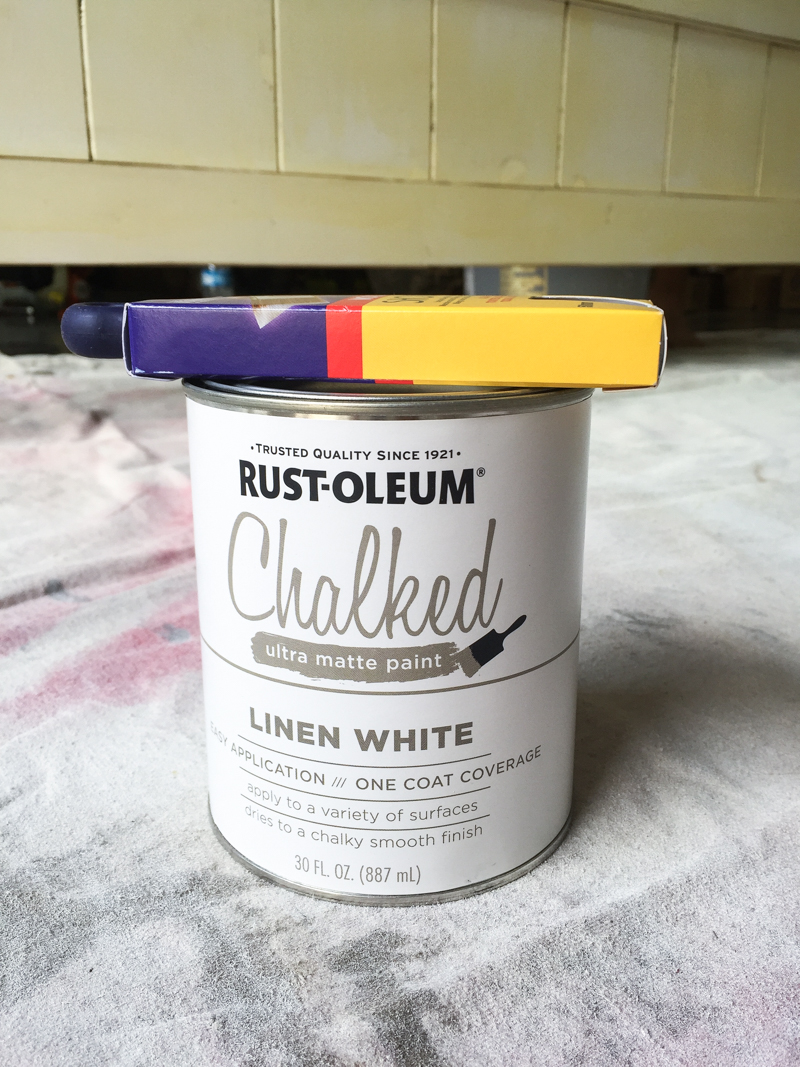
I went with Rust-Oleum’s chalk paint because the minimal work involved (aka because I am lazy and literally never want to sand ANYTHING) and also because I really like the finish…ever use chalk paint? It’s velvety smooth.
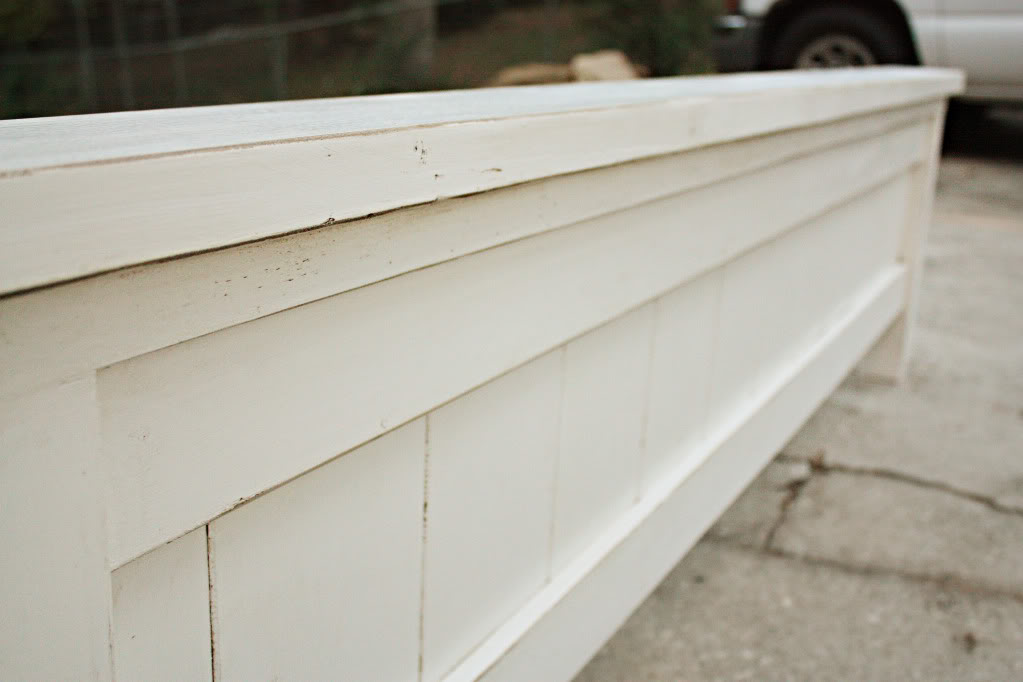
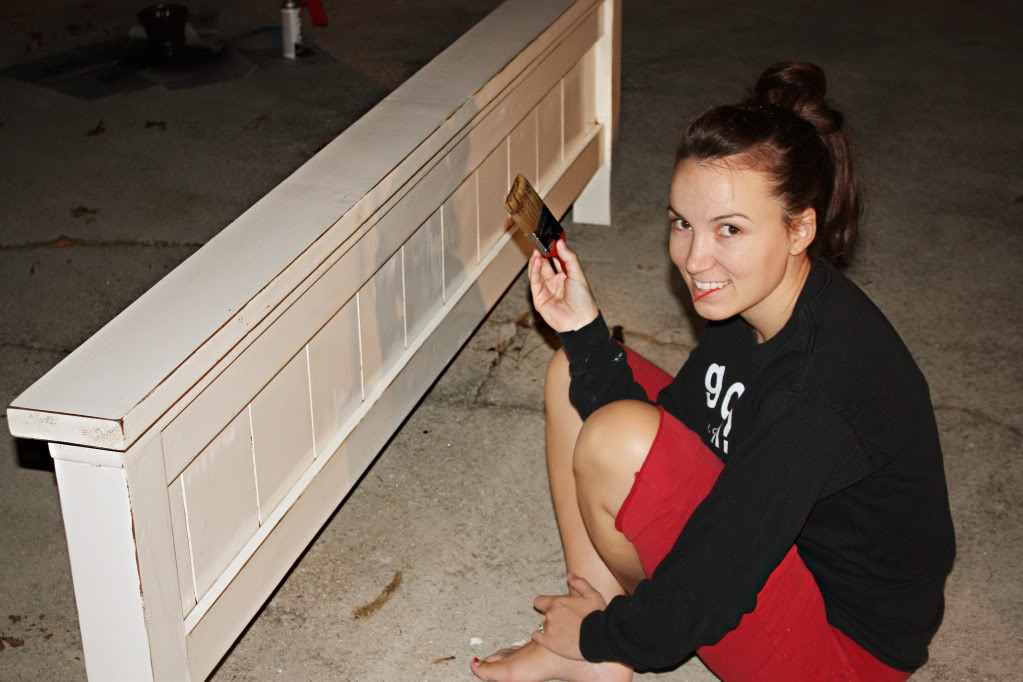
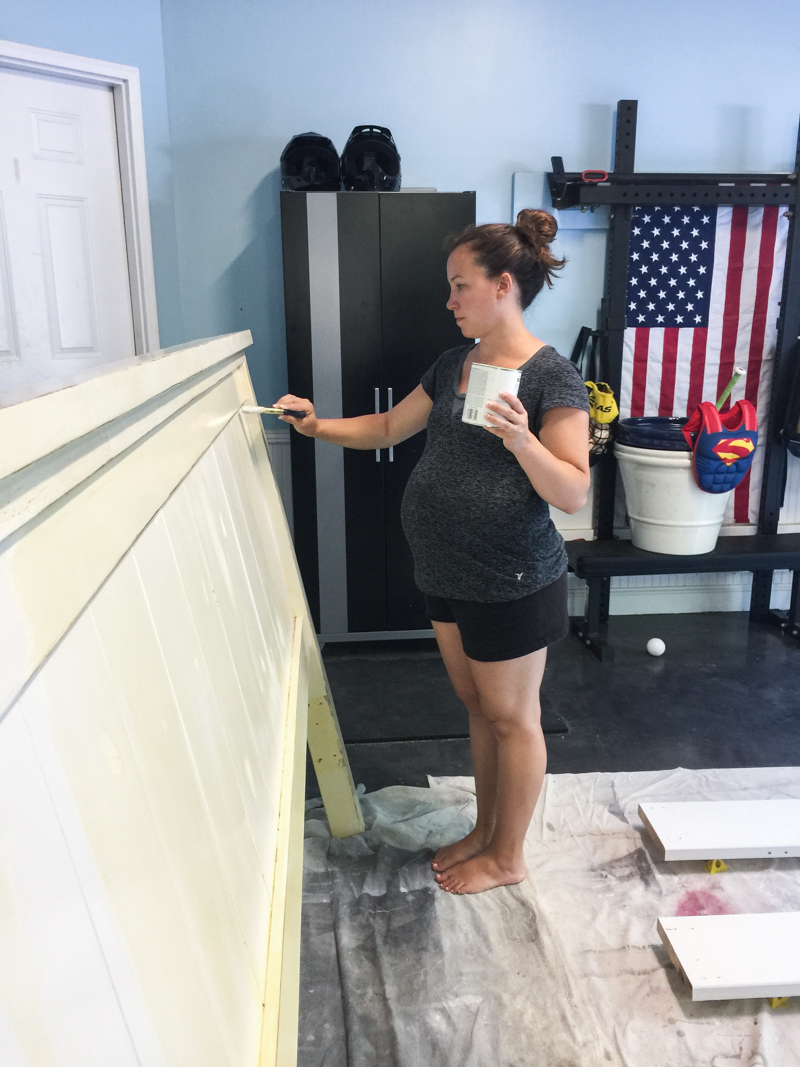
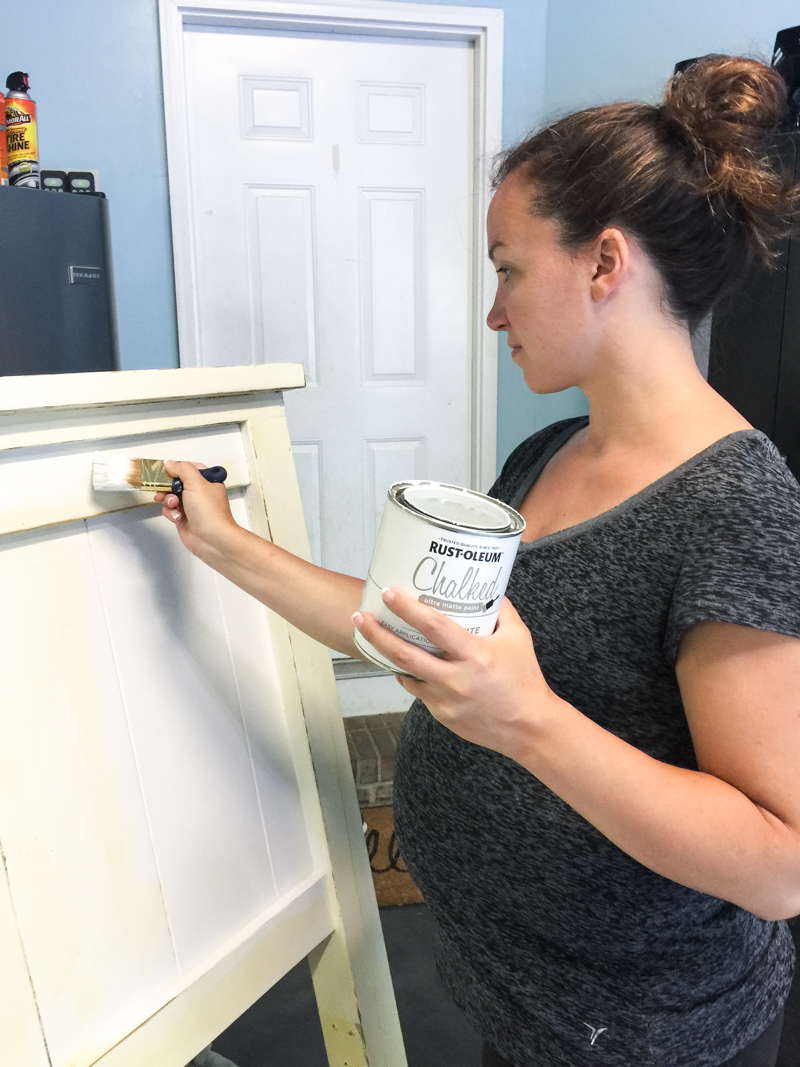
JUST LOOK PEOPLE….LOOK WITH YOUR EYES. It’s incredible how color blind I was before. I mean…that’s not warm antique white….that’s straight up bananas. Like as in yellow. But also like as in BANANAS.
I do have to admit that I like to apply the coats of chalk paint on the thin side so that I don’t have any drips. Also it was a hot day and the american flag shorts just had to come off. It’s called Naked DIY and it’s the next hit show on HGTV.
Once I finished the footboard, I put a coat on the headboard.
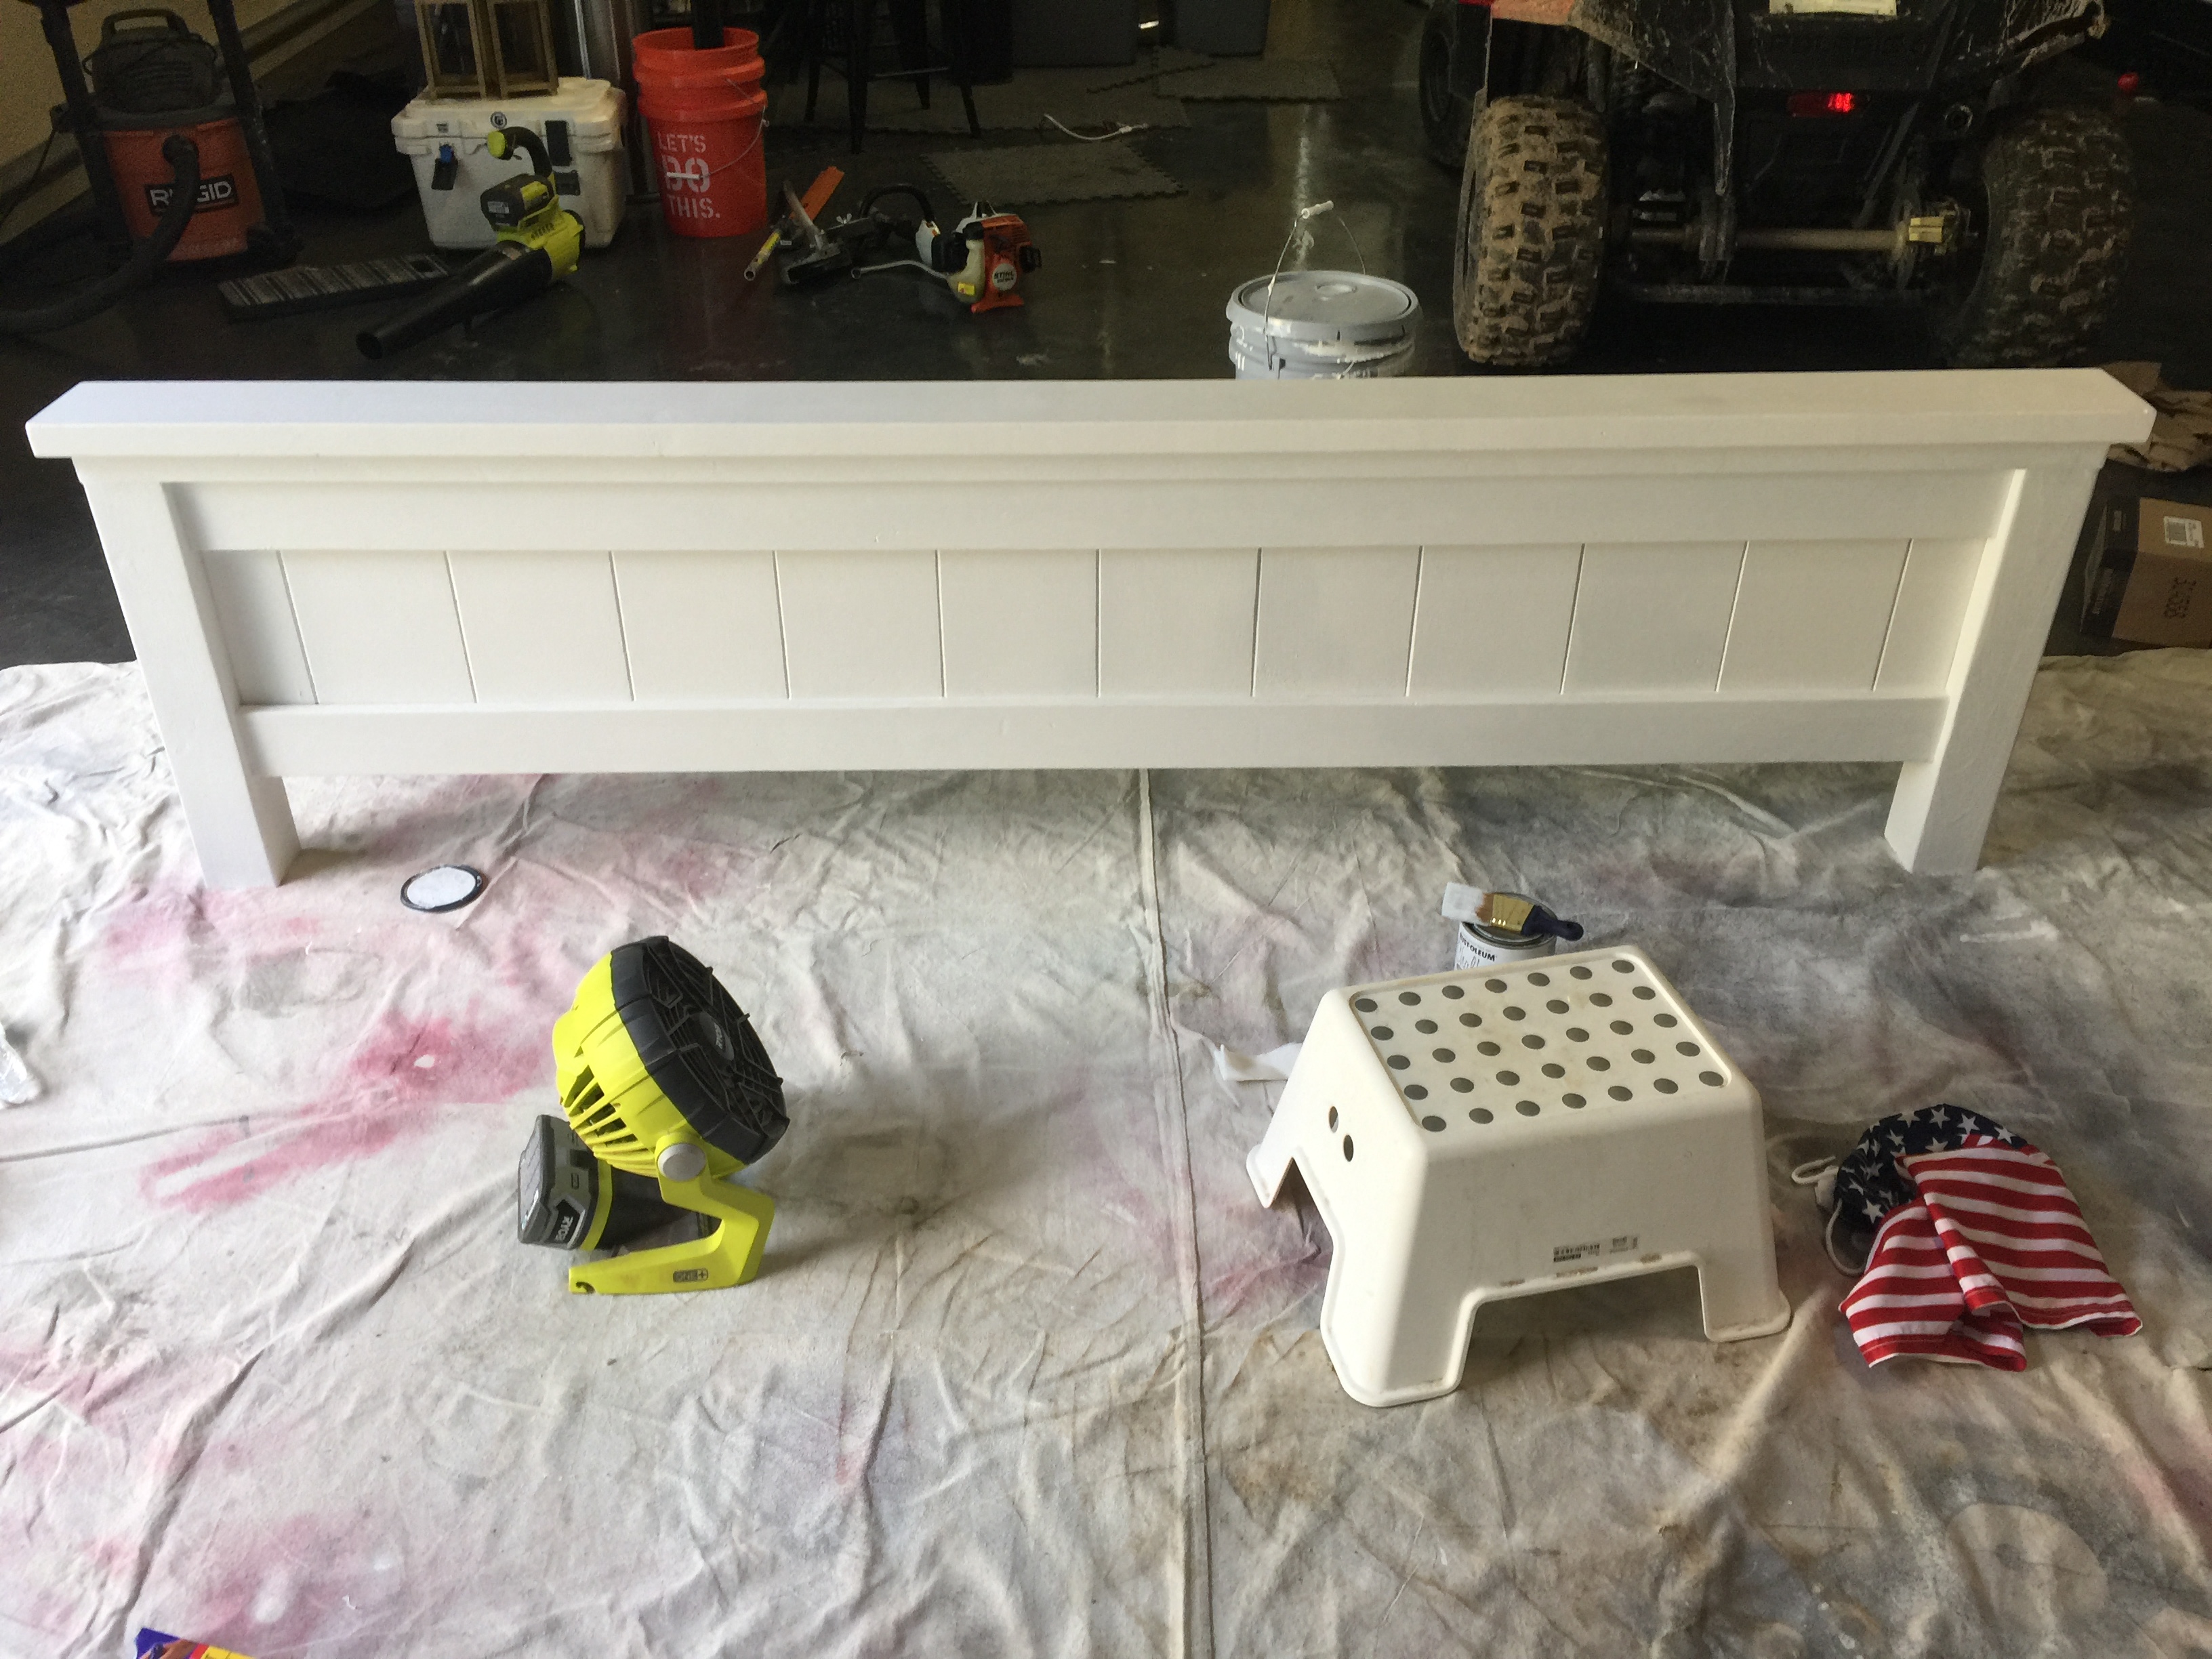
So the headboard, side rails and footboard both got two very thin coats of chalk paint and they looked SO good immediately. The best part about Rust-Oleum’s chalk paint is that it is a one-coat-application and it literally doesn’t require sanding or prep. I simply made sure my furniture was dust bunny free and went to town.
Then we used 220 grit sandpaper BY HAND (that’s important to note) to smooth out the finish. Chalk paint is really, well, chalky…so expect some dust when you sand. I like to use a blower after it’s all sanded and then go back with a dry clean paintbrush to remove any bits left over. You can also use a microfiber cloth to remove the dust but WHATEVER YOU DO, DO NOT USE A DAMP RAG. Trust.
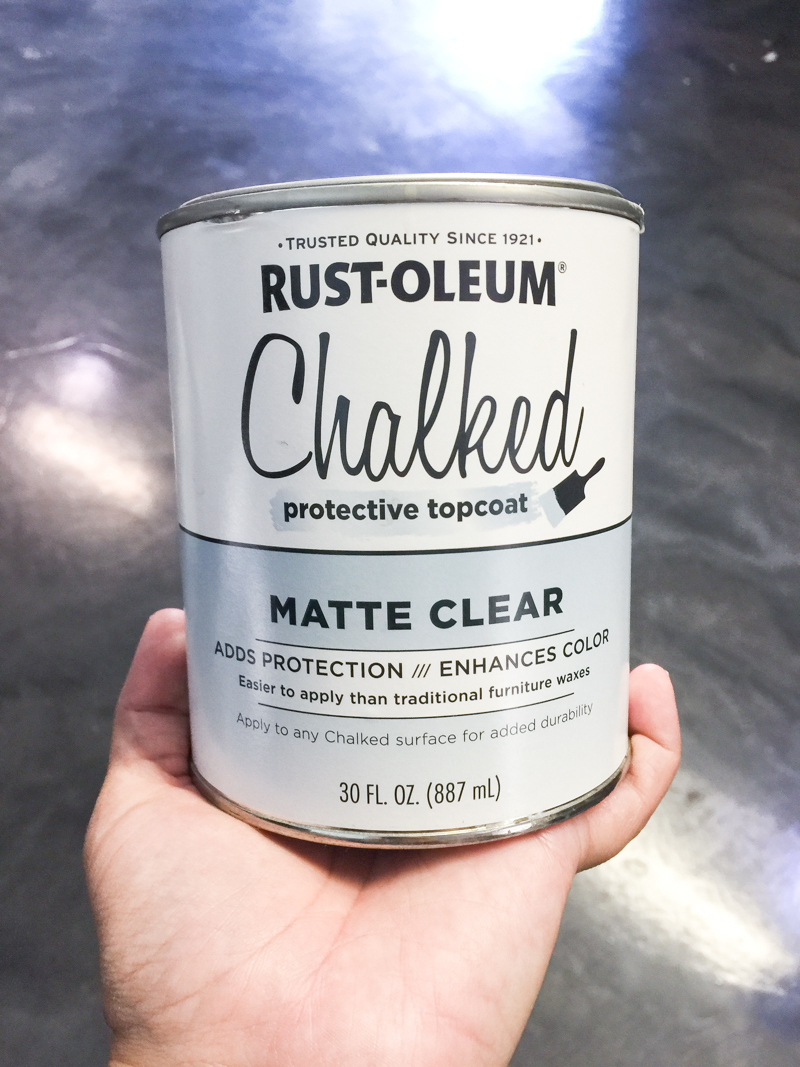
Once my bed was all clean and white, I realized that it was time to seal it properly. Since I learned my lesson the first time, I was NOT about to use an oil-based polyurethane…..not going down in that yellow submarine again. So instead I grabbed the can of chalk paint matte top coat made specifically for this chalk paint by Rust-Oleum. After a little research, the actual properties of the product makes it a water-based acrylic….which is different than a water-based poly. I’m gonna do a little test sometime in the future but for now I’m trusting the pros.
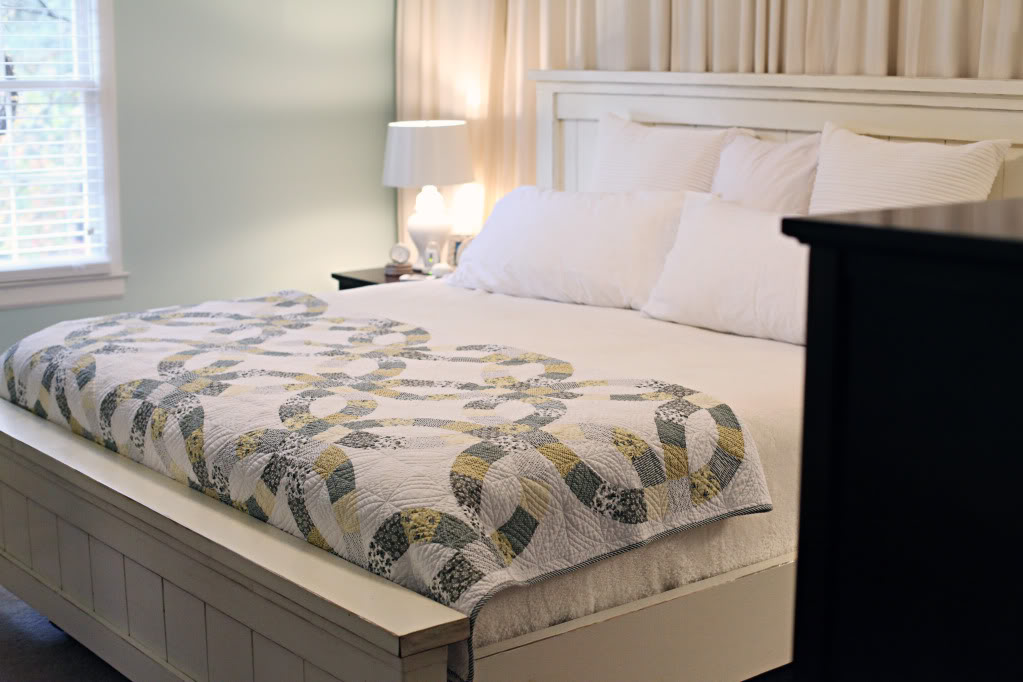
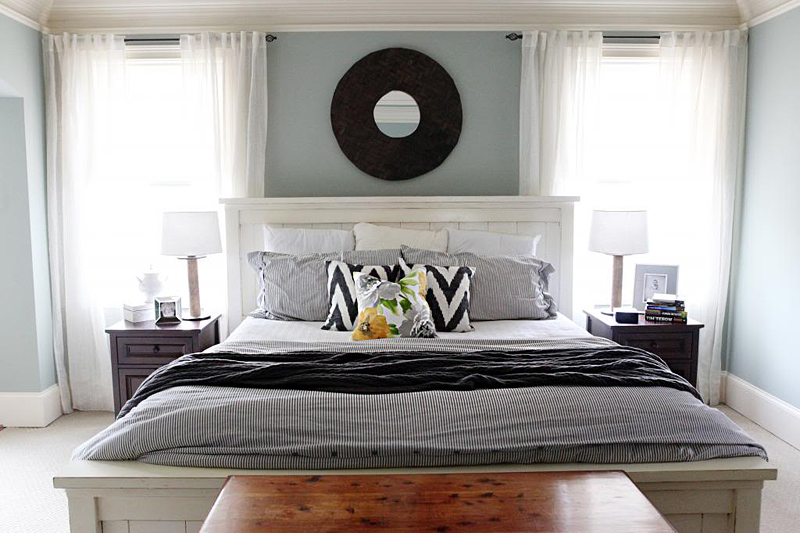
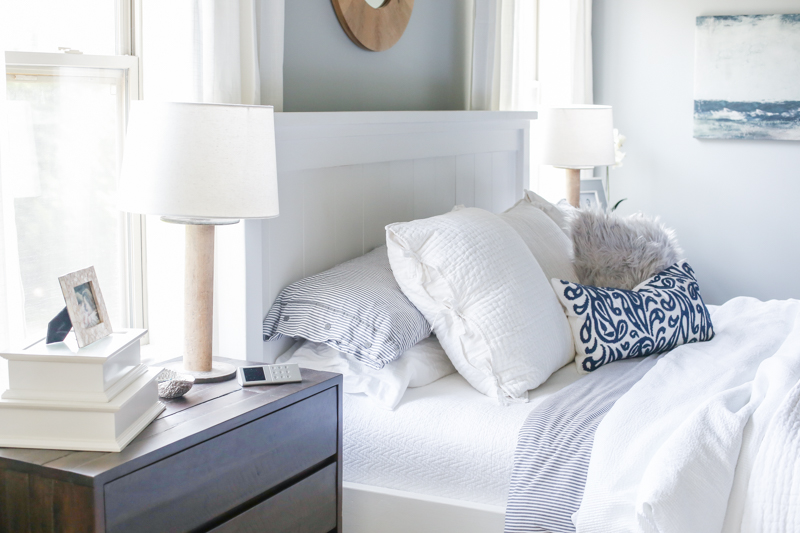
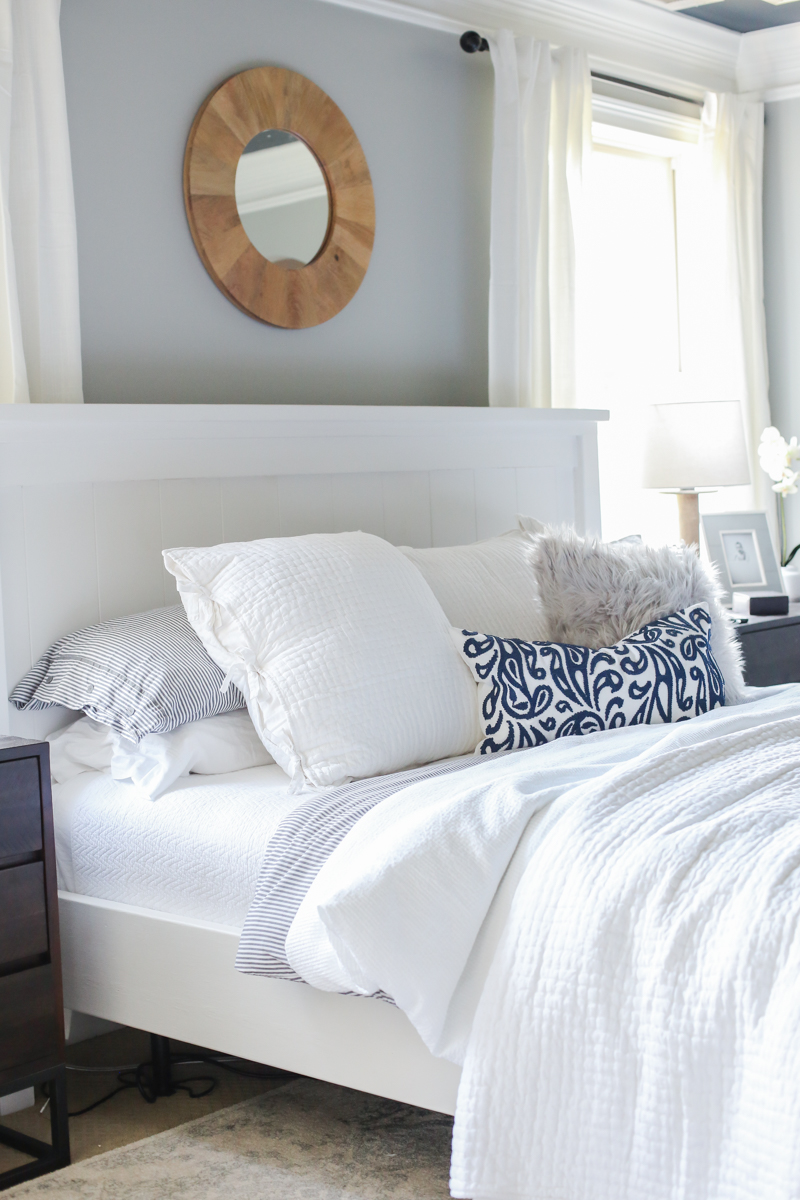
After two super thin coats of the top coat, we were ready for reassembly and now it looks and feels incredible. I absolutely LOVE the new fresh white bed. It never should have even been a question….it absolutely needed to be painted. And the finish is still definitely matte after the topcoat…which I love. PLUS, it goes so much better with our new bedding….which I will link at the bottom of this post.
So there you have it – a complete tutorial on how we used (and loved) chalk paint and what the easiest solution to yellowing polyurethane is! Can’t wait to tackle something else with it 🙂
p.s. Here are the links for the bedding – striped duvet – textured euro shams & quilt – fur pillow – similar white & navy pillow




I feel for you! I did the exact same thing and I too knew better! So five years later I finally went back and painted my gross looking blanket chest a nice matte white. I still hate myself for that one!
Wow, what a diff! It was hard to see the yellowing in the first few photos (probably because of the white balance setting in the camera), but once you showed a shot of the old vs new, it was clear as day! Such a great look!
Amazing results! I think you’ve sold me on using this paint for our basement kitchenette cabinets – they’re not high use like our main kitchen so I think durability-wise it’ll be fine, though correct me if you think otherwise. I’m now also wondering about my banister. I had been planning on following John & Sherry’s tutorial to paint and stain mine like theirs but what do you think about using chalk paint on the spindles?? Thanks, Katie!
Great job! I made these same beds for my twins, and they need to be repainted as well. I will definitely follow this plan. Thanks!
Love this tutorial and simple solution to a common problem! Thanks for the tips! You continue to be my absolute favorite blog for tutorials, tricks, and everyday life!!!
Really?! That is the nicest comment. I mean seriously – DAY MADE 🙂
xo – kb
I think that it would be fine on the spindles…I don’t know that I would use it on the railing necessarily because that is a really high traffic area (like if you stain the banister and railing and paint the spindles, it would be perfect).
xo – kb
Just last night I noticed that the white nightstands that I had painted and topped with polyurethane were yellowing. Augh! I now have my project for this weekend – Thanks!
I love that you found a solution for the yellow and your bed looks inviting again. I enjoyed the post… quite humorous writing in a casual style but I could’ve done without the great things done in the bed reference…. triple Eew!! I was surprised to see the beautiful blogger was preggers though. I mean this with absolutely no meanness or judgement, but consider that painting should be off the table until after your cute bundle arrives. Despite what the can of paint will say in order to sell, there are always chemicals you inhale when you paint. But I am the kind of person who will not drink anything hot from plastic, nor will I even put a plastic pitcher of sweet tea in the sun for fear that chemicals (carcinogenic) from the plastic will leach out. Of course, only God knows if your cells will react by changing but why take the chance??How did I get this way? A hideous reaction to mold and much research to help me get better. Anyway, a lovely post that I learned from and thanks for a few chuckles along the way! Congrats and cheers!!
No I completely understand. I know everyone has a different level of comfort with DIY while pregnant and I clear everything with my doctor before doing it and always highly recommend everyone do the same! Much love Denice!!!
xo – kb
What a great job, Katie! Your headboard turned out awesome. Now I am wondering would this chalk paint work on orangey-aged oak furniture? -Thanks!
I have a few furniture projects in my future and was considering chalk paint because I’ve never used it before and wanted to try something new (to me). I think you just sold me on the Rust-oleum chalk paint. Thanks for the recommendation/tutorial! Your posts are always so practical (real-life) and fun to read 🙂 Also, I love watching your family grow.
YES IT WILL. It would totally work. 🙂
xo – kb
Love it ~ gonna have to try that paint. ❤️
So now I am wondering if I am the only person in the world who doesn’t care for Rustoleum chalk paint..!?? I feel it is NOT one coat coverage at all and it is so finicky! There is no going back over the spot you just painted! I’ve done bigger and smaller projects with it but maybe I need to keep experimenting..!? Either way, your bed was crazy yellow!
Looks great! Where can I find the Rustoleum chalk paint?
Home Depot carries it!
xo – kb
I actually remember slightly shuddering when you wrote ‘wouldn’t mind if it yellows a bit’ on that original post back in the day. But so glad you kept this bed and made it work seamlessly in the new style xx
Yes I love your furniture projects but I confess I want to know what you’re naming that babe, because A. I have been a loyal follower since the beginning – before Clara was born and I found you through YHL and I love all your babies and B. I want to have another kid and I want her name to be the only one but I have a feeling it’s totally your style so SPILL!!!! LOL!!!
And whether or not you do I’ll be back to refresh and read again heehee.
I HATE redoing furniture. Good for you – that’s really hard for me. Any project, realy. I am an ideas person, not a finish it and do it again later person hahah.
Well the name we picked is super common so I don’t think you have anything to worry about 🙂
xo – kb
Hi Kathy, will chalk paint be suitable for trims? or door frames?
I currently have all those yellowed after coats of oil-based white paint, they look really bananas to me and I can’t wait to redo them, with the right paint so to ensure they won’t yellow again.
Also, I am very lazy in the sanding preparations, so why chalk paint won’t require the sanding preparations?
Must I also apply the protective top coat?
Appreciate your advice, I have like 3 doors, 5 door frames, dining tables legs and some trims to re-do!
Wow, what a difference! I didn’t think it was that bad until you showed that close up and the partially painted footboard. Yikes! Your bed looks great now, though.
Wishing you the best as you get closer to meeting your princess.
Hi Katie,
I’ve used the Rust-Oleum chalk paint with matte finish on China cabinets and loved it! I’m putting up a wood plank backsplash in the kitchen and want to paint it white but with a matte finish. I’m worried about water and cleanup since it’s in the kitchen. Would the chalk paint with matte finish hold up? Or do you have another suggestion? Thanks!
I wouldn’t use it for a backsplash area because of the finish. In general, chalk paint even with a top coat is better for a low use area…like a china cabinet or a bed or a bookshelf. I have heard mixed reviews…personally I would go with a wipeable and tough paint – like Benjamin Moore Advance.
xo – kb
Hi Katie, just wonder if you’ve missed my comment on 18 July? 🙂 🙂
Thanks so much for sharing. We built the same bed and the yellow has been driving me crazy but I’ve also been to lazy to repaint the bed. Now that you’ve done the research I can just copy (as I did with the Original poly finish hence my yellow bed).
Oh sorry Joan – it was addressed to Kathy so I thought it might have been a robot 🙂 I’ll take it out of moderation!
xo – kb
I wouldn’t use chalk paint on trims or doors personally. In general, latex paints don’t yellow so I would use that for any high-use areas. The process would mean sanding everything down or using a tsp solution to prep, cleaning all the dust off then using a primer before painting with a latex paint. It’s going to be very time consuming compared to the chalk paint process but it will last!
xo – kb
That’s interesting! I have tried several other brands and it might be just one of those preference things. I like the consistency but I tend to like paint that is a smidge on the thinner side (the RustOleum chalk paint is way less gritty to me than others!) and I would prefer to have the multiple coats if it means no drips or buildup!
xo – kb
You have gotten like 20 page views on this post from me because I am loving the information you have given. My husband is building a bed very similar and I love the way it looks. And I can’t even tell you how happy it makes me to see someone else try something and have it turn out just how you were envisioning! Heading to snap up some chalk paint and top coat!
This turned out beautifully, I find your projects to be so inspiring!
I have used this chalk paint on a furniture project and although I was extremely pleased with the paint (once I got the hang of the sanding step, which is essential!), I found that the topcoat turned my project very unevenly yellow :(. I followed all of the directions perfectly and have read similar reviews online regarding this product. I was cringing reading your post, hoping that you didn’t have a similar problem and it seems as though it worked well for you (phew!). In my case I am wondering if I may have applied it too thickly in the parts that yellowed, so I’m just mentioning it in case any of your readers are planning to try out this product – maybe test on a small area before you topcoat your whole project and apply it in thin layers!
That’s actually a really good tip. Testing is never a bad idea. Did yours yellow over time or right away? I also wonder if it was exposed to direct UV light? Sometimes when furniture is in the sun, it happens faster.
xo – kb
I am new to the chalk paint world, and have done lots of your tutorials in the past (you’re basically my favorite person ever!!) and so I have a roll top desk I want to paint (and don’t want to sand and strip it all down) but is it really necessary to buy the actual brushes intended for chalk paint? I seen you were using the short handle one in the photo (the one John and Sherry seem to swear by for almost everything, especially cutting in!) How did that work for you? Also what brush to use for the wax coat? Lastly, how did you clean the wax from the brush? Thank you!!
I don’t use a chalk paint brush – just the shortie for it because it is a high quality acrylic paint brush so it still works well. I didn’t use a wax on this particular project – I used the top coat formulated for chalk paint by Rust-Oleum. It’s totally safe for a regular brush too 🙂
xo – kb
Fantastic! Thanks so much for the advice. I also bought the top coat product you used by Rust-Oleum, so it should work just fine. Now, I just need to get to work 🙂
So sorry for the wrong spelling! I must’ve been too sleep! 😀
Thanks for the tips Katie!
Do you mean either I sand everything down before the primer & latex paint, or alternatively I use a tsp solution over the existing paint (without sanding), and go straight to primer & latex paint?
I am trying not to sand it because of the dust that will fly all over the house.
Is sanding necessary?
So with most trim work, there are lots of grooves that makes it hard to sand…so a light sanding would be effective but take lots of time for the grooves and you might risk missing a spot or over sanding…making the tsp step important. The sanding would be important because well-worn areas (like a doorway that is where you often turn, or spots that get touched often) will have adhesion issues if you just use tsp. The primer and primer will have a hard time holding up and helping it along with sanding will be your best bet. I feel your pain. If you are really against sanding, then I would definitely use that tsp or liquid sandpaper for ALL of the trim and then sand only the most touched trim work (to reduce the dust).
xo – kb
Thank you for telling us about the Rustoleum top coat. I used poly on a whitewashed dresser and it has turned pee yellow. Gross! Too bad there isn’t anything available for outdoor furniture. I just did Adirondack chairs in aqua and the sealer I used totally changed the color. Fortunately the new color actually looks really pretty so I’m going with it. I do have a question though. Have you ever tried making your own chalk paint? It’s easy to do, much cheaper and in my experience has been much better quality than any of the commercially available products.
I have! And actually it is so gritty in my opinion…like it doesn’t sand to a velvety smooth finish and so that is why I don’t prefer it. Do you use a specific recipe that you love? Because I’ve had no luck 🙁
xo – kb
I just realized I gave you the wrong measurements. It’s 4 tablespoons of calcium chloride and two tablespoons of water. Yikes. My bad!
If u paint w a semi gloss latex paint n use gel stain to antique it, u do not need a top coat n u will be able to wash it n it will stay white forever. I redo furniture n caninets….havent used a top coat yet and most of the cabinets ive done r in white
Hi Katie
I loved your blog, I am in the process of painting some furniture that is now chipped and shabby. I have never seen this product in the UK do you know if it is available here or just in the USA.
Do you think you could use this sealer on stained wood too? I have a table I spent forever on getting the stain perfect and I’m so afraid to seal it and turn it yellow!!
If you used stain, try Rust-Oleum’s Crystal Clear poly…it is supposed to not turn the finished product a different color. Of course, do a test in an inconspicuous area first!
xo – kb
Do you think the rustleum matte would hold up on kitchen cabinets? Thanks
I probably wouldn’t use a chalk paint on cabinets…I would go with a higher wearing paint finish.
xo – kb
Seriously just did the EXACT same thing to our daughter’s Ana white farm house style twin bed. Sadly that was the second time refinishing… I am not at all thrilled about doing this again.
How is the finish holding up for you – wondering how the chalk paint adheres to the old poly and if it is prone to scratches?
So far so good! No scratches yet!
xo – kb
Morning! I chalked painted a dresser with the Aged Grey and Loved the color; After I put on the Matte Clear Coat finish, it brought out all the imperfections and the yellowing of the dresser. After ideas why this happened? Im gonna place another coat of the gray and see what happens.
I just love everything about your blog, advice, comments and positive attitude. You’re just too cute and I’ll check your site often for exciting tidbits!
Hi Katie, do you think I could use rustoleum clear coat to topcoat a table I painted with Sherwin Williams acrylic enamel in white? Obviously it’s not chalk paint. I already have it and would love to not buy something else if I don’t have to
Yes definitely!
xo – kb
did your headboard start yellowing right away after applying the polyurethane, or did it take awhile for it to get that yellowish color?
Yes it took a while.
xo – kb
Did you paint right over the polyurethane or did you have to do any prep work? I just painted an old dresser linen white and I already noticed some yellow!!!
I painted right over the poly (I did clean it though!) and with chalk paint, generally speaking there is no prep.
xo – kb
Curious how it’s holding up now? I’m about to chalk paint some dressers white and have read so many conflicting things about the yellowing!
I thought the reference to things done on the bed and the fact that the pics show her preggo were hilarious. We are human, and that stuff is just funny…I didn’t think eeew at all…
i would also like to know how it has held up. Is it still white now? Did it chip?
thanks 🙂
Hi Nancy, The white has held up well! It hasn’t chipped or yellowed. I did notice that our knots are still bleeding through though….which is unfortunate. I am gonna see if I can figure out how to keep them from bleeding through 🙁
xo – kb
I’m in the middle of a table re-do and came here because it keeps yellowing 🙁 I did solve the knot and tannin bleed-through, though! Before your final coat of chalk paint, apply a coat of spray shellac. Super easy, quick-drying, and it seals the wood 🙂 it dries a bit yellow so you do have to do a coat over it, but it stopped the bleeding for my orange oak table and chairs!
What a smart solution! I will have to give the shellac a try. And did you table keep yellowing even after the shellac? Did you do a top coat?
xo – kb