Disclaimer – This is a sponsored post brought to you by The Home Depot. All opinions are 100% my own.
Who is ready for a weekend project makeover?! These are my ultimate favorite posts to share with you guys because they are my ultimate favorite to see myself! Everyone loves makeovers! And this time, I was REALLY nervous about how it would turn out. SOooo….long story short, The Home Depot came to me and asked if I would do a project with Smart Tiles peel and stick tiles. My first reaction was scrunching my nose and muttering “eh”….I mean….I have seen peel and stick tiles and usually they look more like a picture of a tile poorly printed on a sticker. It has no dimension. It has no texture. It has no reflective quality.
I decided to look at pictures and reviews online and surprisingly everyone seemed on board the Smart Tile train. I didn’t personally have a spot to use them anyway so I thought….well, I will throw it out there to my sister and if she bites at the chance to get a little bathroom makeover, then good. Worst case scenario? We put them up as a weekend project, she hates them and I will just have to help her remove them later.
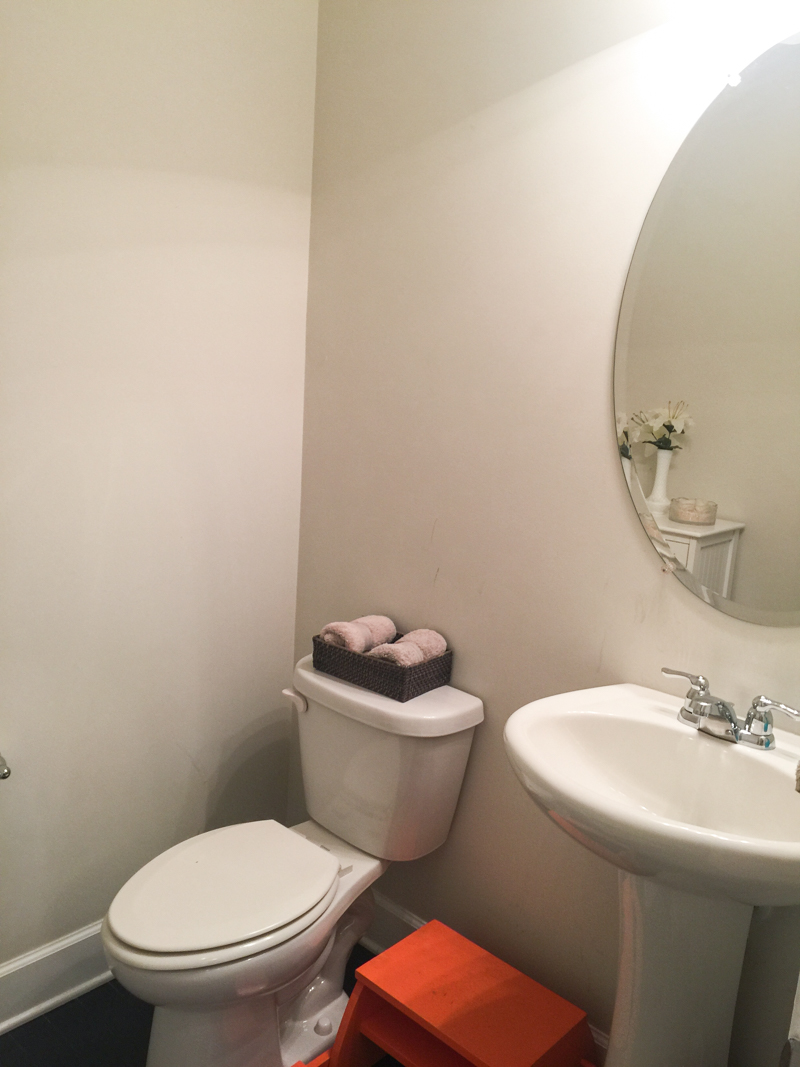
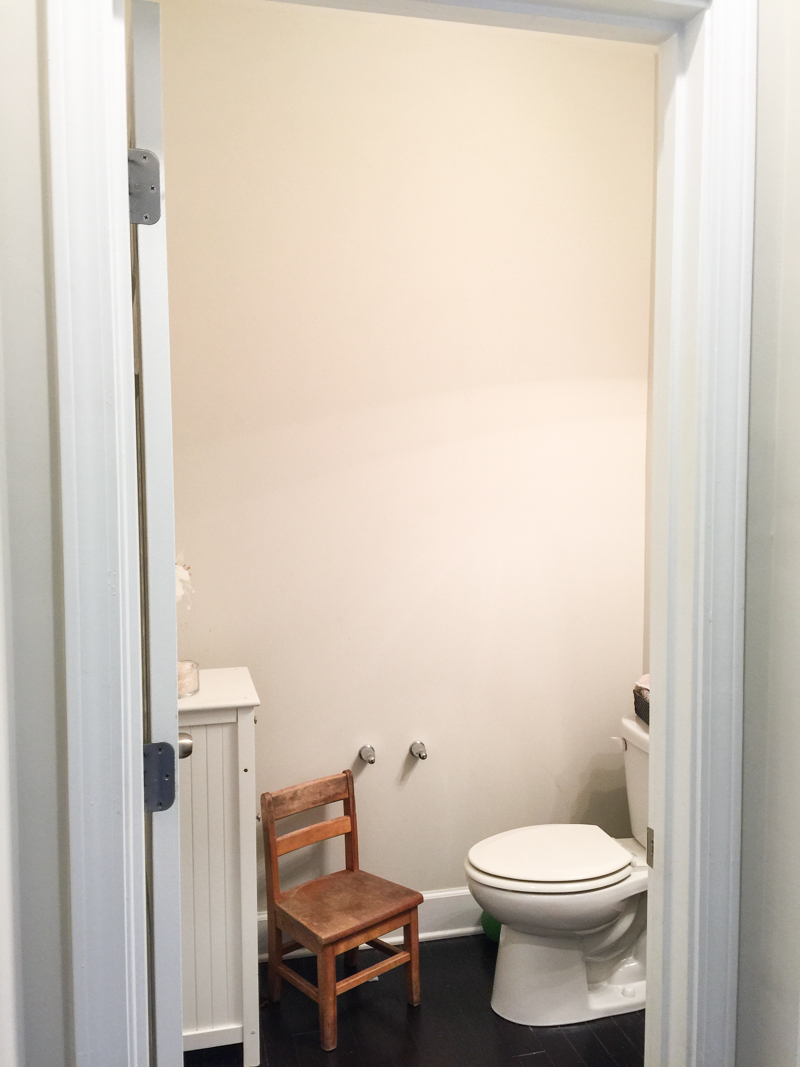
She bit. Such a little risk taker that girl 🙂 And the spot we had in mind for a mini makeover…her guest bathroom. It started like many other bathrooms out there….plain, beige, and builder basic.
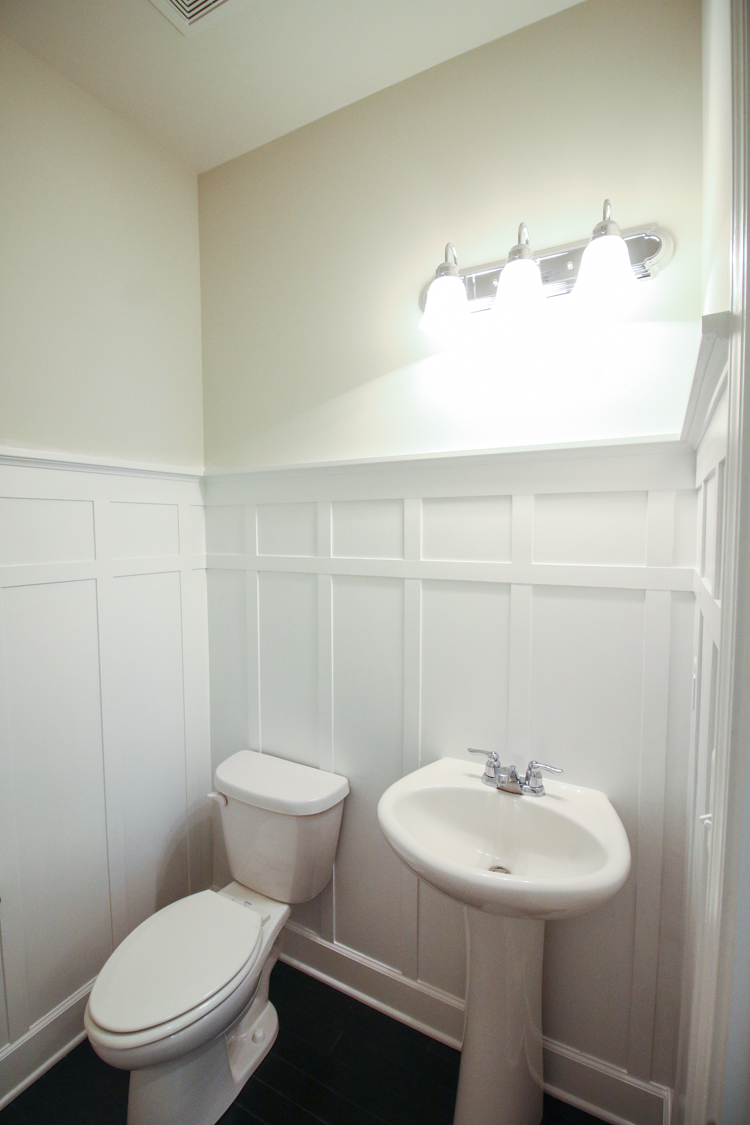
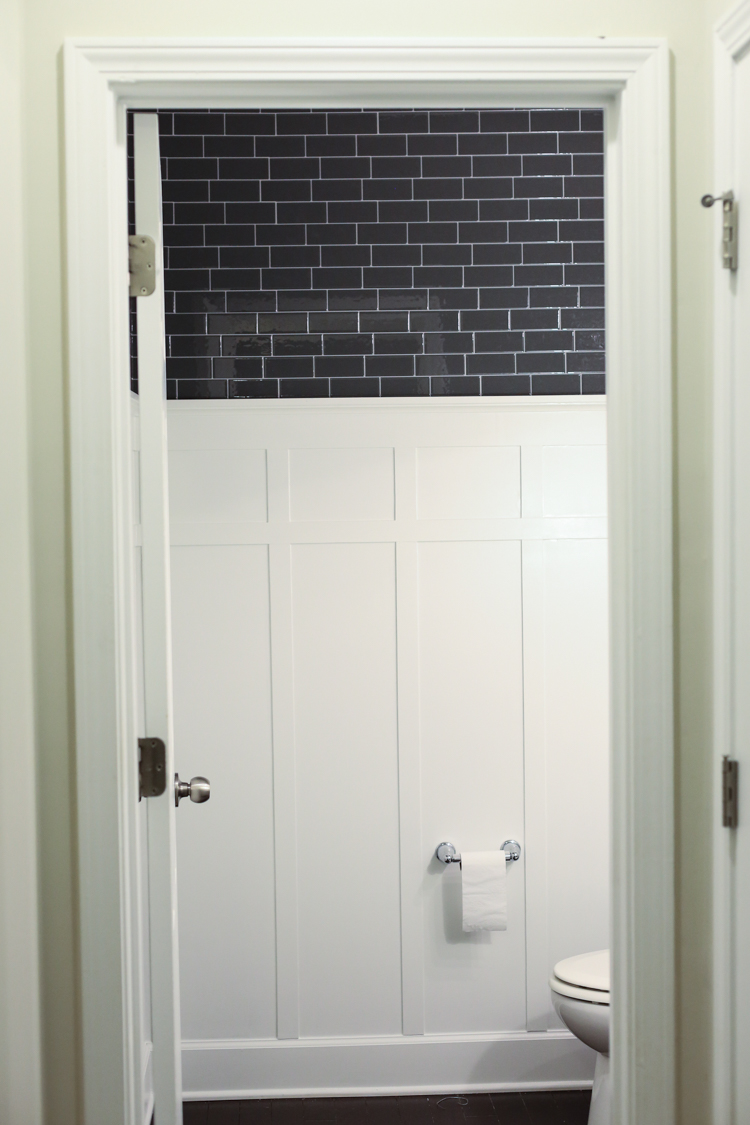
We added some super inexpensive board and batton and immediately we started to get excited.
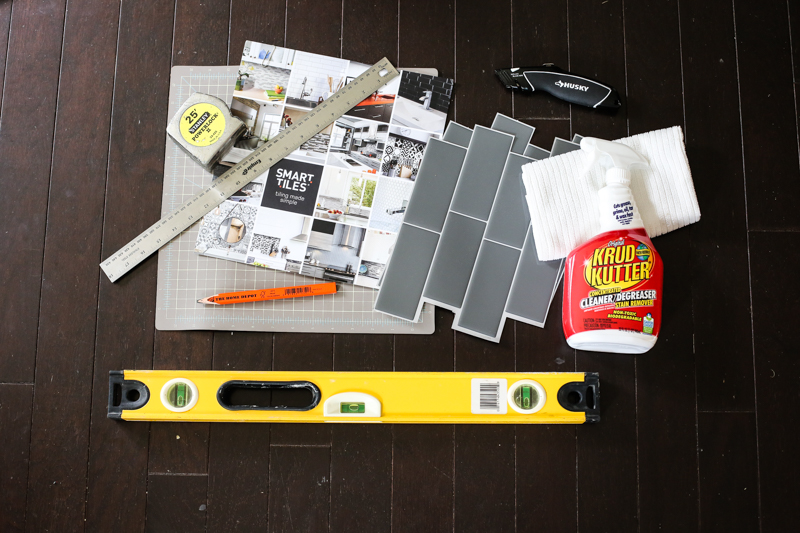
Then the Smart Tiles came and we got ready to hold our breath.
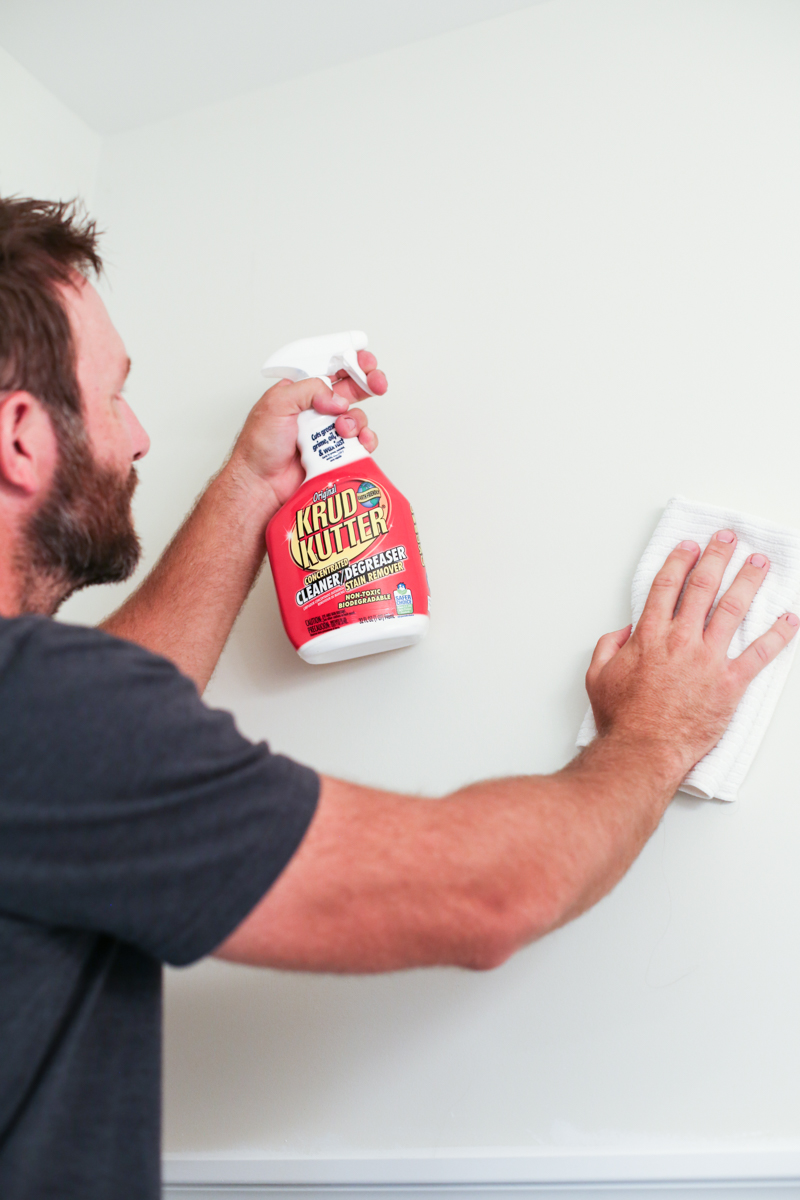
The first step to install the tile is to make sure the walls are clean, using Krud Kutter.
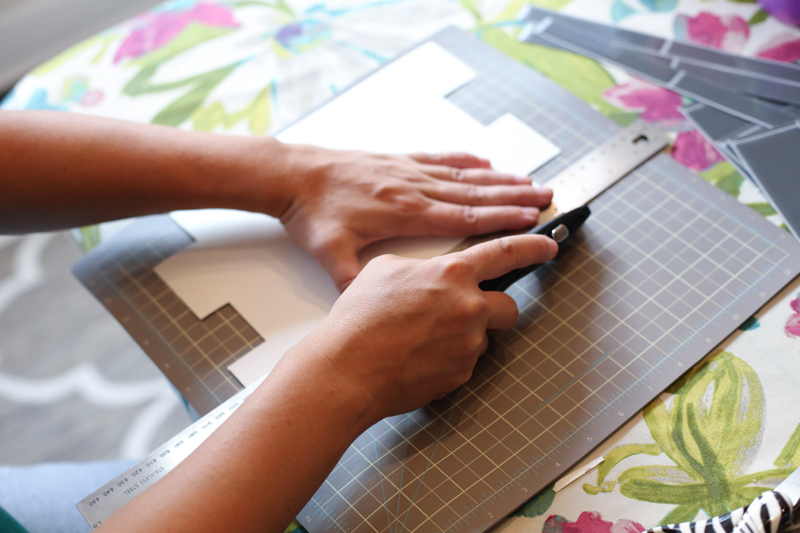
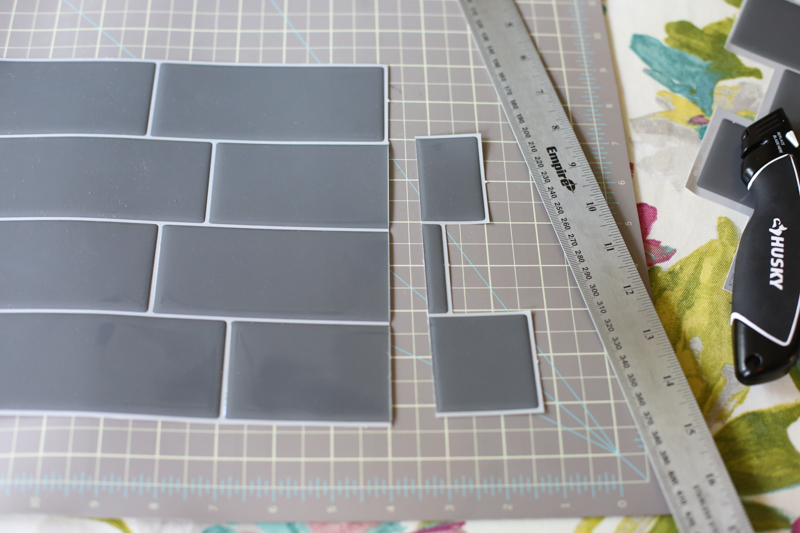
And then you cut the tiles to size to install them.
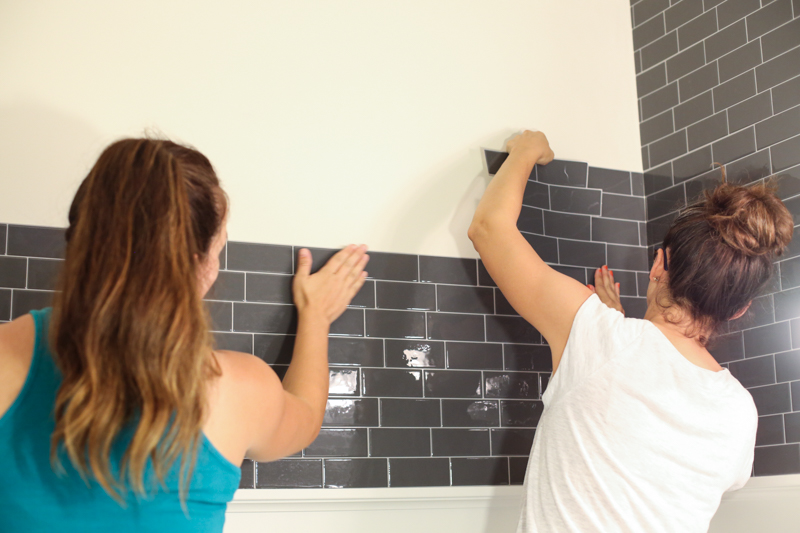
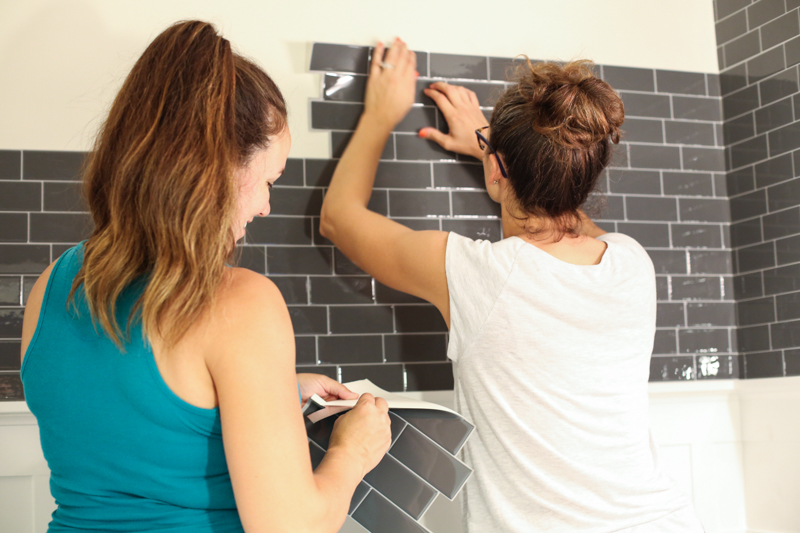
This product is SUPER easy to install. We kept saying that we felt like we were scrapbooking…not tiling. It was that easy. Trimming could be done with a pair of scissors or a retractable blade. No wet saw was necessary.
And installation was also really easy…..it was just a sticker.
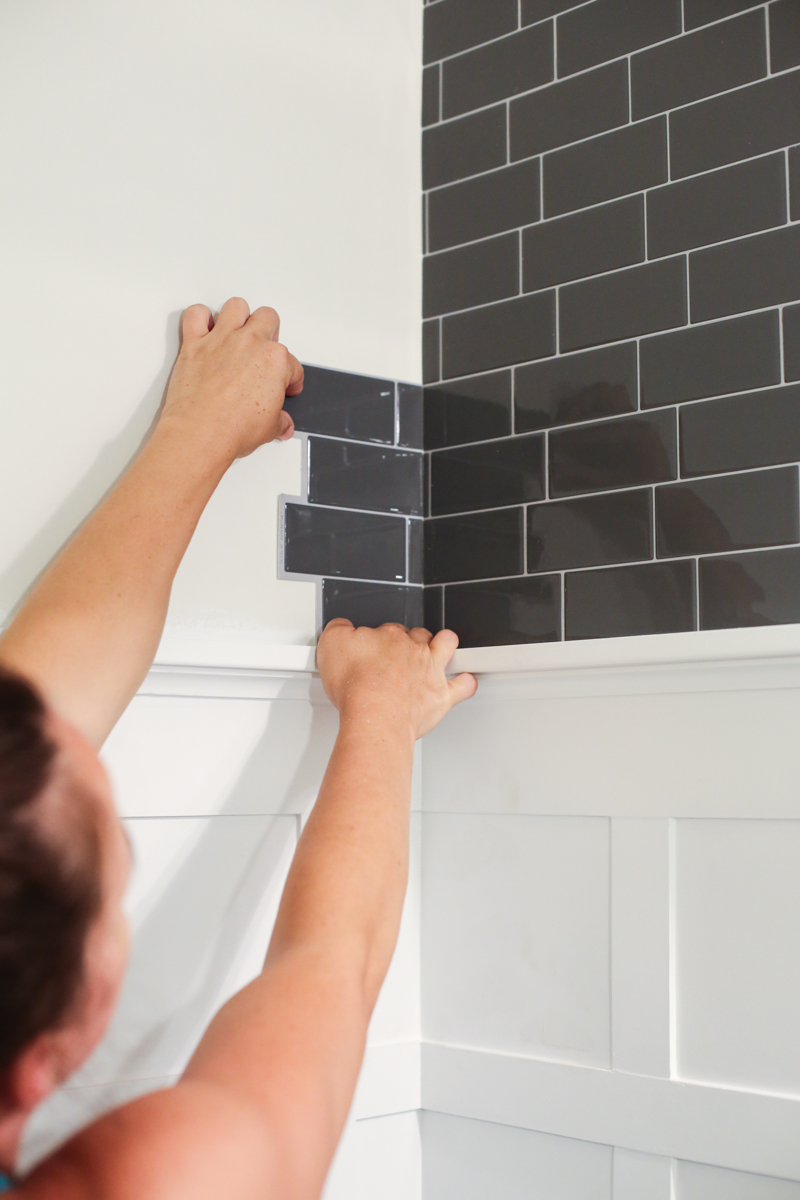
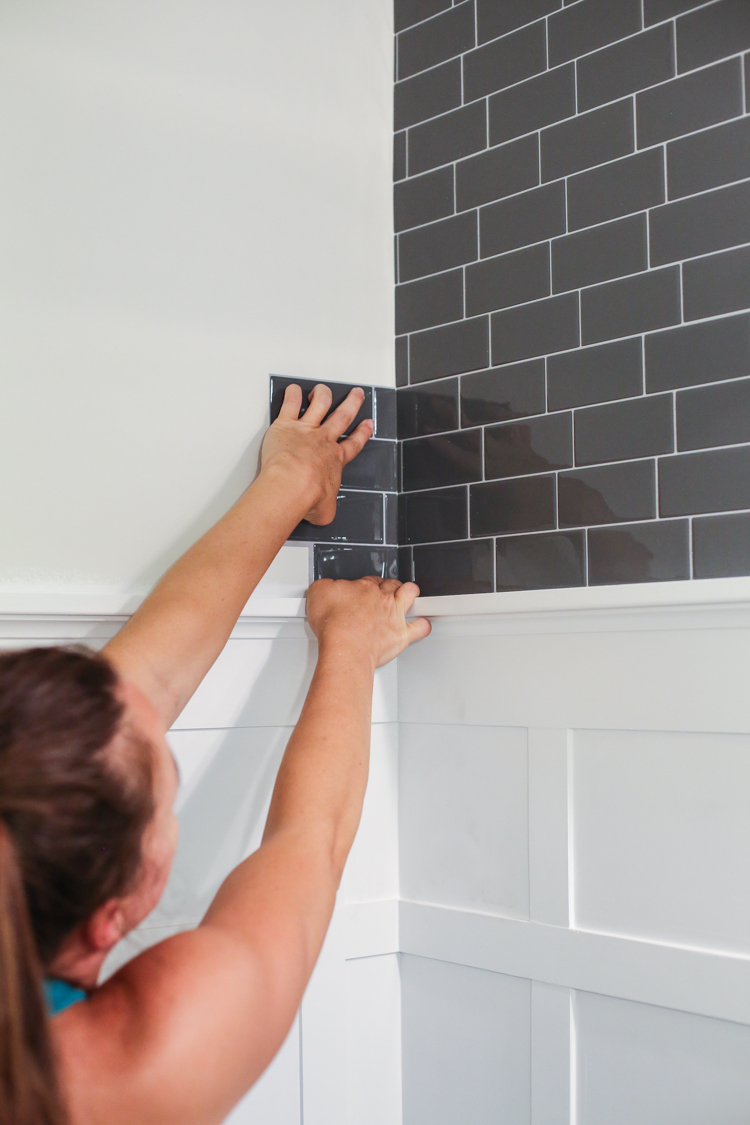
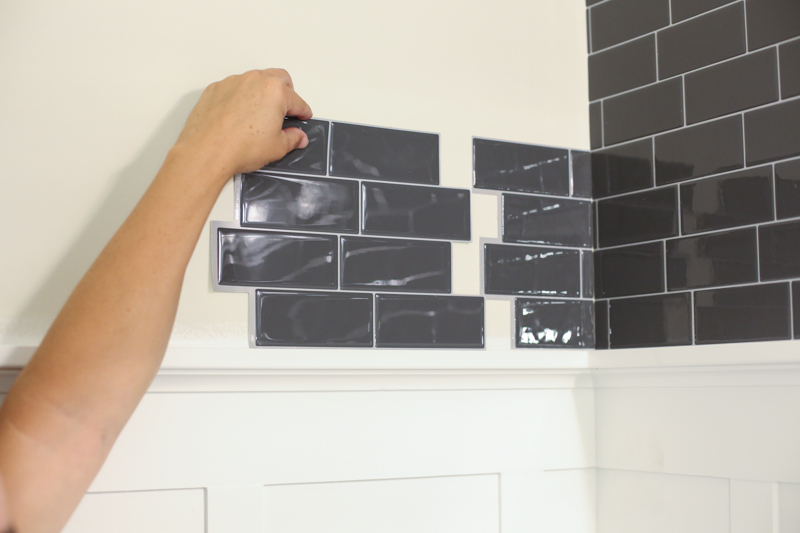
You peel the backing off and stick the sheet of tiles in place.
The next sheet overlapped it and this is where the magic happened.
Once we saw the tiles overlap, I immediately changed my mind about the tiles. It looks so much more real than I had anticipated.
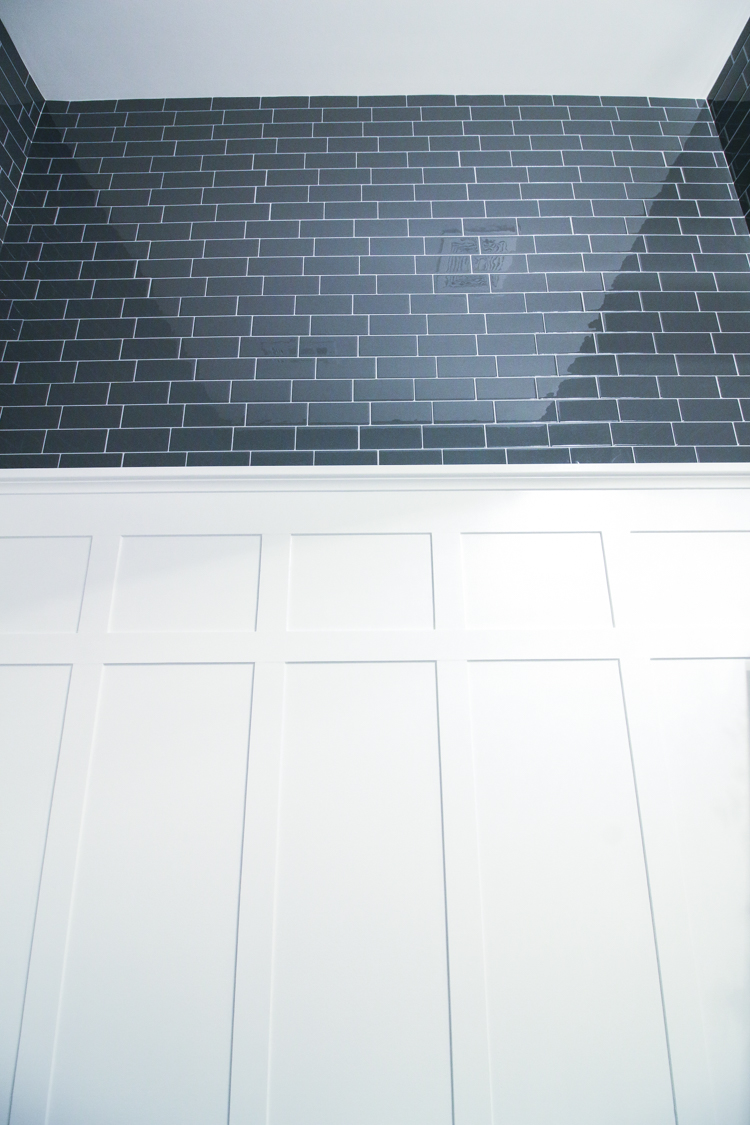
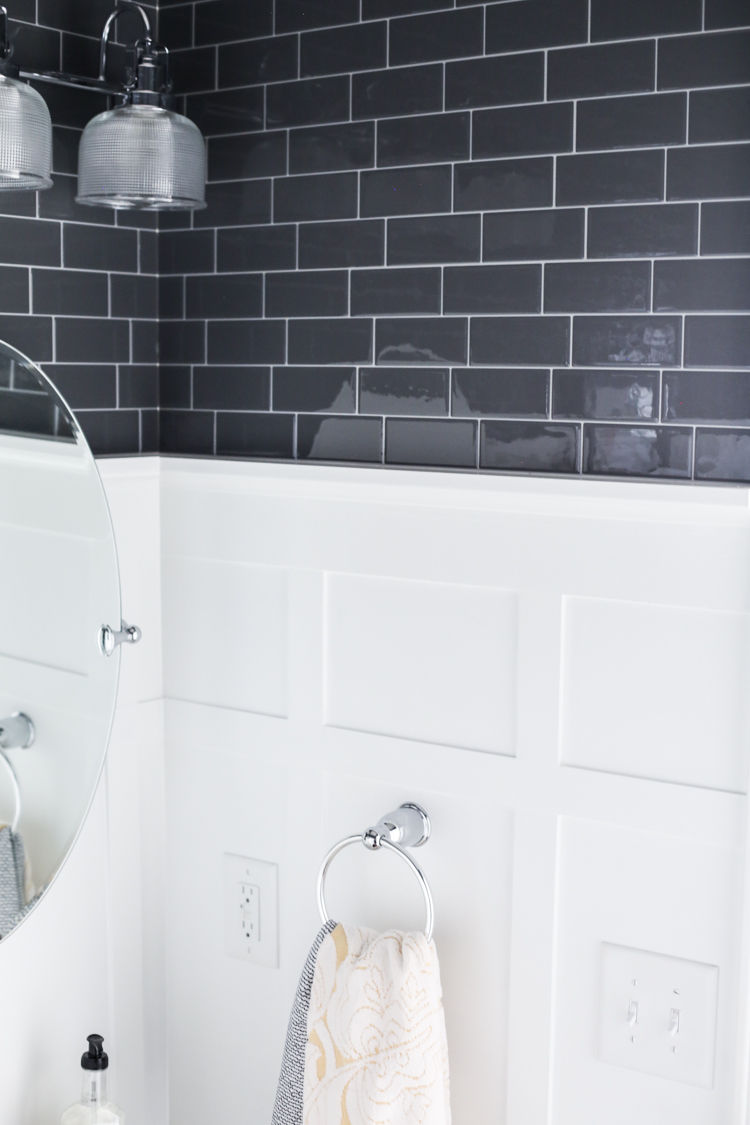
These Smart Tiles had dimension. They had reflection. They had texture. I gotta tell you….this was my first time being really shocked about a product. It looked SO GOOD. All four of us (Jeremy, Lori, Andrew and I) were all surprised. It looked SO much better than we had anticipated.
AND….Lori and I finished the bathroom in a fraction of the time it would have taken me to install actual tile.
For further details on how to install these (as well as some really pretty pictures and before/afters of this space go Home Depot’s blog)….CLICK HERE.
And here are some less glamorous before and after pictures….
Just check out the way it reflects the door trim! And the contrast with the board & batton is perfection.
The rest of the space also got a mini upgrade. We kept the sink and toilet and even the towel ring and toilet paper holder….but made a couple high impact switches.
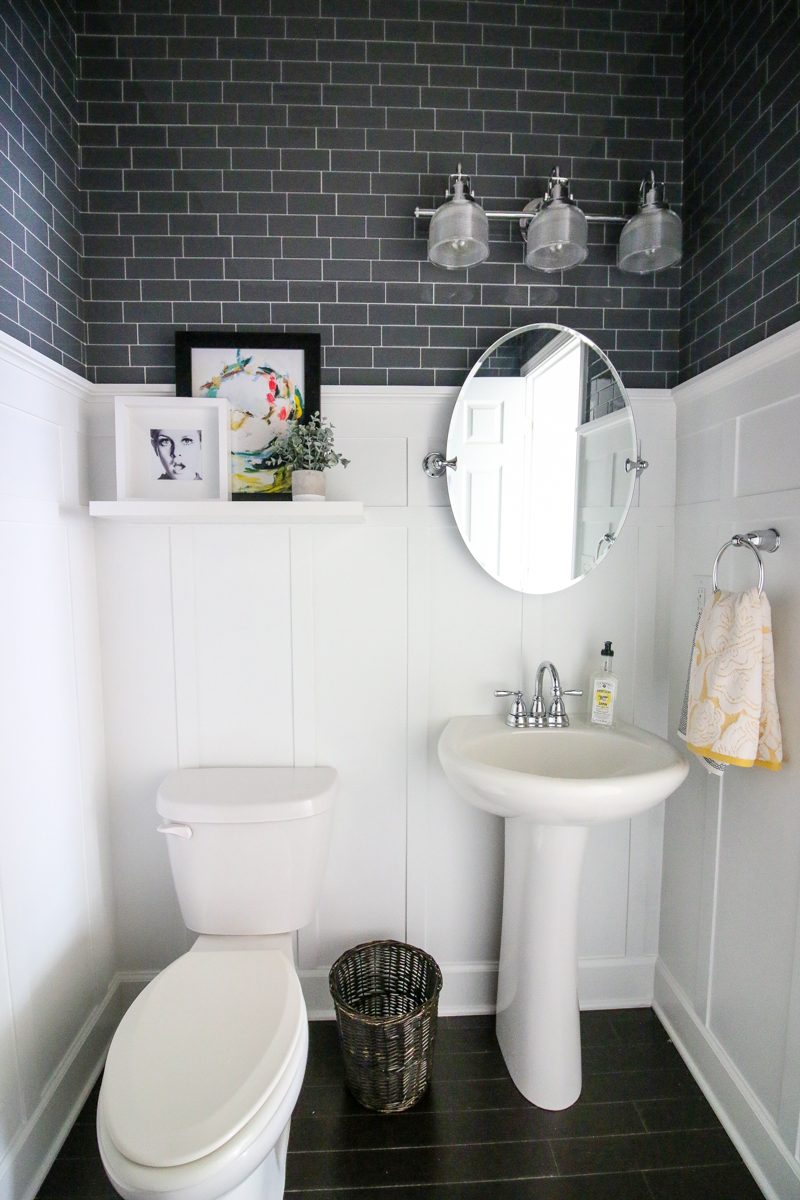
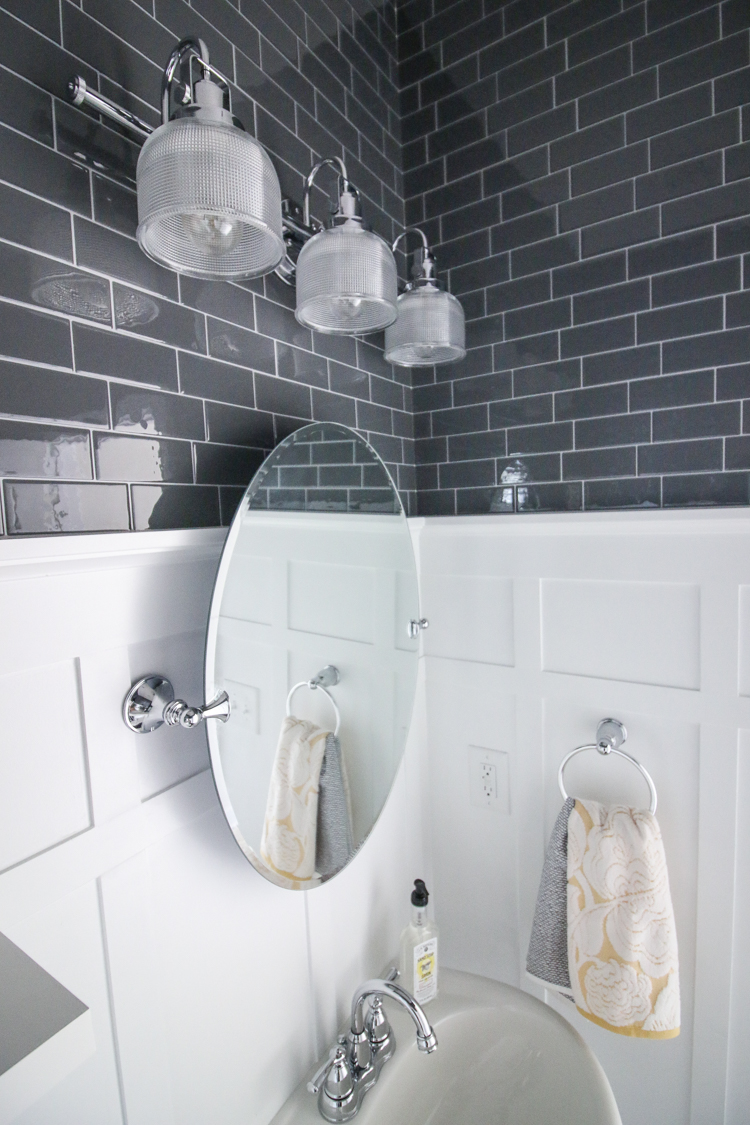
They got a new light (here is the link, and yes it is the same one I have in my guest bathroom except in chrome!), new mirror (we chose this one so that it could clear the upper ledge on the board and batton), new faucet (the taller height of the Moen faucet makes it look more substantial and is a great price!) and we added a little floating shelf with some decor (to add personality).
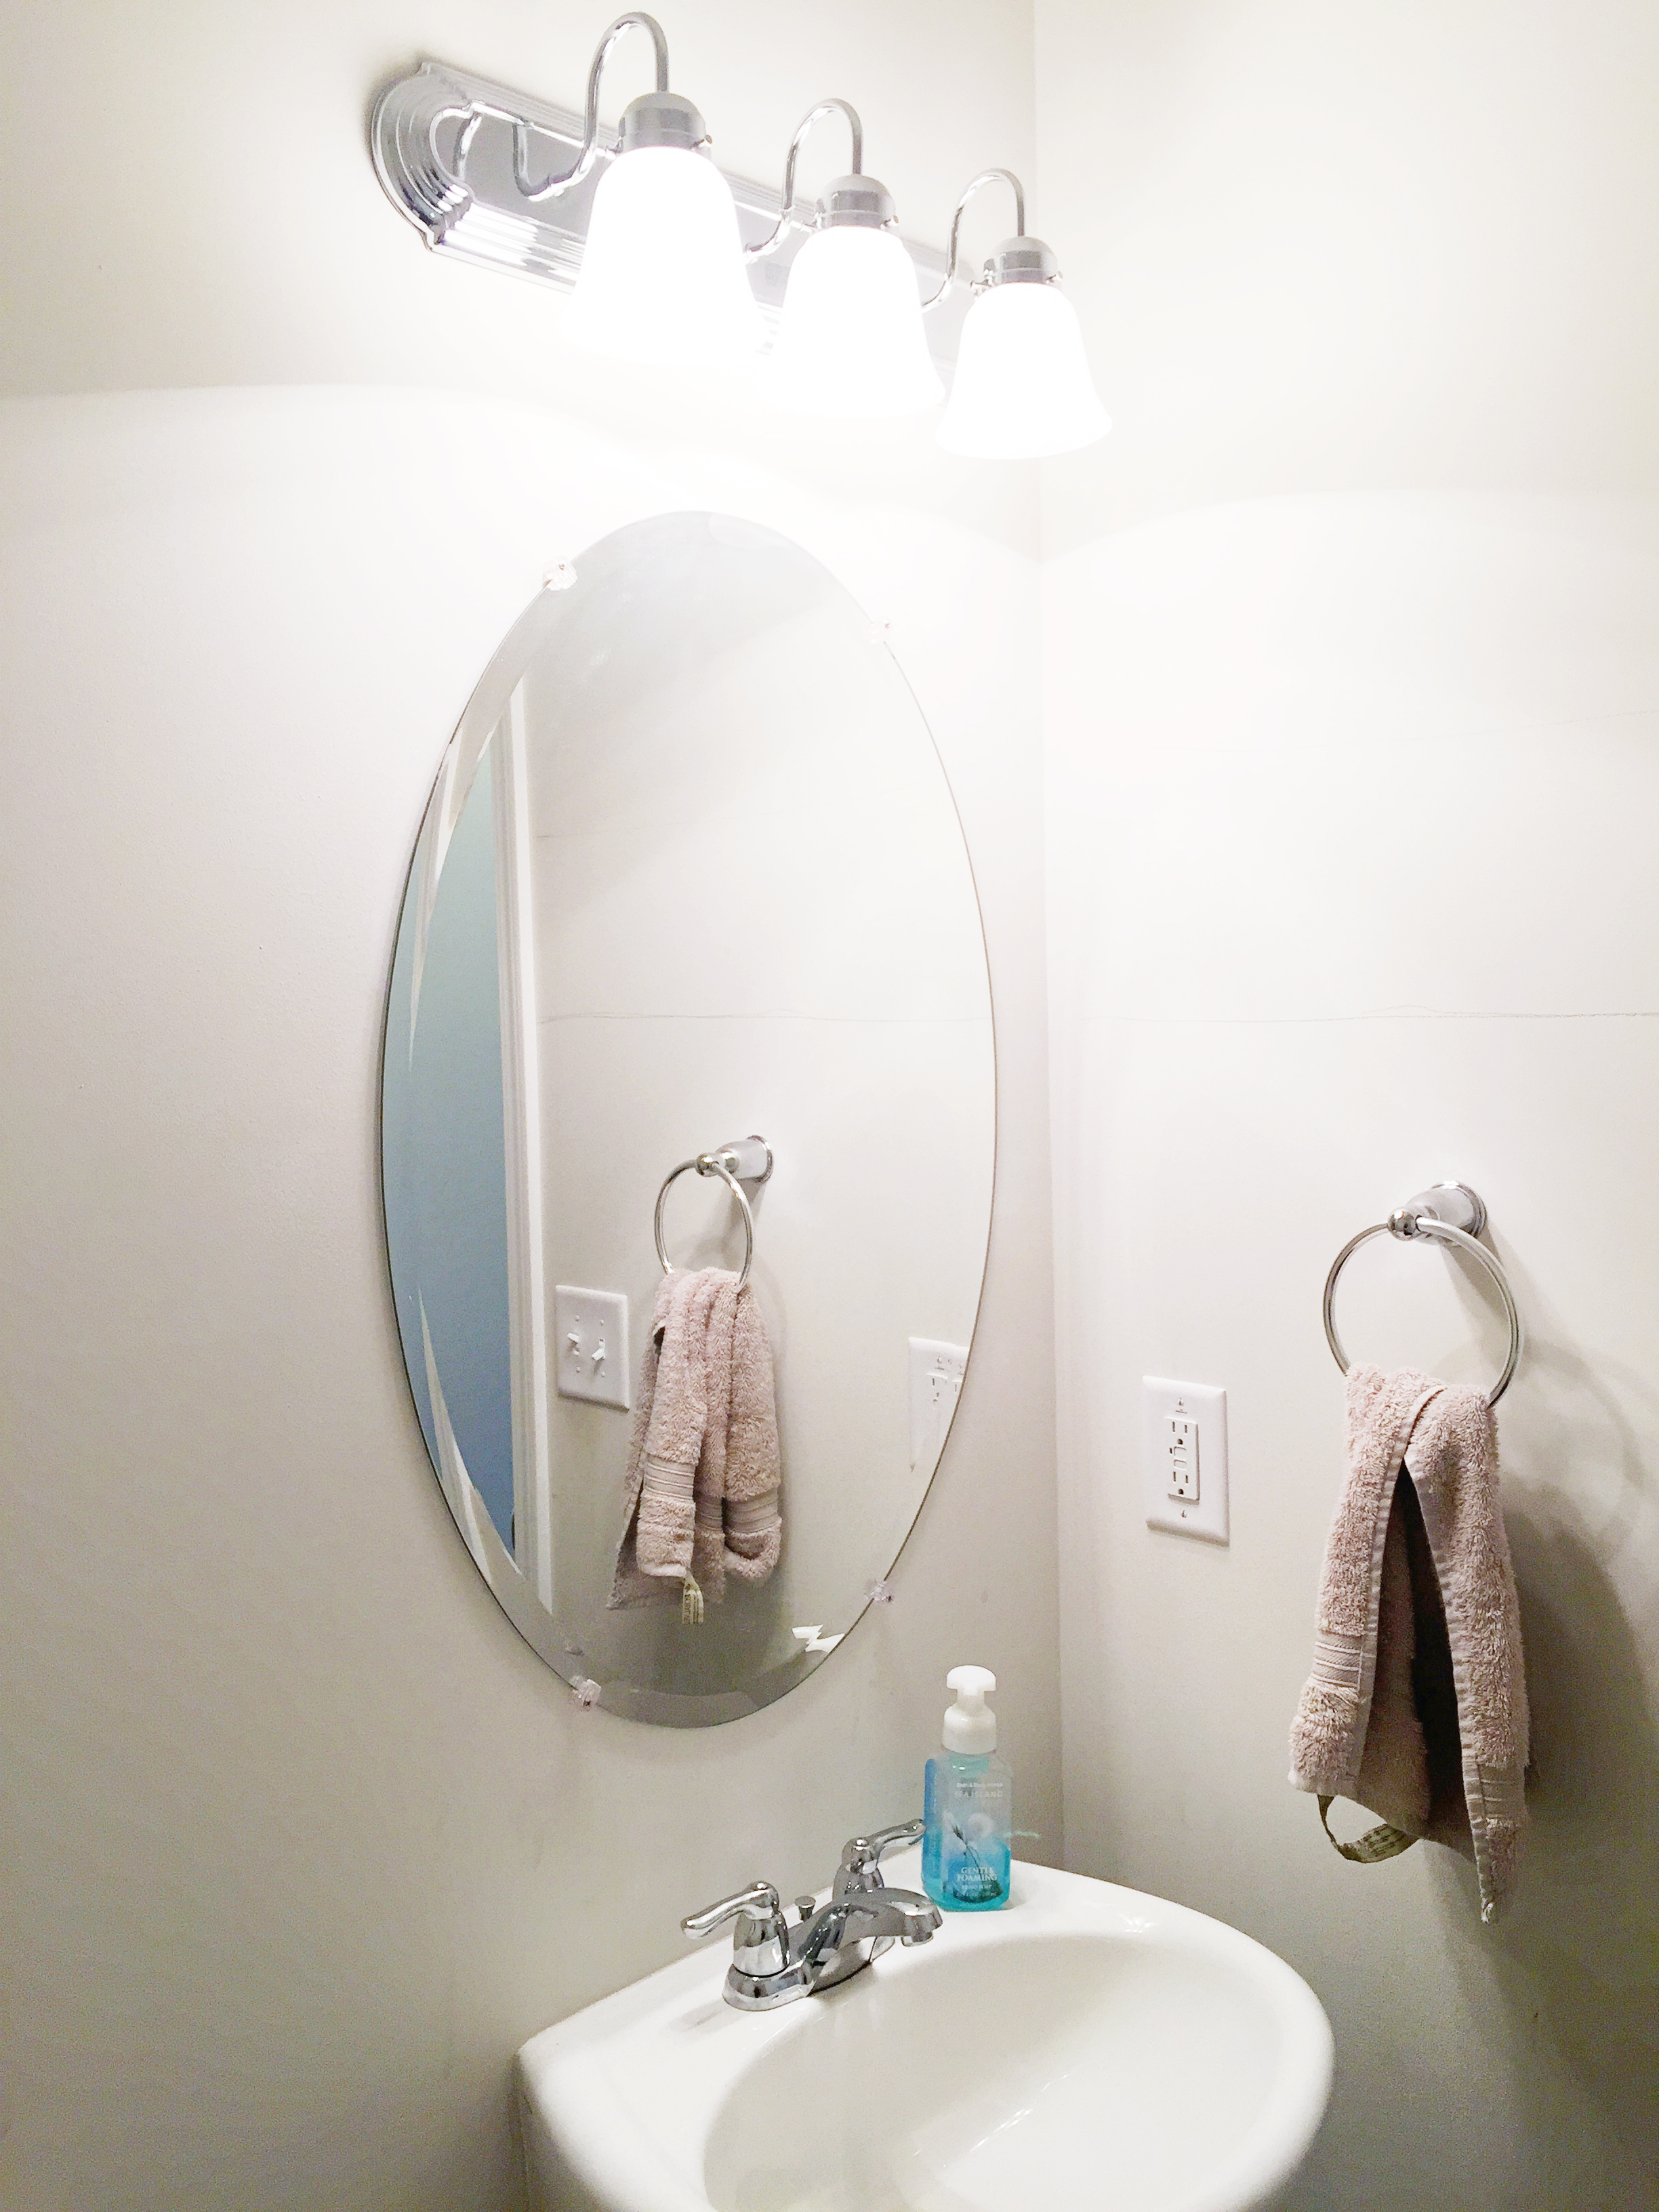
The sink area before looked bland and boring…
But now it looks clean and sophisticated. Who else thinks chrome is making a hard comeback?! I love the way it looks with the tile….the perfect amount of shimmer and shine.
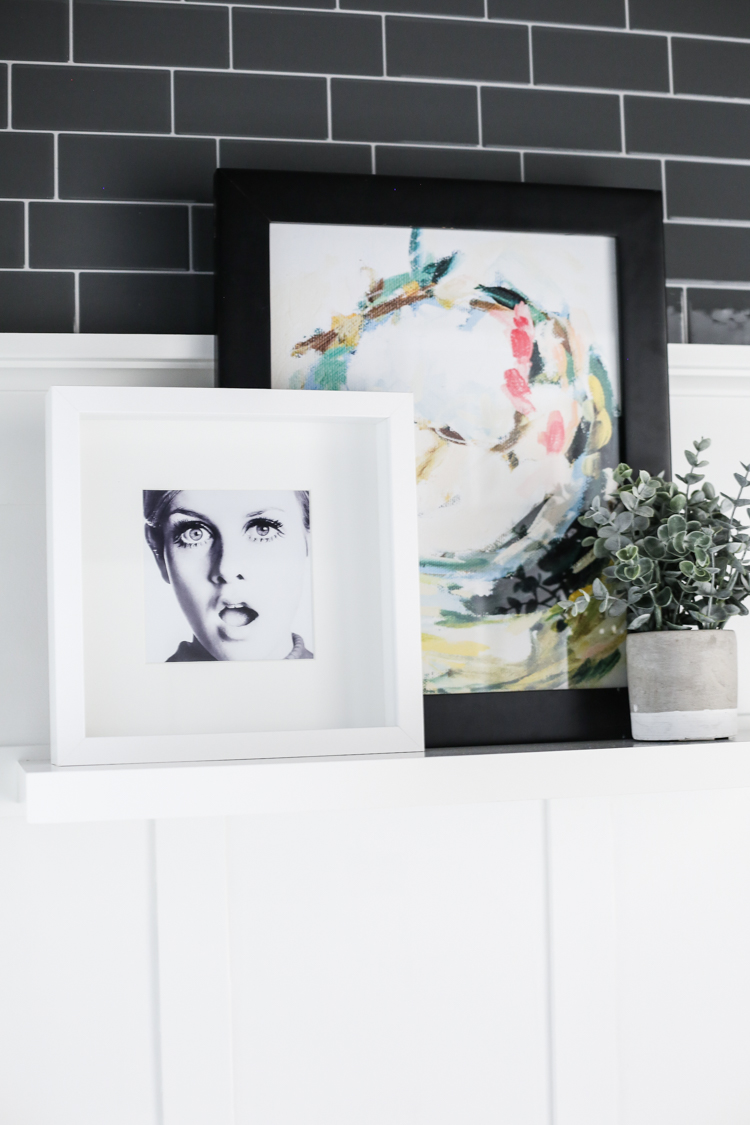
The shelf is actually one of the simple things that added just enough personality to the space. I got a faux succulent, added a couple prints to some black and white frames and BOOM….just enough color and interest to make a splash. Here is the link to the Twiggy print and here is the link to the watercolor print.
As far as the applications for the Smart Tile product….I think it’s a perfect fit for anyone who is not DIY savvy or is renting or just simply needs to spruce up a small space that is not exposed to water. I wouldn’t use it in a shower or a high traffic area like a floor. The best place for it would be on a backsplash, a fireplace surround or a camper (it’s lightweight which makes it a great fit!). Also…I can see it being amazing for changing up kid’s play kitchens! I know that sounds weird but it would instantly make those cheap looking kitchens look legit!
And to see exactly how thin and easy it is to install, check out the Home Depot Blog for all the pictures! Stay tuned….I am gonna explain how we did that super affordable board & batton next!
And here’s a little more Smart Tiles info for you:
The Smart Tiles are lightweight, easy to handle, cut and maintain, and will remain on your walls for as long as you wish them to. The tiles can be installed in minutes over a clean and sleek surface without any mess or specialized tools.
__________
Especially designed for kitchen and bathroom environments (i.e.: backsplashes), the tiles are resistant to the heat of stovetops and the humidity of bathrooms (do not use in shower).
- Quickly Installed Without Any Mess or Specialized Tools
- Lightweight, easy to handle, to cut and to clean • Especially Designed for Kitchen and Bathroom
- Resistant to heat of stovetops and humidity of bathrooms • Guaranteed to Stick to Your Walls
- No extra glue, will never yellow or crack over time
I acknowledge that The Home Depot is partnering with me to participate in this Smart Tiles Program (the “Program”). As a part of the Program, I am receiving compensation in the form of products and services, for the purpose of promoting The Home Depot. All expressed opinions and experiences are my own words. My post complies with the Word Of Mouth Marketing Association (WOMMA) Ethics Code and applicable Federal Trade Commission guidelines.

Do you have any tips on edges? How would they look if you have one wall that’s open on one side, like in a kitchen. Thanks!
This looks fantastic! I can’t believe thats peel and stick!!! especially with that B&B 🙂 not sure if my browser is an issue or not but i don’t think the link for the watercolor art came through. Can you provide that source when you get some time? Thanks so much in advance!
That looks so nice!!
I bet these would be great in Big Red. You get the look of tile, without the weight!
Wow! What a transformation! Great job, you guys!
Katie, could you please share the link for the water colour print? It’s missing in your post. Thanks a lot!
Hi Katie! The bathroom looks great! Unfortunately the link to the watercolor print didn’t come through. Can you update it or send to me because i’d love to see the dimensions for a project I am working on? Thanks!
The link for the artwork isn’t working, and I’d love to know where the watercolor came from!
Sorry I updated the post!
xo – kb
Sorry for the oversight! I added the link now!
xo – kb
I added the link. Sorry about that!
xo – kb
They have an edge piece that covers and blends the ends of the tile sheets. I know if you go to the Home Depot Blog there are other people who used them in other posts!
xo – kb
So sorry…I missed that! I have it added now!
xo – kb
Looks fantabulous. One thing that should be noted, however, is that they shouldn’t be used on textured walls. I wanted to use them in my laundry room but have that knock down texture. Did you use lattice for the b&b.?
I used these to cover up some old tile I didn’t like on a 4 inch backsplash. They improved it a lot, but I can’t imagine using them like this. It’s like $9/square foot! Regular subway tile is about $2/square foot. Just one wall of this is $280, so this is almost $1,000 of plastic tile!
That’s impressive. I don’t know what it looks like in person, but in pictures, it definitely does not look like peel and stick. I love the idea of using it in an RV.
Hi, Katie! This turned out amazing! I’m curious to know how your sister likes the tile now that she’s had a chance to live with it for a bit.
CAn you give more info about the board and batten?
Tomorrow!
xo – kb
We used these as a kitchen backsplash! We have the dreaded textured walls, so I was concerned that they wouldn’t stick, or that they’d look bumpy and stupid. I was wrong – they look great! The textured walls do show on the tiles, but it really looks good. We have a very open kitchen, so only about 8 feet are against the wall, so we put a white frame around the tiles to make it seem a bit more special, and it also made me feel better about them staying put! No one believes me when I say “I did that for about $100 in an hour and a half!”
I love the idea of these because I am so not capable of putting up real tile, and obviously these look great. But, I would love for you to update later down the road and let us know if they hold up. When I went to Home Depot their salespeople told me not to put them in bathrooms or kitchens or anywhere that moisture would be present. Even though they said that, it’s still sooooooo tempting, so it would be great to hear what kind of success you have with these.
Wow! Those do not look like peel and stick! Since I am nervous about tiling, I would definitely consider these!
The install job you did is beautiful but I have to be honest, something about the texture of the stickers looks wavy and dimple-y in the reflection and isn’t convincing as a smooth tile. For a quick and low risk makeover I’m sure it’s a nice option though!