Disclaimer – This is a sponsored post by Floor & Decor. All opinions are 100% my own.
Got the Mondays on this fine Friday? Well, I’m here to help with a fun first floor bathroom tile update! Nothing like a big beefy post all about tiling a bathroom to perk you right up (while you don’t have to lift a finger except to do your salt bae scroll). We finally made some great progress on the first floor bathroom and I wanted to show you all the things. As well as spilling my secret on how to tile that curved alcove in the picture below. Just wait for it 🙂
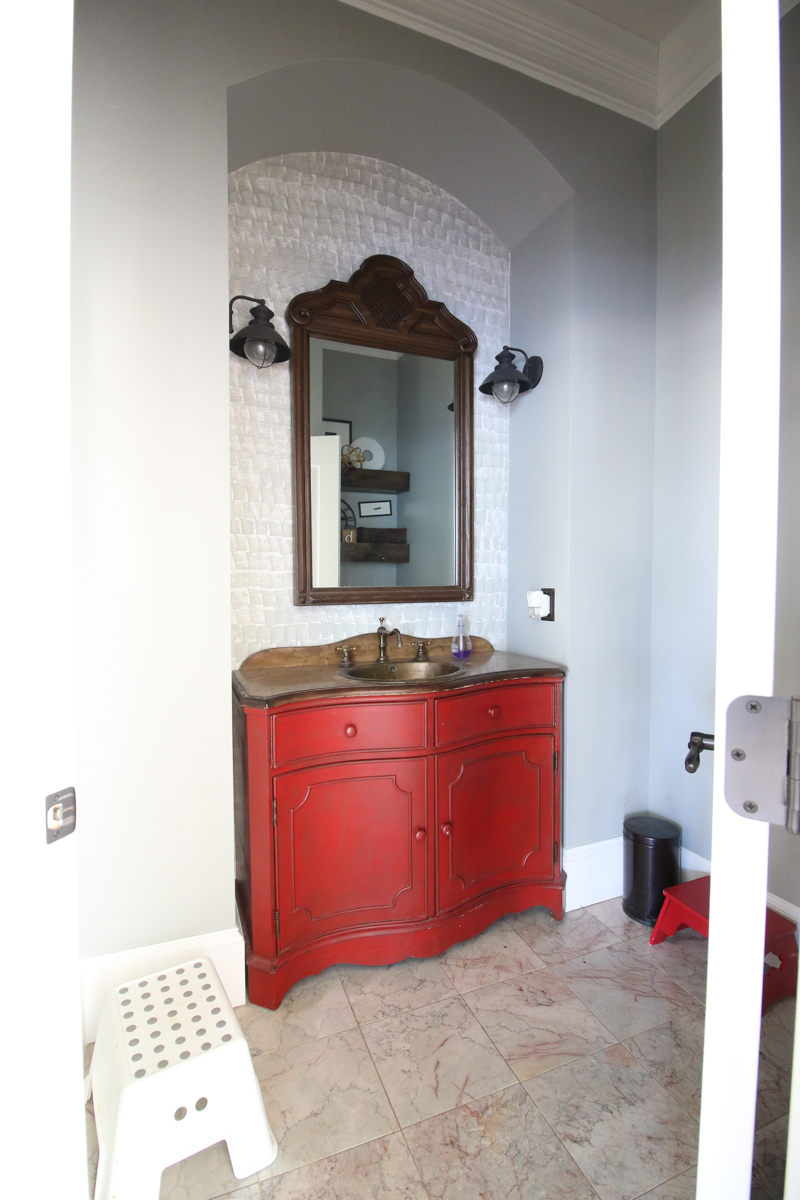
As you know, we started this process by creating a plan. You can see that moodboard in this old post. It will help you if you don’t know what direction we are going in 🙂 And then check out this post about how we pick out bathroom tile combos. It will help explain things a little further. But TODAY we are gonna show you! AHhhh! I’m excited!!!!! It definitely doesn’t look like this anymore….
So after dropping William at school we took the kiddos to Floor & Decor. They love that store….it’s probably because it’s right around the corner from Chuck E Cheese and we let them get ten coins each if they are good and don’t try to break all the tile. I’m not above bribery guys 🙂
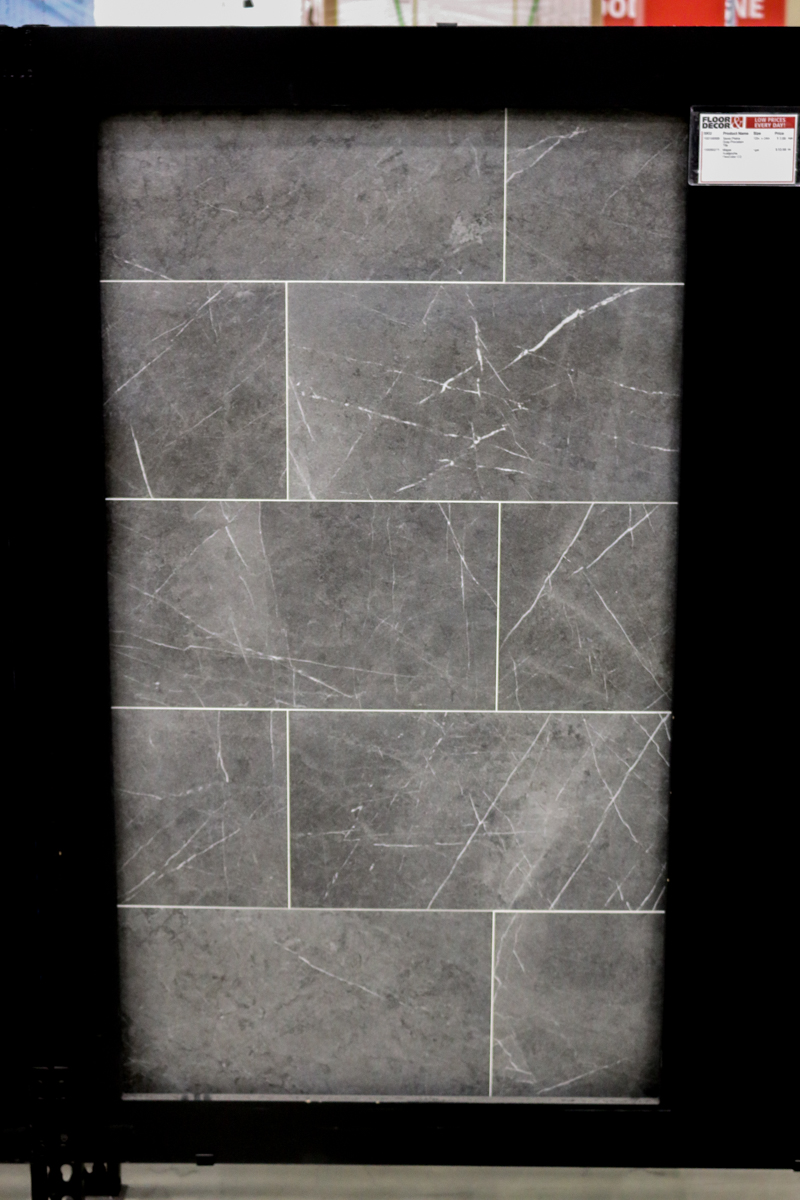
The tile we picked out for the flooring was on display and it was this amazing slate look but with all the perks of a porcelain. Slate is a really cool tile – it’s textural and slip resistant, with lots of ruddy details and each tile is unique. I didn’t want slate because of the texture (it could get dirt in the crevices) and because of the risk of red undertones (we are going cool in this bathroom) so a porcelain look a like is a great alternative.
This Sensi Pietra Gray tile is a porcelain version that has all gray and white and black details….none of the red or browns. And the porcelain surface is super hard (because it’s been fired!) and smooth (easy to clean!). So it was a sure fire winner.
Here are some other gray tiles I love though – option 1, option 2, and option 3.
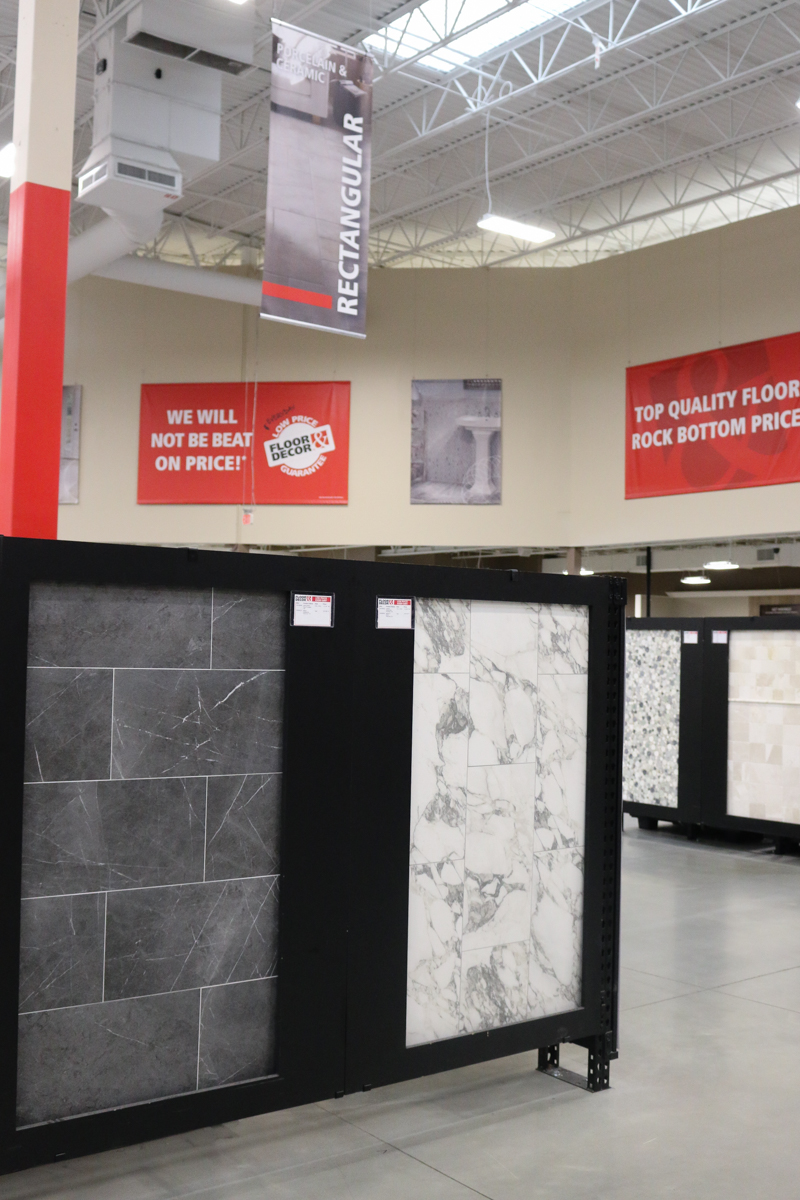
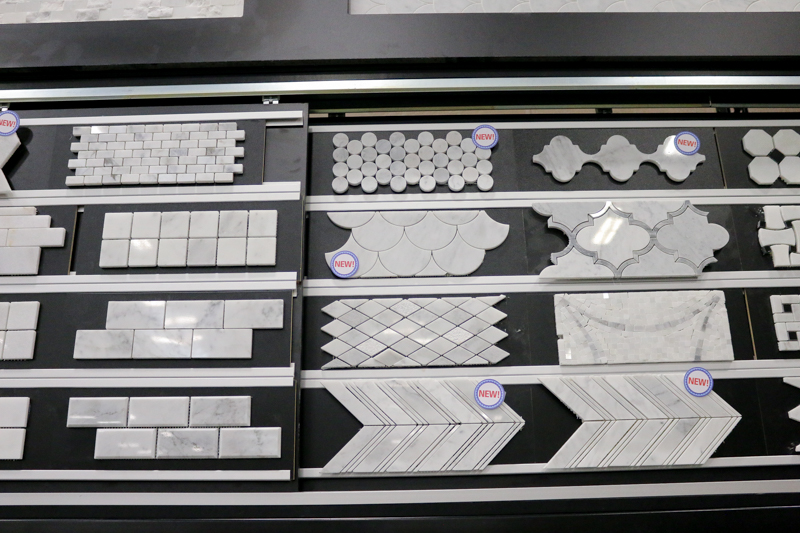
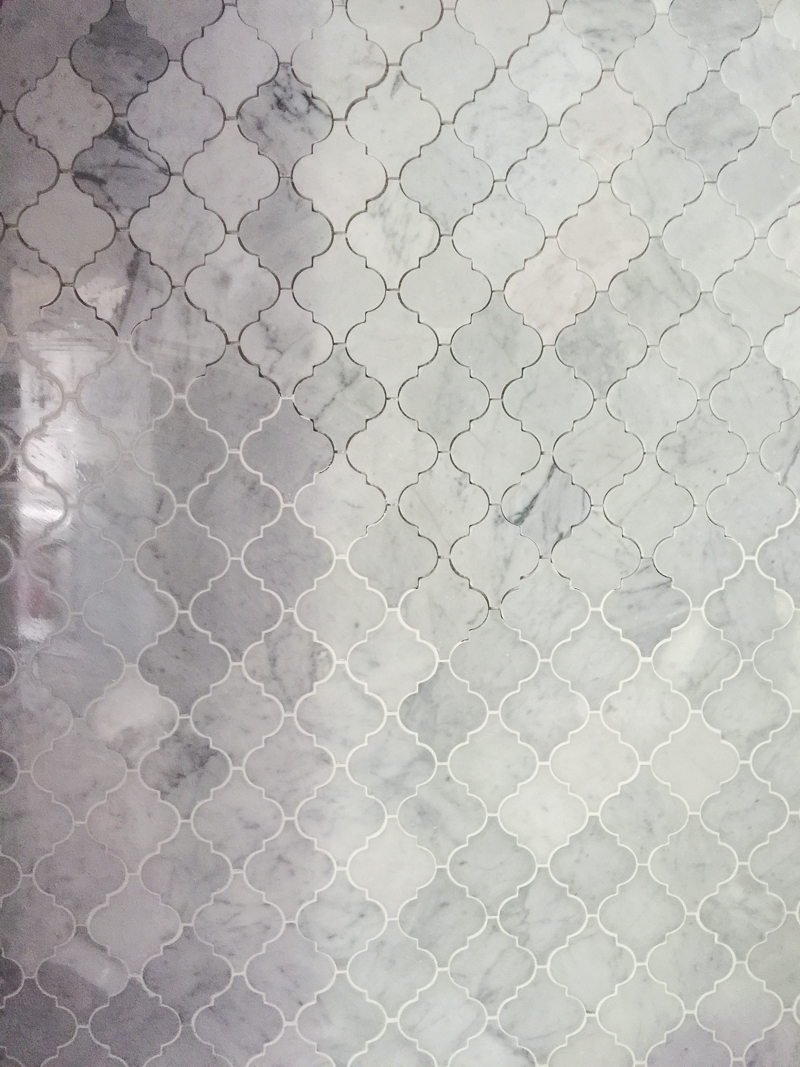
For our little curved alcove, we settled on the polished marble arabesque. It’s pictured in the top right hand side of this picture…
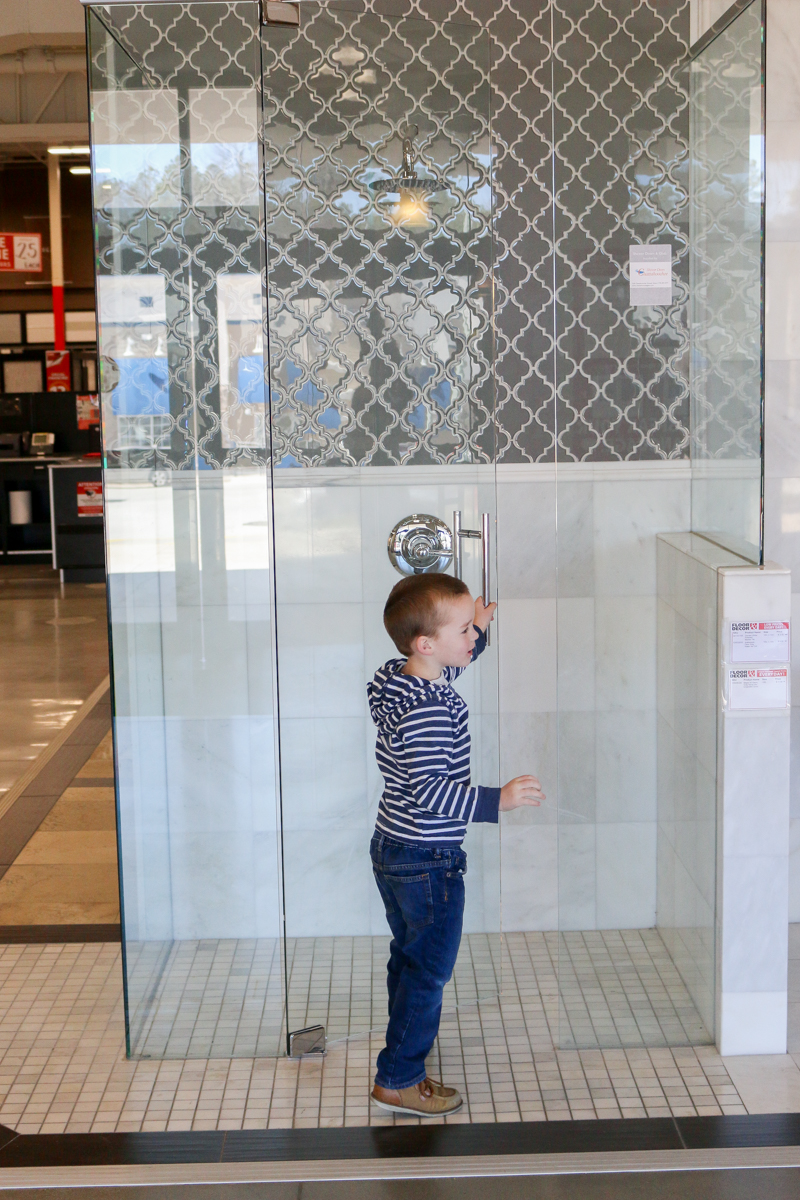
I felt extra confident about the gray and marble combo when I saw this display in the Floor & Decor store. See the arabesque tile with the marble? It provides great contrast with lots of detail and looks CLEAN. That’s what I like my bathrooms to look like….CLEAN. (even if they aren’t. ahem.) Thanks to the display I had no doubt.
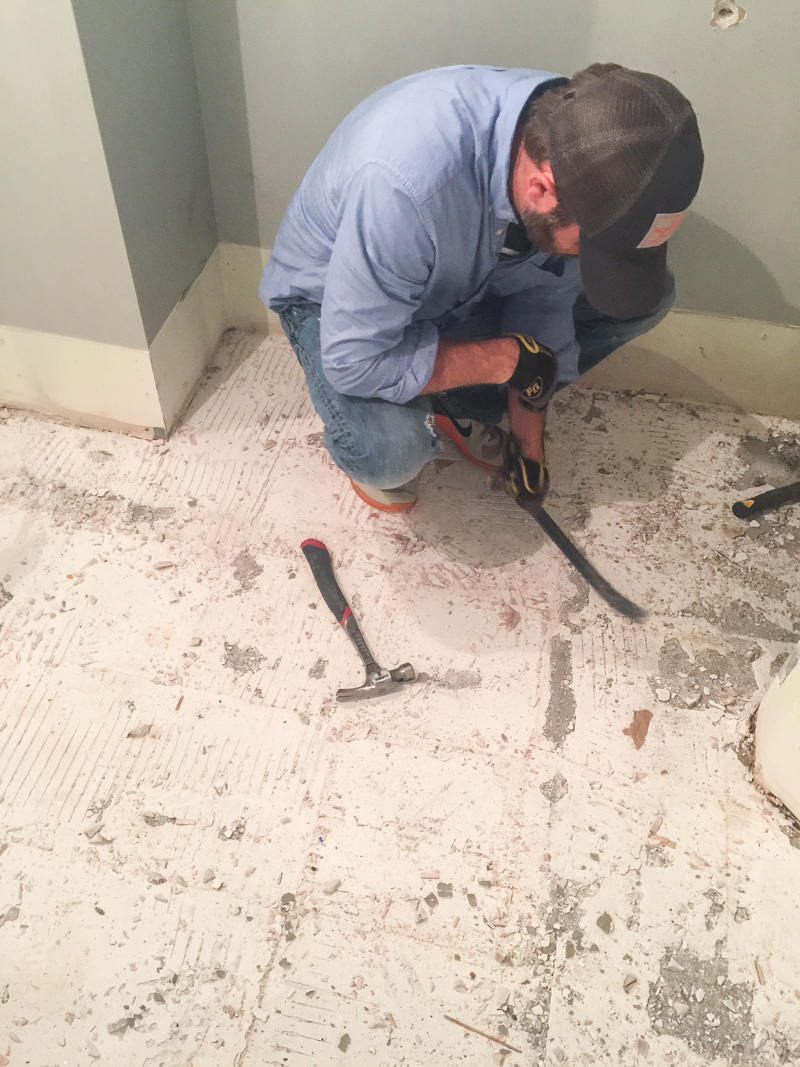
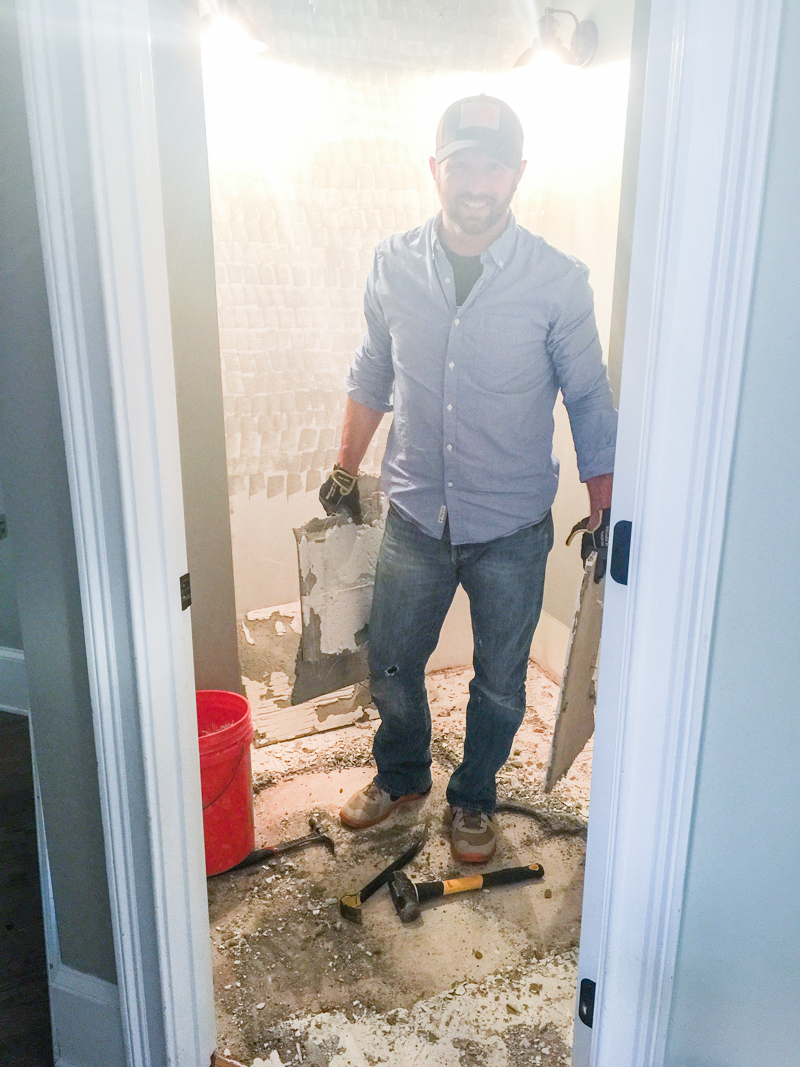
Loaded with our tile in the back of the truck, we headed home and Jeremy got to work destroying the old tile. We also removed the old trim because it was damaged near the toilet and we couldn’t find a replacement. So out it came.
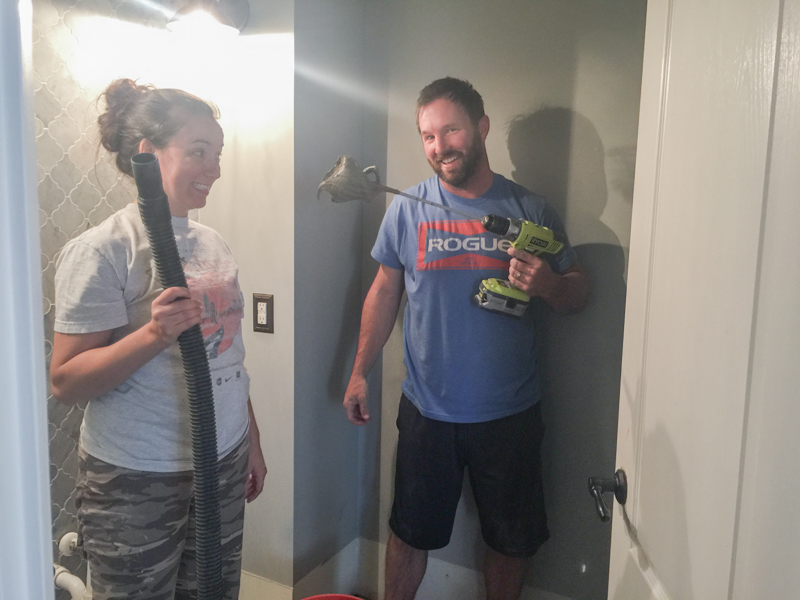
I like to tease Jeremy that he doesn’t actually like DIY….he just likes the demolition. Which is like 85% true 🙂 Or maybe it’s that he doesn’t like to listen to screaming kids while DIYing. It could be that one. But I mean….they need to scream….it’s all part of our training them to resist strangers 🙂
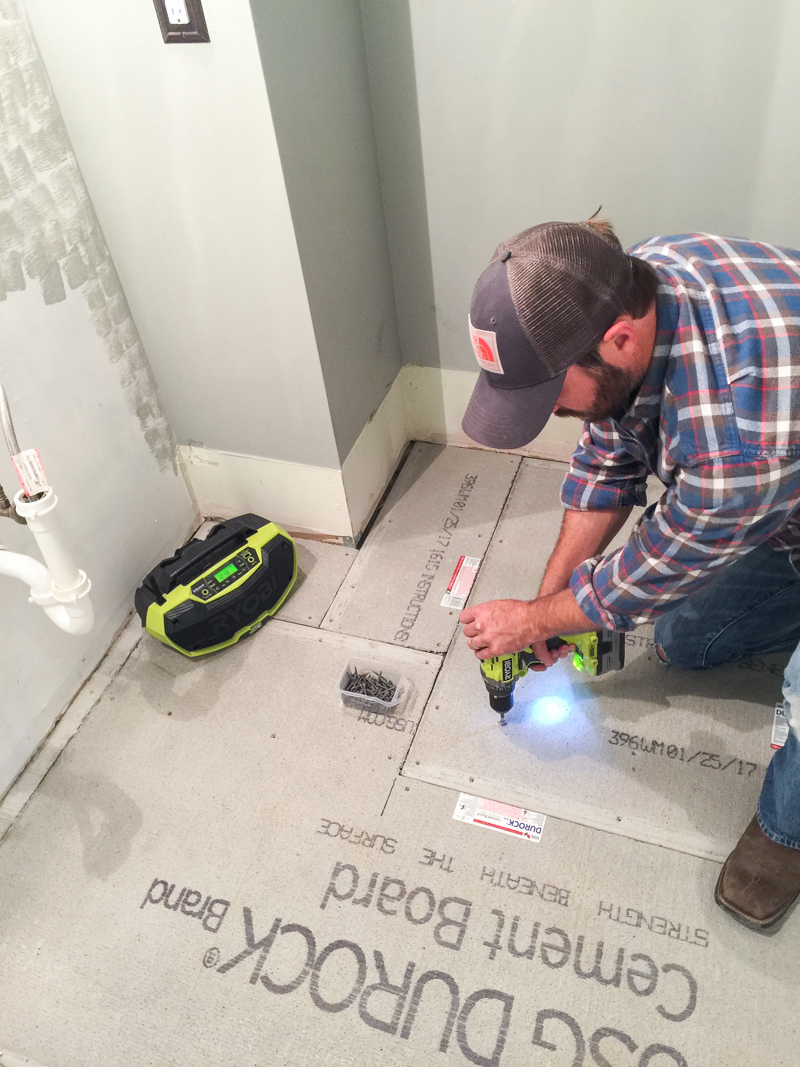
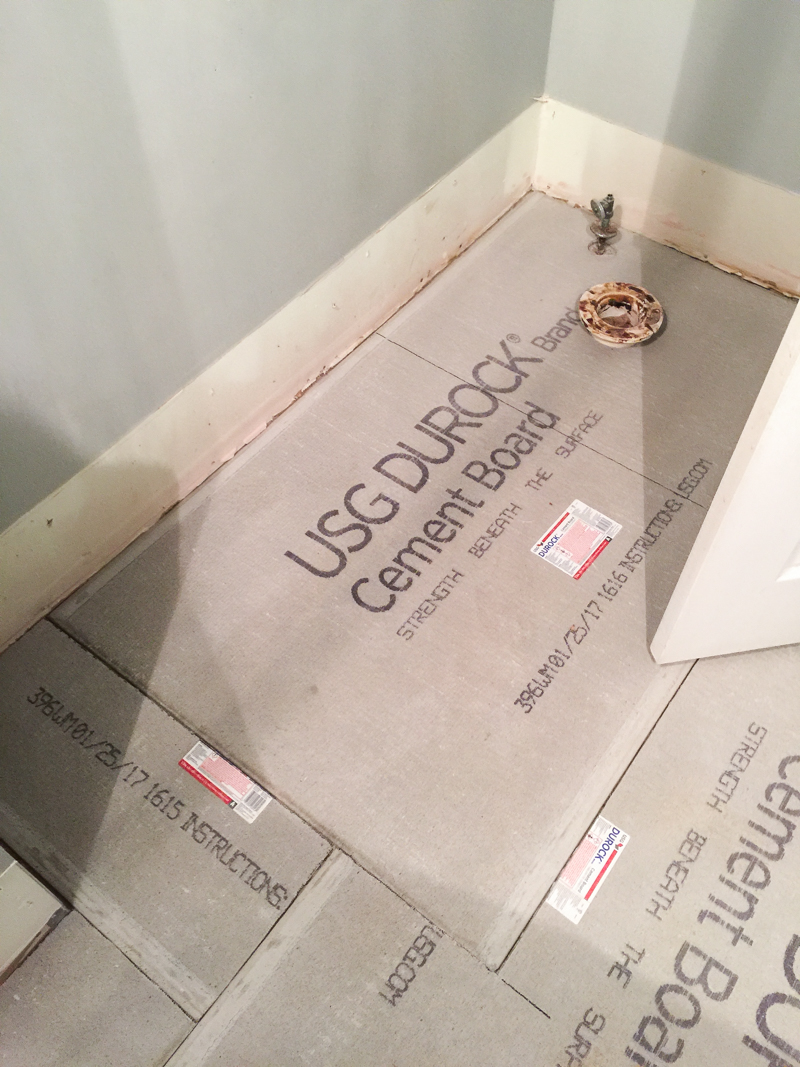
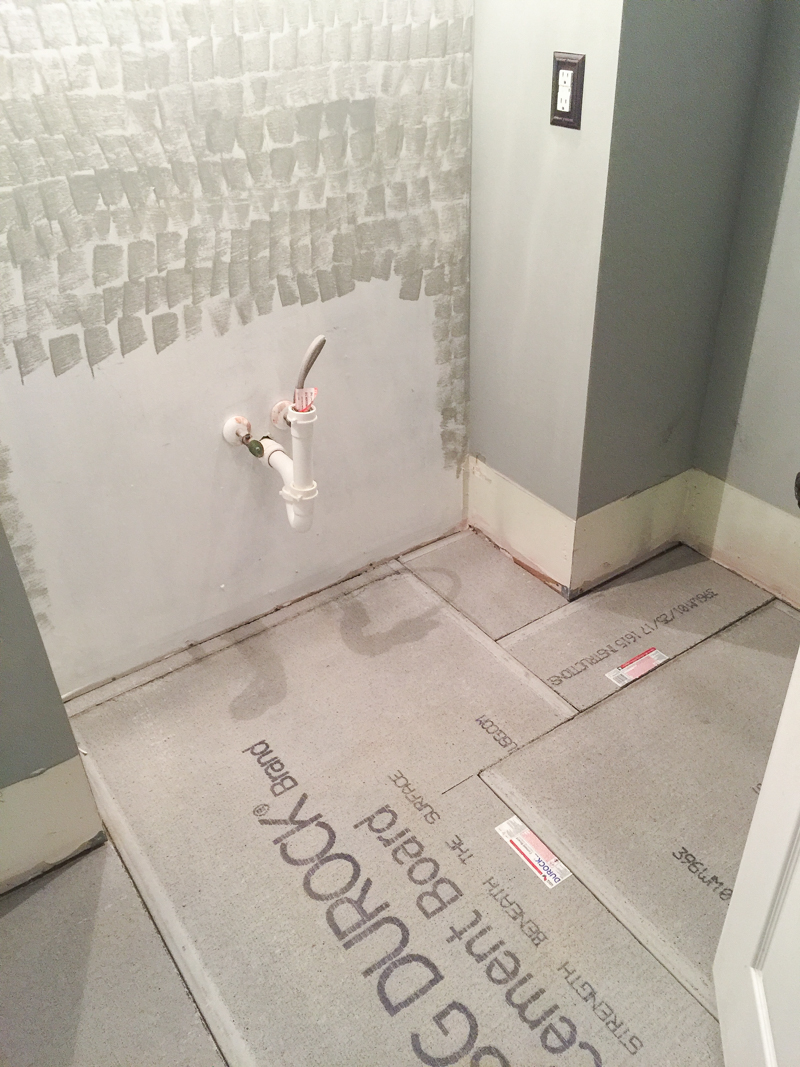
Soon the floor was completely cleared and the cement board needed to go in. This space was a little bit complicated because of all the weird angles and we figured out the puzzle configuration.
One full piece near the toilet was exactly what I wanted….both for stability and in case of any shifting in the house….or future kids weighing a TON and being rough while sitting down.
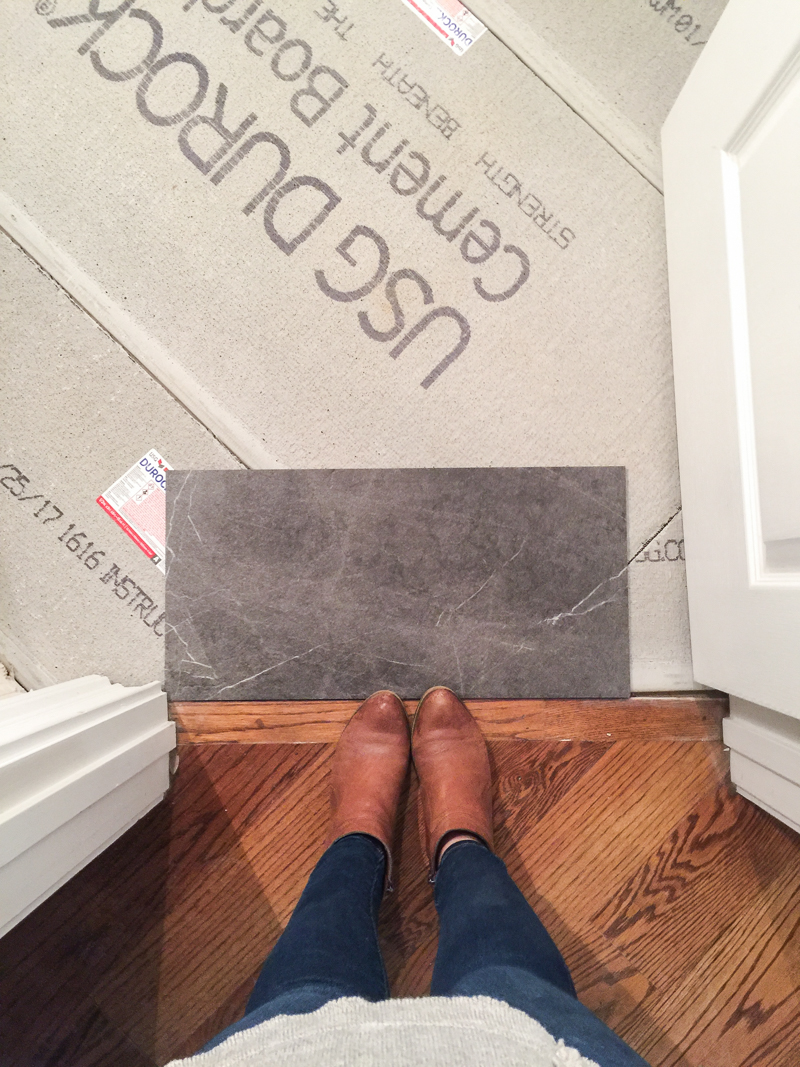
Then I got to try out the tile next to the existing flooring….looks EXACTLY what I pictured.
So at this point is when I decided to start tiling the backsplash area. I normally would have done the floor first but I decided that this tile is heavy (marble is notoriously heavy) and could sag so I wanted the most support possible as well as creating a straight line.
It was a very normal process….kinda like tiling a backsplash. If you haven’t done that yet, here is a post with all the tips and tricks!
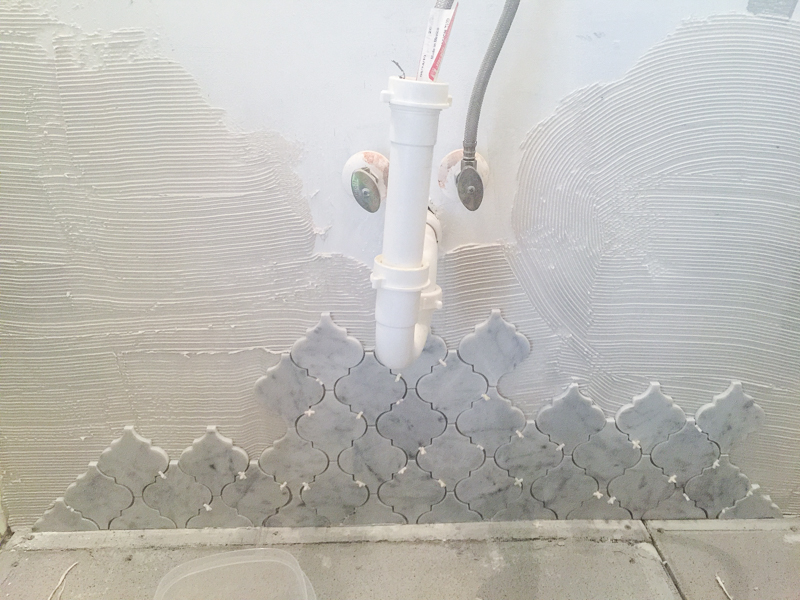
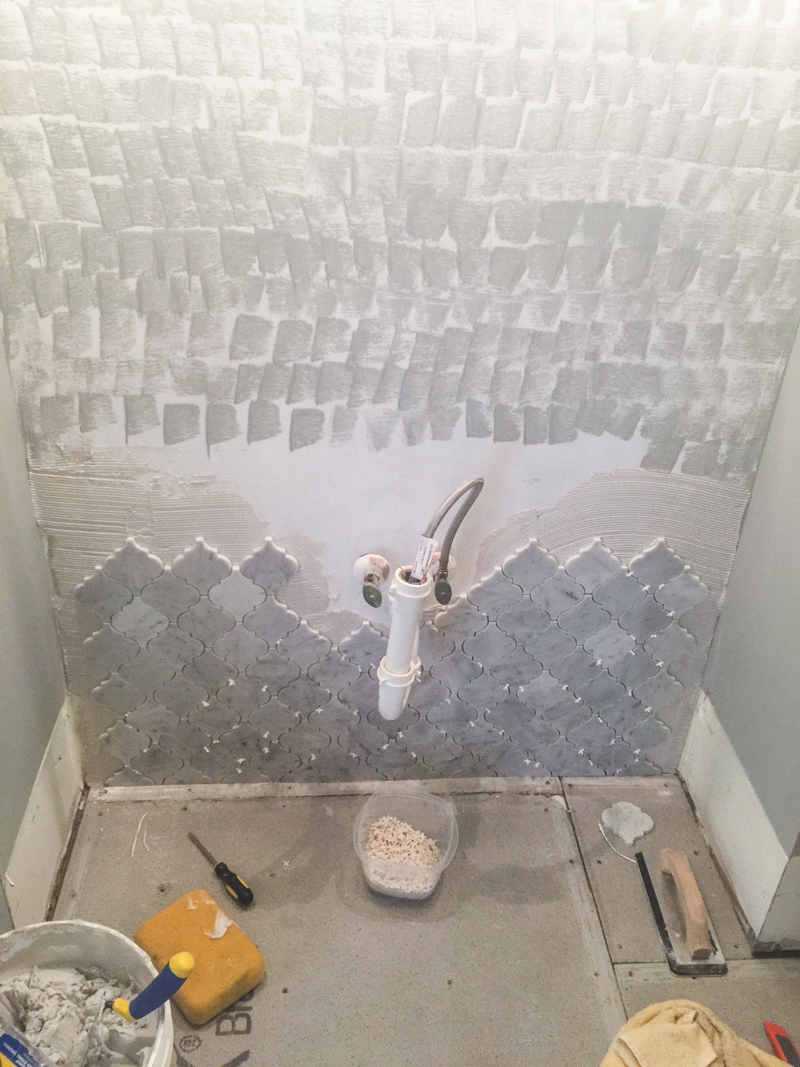
Making progress…
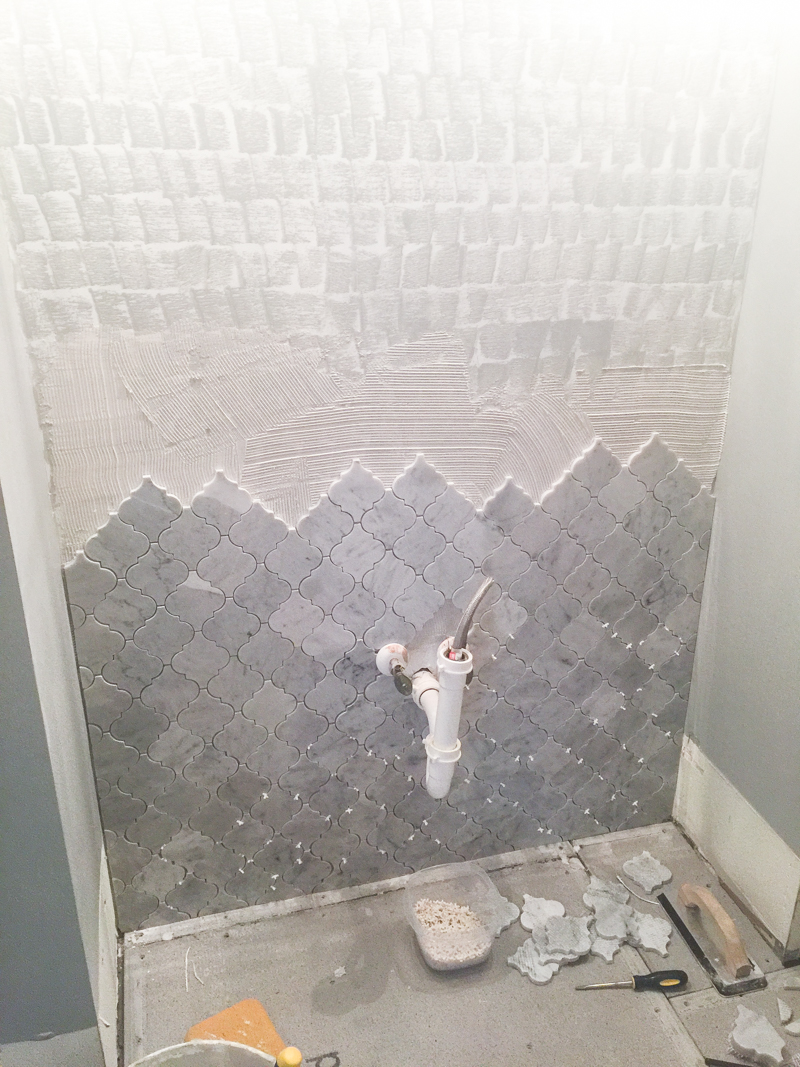
Sorry for the terrible lighting…the light fixtures shine down right there. But you can see the variety in tile and the color. This part all lives behind the vanity but I still needed it even and level.
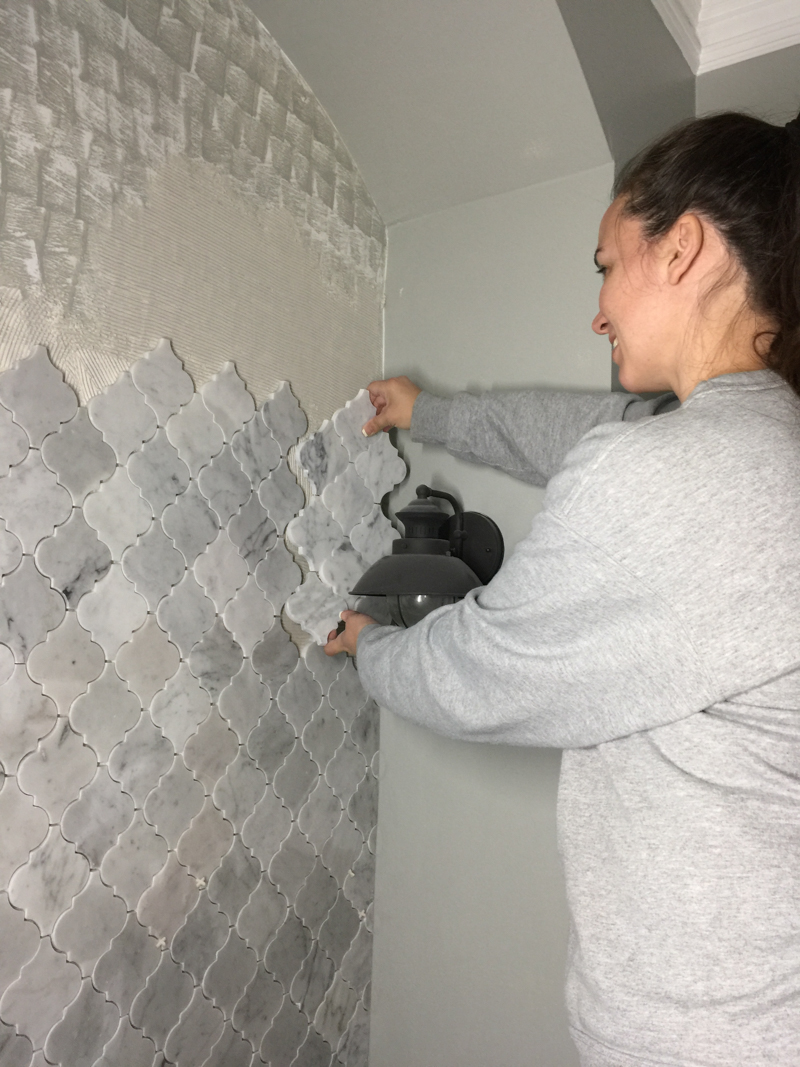
Finally getting to the top portion.
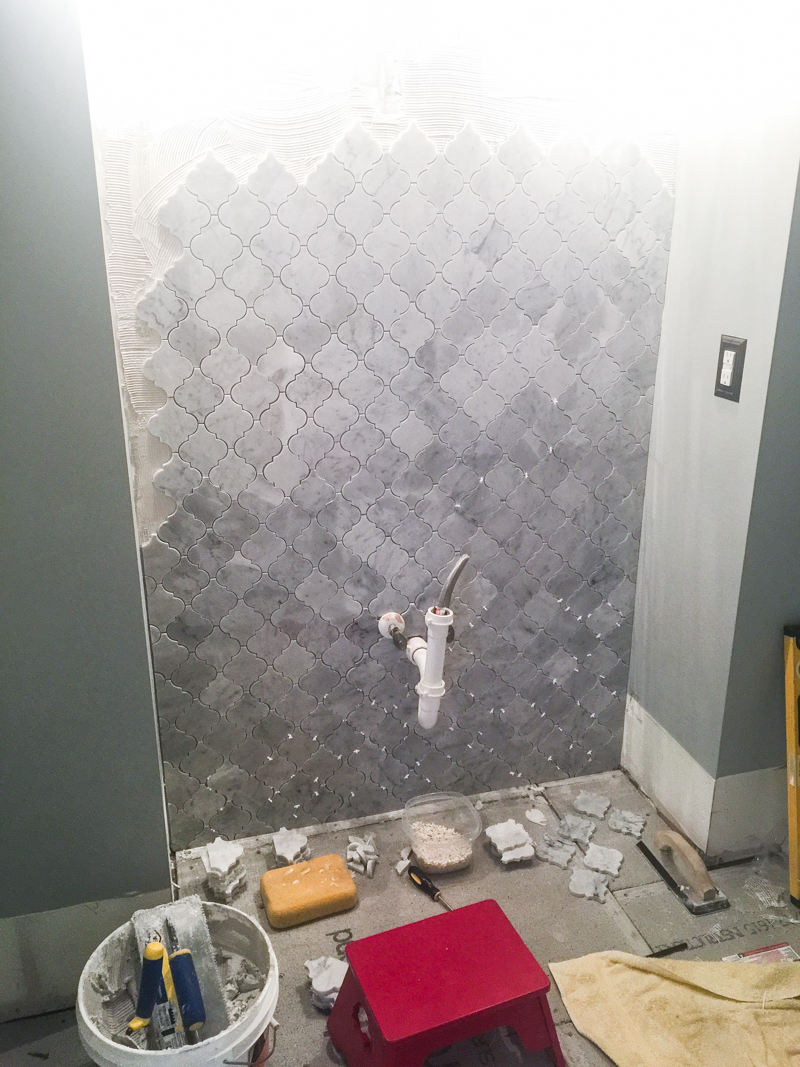
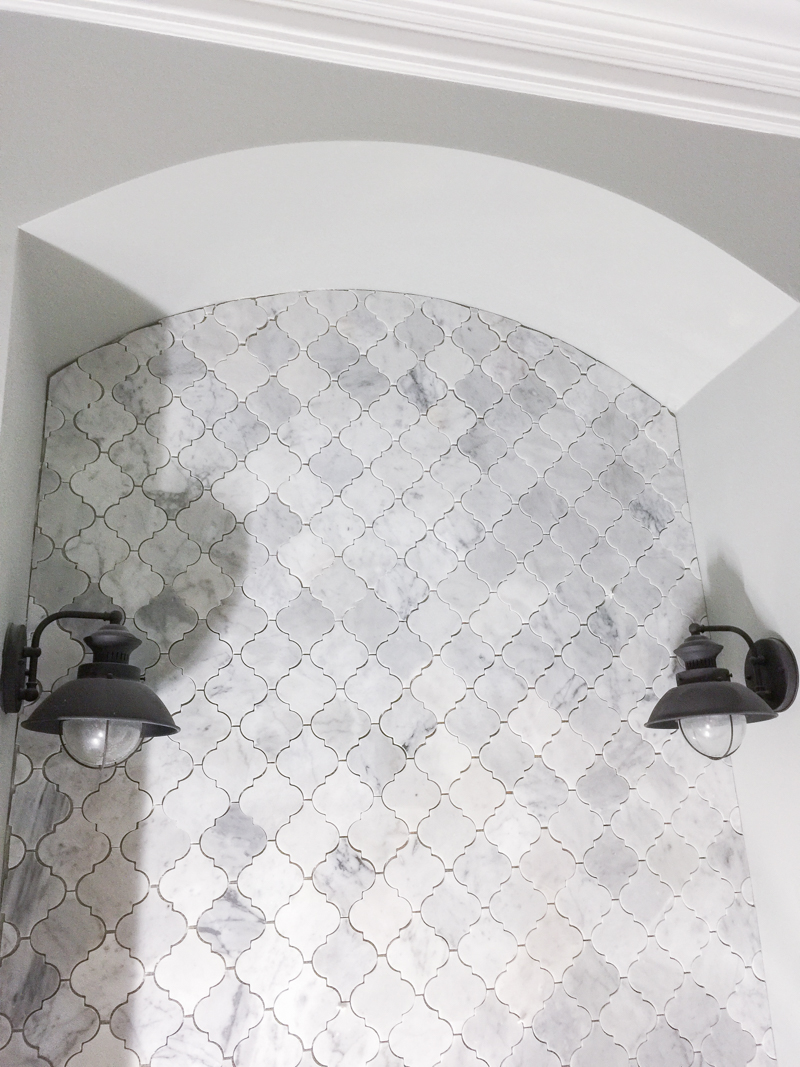
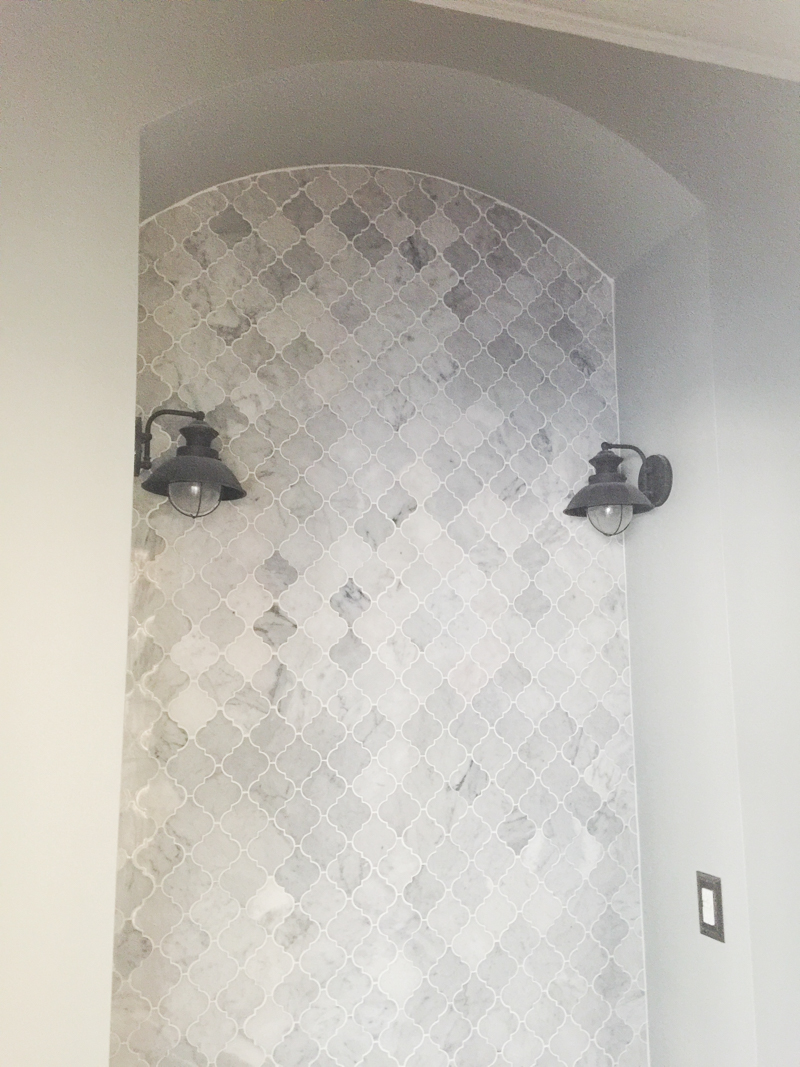
And finally we got all the way to the top and tiled that curved bit. So do you want to know my secret to tiling this area? Are you ready? Here it is – Don’t cut the tile on a curve. That’s right! You would assume that you need to cut it on a curve because the drywall is curved but the individual tiles are so small that you can cut it straight at an angle and fill the rest with grout!
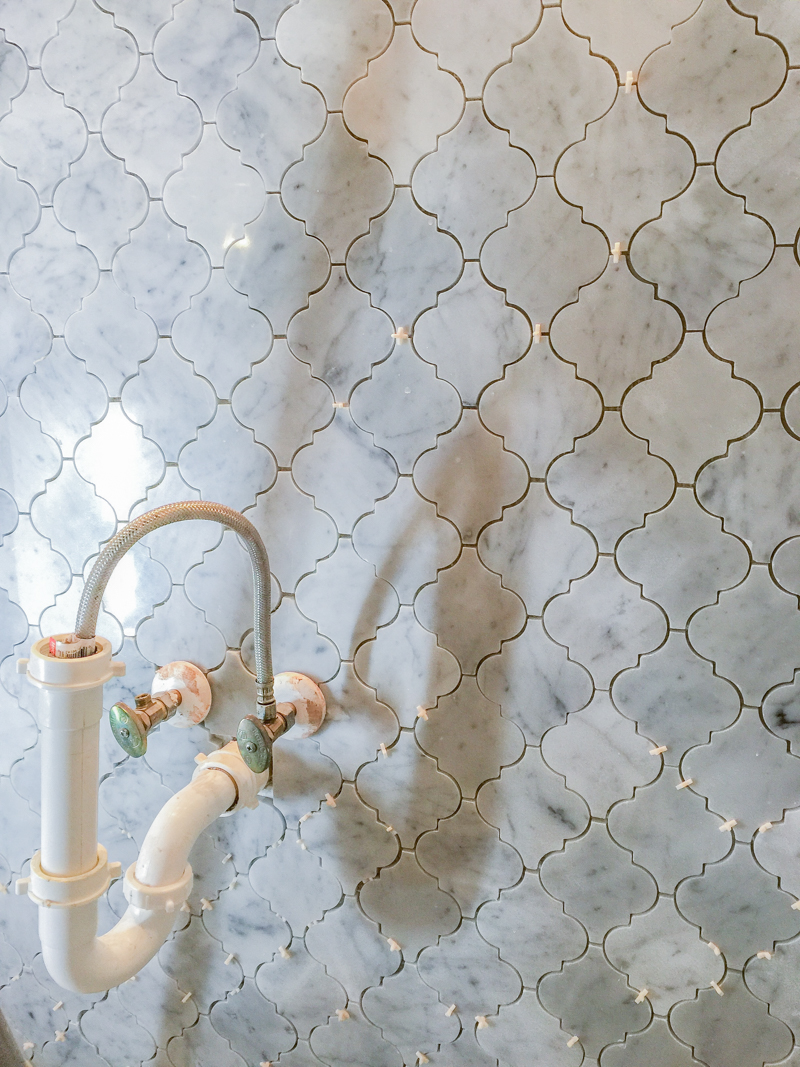
And it doesn’t draw your eye because ALL the grout lines are different. Look at this picture below….some of the grout areas are close and some aren’t. But once it’s all grouted….you will never tell!
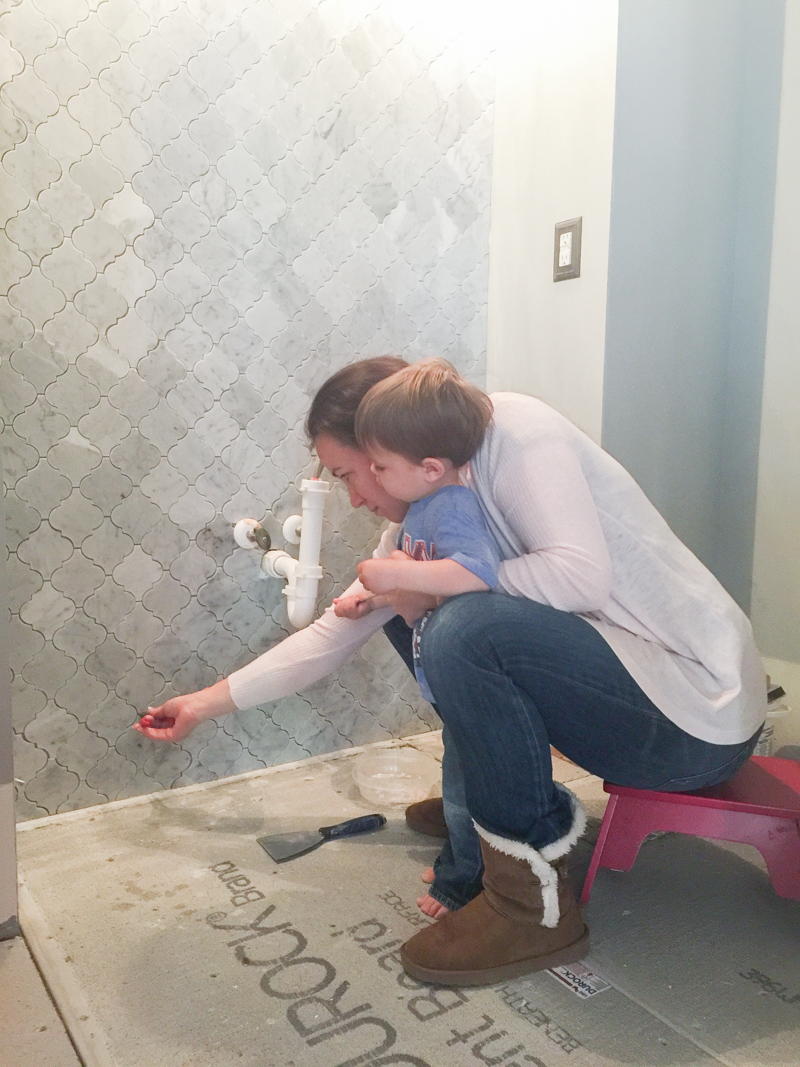
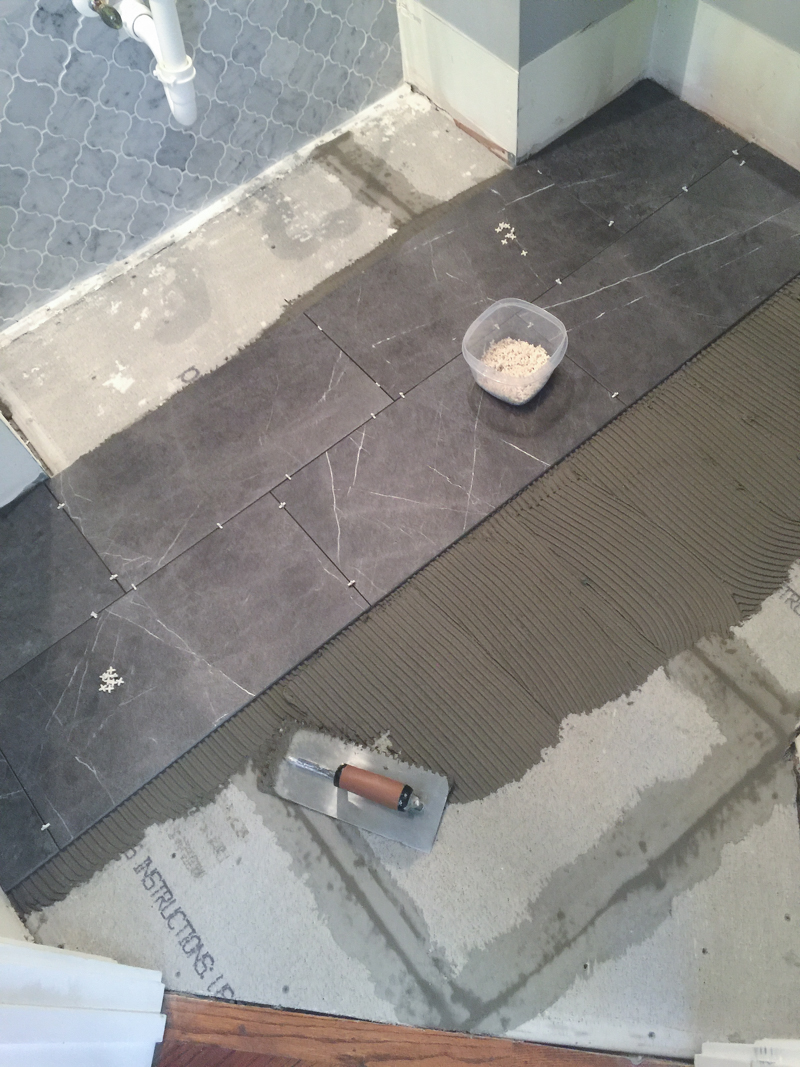
Another tip for my DIY mamas out there….if you want your kids to help with tiling…they are great at removing the spacers and putting them in a bowl. My little ones could do this for hours!
And to show you how the spaces of grout are different but it isn’t a deal breaker – check it out. This is a shot of the tile with and without grout. You really can’t tell about the difference post-grout like you can pre-grout. Grout hides it!
And here it is all grouted….you can’t tell at all in person that the grout at the top is hiding anything. (again…pitch black space with the lights off!)
After I finished the wall, I cleaned up any adhesive or grout that fell on our cement board floor and Jeremy prepped for me to start on that flooring….
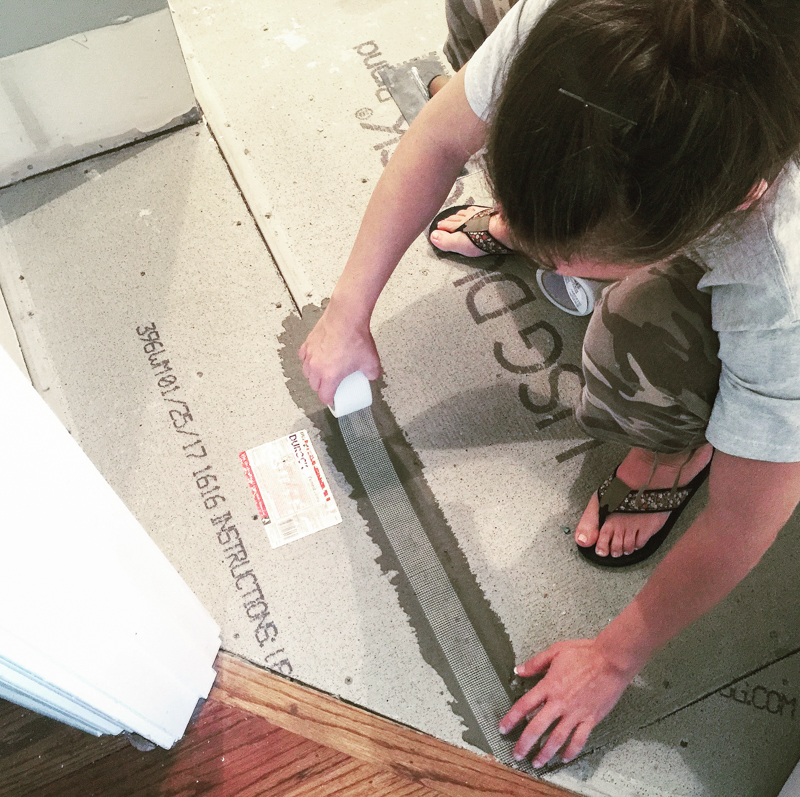
I did a whole Instastories how to for prepping backer board. Did you see it? Was it helpful? Should I post that here too?
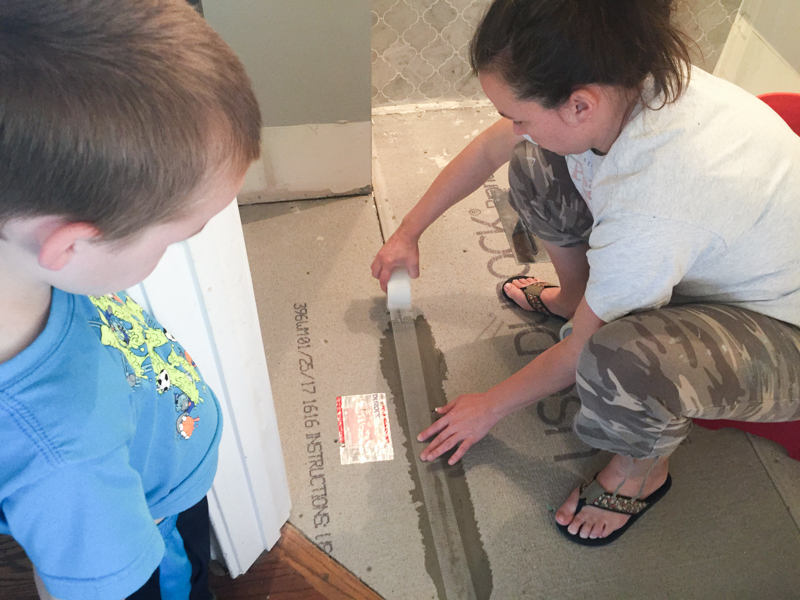
Taping Durock is really important….trust me. The last thing you want is shifting or settling and your tile or grout cracking.
And then I got to put down that beautiful dark large format tile. It took me a couple days because of the weird layout and I wanted the first group of tile to dry and set before I walked on it.
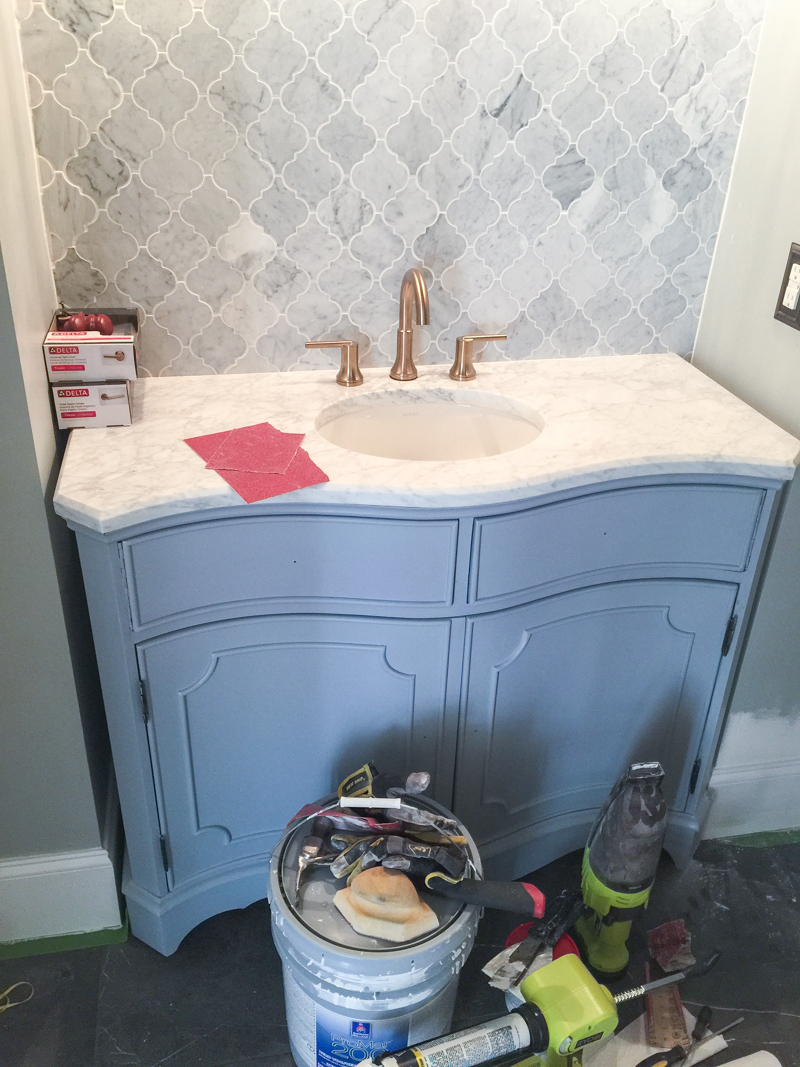
And I will give you guys a little sneak peek on how it’s all coming together before we do a post about the vanity. Basically – I am so glad that we used these tiles because it looks super high end (even though only one of them was marble), the flooring will hide so much, and having that crisp look is priceless!
This is a sponsored conversation written by me on behalf of Floor & Decor. The opinions and text are all mine.

Just curious, why did you decide to tile all the way to the floor behind the vanity? We’re getting ready to redo a bathroom and my cheap self was thinking of just tiling to the countertop instead of all the way down since the tile won’t be seen.
Those blue/grey doors on the vanity look great!
Mainly, I wanted to comment to say I really liked what you wrote on instagram about William and his baseball experiences — i.e. About neither defining him and the reaction to both being the same. For me, it’s about peace at heart; we’re neither greater nor lesser.
Glad the party went well. L.J.’s pictures always seem to show him looking …all lit up inside. :-):-):-)
A comment to 3 posts in one!
Gorgeous!!!!
The wall looks great but you can definitely tell at the top where it’s grouted that there’s gaps where you cut it straight instead of a curve. I don’t know, maybe most people wouldn’t notice but I think the way you finish out work makes all the different. If it’s your house and love it, though, that’s all that matters.
It’s looking great. I can’t wait to see it finished. That wall tile with the grout color is perfection. The photo with Jeremy and the boys is priceless. I first started following you when you were working on a different bathroom.
Yes! Please include how to prep backer board!! Thanks for all the tips!!
It’s looking AMAZING! I love the tile you chose – it’s perfect! I wish I would have thought more about how clean the tile would look when I chose tile for my bathroom – small white tiles for the floor were not my smartest choice!
Why tile behind the vanity? Just because it is heavy marble tile?
To save money could you install a piece of wood horizontally and start from there or are you stuck going from the floor with marble?
omg I love love love love!!!! So looking forward to seeing the finished results!!
Yes. That’s exactly why. I couldn’t put up a ledger board because the vanity is all the way up against the wall and the vanity has a back that we didn’t want to tear up. PLUS you can see a sliver of tile on both sides of the vanity when it is installed. It was just worth the extra moolah to make sure it was done right. And if we ever decide to switch out the vanity in the future…it’s done.
xo – kb
It might be that in the photo you see aren’t caulked. Once it’s caulked on the edge, you can’t see it at all.
xo – kb
We went to Floor & Decor for the first time over the weekend and there were so many choices! We’re picking tile for a kitchen, mudroom, and 2.5 baths, so thank you for you for the store recommendation. We came home with some sample tiles and will definitely be back!
I love it! Your choices will still look clean and fresh years from now! And is it just me, but does it seem like you are pregnant every time you do a tile job, lol?!! And is that the same vanity with just a more updated countertop and faucet? It looks great in the blue, like a different vanity altogether…………nice job 🙂
LOVE how that vanity and tiled wall look! I’ve never ventured into tiling (but all your projects make me think I could…) so please excuse a basic question- Can you tile over drywall, or do you need a different surface when tiling walls? Why the special surface for floor tile?
P.S. When my phone rang with an unfamiliar number from Georgia today, I briefly got excited thinking you were calling me. 🙂
Loving the progress! I need to redo my bathroom (about this size but will have shower over bath also, no toilet though) Maybe I’ll add marble to the inspo board! I wish we knew how to reno, could save so much money on labour! 😉
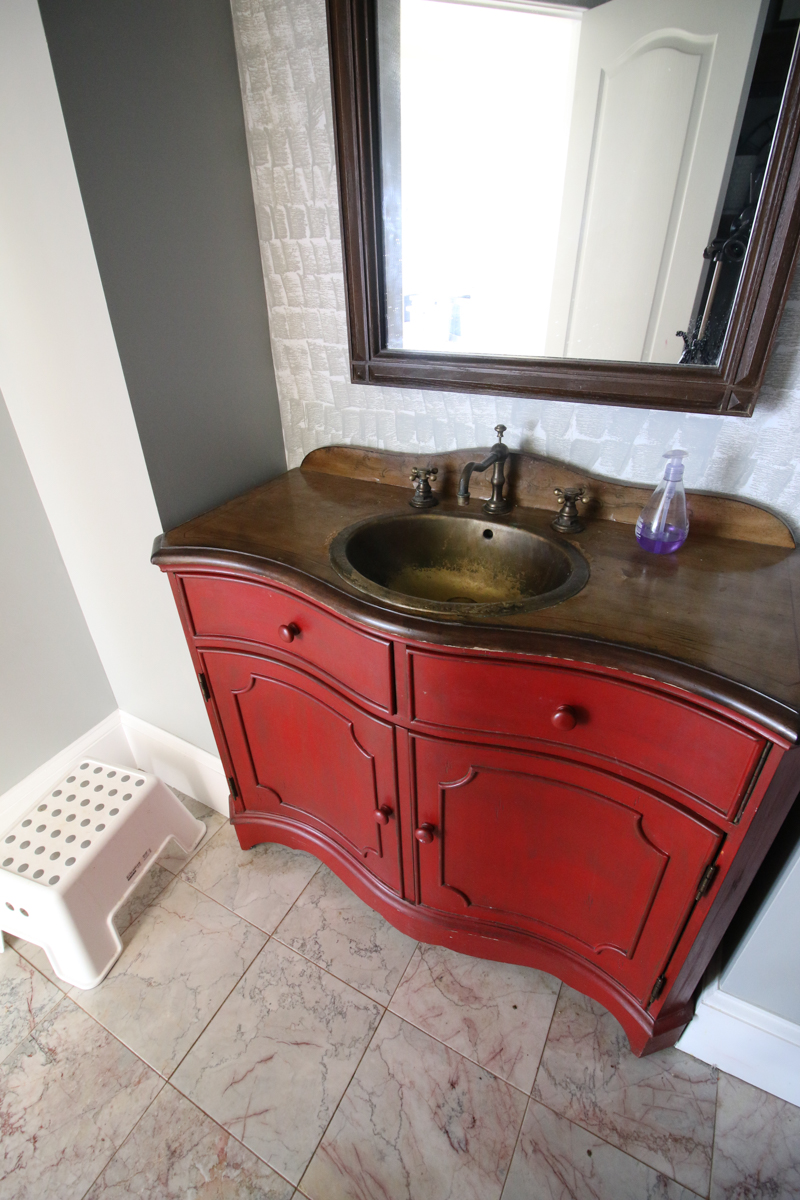
And red vanity be gone! Yahoo 😉
It’s true. I pretty much laugh anytime that I tile with my friend Sadie…because it’s like a pregnancy meter.
xo – kb
Just in case we ever wanted to switch out the vanity. It was just a backup plan if our existing vanity didn’t work out 🙂
xo – kb