I loved that movie. Which is why it’s a perfect title for this post. It’s all about sanding. The never-ending-our-most-abhored-task in the history of the world. Just like in the movie, when we were done, we were yelling “YOU’RE KILLING ME SMALLS!”
Seriously though. we almost died. or killed one another. whatever came first.
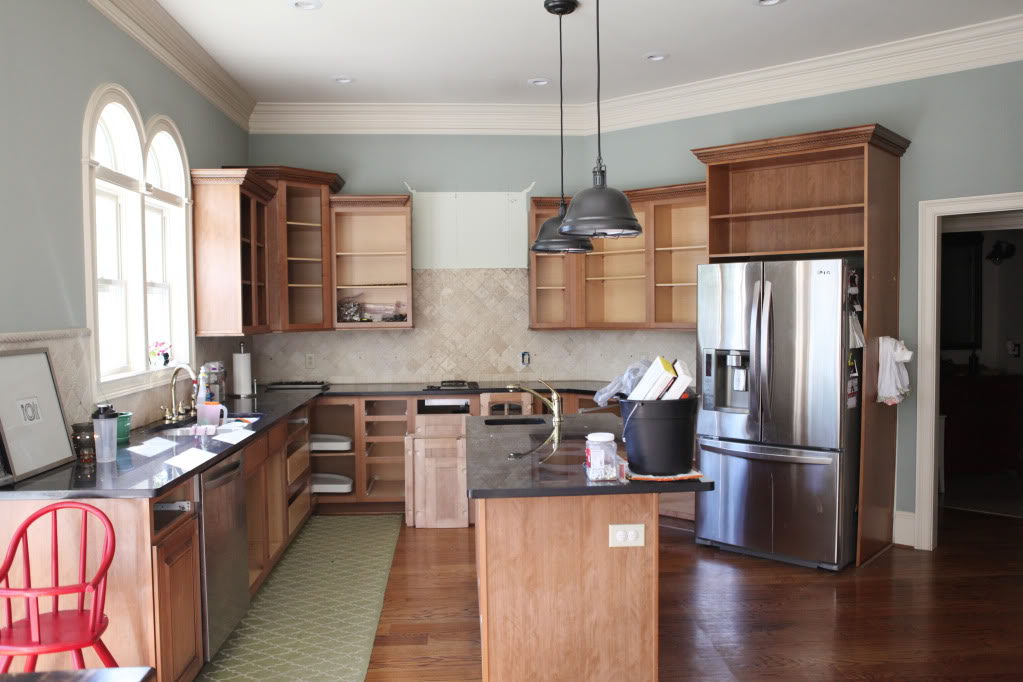
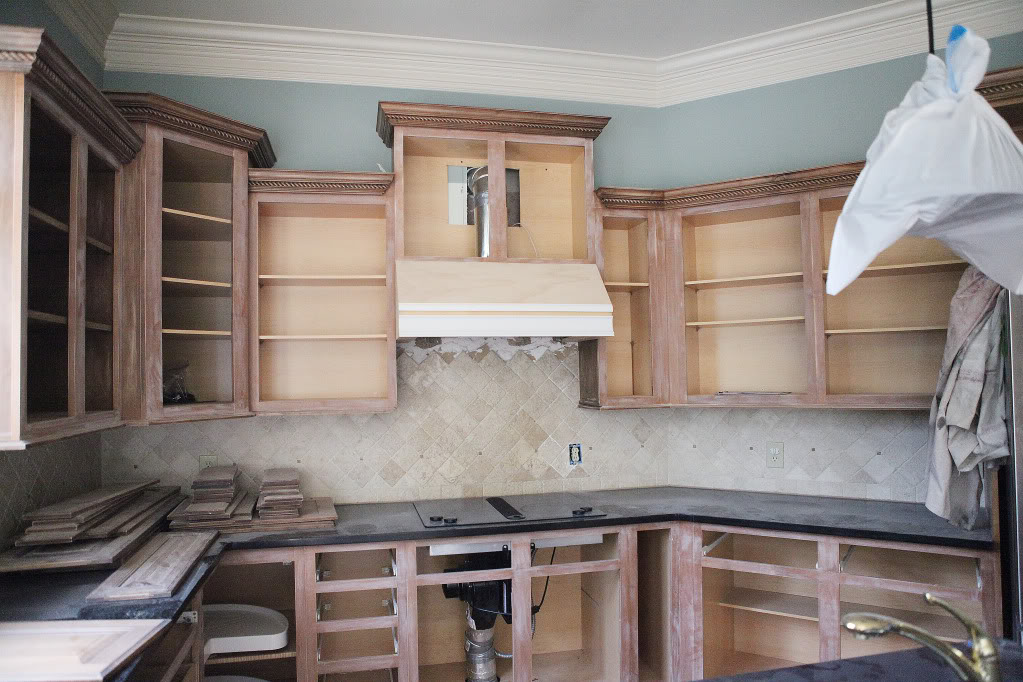
So here is the last time you saw our cabinets….
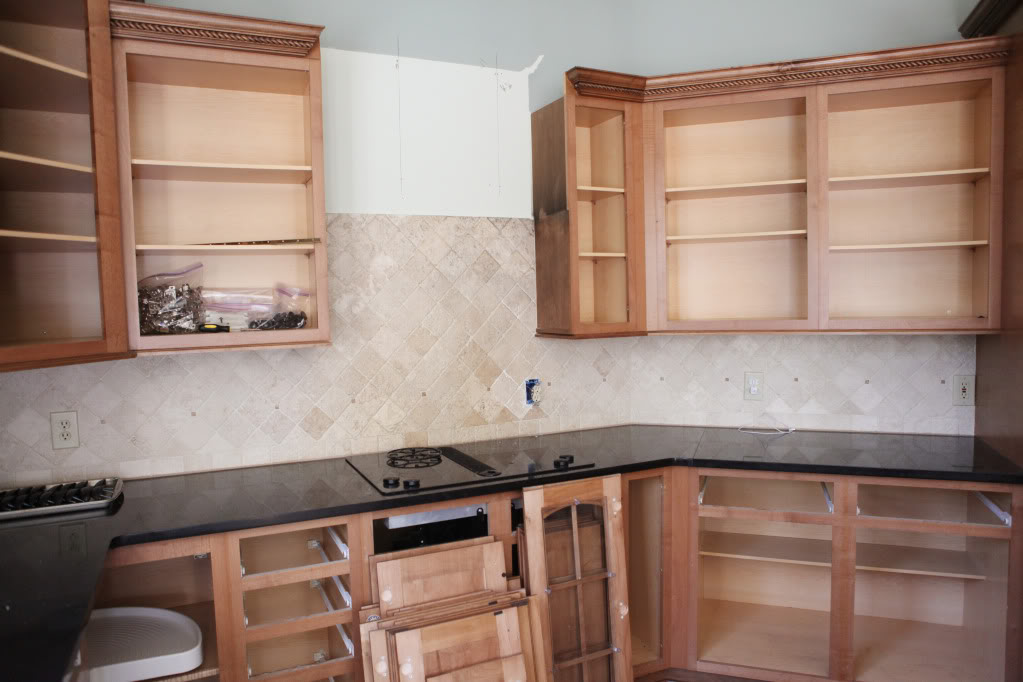
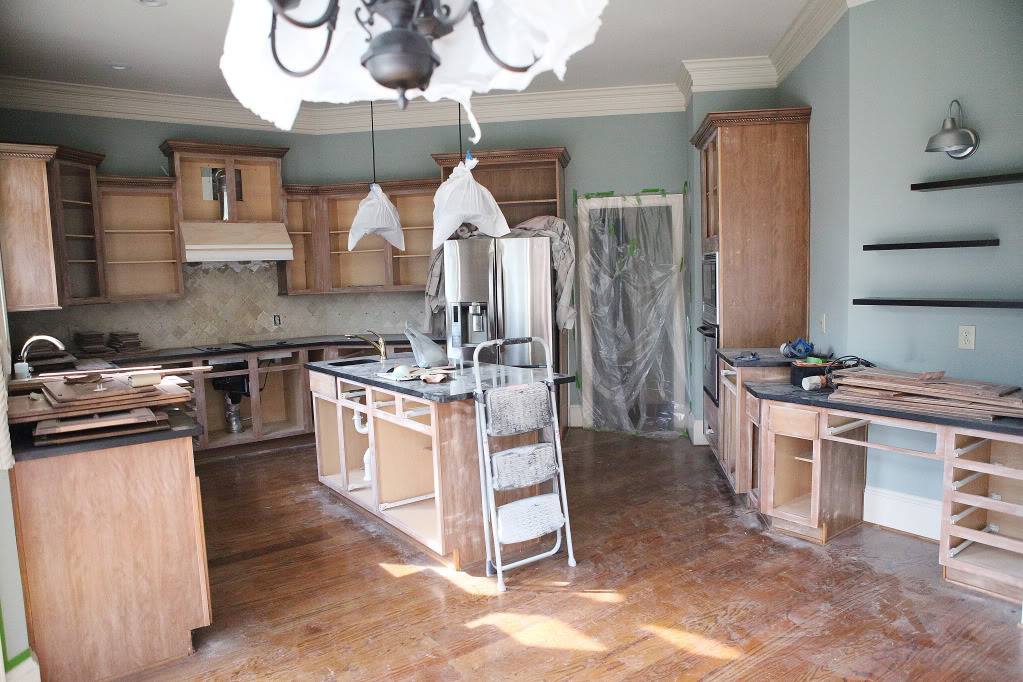
They were emptied out and we removed all the fronts and doors…
The very first day we started sanding, I was chipper. (below is a true picture of pregnant-katie-at-work…most days I am makeupless-hair-in-a-pony-and-wearing-something-overly-stretchy).
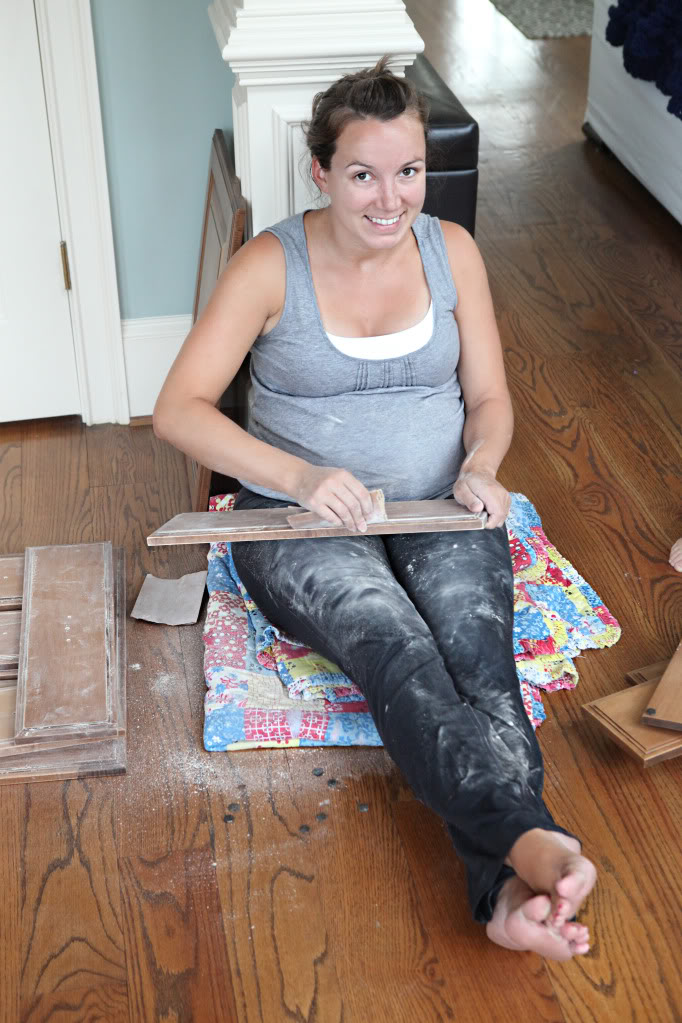
Jeremy helped a little at first but for the most part my sciatica was parked on a old blanket with sandpaper in hand. (yes, we looked for masks before I started but sent Jer out for more. We always recommend wearing masks during sanding for a lot of reasons…one of them is it causes gross booger problems!). Please ignore the weird zombie foot.
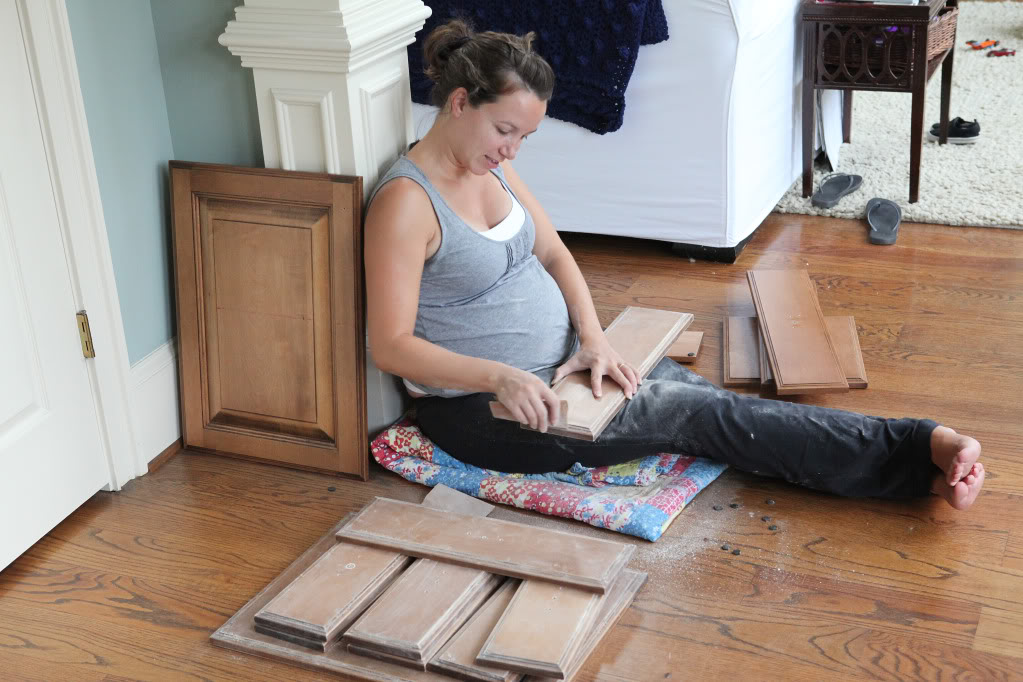
These cabinets were a pain because of all the little grooves and crevices. We really have our hearts set on this looking as professional as possible and lasting a LONG time and quite the toddler beat-downs…so prep is KEY. Everything I read about cabinet refinishing said that the prep is 70% of the work.
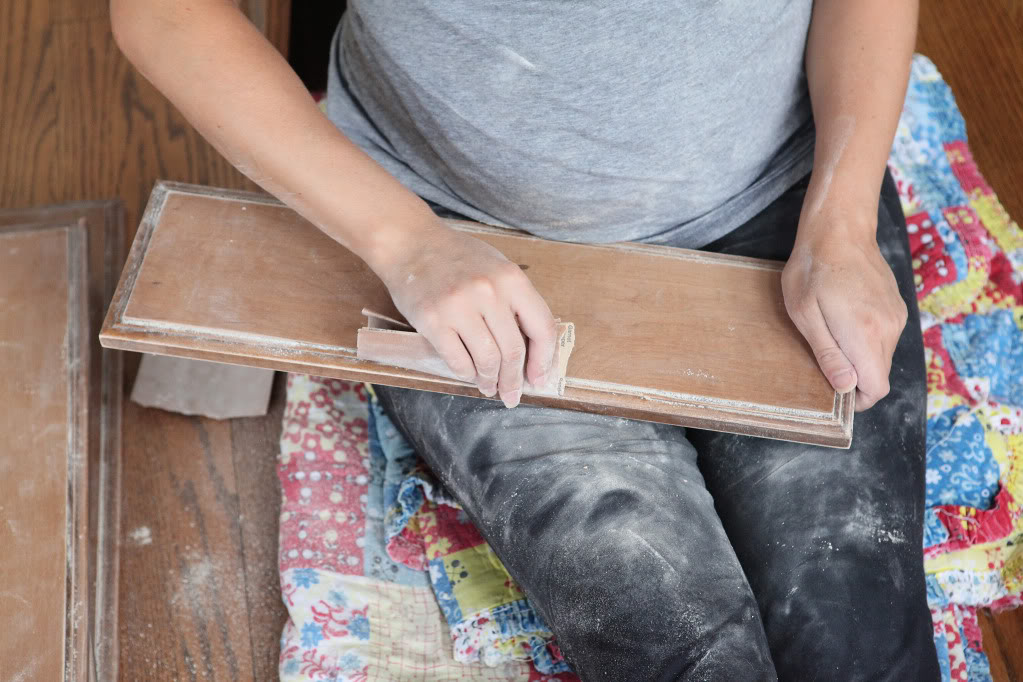
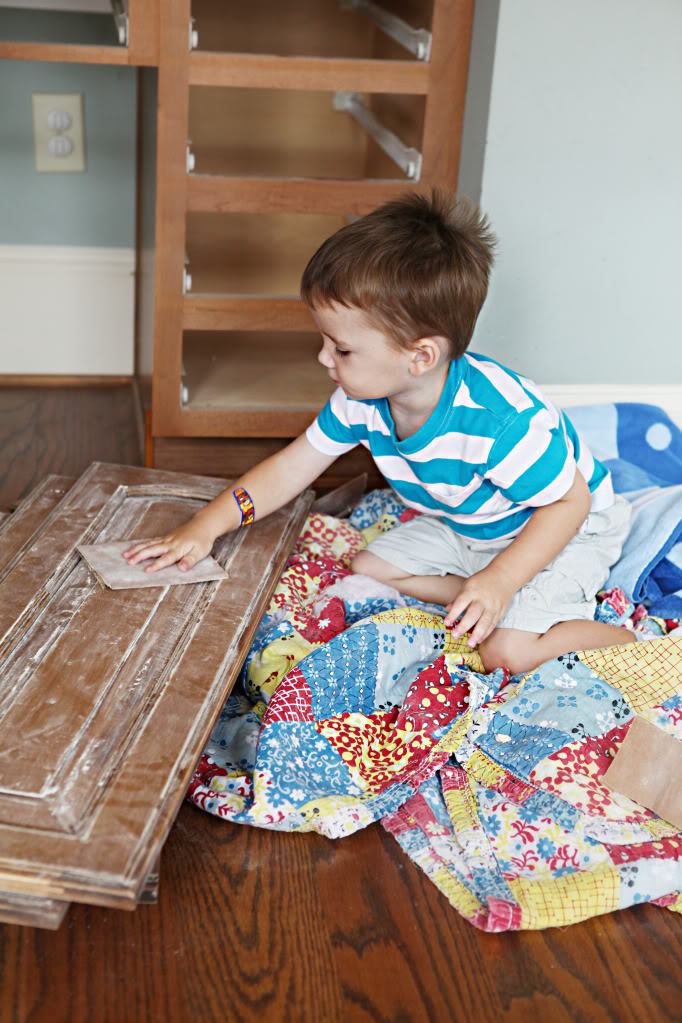
Will got in on the action at one point and it was hilarious how he would say “go wit da gain mommy”….(translation: go with the grain mommy)…and “Weil workin hard” (translation: Will working hard). All talk. He ditched me in my time of need about twenty seconds in.
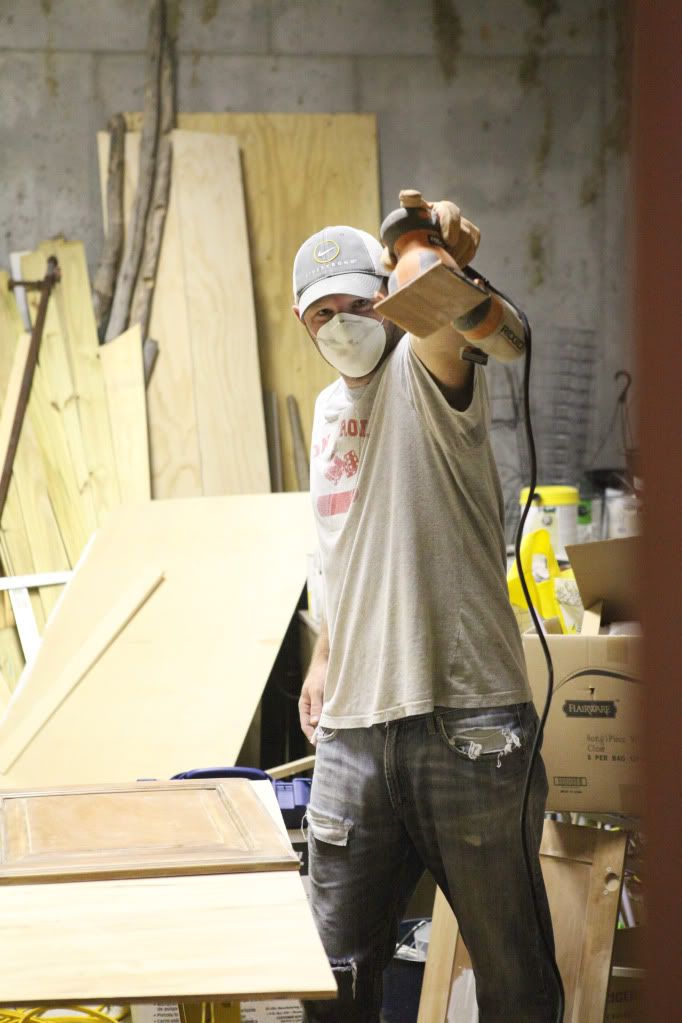
I tuckered out 30ish cabinet doors in…and we still had 20+ to go…so I told Jer he could use the sander (I was doing it all by hand because I was afraid of our old sander making grooves in the door fronts – it didn’t but I was biting my dusty nails the entire time).
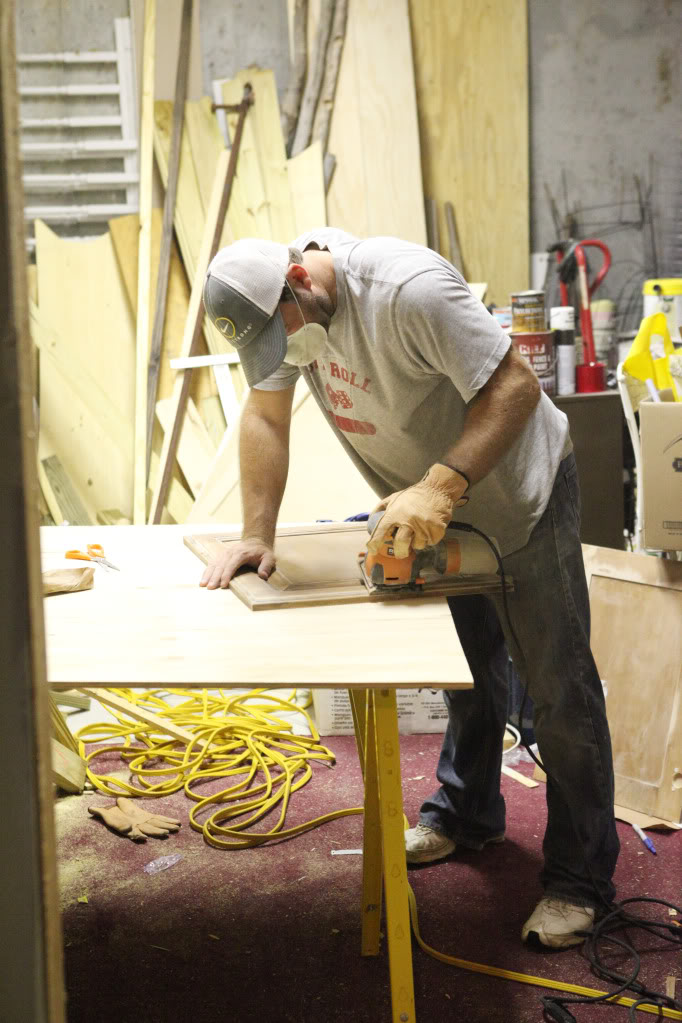
It took about a week. I’m not gonna lie…that’s a long time just for sanding. We are slow. It’s definitely hard with Jer having only a couple hours at home each night. We have to budget the time…while still trying to eat dinner, have a little down time and not neglect Will (aka Popcorngate) or push me past what my physical limits will allow. It’s tough. I’m definitely not complaining…just being able to have jobs and tackle a renovation are huge blessings. Not everyone has those things. I don’t take it for granted…and it just translates into things taking longer.
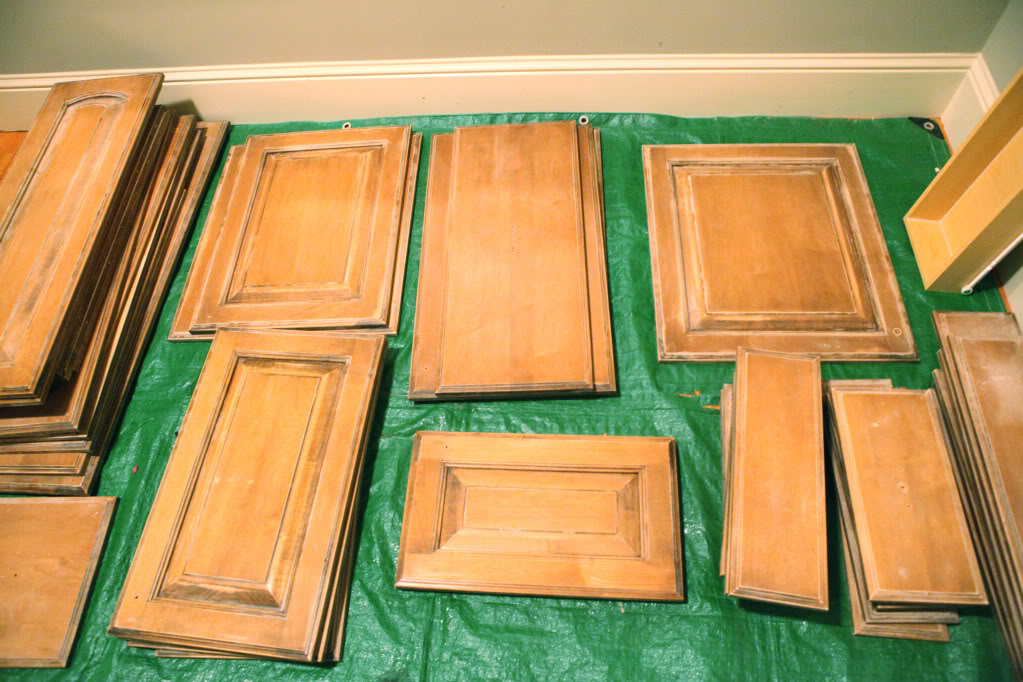
The frames of the cabinets also got a sanding (a la Jeremy & his power sander after I checked my control freak at the door)….
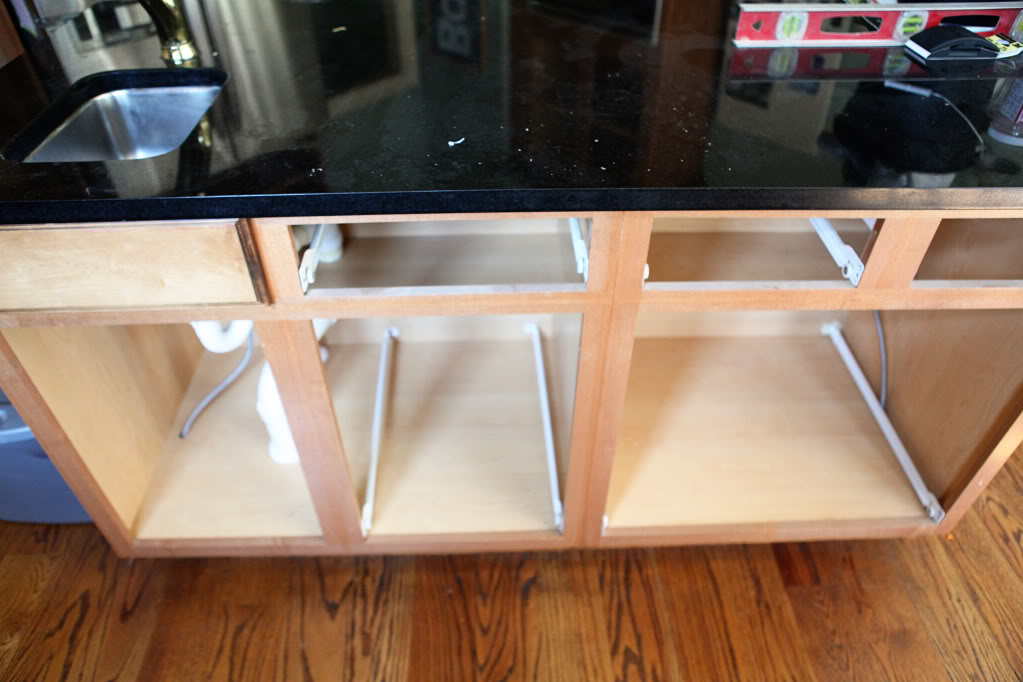
See those two drawer fronts? Yup…one is glued to the drawer (?) so we sanded it in place and the other was nailed and glued in place…yet another little surprise the previous owner Napolean had for us.
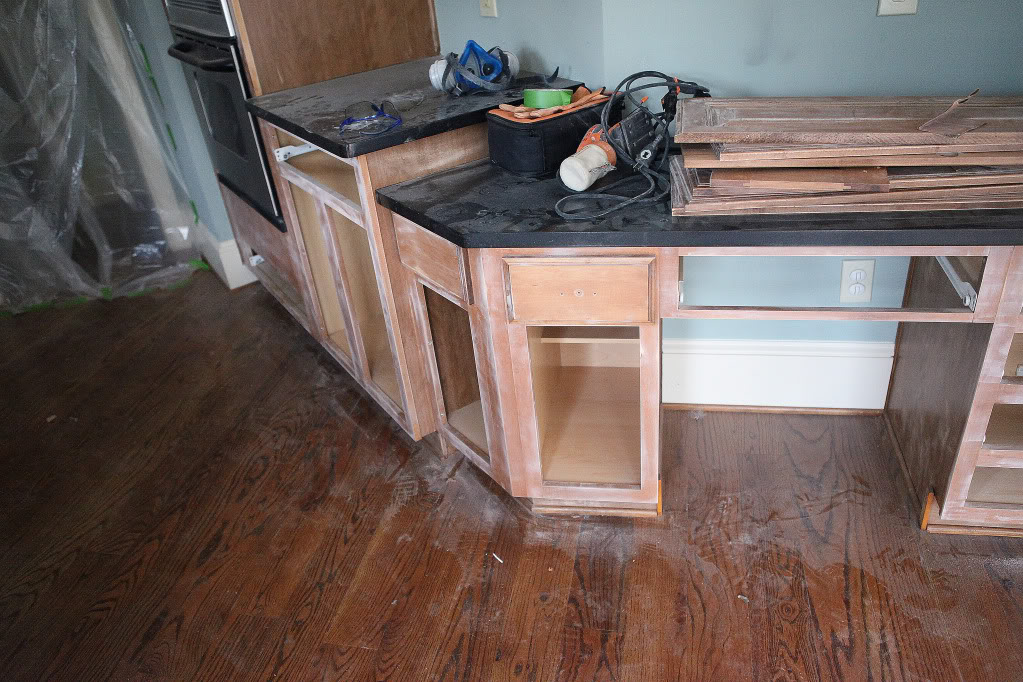
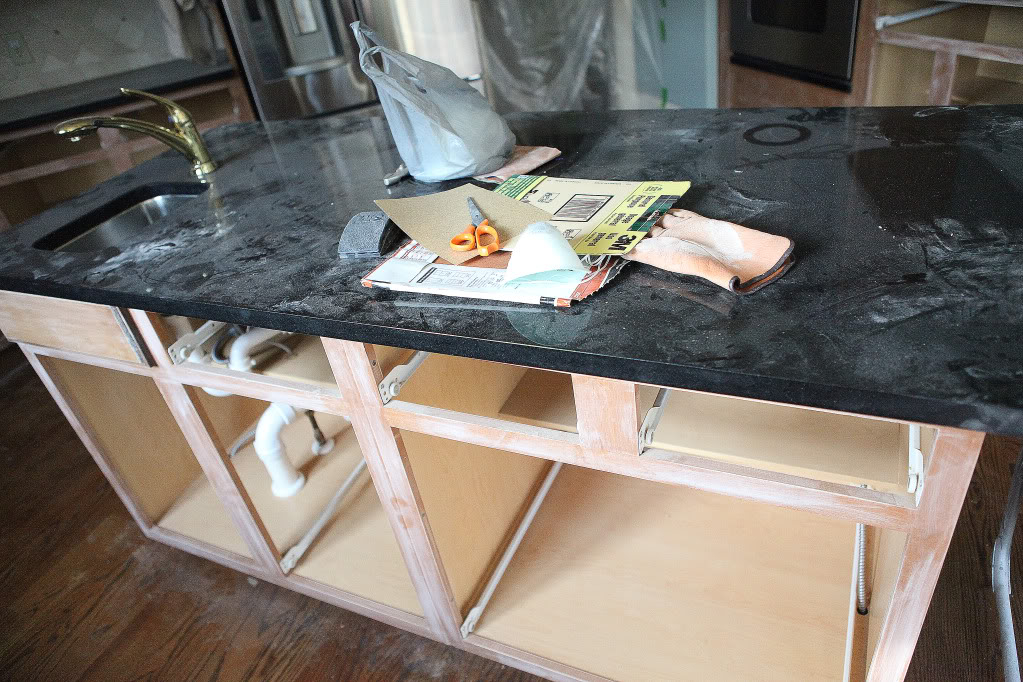
So the cabinets were roughed up.
And speaking of rough…just check out the trimwork in the kitchen…
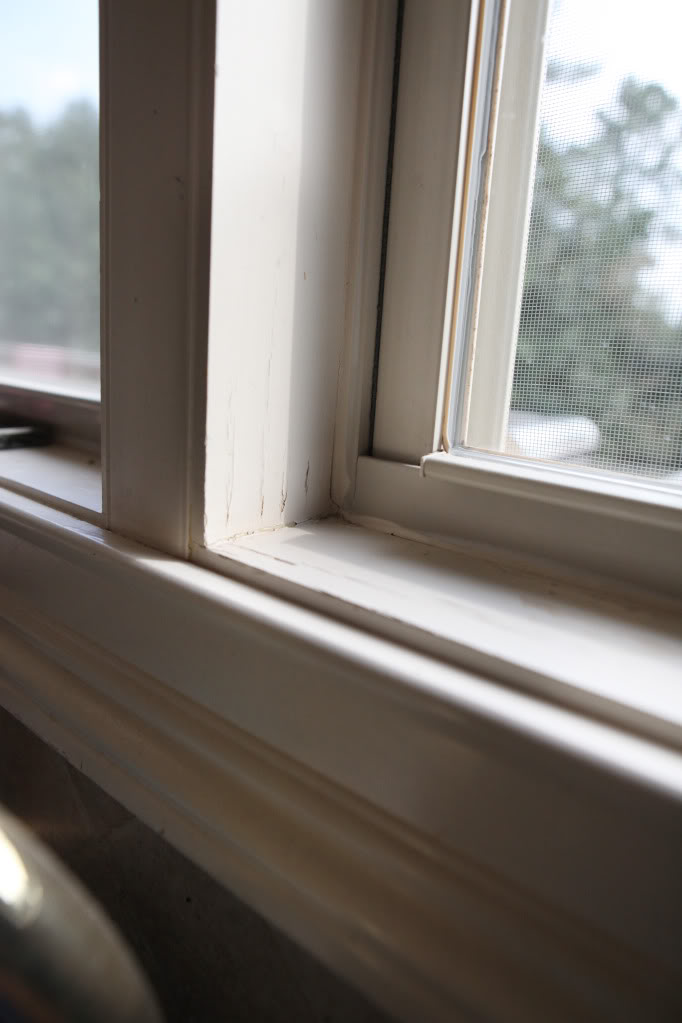
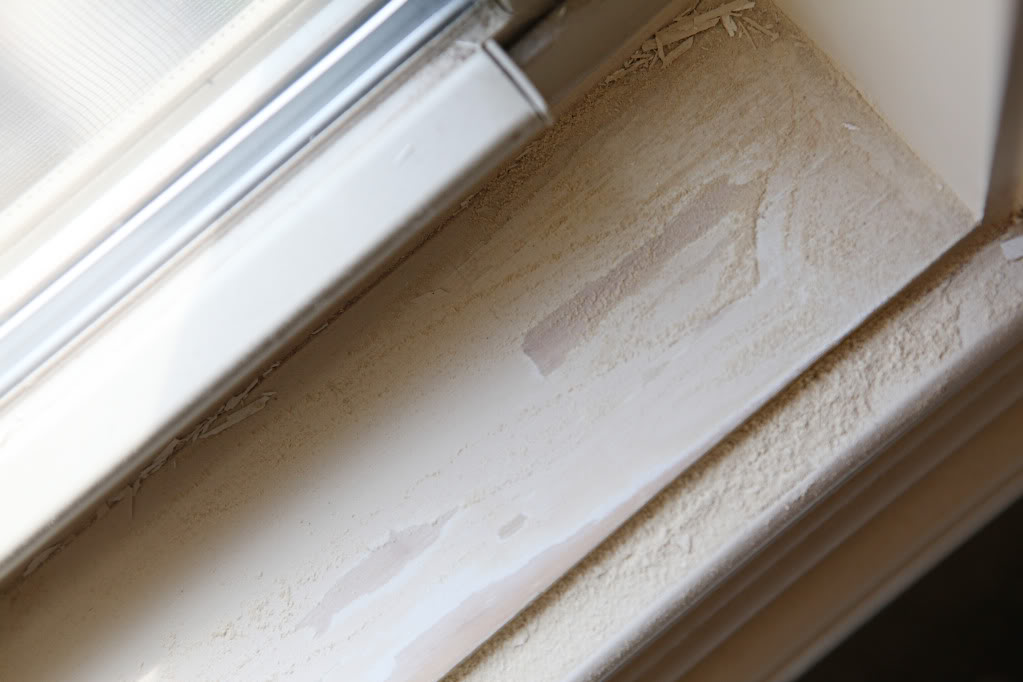
Those little cracks in the paint eventually got bigger and chippier and peelier. That’s a word. And we have our suspicions why. Paint chips and peels for multiple reasons….exposure to moisture, cheap latex paint, no primer, the potential causes are endless. Its just so sad that this house is not that old and it is already looking like it needs a Botox budget.
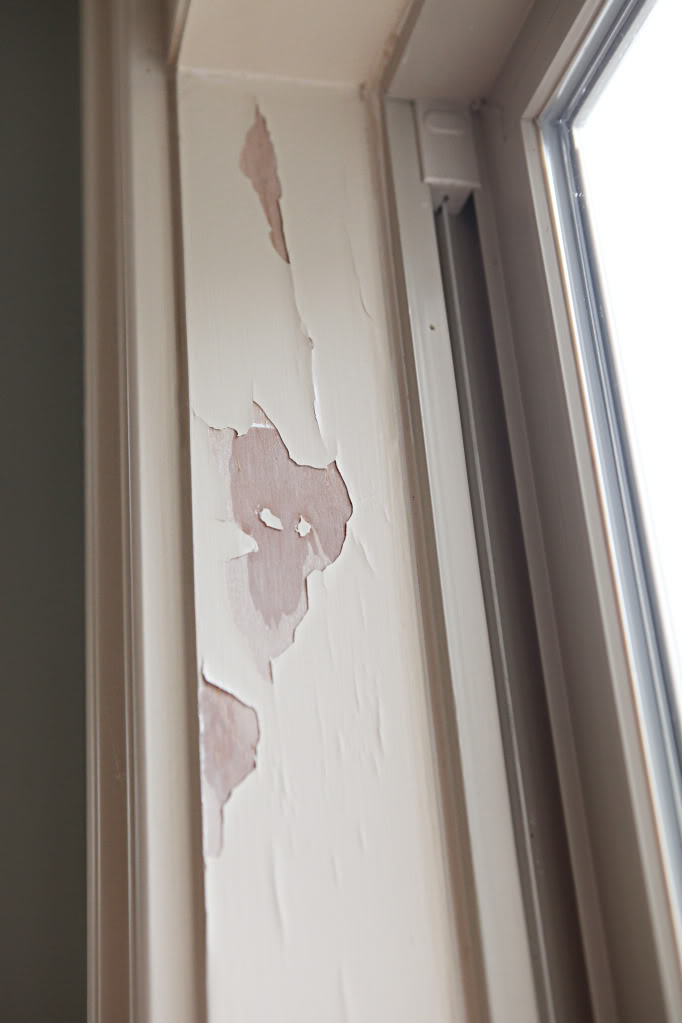
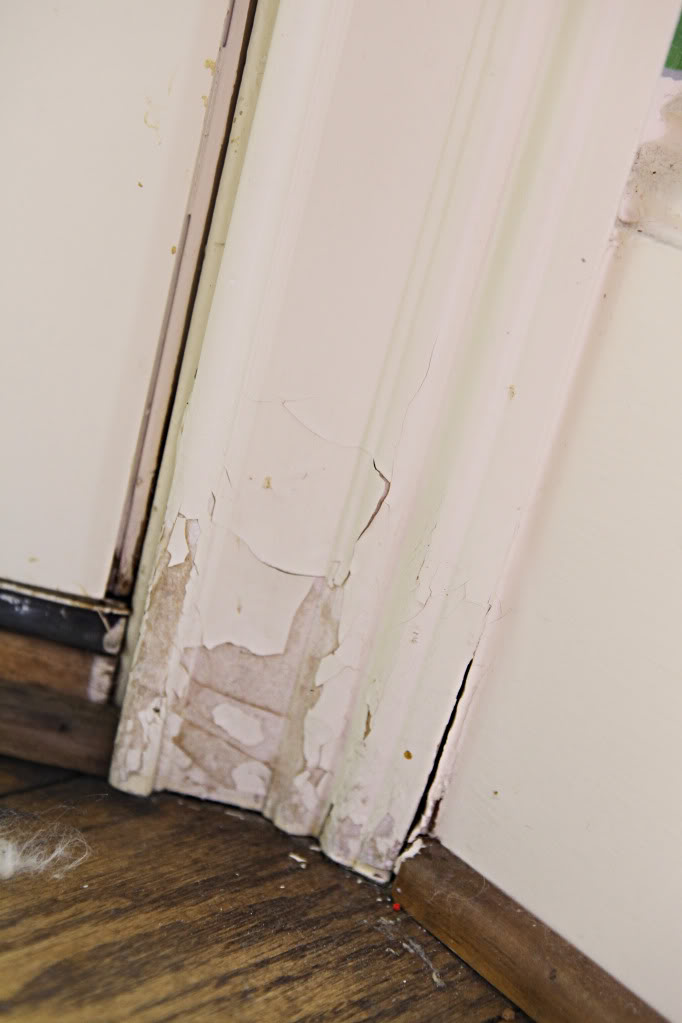
Painting the trim wasn’t on our Phase 2 to-do list but we decided that since the rest of the kitchen would be in shambles, we might as well. So I spent a day scraping and sanding.
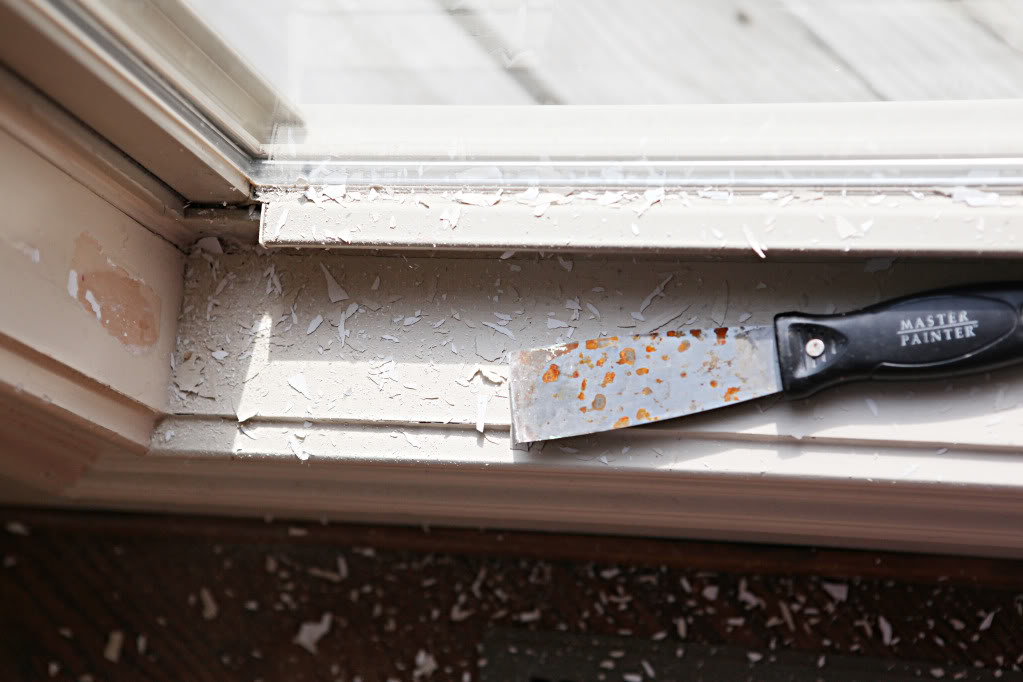
My trusty mud knife worked well. I should have put a plastic bag over the vent till I cleaned up…but yeah…#diyfail
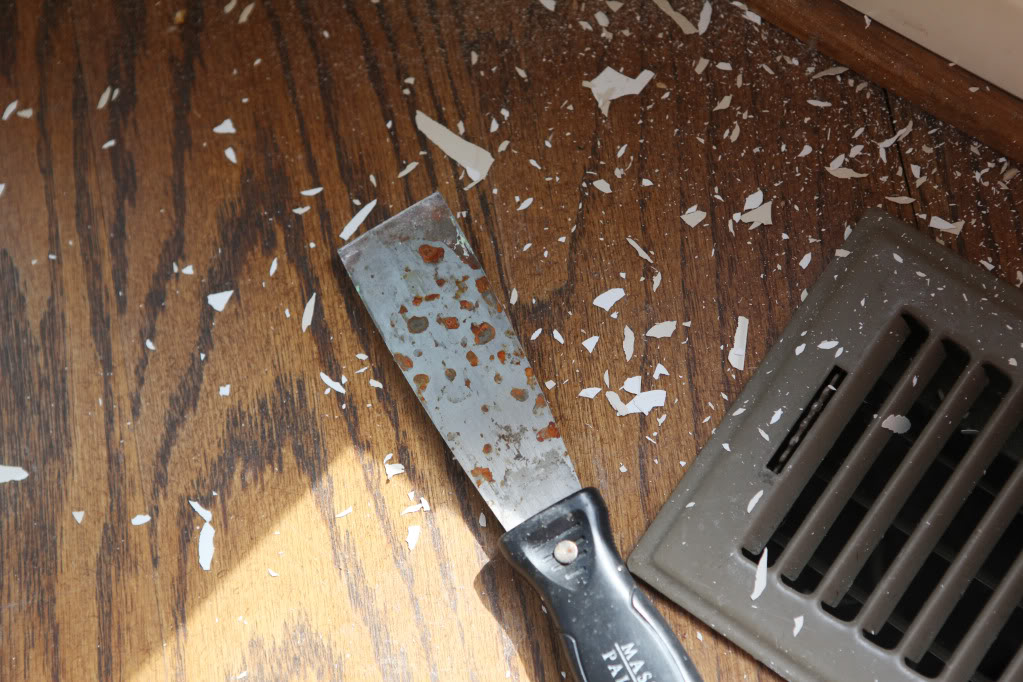
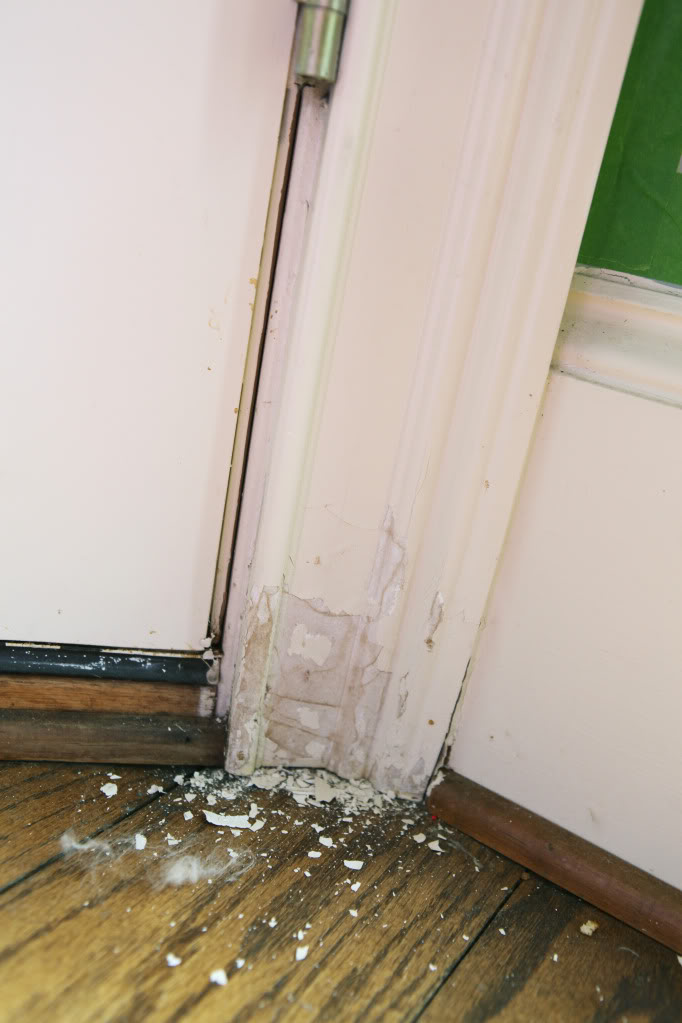
After the chippy stuff was scraped, sanding is necessary to make it smooth. I trust my fingers (not just my eyes) to feel it smooth. I rub it in all the different ways to make sure I can’t feel any little transition.
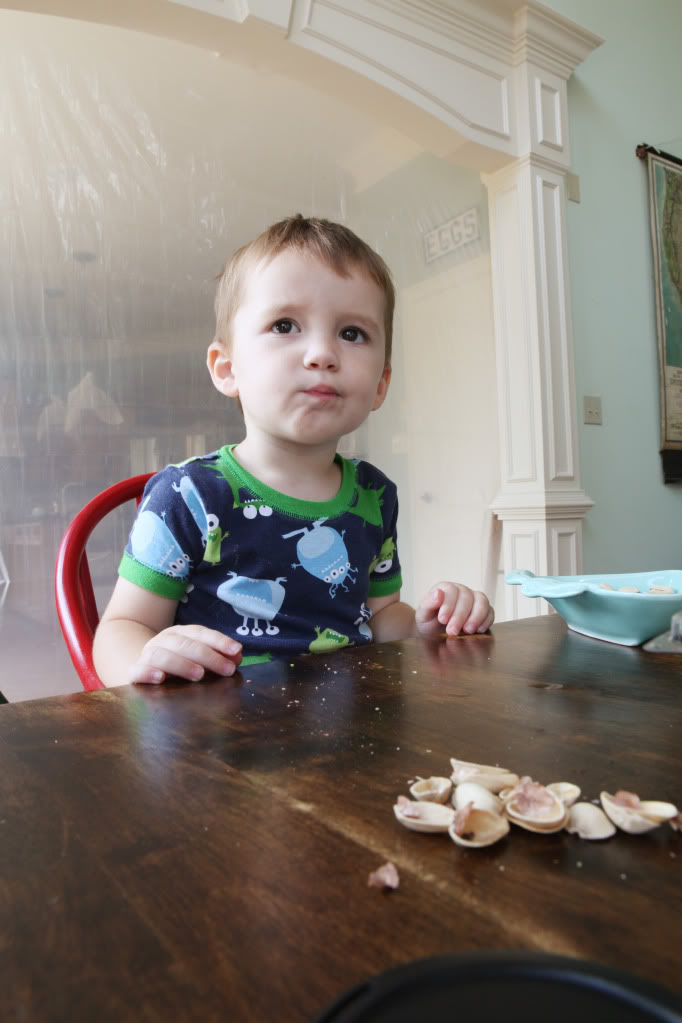
And because no post is complete without a shot of real life….here’s our draped kitchen…with Will dining in the living room. Random pistachio break 🙂
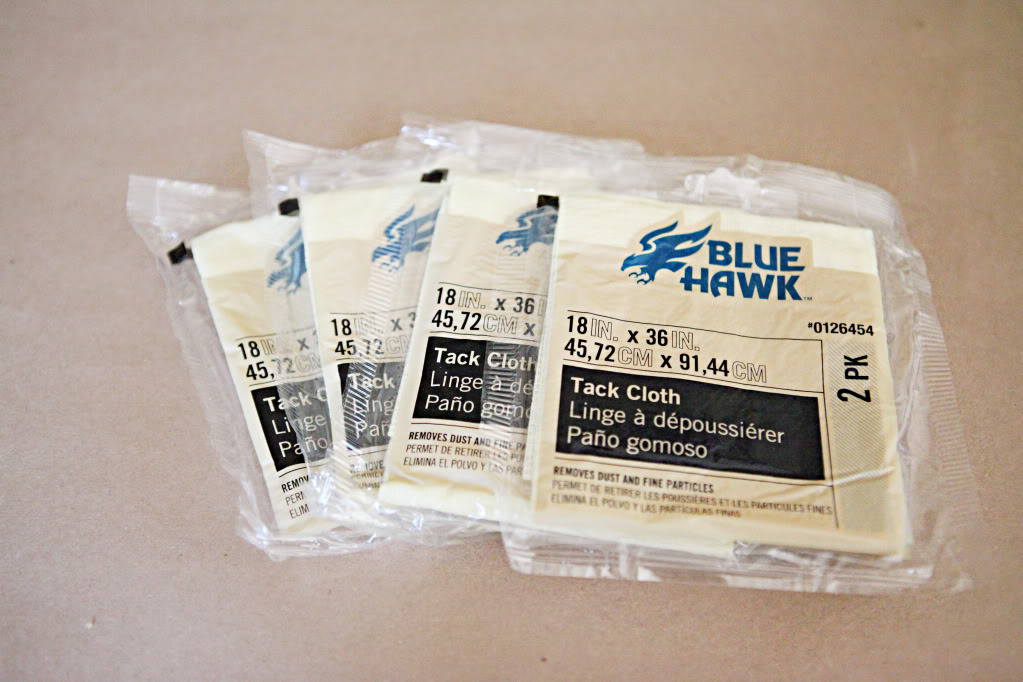
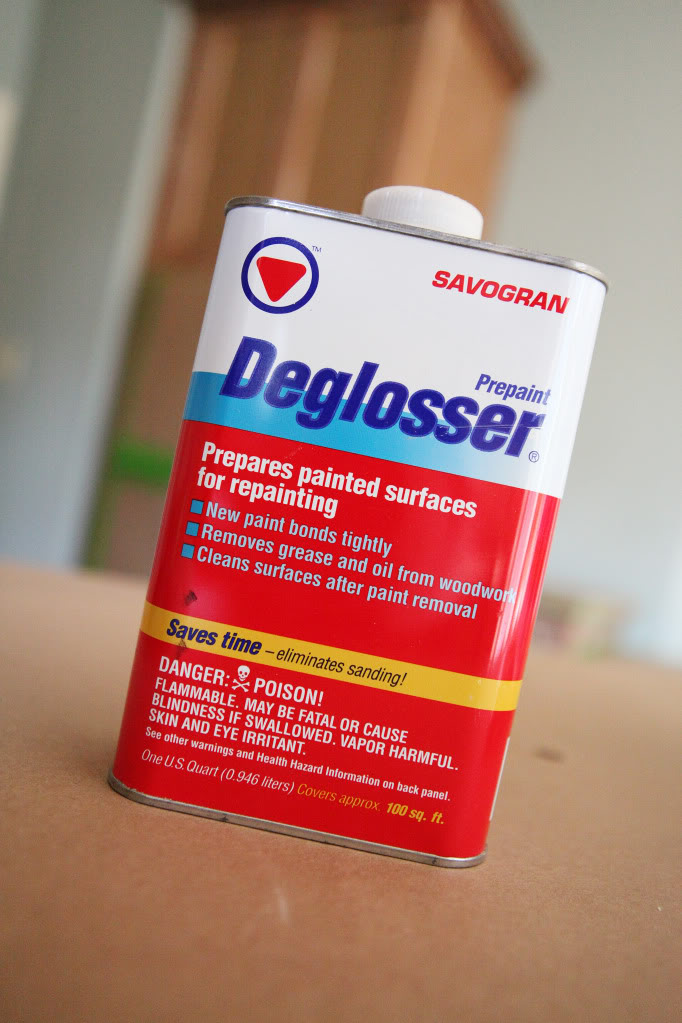
I would be giving you the rundown on the rest of the prep work but to be honest…I did very little. Jer did most of it. The wiping, I helped. The tack clothing, maybe ten doors. The deglosser, I was outta the house (since the deglosser was UBER strong and stated that it caused birth defects, I headed for the door giving Jeremy a big thumbsup and a warning to wear a mask….no need to damage the future little Bowers!)
So in general, we decided that the best prep route for our cabinets is this:
- Remove all doors, drawer fronts and hardware
- Sand lightly all surfaces with 150 grit sandpaper
- Wipe them all with a clean damp towel
- Tack Cloth all surfaces to remove all residue
- Degloss fronts of cabinet doors and drawer fronts
- Place upright in a clean place when dry
For our trimwork, here’s what we did for prep:
- Scrape all chipped or flaking paint
- Sand lightly scraped areas with 80 grit sandpaper
- Sand scraped surfaces with 150 grit sandpaper
- Wipe all trim with a clean damp towel
- Tack Cloth all surfaces to remove all residue
- Degloss all surfaces
Next up….getting ready for PAINT!
I was going to comment, but this is funnier so I erased my first comment:
I was typing DIY (do it yourself) but I kept typing DYI and my brain kept reading it as “do yourself in…”
Uh-huh, words to live by in our DIY house… or our HDIH house (hubby does it himself)…
The two drawers that don’t open are because of the angle those base cabinets are at, it wouldn’t be possible for a drawer to be back there. Its something kitchen designers do to keep the look uniform. Similar to how you cant put a drawer in front of a kitchen sink, but they often put a glued on faux panel. I’m impressed at the amount of work you are doing. Painting/staining kitchen cabs is the worst!
Wow. You’re hardcore. I skipped the sanding step for my cabinets (I painted them about 6 weeks ago)… I have a feeling that in about a year (when I’m inevitably repainting) I’ll be crying and thinking about how jealous I am of your properly prepped cabinets…
I can’t wait to see it. I went the cheap and quick way out for my cabinets because they were done wrong to begin with and it’s a temporary solution. After awhile of living with avocado green and stained wood accent “frame” (seriously ugly), I painted everything shiny black. It’ll be a fun day when I can take a sledge hammer to everything from the ceiling the floor and gut the entire kitchen. And I can’t wait for the finished look but it’s going to take a lot of time and saving to get there… everything from electrical, plumbing, windows, floor, ceiling, walls, even insulation will get upgraded. And all appliances. My pocketbook cringed and ran away… You can see the kitchen (pre- black paint) here http://thebrickbungalow.blogspot.com/2012/05/before-photos.html – along with lots of other hideously ugly before photos.
I haven’t even read your whole post and I HAD to ditto the love for the Sandlot movie! I totally had a crush on the pitcher boy in that movie…so cute! Thanks for taking me back!!
ha! I personally like HDIH because I am a twelve year old boy trapped in a 31 year old womans body 🙂
xo – kb
Maybe I said that wrong…I’m not surprised there is no drawer, I am surprised they glued them…because on other faux drawer fronts (like the ones in front of the stovetop and under the sink, they put in back brackets so you can still remove them. It just surprises me that they were so inconsistent with their solutions 🙂
xo – kb
Loving the step-by-step, and especially that you’re not afraid to show mistakes you made along the way like the vent. Can’t wait to see the final product! Is it all done already or are these posts showing the real-time progress?
Wow! Impressive! Btw, LOVE The Sandlot. My husband and I have been quoting that movie ever since we saw it when we were in high school (yeah, that gives away our age:). Top quotes: “You’re killing me Smalls!”, “FOR-E-VERRR”, and “You got it! Pull it up!”
The Sandlot was actually playing on tv tonight! My husband found it scrolling through the guide and got all excited. I was like, “Really? The Sandlot? Haven’t we seen that enough times?” Going through school, every time our teachers were out sick and the sub couldn’t find their lesson plans, we got to watch the Sandlot. Anyhoo, love seeing all the kitchen process! 🙂
Even though I’m sure you don’t want to hear this…Will is starting to look so big! He looks more like a boy and not just a toddler. : ) You look great pregnant!
You look adorable — pony tail, stretchy clothes, and all!
Completely adorable!
Yeah paint!!!!
I really feel for you – living in all that dust is so annoying! You’re doing a great job though. Don’t worry about how long it’s taking! It will seem like no time at all once you’ve been living in your lovely ‘new’ kitchen for a few months. It’s worth taking the extra time now to do it properly.
I can’t believe that you and Jeremy did all that… while you were pregnant. Of course it’s taking you a long time… way to take your time! 🙂 Isn’t it amazing how much pregnancy, the resulting exhaustion and the hideous sciatia slows you down? It is going to look so fantastic in white, Katie, just so timeless. 🙂
Holy Crapoly! And this is why I keep delaying our cabinet make over. Can’t afford new cabinets so we want to paint them,but the prep work is so daunting! Plus I have cats and the thoughts of having my cabinet doors off for any amount of time and my cats climbing in my cupboards freaks me out! Nice job, will be saving this link for hopefully future inspiration and method…
ohmydearlord. now i am stressed. we are kid-free on saturday and i thought it would be a good idea to start the kitchen…sanding, etc. and priming. i’m hoping we can pull it all off in one day!
you rock by the way for all the hard work you (and Jer) are doing, especially while pregnant!! can’t wait to see the finished results, i’m sure it will look amazing!
We are almost done painting…maybe one more coat on the frames and touch ups? Its definitely not real time but it’s as close as I can get!
xo kb
Can’t wait to see the finished product!! We had our (formerly dirty milk white) cabinets sanded / stained (dark brown) by someone else … I can’t wait to see yours… ours came out kind of funky and I’ve been thinking of redoing them ourselves to clean them up!
You are seriously giving me the motivational itch to get started on my kitchen! I moved into my new house in July and the kitchen and bathroom need serious updating. My dark, tiny, elf kitchen needs new bright cabinets to take it from tiny dark dungeon kitchen to bright (and still tiny) kitchen! I was going to wait a while but thanks to you, I’m having dreams at night of redoing the kitchen ASAP! Although after this post I am totally giving sanding the stink eye just thinking about it! Thanks for the kick to get moving!!!
Hi Katie,
Congrats! Are you going to paint the cabinets the same color as your trim? Or are you painting all your trim? I think I remember you saying you didn’t like the color of it (although it looks just fine via the interwebs!).
Or is it a SURPRISE?? 😉
HOLY. SMOKES.
I had nooooo idea all that was going into this, but I gotta say….the cabinet transformation is what I am most excited about!!!!
We did paint our trim…and yes, it is a different color than our cabinets but they are both white.
xo – kb
It’s true. and sad, huh?! I remember crying when he was only a couple days old that he would grow up. I think it’s hormones 🙂
xo – kb
Hi Katie,
Do you have any tips on damaged grooves/holes on the trim work. I was putting up blinds and they fell out of me hands! (of course) and left a nice deep mark on the wood trim. Not too sure if I should put some puddy on it or something…..
Any suggestions are appreciated! 🙂 THANK YOU
I think you might be working too hard. We moved when I was 7 months pregnant with my second. I was “super-woman “getting our new house put together because I was due in 2 months. I think I worked TOO hard because my water broke at 37 weeks. Although he wasn’t premature he did develop jaundice and require phototherapy. It was a scary time. Please take care of yourself!!
It’s going to look awesome when all is said and done. Will you be leaving the wall color?
I love my lil iron shaped sander, though, and would have been busting that out to do some of that sanding-UGH.
I LOVE to paint, but I hate the oh-so-necessary prep work.
Since we are going up for sale on Thursday ( YEA!!!!!!!!!!) ,we just walk around now saying,
“If we were staying here, we’d-(update the kitchen, wainscot the bath, etc).
It’s so nice to say , “In our NEXT place…” ( that will be in San Diego, woohoo!)
Hi Katie,
I love your blog, and can totally relate to the madness that goes into painting cabinets and trim. We did ours three years ago. I know you’re up to your elbows in the project, but I can offer a couple pieces of advice.
We didn’t sand based on the recommendation of the guy in the paint department at Home Depot, but we did a very thorough degreasing and patched any holes, dings, and scrapes with wood filler. Then we primed with a product called The Gripper by Glidden. Two coats. Then painted. Two more coats. We rented a professional paint sprayer to do the doors, which elminiated any potential brush marks and made for more even coverage. We used plain straight off the shelf white paint…the kind you get before the home improvement store mixes color in. That way we knew we could always find a matching color for touch-ups down the road instead of trying to remember exactly what shade of white (there are hundreds) we originally used.
So far so good. No touch-ups needed, and while we don’t have a toddler, we do have two very active dogs who seem to have no manners when it comes to furniture or fixtures. I can’t wait to see how your project progresses! Good luck!!
I love following along! It’s really starting to come together! Also a fan of your little sneak peaks on Instagram.. Haha it makes me feel special.. like they’re meant for me! So silly!
WOWSERS! Nice work, Bowers! Seriously, I’m not going to complain anymore about painting our kitchen cabinets when we moved in. We have about a third of the fronts that you have AND you are doing this while preggers! Glad you are in real time and showing how LONG this process is and not just doing a before and after. I applaud you keepin’ it real.
Nope – the walls are getting painted too. We figured that 99% of the walls are dirty and marked up in this house (and most of the time were painted with flat paint so it’s not scrubbable)…so a nice fresh coat will do them good. Congrats on the big move…that is beyond exciting!
xo – kb
Dang girl! No worries…I’m shoving a lot onto Jeremy. I do a little here and there but 90% of the time my jobs involve sitting down 🙂
xo – kb
This makes me kinda dread redoing our kitchen… yikes!
Even though your cabinets require a lot of work, it’s definitely important. Your cabinets are basically the foundation of your kitchen. I’m sure they’re going to turn out great.
I’m sure all those drawers and cupboards are amazing for storage, but daaaaaaang that’s a lot of sanding! And I love that you’re training Will right from the get-go: always sand with the grain. So cute. 🙂
You are so brave doing this while being preggo. Where did you get Will’s highchair?
Ha! Katie… I swear we are living the same life… except I’m preggo and dreaming about painting our cabinets and you’re actually doing yours! You’re getting so close! Woohoo!
I can’t believe i just came across your blog by accident, it’s wonderful, love all the pictures. newest and biggest follower!!
Jan @Door251
Oh my, I do not envy you guys! I am finishing up painting our hall bathroom cabinets and that sanding business is the pits! And I only had a fraction of what you have in your kitchen. Funny enough, we had a glued on drawer front, too, WITH hardware somehow attached that I had to paint around.
It’s originally an Ikea highchair but I scored it at Goodwill 🙂
xo – kb
Can’t wait to see the final product! We’re closing on a house Monday and already planning to paint the ugly cabinets. Luckily we have about 35 less doors than you 🙂 I’m also preggers and husband wants to paint the cabs before baby comes in December! Sounds totally daunting but you make it look terrible but do-able, which I THINK we can handle!
I’ll also be interested in the cabinets look with the trim. Our house has pure white trim but I’m not sure I want glaring white cabinets so we might do a more antique white or some kind of glaze. Good luck finishing up!!
It is terrible but do-able. I don’t want to make it seem easy…because the size of this project is daunting. I think we are probably gonna keep ours white…I go back and forth on the glazing….it might be one of those ‘live with it white for a while’ projects.
xo – kb
how come no posts of the cabinets painted thus far (instagram FB).. they look fab!!
Because I can’t get in there! It’s closed off with plastic and since the paint is not VOC free, Jer asked that I refrain from going in there. Just looking out for the little one 🙂
xo – kb
Um.. Your house is gigantic! That looks a gazillion times better, great eye Katie!
Worried that none of my comments are getting through as they never get posted! I commented ages ago about the health hazards of not masking up around anything being sanded – especially when preggers. I hope I didn’t offend?
For the record I’m enjoying seeing the progress you guys are making on the house, and I’m blown away with your energy levels, Katie! You’re like an energizer bunny when you tackle these jobs!! Send half my way, pleeez… Cheers, H :-))
It should be up if you made it. I post all comments – I figure you guys spend the time to write them, I can put em up 🙂 And no way – I wasn’t offended…I know the dangers and we definitely try but with constant projects, sometimes the camera comes out before the masks do 🙂 We highly recommend to everyone that they always wear protection!
xo – kb
Thanx for the reassurance! 🙂 I’m thinking my fledgling blogging skills still have a ways to go – so note to self, make sure it gets posted right! Cheers Hx 😉
Thanks for the info- my go to guide right now for research! “The Sandlot” was a classic!
Hi there, I am painting my kitchen doors and came across your blog while researching reviews on the Benjamin Moore paint. I’m finding it impossible to work with initially. As you said takes forever to cure and mine even started to bubble. Impossible, said the paint store. They said I got something in the paint. No I was very careful and primed with the Zinisser oil base primer that they recommended. I painted several door backs first and was waiting to see how it looked because I used a brush, not a sprayer, before committing to a whole kitchen. So they told me to sand all the paint off and use another primer they gave me. (No they didn’t actually give it to me, more like they sold it to me.)
Anyway, I was curious after several years how your paint is holding up? I have not checked Sherwin Williams yet, but will. Actually, I painted a whole kitchen from white to grey with Rustoleum spray cans. It’s holding up very well after 2 years, but I don’t have kids. Just an FYI for your island if you still want grey. I used their spray primer too. The cost was cheaper than using a sprayer with gallons of paint. I have also painted a kitchen white with automotive lacquer, but that was before all the voc regs out there. Now THAT was a kitchen paint job that lasted. You can wax them too. I got that tip from an old painter friend. Doubt you can still get that paint anywhere in California anymore unless you don’t need a budget.
That stinks! I am so sorry you had trouble! I’m sure that the Advance wouldn’t work over oil based primer because it’s waterbourne! They should know that first and foremost! And yes, the paint is holding up really well. We are HARD on cabinets but so far, no complaints. I could probably get auto paints (my brother paints cars and wheels! ha!) but since I am so happy with the job done, I doubt it’s gonna change any time soon 🙂
xo – kb
True about the oil base primer. However this one says its compatible. By the way, I let the primer set for overnight, but the can said paintable after an hour. Don’t believe everything you read. So the Advance has cured for over 12 hours now & is still not what I would call dry, still a bit gummy feeling, but most of the tiny bubbles are smoothed out. I’m still sanding it off though.
Good to hear it sounds like its working for you.
The last part I picked up on your blog was getting ready for paint. Did you use the Advance primer as well as the paint? I am working with the semigloss. I heard that was a newer product because they only offered it recently. Previously it was only high gloss or satin.
Thanks for your reply. It helps to know I’m not alone in Paint Land.
I think I may call Benjamin Moore if it still isn’t working well in the next few days.
Interesting! I’ll have to keep that tip about the primer in mind. We didn’t have any bubbles or any issues with it so I am so bummed that you are having such a hard time. And no we didn’t use the Advance primer…we used spraypaint primer but it was water based.
xo – kb