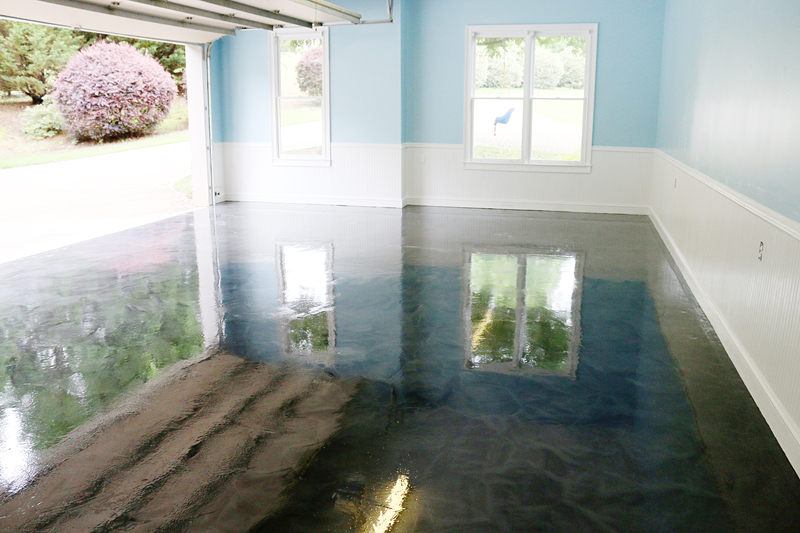
Ahhh! You are gonna just flip over these new floors! My mom came over and said in her most dramatic theatre voice….ohtheyaresooooonice. And then she did a little slide across the floor like Tom Cruise in Risky Business. Fully dressed of course because she never gets naked. She told me that in fourth grade and I fully believe it. She showers in full garb.
But the truth here is that the floors really are sooooo nice (five o’s are necessary) and this post does not do it justice. It is like seeing a picture of your childhood home and realizing that it wasn’t fifteen floors. It was a ranch. Except in reverse. This floor is the empire state building. This analogy is getting me nowhere. Just imagine my mom sliding and fawning on a really shiny nice floor.
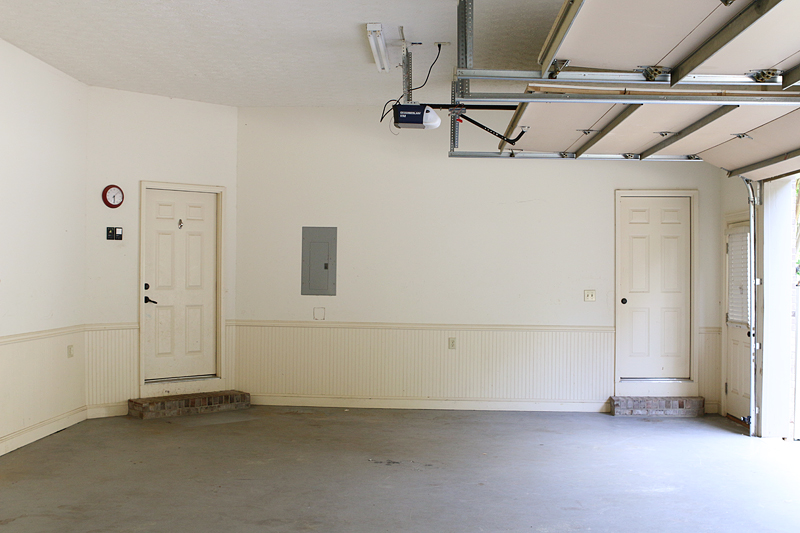
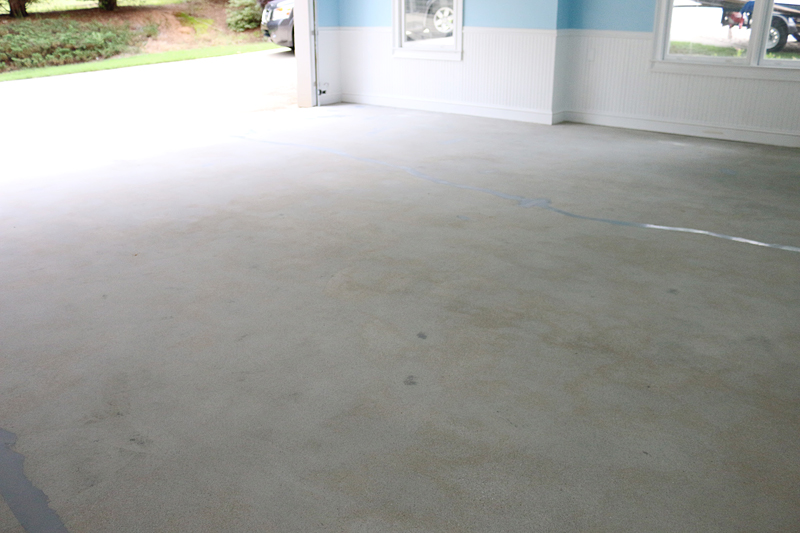
If you are just now tuning in, our garage floor journey is one that required a bunch of prep. The original floor was painted….
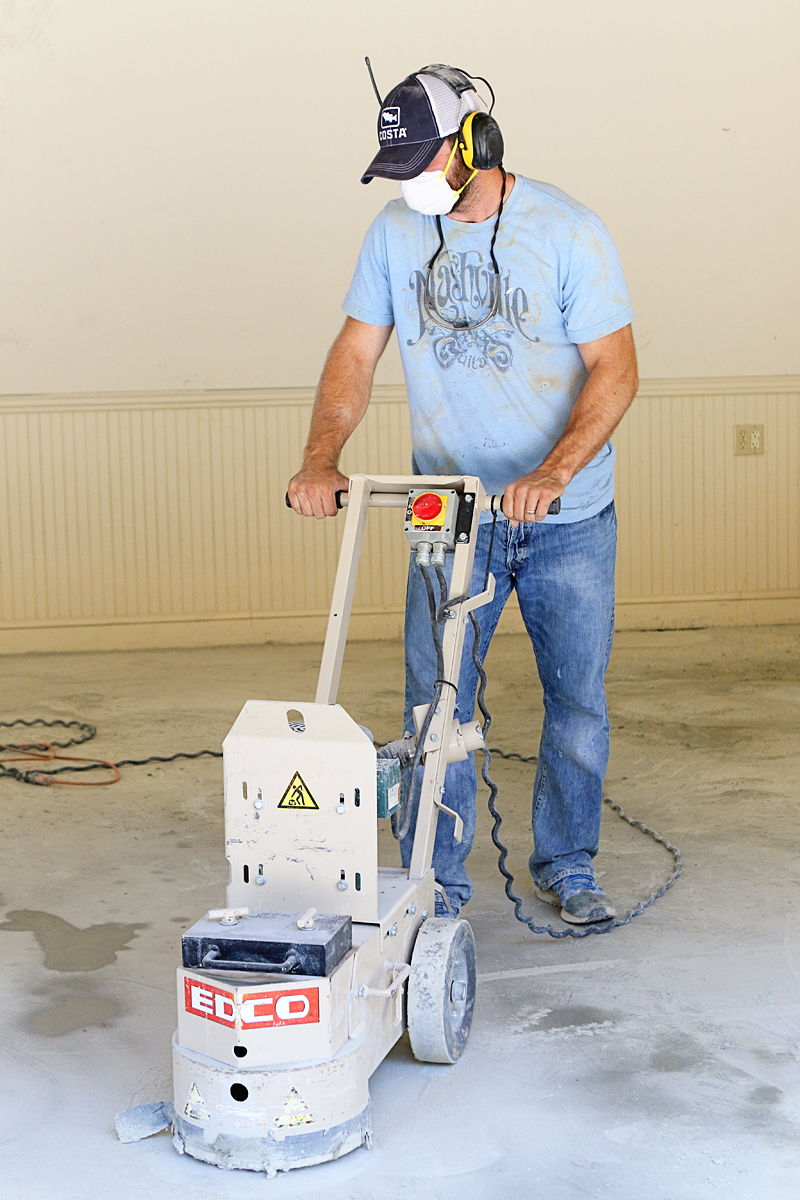
and to remove it, we diamond grindered it off with a big ole fat rental diamond grinder….
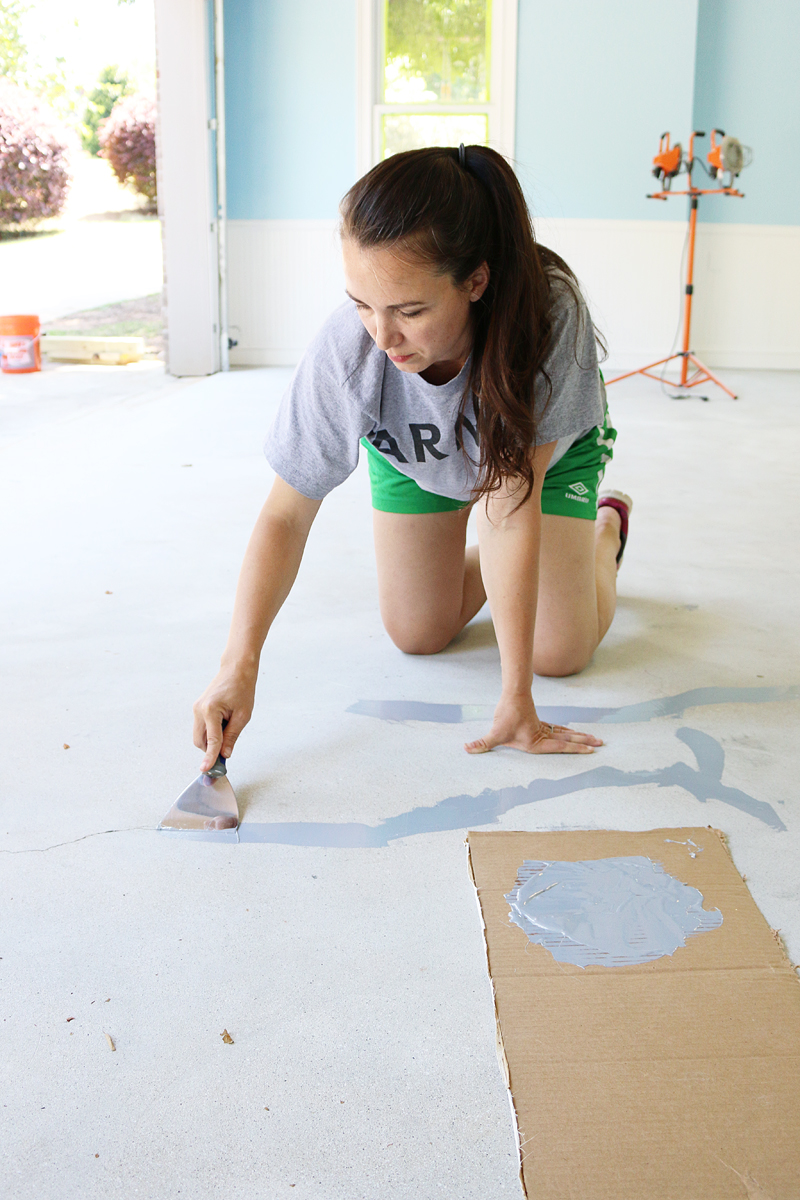
After so much cleaning, we patched the cracks in the concrete….
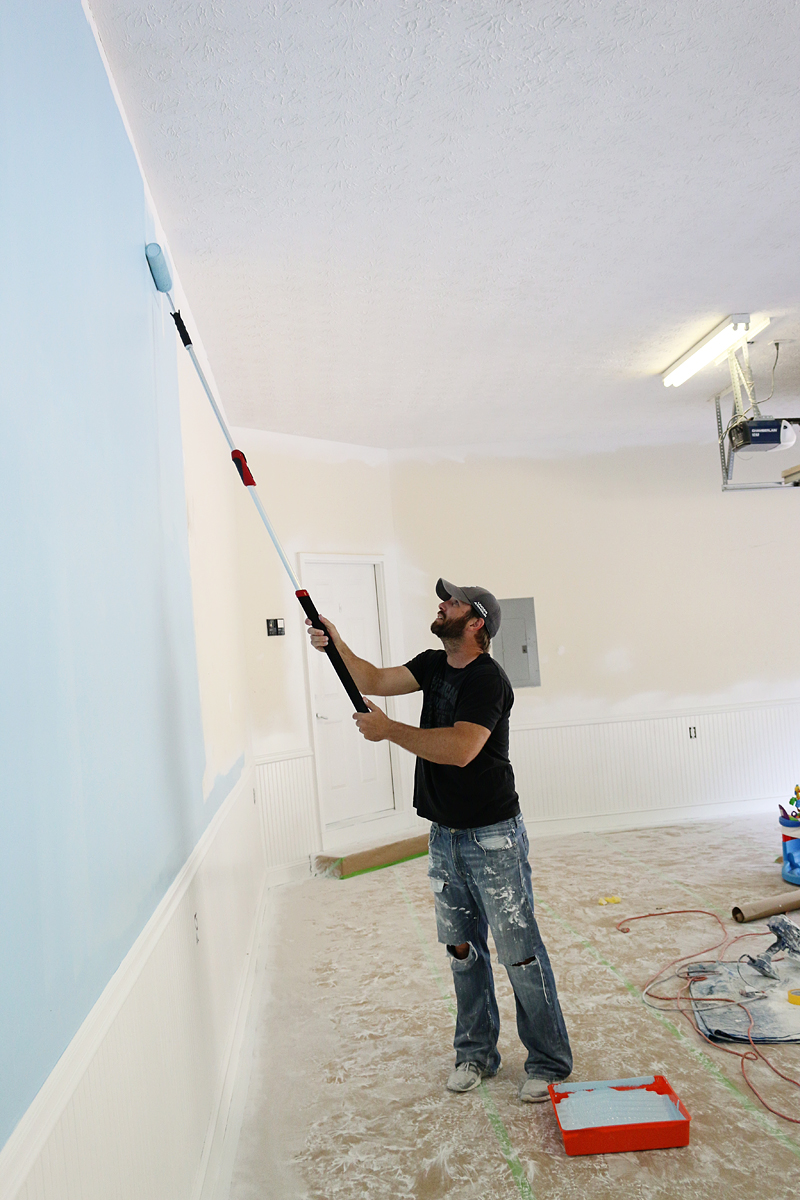
And had to tape the floors and cover them for the painting part…
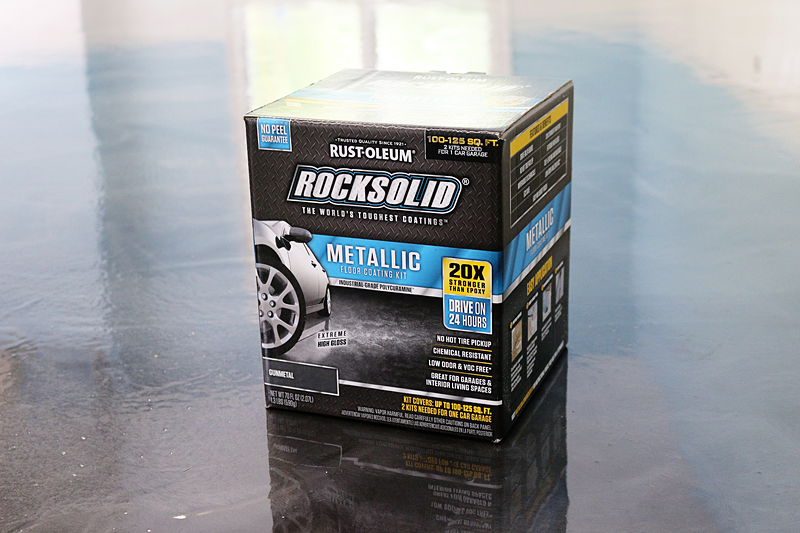
But now they are ready to be coated with this epoxy floor coating kit from Rust-Oleum. We have been telling our friends at Rust-Oleum that we wanted to do this for a long time now so of course, it felt a little like Christmas when we actually got our act together to get-er-done. Anyone else frustrated with the amount of prep everything takes? I always say that we could get so much more done if we didn’t have to do any prep work or take care of kids! But that is also why the pros cost – they know how much time it takes to prep and how much good childcare costs!
We went back and forth on the color. We REALLY love the blue and red and even the copper color (you can see those in the video below) but in the end, we felt like gunmetal would be the best color for our house especially since it is a huge space (three and a half car garage!).
https://youtu.be/JKHjg1Kau4Q
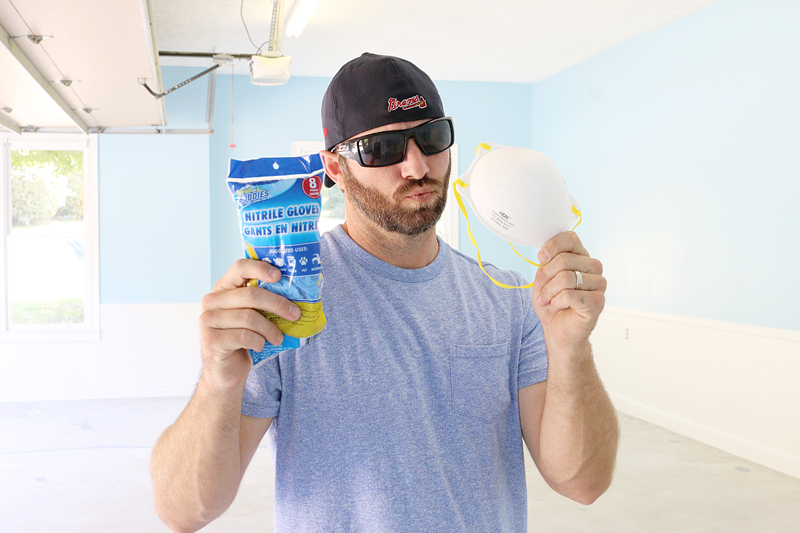
The safety equipment recommended is minimal so I really feel like anyone can do this.
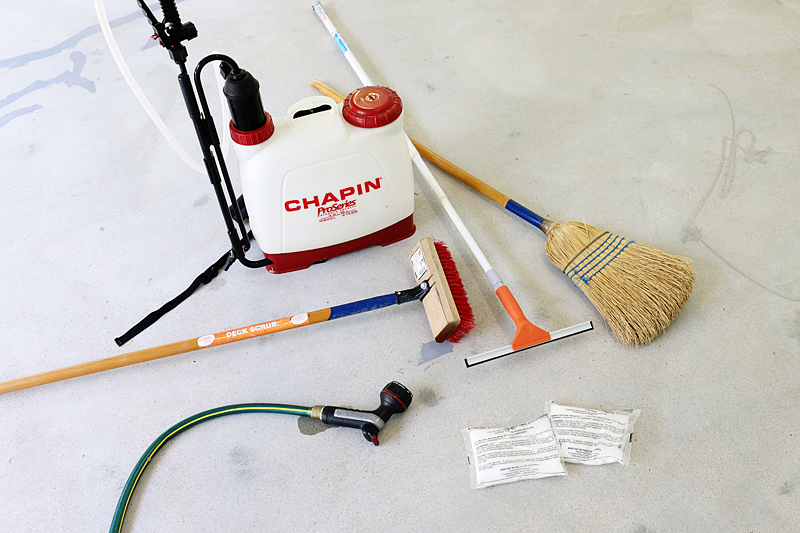
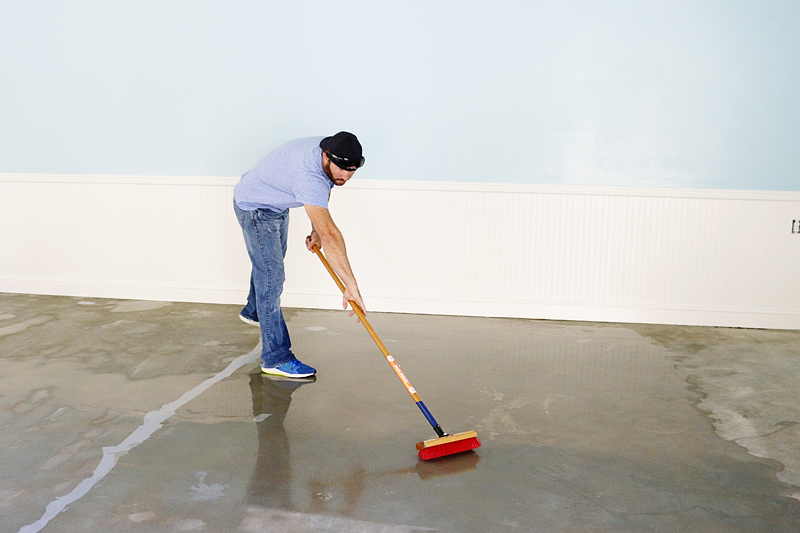
And the additional equipment that you need is also minimal. The process is easy – you etch your floor and clean it well and then you apply the epoxy like paint. The etching solution goes on with a sprayer and you scrub that in.
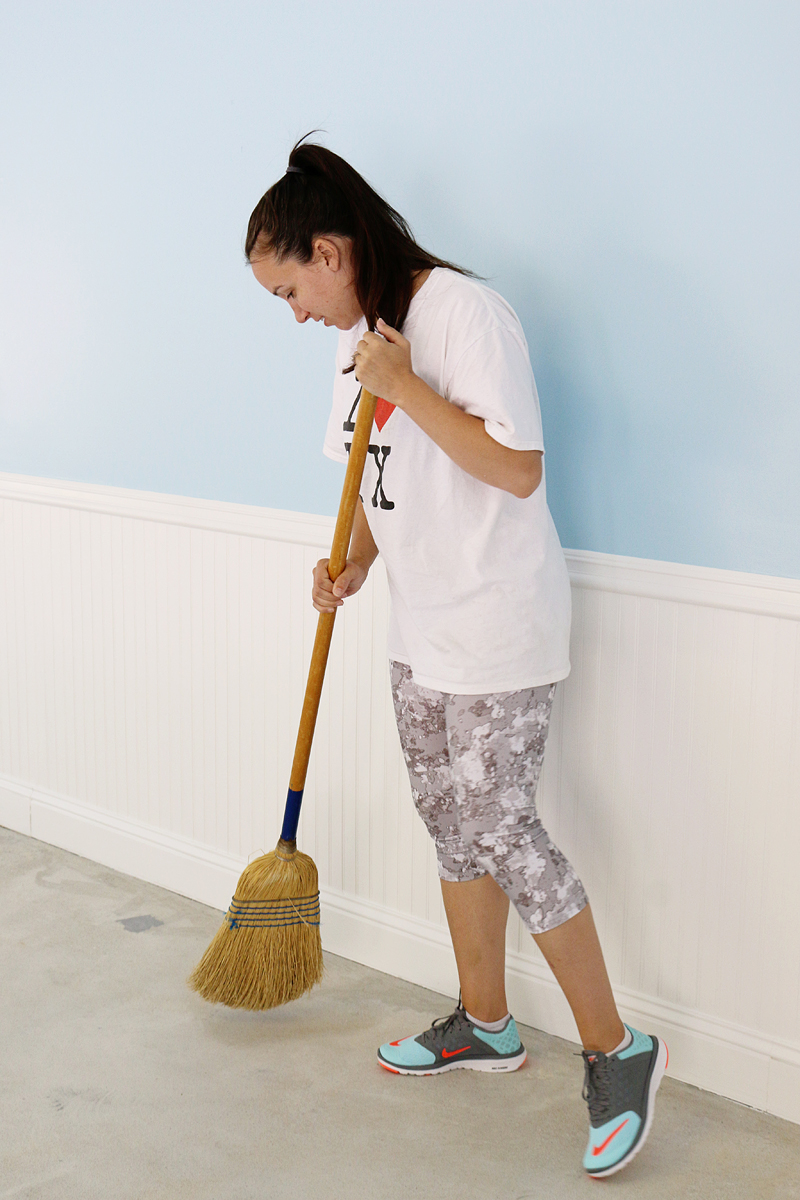
First you will broom your floor and believe that it is clean. That would be false. You will be shocked at how much comes up with the etching and scrub brush.
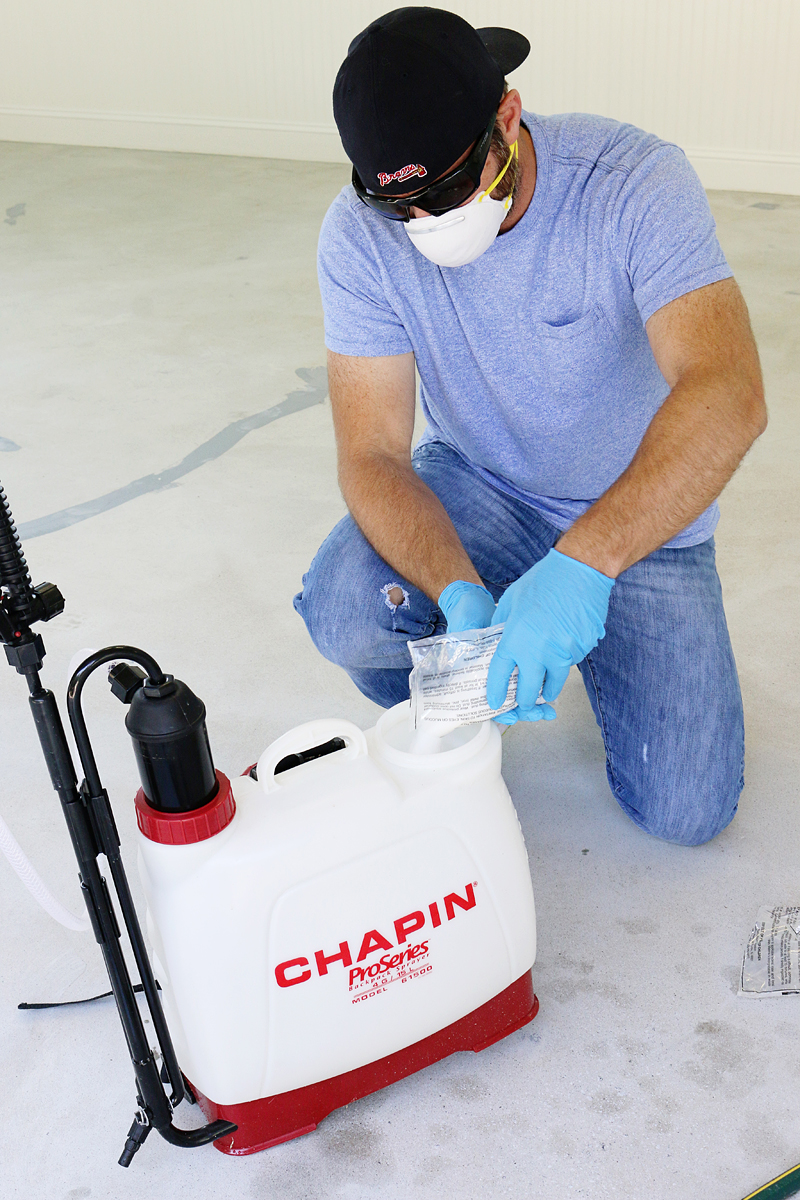
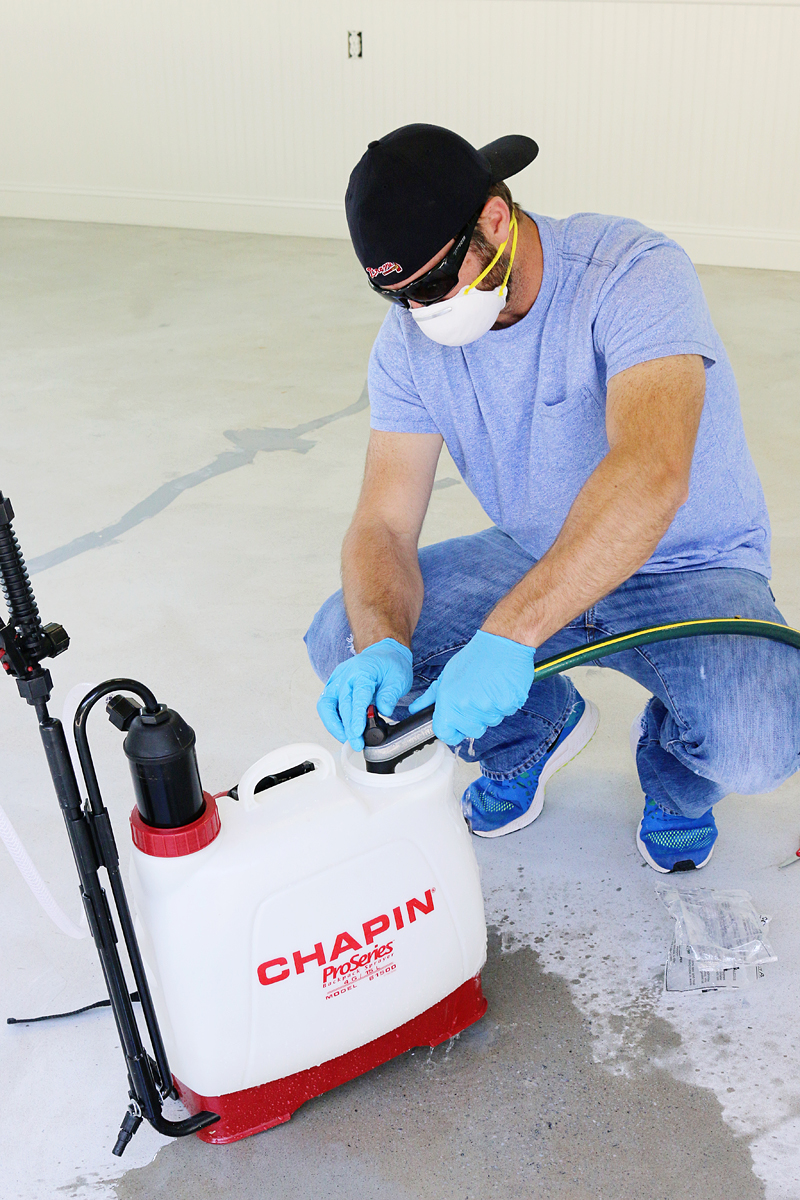
The etch solution comes in a small package and you simply pour that into the sprayer before adding water.
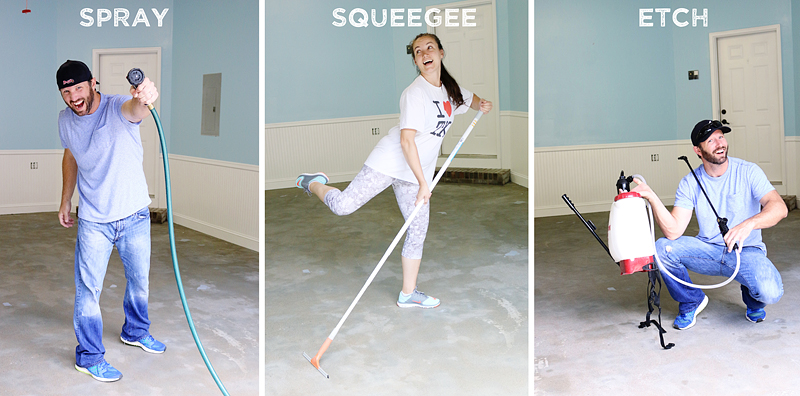
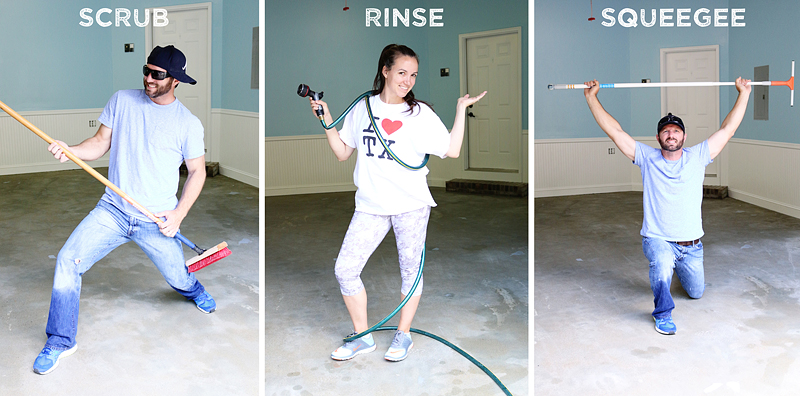
Once the etching solution is ready, the process is simple. You spray your floor with water, squeegee off the puddles, spray the etching solution and scrub that in, rinse it all and then squeegee it off. Here is a couple graphics that you can print for your bedroom so you can meditate on etching….
Honestly our biggest struggle was how to keep the floor wet but not have puddles. The process calls for a wet concrete floor but no puddles and we would squeegee the puddles and the floor would dry immediately. It was so frustrating! But in the end, we just would spray LOTS of etching solution and figured that puddles of water were a no go but puddles of etching solution was fine.
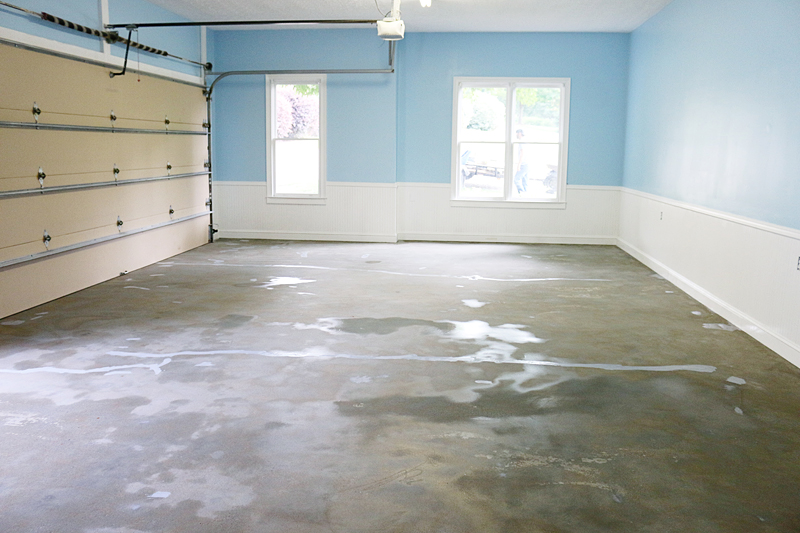
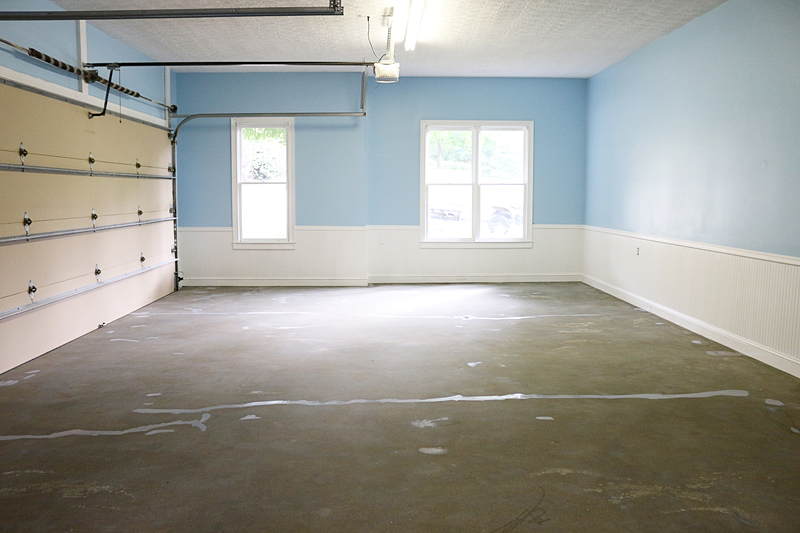
Also – we found that we needed to do lots of rinsing. After the first rinse, we did the dust-test that the instructions talked about and we failed. So we rinsed again. It wasn’t until the third rinse that we were perfectly dust free. I mean….this floor was so clean that we could eat off it.
But then we had weather issues. The epoxy was recommended to dry for 24 hours but we had humidity issues and we had to wait longer than that. Also – if you plan on doing this at your house, make sure you plan for an entire week of low humidity and moderate temperatures. It really does help with any delays.
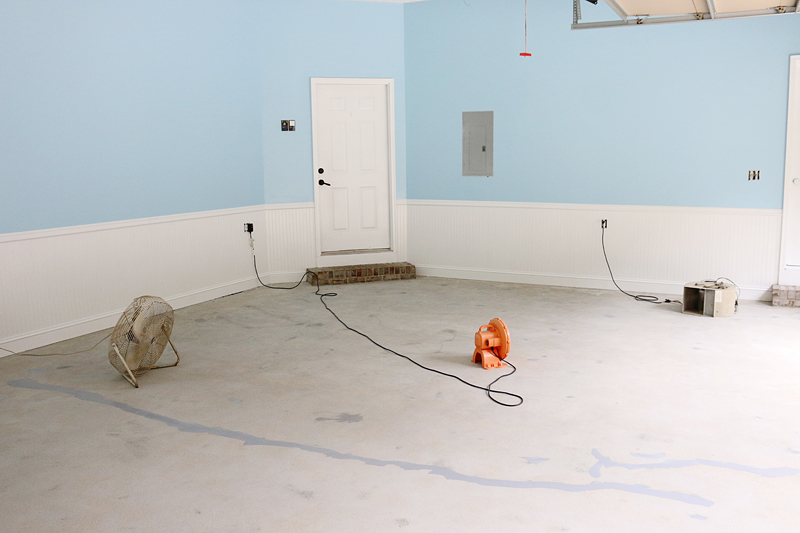
We borrowed a few fans to get the space extra dry. We have heard that if you don’t wait sufficiently, the humidity or wet concrete floor could cause improper adhesion! That could mean your new epoxy could peel or bubble! yikes!
So here is the dry and clean space…just like how I like my boys 🙂
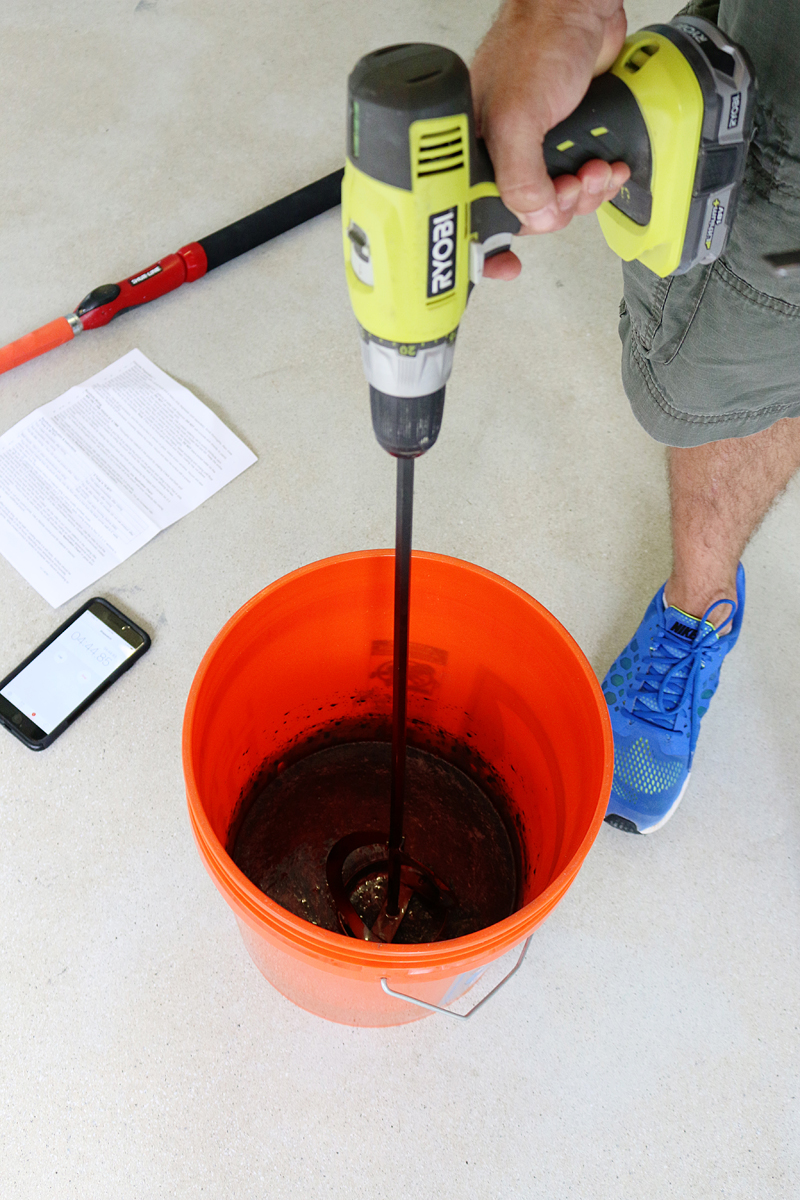
Mixing the epoxy was simple….it has an open time of 45-60 minutes per bucket, but I recommend that if you have patched your floor like I did, go ahead and do a ‘first’ coat on those cracks that were fixed. The color difference can show through later!
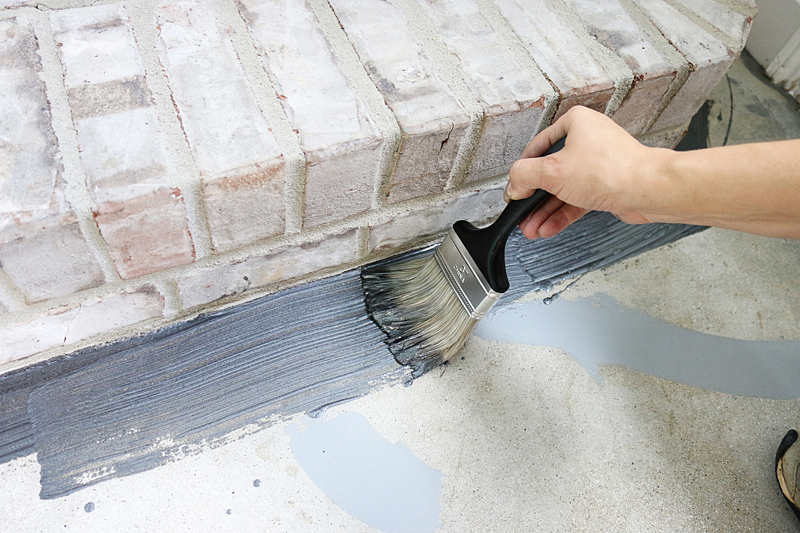
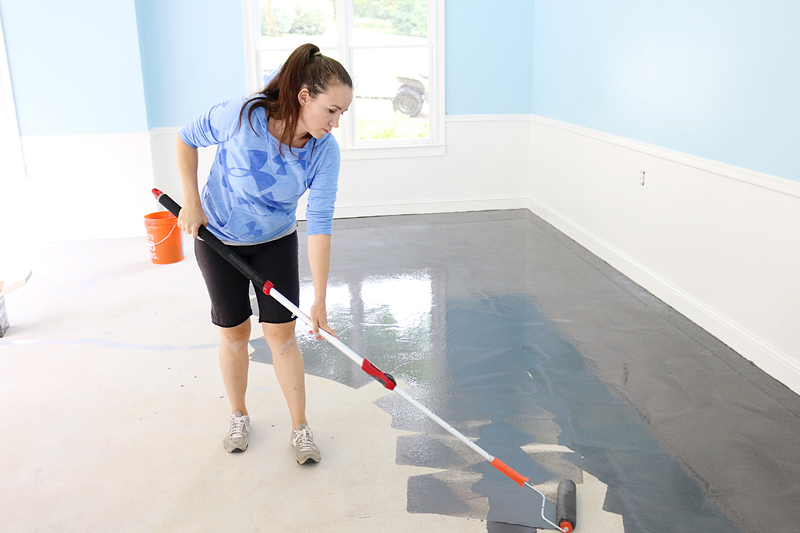
Then you start by pouring a ribbon of epoxy near your wall and cut in.
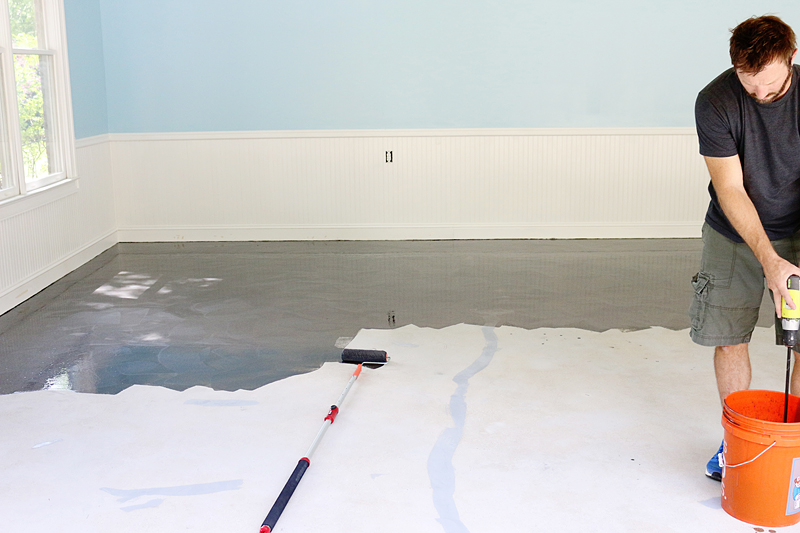
Then you pour more and work that roller like it’s paying your mortgage.
The best tip I can give you is that you will want to spread it all evenly and make sure it is rather thick.
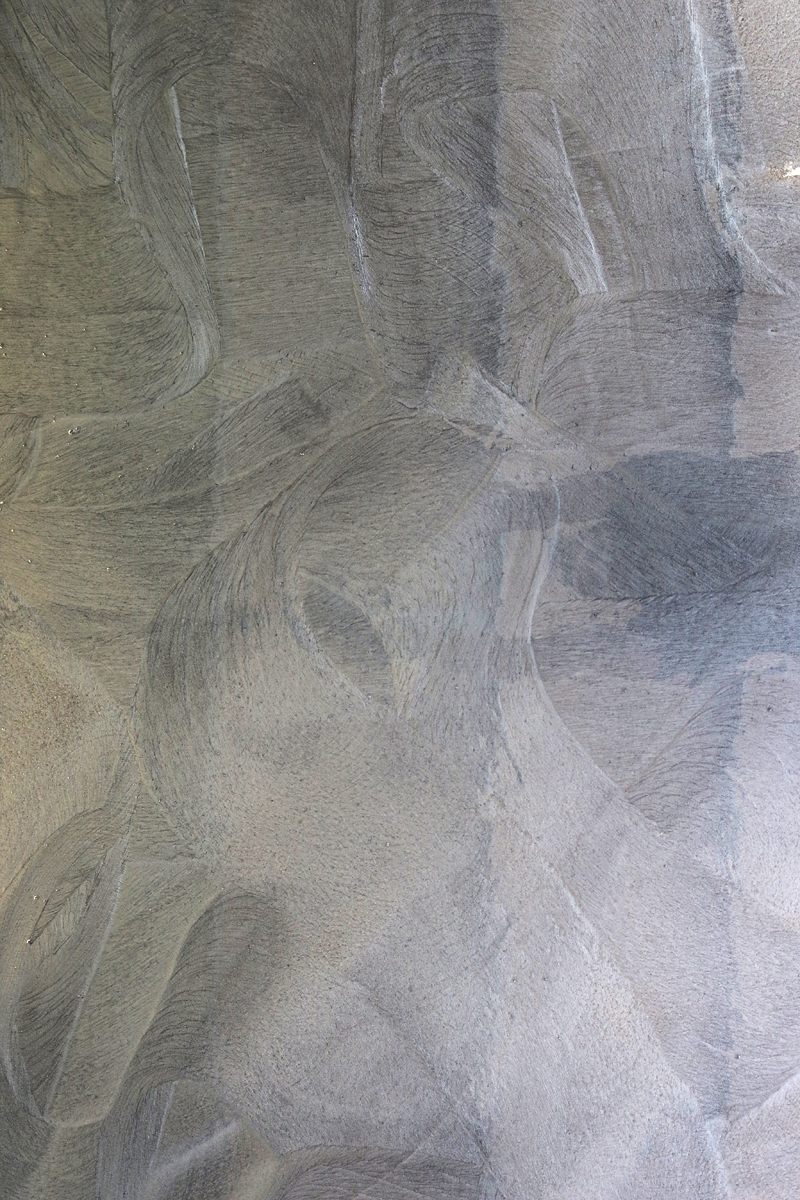
Then to make the shadowy parts, do a series of swirls with the roller. The how-to video shows uniform curls but I liked mixing it up with a bunch of random swirls. I would imagine doing cursive with the roller – make an R and then an S and then an Ampersand….sometimes I would write my name in big swirls. It looked less uniform that way and more randomly artistic.
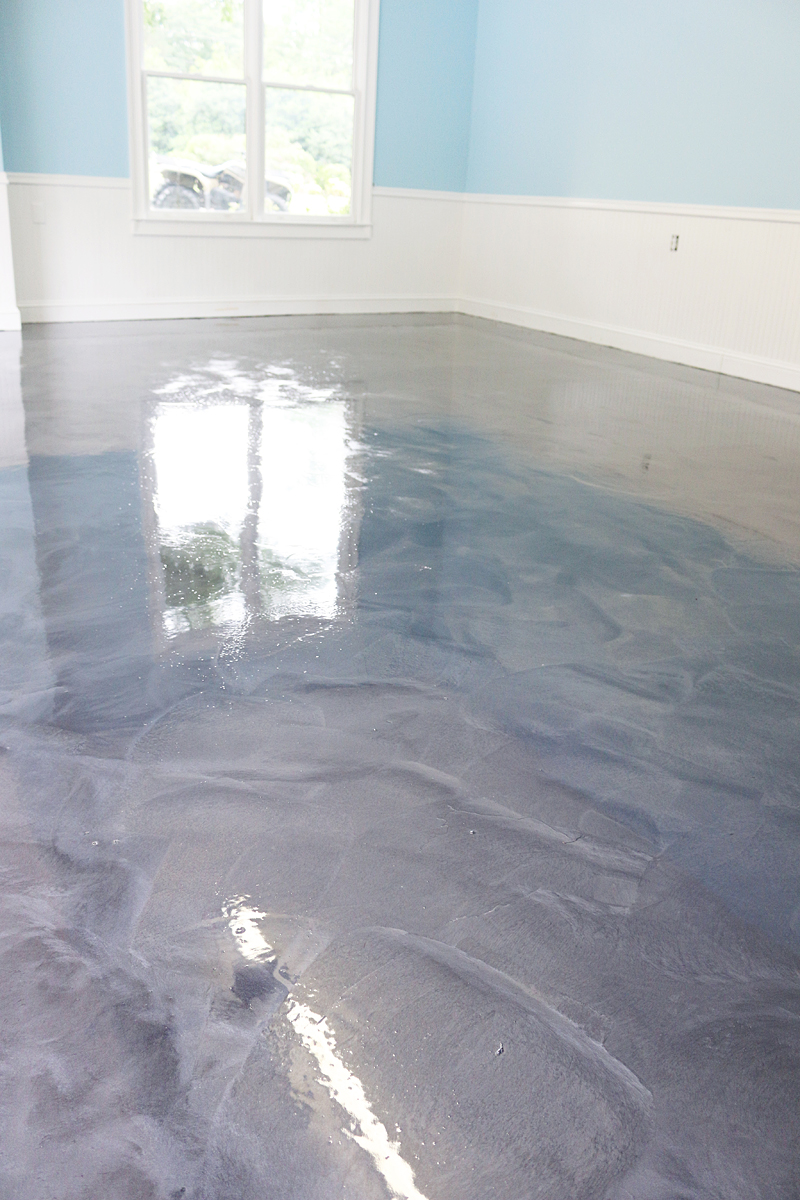
The floor was dried that night and OH it was so nice. It was almost too nice to walk on!
And it’s SO bright. It reflects light really well so it feels not so heavy even though it is dark gray. At certain angles it is just ridiculous!
See how you can even see my reflection in it?!
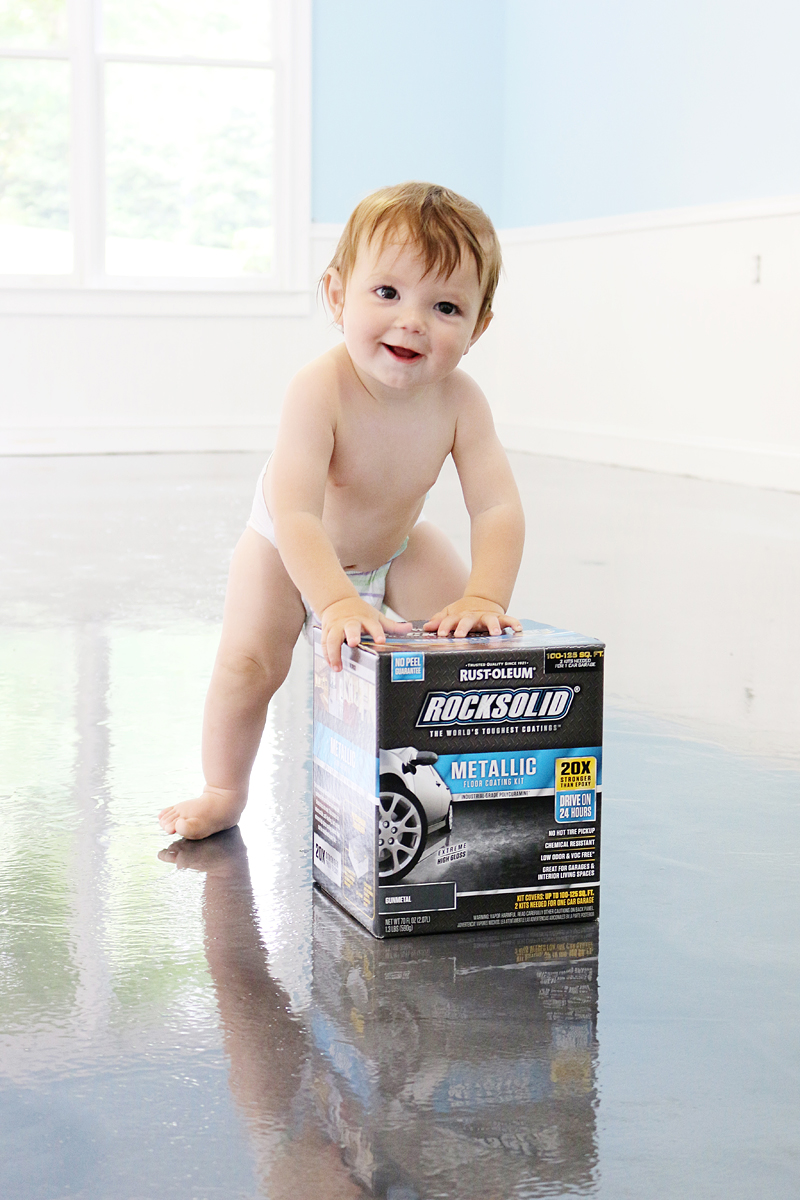
Overall, it is very showroom to me…like I need a fancy new ride just so that it can be parked in there 🙂
there….that’s better…
ALSO….we made a fun little video for you of our process.
It isn’t meant to be instructional but just a fun recap of our flooring adventure….if you want instructions on how to install RockSolid Metallic floor coating, here is the video we used.

Your garage looks amazing!!! I have been reading along and it sure looked like a LOT of work! How much do you estimate you saved by doing it yourself? Can’t wait to see how it looks when you start putting stuff back in. I would only want new and shiny stuff in there! Also, liked your Texas shirt:)
Okay so first of all, wow. That looks so great!
With that said, I just wanted to leave a comment telling y’all how fun your blog is! I live in an apartment, am not crafty, and honestly would never even think to update a garage. BUT I get excited for every project you do! Your posts always make me laugh and keep me thoroughly entertained when I’m pretending to work (just kidding!). 🙂 So thank you!
Holy moly! One of the moments you didn’t know you needed something till you saw it done. Whew that is beautiful!
Looks great! How long did the project take from start to finish?
Metallic garage floor for the win! ❤️
Beautiful floor but I wonder, how slippery is the floor when it is wet? If you pull a car in there when it’s raining that rain will drip off the car onto the floor. Is there something to mix into the stuff to prevent this?
Off topic… Love those Nikes with the turquoise, did a generic search and can’t find them. Where’d you get them?
That’s the prettiest garage I’ve ever seen.
Also: since when is Maxi Knight a redhead?!!!??!
I smiled A LOT watching that video. You guys crack me up! And the floor looks uhmazing!
Wow! It’s beautiful! I have little kids as well, so I’m curious if you’re worried about it being slippery? I know you can put grit (or something?) in when you refinish garage floors, but it doesn’t look like you did that. Do you feel like the epoxy coat is more slippery than your old garage floor?
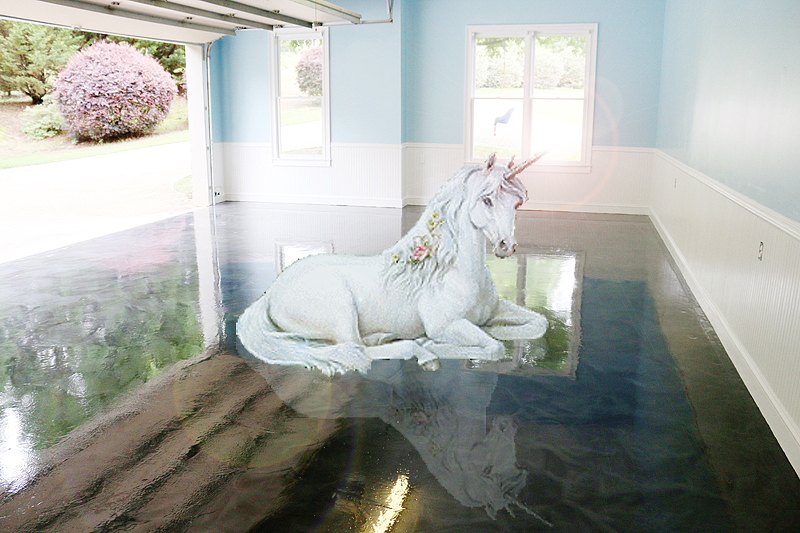
Extra points for the unicorn shadow! Nice job.
Well, the whole thing broke down to –
diamond grinding plus clean up – 2 days
patching plus dry time – 8 hours
painting the walls – 3 days
etching plus dry time – 3 days
epoxy plus dry time – 1 day
Total took us about two weeks because we had a few days in there of full time activities!
xo – kb
There is an anti-slid top coat you can apply to make it less slippery. We don’t pull our cars in so it rarely gets wet but I know you can make the anti work!
xo – kb
Dicks! They are on sale!
xo – kb
You can put an anti-slip additive to a top coat but we chose not to….we didn’t find it was more slippery than the old paint.
xo – kb
Ahhh is right! This is SO fantastic. You two are hilarious. As in, I frequently laugh out loud and my kids are like ‘mom’s losing it again’.. 🙂 The meditation photos! LOL
I can’t wait to see how you deck it out for the money shot in front of the camera. Somehow though, I just can’t see you potting plants in a Martha Stewart voice.. I love the raw, poke-fun-at-yourself attitude. Because if you are not having fun doing it, why do it!?
Cutest. Baby. Ever.
That floor is intense!
I was going to ask/say the same thing ~ love your Nikes!!!
You guys are too funny!!! The garage looks great. I wouldn’t want to move anything in there ~ I’d just sit and stare at it. HA!!
Unicorn shadow – AWESOME! Never paid attention to my garage floors before and now I hate what I have…. Another project to the list…
That last picture is perfection! Unicorn for the WIN!
While the mirror-like finish on your floor is epic, the unicorn pic elevated this post to my top-ten list.
Wow, the floor is beautiful 🙂 Did one kit cover your space, or did you need more?
Yay!
xo – kb
The kit covers a certain square footage. I think that the box said you would need two kits for each 1 car garage. We used 2.5 kits per one ‘bay’ because we liked the thick look and we have a 3.5 car garage so total of 9 kits total…it was a total of $2150 but we had it quoted by an epoxy company for $6 a square foot and it would have cost us $4800 for a professional…so we felt like it was a good cost savings to do it yourself!
xo – kb
but the ending ;’D
Thanks!
SO for the floor we did get an estimate and we believe we saved over a thousand dollars doing it ourselves. The epoxy estimate was very high for a pro!
xo – kb
Aww thank you Annie!
xo – kb
We tried this earlier this summer and had disastrous results. The mixture dried within 20 min after mixing and did not adhere to the floor well. We paid someone to do this for us (not roc solid pros). In the end, we had to ditch the plan and just paint over the floor. Very disappointing!
Did you contact Rust-Oleum about it? They have amazing customer service and could have helped!
xo – kb
How bad were the fumes with this compared to regular latex painting? We wanted to do this with our garage floor but my mother in law thinks there might be issues with our having a gas water heater in the corner of our garage. I haven’t looked into it yet, but curious if you dealt with that.
You know I never noticed them but we were told in the class that a couple people noticed it when we were doing the small boards. That classroom was not well ventilated like a garage so I think it’s comparable to a latex paint. Also – if you are having gas, definitely see if a plumber or gas company member can tell you if there is a leak. We had a small one in our basement and it can cause all sorts of stuff!
xo – kb
Can you comment on how the floor has held up? Have you experienced any scratching problems? I have read that a lot of people had issues with the surface scratching easily.
Thanks
Adam
So the surface shows surface scratches but if the application was thick enough and you allowed it to cure properly, it doesn’t scratch through to the bottom and it will practically disappear with a mopping. That being said…application is everything and this is being compared to a paint which would scratch and flake really easily. Our floor gets driven on everyday by Polaris Rangers and is a workspace where we drag wood…but when we blow it out and mop it, it looks practically new. Hope this helps.
xo
thanks!
oh my gosh, the unicorn. HA! That’s what really sold me! You crack me up!