DISCLAIMER: This is a sponsored post brought to you by ScotchBlue. All opinions are my own.
Notice anything different about the front of my house?
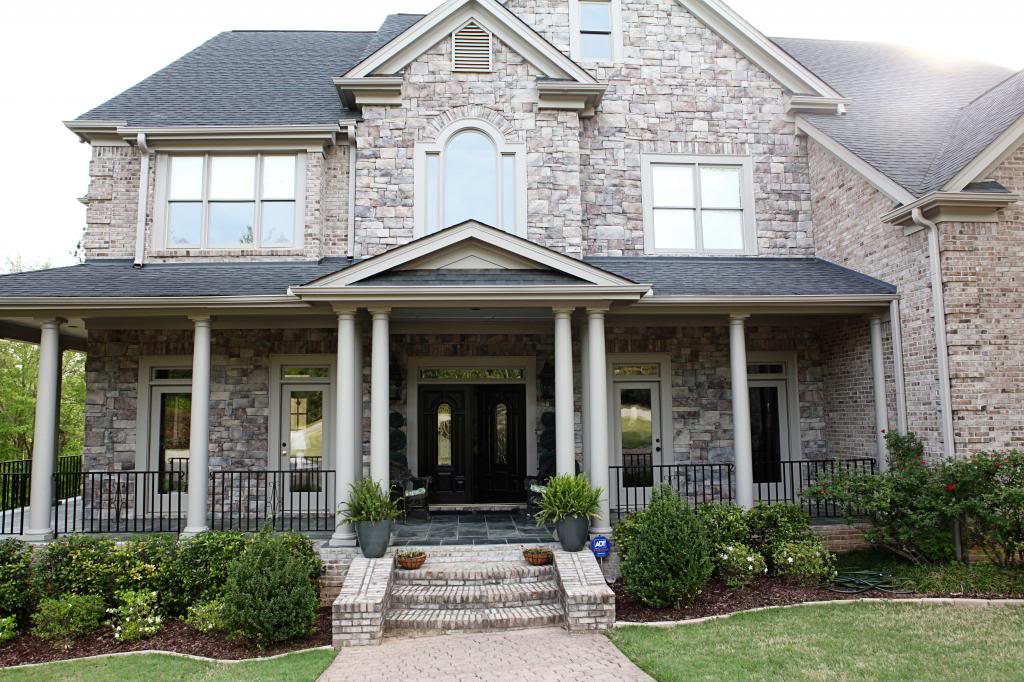
Well, if you took the post title as your clue, then you would say the railings are noticeably less drab.
And then I hand you ten thousand Bower Power points that are good for absolutely nothing.
So this is how it went down. Last year we had our exterior of our home repainted. It was done by a group of men that I like to call “the world’s most amazing painters”. Seriously. They were exactly what I expected in terms of painters painting-skill-wise but they were super respectful and kind and gave me all sorts of pointers…like the front door color was off and how to replace door weatherproofing and…wait for it…how to paint railings.
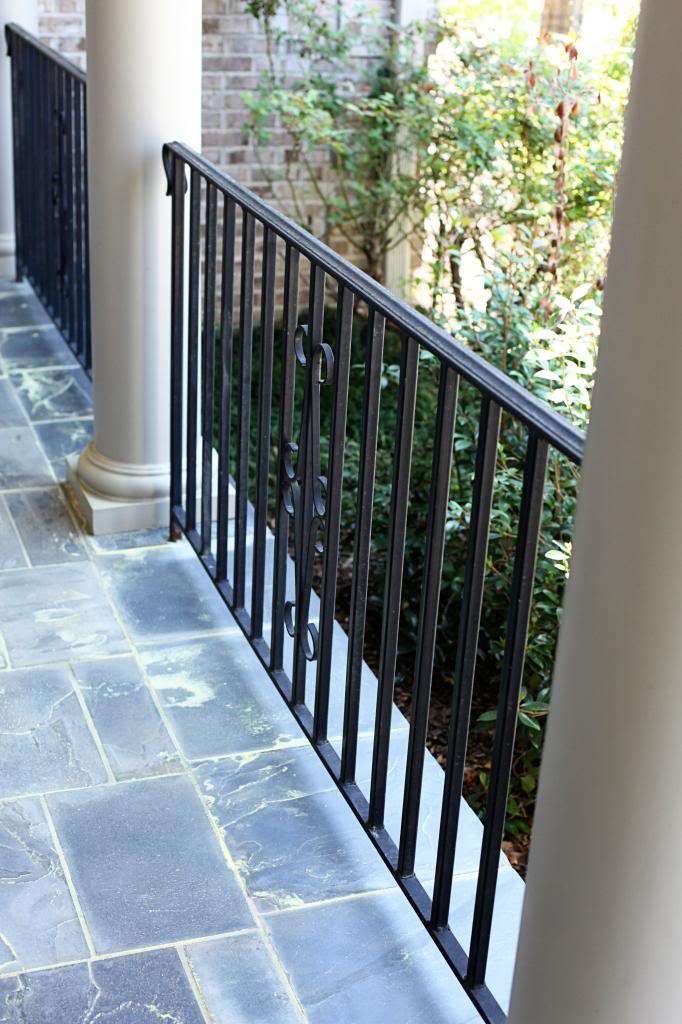
You see, our railings looked fine from far away but up close there were all sorts of issues like rust spots and overall worn finish.
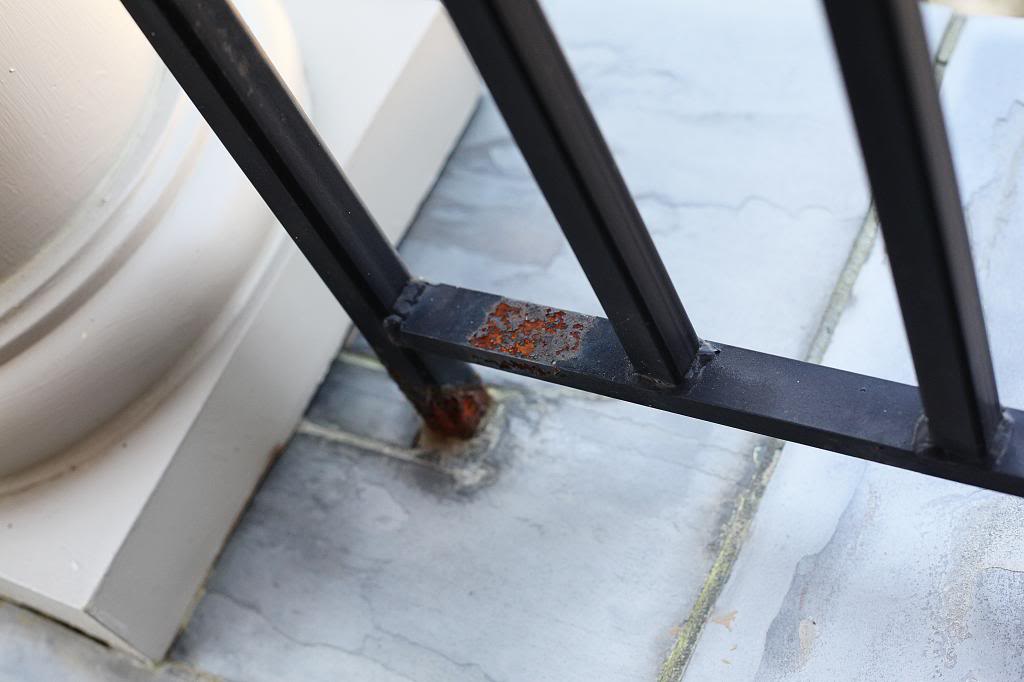
It wasn’t like it was one of those changes that was in your face (like our spongepainted interior walls) but more of a minor imperfection.
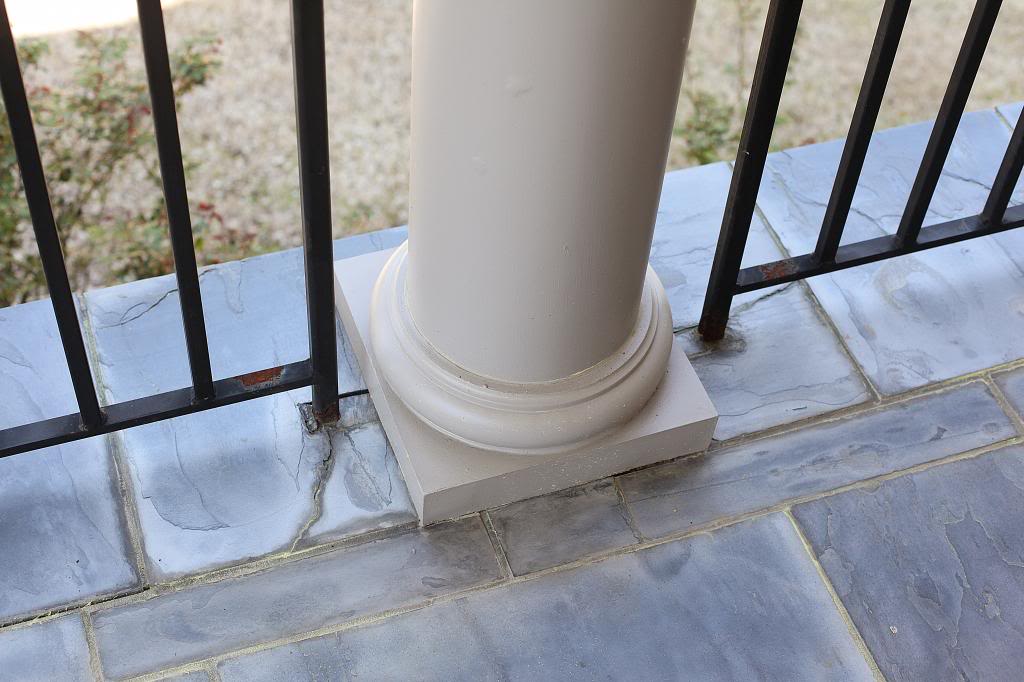
Honestly I didn’t even notice they were in poor shape until the painters told me about them. After that, I noticed it every single day.
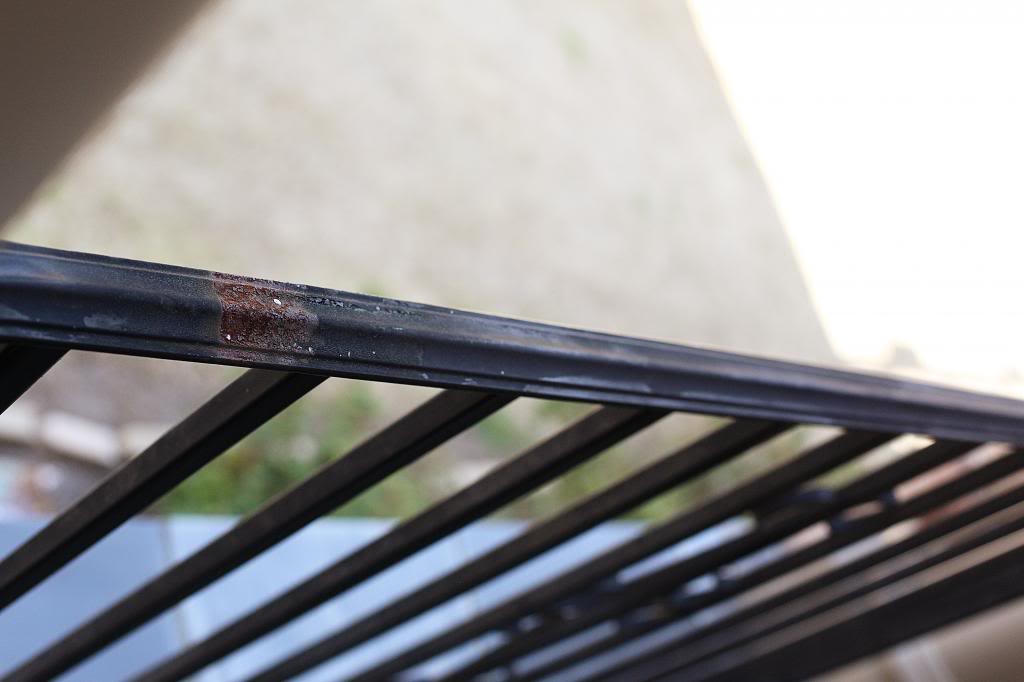
Armed with their advice, I decided to tackle this project once LJ settled into his longer naps. I knew it was gonna take me long (there are nine railings plus two mini railings that needed addressing) so I broke it up into multiple days.
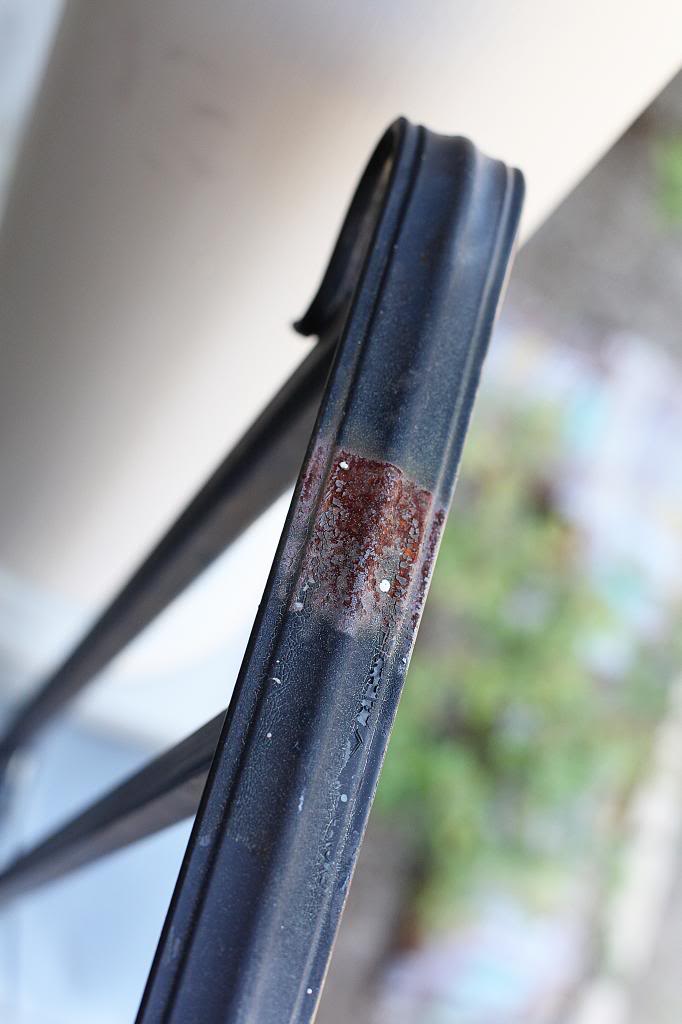
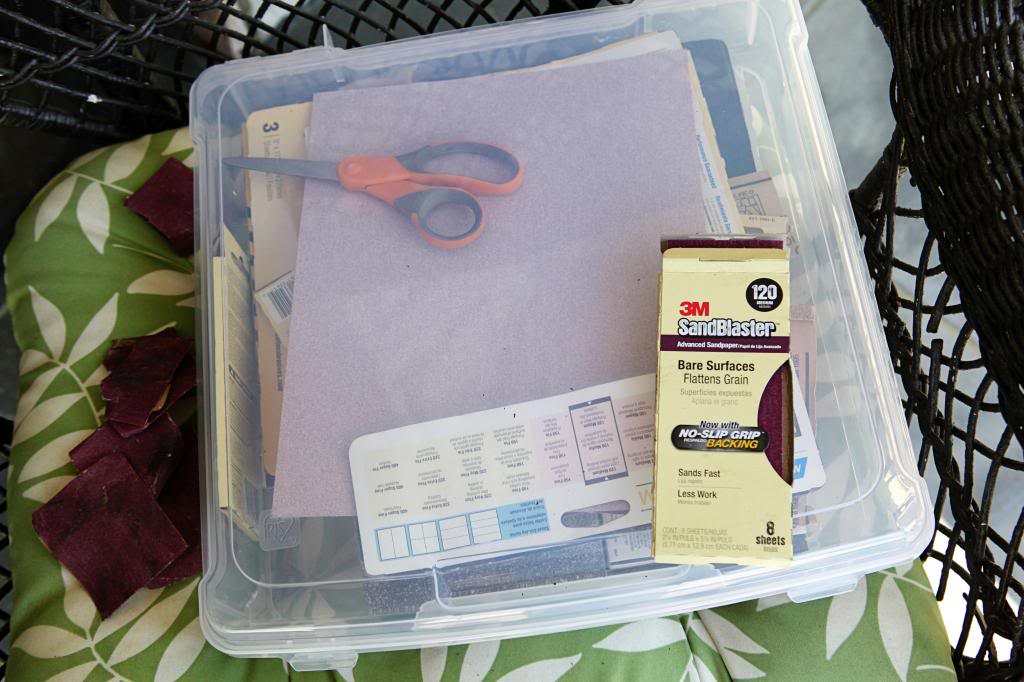
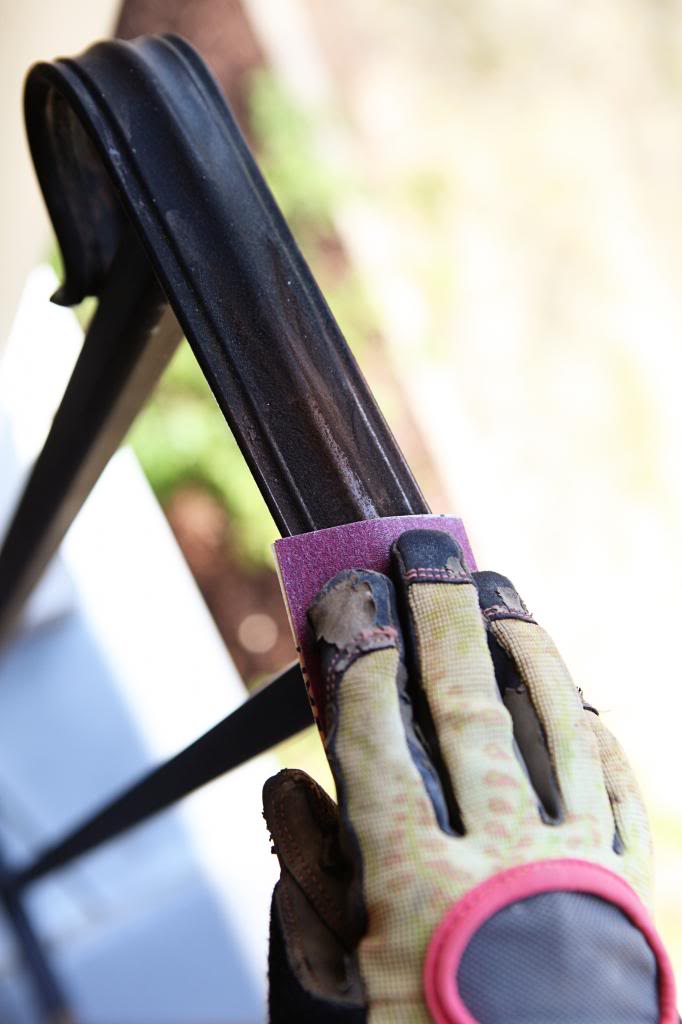
The first step that I did was sand down all the spots that had the finish rusted or raised. Most of the spindles were fine, but the horizontal railings where moisture could sit and cause rust needed a quick once over with 120 grit. Oh and yes, I keep my sandpaper and sanding blocks in a plastic scrapbooker’s paper box. It holds it all really neatly with a pair of scissors so I know exactly what I have at all times 🙂
It’s best to wear a pair of gloves to tackle this. The black dust will go everywhere so a mask isn’t a terrible idea either.
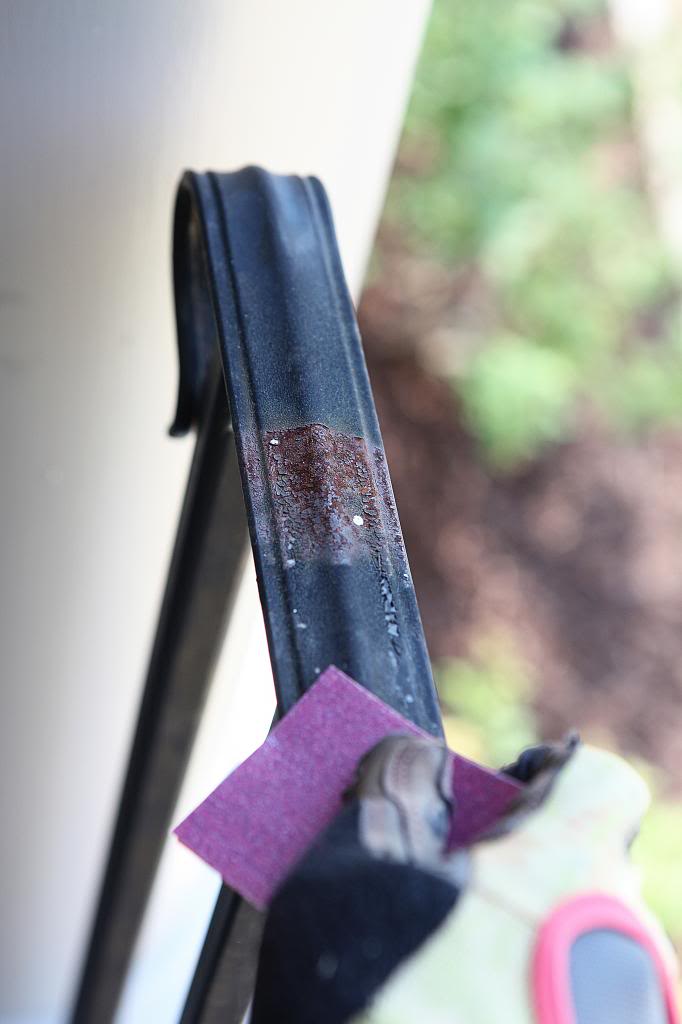
Just rub it until the raised parts are completely smooth to the touch.
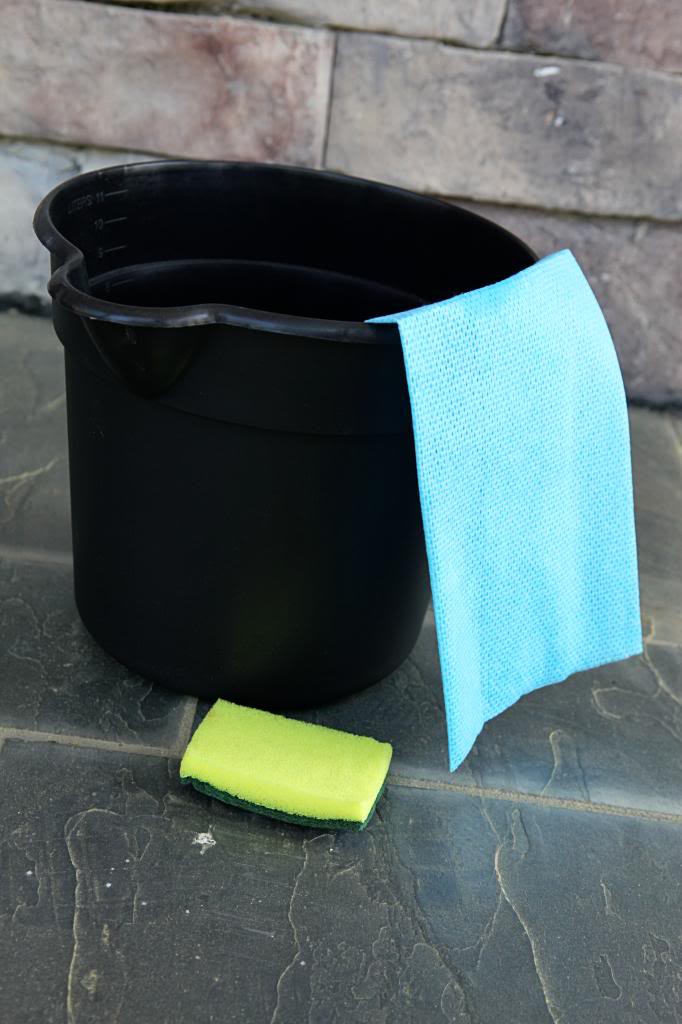
That black dust was literally everywhere…and the railings aren’t clean…so I had to wipe everything down with a bit of soapy water. The blue cloth I had is from the dollar store (they come three to a pack) and are amazing for projects that you need something that won’t leave fibers and that you can throw away. You will have to throw the cloth away because it will turn black. So will your hands. Don’t throw those away 🙂
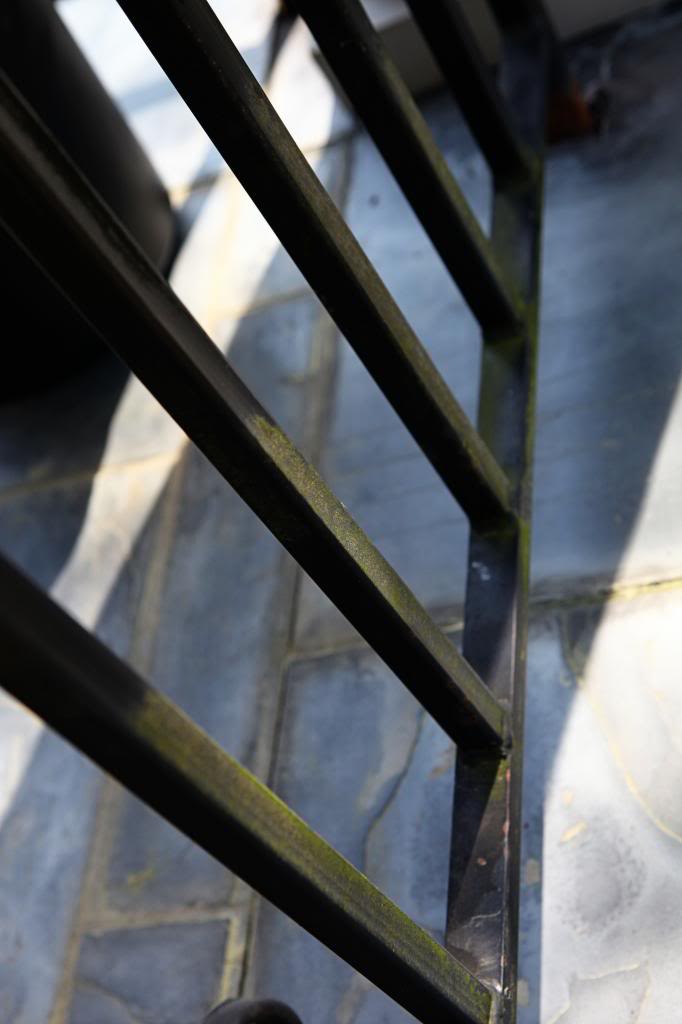
Some of my railings also had a bit of mold growing on them and that came off really easily when wiped….as did the bird poo and the pollen.
Next came taping up the porch floor.
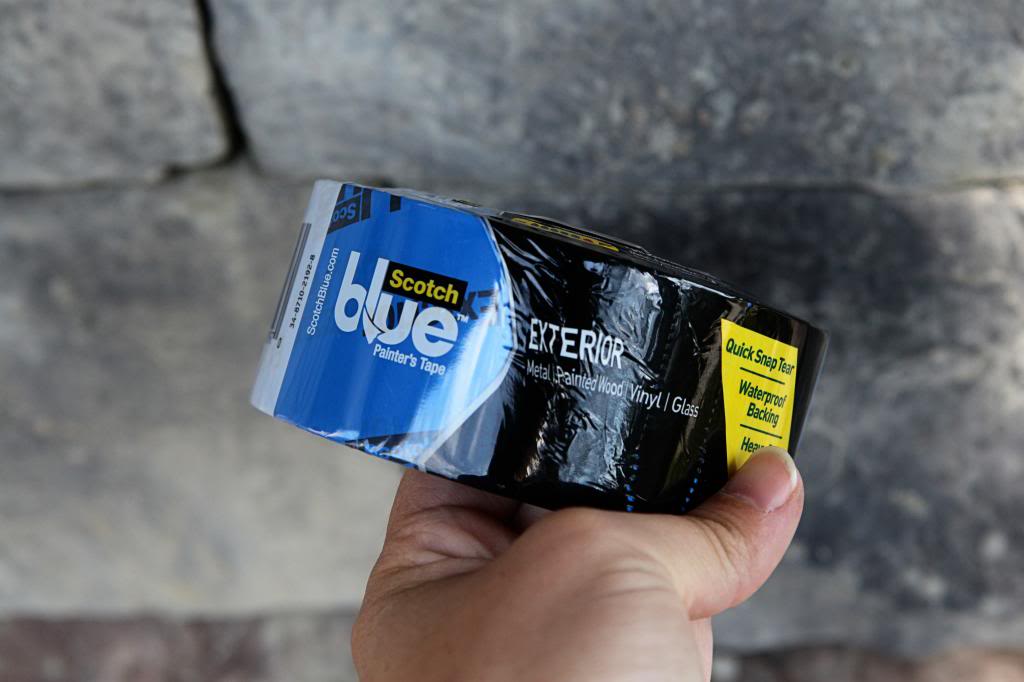
I used ScotchBlue™ Painter’s Tape for Exterior Surface#2097 for this part…it’s really thick (much more than the normal painters tape) and wider too and it has this quick snap tear which takes some getting used to but after a little practice, you get straight tears which is really nice.
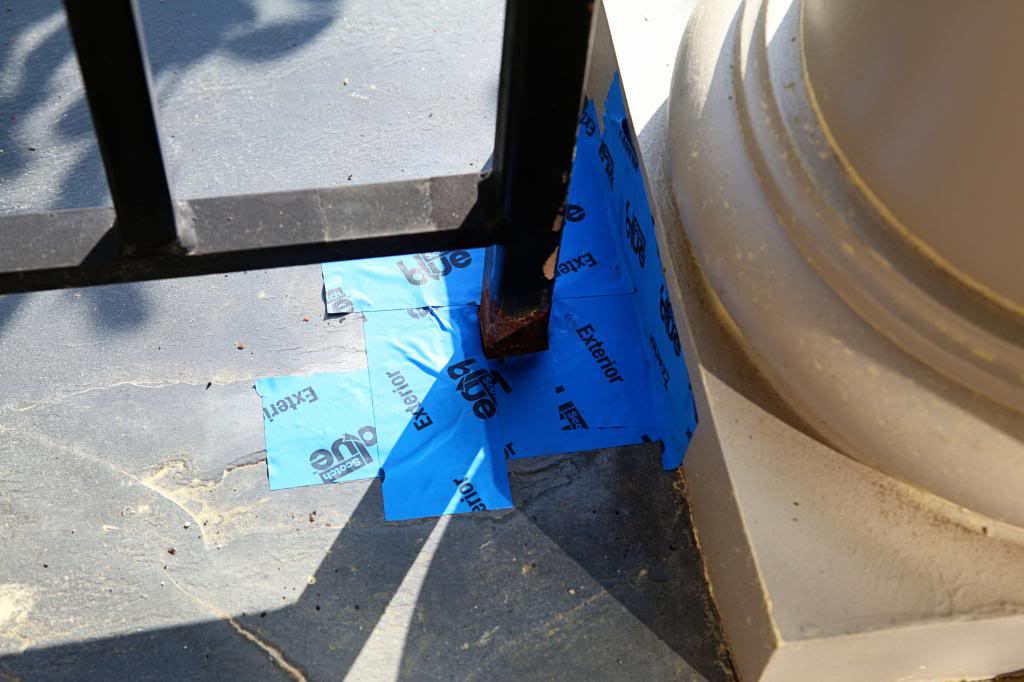
I used it around each end post and then also to protect the columns and hold my drop cloth down.
So after my prep was done, I was absolutely gung ho about painting….like picture me after a couple Jolt Cola’s and an energy drink.
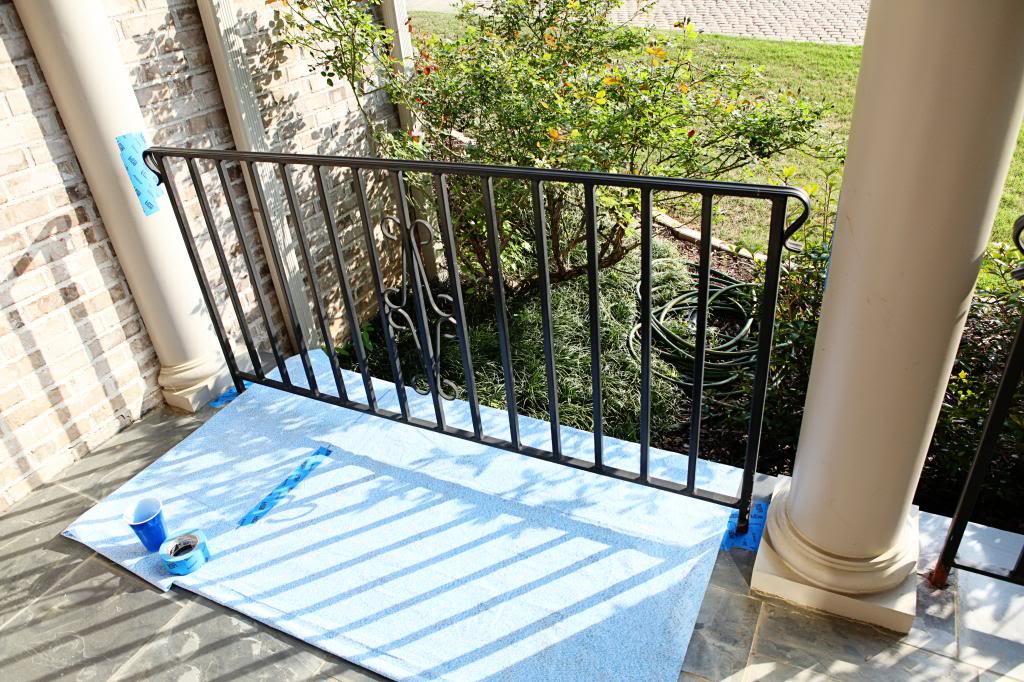
The materials I used for this project were oil based paint in Semi Gloss Black and a variety of painting tools…one being a paint mitt. Spoiler alert…I hate the paint mitt. I also hated using an old tshirt rag with a glove, an old sock and a foam brush.
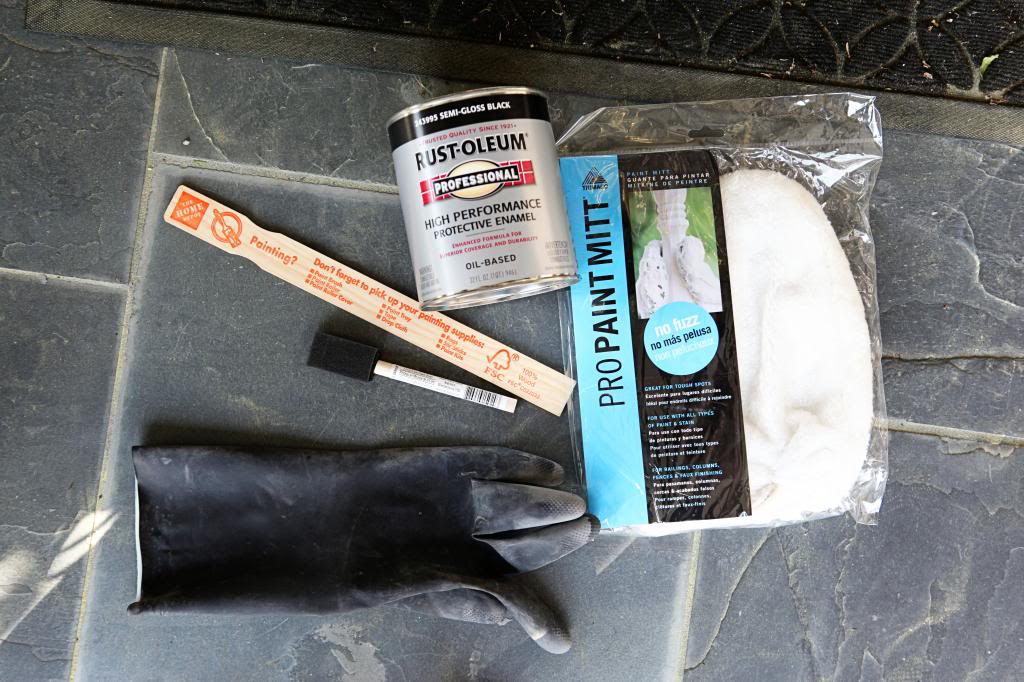
In the end, I used a regular ole paint brush for 80% of the painting.
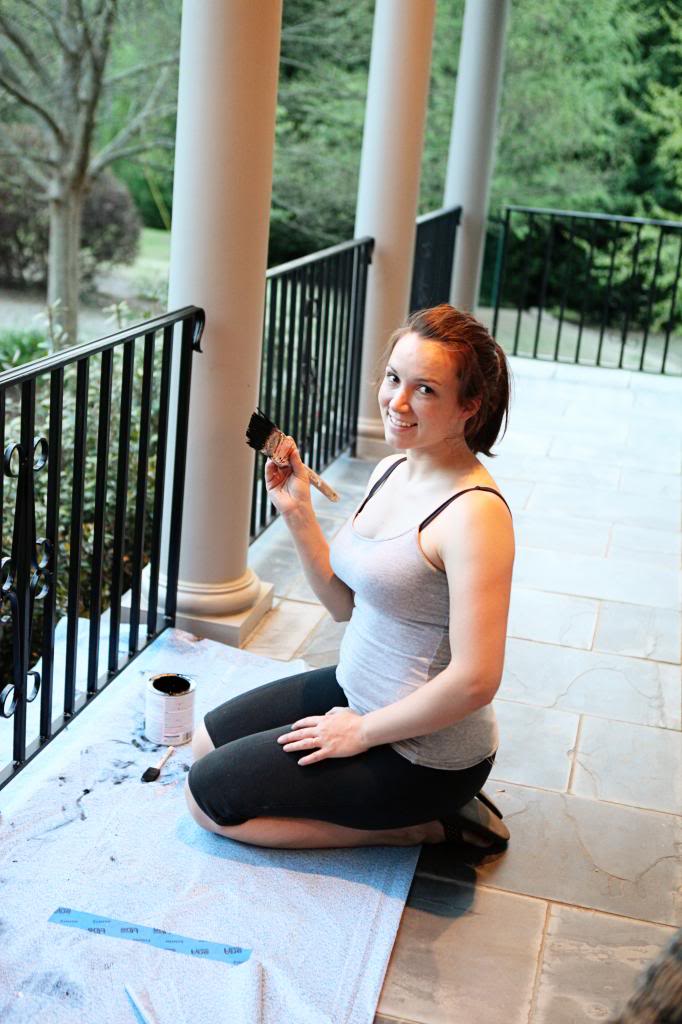
It ended up being a lot easier for me personally. Oil based paint is super tricky for me and I wasn’t used to it at all. I was glad that the brush held at least a bit of paint and I could get to any drips easily.
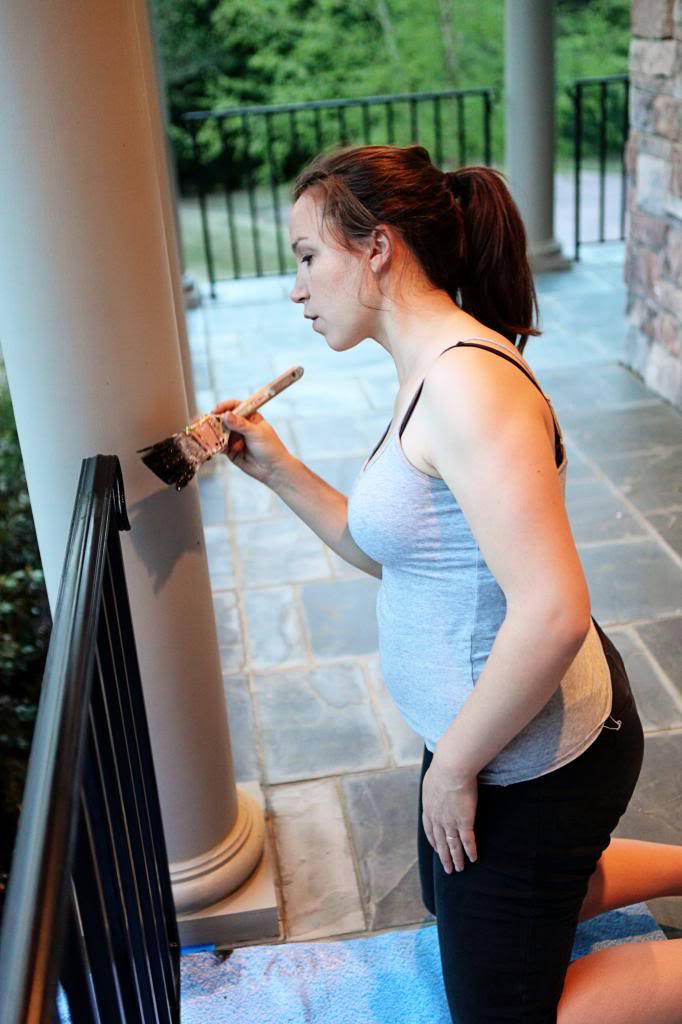
Here comes the part where I show you the most dramatic before and after in history…
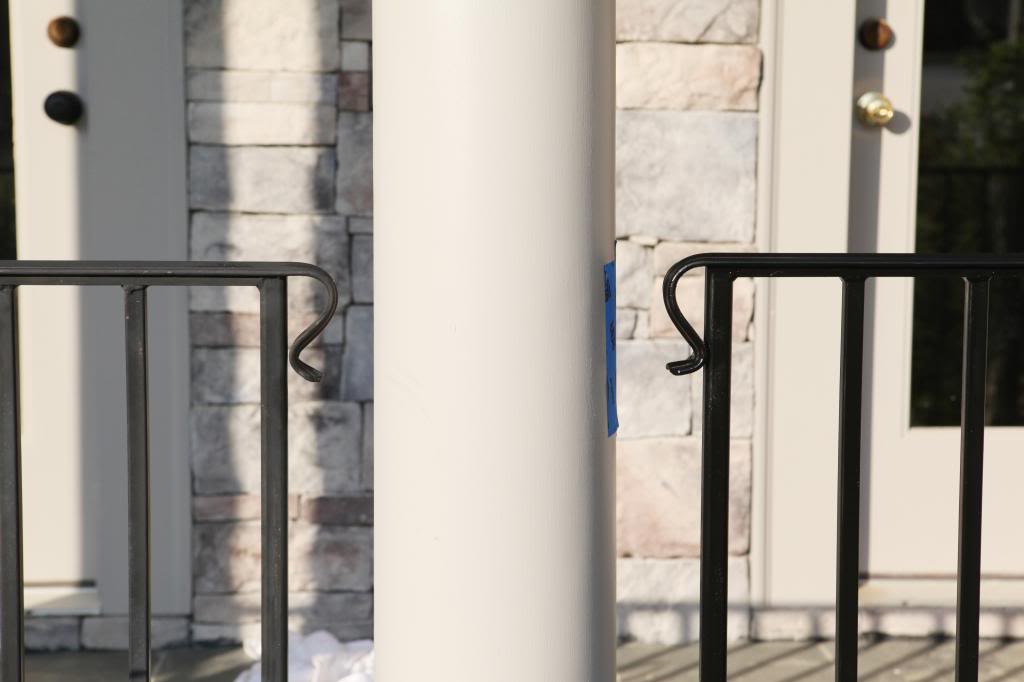
On the left I hadn’t painted yet and on the right it was complete and dry. Your life just changed forever. I know it did.
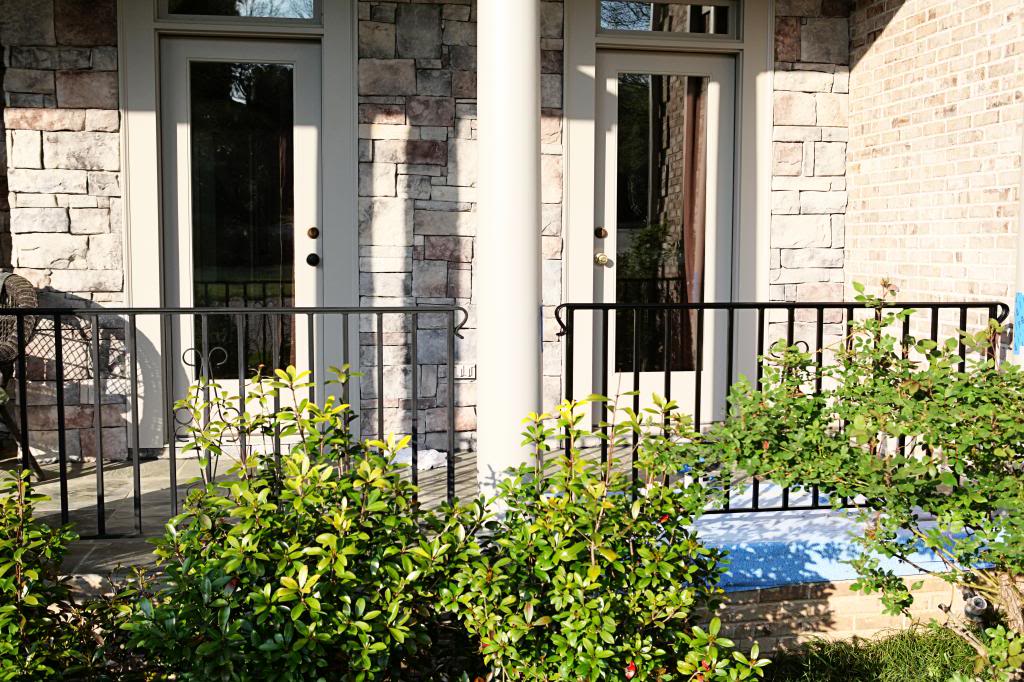
Okay – so maybe not. But even though it isn’t the biggest difference, I do see that it helps. It’s like black eyeliner…once you put it on, it makes everything else pop.
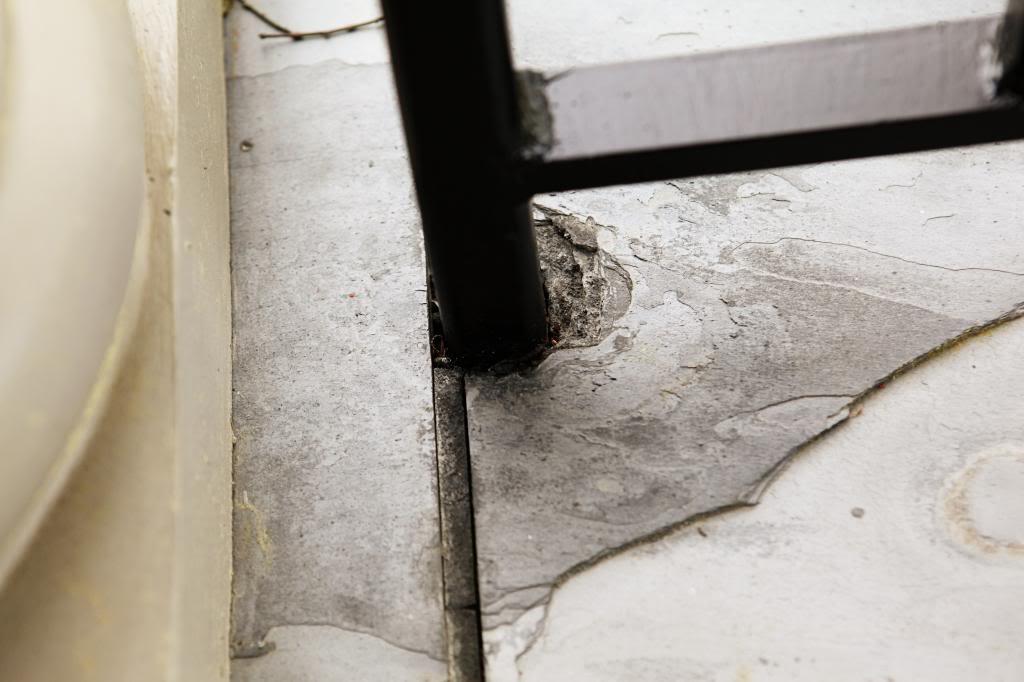
And how did the exterior tape hold up around those slate tiles?
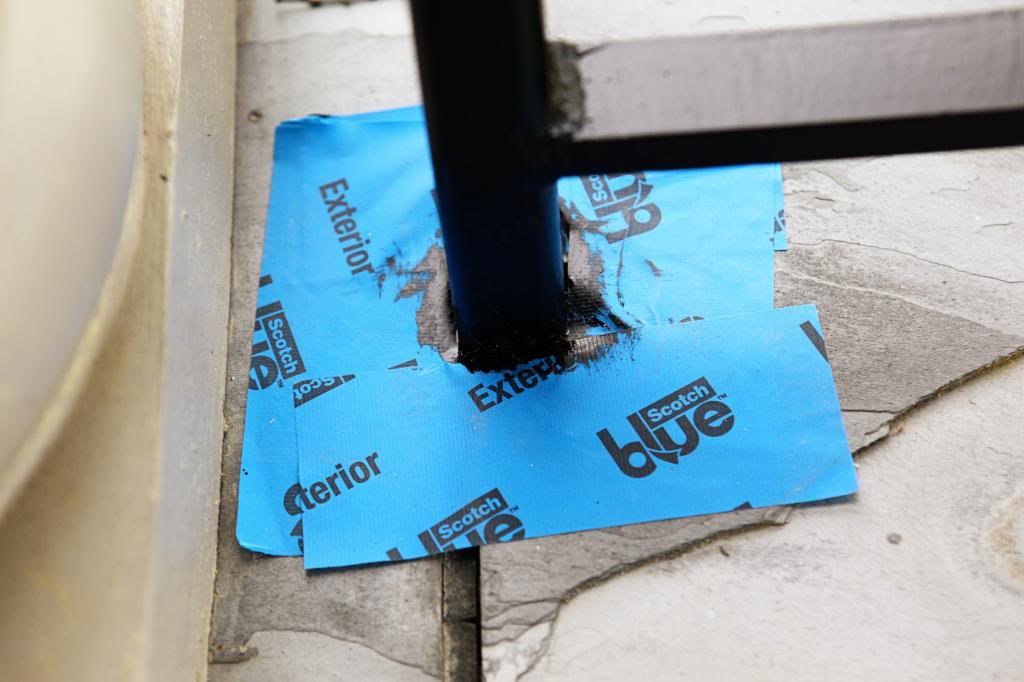
I’d say pretty darn good…even with the uneven surface, there was clean lines and no residue from the tape.
In the end, this tedious job turned out exactly how I hoped. It looks great. When we found this home, we fell in love with the lot and the location…and now, three years later, the exterior has been the one area that looks the most finished and bragworthy. There are some other tweaks I wanna do, but for the most part…I love it.
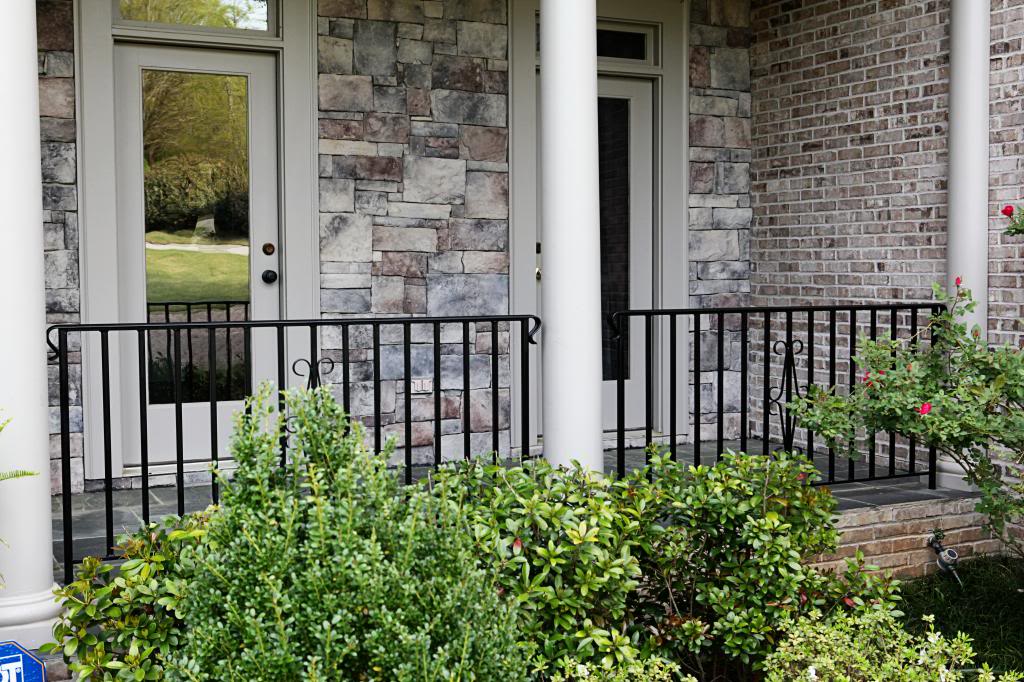
Now for some more after photos…
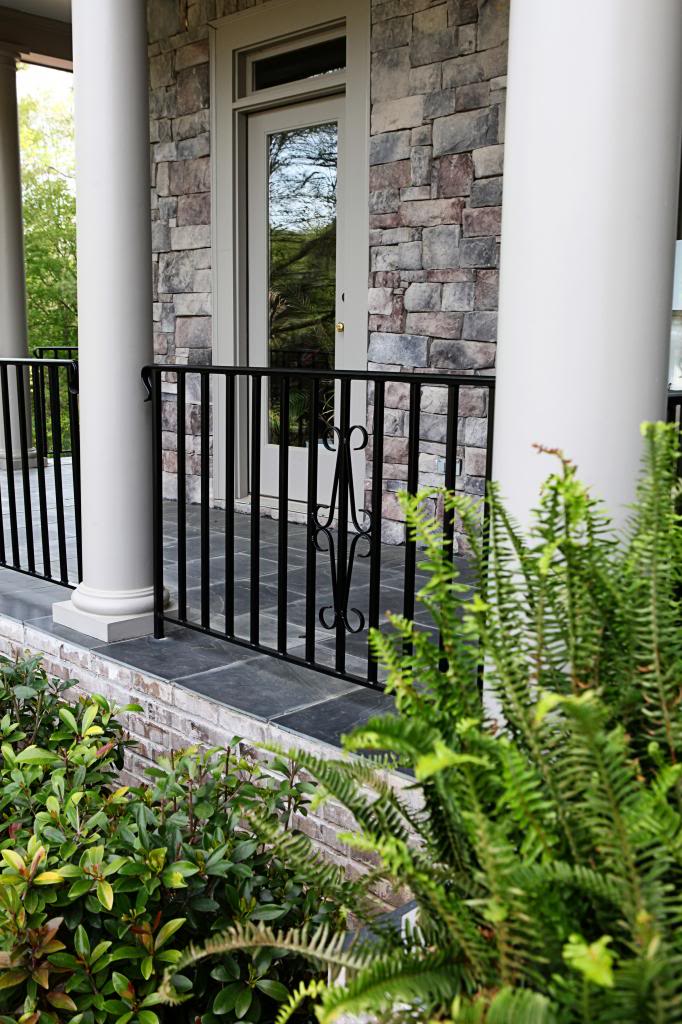
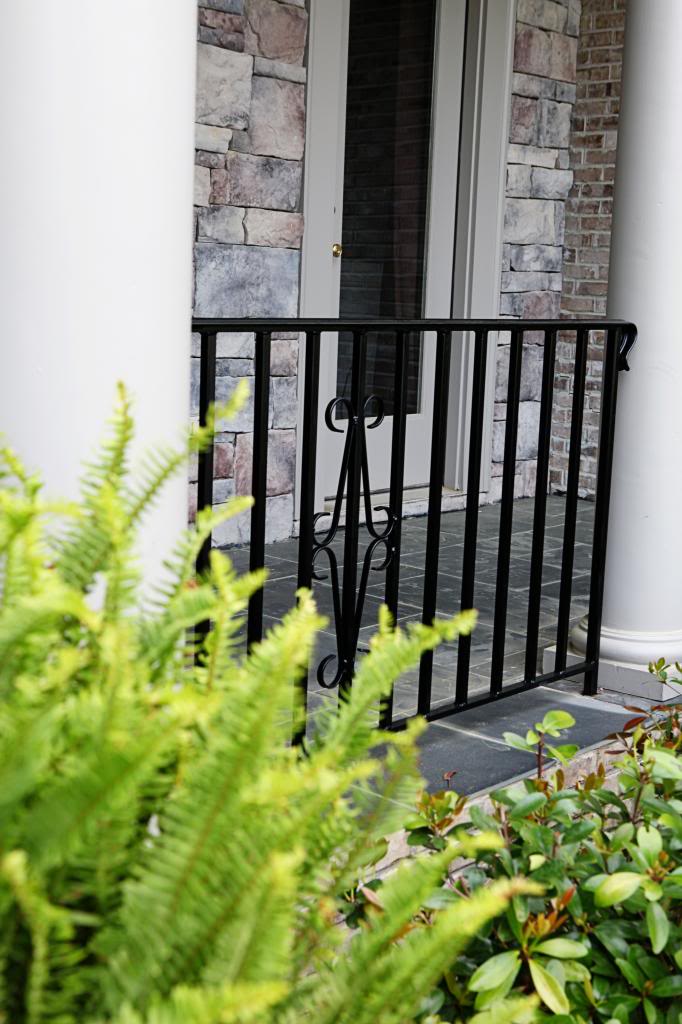
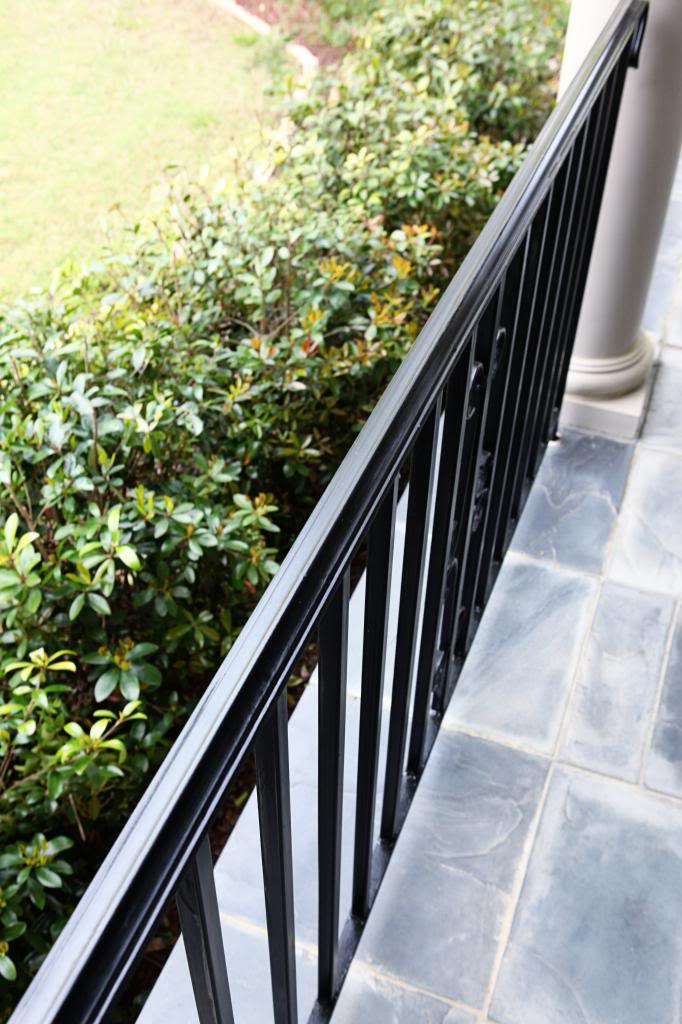
Oh and remember that bit of railing that had tons of rust? The after is smooth as buttah.

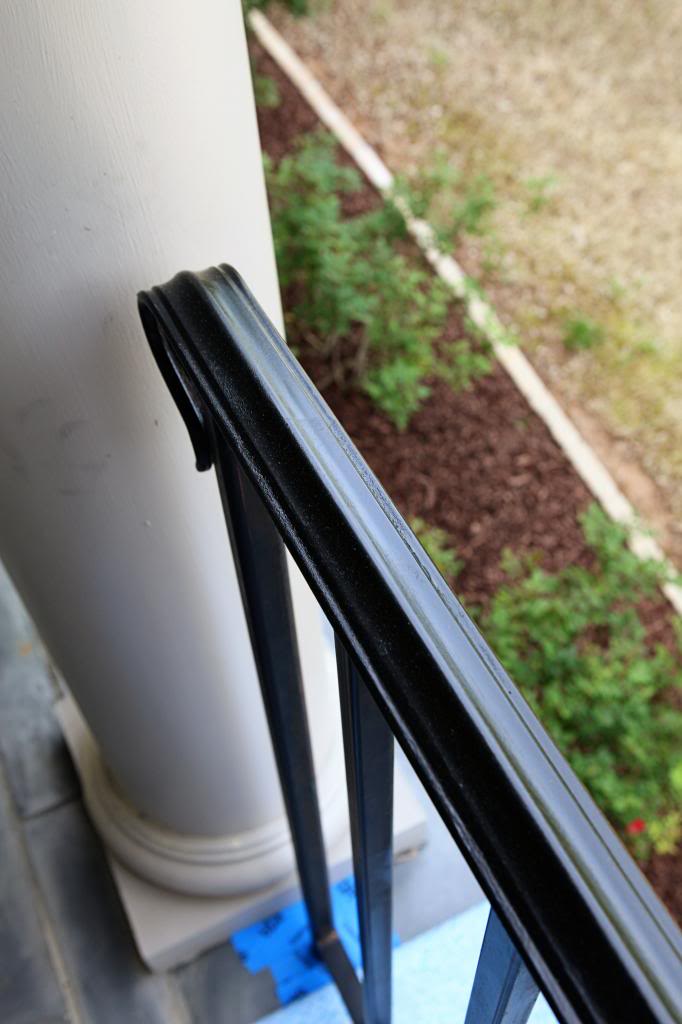
Here’s to crossing another thing off the list! You know…that list of projects that never ends and always changes! That’s our honey’s favorite kind of list, right?!
I am proud to be a 3M- sponsored blogger, and, as part of my responsibilities, I get the opportunity to evaluate new products like ScotchBlue™ Painter’s Tape. Opinions are my own and additional product used in the project were selected by me.


Your house looks amazing! Well done, Katie!
I’ve only been reading your blog for the past few months so I’m lucky in that I’ve seen the changes to your home happen pretty quickly through reading your older posts. You must be so proud in all that you have accomplished, especially with having 3 young boys to look after. Personally I don’t have any children yet and even I am in awe of how much you accomplish.
I don’t understand how so many people come to your blog just to give you a hard time – jealousy? Anyway, keep your head up high, you are an inspiration and I look forward to reading your updates as you have inspired me in updating my own home.
Orláith
Katie, you look AMAZING for (basically) just having a kiddo! Props to you!
Sarah
http://www.sarahsdaybook.wordpress.com
The railings really do look awesome! It is amazing how much those little details really can make a huge difference. Now, I have to go figure out which details to tackle at my house 🙂
Wow! It looks like you got brand new railings! Awesome job!
do you have a window in your attic? House looks great!
Its like you just knew what was on my to tackle list next!! I am painting our rusty railing this weekend!!
Looks great! And just FYI I don’t think the link to the tape posted correctly 🙂
I think this post is an understatement of the amount of time it takes to paint all those dang spindles. looks awesome (and so do you!)
It looks great, Katie! I’m curious why you decided to use a cloth and soapy water instead of the power washer to clean the railings?
Great work! Those little details make a lot of difference!
Brilliant, Katie!
Looking beautiful, I must add!
B.
A nice way to freshen up your front porch!
This was just the post that I needed to motivate me to paint my own railing! I’ve been hesitating because I wasn’t exactly sure what products to use so thanks for sharing your painter’s advice.
This looks GREAT! What a difference!
Was painting it on better than spraying? My first thought was to spray it with an outdoor durable spray paint (after all the prep work). Just wondering if the painters shed any light on that.
Lookin’ good!!
Painting was HARD but I don’t see how I could have sprayed it without tons of drips!
xo – kb
Below our porch is a cold cellar and we like to make sure the ground doesn’t get too saturated with water!
xo – Kb
BLEH!
xo – kb
Nice!! Love how much it pops. You’re totally right that the outside has been mega transformed in the past 3 years – good work!
And you’ve had 3 babies??? You look amazing!
Ugh! I have to do this and have been avoiding it! Not to long, only 4 years. haha Gotta get on it since it obviously helps!
It looks so sharp and crisp. And you’re looking ahhmazing as well Katie!
Wow! What a difference, it looks great! I may have to throw this on my to do list…
And you look great post-baby! ?You go girl!
good point! And as usual you look FAB painting!
Yes! Weird, huh!?
xo – kb
Who watches will and weston when lj slept and you tackled this monster prohect?! In awe…two babies and a messy house on long island ny here!!!
Jeremy! He’s great with the big boys – they are obsessed with him 🙂
xo – kb
Ahh…just assumed this was some weekday stay at home mom super powered project!
Why did you photoshop yourself???
You look fantastic. You shouldn’t need to worry about things like that
Your railings look great! Amazing what a difference some paint makes! No more red door? Your red door inspired me to paint my front door red. Actually, I haven’t done it yet but it does have a lovely swatch of Front Door Red taped to it! 🙂
Isn’t it nice to be able to scratch something off your needs to be, but not a large priority list? There is so much me and the Hubs want to do to our home. I am hoping to use my summer break (I’m a teacher) to get some stuff done like finish painting and a gallery wall. Kudos to you…..you rocked the railings!
http://www.mysimplesignificance.blogspot.com
Hello there!
Hope you all are doing well 🙂
love,
The Sawtelle Family
Jim, Ellen, Kingsley, Skylar ,Harlie and Dominic
Love love love your house! We can never seem to find sandpaper when we need it here and I love that you’ve got it all organized in that container. Do you remember where you found it at?
Skinny Minnie! You look great Katie! Oh and the house looks good too I guess, lol.
I got it at Michaels! Don’t forget your coupon!
xo – kb
Hi Ellen! How are you guys?! I found a pic the other day of Will and Dominic and I was hoping to see yall at the Suters!
xo – kb
We painted it back to black a while back…although I have an itch for a color again!
xo – kb
I didn’t. I have no shame in doing it and totally own up to it when I do…but this time, those lumps are all me 🙂 I did suck it in like nobody’s business though!
xo – kb
Ugh, oil based paint is the worst. But your timing on this post was perfect! I’ve been staring at (and avoiding touching) our gross rusted white railings since we moved in six months ago so you spurred me to paint this weekend. I’m one coat in on a brown makeover and already it looks so much better. Thank you for the tips on the supplies to use! Especially when my old nosy neighbor stoppped over with his “suggestions.” I’m sure he’s there now that I’m at work taking a closer look, haha.
Hi, I found you thru THRIFTY DECOR CHICK,I live in Ga. was curious you mention the great painters can you share who they were? thanks
I have wrought iron railings inside my house up and around our stairway that someone painted peach and then off white. Now the paint is chipping off to show the wrought iron. Do you think the paint you used could be used for interior railings? Too fumey? It’s too much to sand it all completely off and I’ve read that could release lead from the wrought iron. I’m thinking of trying to match the original railing color. Any thoughts Katie?
railings look wonderful, nice!
Well, the first thing I would do is test for lead. You can buy a tester at your local home improvement store. If there is no lead present, then you could sand it smooth but otherwise, yes, I would use a paint specially formulated for a metal application. Oil based paint is very fumey so make sure that if that is what you choose, to open up doors and windows and wear a mask when inside.
Hope this helps a little!
xo – kb
We used Certa Pro painters and had an awesome crew. I hear that every crew is different but ours was great.
xo – kb
As always, I’m impressed by the projects you manage to tackle! I painted two railings in my house (one still to go but I ran out of steam) and it took FOREVER and it was probably a small fraction of this project!
Wow, it’s amazing what these little details do – it looks great. So crisp! Nice job.
What a great update! Looks amazing and so do you!
Good job. I prefer oil base paint, it always give an extra shine to the railing.