Let the insanity continue! Let’s talk water lines!
You might need a strong cup of coffee for this one….or you can make this post into a drinking game and take a shot every time I say “pipe”….that’s one way to have a fun Thursday morning 🙂
Okay…so yesterday we talked all about PVC installation. Today is all about the water lines….the copper pipes….which are really popular right now in DIY projects like lighting and decor but not as talked about in plumbing posts (what?! like plumbing is boring!? what?!!). In the last post, I showed ya what was existing (as in what was already there when we walked into this project) and then what we added (in blue).
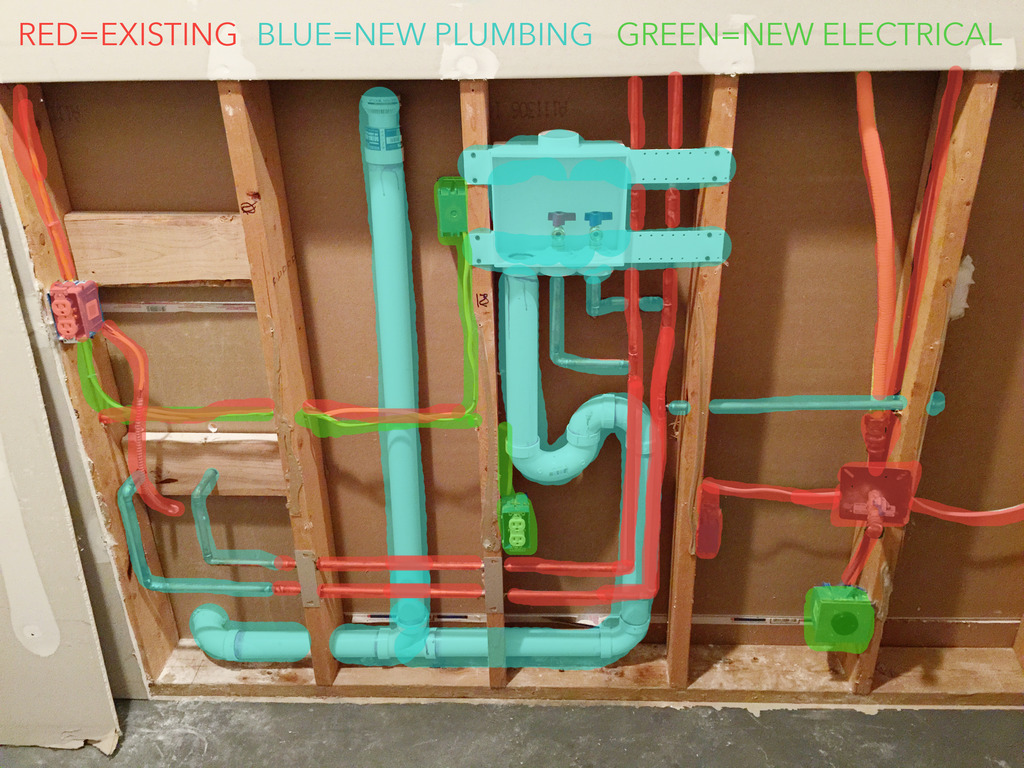
On the agenda was adding new water lines….below in red….for three different things….the washer and dryer needed water, the sink needed it’s lines relocated and then the fridge needed a line so that the basement water dispenser and ice maker could work. Just so you know….an ice maker is paramount in the Bower House. We go through ice like it’s nobody’s business. We put ice in everything. It’s a sickness.
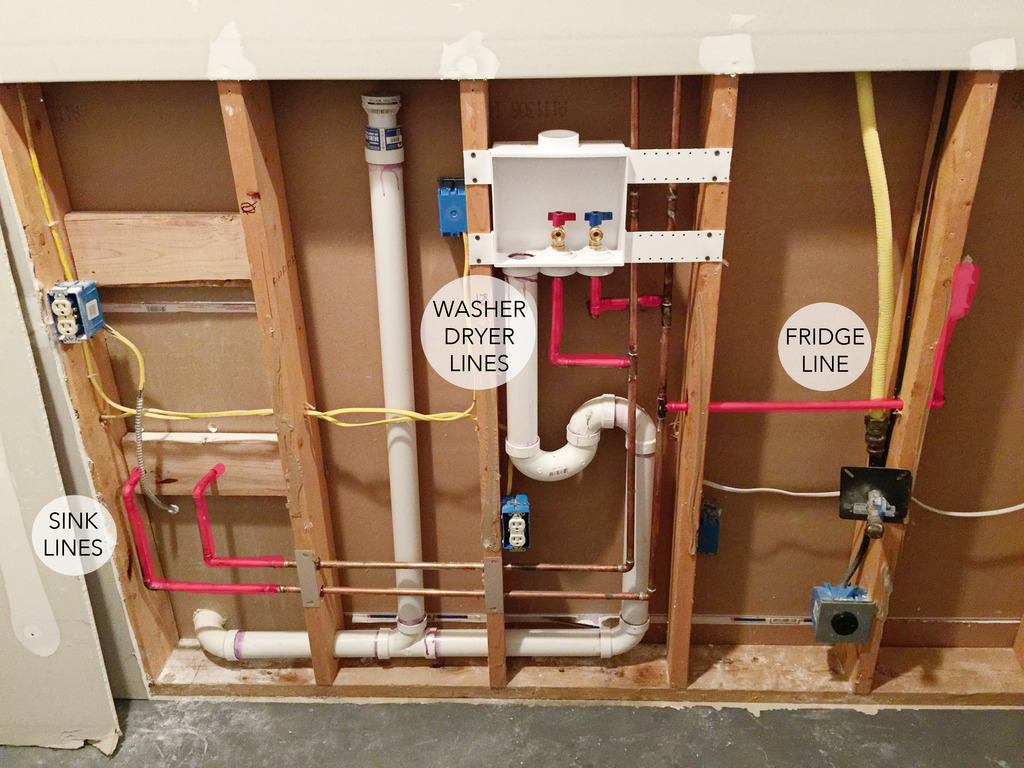
Okay….so the original copper pipes were going down the wall and needed to connect with the washer and dryer pipes.
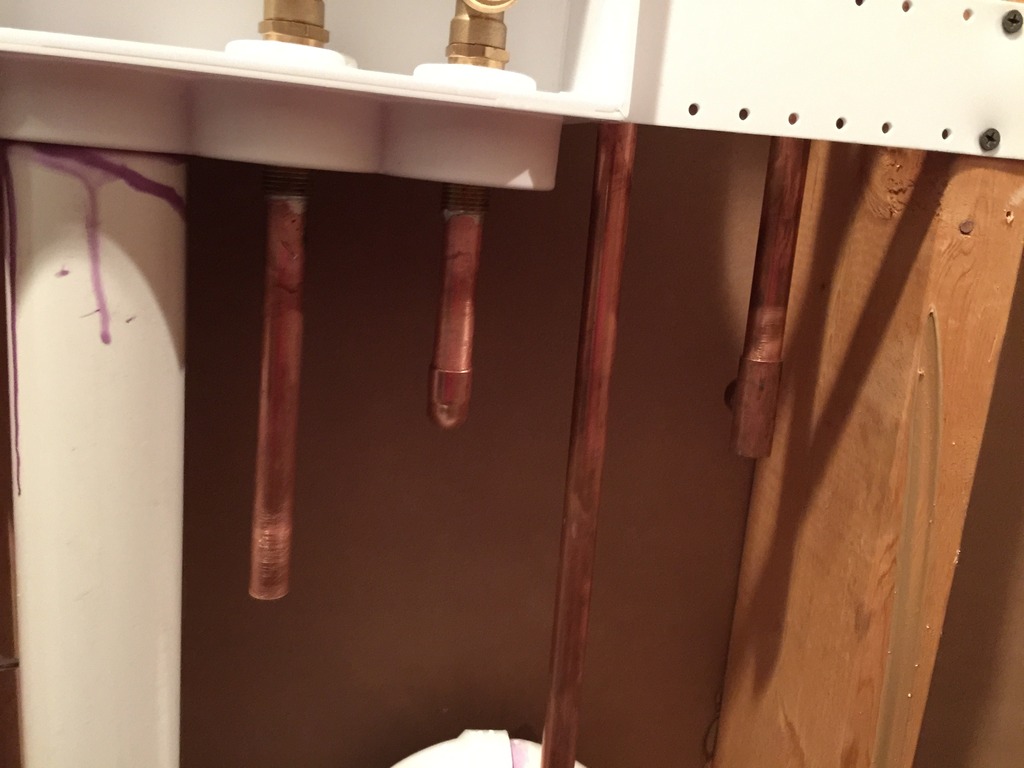
Larry….ahem…Super Larry (our neighbor) showed Jeremy how to cut into the lines with a hacksaw, then file the edges of the pipe and prep it for soldering. They dry fit the pipes so that everything would fit and then spread soldering flux (it looks like rubber cement) on both ends of the cut pipe. Then it was time to get hot!
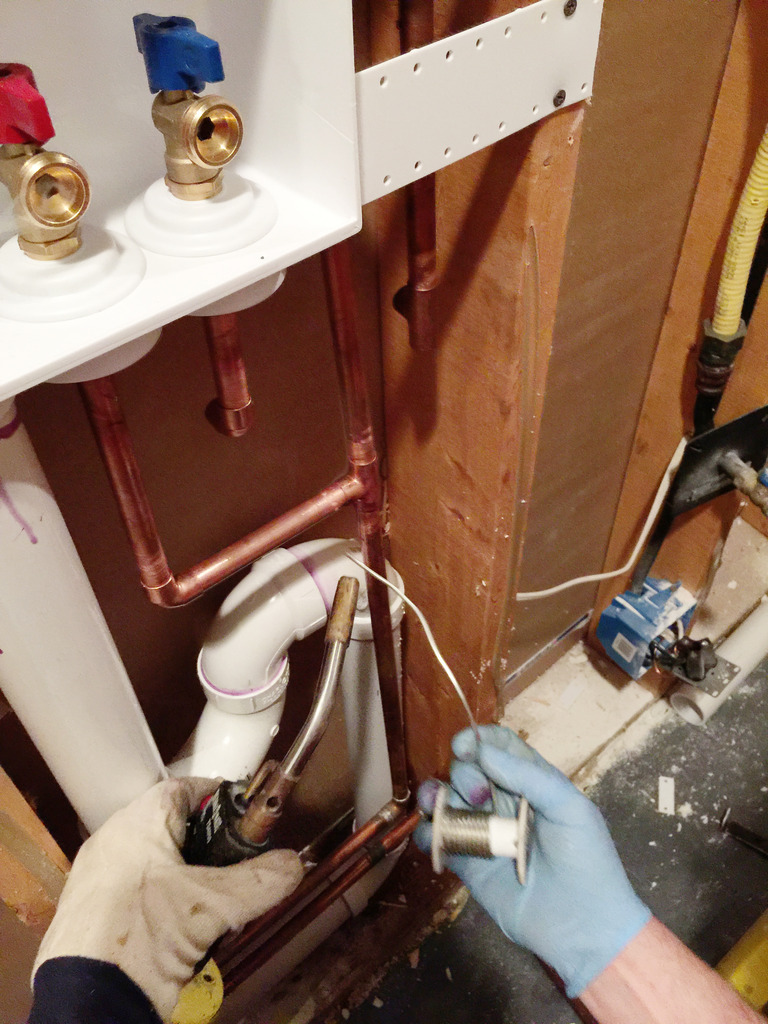
Yes. That is a torch. And lead-free solder. Now where is my fire extinguisher emoji?!
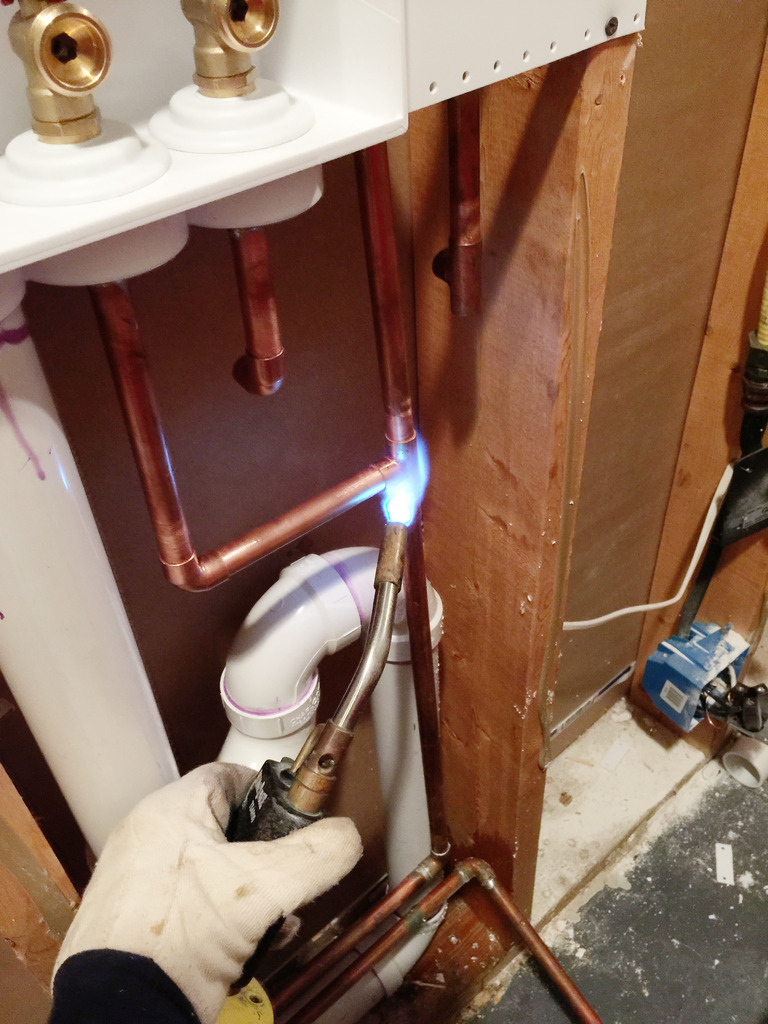
I was gonna explain the soldering process but honestly, it’s way easier for you to just watch videos about it on YouTube. Here is a good one.
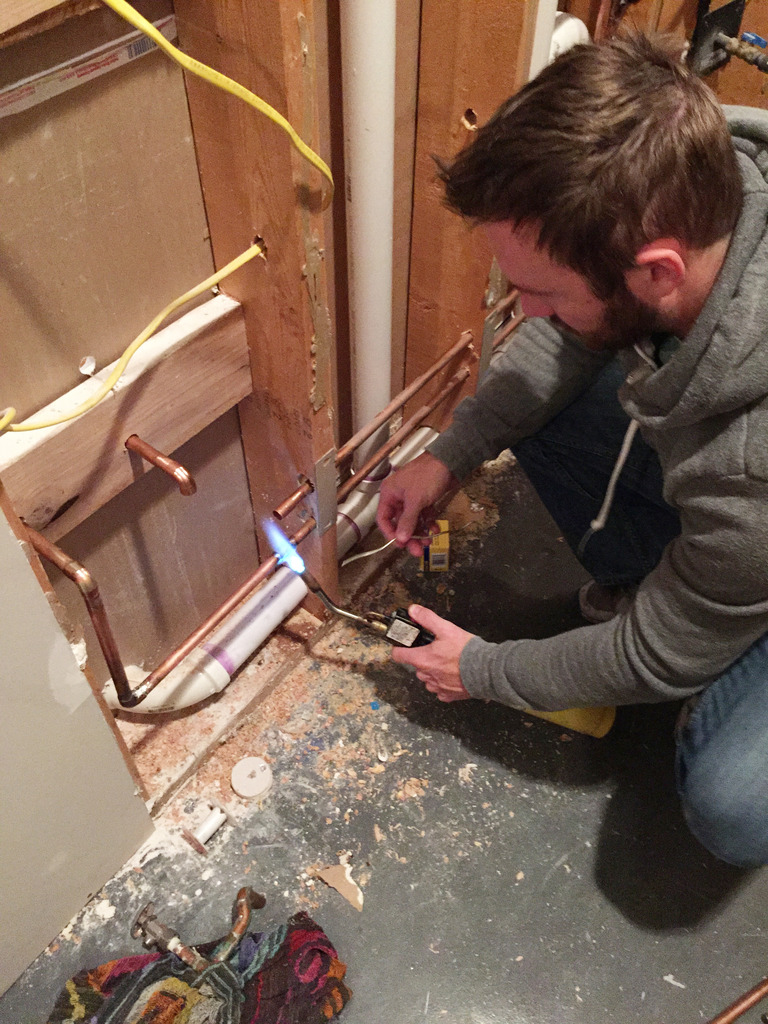
Then it was Jeremy’s turn……yikes, right?!
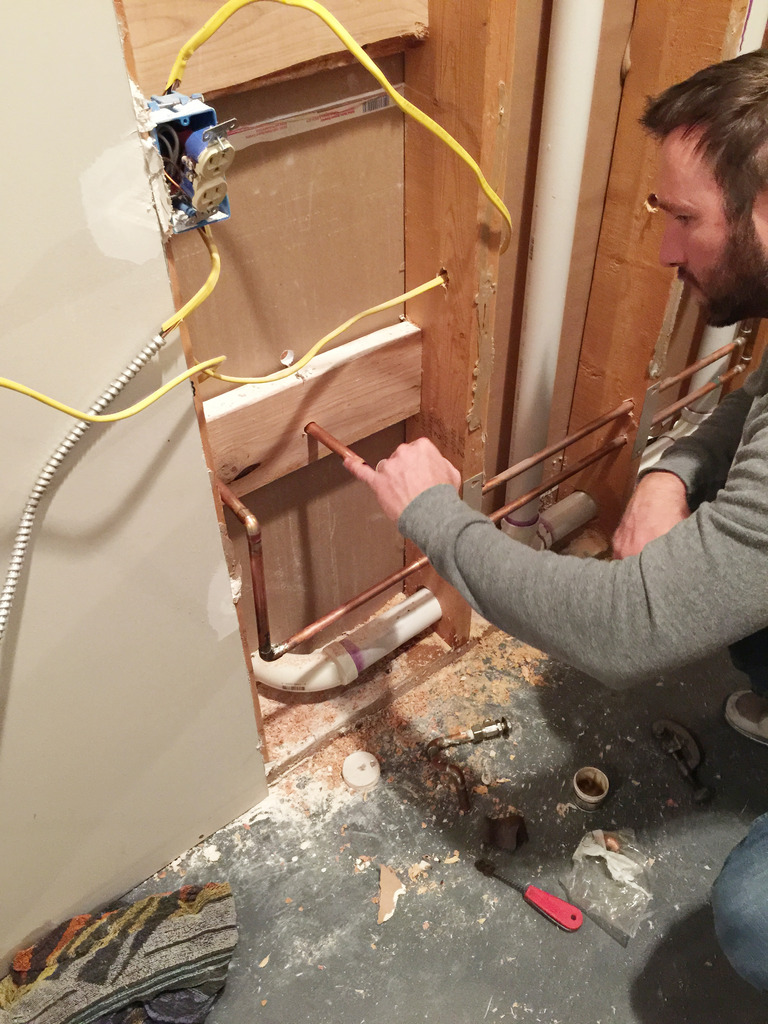
Please don’t die Jeremy. I need you to help pick a baby name 🙂
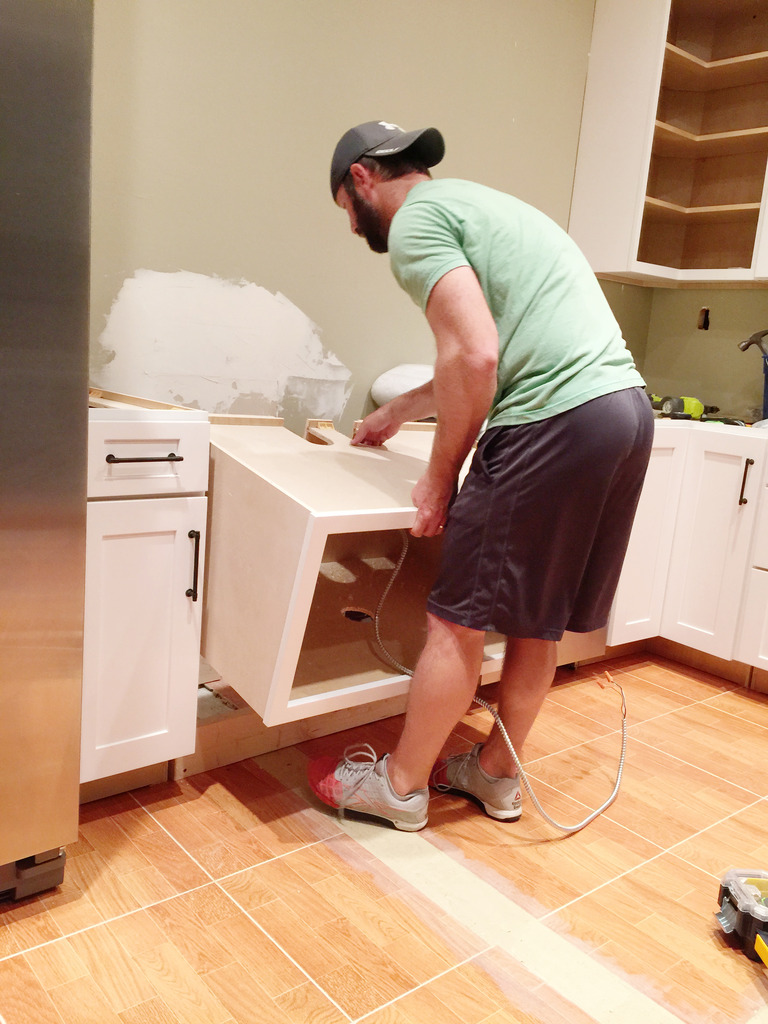
So after the water lines were done for the washer and dryer and then the sink lines were done too…it was time for the base cabinet to be installed. Since Cabinets.com didn’t carry a cabinet for apron front sinks, we hacked a wall cabinet to make it work. First, Jeremy built a box for the base outta scrap wood and then jigsawed the cabinetry to fit the water lines and the drain pipe.
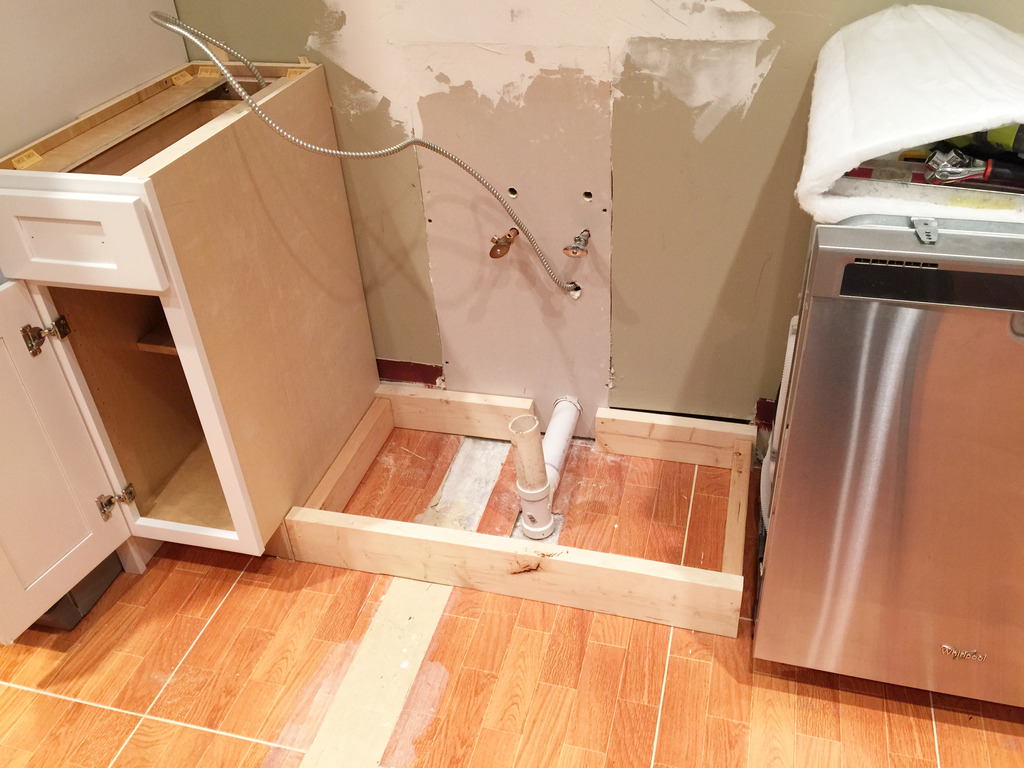
Lift with your legs Jeremy…not your back.
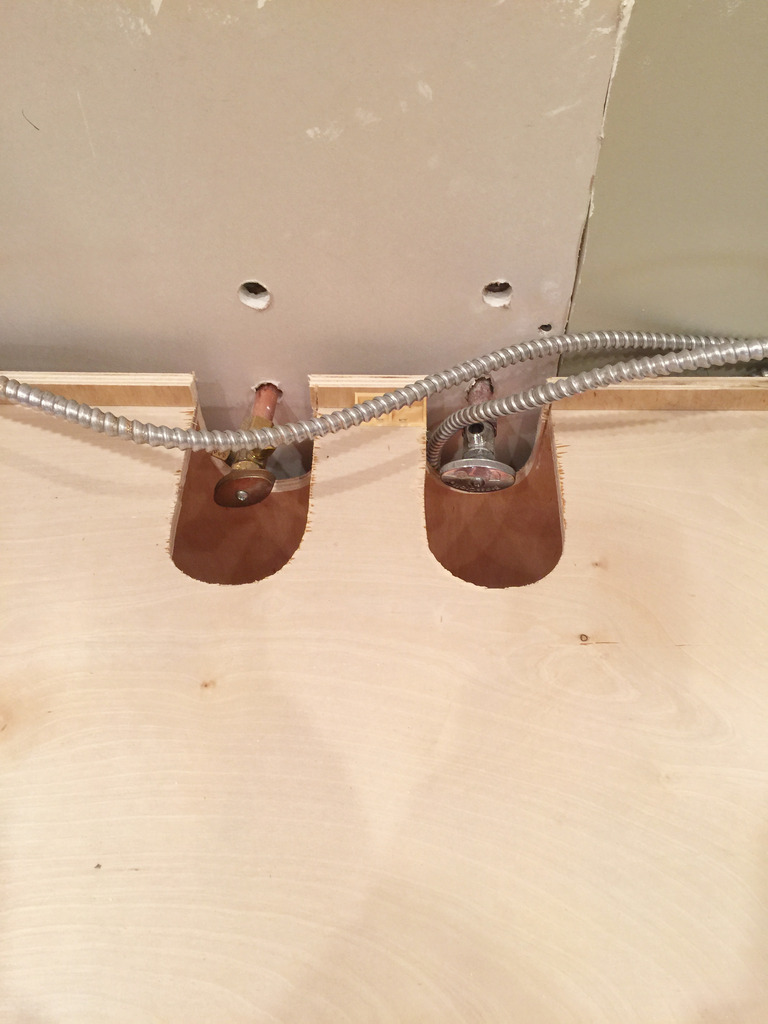
So you can see how we can access the water lines from the base cabinet and then also the top….
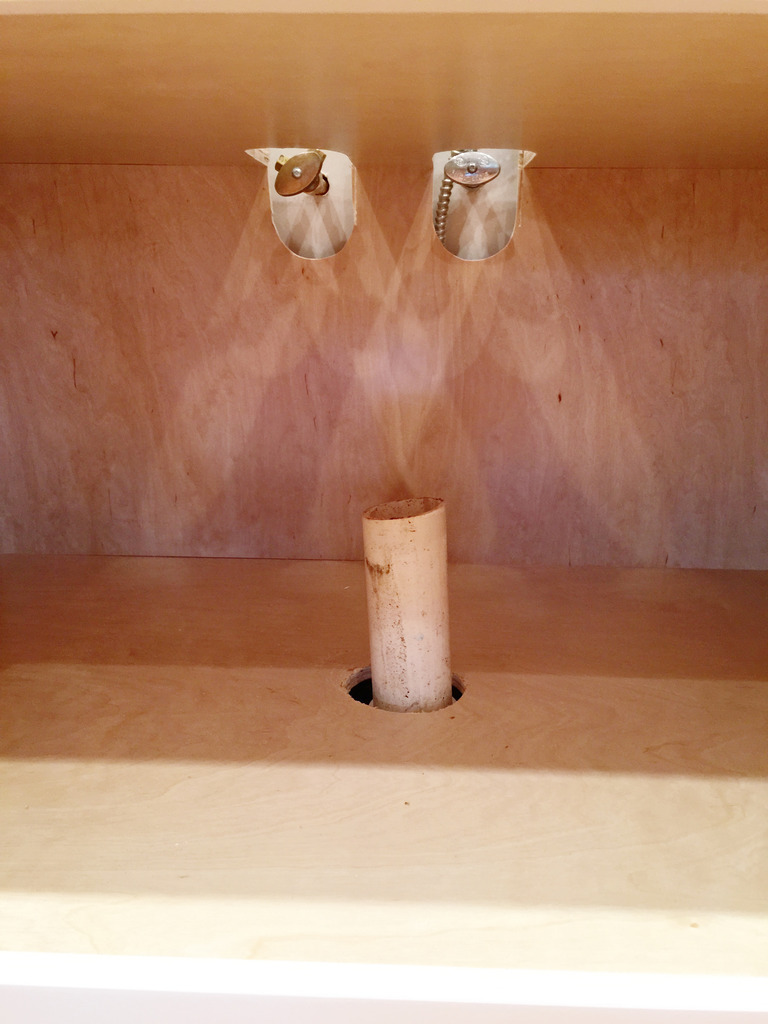
There is more that goes into the sink installation later but for this plumbing bit….let’s call it good for now.
Moving right along to the water line for the fridge. This is thing you need to install an ice maker line….
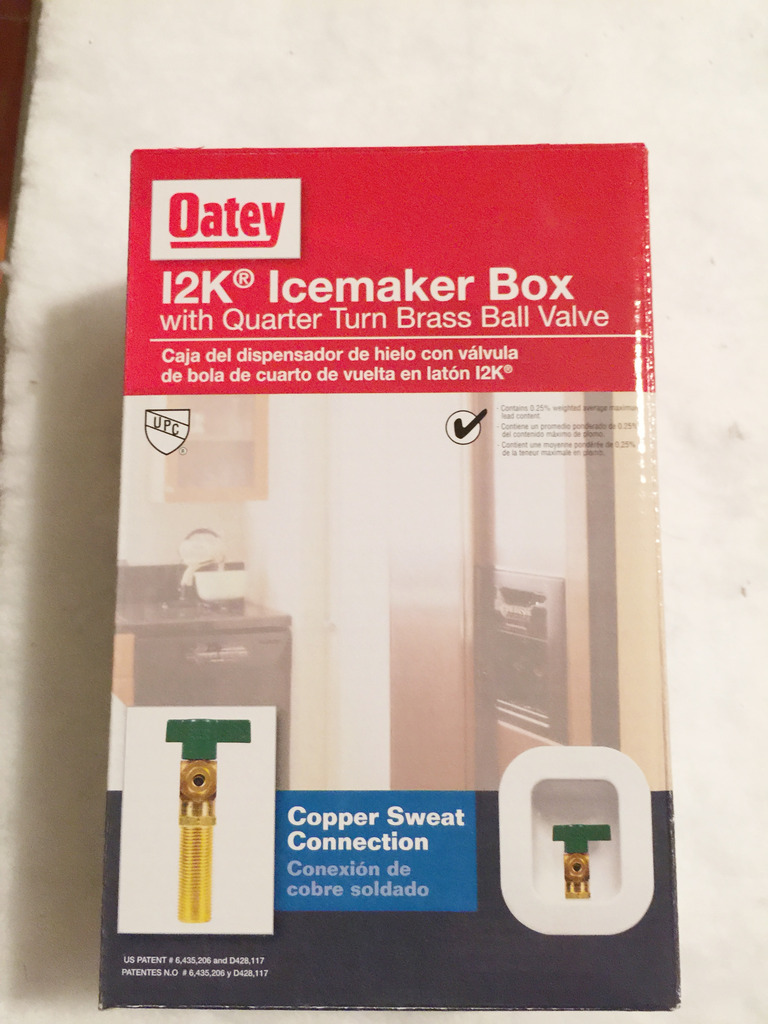
You cut the hole in the drywall, pop the box in that has the valve….
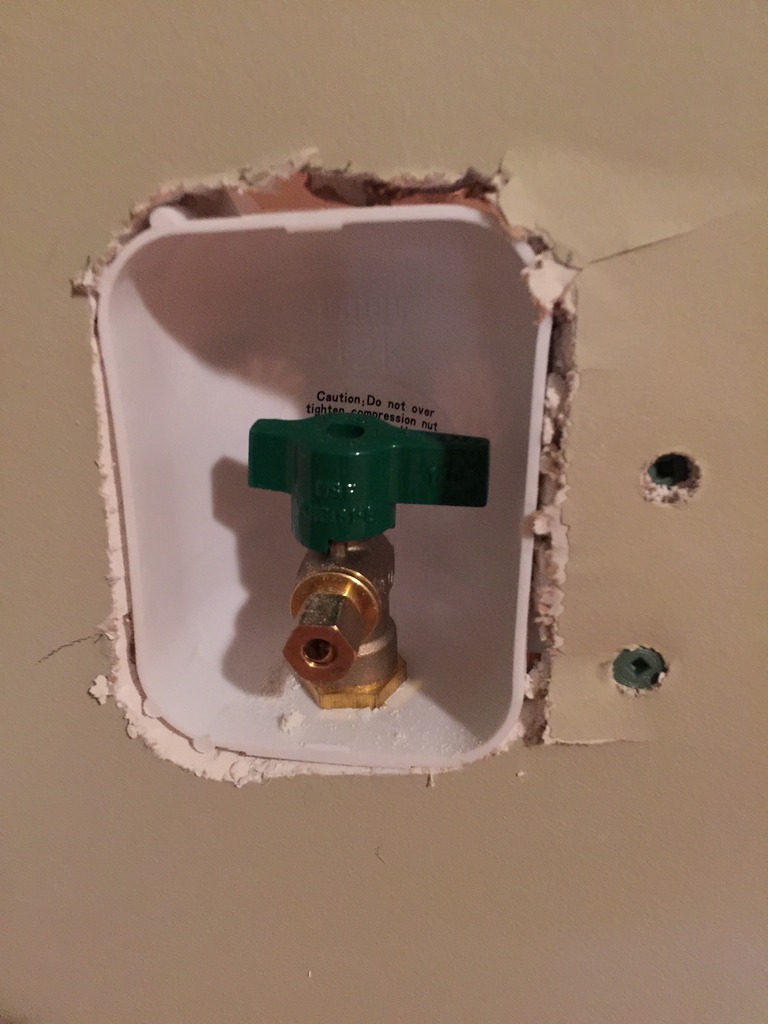
Here’s the view from the back….also known as Kim Kardashian’s favorite angle….
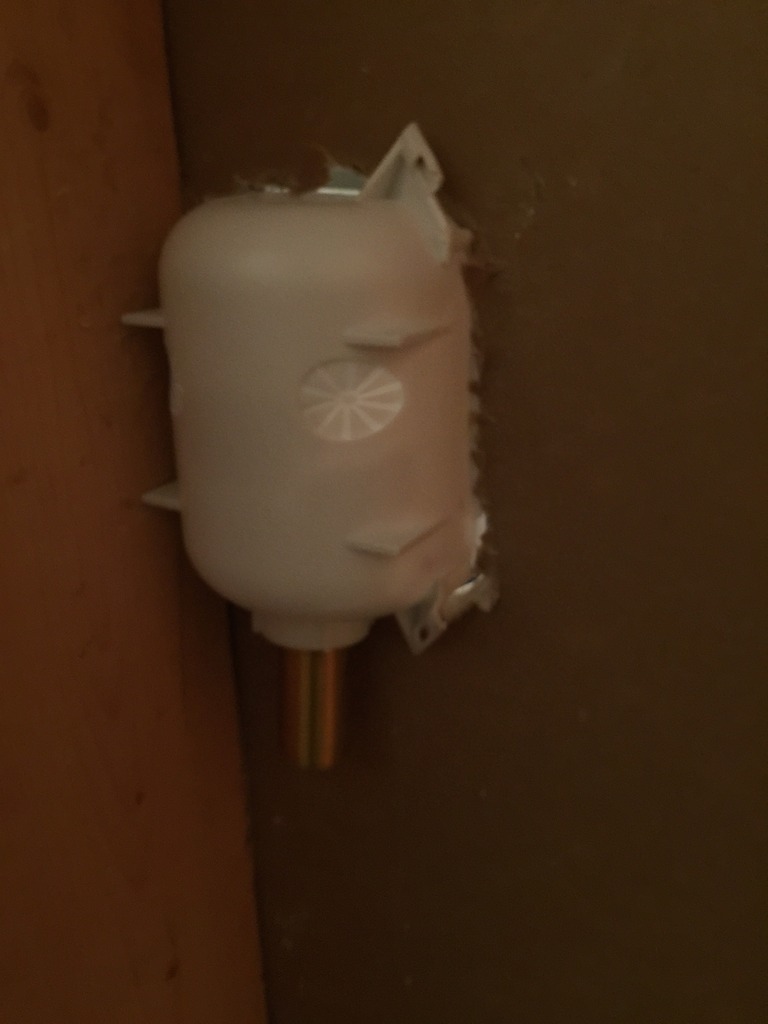
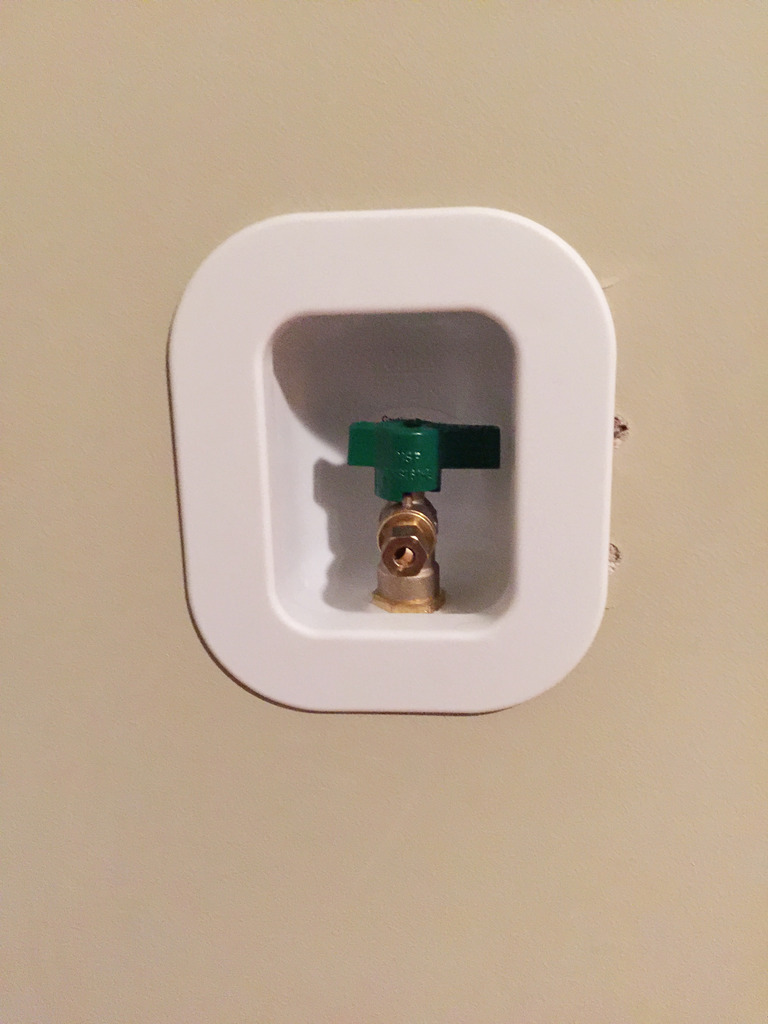
The plate goes over the front and then you run your copper lines….
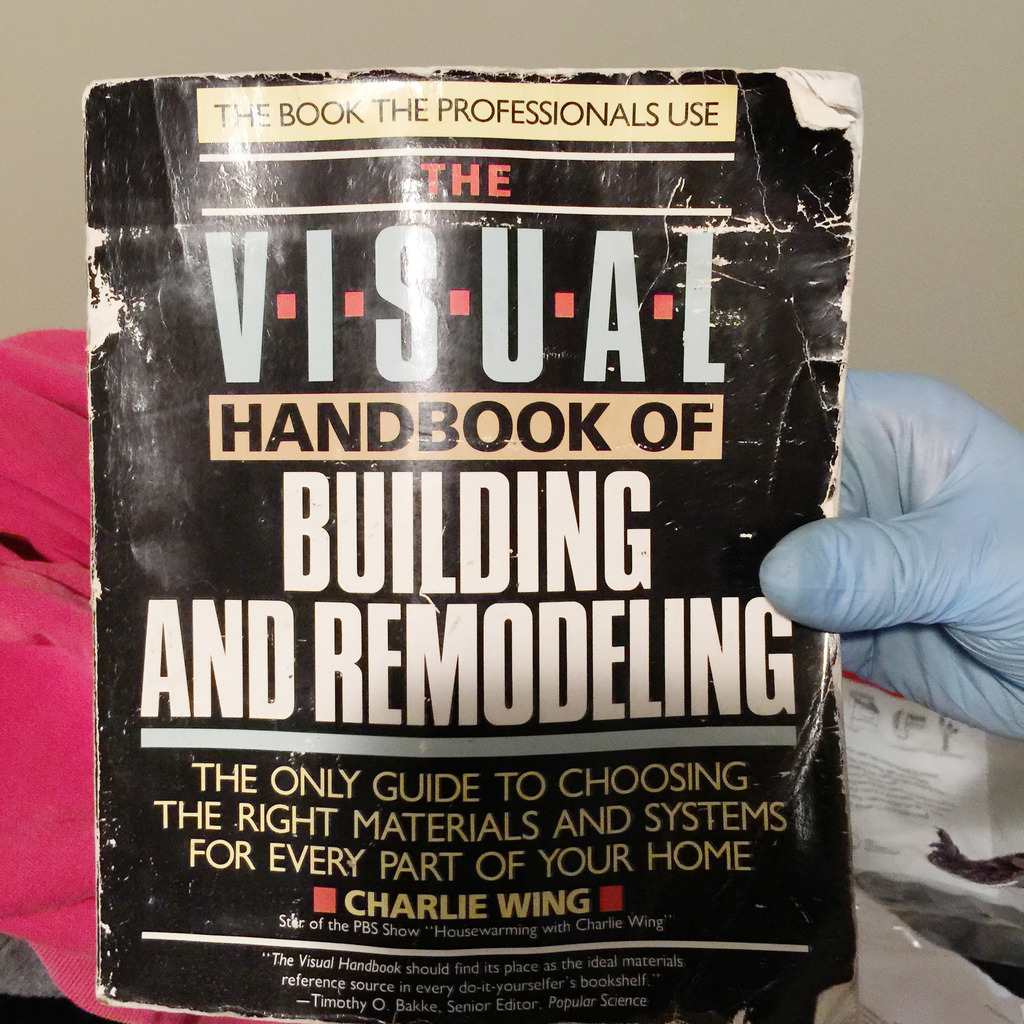
If this post couldn’t get any more exciting….here is a good book about remodeling. It’s always a good idea to pull a permit for your own work (if required in your county) and have an inspector come out and approve what you did (even if no permit is required, a pro or inspector will look over your work for a small fee and give you peace of mind).
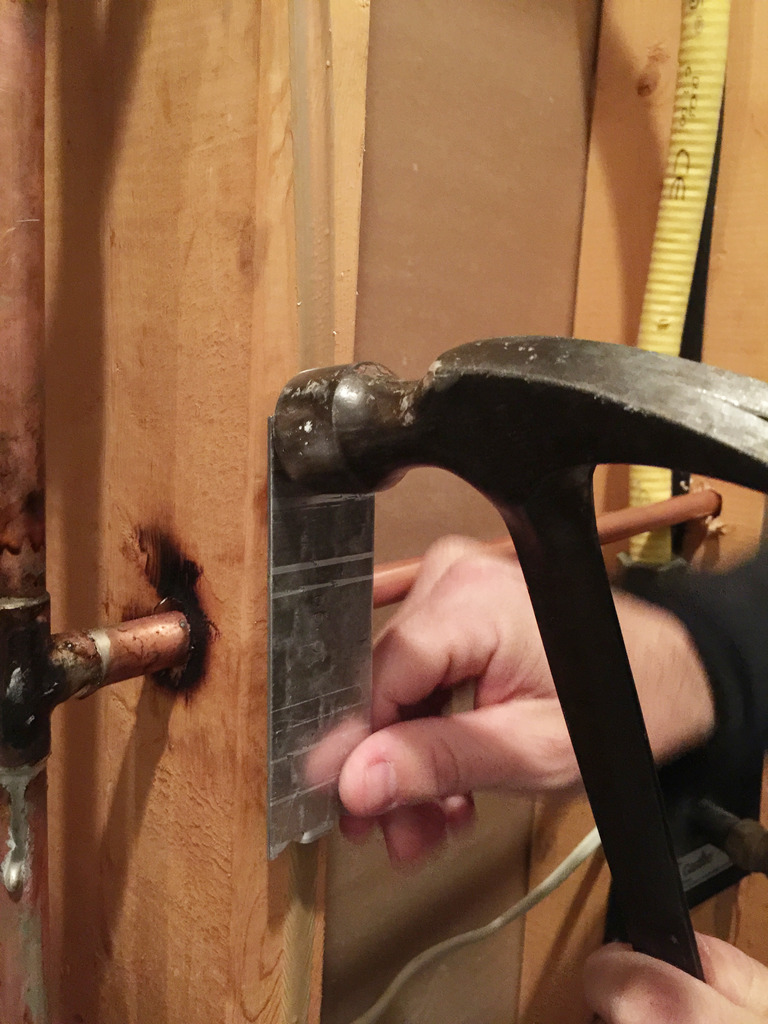
Okay…back to the water lines. The lines that went through studs require protection….aka a plate….so those were installed….
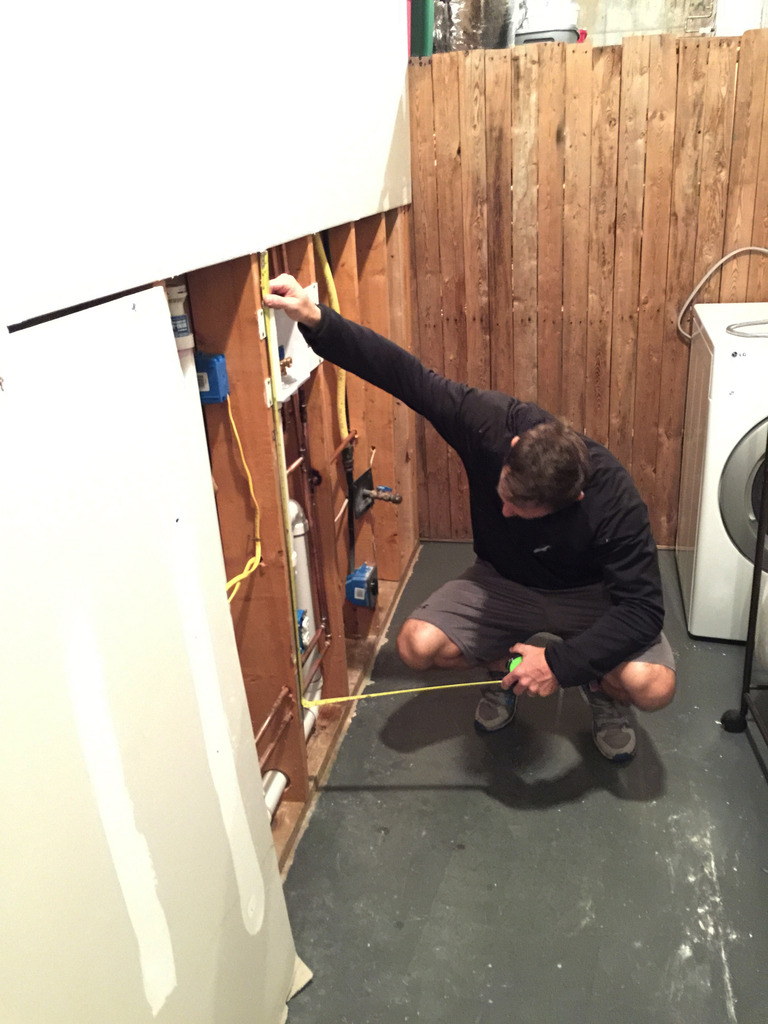
Then we were done. with plumbing that is. the electrical will have to be another post. For now, just pretend that the plumbing and electrical were both talked about…..
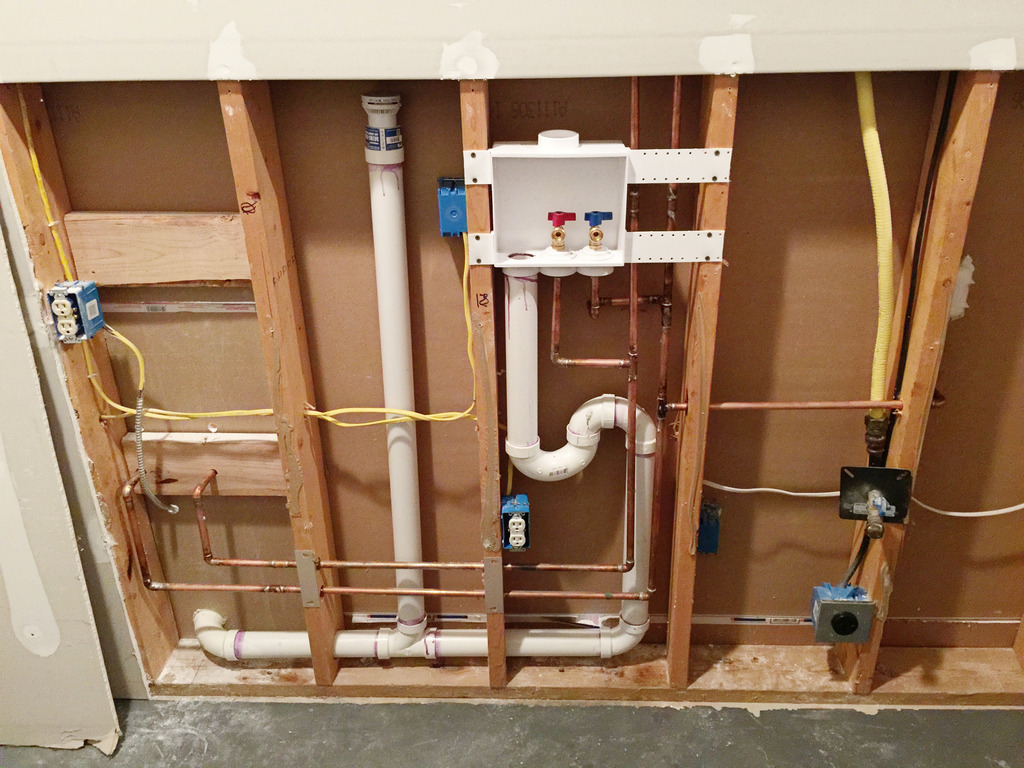
Now came the drywall.
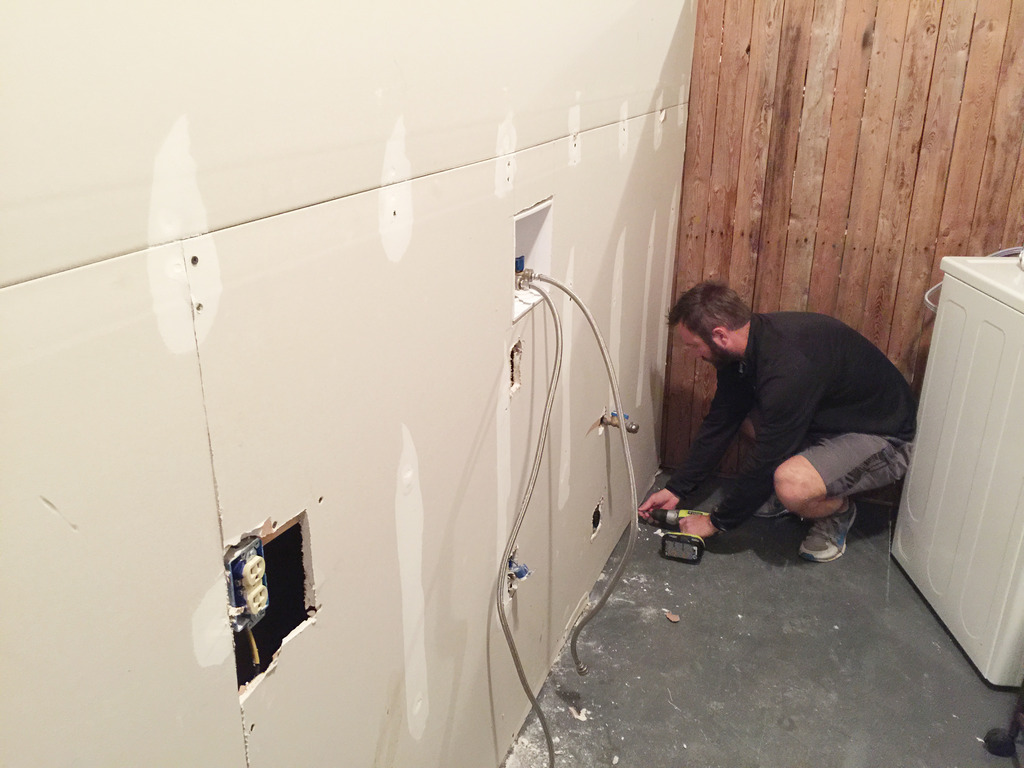
We just used the same old piece as before and called it a day. We were officially done.
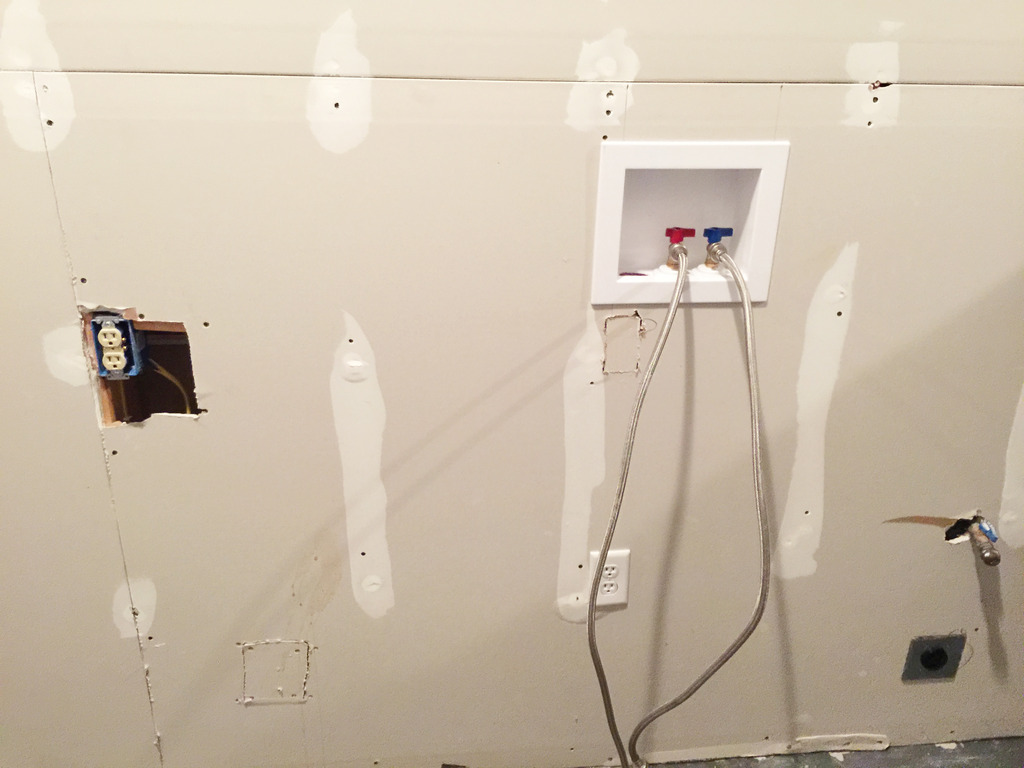
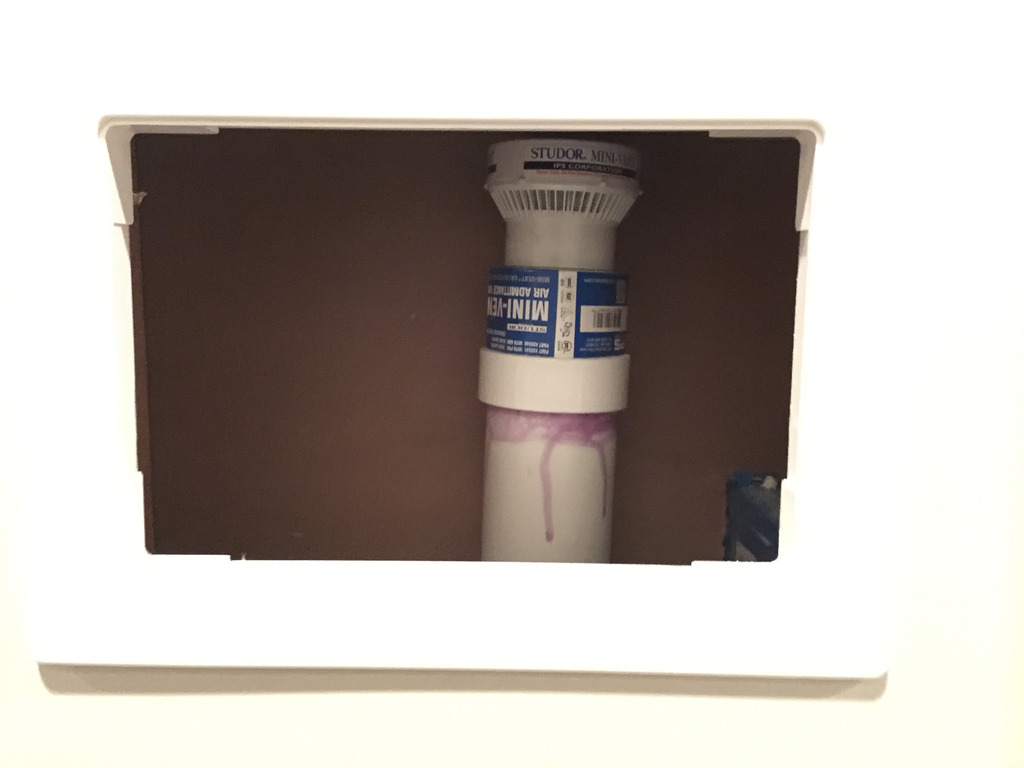
NOT! Remember that vent stack that we had for the washer PVC drain? The one that is in the wall? Well….those vents require accessibility! (here’s a good article all about venting with air-admittance valves) So we had to install an access panel….
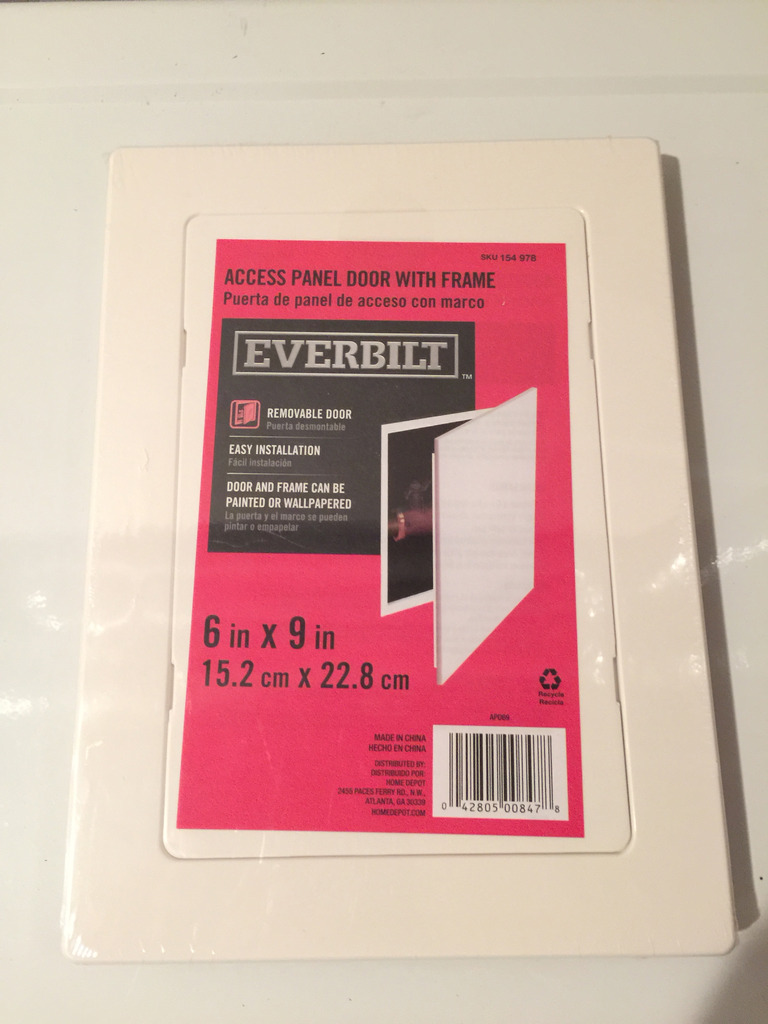
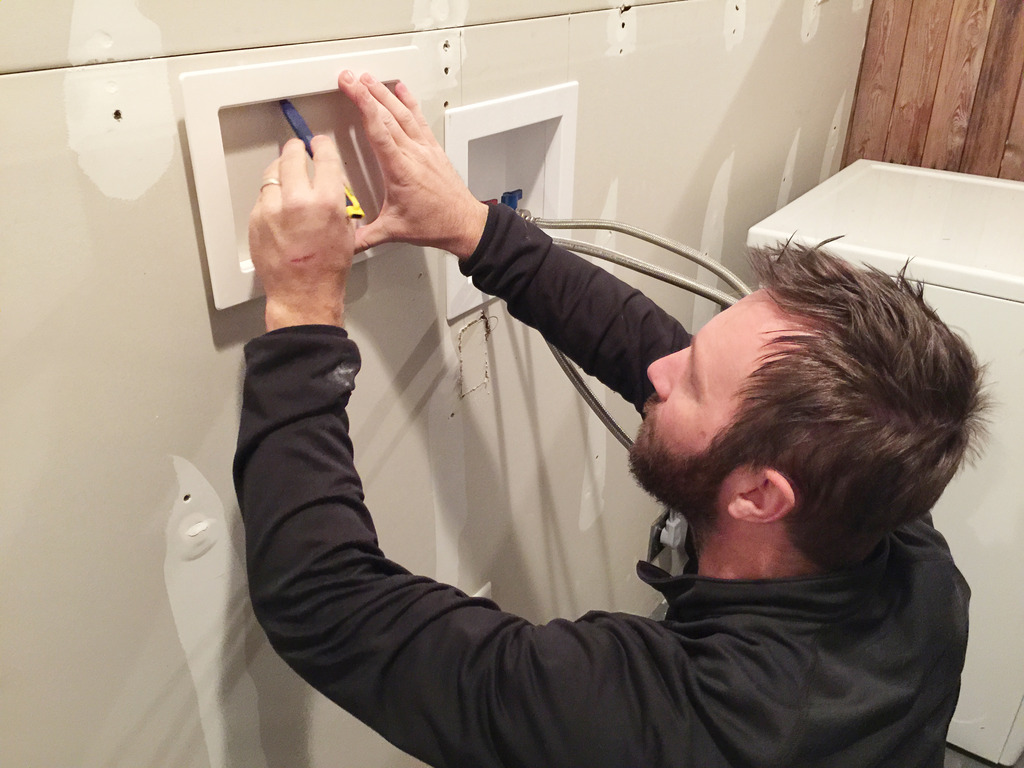
Jeremy traced where it will go and then cut the drywall away to pop in the panel frame….
There’s our little air admittance valve 🙂
Everything is lined up and ready for hookups!
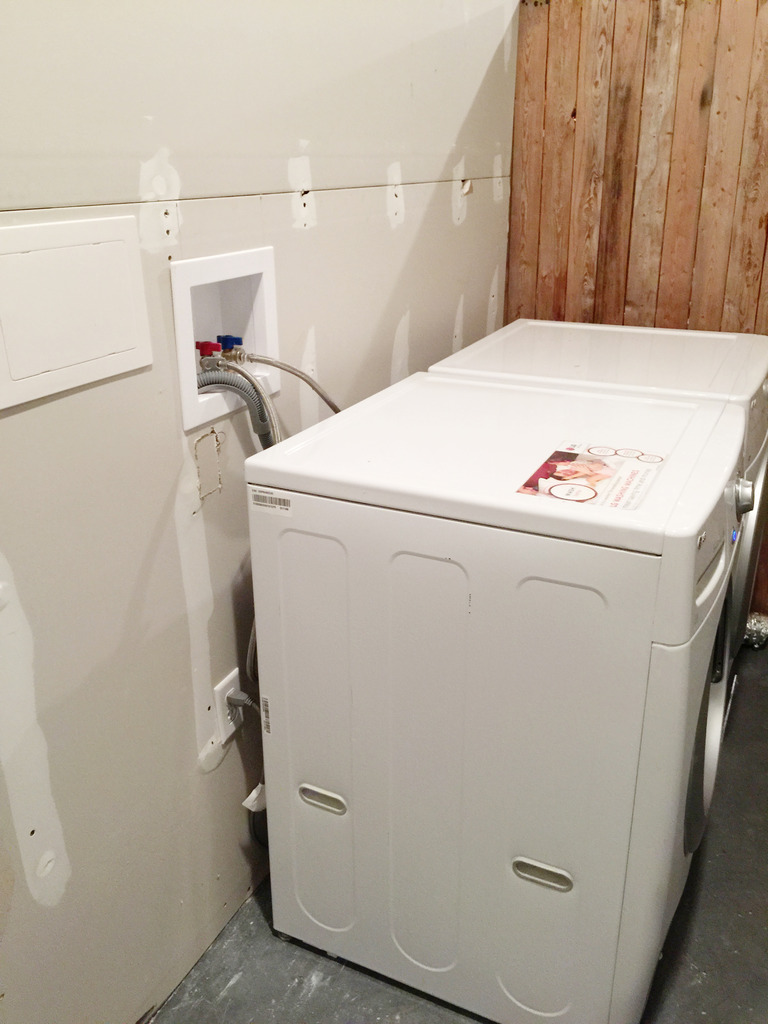
Are you still there?
Have you been doing the drinking game? pipe.pipe.pipe.
Are you asleep?
Well….at least the plumbing stuff is pretty much over, right!? My apologies to the people who just tune in for cute kid party ideas or giveaways….stinks to be you right now, huh!? Well…how about on Monday I just show you the basement laundry nook? Does that sound good? Truce?
“Kim Kardashian’s favorite angle” may be my all time favorite! You made a boring subject educational and funny! If you ever leave us like the Petersik’s did, I won’t be able to make it! : )
Me to!!!!
Elisabeth
Your “Please don’t die – I need you to help pick a baby name!” is something I constantly say when I’m pregnant too 🙂
I also wanted to thank you for showing that us ‘every day’ people can learn how to do these pretty basic home repairs/additions. We’re house shopping right now and I’m not so in need of the ‘perfect’ house knowing how much we can update/change ourselves. You make me brave 🙂
When I initially saw the picture, I wanted to know where you got those pretty teal pipes!!
Super informative post. I invite you to enjoy and visit my blog, Endevourly.com on all things classic chic, housekeeping, recipes, home decor and cool product reviews such as makeup, skincare etc. I am sure you will enjoy it after dealing with such labor that is “pipes” ajajajaj!
I realize this has nothing to do with this post, but you should do a video home tour for us! Pleeeeaaaasssseeee?!
Thank you for the detailed info. It’s something I may refer back to in the future when we have a need. Love reading your blog, thanks for taking the time to explain everything and I love your since of humor!
Love your posts! You make even the most boring entertaining !
Thank you so much!!!! Plumbing may be boring, but you wouldn’t believe how much I’ve been needing info on a air admittance valve! We are adding a wet bar to our fixer upper and the plumber basically told us we could jackhammer the floor up to get the sink to drain. $4k later. No thanks!
Our handyman is willing to take on running water lines and putting in a AAV but we had no info. I am literally forwarding the link to the AAV to him now!
And you solved my access panel problem in two other places in our basement remodeling project. Thank you! It may be boring to some, but is a lifesavers to us newbies! Glad Jeremy didn’t die or burn a hole through the wall – good work guys!