Disclaimer – This is a sponsored post brought to you by Canon. All opinions are 100% my own.
One of the best parts of the holidays is gathering together with family and friends and trading stories over your holiday meal, coffee, or a game of cards. As far back as I can remember, those were the moments that felt like we were exactly where we were supposed to be. Gin rummy, the smell of burning advent candles, the laughter, the way my grandma bit her tongue when she was thinking hard, and the breaking out of photo albums to share all the memories. Those were the sweetest seconds of the holidays. Those moments are Christmas. And today I wanted to share with you a personalized way to decorate your table to combine all those things in one. Let’s make a photo centerpiece that glows!
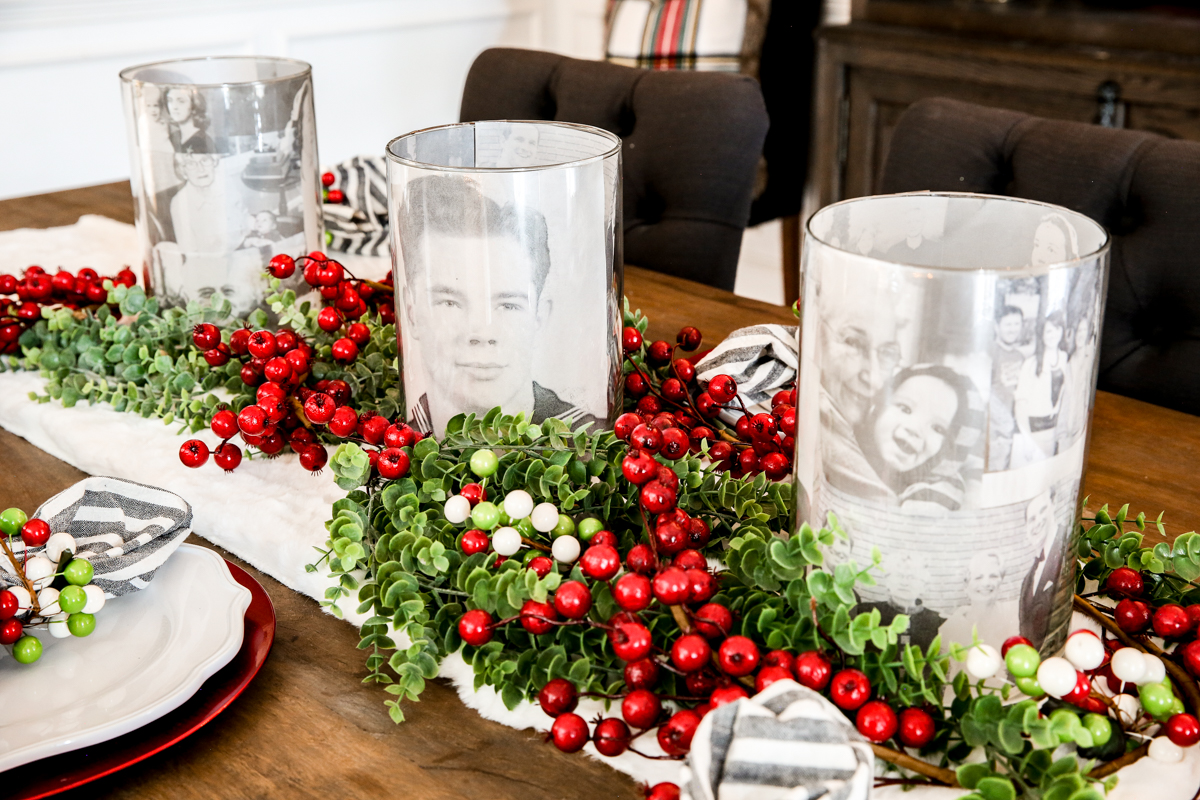
Ahem. I said the word “glows” didn’t I?! Let’s see that again – this time I want this photo centerpiece to glow like a pregnant girl in the third trimester 🙂
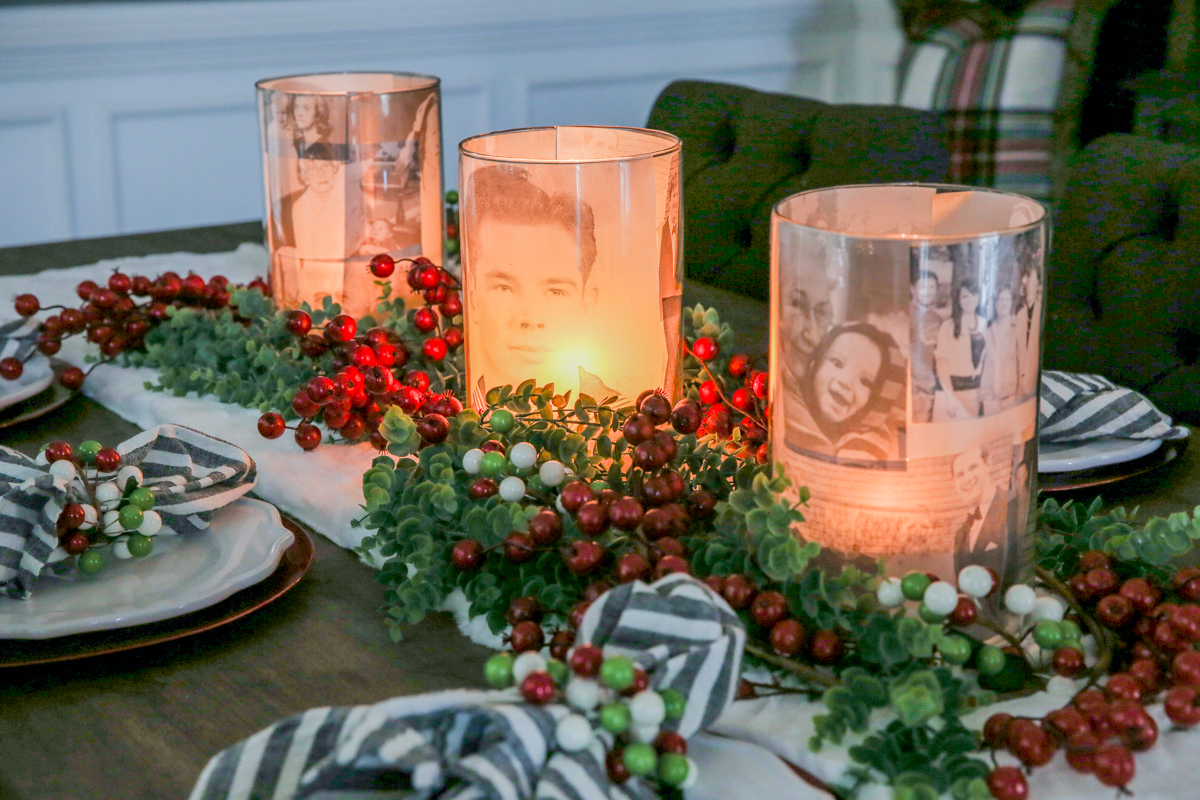
Not quite as pretty as those little mama’s but it will do 🙂
I really do love this personalized photo centerpiece. Not only is it a personalized way to set the table…it’s also a conversation starter, a sweet way to jog your memory and no two memories are the same! It’s really quite simple and I made it all at home with the easiest supplies. Here is how you can make the glowing centerpieces yourself…
GATHER YOUR SUPPLIES
First you want to gather your supplies. For this project I used the following:
- old photos
- vellum paper
- Canon PIXMA printer
- scissors
- tape
- a large glass vase
- a small glass vase
- a candle
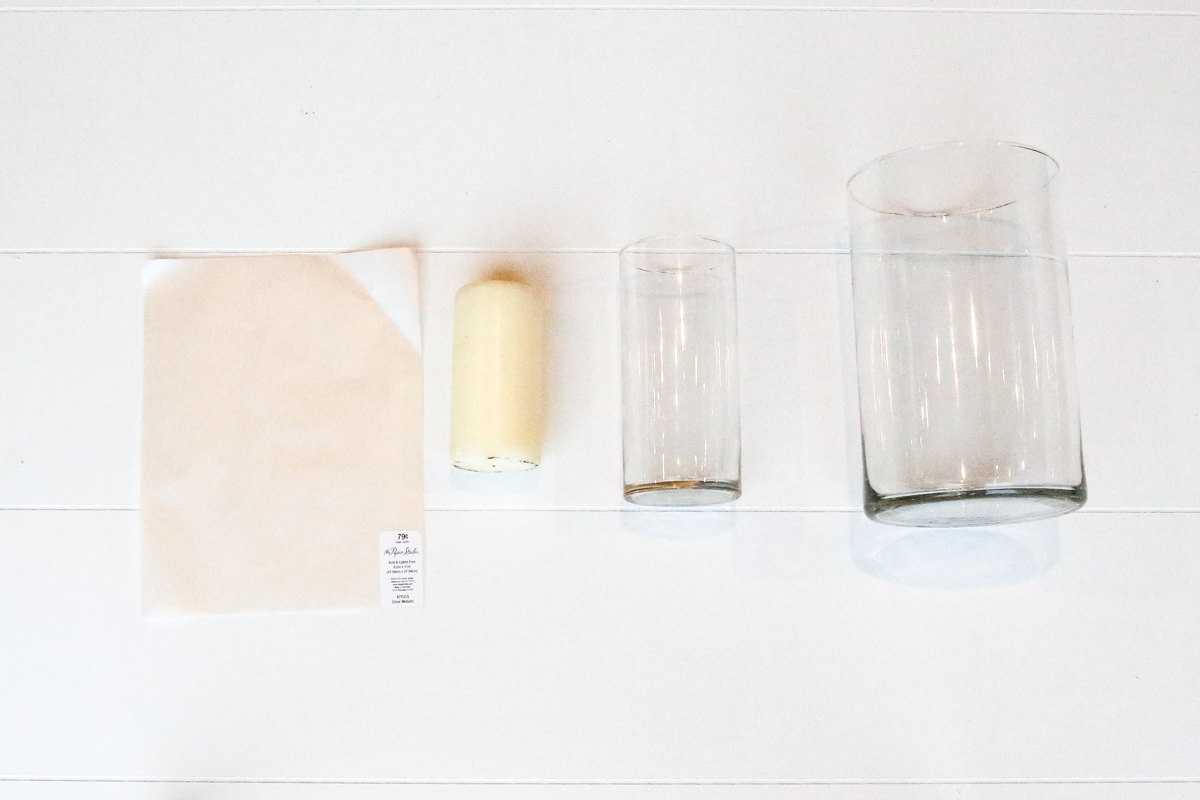
The vellum I found at Hobby Lobby for 40 cents a sheet and it was by The Paper Studio and labeled #477315 Silver Metallic. The large glass vase is available at Walmart for $5 and the smaller glass vase is available at Dollar Tree for $1. So each centerpiece jar will cost roughly $9 (including the 1 candle and 4 sheets of vellum for each vase). BUT you can reuse these a million times over and each time make them different since nothing is permanent.
PICK YOUR PHOTOS
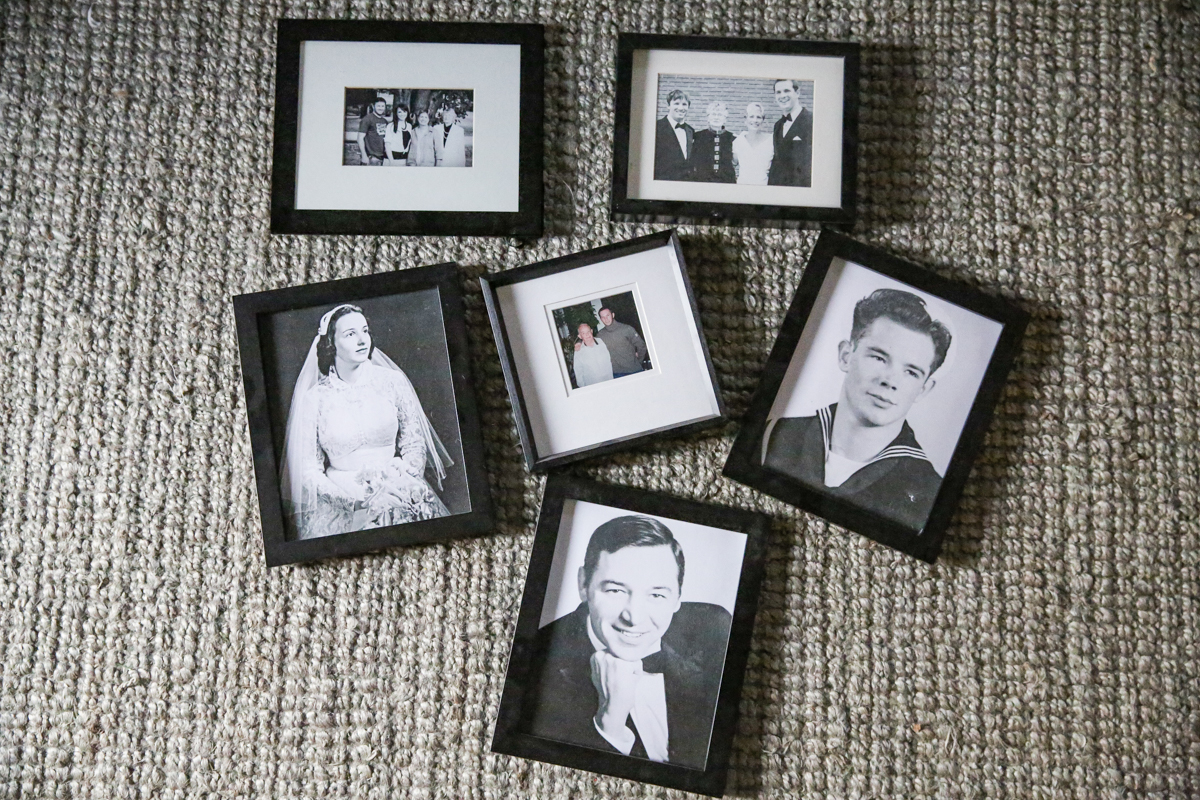
Time to pick your photos! I decided to use photos that I already had and printed out folks that were not going to be with us for the holidays – grandparents, great grandparents and some folks that were already in heaven. I never got to meet Jeremy’s grandparents – I wish I could have, but I have heard a ton of stories and know they are special people. Since I definitely wanted to include them, GrandBee who isn’t going to be here for Christmas and my Pappap who is going to be spending the holiday up north. After gathering up a variety of photos of them, both recent photos and old vintage ones, I also picked a variety of orientations. This is important as you want the whole large vase to be filled.
PRINT AND COPY
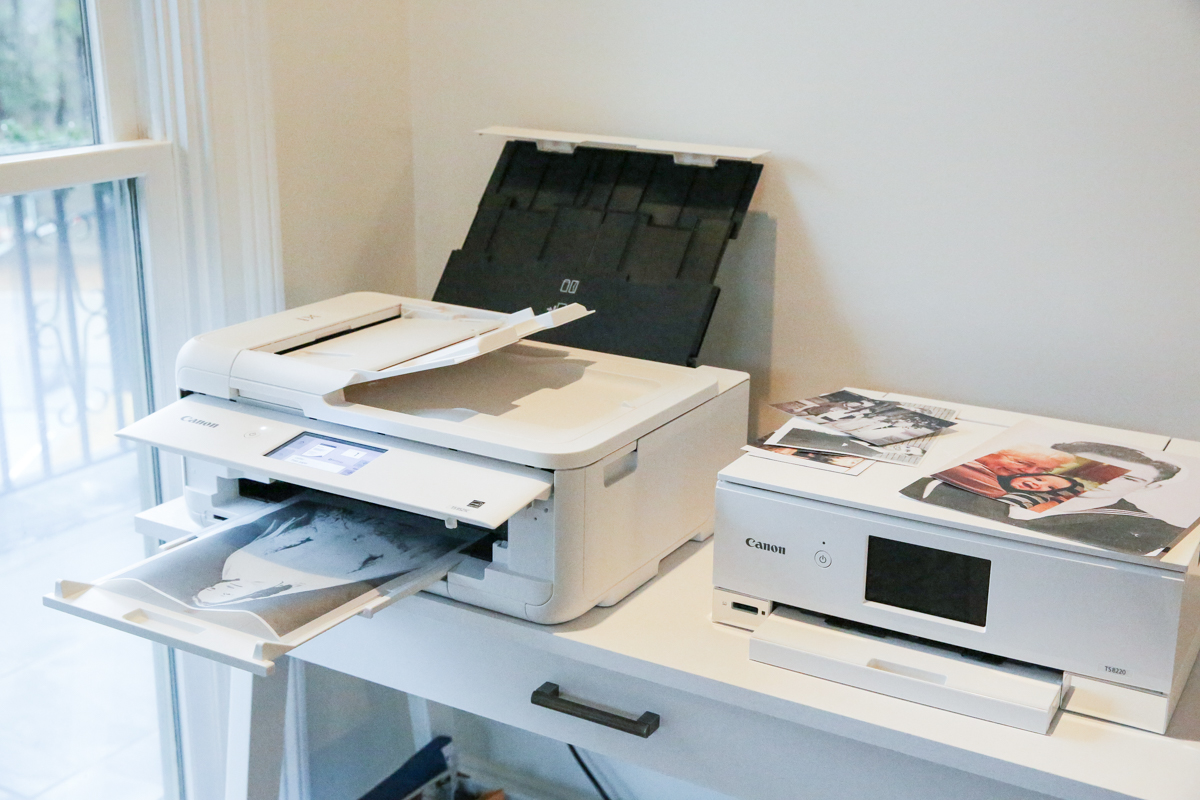
Using my PIXMA TS9521C (it’s the crafting printer that does just about EVERYTHING), I scanned the larger photos and printed out copies on vellum paper. This is very tricky because vellum is made from very thin see through plastic and doesn’t hold the ink the same way paper does. However, I wanted to use vellum because it is very see-through and gives off the prettiest glow when you hold a light behind it! My best tip is to print at DRAFT quality because then the printer won’t lay as much ink down. It doesn’t change the look of this project and you will still see details of the final vellum copy, it will just be less likely to smear!
Also, I picked the letter size for some photos and then shrunk some of the photos down (if I only had a hard copy) and printed all at the same time.
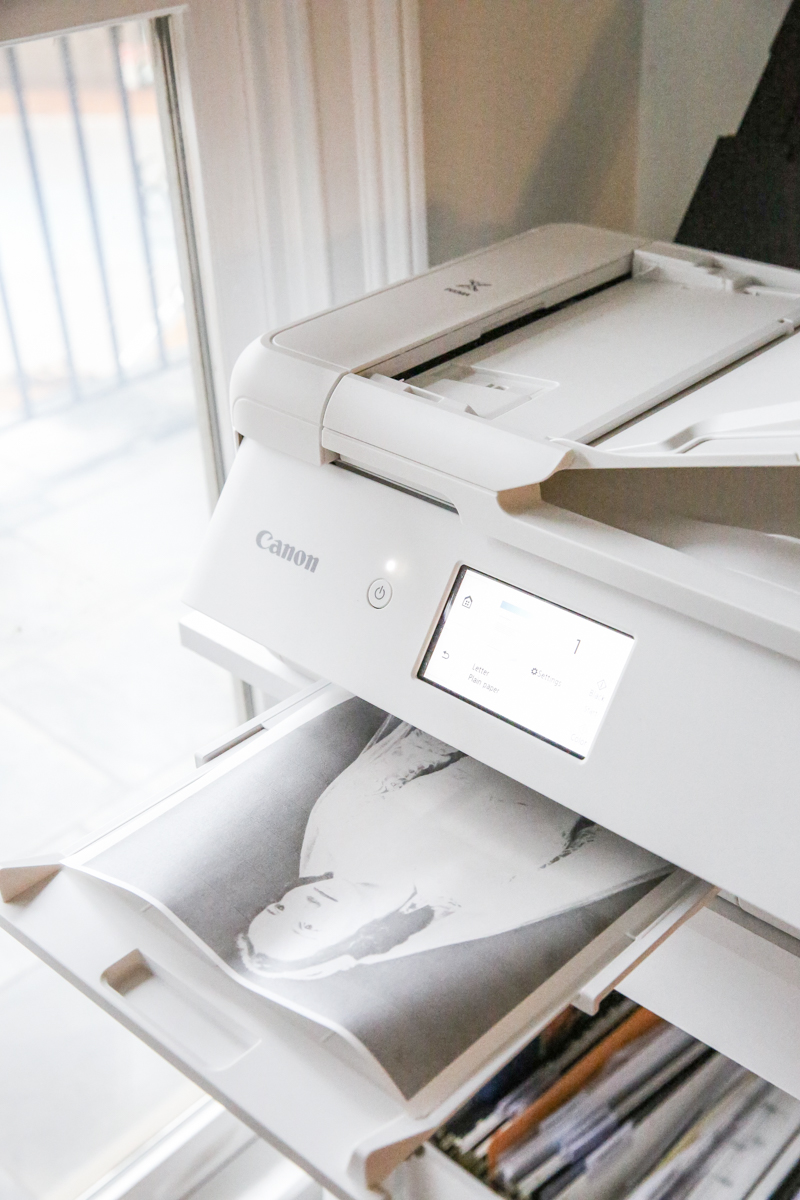
You can also print out your photos directly from your computer if that is how they are stored. I had several photos that I printed that way in black and white. This was the first time I have used the scan feature on this printer and I was so impressed with the options. I loved how fast it printed and how easy the interface was to use.
TRIM AND TAPE
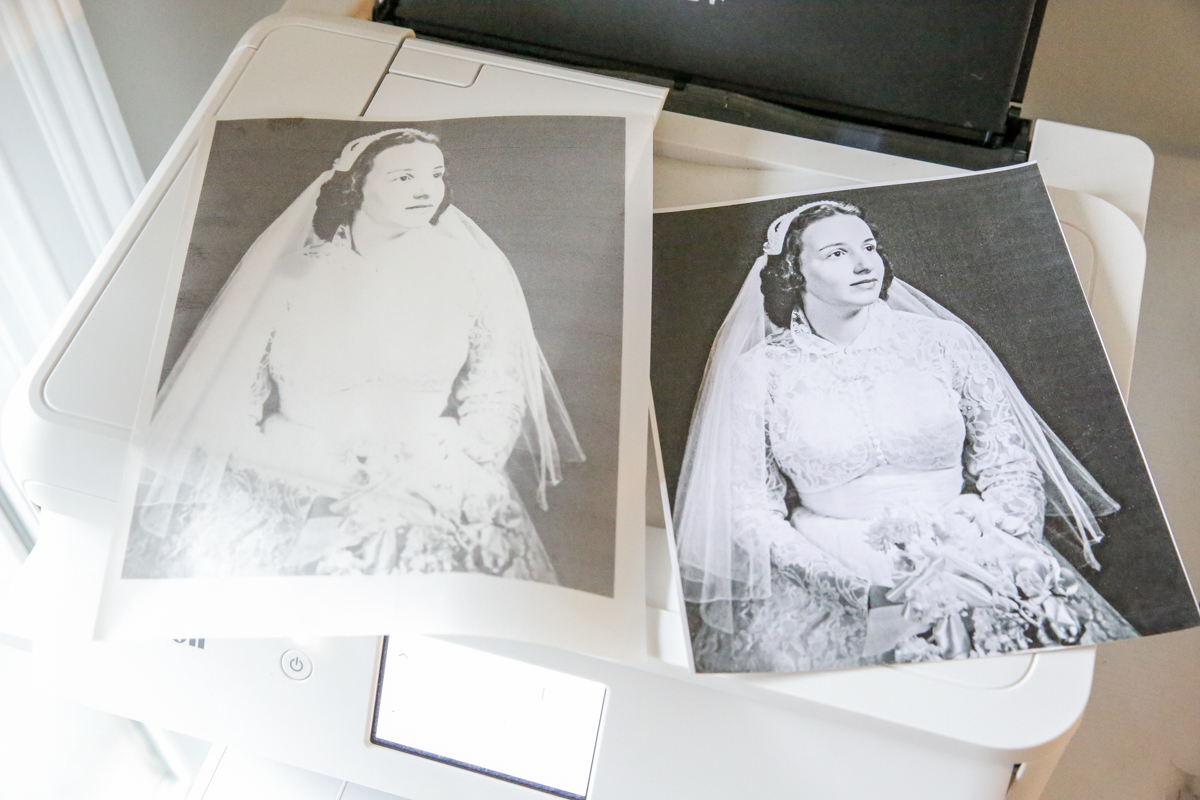
Trim your photos to remove any of the borders and then hold them up to the larger vase to ensure they will fit inside and lay flat. You may have to trim larger photos. For example, this one of my grandmother was a smidge too tall. I trimmed the bottom and then did a ‘dry-fit’ to make sure it would lay flat inside the vase.
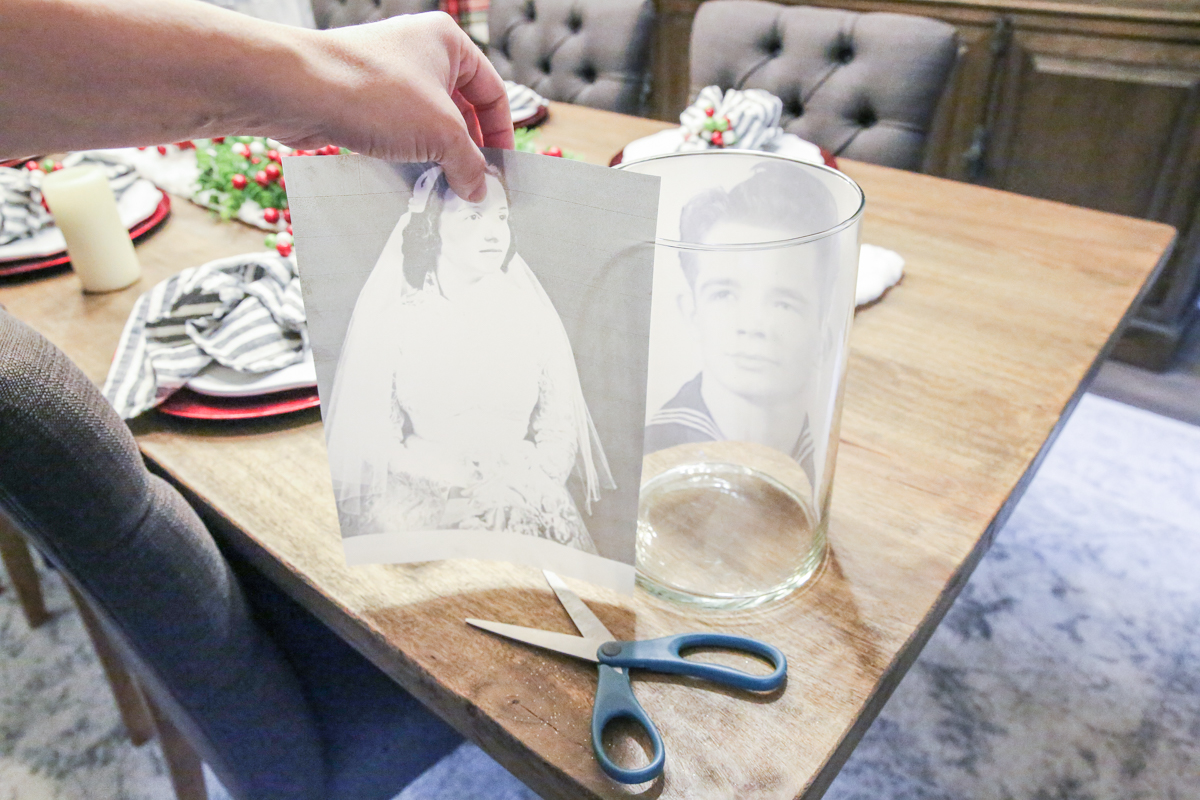
Then you will want to create your layout. The layout is deciding where each photo will live inside the vase. You want as little overlap as possible without creating gaps. The gaps allow too much light to come through and make it harder for you to focus your eyes on the pretty glowing photos.
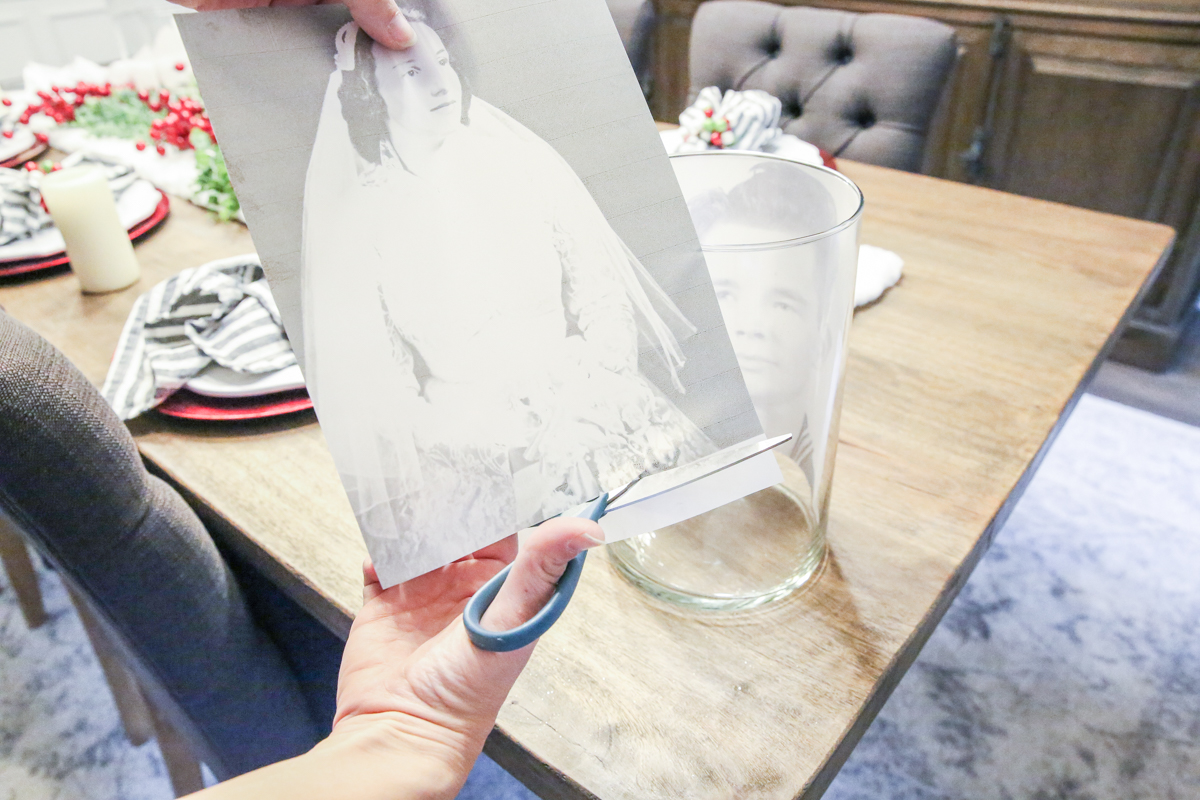
Tape the photos into place starting on the ones that go on the bottom row and the ones that go in front. The larger photos get taped last. I used just transparent tape and it worked great.
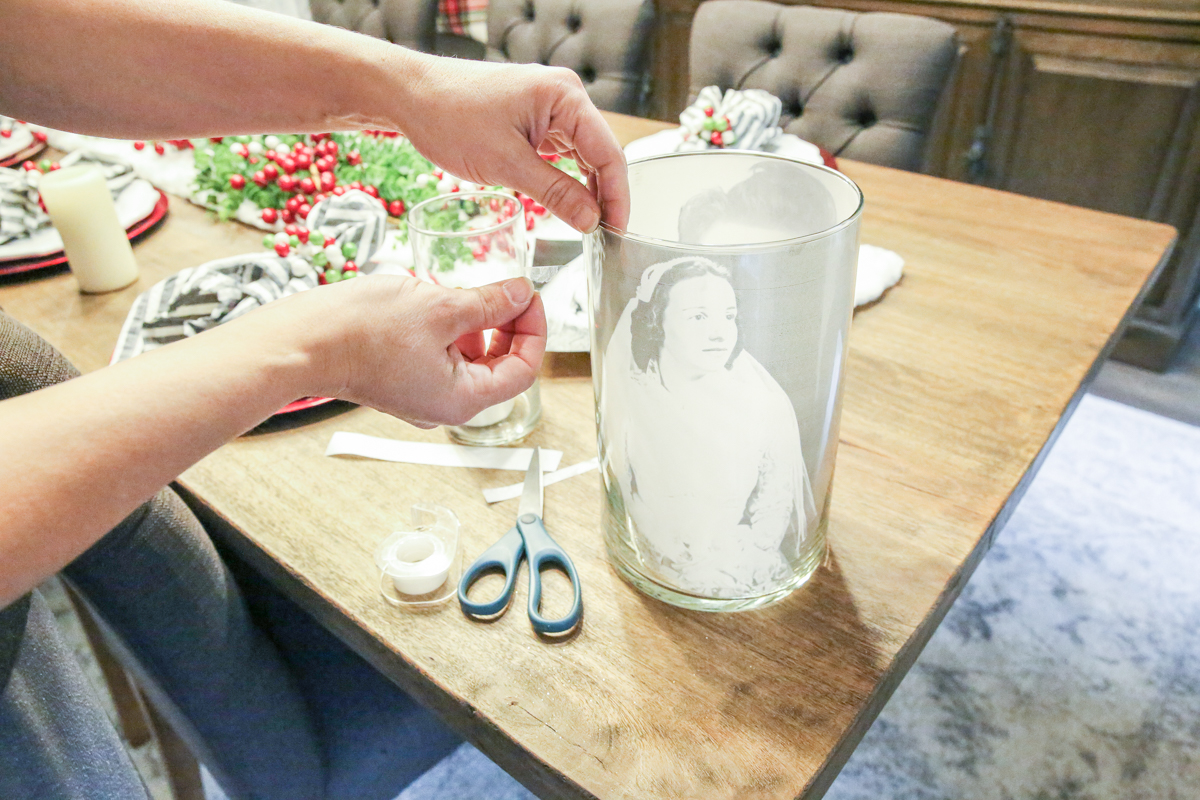
ASSEMBLE AND ENJOY
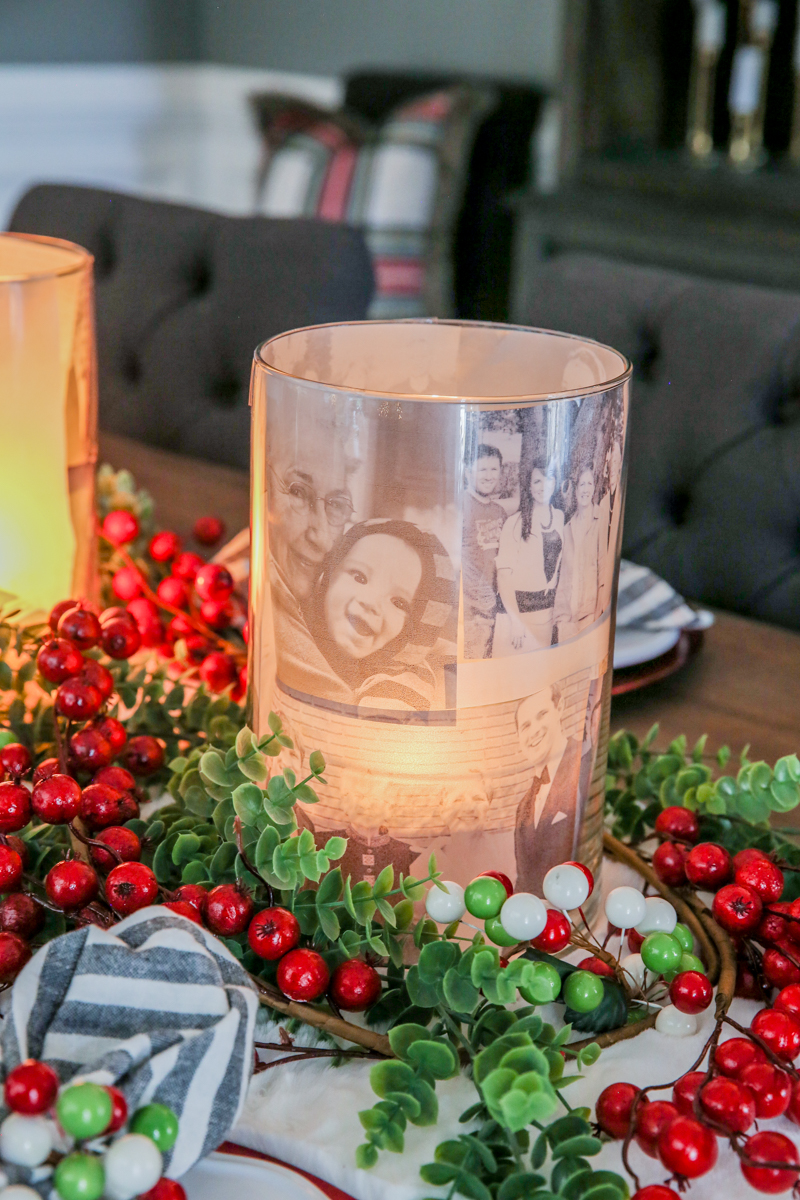
The next steps are super easy. After all your photos are taped in place, pop the candle into the smaller vase and put the smaller vase in the middle of the larger one. The smaller vase keeps everything safe! You definitely don’t want grandma’s face to light on fire in the middle of your meal 🙂 That glass barrier keeps the flame away from the vellum. See the smaller vase inside the larger one?
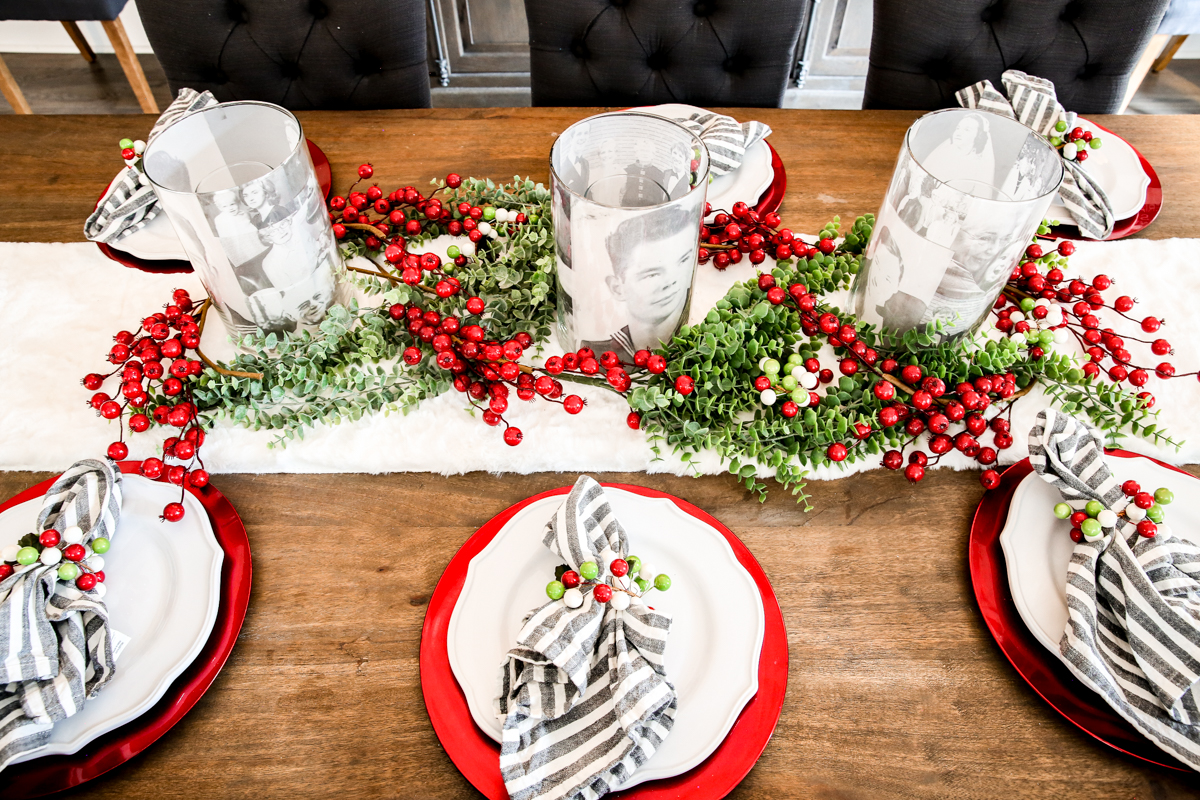
That’s it y’all! Isn’t it so sweet and pretty?!
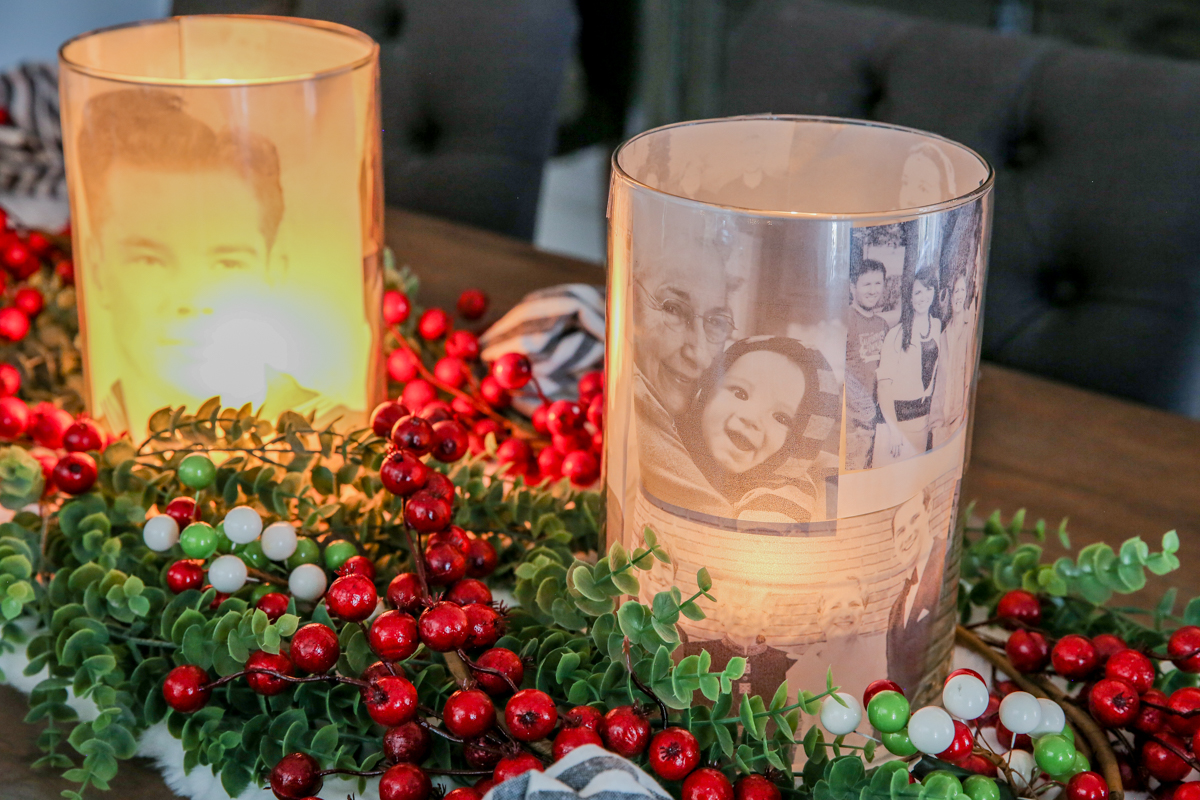
When it’s time for dinner, just light the candles and reminisce about the days of the past and dream about the moments in the future!

Plus, it’s like relatives are there with you in spirit even if they can’t be enjoying nut roll or eggnog in person!
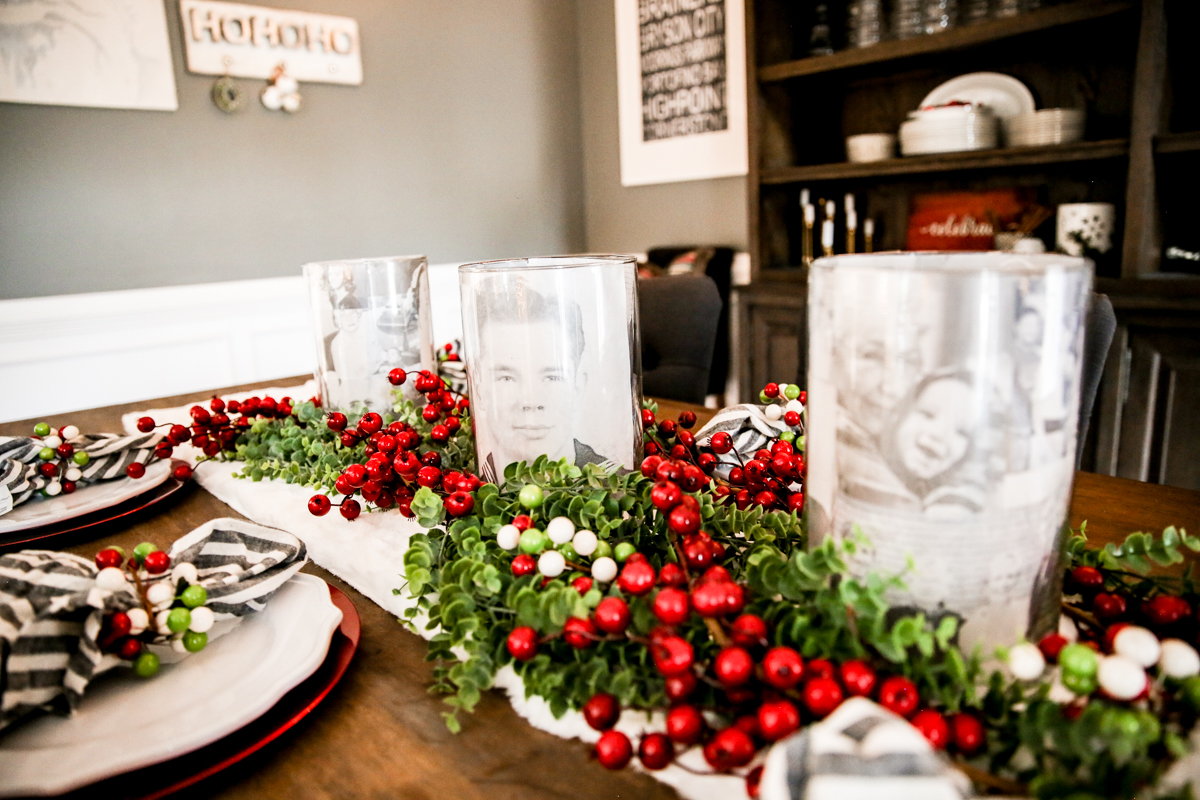
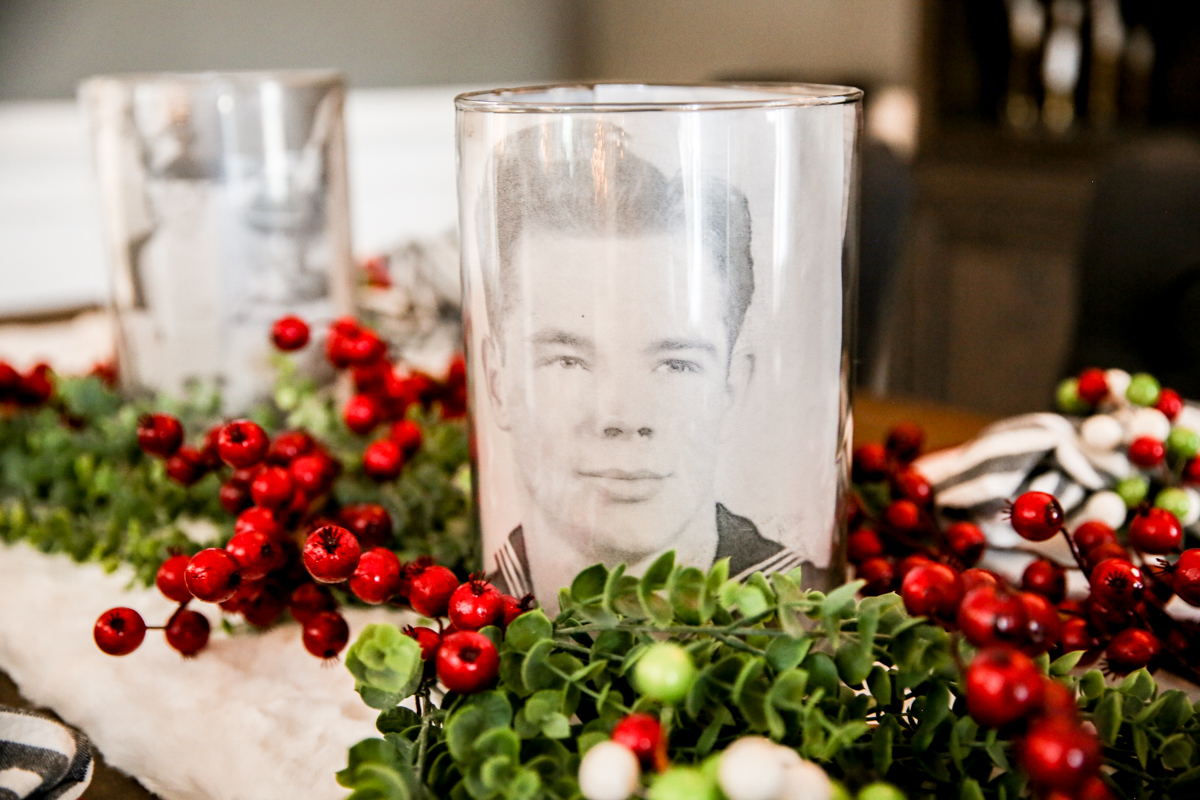
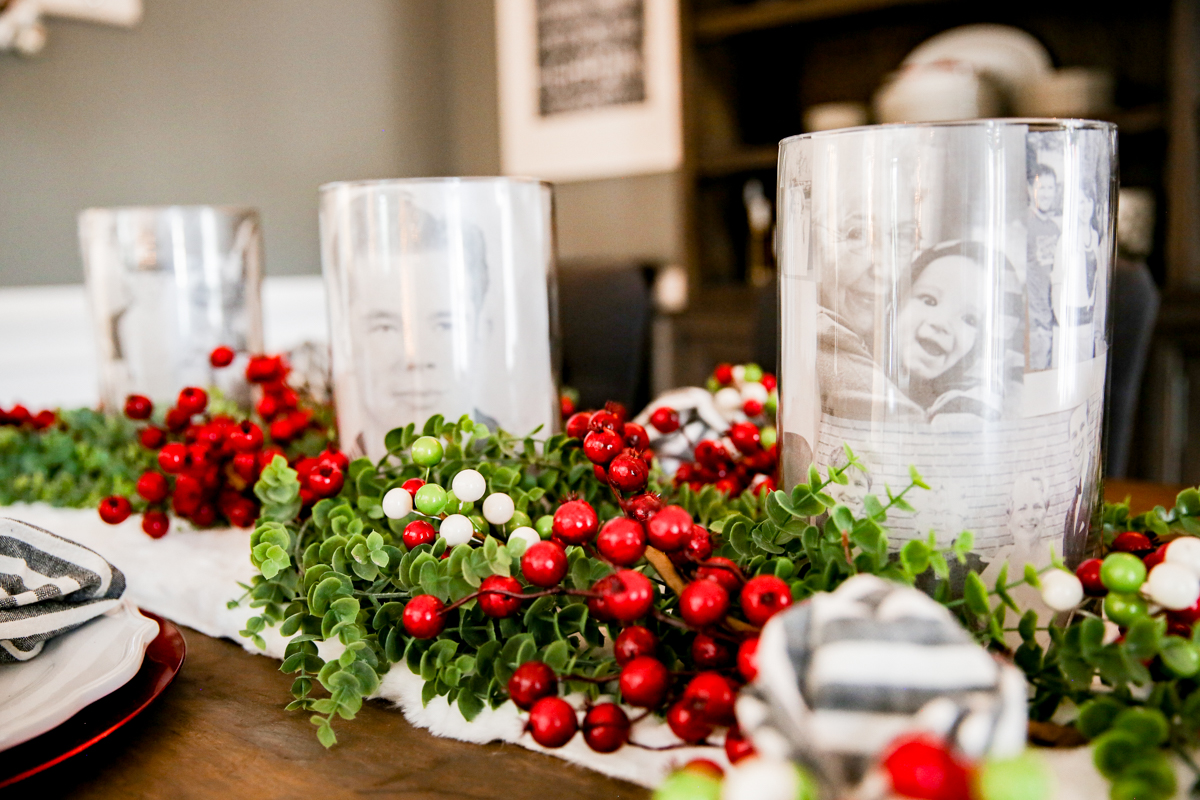
I love sentimental centerpieces and I can’t wait for my mom to see this. I know she will like it. It’s like a scrapbook on display 🙂
And if you try this at home, I would LOVE to see it! Please let me know by sending me photos on instagram! And I hope that you have a very Merry Christmas with this sweet sentimental centerpiece.
Great idea! There are vellum products made for inkjet printing that may hold the ink better than what you found at the hobby store. They can usually be found with the specialty papers in an office supply store.
Such sweet memories to have at the table center. Love it!
We made something similar for my parents 40th wedding anniversary party centerpieces. We printed pictures of them over the years – from courting to the present – and the centerpieces were such great ways to share their love over the years.
Oh how romantic and fun! Love that!
xo – kb