Disclaimer – This is a sponsored post brought to you by Canon. All opinions are 100% my own.
Coloring books for kids and adults are ALL the rage right now….and what is better than making your own personalized coloring book?! Nothing. The answer is nothing is better. It’s the best thing pretty much ever invented. It was a close race between this and Penicillin….but personalized coloring books get the award. He’s the best man, the cool dude, the fun guy. Get it?! Fun-gi? Penicillin? Microorganism jokes are cool….stop making fun of me.
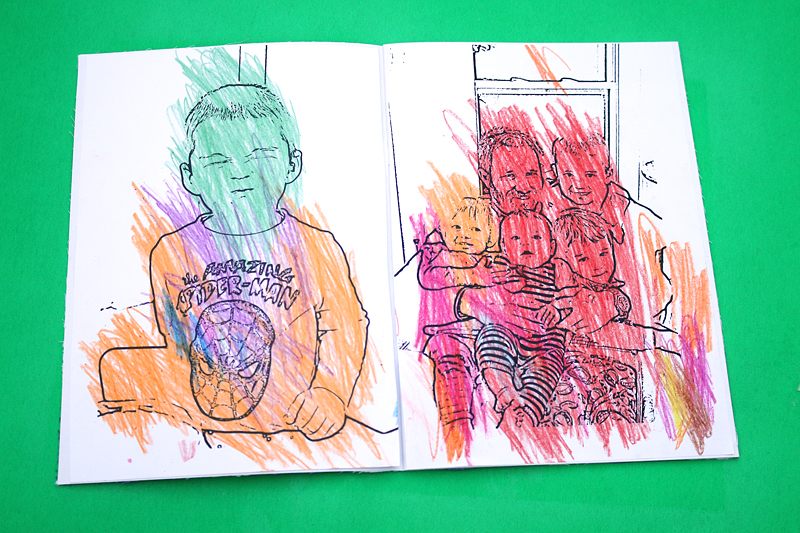
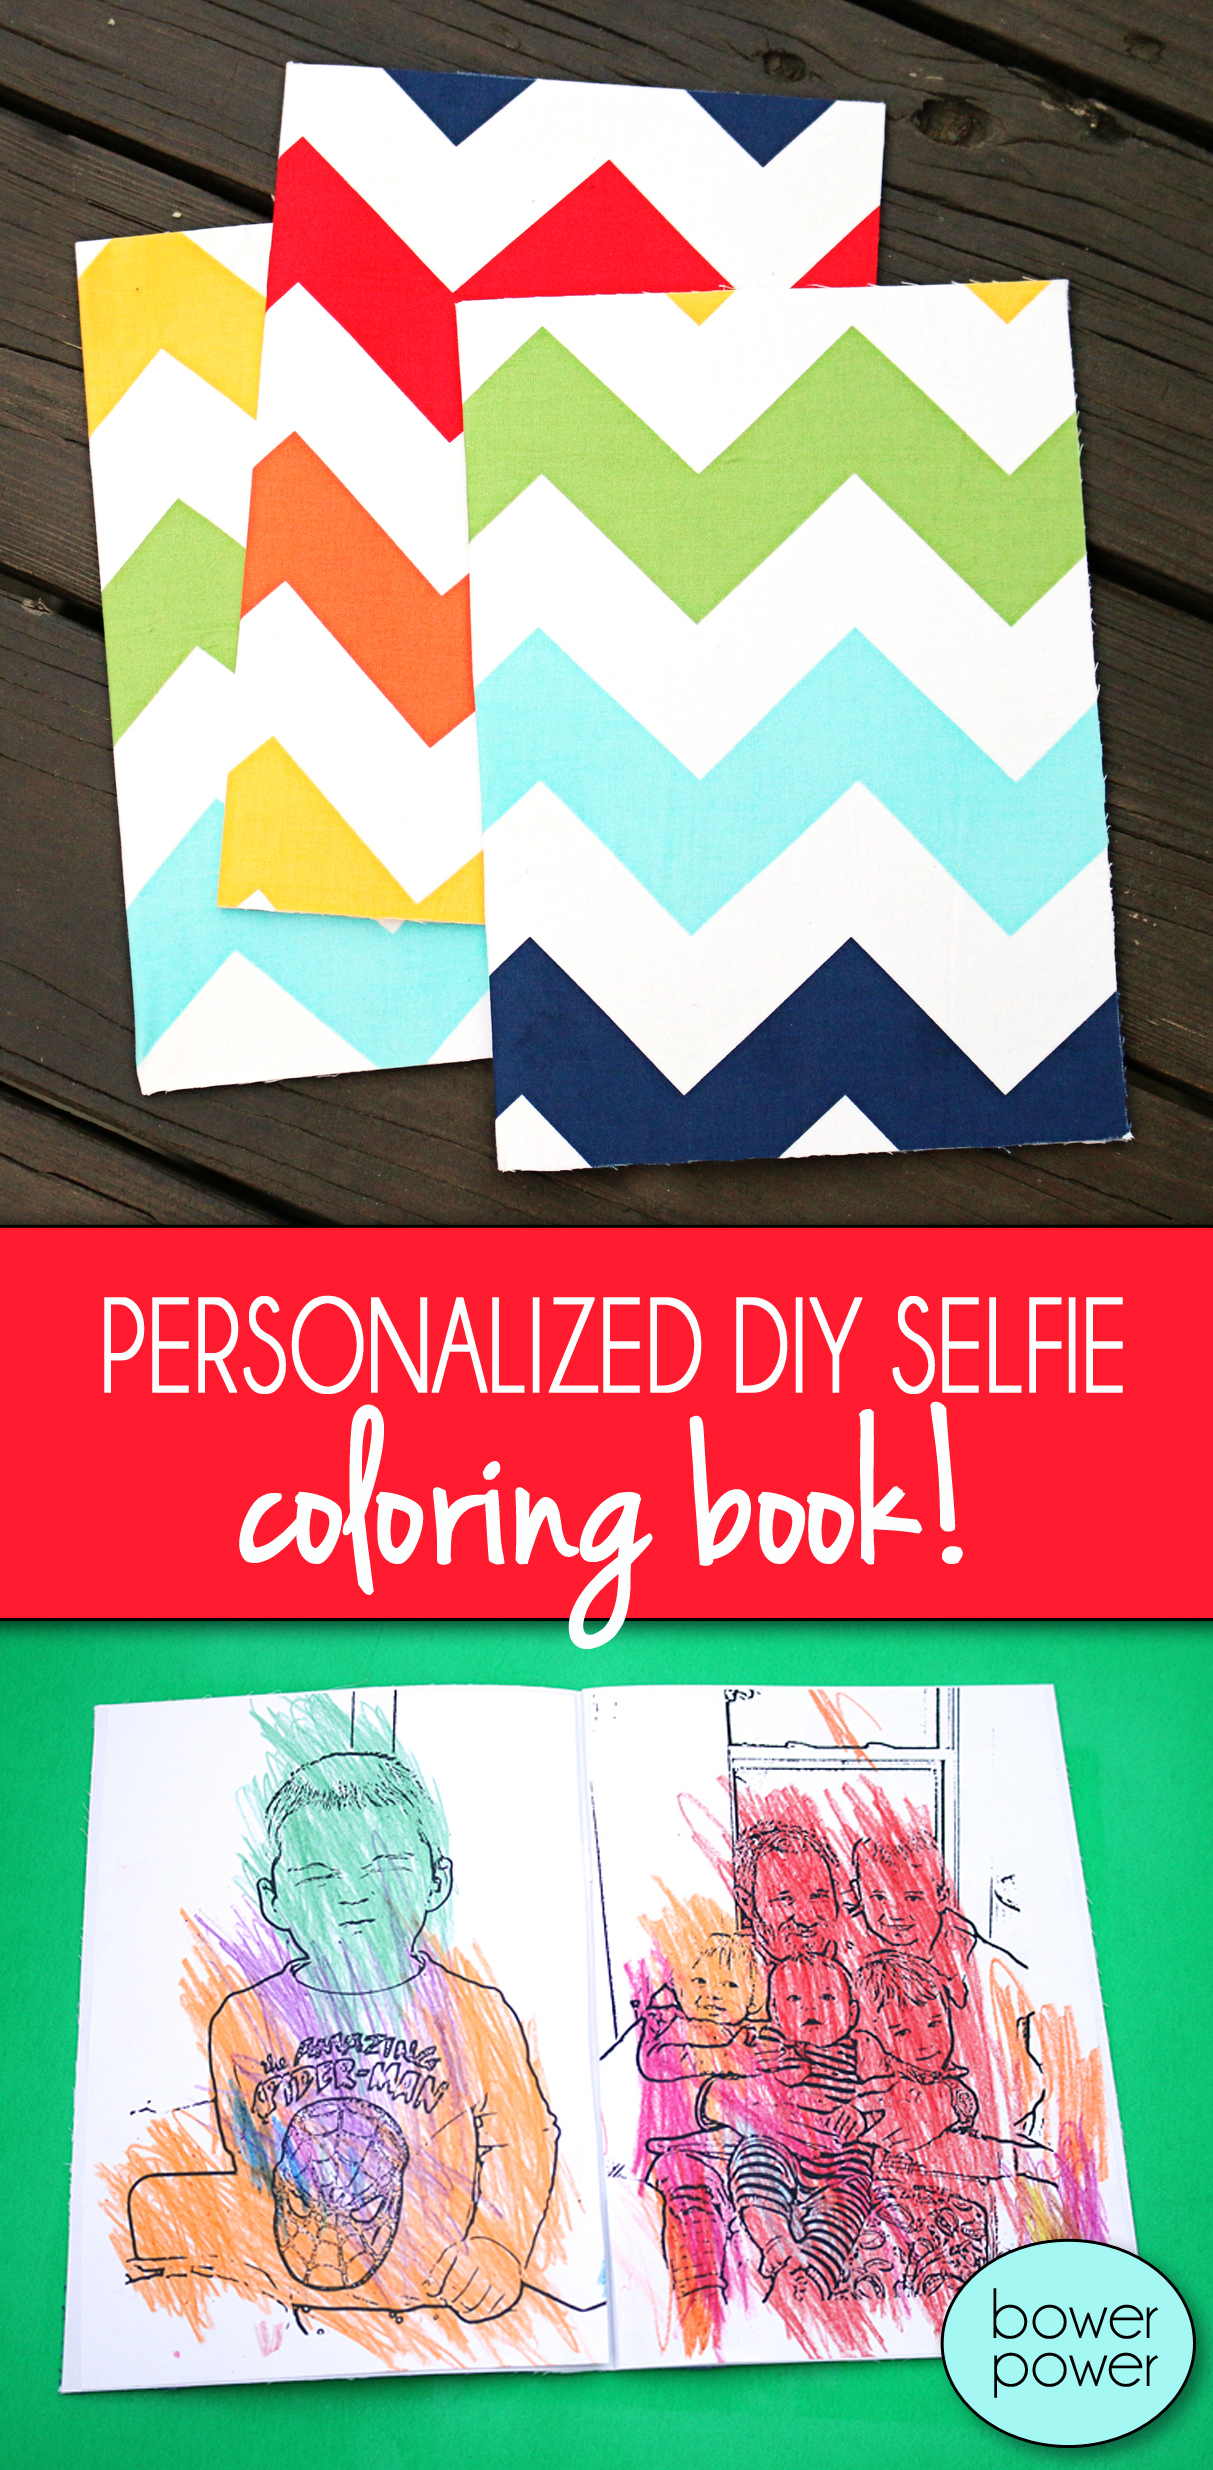
So you might think that the personalization stops at the cover! Oh no no…that’s just the start. The actual personalization is on the inside where my children were able to confirm that the world does revolve around them by actually having pages of their own faces to color. Feeding the narcissism? Probably. Fun to possibly draw a mustache and a unibrow on your brother? Definitely.
Let me share with you how I made these so that you can make them for your own kiddos….or if you want to make one for yourself….or a burn book of all your past boyfriends to get a little closure via giving them blue hair. The possibilities are endless 🙂
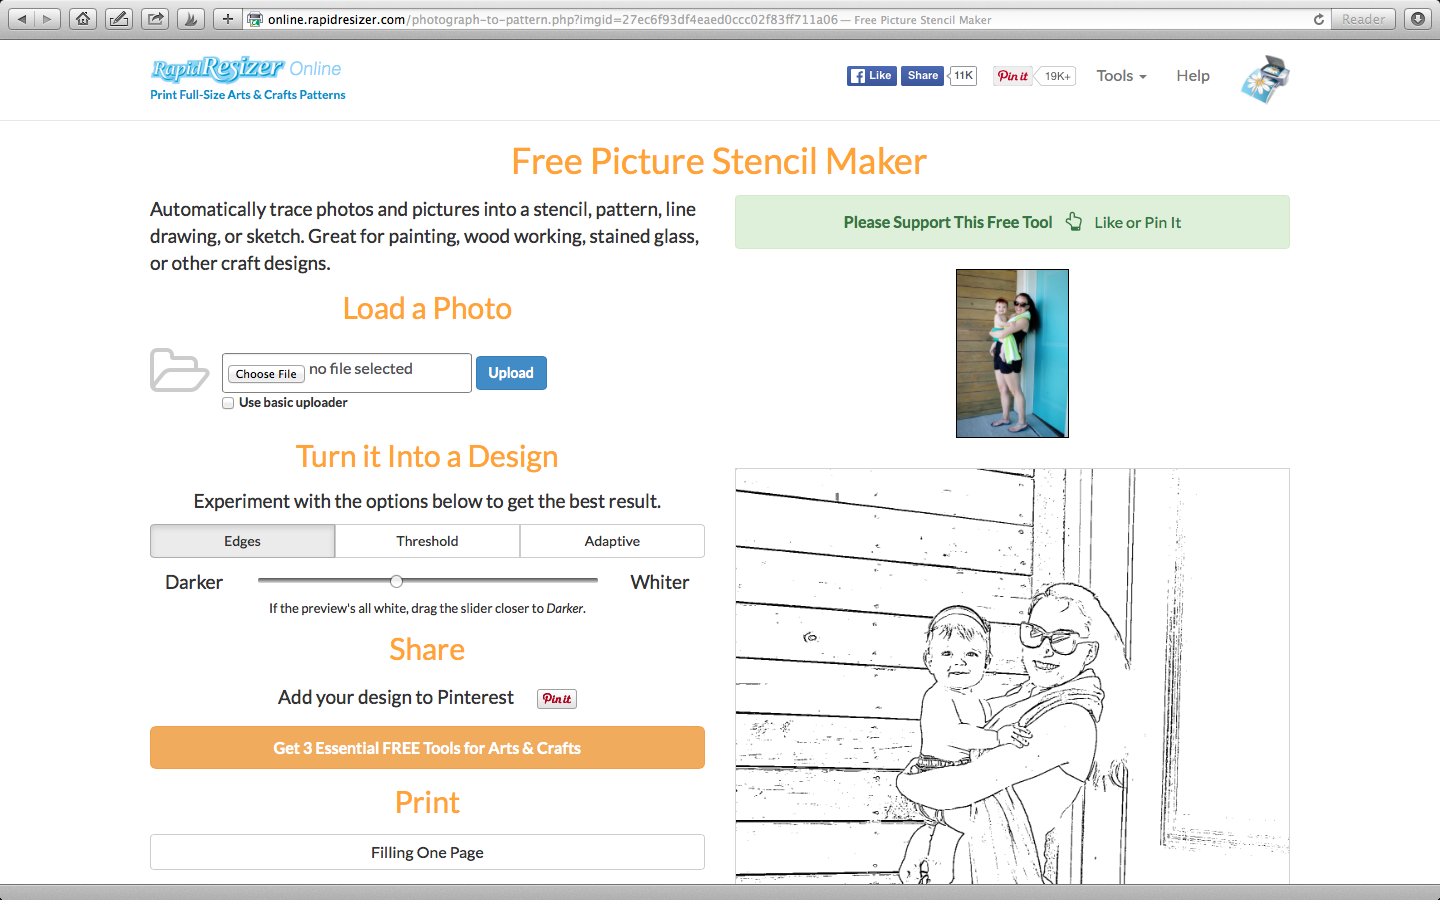
It’s really quite easy….the first thing you need is your photos. It’s easiest to use vertical photos but cropping horizontal ones works too. I used this website called RapidResizer to create the black and white version of my pictures. You just simply upload and then use the little slider under the section labeled “Turn It Into a Design” to get the black and white version. When you are satisfied with the outlined version, click on the b/w version and it will pop into it’s own window and you can right click to save.
CLICK THIS LINK TO GO TO THE SITE I USED
There are other free software versions that do something similar – just find one that suites you the best and make sure you save the files to your computer.
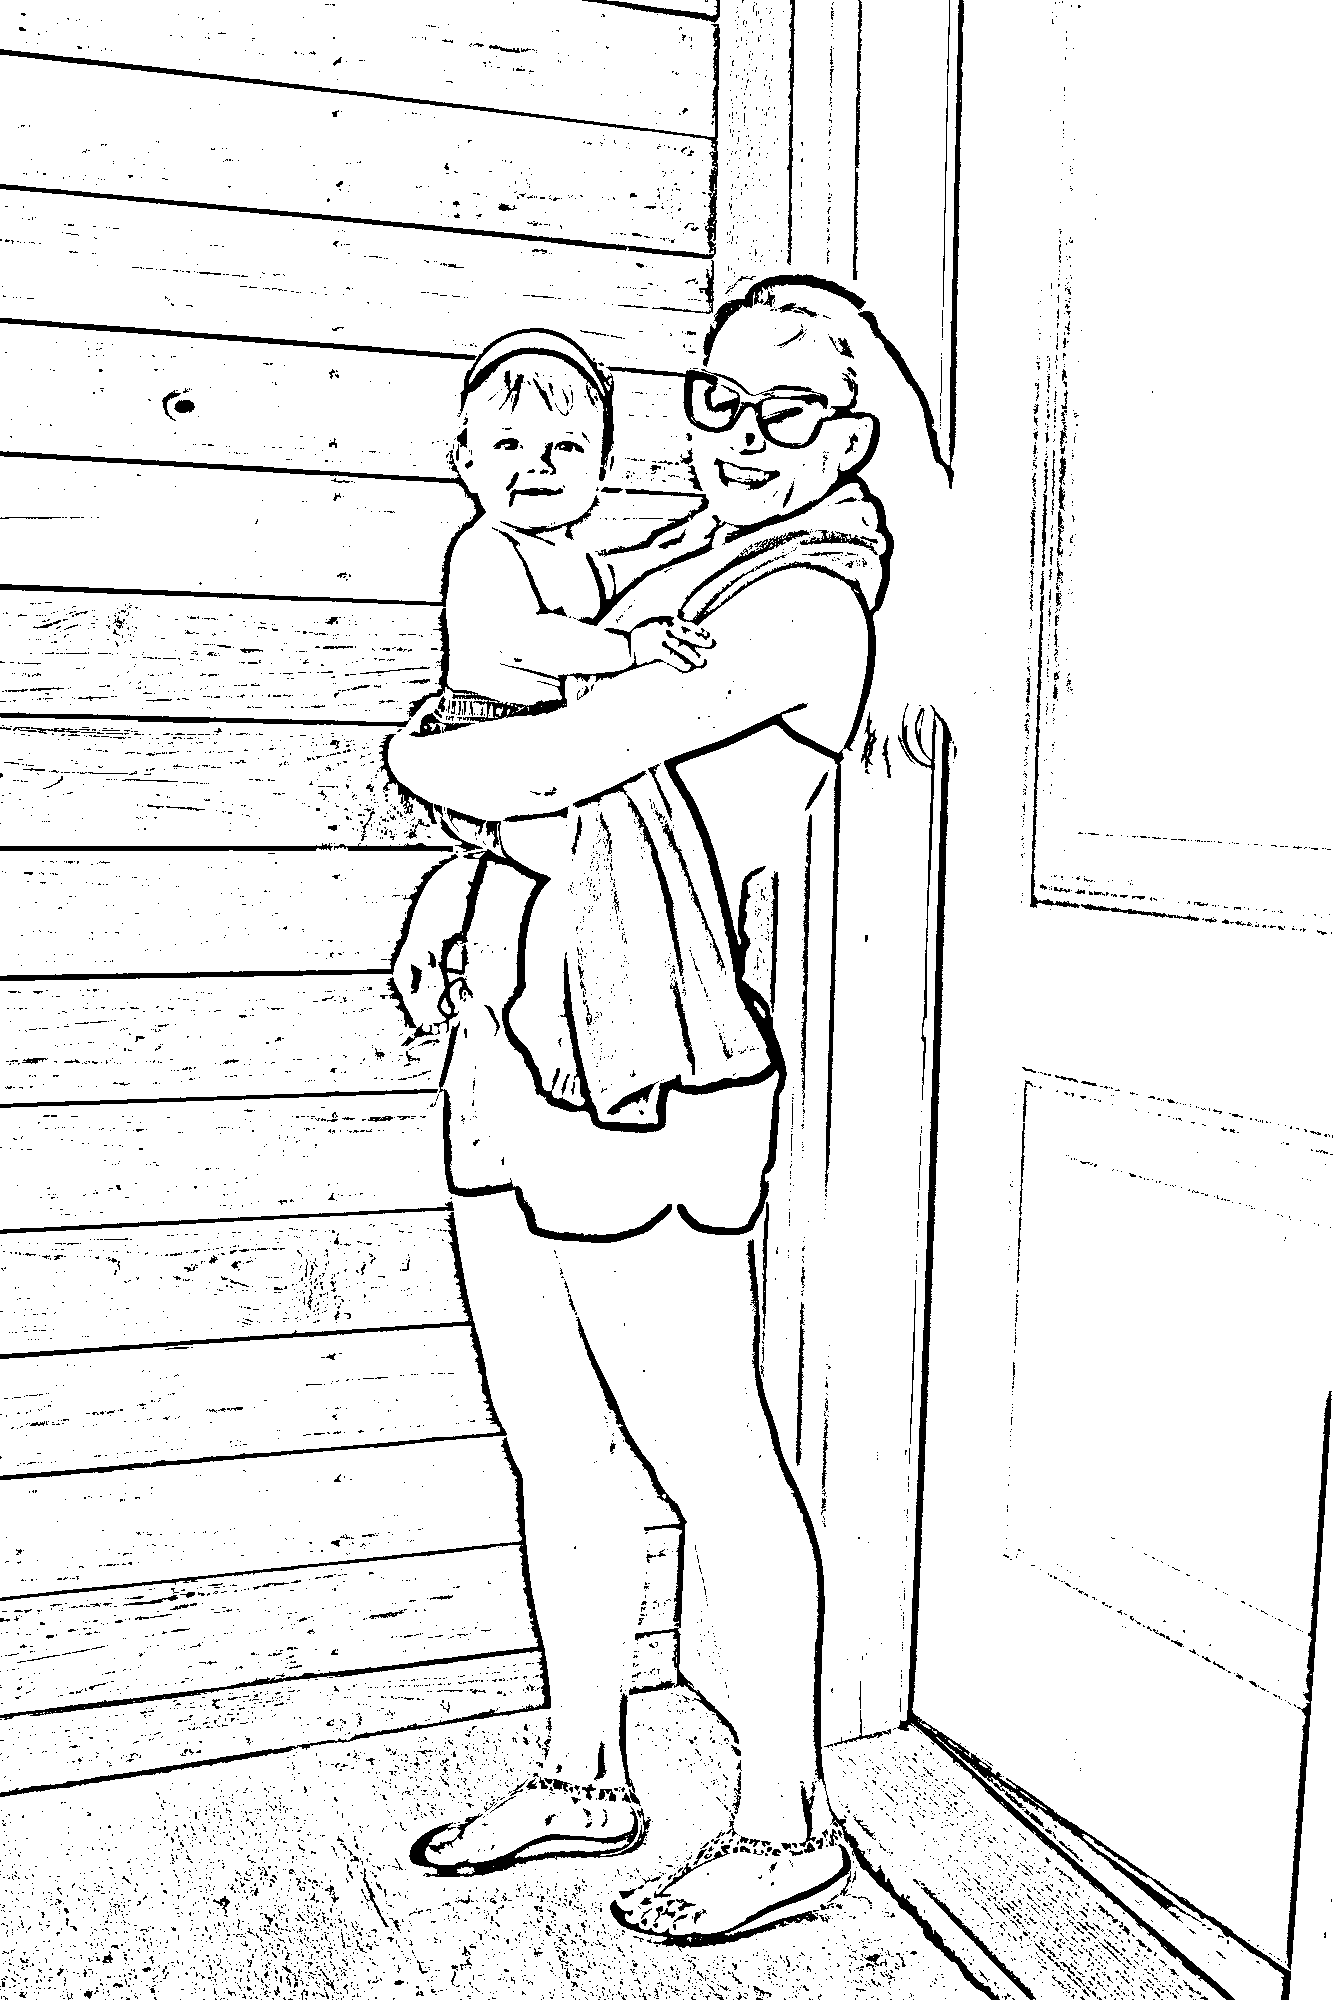
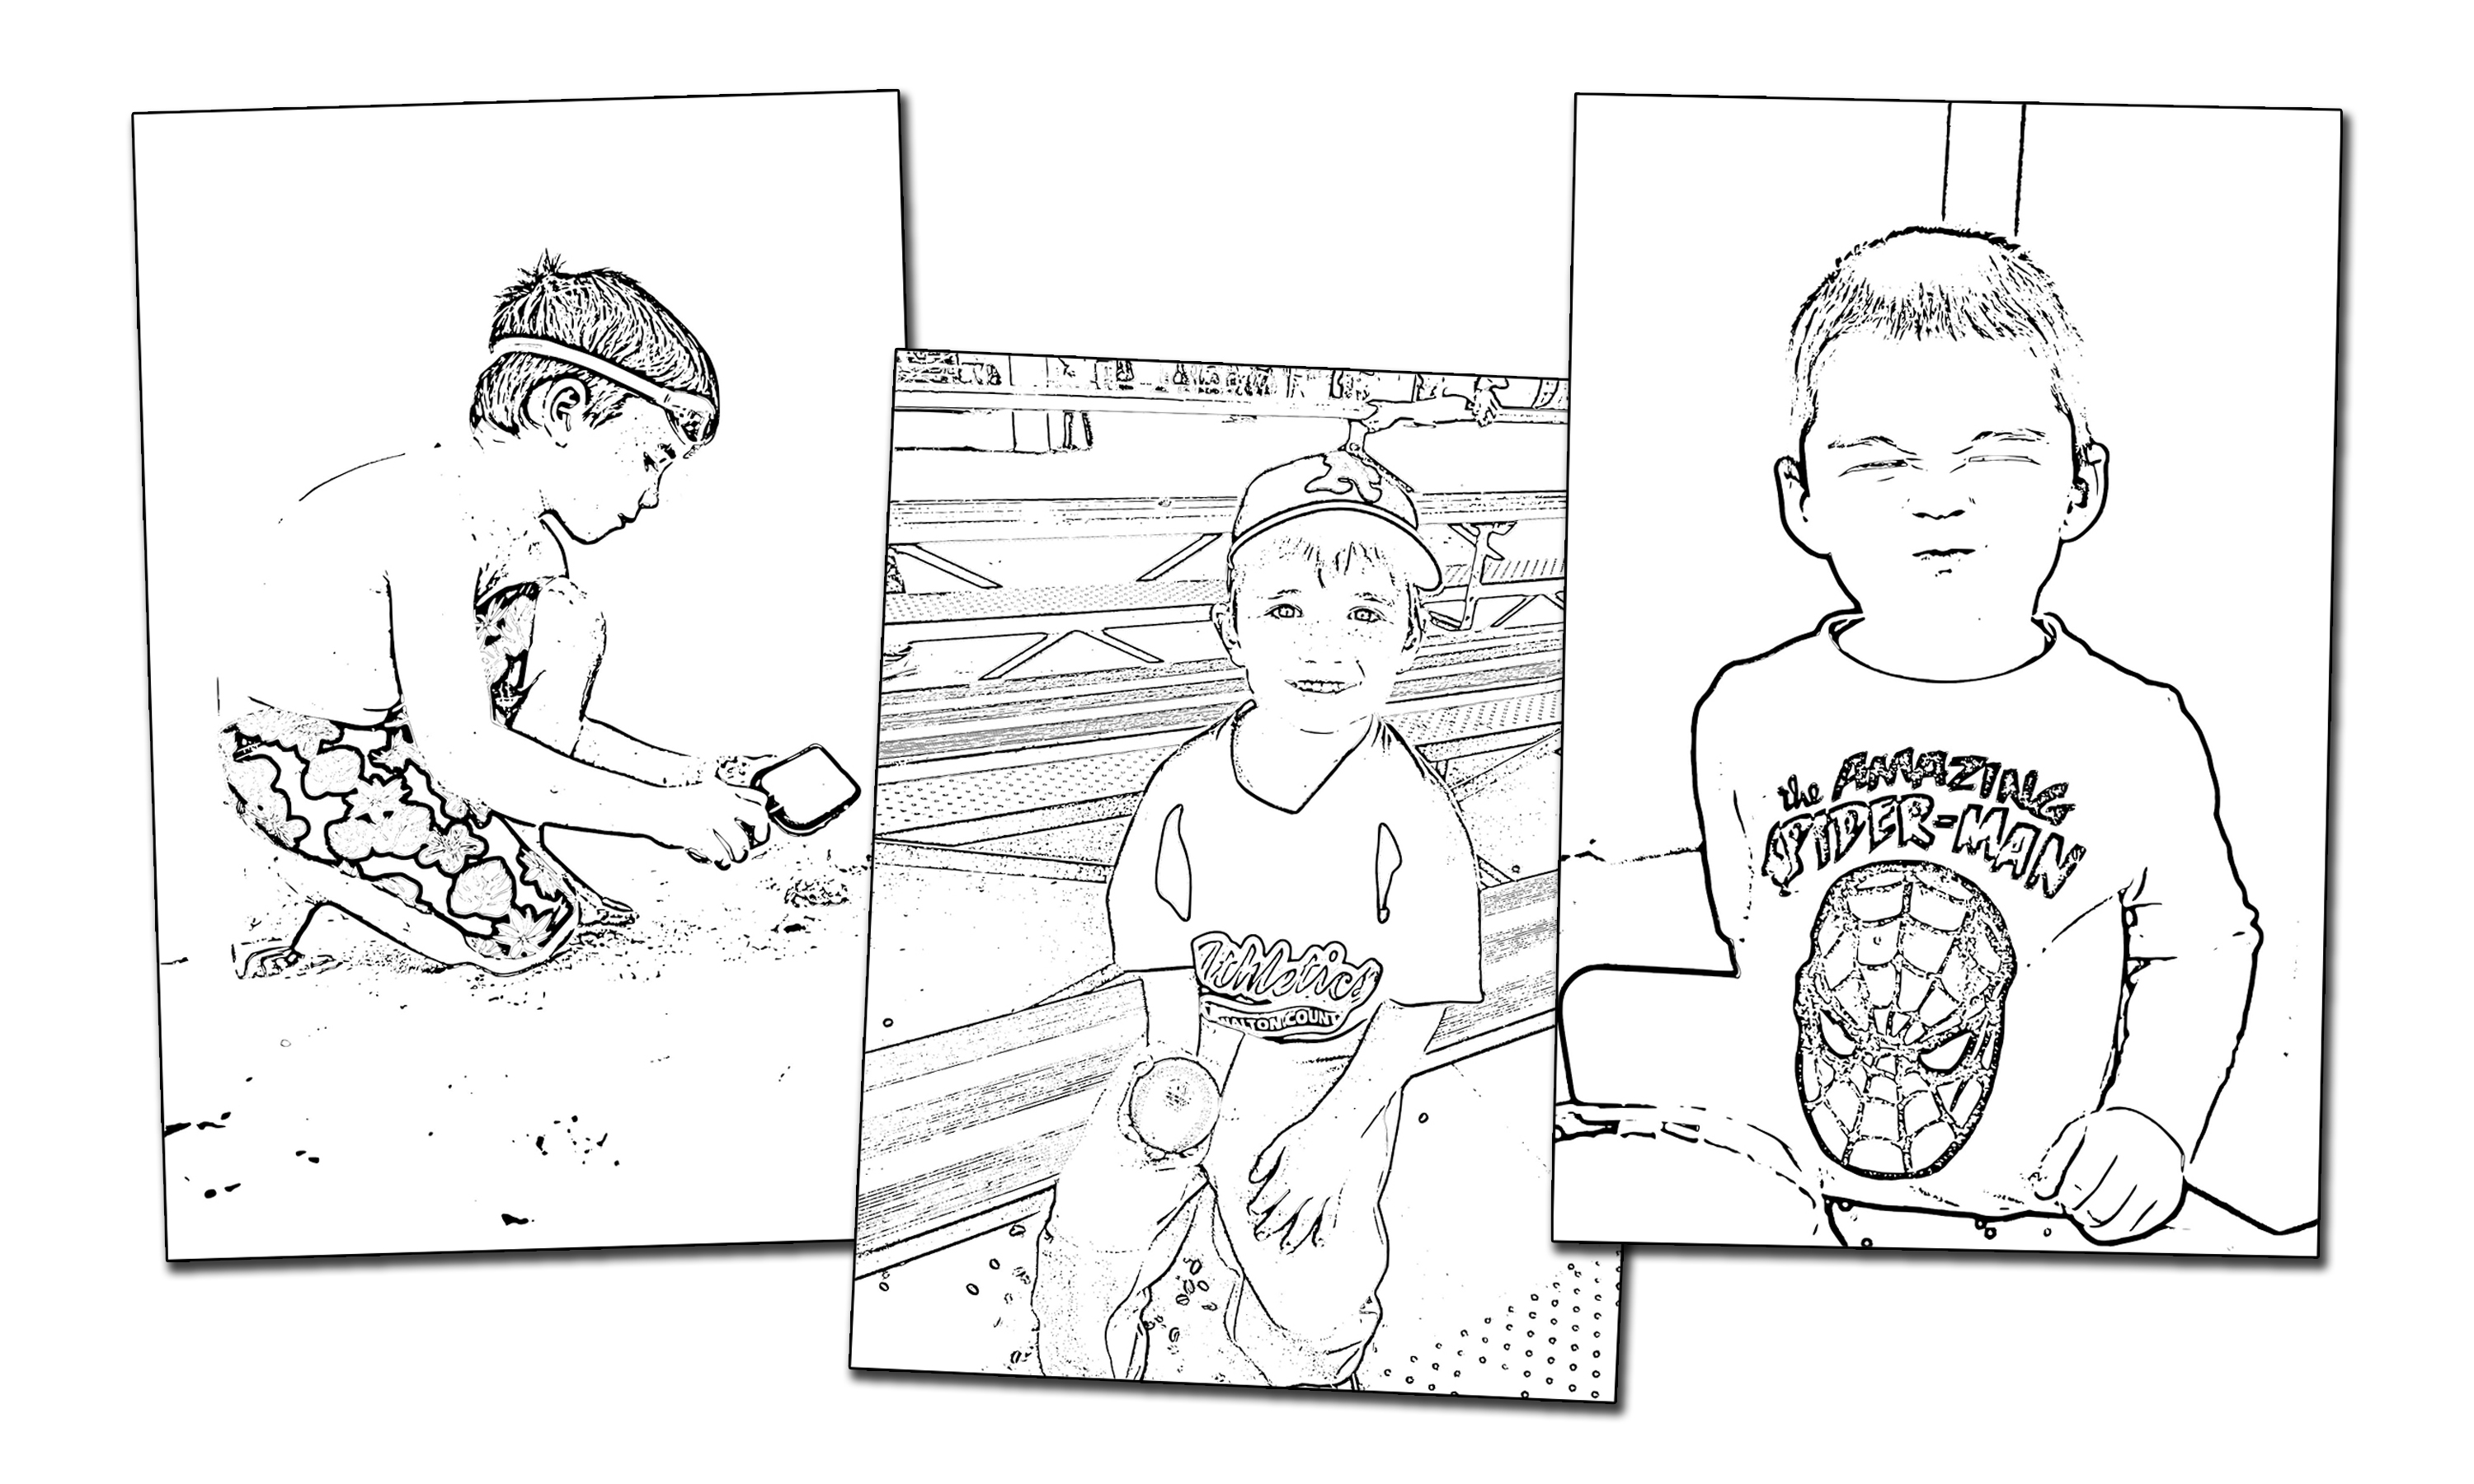
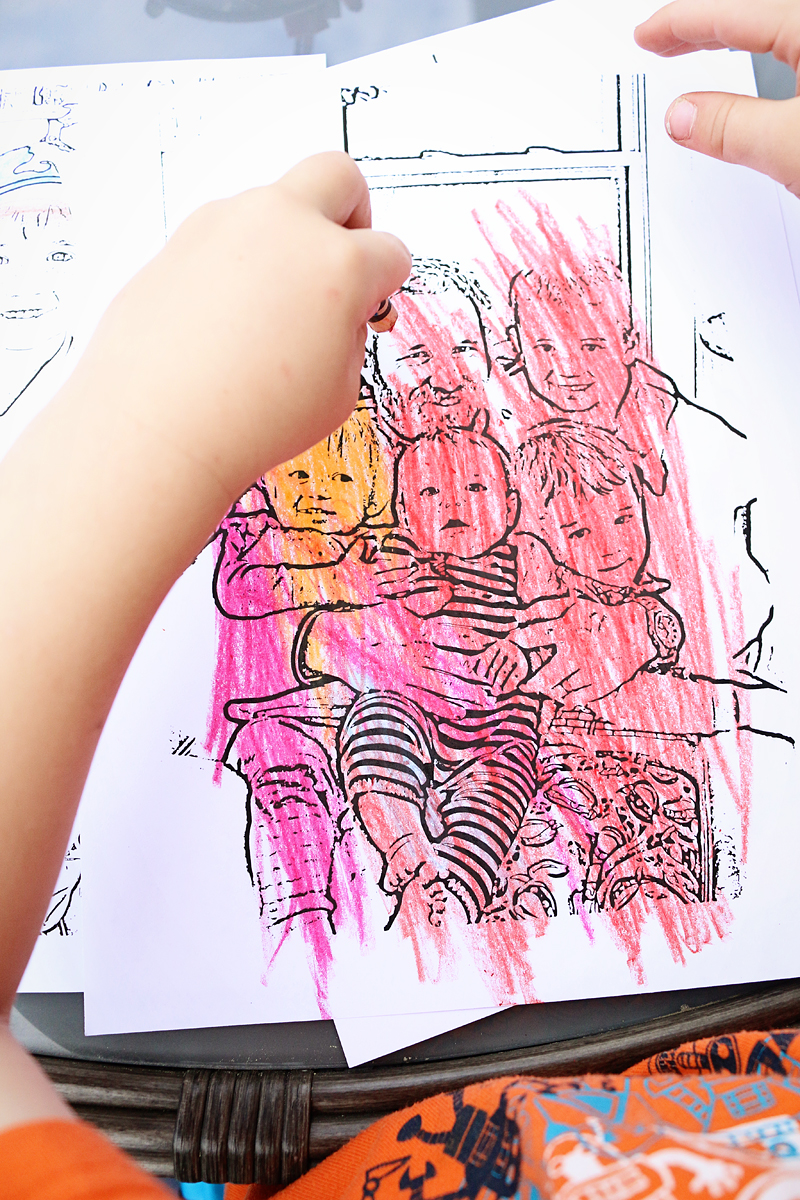
Mine ended up looking like this…
Once you have all your photos outline-ified….that’s a word….it’s time to print.
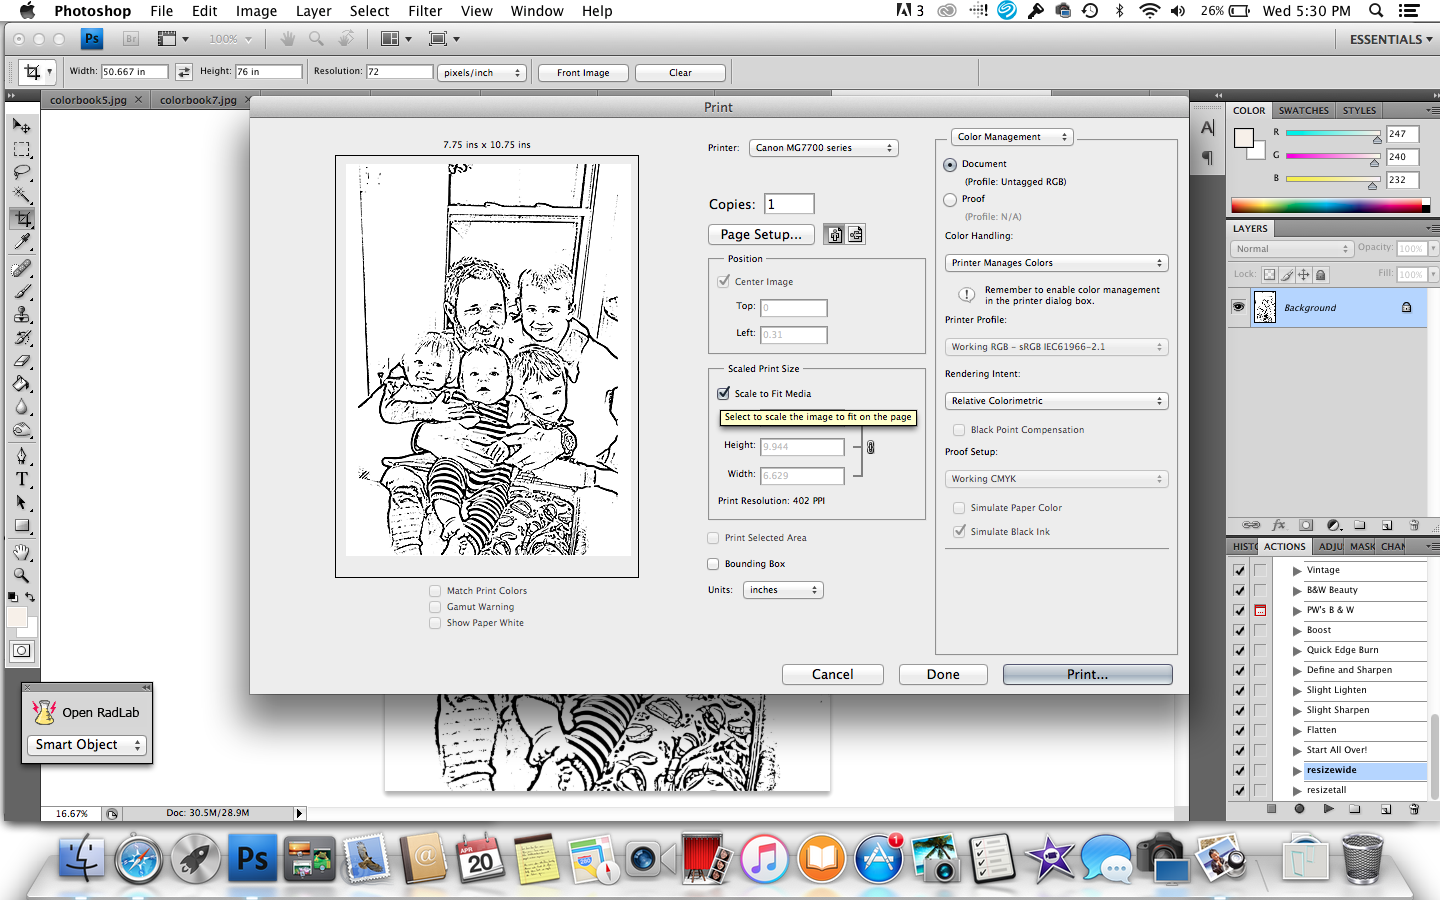
I used just regular white paper in my Pixma MG7720 to print them out. I also tried card stock (Weston sometimes colors a little aggressively and I have learned that card stock holds up to his massive three year old muscles!) and both work great for this project. Make sure to click “Scale to Fit Media” so that the photo prints on an 8×10 sheet of paper.
If you are gonna try it with an older photo – just scan it in with your Pixma MG7720 and then convert it to the coloring sheet before printing. That is the beauty in this project and the printer – you can literally make anything into a coloring sheet!
I did several different types of photos and I learned that the ones that converted the best were the ones with the highest contrast and with fun outlines like Will’s bathing suit or the bleachers at the ball field. Also ones with a direct light on their face was great because it avoided printing weird lines on their mouth and stuff. And yes – iPhone photos work!
We decided to print out a bunch of the coloring sheets first and let them color those individually and then paste them into the book.
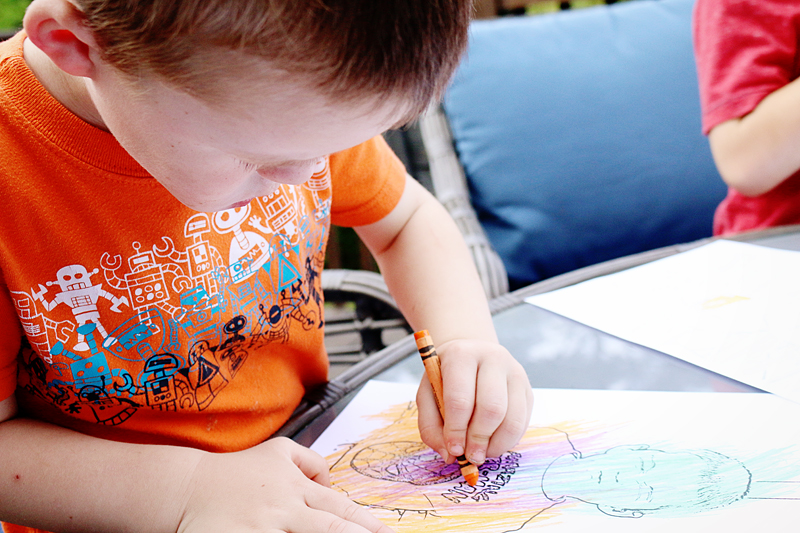
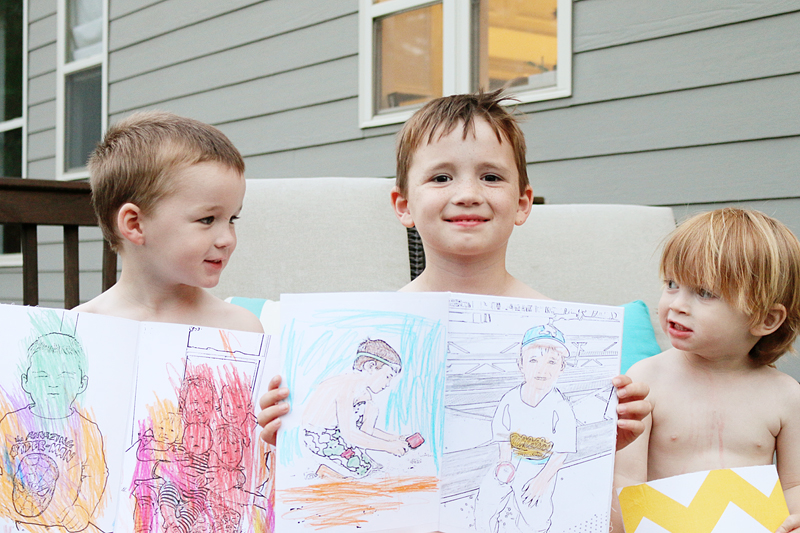
So when we revealed that they would be doing a special coloring activity they were like um ok. Then when we told them it would be their own pictures….well, they got REALLY excited….
Look at those little smiles. I love it when they feel excited about something like this….it makes me feel like such a good mom!
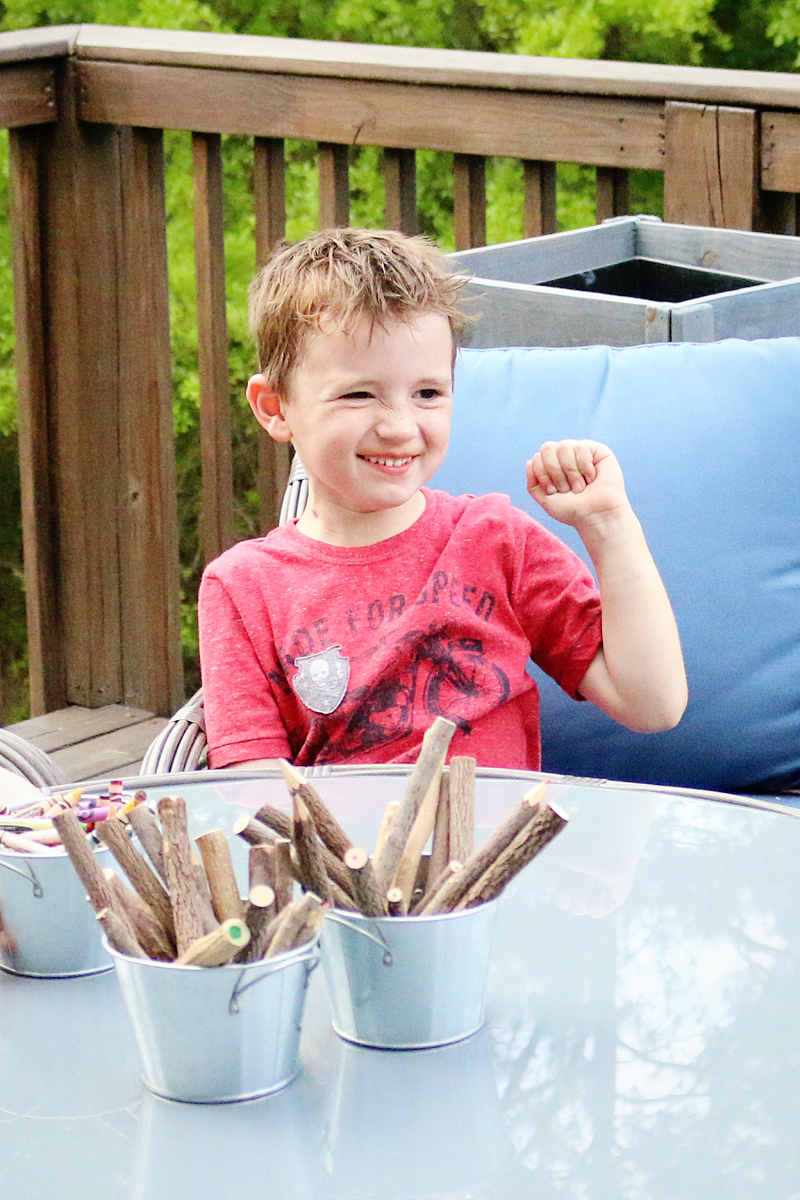
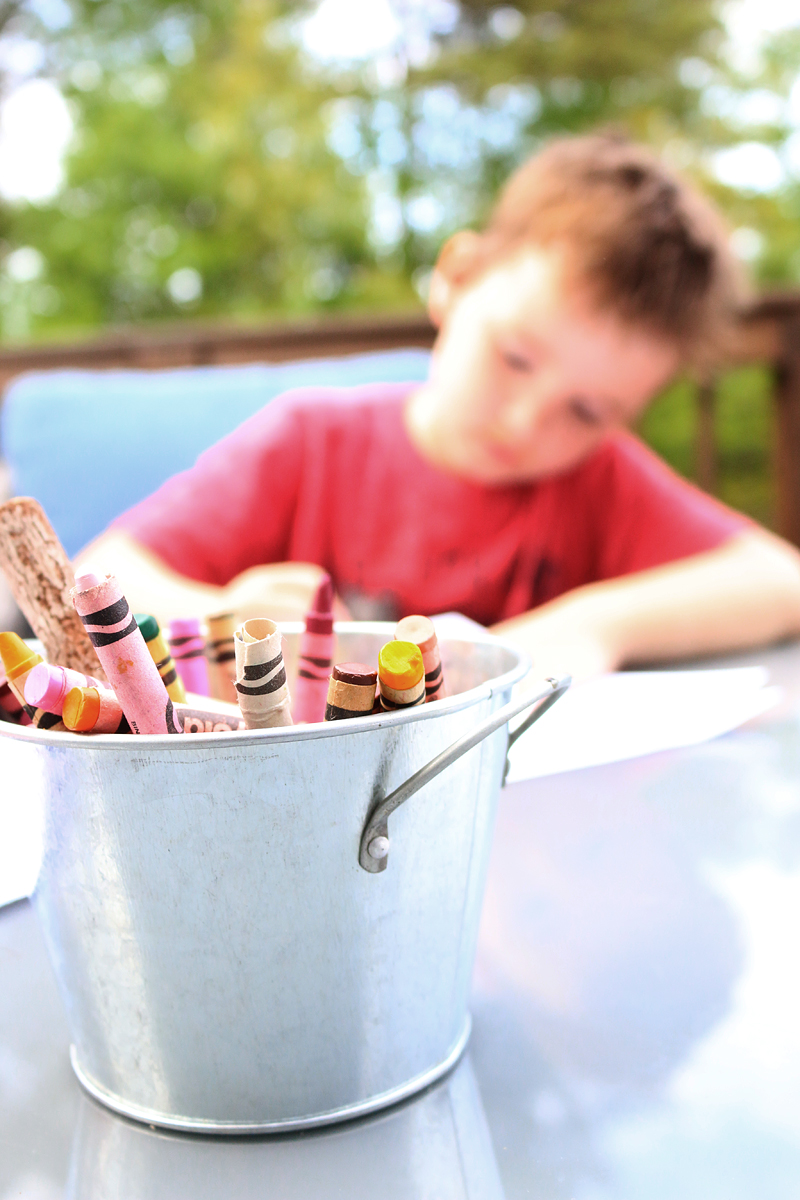
These dudes hard at work….
LJ got his own color. I don’t know what that means exactly 🙂
Okay so now onto the coloring book part.
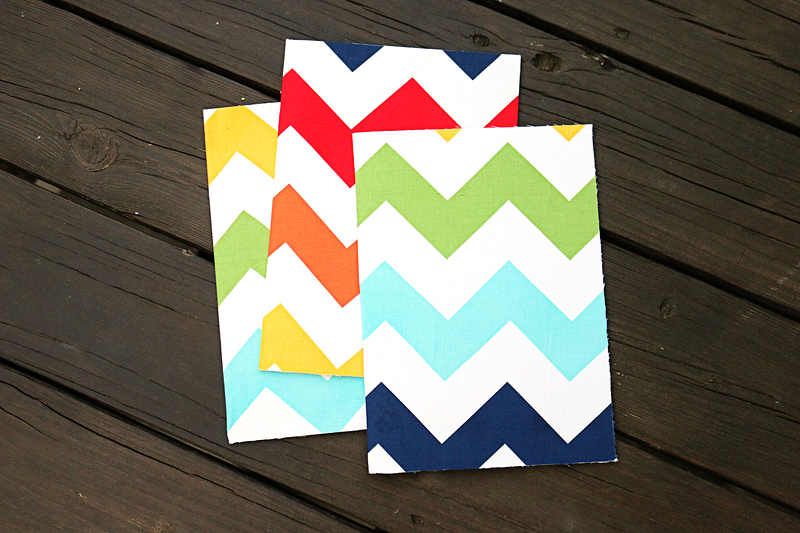
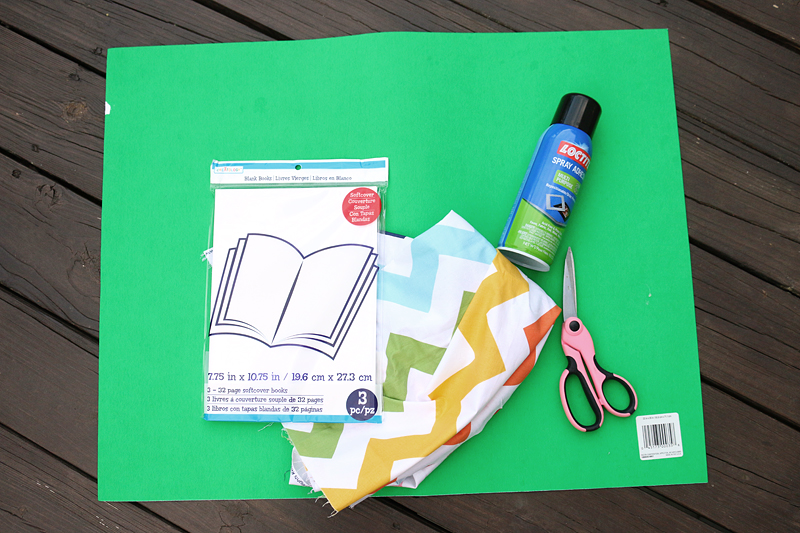
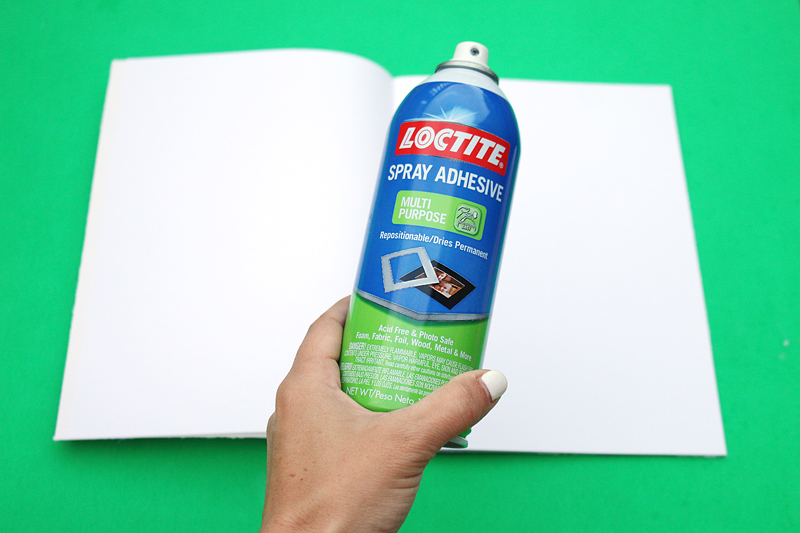
I got a three pack of these pre-made plain white softcover paper books at Michaels. They were $2.99 and I got them for 40% off…so $1.80 making it around sixty cents a piece. I grabbed an old piece of fun fabric from my stash, some scissors, some spray adhesive and something to protect my deck.
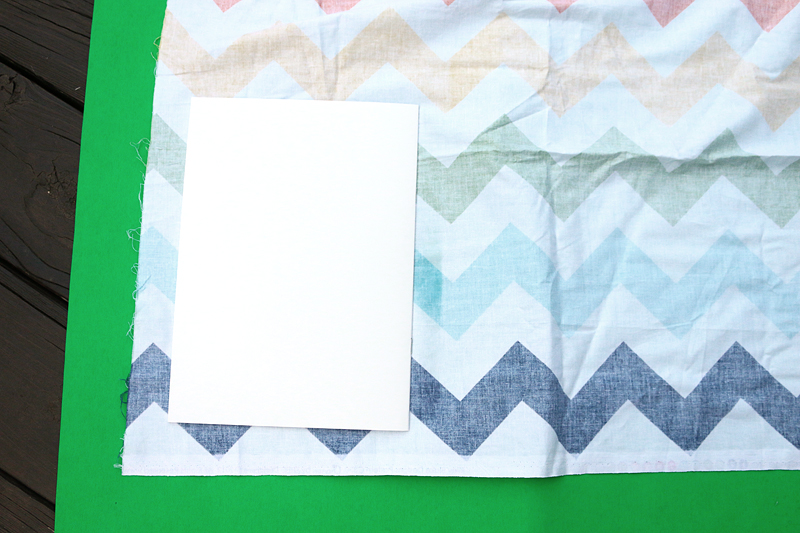
The first thing you do is ignore the wrinkles in the fabric 🙂
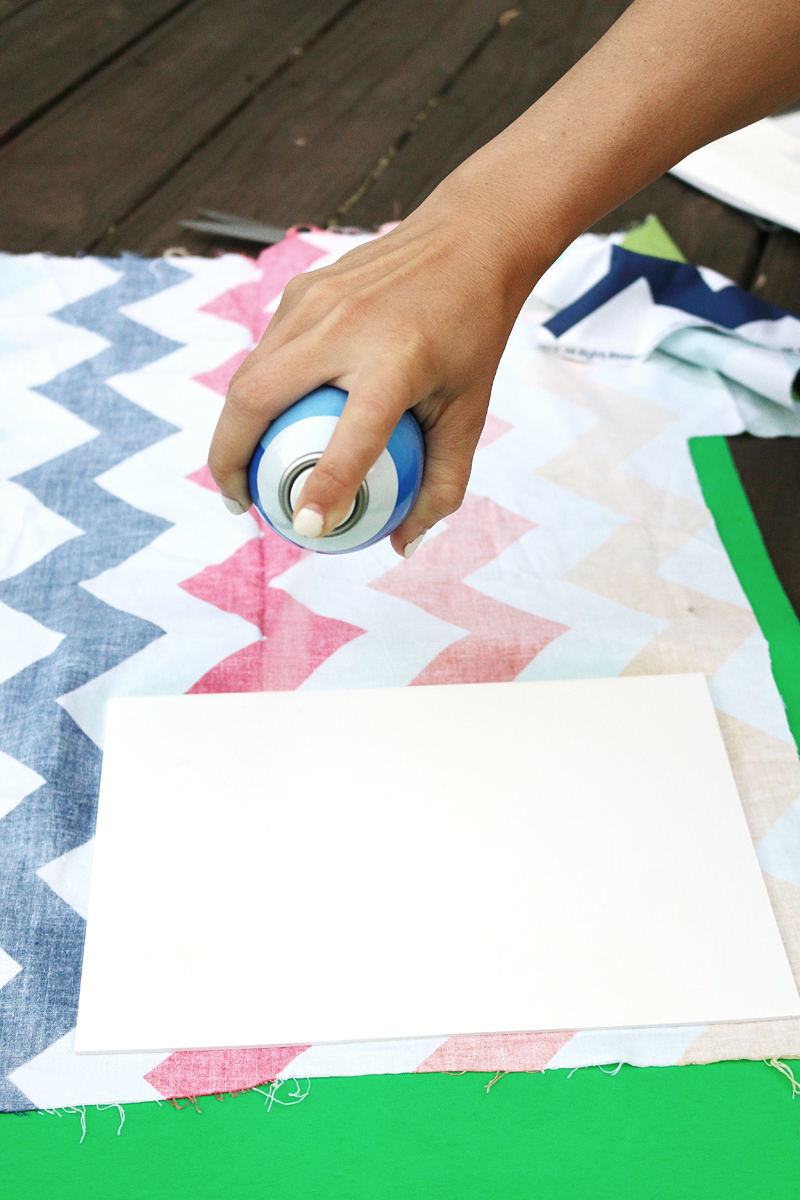
Then you spray one side of the cover lightly with the adhesive and lay it on the fabric. You can flip it over and smooth it out gently.
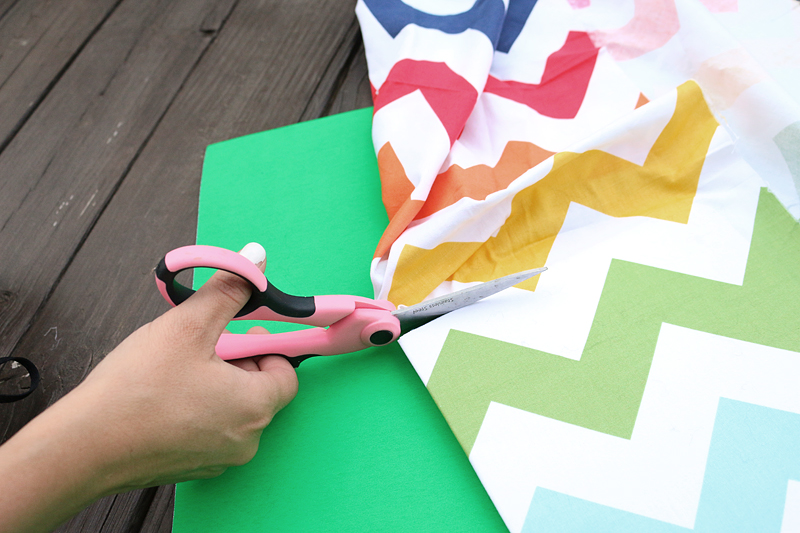
Then spray the other side and fold the fabric over so that the fabric wraps around the outside cover. Smooth all the wrangles and wrinkles. Time to trim. Simply use the edges of the book as a guide and trim all the excess fabric.
Now your book is covered!
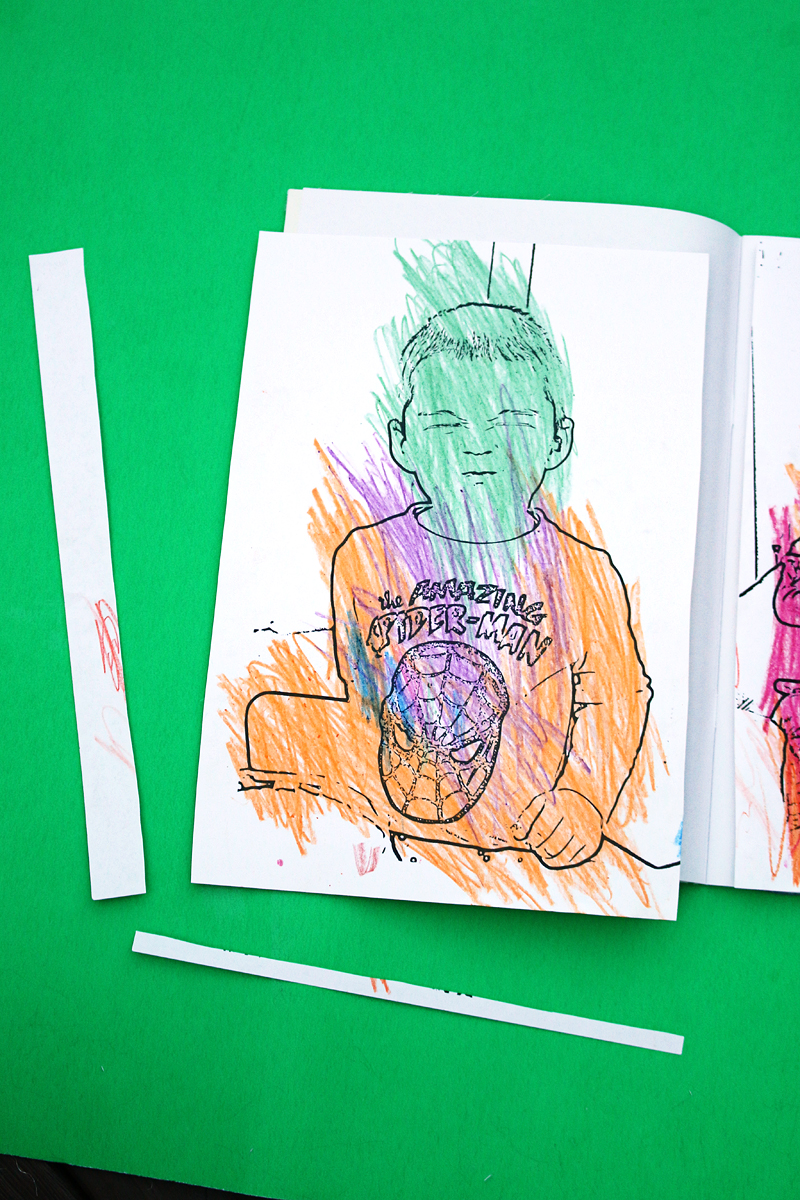
Time for us to put in those pictures. I did need to trim the paper slightly so that it would fit inside the book.
Then using the same adhesive spray the back of the COLORING PAGE from your kiddo. Don’t spray the book.
Lay the page inside the book and press gently into place. Ta-da! You are done.
My kids really did think this was the best thing ever and I think anyone that likes coloring or themselves will too 🙂
So now go pin this….
and if you decide to make these – you absolutely must come back and tell me how it worked out! I love seeing your projects too! And again – special thanks to Canon for making kick-butt printers and challenge me to bring you these fun projects. My kids appreciate it too 🙂


FYI- The ads on your site lately are making it basically unreadable. The page takes forever to load and there is an ad above every single picture you post. Just in this one little section on the Leave a Reply page, I’m looking at 3 different ads. (Ad Council, Dish, and State Farm, in case you’re curious.)
Been reading you for years, but it’s getting seriously irritating.
This post just cracked me up start to finish! And the whole thing is adorable — especially your boys!
I’m so sorry! That has to do with the ad manager and we have to let them know what people see so thank you for letting me know! I’ll see what they can do!
xo kb
Ahhh! WHERE did you get those twig colored pencils?! Need….. probably for me 🙂 haha
I have seen this before, but not with detailed steps, so thank you! I have a mentally disabled aunt in her 70’s that lives many states away and I seldom get to see her. However I like to send her “fun mail” as often as possible. She LOVES to color. I had the idea of taking photos of her family members and making a book for her to color. She has a July birthday coming up, so the timing is perfect!