Oh the beauty of the internet is that you only get to see or hear what bloggers share! You get to see these beautiful vignettes – not the mess on the desk right next to it. You get to see gorgeous hairstyled children – not the bathroom chaos post salon makeover. You get to see finished laundry rooms – not the horribly frustrated DIYers who are ready to chunk a faucet through the window. UNTIL TODAY.
Get ready to hear me tell you a tale about our laundry room faucet and how it aged me several decades in the process.
Hopefully this cautionary tale will encourage you. Not everything we do is perfect the first, the second or even the third time around. And we have all been there…in the DIY trenches…fighting our way toward a beautiful space. Hiccups, speed bumps, major delays are all part of everyone’s journey! Don’t get discouraged. Get even. I mean…get a snack and do the next thing. That’s how we get through it! You just take the next step toward progress….or your local home improvement store 🙂
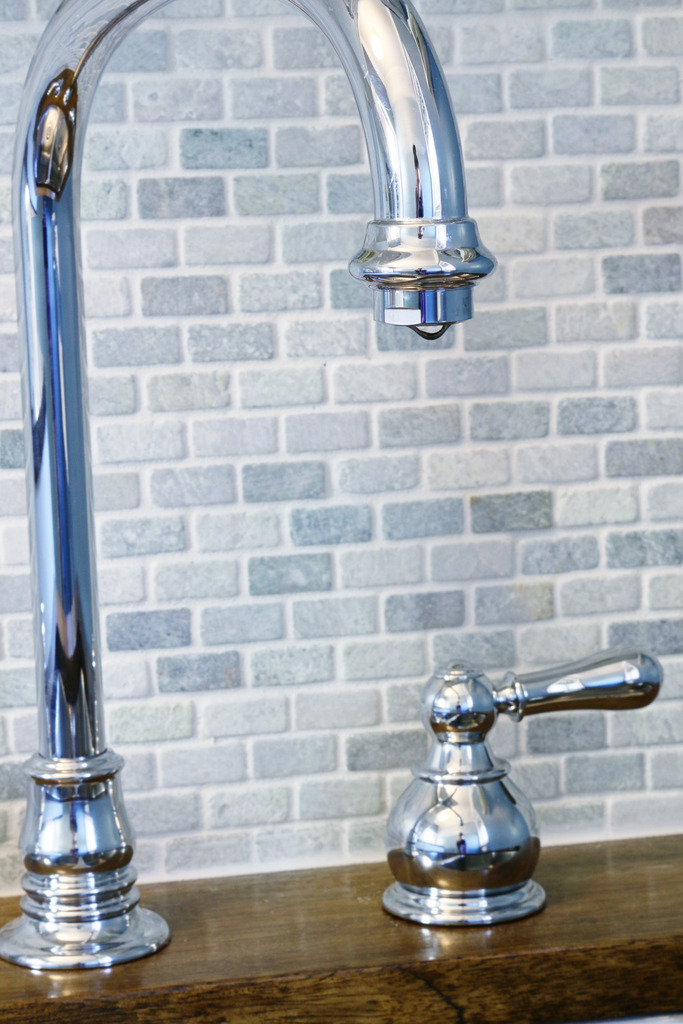
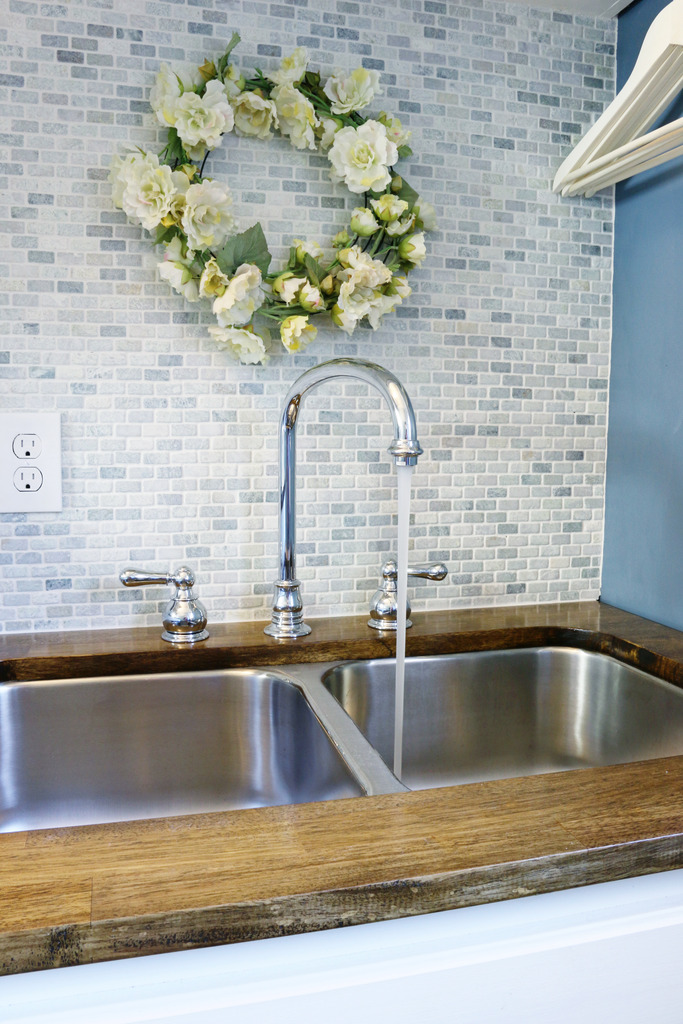
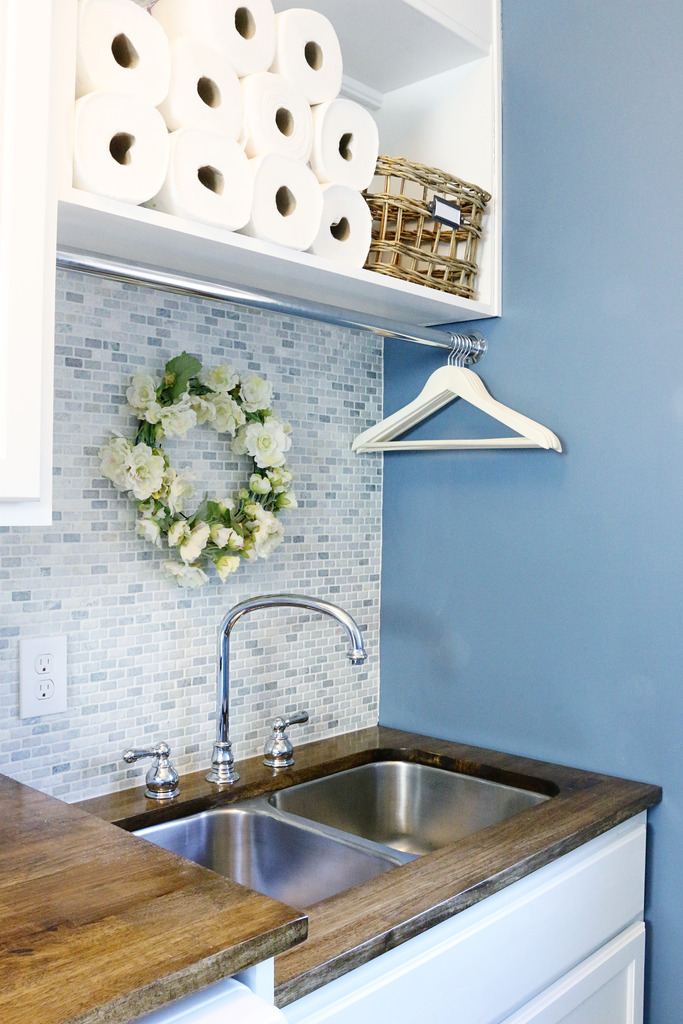
Okay so in our laundry room reveal, you got to see this beautiful chromed beauty. She shines so bright she makes diamonds look like Brad Pitt’s cast off beard scraggle. But she was a long time coming…
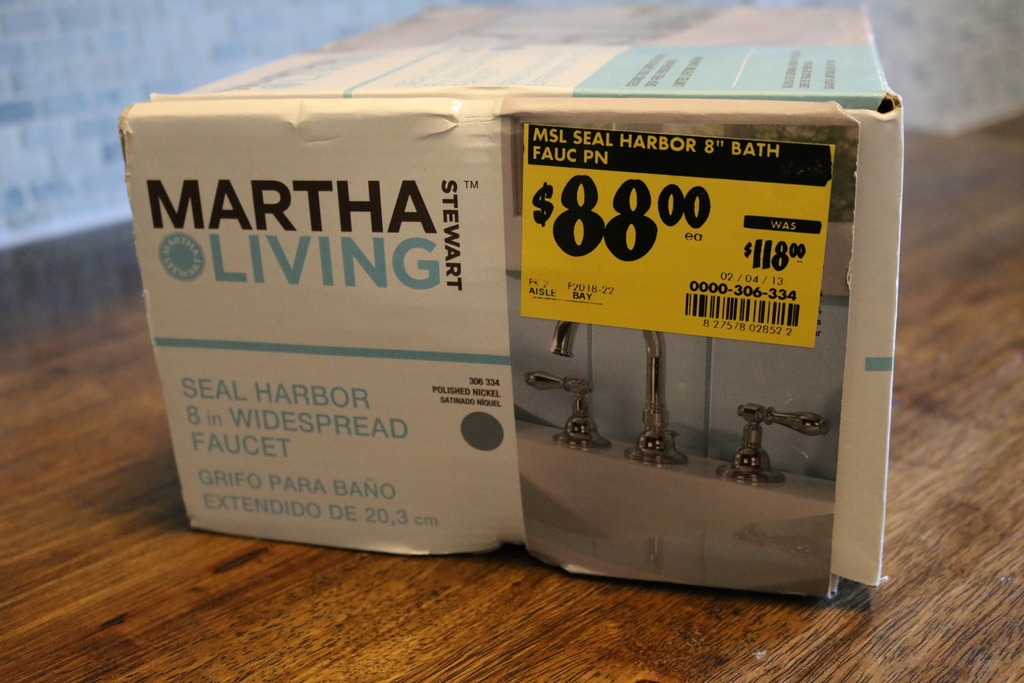
When we began the sink installation process, we were so confident. We had found this Martha Stewart Living faucet on sale and thought that it was a great fit for our future laundry room sink.
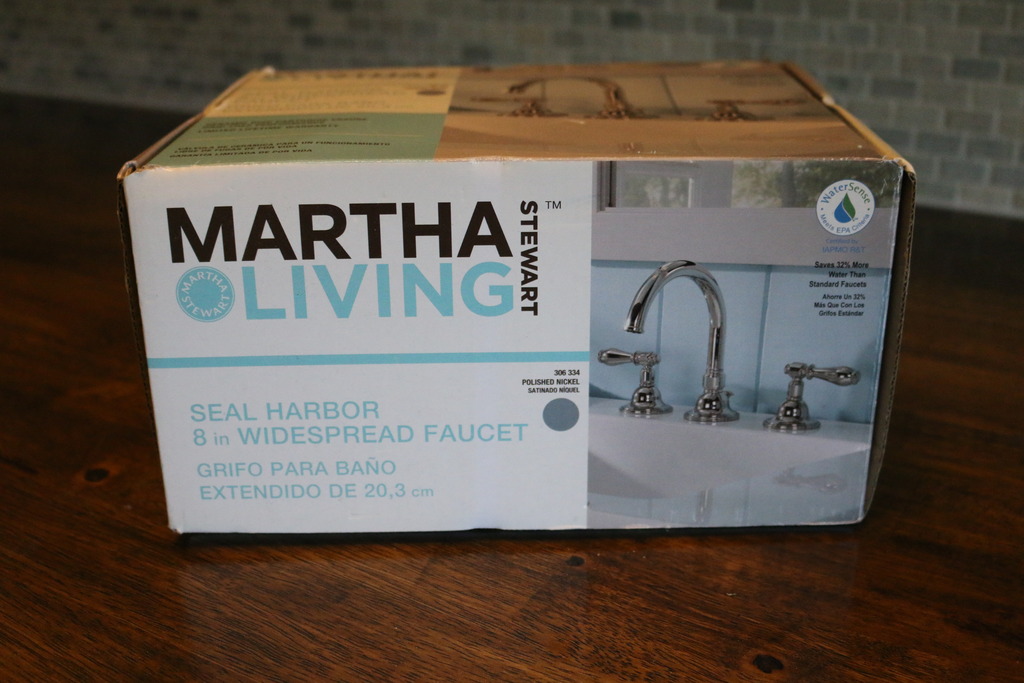
I even got it on sale!
Well, as you know, we fitted the countertop to the space and drilled the holes and Jeremy made this uber cool video. He even themed the music to how cool it is…
We were on our high horse….it was like one of those horses you see in the Buddweiser commercials…except bigger. And more friendly. Maybe it even had a unicorn horn.
The point is…we thought that the two year wait to finish this space meant that we had no more delays. We were dead wrong.
We moved forward unknowingly….mounting the sink, installing the countertop, and tiling it in.
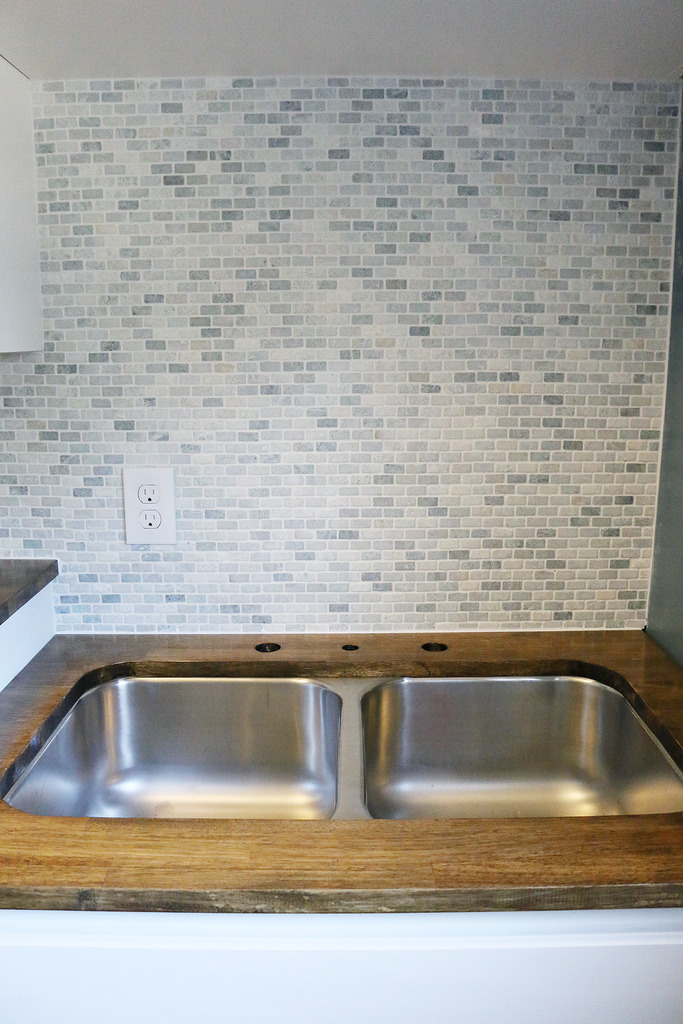
Then I went to double check the way the faucet looked and it was like seeing a squirrel trying to wrestle an elephant. It just didn’t fit. It was way too small. (if you haven’t seen a squirrel take on an elephant….put it on your bucket list. or youtube it.)
Look at that puny thing.
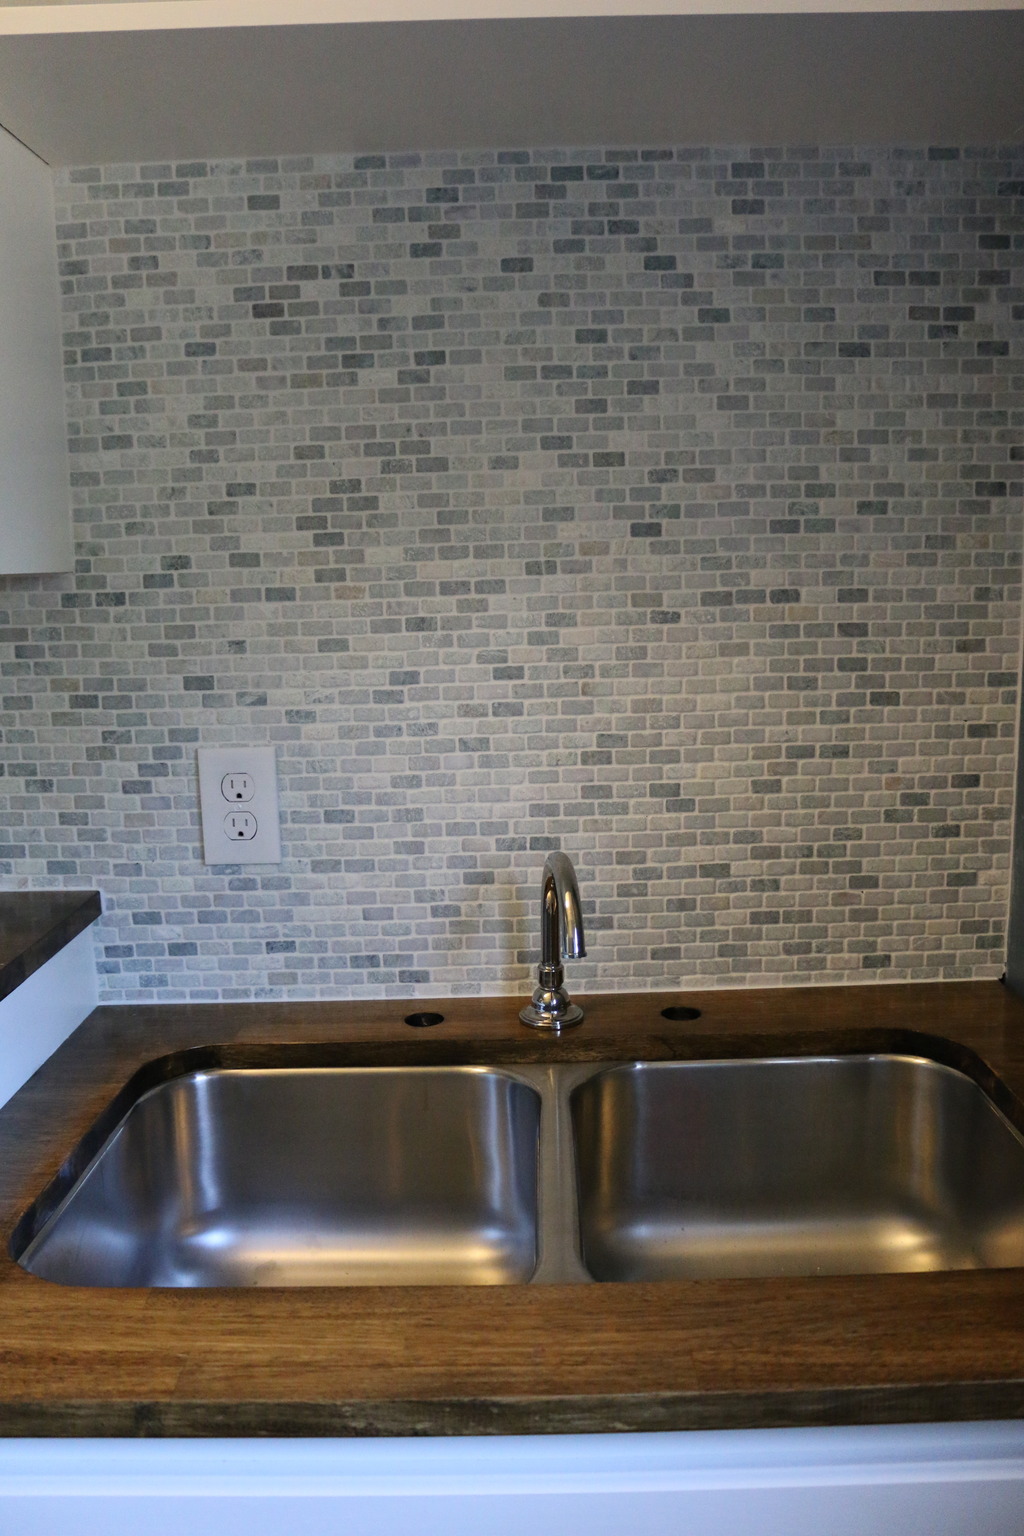
So back to the drawing board. I thought it would be easy. Just buy a different 8 inch spread faucet, right?!
Wrong.
I wanted a taller faucet. A kitchen faucet. And we already had our holes drilled. So we bought one of these…
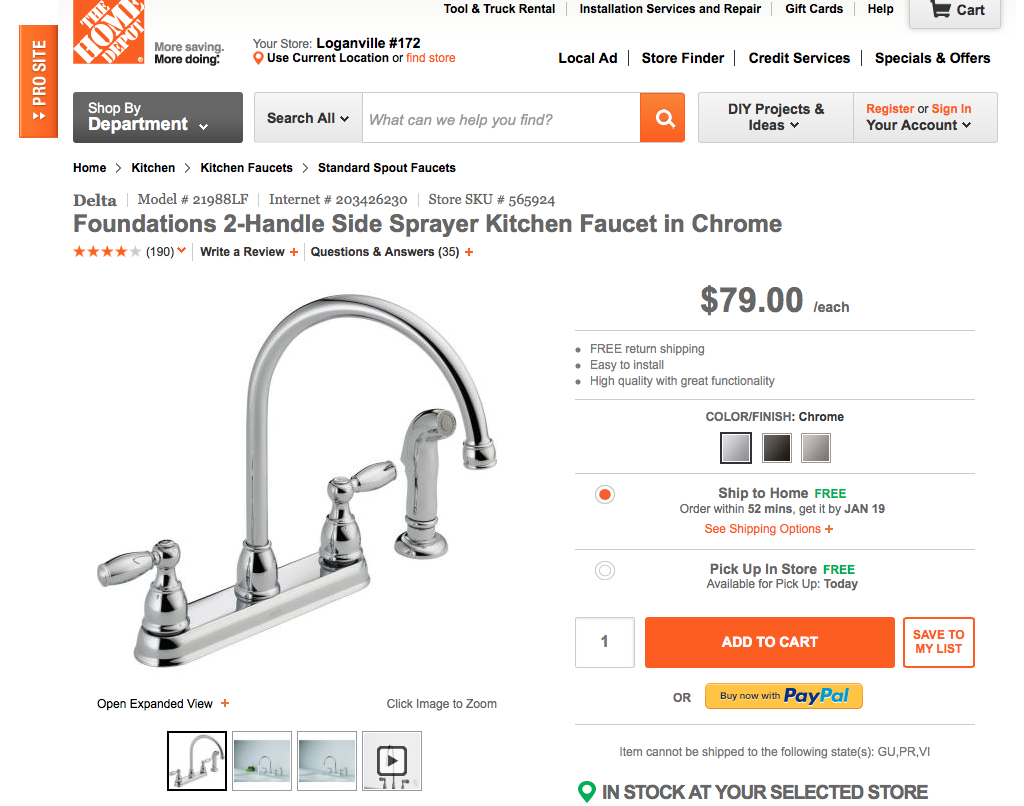
We figured that we could remove the plate below the faucet spout and handles and retrofit it to mount like the Martha version.
Wrong again. That plate can not be removed. It has the faucet connections welded together in there.
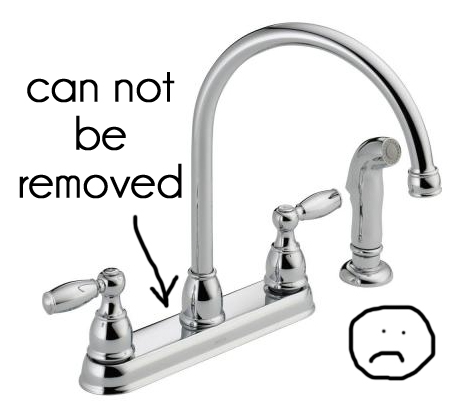
And we couldn’t mount it with the faucet plate attached and on top because we had already drilled our holes for an 8 inch spread and this faucet (like most kitchen faucets) needed a smaller spread. I was literally on the floor in the fetal position. Jeremy would just cover me with dirty laundry as I wept. It was a very dramatic day.
What we needed was a faucet that could be adjusted…aka no plate…and had three holes needed because there is no way in hades that I was gonna install one of those all in one faucets and put plates on holes THAT WE JUST DRILLED. We did find options….for close to $400!!!
And then finally we found this American Standard faucet. It fit the bill perfectly.
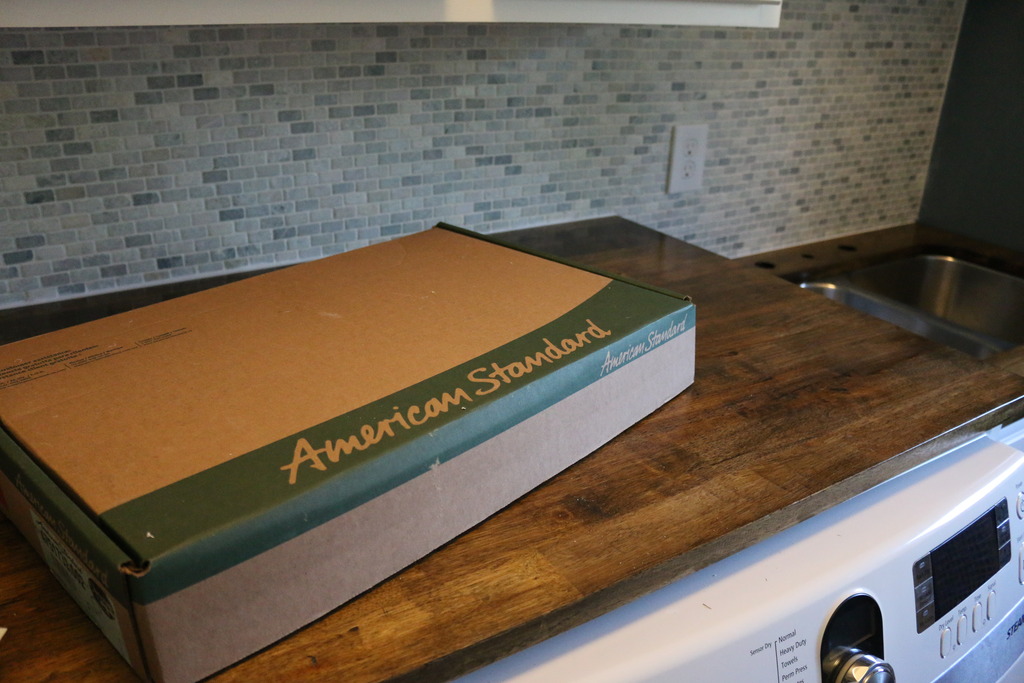
I had it shipped immediately! It arrived in all it’s chrome glory and I tore open the box to find the faucet spout and handles! Then I saw the part that attaches everything….it goes below the countertop and I went to put it in the hole and boom…..
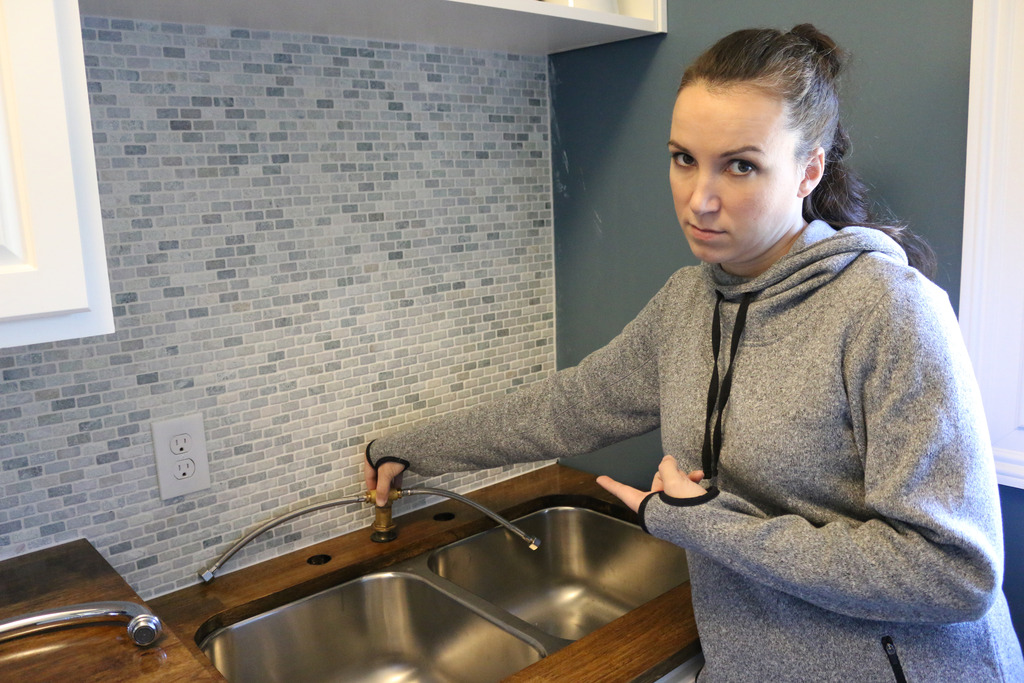
Did not fit.
I went back to the fetal position and cried.
Because EVERYONE KNOWS THAT ONCE YOU DRILL A HOLE….IT”S NEARLY IMPOSSIBLE TO DO ANOTHER CLEAN CUT TO MAKE IT BIGGER.
That’s hole-101.
We had made our hole too small. It fit the other faucet but not this one. And we needed a way to make it bigger without damaging the countertop, removing anything and without the ability to clamp additional wood in place. That’s how you would normally make a hole bigger….clamp wood to the top and bottom and then use a larger hole bit. But we couldn’t do that because there was no way to clamp anything with the sink in place. Enter google.
I googled the tar out of this and finally ended up on a woodworkers forum that shared this fun little tool. It’s basically a rasp (or a cheese grater for wood for all you non-wood-people) and it attaches to your drill and you can slowly make a hole slightly bigger.
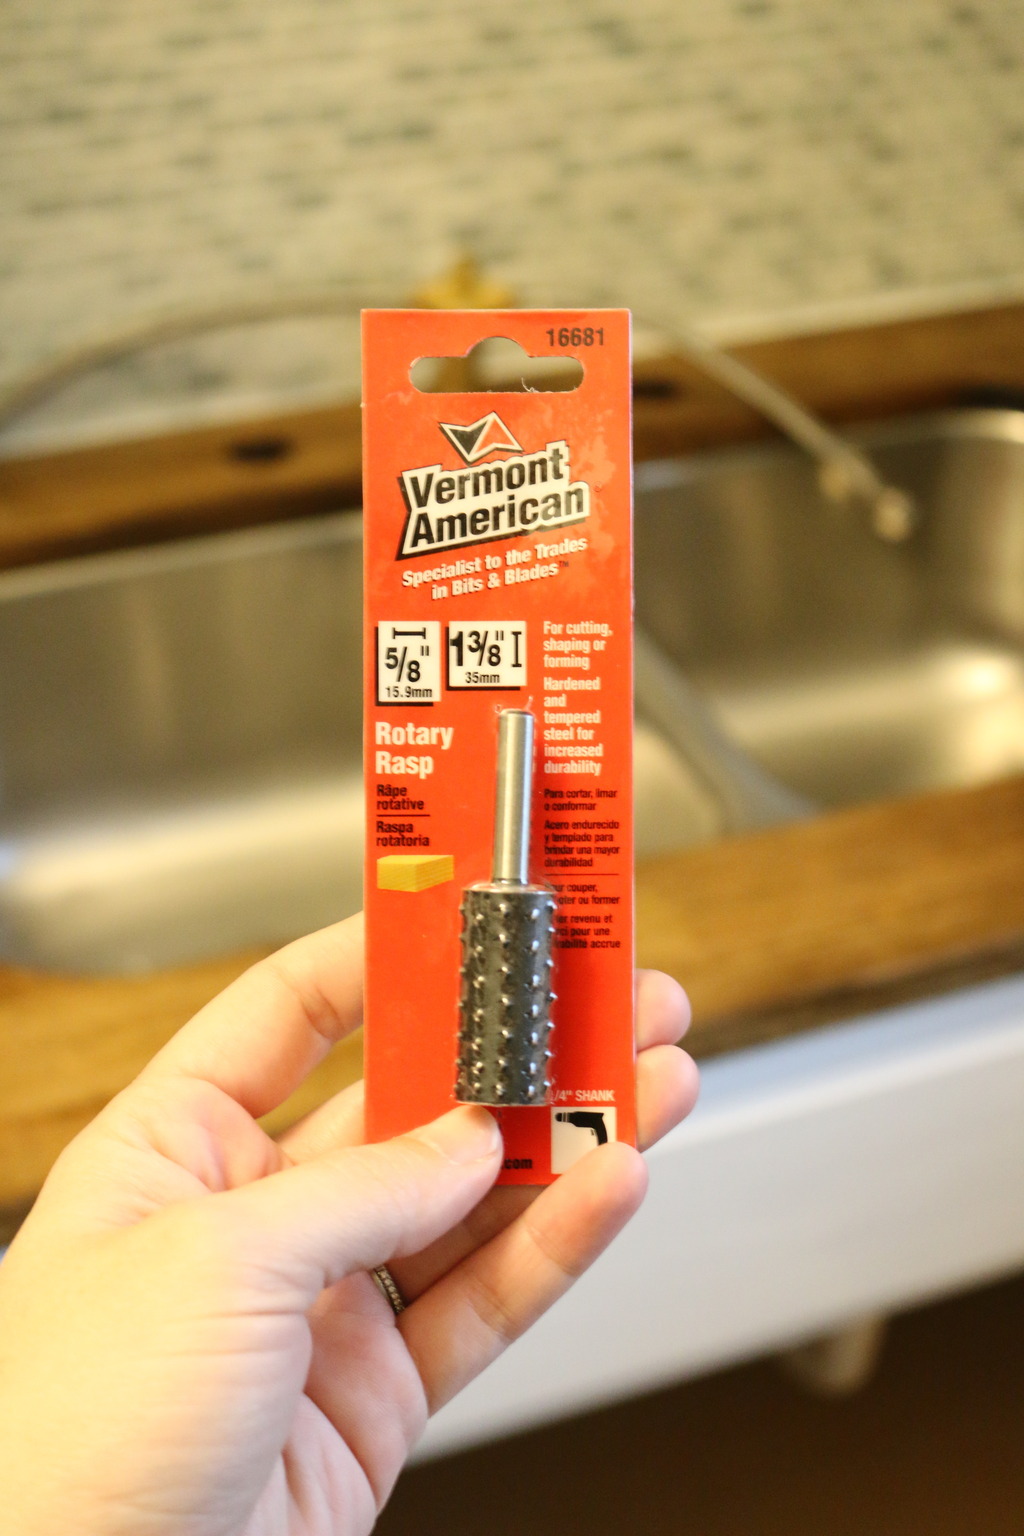
Armed with my bit, I went at it. Slowly but surely, I got it bigger and bigger.
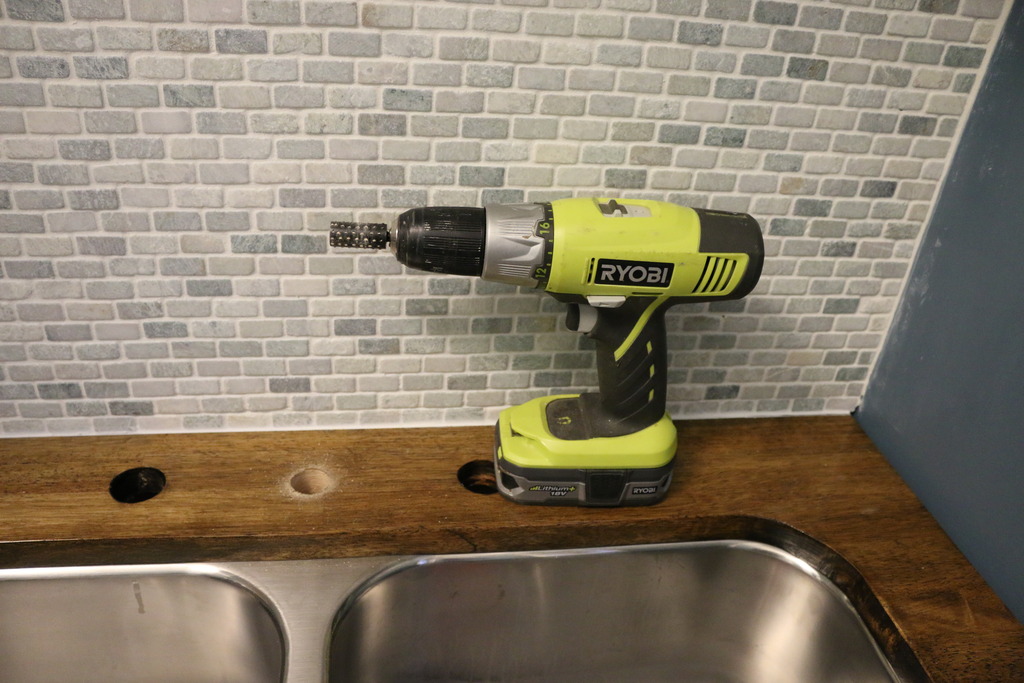
Until FINALLY! IT FIT! Angels descended. Cherub baby butt’s were everywhere. Celine Dion was singing. It was epic.
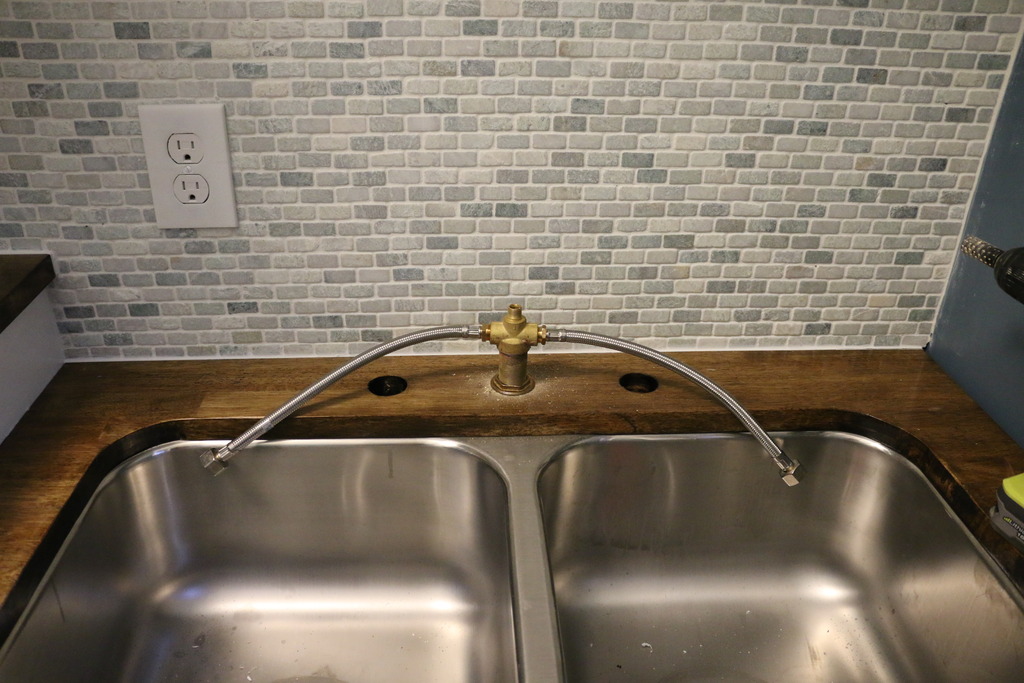
Jeremy and I followed the instructions for installation and that night it was installed.
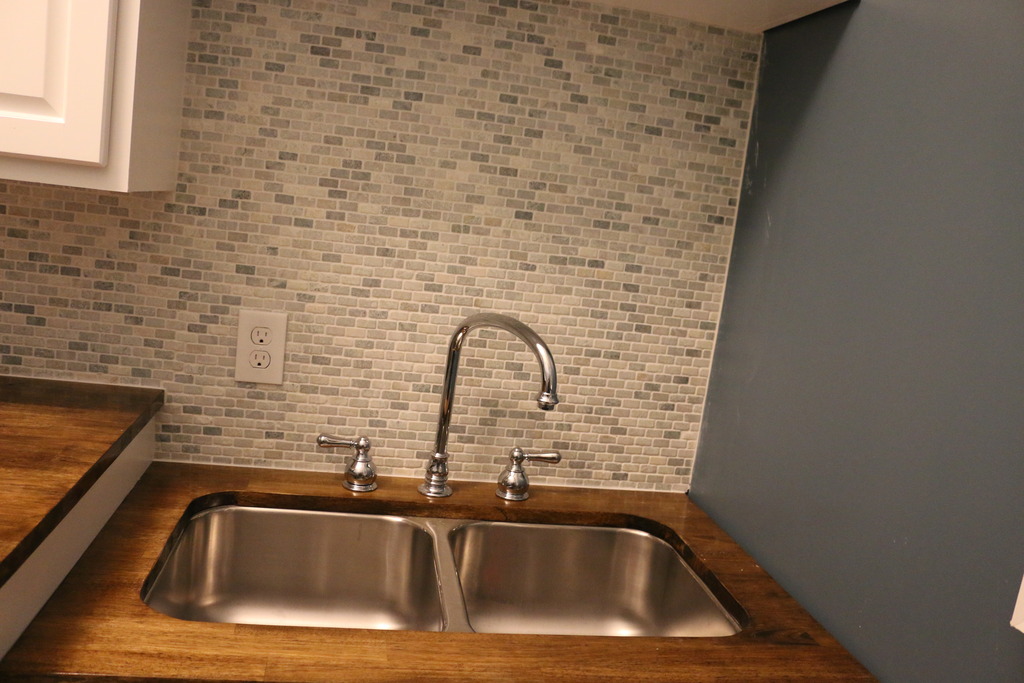
It only took ten years off my life but I did survive and I really do love the new faucet. I love the chrome finish and the fact that it is an elephant wrestling an elephant….AS IT SHOULD BE.
Moving on to the drain.
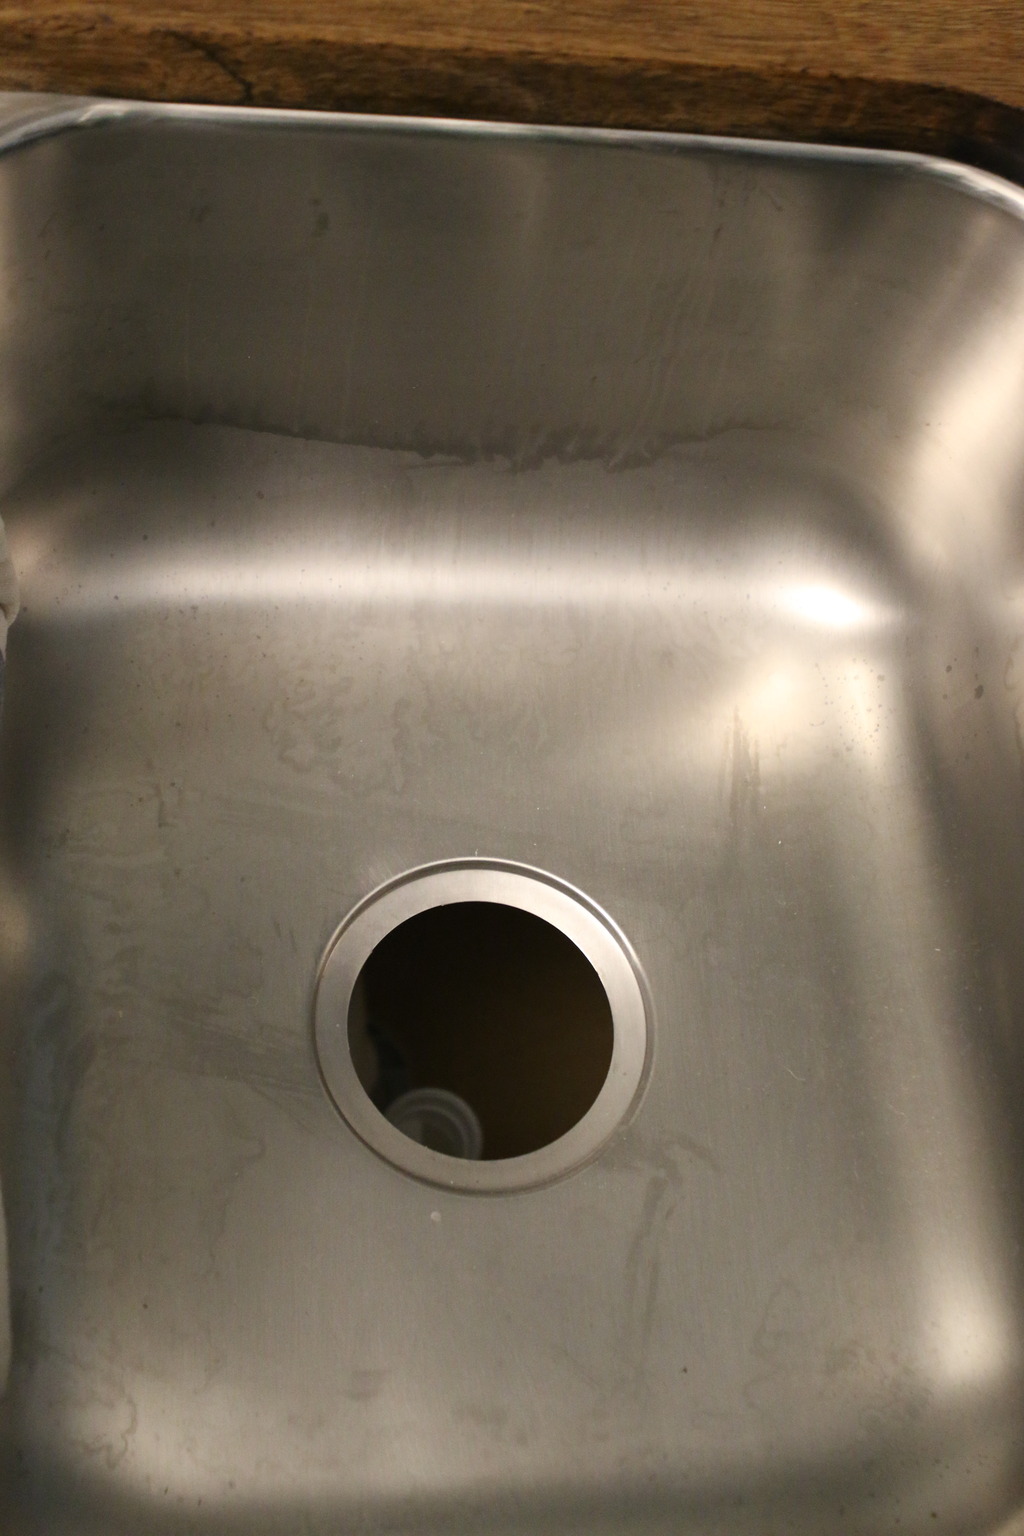
We decided to install the drain ourselves and bought a package at Home Depot that was labeled as additional PVC for making a single drain into a double drain. Our utility sink before was only a single drain so we were able to keep that plumbing in place and only add another arm. It was a fairly straightforward process. Basically the thing you need to remember is that installing sink drains need pipes that fit into one another and at those joints you use gaskets. The gasket for the top of the sink drain goes in first…
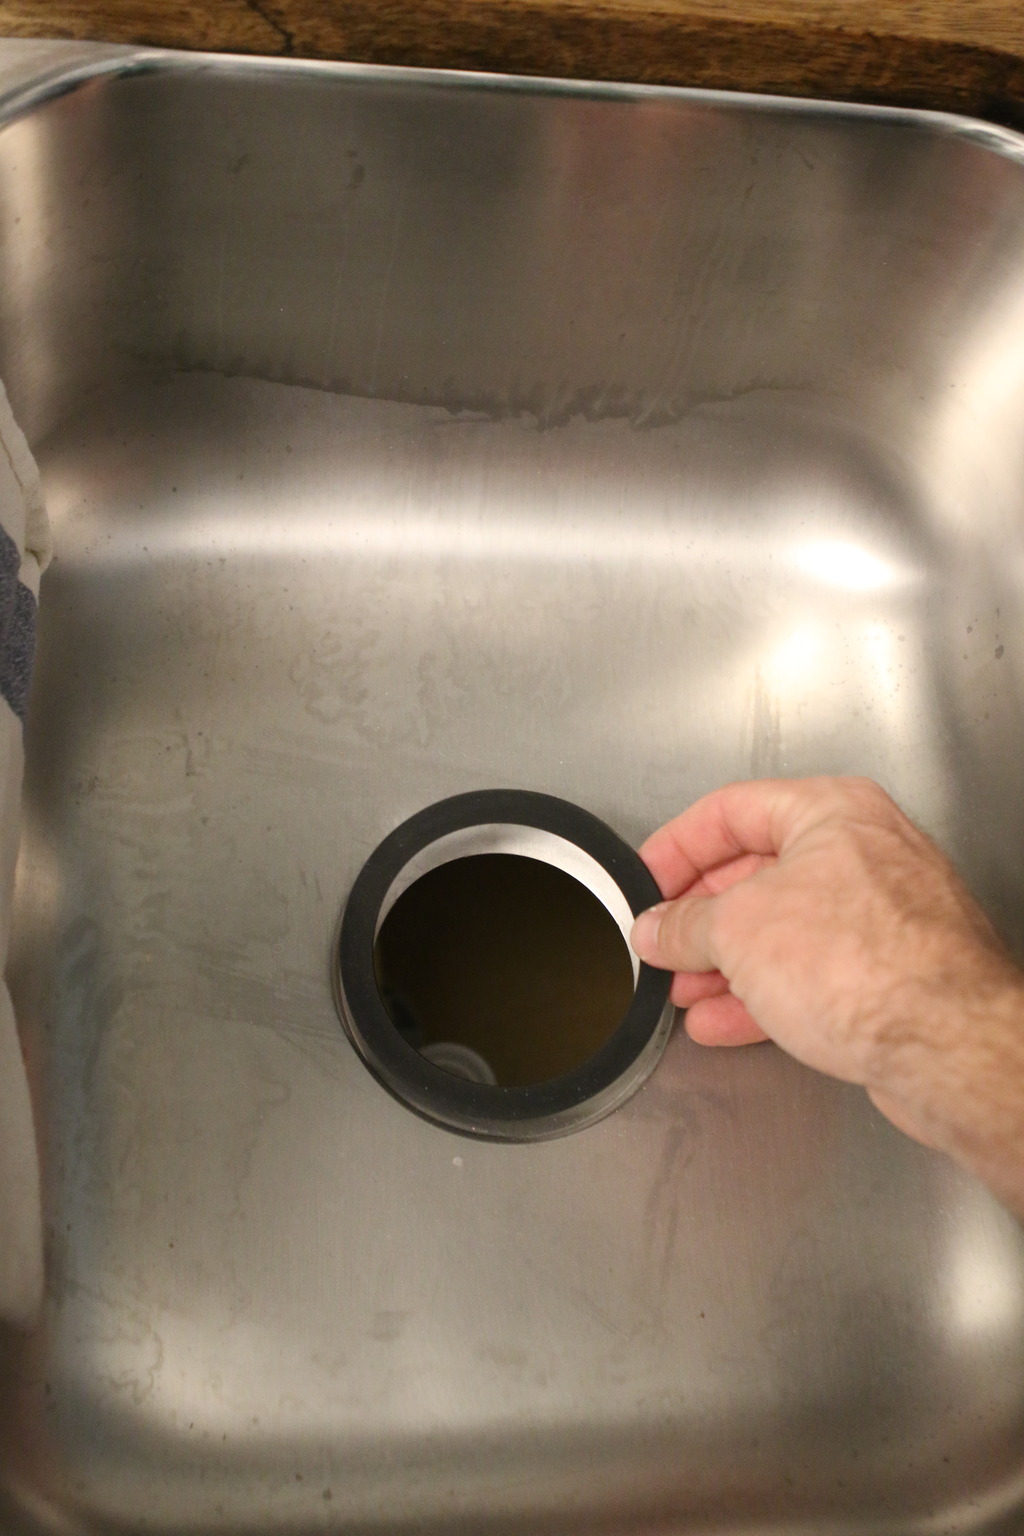
Then the drain. Note that we would normally use plumbers putty as well (we did a lot of research about this and decided to forego it this time because we use this sink for solvents as well and we know that it can degrade the putty so we are relying on our gasket for no leaks but normally we highly suggest using a plumbers putty first!).
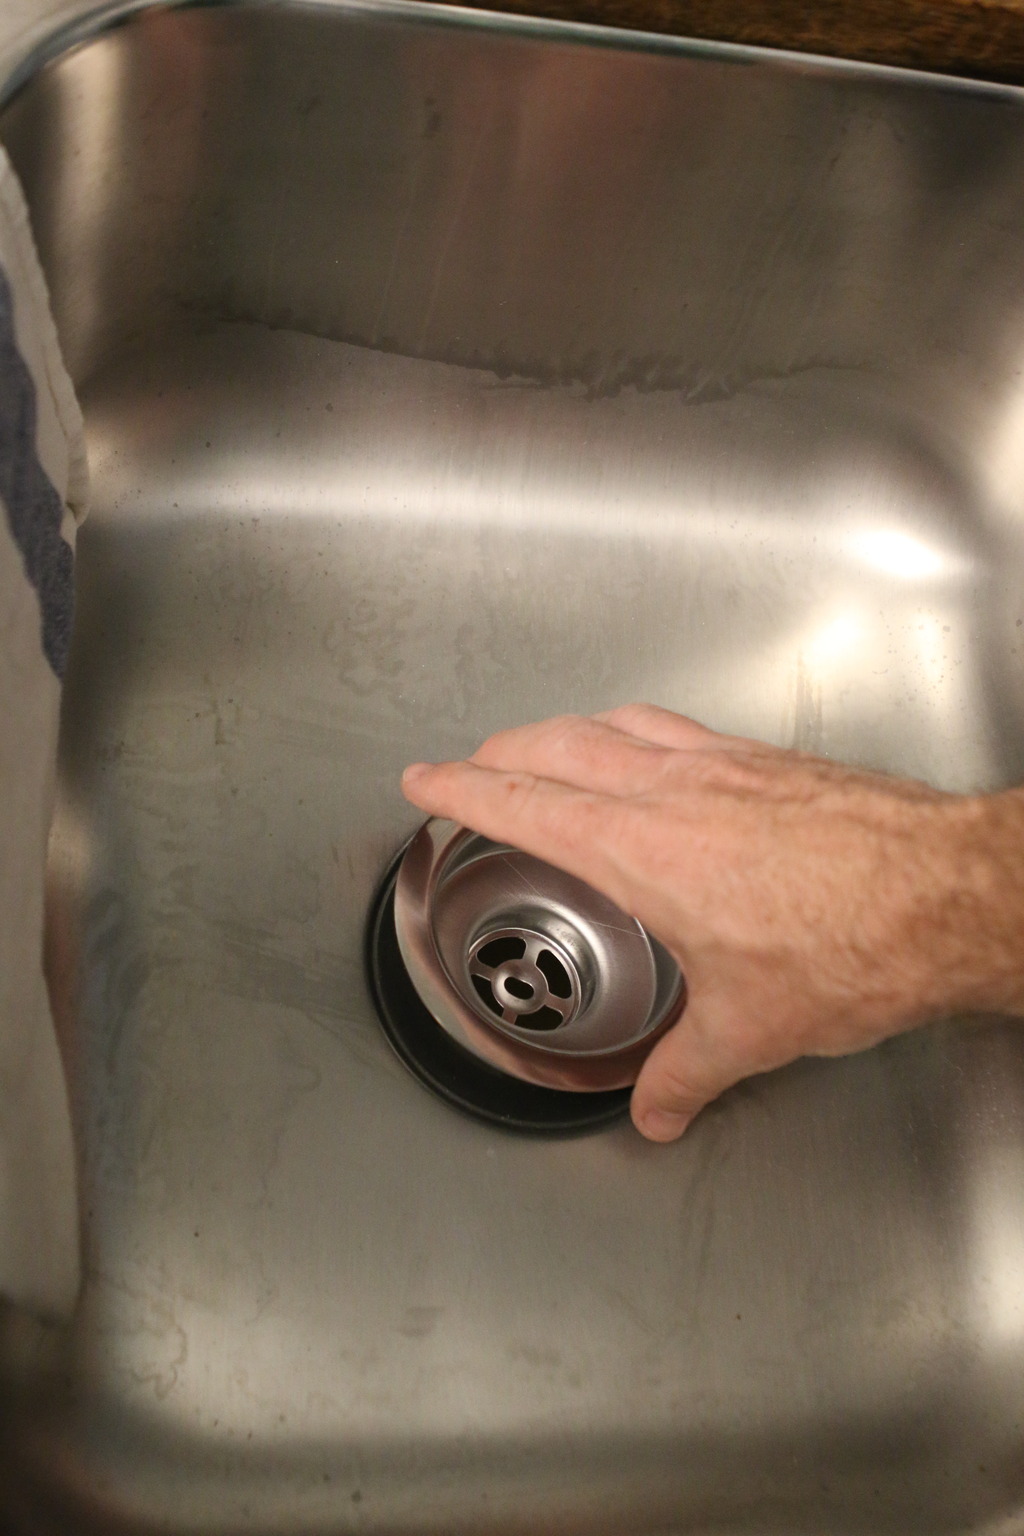
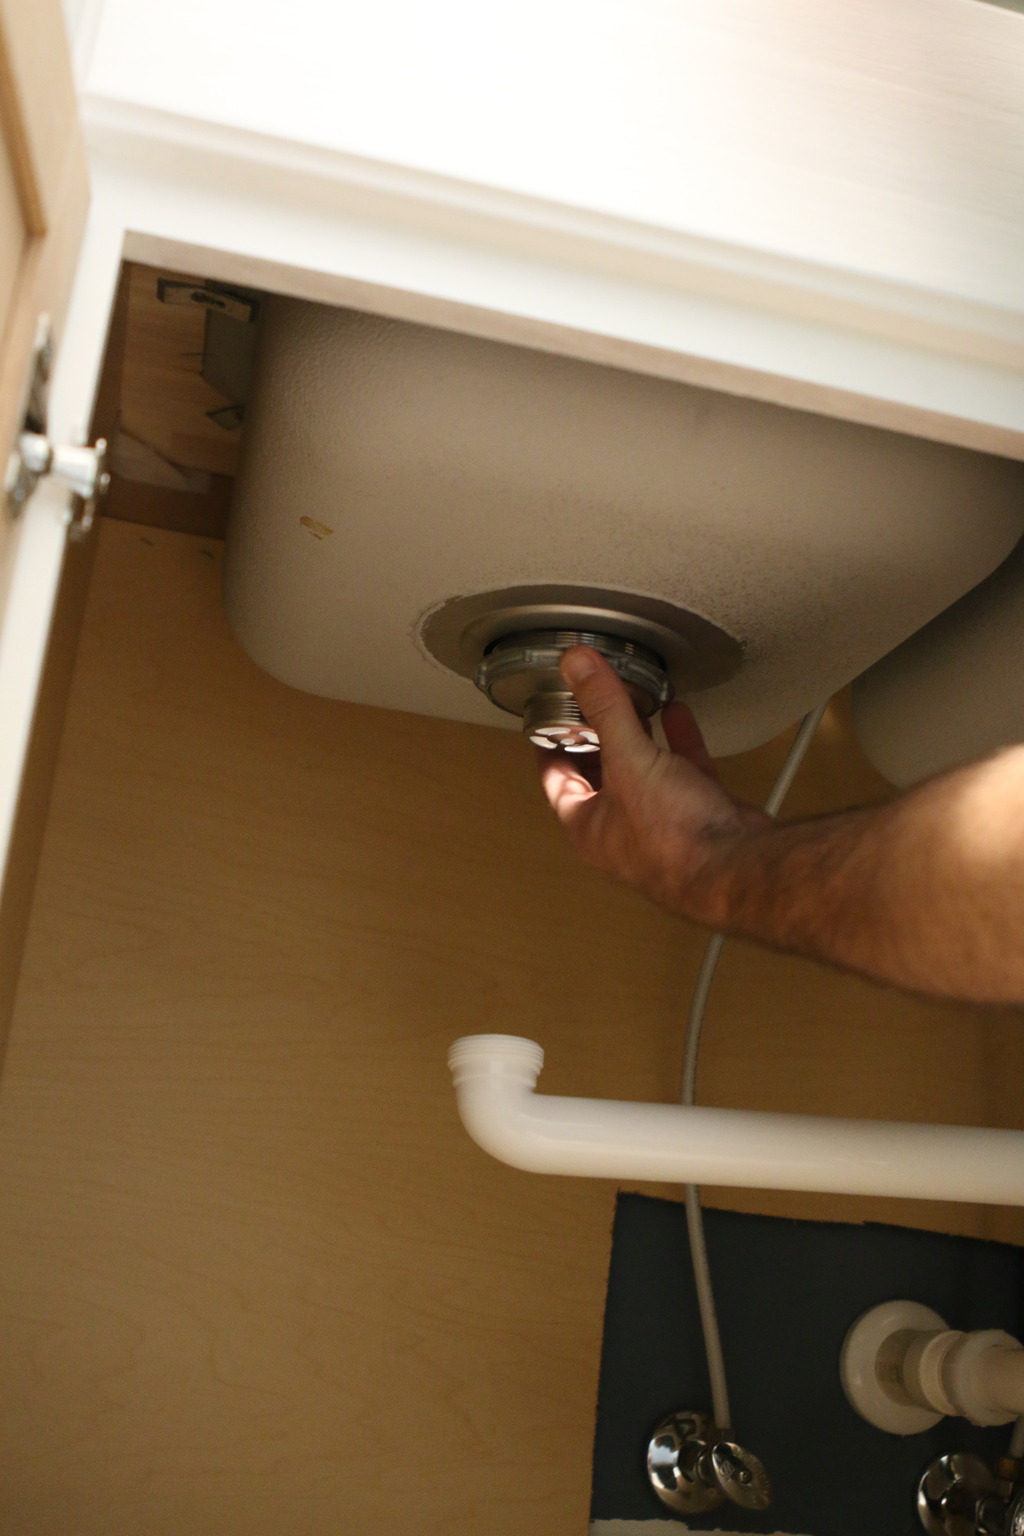
The drain goes through the sink basin and you screw the other part onto the drain bottom.
After you fit your plastic pieces together to create your arm from your original drain, you have to then just attach one more piece of PVC to connect the second drain to the arm.
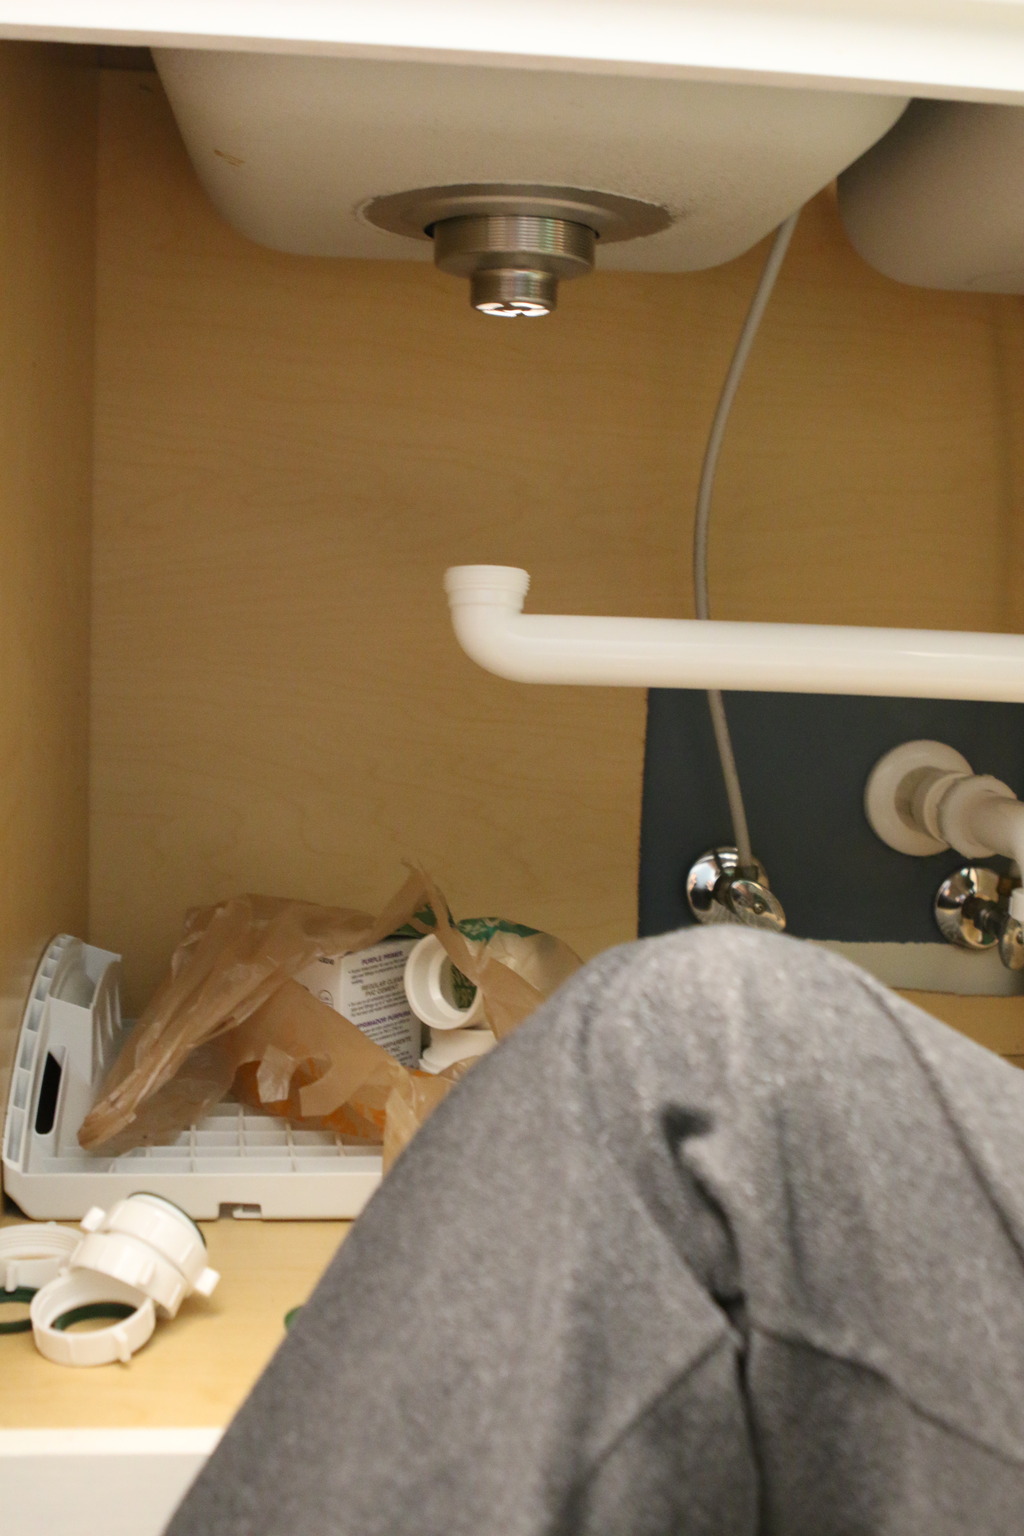
Just hold the piece in place and mark it with the marker.
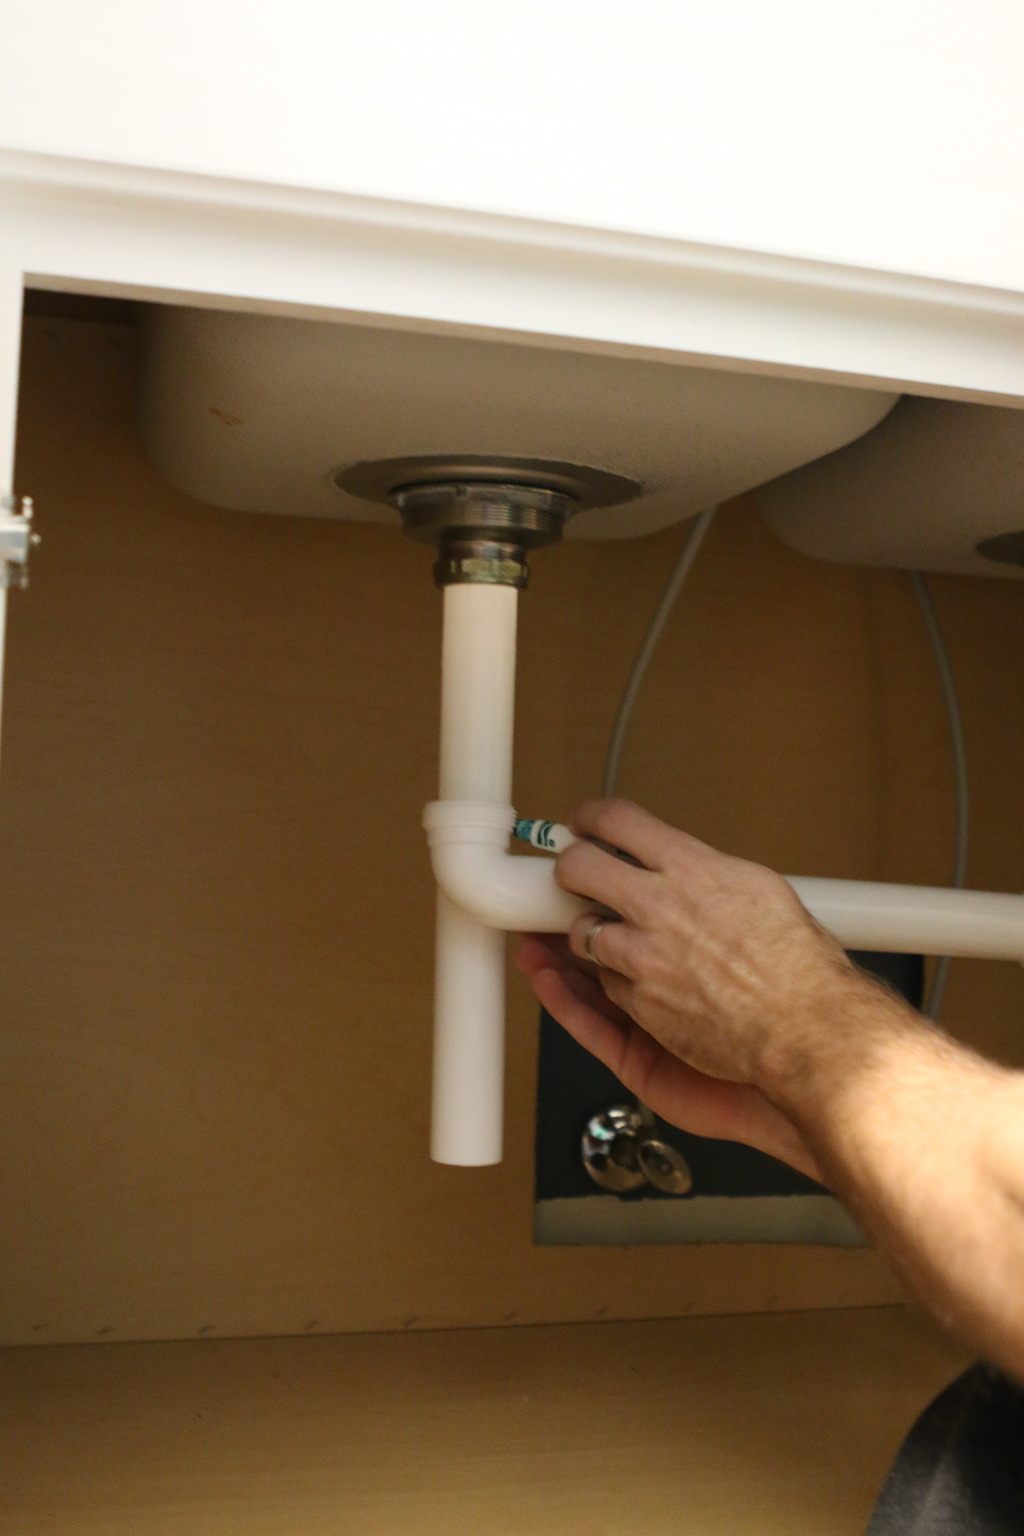
Put your gaskets in place as well as the connectors and use any tape for threaded seams.
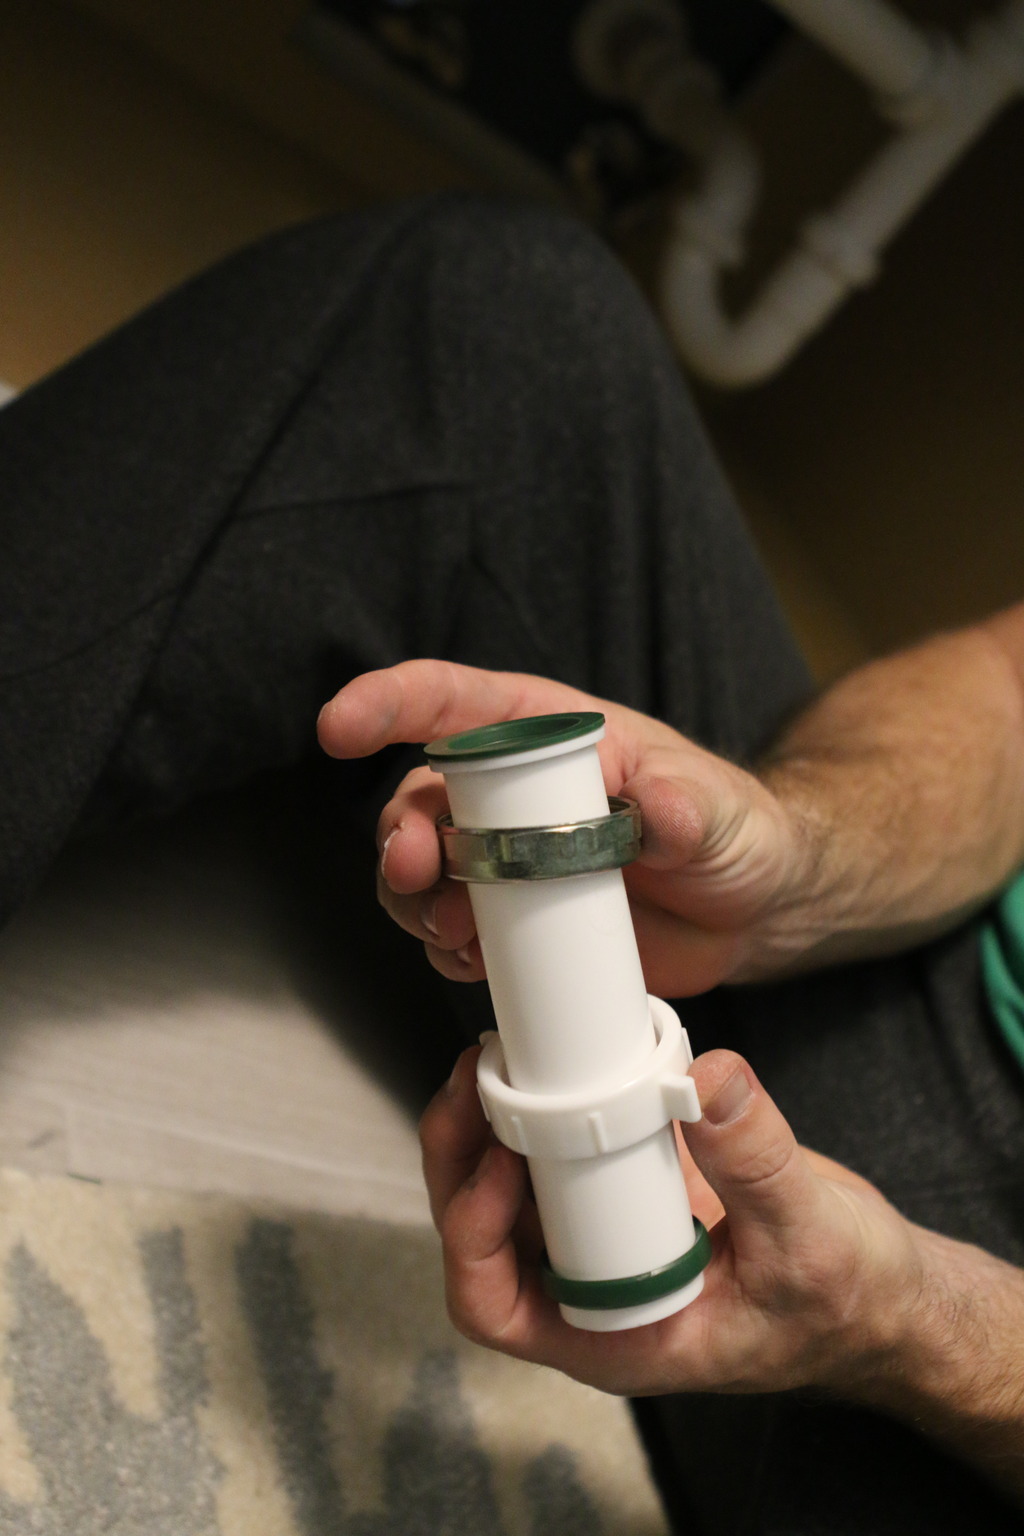
Then just connect piece to piece. It’s really really simple. I think that a kid could do it if they had enough arm strength to turn the connectors!
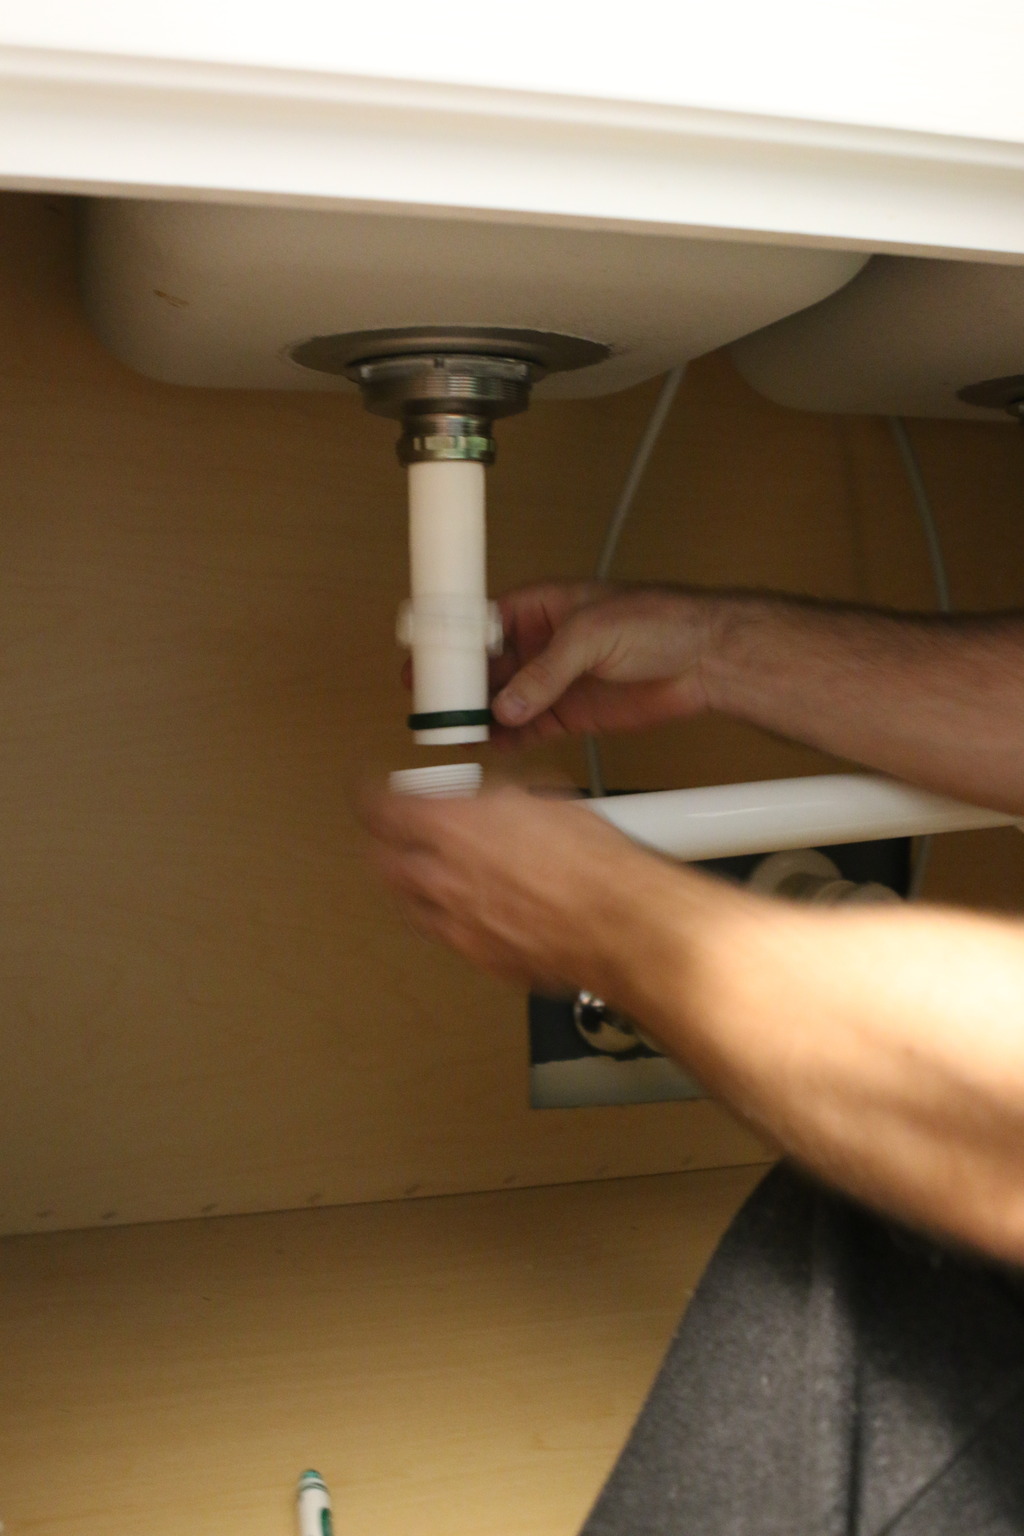
So moral of the story….measure seven times and view your faucet in the space before drilling holes and attaching sinks. And always rely on google. It will never fail you.

So that has been our biggest DIY frustration this year. I know that we all go through them. Have you? What has been yours? Recently a guy emailed me asking if I had any leftover floor tile from my old house and I felt so bad telling him no. He said that ONE of his tiles cracked but he couldn’t retile the whole floor because it would be thousands of dollars but they JUST discontinued his tile. I know that dude was probably in the fetal position.
I’d love to hear your story….we can commiserate together. Oh the joys of DIY!
Blurgh! How frustrating! Looks great in the end though right? Good for you for hanging in there 😉
I am in a DIY problem right now too. We need to update our only full bathroom to put our house on the market and every single, dang time we get the money saved up to start on it, something major comes up (we budget every month so believe me it’s been something unplanned) and we have to spend the money. We aren’t even talking about a ton of money or a major remodel either. Just updating walls and floors. Ugh! Do you ever plan to do a DIY job and then just don’t have the funds to do it? It’s so frustrating. I am glad ya’ll got that hole and sink problem figured out though.
The final result is stunning! I like how you went for the plateless faucet. It looks great!
Your laundry room is beautiful. We just did a remodel in our foyer this past October. There were four door openings, front door, double french doors to game room/hubs office, same to my office, and a single door to the family room. Why we did not do this years ago only God knows. Would have saved us at least $1,000.00. We had the wall to my office sheet rocked in and the doorway to the family room widened by about 18 inches long and 6 inches wide. No biggie right? We thought we had enough extra pieces to cover it. No. They were all cut so we couldn’t use them. The manufacturer had discontinued the wooden flooring we had running from the foyer through the family room and down the hall. An owner from a local flooring place did everything he could to try and get us something to match. He went through sales people, other owners, etc. He was awesome. He was determined to keep the flow of the flooring. However, it didn’t work out. Nothing was even similar. So we went to plan B and had travertine installed in the foyer. I am very happy to say that we love it. Best remodel we have ever done and this is probably our eighth one.
Oh man…what a deal! But it turned out beautiful in the end!
We are in the final process of renovating my FIL’s bathroom (he’s the pastor at our church so it’s in his office). Just a few weeks ago we were on a time crunch as we were having a conference the next week and it needed to be usable.
The marble tile is done, paint is done, built in shelves are in and are stunning, vanity is put in, toilet….is put in. But when we demo’d we forgot to take into account that there used to be a storage cabinet BEHIND the toilet. So when the new one was installed it was floating about a foot away from the wall! Ahhhhh!
I think we’re going to end up building a box/shelf thing that we can display things on and store cleaning supplies in. So it should work out fine, but we’re still left with a floating toilet. Ha!
Katie- we are hoodie twins…old navy for the win!
Yikes. Matching flooring is crazy.
xo – kb
Bhahaha! You should just say that you left room for the holy spirit 🙂
xo – kb
it looks beautiful—glad you hung in there!!
hey, what kind of tile is that guy looking for? we have several stacks of tile in the garage that came with our house. maybe there’s a match in there for him! you never know!
We have been renovating our 1957 ranch for going on 9 years!! I feel like we may never finish. The curse of buying the worst house on the street. I definitely have to go look at my before and after pictures to make myself feel better.
*worse
But look how beautiful it looks now! x
We our renovating our kitchen. While my husband was sanding the drywall, which I hate and will never drywall again, he got a blister. No big deal, right? Everyone gets blisters. He continued gutting the kitchen and came to me Tuesday night, after laying the last tile board, and asked if the red streaking up his arm was normal. He ended up being admitted over night for IV antibiotics.
It’s the one we used in our laundry room floor? It’s discontinued now.
xo – kb
OH MY GOODNESS….is he ok?!
xo – kb
OK, this may sound stupid, but what do you need sinks in the laundry room for anyway?
(I live in Europe, and people here mostly don’t even have laundry rooms, just a washer in the bathroom.)
It’s mostly used as a utility sink…one for soaking items or drip drying items or cleaning items that you would avoid in your kitchen sink.
xo – kb
I looooovvvveee that faucet! I love the paint, the tiles…everything. I’m so inspired with what your laundry room has turned out.
I love the tile you used as a backsplash. So clean and fresh looking. I feel for the man who needed one tile. We just moved to a new house and the previous owners tiled the laundry room up to the toe kick on the utility sink cabinet. (Not under it) The cabinet is so bad; that we removed it. Now there is a giant hole in the floor. We have just one tile they left from that project. Ugh. So, now we need to find a cabinet that will be larger than the hole and spacer and shim to get it to work.We are not replacing that whole floor.
I know everybody does DIY; but some people just shouldn’t.
“Coordinates with Martha Stewart Living Seal Harbor bath hardware” didn’t clue you in that it was a bathroom faucet?
Oh I knew it was a bathroom faucet….I just didn’t think it would look that small in the space. Live and learn.
xo – kb
Yep. He is fine now and just needed to stay one night. It was pretty scary and now I make him wear gloves.