I’ve done my fair share of tiling.
In the past, I’ve blogged about tiling our old fireplace in slate, a bathroom in travertine on the diagonal, a laundry room in travertine in brick pattern, and a backsplash in subway tile. And now our current kitchen got the hex marble tile backsplash.
I showed you the before and afters but I didn’t really explain any tips. So that’s what’s on our docket for today…a bit of info for the newish-to-tiling folks who may want to try their hand at backsplashing. If you are a tiling rookie – check out the old posts first to get a good foundation and then come back here for more info…
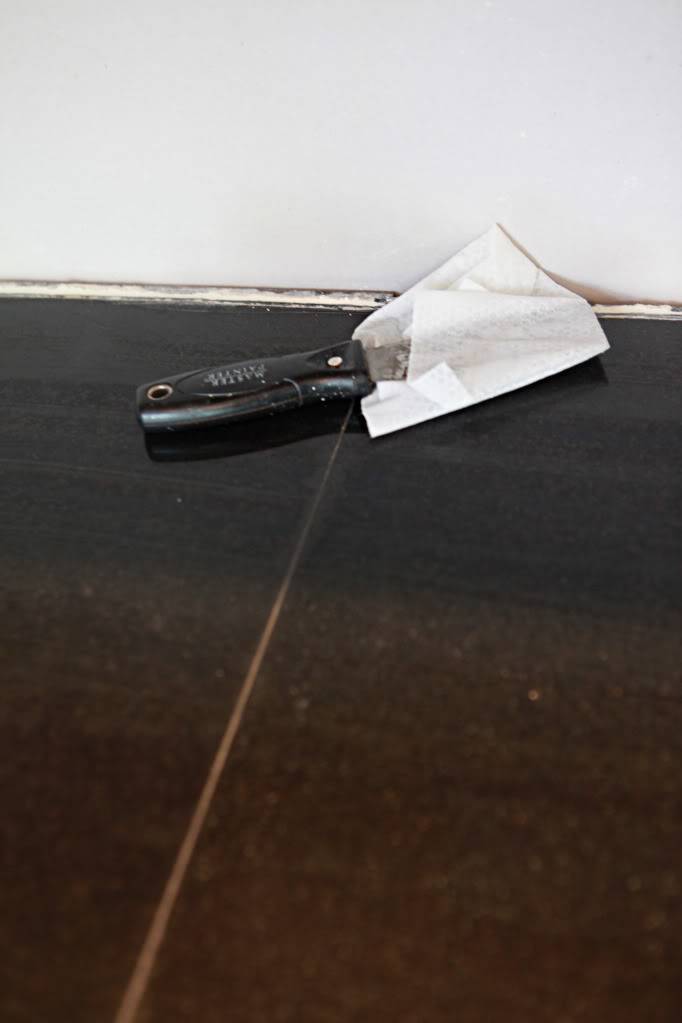
- Start with a clean slate – or countertop 🙂 Since we removed the previous backsplash tile, there was quite a bit of junk left over on the countertops…old grout and caulk. We made sure to clean the countertops perfectly before starting our tiling efforts because all that crud will be much harder to remove once the new tile is in place. A putty knife and a Clorox wipe did the trick in removing the really stuck-on stuff. And yes, I was very careful not to scrape too hard – don’t wanna scratch up the granite!
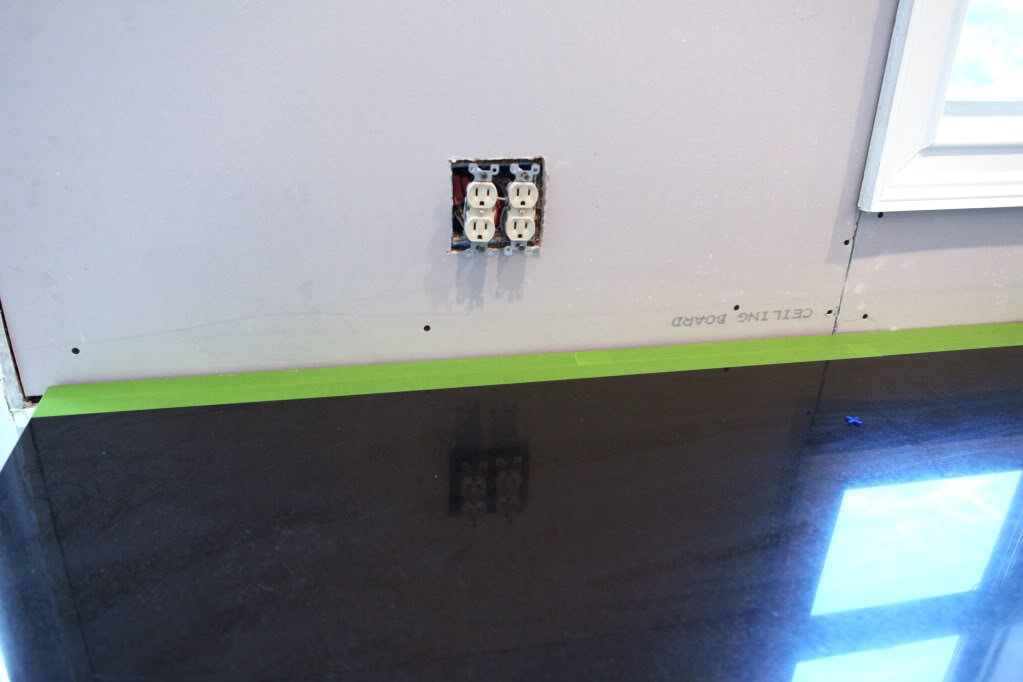
- Use tape to protect the edges. When tiling, you use an adhesive (also called thinset) to basically glue your tile to the wall. That thinset can be messy and drip onto your countertops. I found a couple strips of Frog Tape right next to your tiling surface can eliminate most of the hard clean up after that adhesive is dry. Just pull it up before grouting and you are ready to go. No elbow grease required.
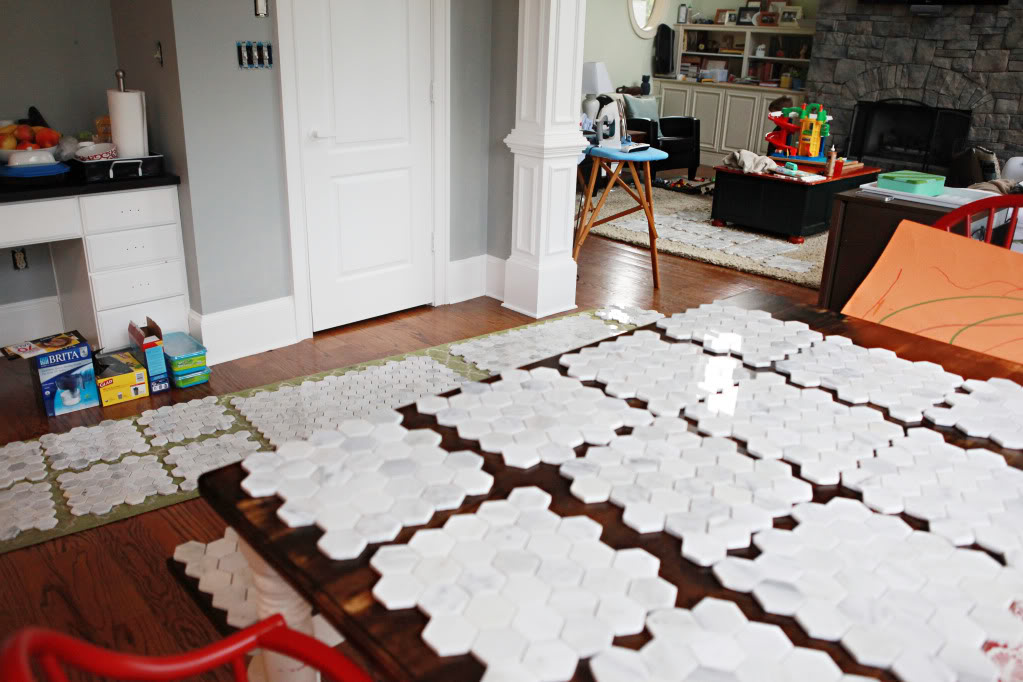
- Lay it out and sort. Since most natural stone comes in different boxes there is no guarantee that they are born from the same piece of stone (most folks will need more than one box of tile when they are tackling projects), we laid out every bit of tile to see what we were working with. Some of our tile was more gray and some more yellow, some more white and some had more flecks in it…it all is different and we learned that mixing it all together was the best way to get a cohesive finished look. We also found that sometimes we didn’t like a certain hex…so we would use that particular sheet of tile as a cut piece. We saved our favorites for the areas that were most prominent – like over the stove top and next to our window.
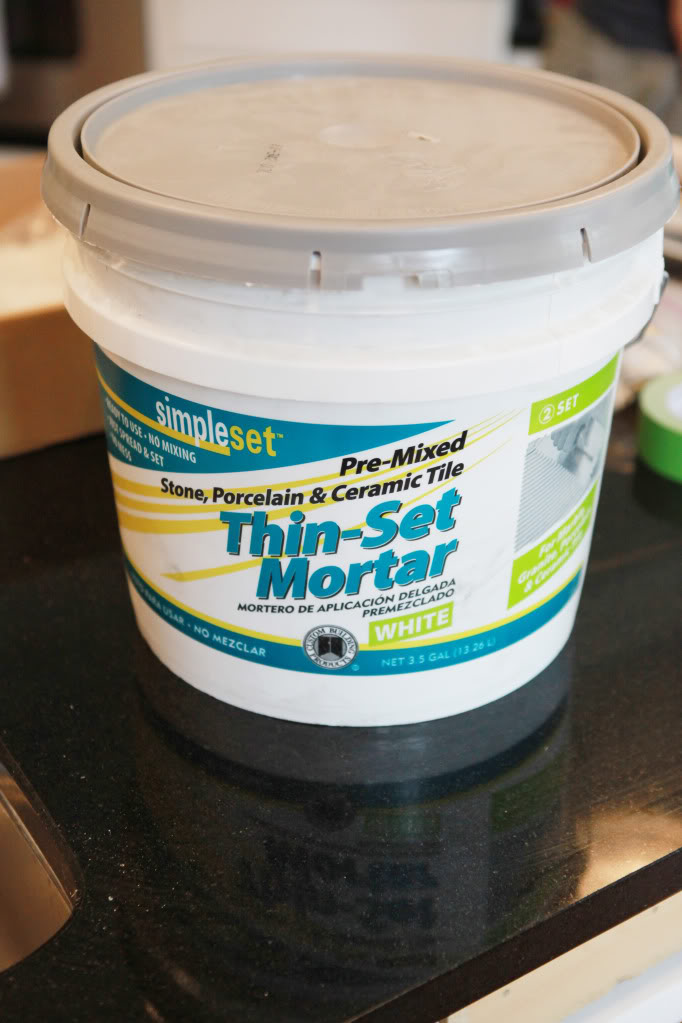
- When in doubt, buy premixed. This may come as a shock but I have no idea what ‘consistency of peanut butter’ really means. Does it mean creamy or crunchy? Jiffy or Peter Pan? Are we talking a brand new jar or one that’s seen a few banana sandwiches? All these things are confusing to me…I blame the fact that my mom always bought us the natural stuff…you know…the one with the layer of oil floating on the brick of peanut morsels laying on the bottom of the jar…the one that is near impossible to mix. So when I read instructions on how to mix thinset correctly – I get all sweaty. I know the consistency of thinset is really really important in tiling….so instead of trying to make it correctly at the ‘consistency of peanut butter’, I just buy it premixed.

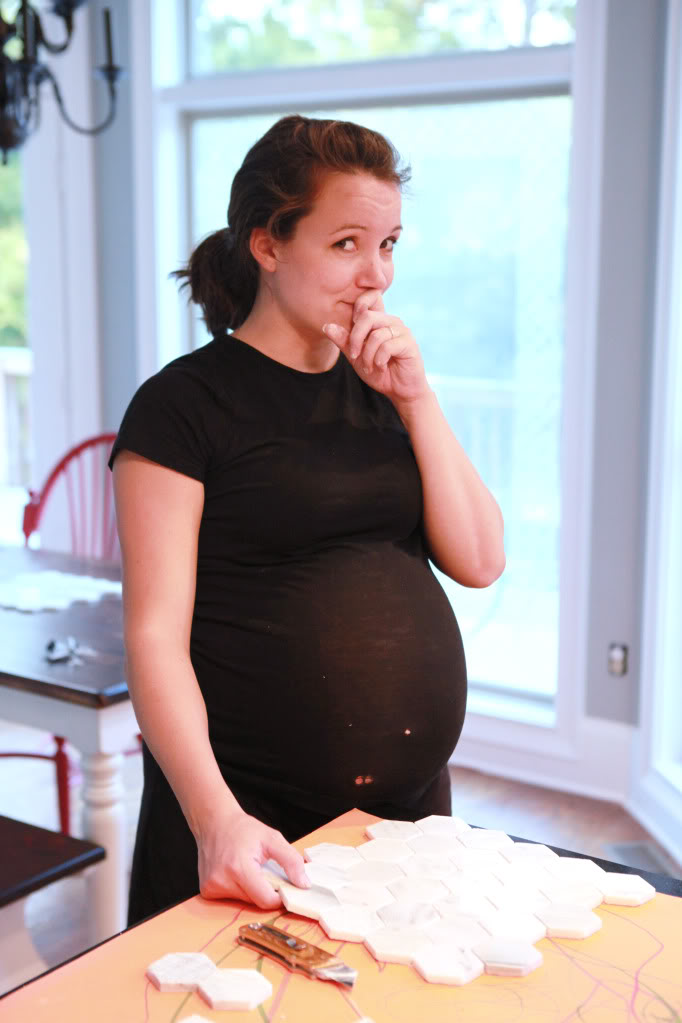
- Step back and take it in. All too often I find myself looking at other people’s tiling jobs to see that the installer didn’t look at the grand scheme of things. They never stepped back and considered what would look best. Is the tile too uniform when it shouldn’t be? Is the color variation looking good? Does everything look even from far away? Do I notice anything that looks badly spaced or unlevel? Taking a moment between tiles to step back and look at the metaphorical trees and forest is a good idea. Wearing a shirt with holes while pregnant…not a good idea.
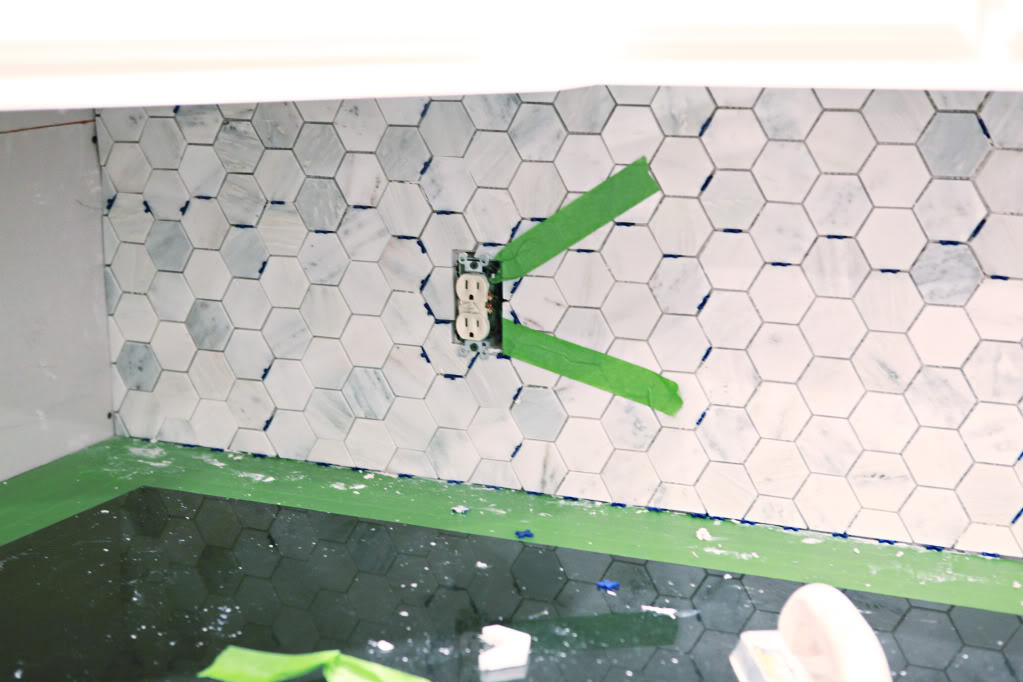
- Use tape to hold up the unsupported tiles. The thinset does take a little time to dry and set up completely…and you can’t afford to sit there holding up tiny cut tiles in place. I always just wrap a piece of Frog tape around the tile and extend it at least six inches onto the wall to hold it tight. Its like a bra for your tile…cause nobody likes a sagger.
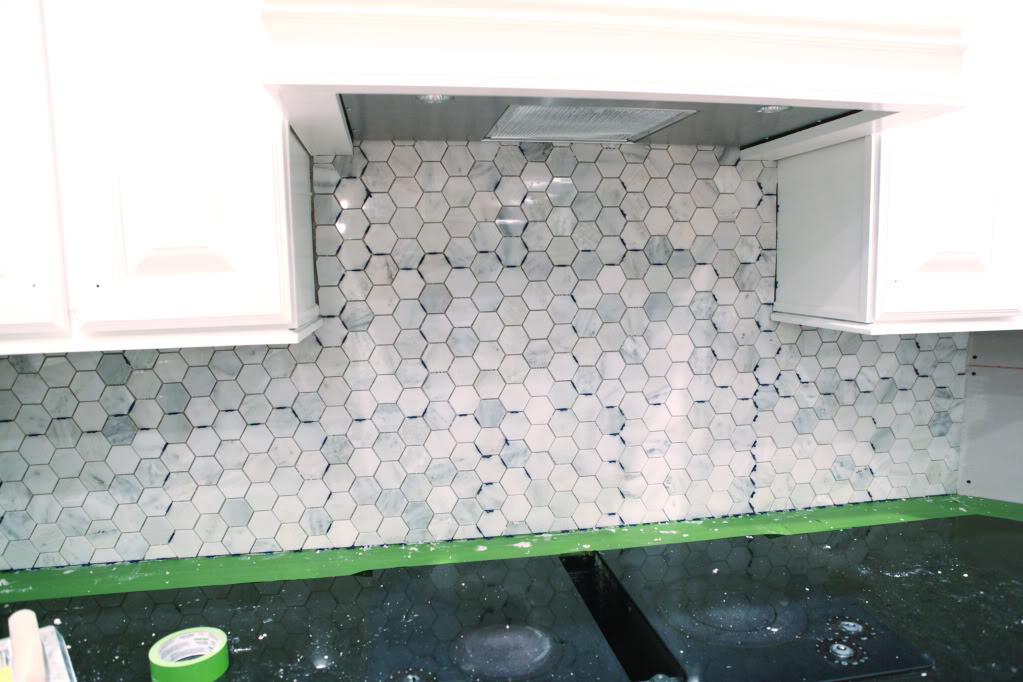
- Use spacers generously. Don’t be afraid to use spacers. I’ve heard horror stories about professional tilers who felt like their ‘eyeballed’ spacing was perfect…and it wasn’t. Let’s be honest, eyeballing should be left to model scouts…not tilers. Don’t be afraid to grab an extra bag of spacers. The more the merrier. Stuff one in any little crack. (yes, that last line was for all you ‘that’swhatshesaid’ peeps)
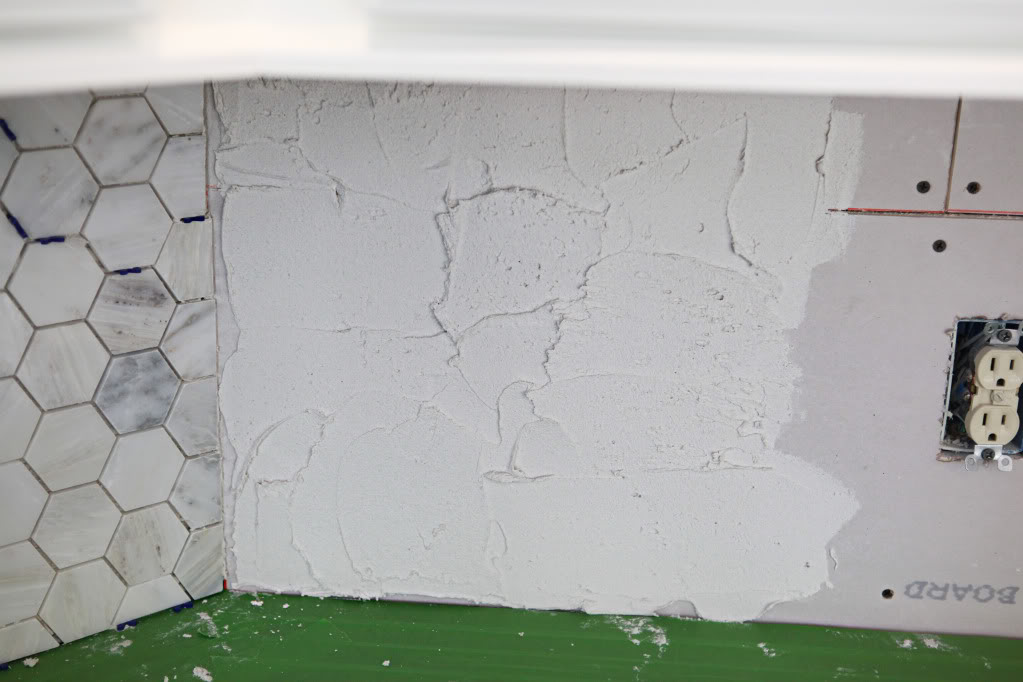
- Thinset right over seams. Most times you will be tiling on top of drywall or cement board…and there will be seams. If your seams are already filled then hopefully you will have a very level surface. If your seams aren’t filled, then just squish some thinset in there and move on.
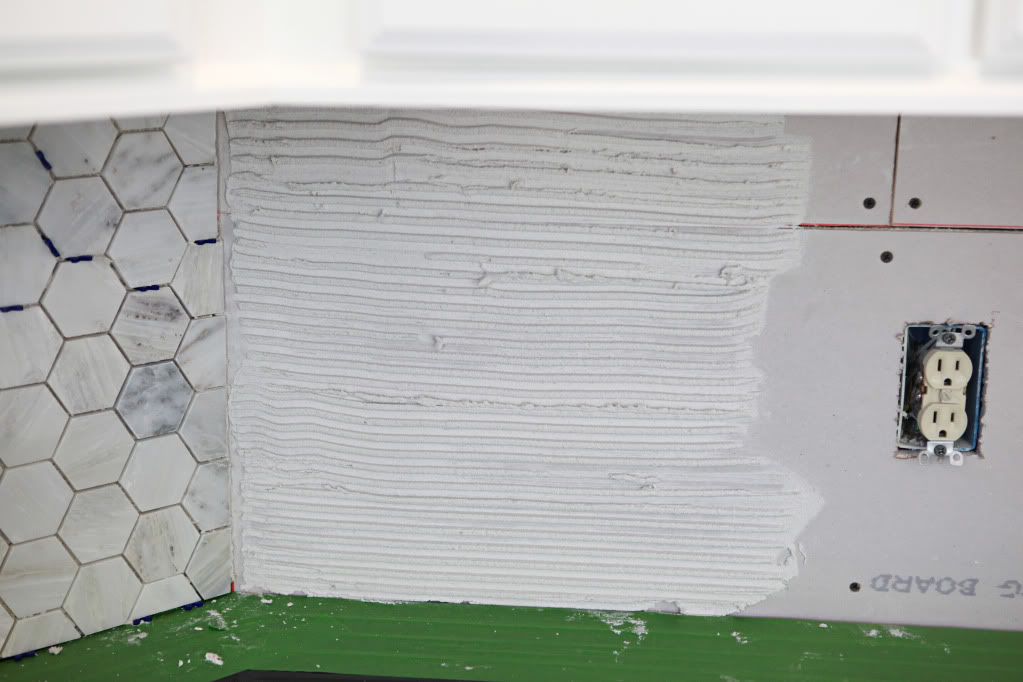
- Practice scraping with a trowel. The key to getting a good scrape is to have the right size trowel (here’s a chart that I love to reference) and to practice getting your 45 degree on. If the humps of thinset aren’t right, your tile might not stick the way you want. Just a few swipes at the correct angle will teach your wrist what position it needs to be in…it’s called muscle memory 🙂
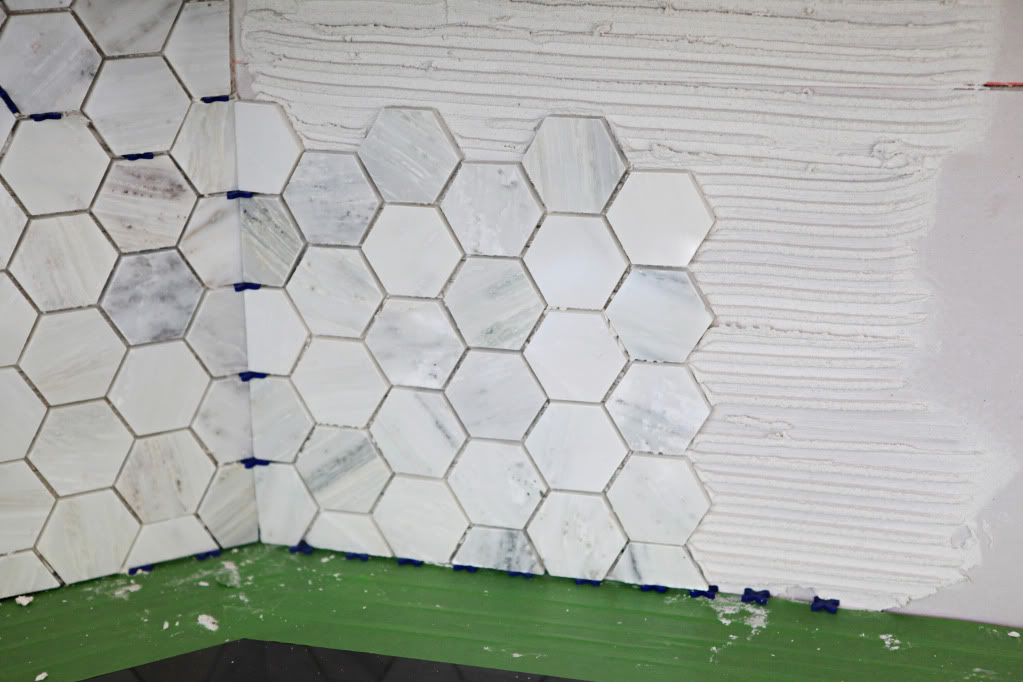
- Spacer at the bottom and push tile till level. First of all – put a little spacer between your countertop and the tile. If your countertop or bottom cabinetry move – the space will allow for flex and not jack up your backsplash. Also – make sure you push your tile till it’s level. Use an actual level if necessary to double check. Rub your hand over all the finished and in place tiles to make sure nothing is sticking out too far. It’s a simple step that helps!

- Get scrappy! Those little bits that you trimmed off can be saved and possibly used…don’t forget to keep them. You can always cut them for around outlets and in weird areas. And if you don’t like a certain tile in a sheet…just cut it out with a blade and replace with a spare.
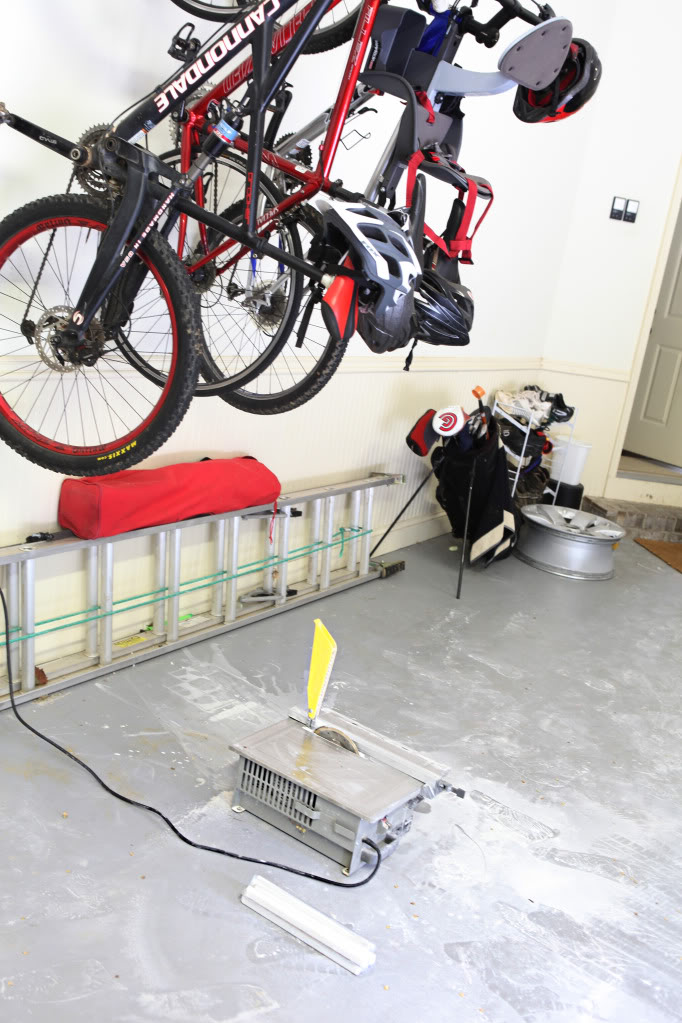
- Invest in a wet saw. Our wet saw has been one of the best under $100 tools we could ever ask for. It’s been used at least a dozen times (for our projects and for friends and family projects) and still is going strong. The blade has been replaced once which is kinda pricey (my dad did his entire master bathroom and shower and wore the diamond tipped blade down) but this thing has paid for itself ten times over. Put it as close as you can to your project area but in a space that can be sprayed out with a hose (we put ours in the garage and clean up is a breeze!).
Any other tips you have heard that saved your tiling project? Any tips that made it easier or less of a headache?
I missed Frog Tape friday the first few weeks of this month…you know…keeping the tiny humans fed and changed and all…so I’m doubling up this week. This is a sponsored post brought to you by FrogTape. The opinions are completely my own based on my experience. Oh and yes, Santa knows I want a big box of Frog Tape. BIG. HUGE. Like the size of my head 🙂
Your garage has chair rail in it. Painted cream, no less. Napolean was one weird dude.
Well Katie Bower, I’m loving your tile. I have some butt-ugly tile in my kitchen that needs to be replaced. Your tutorial here gives me hope that I can do it!
These are great little tips that you don’t know until you start in working with tile! Thanks for sharing these gems. And once again, I love that tile choice!
Hi! Do you have a favorite type of spacer? I’m about to install the 2×4 version of the same tile that you installed (total coincidence, but I was thrilled when I saw you made almost the same choice!), and am also concerned that the default spacing on the sheets seems a little off. If you didn’t like the way they were spaced on a sheet, did you take them off the sheet, or could you adjust them with spacers while they were still on the sheet?
Katie,
I have a question about the wet saw. I’m about to do a subway tile backsplash in my kitchen with the help of my somewhat experience MIL. Pray for me. Just kidding. Kinda. Anyway, I figured some experience between the 2 of us is better than me going at this alone for the first time. All that being said, she usually borrows a wet saw from a friend of hers. However, she complains that 50% of the time it won’t make a clean cut and so you have to buy extra tiles in case. Is this the case for you? I’m wondering if it’s the norm or if it’s just this dudes old saw…or maybe an old blade? I’m thinking I might have to invest in my own wet saw. Thoughts??
Thanks. Christine
How in the world did you find the energy to take on a project like this?! I’m 33 weeks and I can barely fold my clean clothes 🙂 haha
Thanks for the great tips! I really really want to tile, but am a little nervous to do it, this post gave me some confidence. I do have a question, the walls in my kitchen are textured. How does that affect the tiling process?
I can’t wait to get my tile on! I’ll definitely have to start on something small & then eventually work my way up to our backsplash.
Thank you for sharing your tips. I get freaked out about wall tiling and have always left it to the pro’s but after 18 months I think I have to accept my ‘pro’ aint coming back to finish the 10 tiles that will call my bathroom done. I’m manning up and doing this. Bring on the spacers and a healthy amount of cursing.
A great tip I learned from a master tiler, was to use a cheap kiddie pool when using your tile saw. And we already own one so I didn’t have to spend money. I just prop it up a little with a couple stones to keep the saw out of any water. The mess stays contained in the pool and it’s easier to clean up. It’s especially helpful if the tiling job is in a 2nd floor bathroom and not near an outside door.
I had no idea wet saws were so affordable. I’ve always shied away from tiling projects because I was thought renting or buying a wet saw would be such an expensive pain in the behind. Now I am full of tiling ideas…
I love you! You just inspired me to try my hand at tiling! Your instructions made it sound do-able! Thank you! Honestly, the real reason I said no way about doing it myself was bc of that “peanut butter consistency!” I will buy pre-made! Thanks again! My tiling should be easier bc I am using white subway tiles (all the same color)!
Merry Christmas!
I did hex tiles on my bathroom floor… my 3rd ever tile job & the rest were all squares. The soaking tub has a curved front. I had to conform the tiles around that. Making a template was an absolute must. A lot of pieces of paper taped to the tub & let drape onto the floor then using an exacto knife to cut the contour in my paper template. A paper template isn’t trusty, so I transferred it to a piece of scrap lauan, test fitted it & then tweaked it so I had the right size joint. It was several hours of work but it turned out incredible. So incredible, in fact, that the guy I hired to put the subway tile up for the tub surround (I was afraid to tackle wall tiles & they were way more expensive) said “Heck! If you can do that, you can do this!” I almost asked him to give me my check back, but the job was done in two days while I was at work.
That’s a great tip for anyone that can’t clean out a convenient area! Thanks for sharing!
xo – kb
Any tips for applying and then cleaning up grout? I’m almost to that stage in my tiling job…
I’m actually doing my grouting post next! Definitely work with someone else…and have two sponges going at all times. Do only a few square feet at a time and then do your wiping – and don’t over do it with the wiping or the water!
xo – kb
AHH! I would seriously hunt that pro down and hold him hostage. How frustrating! You can do it though – it’s not as hard as you think!
xo – kb
I must say….I love that you could have used a little photoshop magic to edit those holes in your shirt (and not even mention them) and pretend to be “perfect”, but didn’t! Your honesty about everything is what makes me love reading your blog! Congrats on your new gorgeous addition!
Textured walls are tough because depending on the amount of texture, you might need to do a skim coat first of mud. You also would have to sand everything to get the bigger or more prominent chunks down. You want to start with as smooth a surface as possible…anything more than an ‘orange peel’ texture would definitely need more work!
xo – kb
Depending on the type of tiles you are using, you can flip the tile over and get a cleaner cut. And you definitely want spares either way…recommended is 10% more. I would say that if you are looking at more than one tiling job…go for a new saw…$89 and you can have a brand new one and own it…for $60 you can replace the blade on someone elses. To me it’s totally worth the money.
xo – kb
I like the ones that are little crosses because you can use them as scrapers too 🙂 And if you don’t like the spacing or one tile looks wonky or whatever, you definitely have to remove it…I tried moving it with spacers and it just makes surrounding tiles askew…so yeah…just cut that one out and adjust accordingly 🙂
xo – kb
Thanks Katie, will let you know how it goes…even if it’s a shocker 🙂
When I use a wet saw, I always put painters tape (how appropriate for a Frog Tape sponsored post?!?) on the tile first, then mark it and cut on top of the tape, and I almost always get a perfect cut with no jagged edges. Good luck!
Thank you!
That’s a great tip too!
xo – kb
I love that I can read a post about tiling and still die laughing!! A comedian, you are! Anywho, great tips to keep in mind if and when I ever try tiling 🙂
Thanks for all the tips! I’ll try the frog tape first…otherwise, there is a wet saw in my future!
Great visuals. I like this a lot and it was very helpful.
Currently working on my bathroom. Your blog is a lifesaver. Thank you.