I found this treasure of a past project on my hard drive and just had to share!
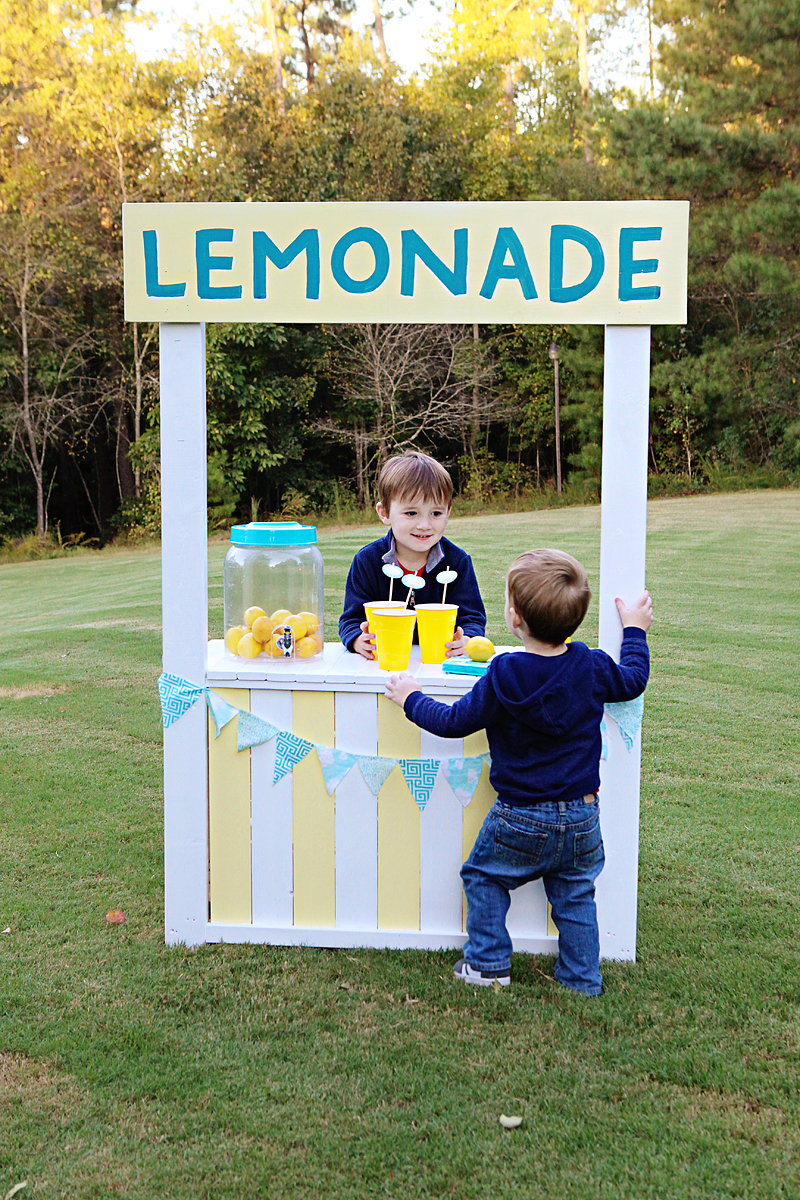
Two summers ago, we built this cute little stand for the boys and I’m gonna go out on a limb here, but I think lemonade is for boys too. Beyonce will agree with me when Jay Z apologizes.
Can’t even handle how cute and small they were!!! What happened to my babies?!
SO this was a super random build for us. We had a bunch of scrap wood from our garage towers (if I remember correctly) and we were trying to use it up when Will told us that he wanted to have a lemonade stand. We have NO idea how much wood you will need…because like I said, we basically saved these boards from the burn pile. I did pick up three 2×4’s for the legs and a 1×8 for the top sign. But I hope that you get a little inspiration. It’s super easy – we didn’t use any fancy tools except for a saw to cut the boards to length, a drill, and a brad nailer.
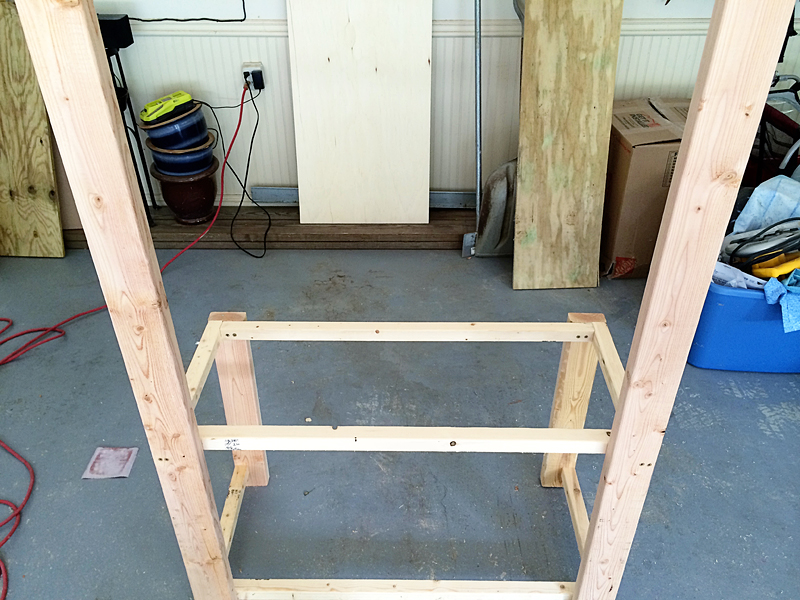
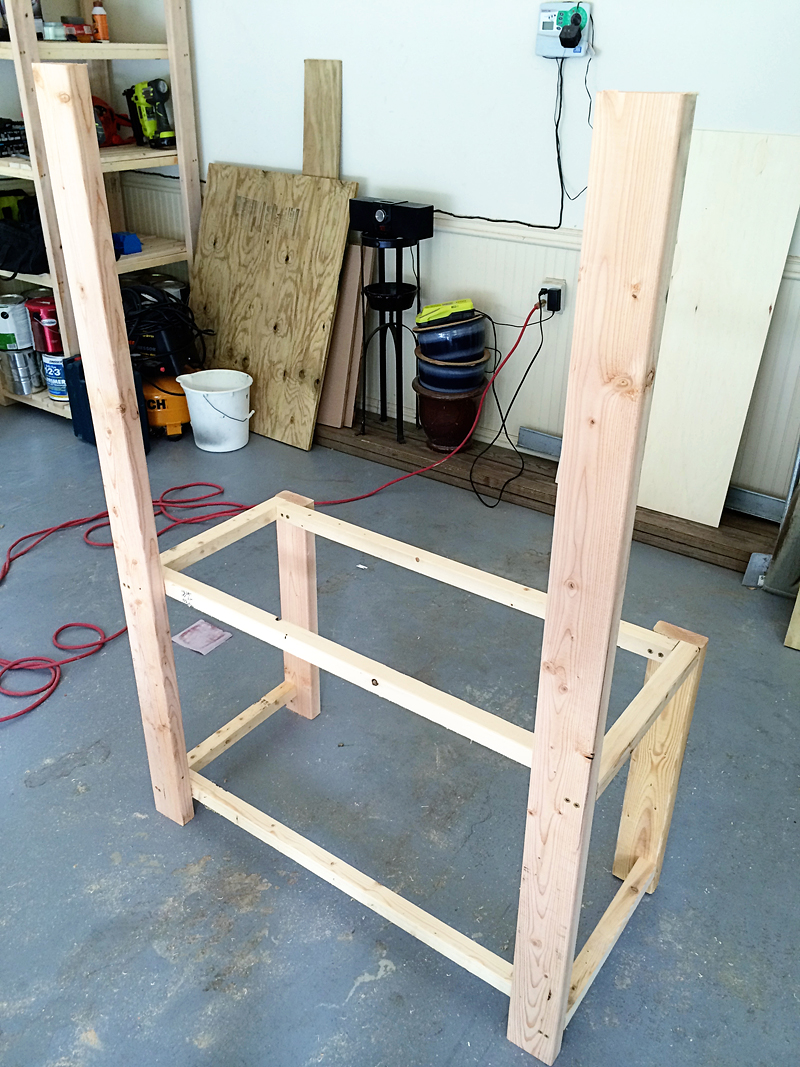
The legs were from 2×4’s and the basic frame was 2×2’s. We didn’t use a Kreg Jig – but that would have made a cleaner look. We just screwed a couple screws through the face of the legs.
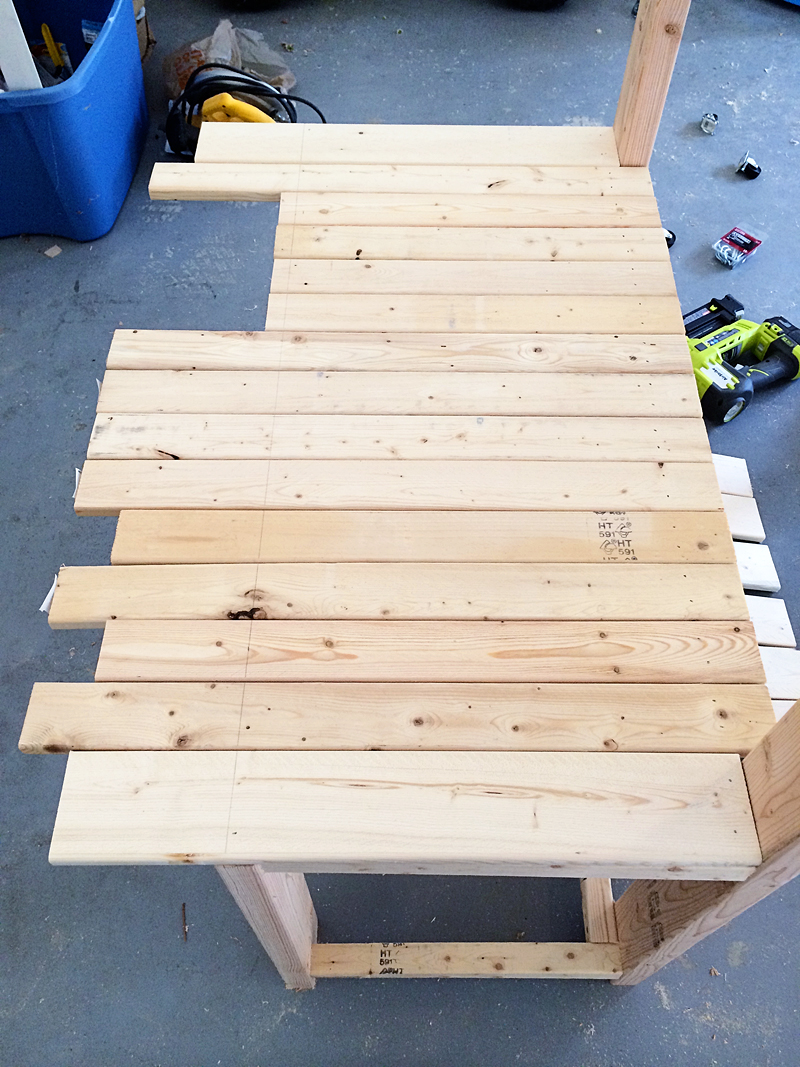
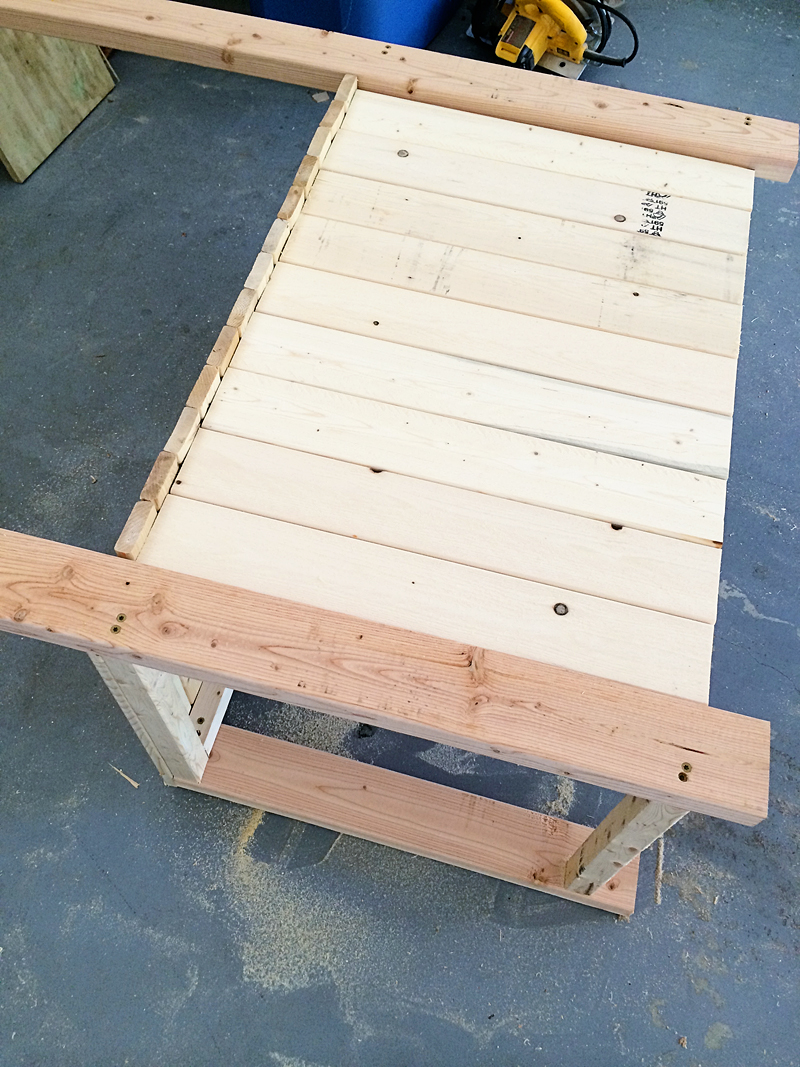
The boards for the top were a bunch of 1×3’s and two 1×4’s for the ends.
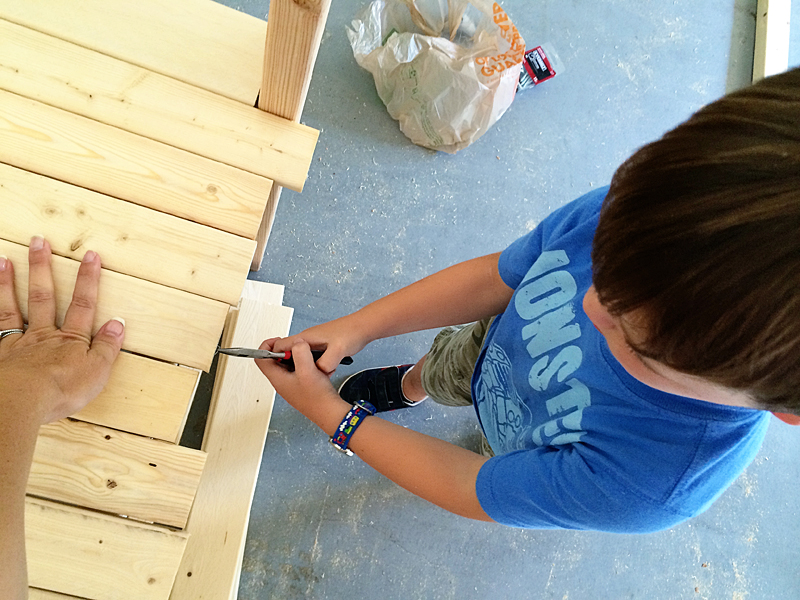
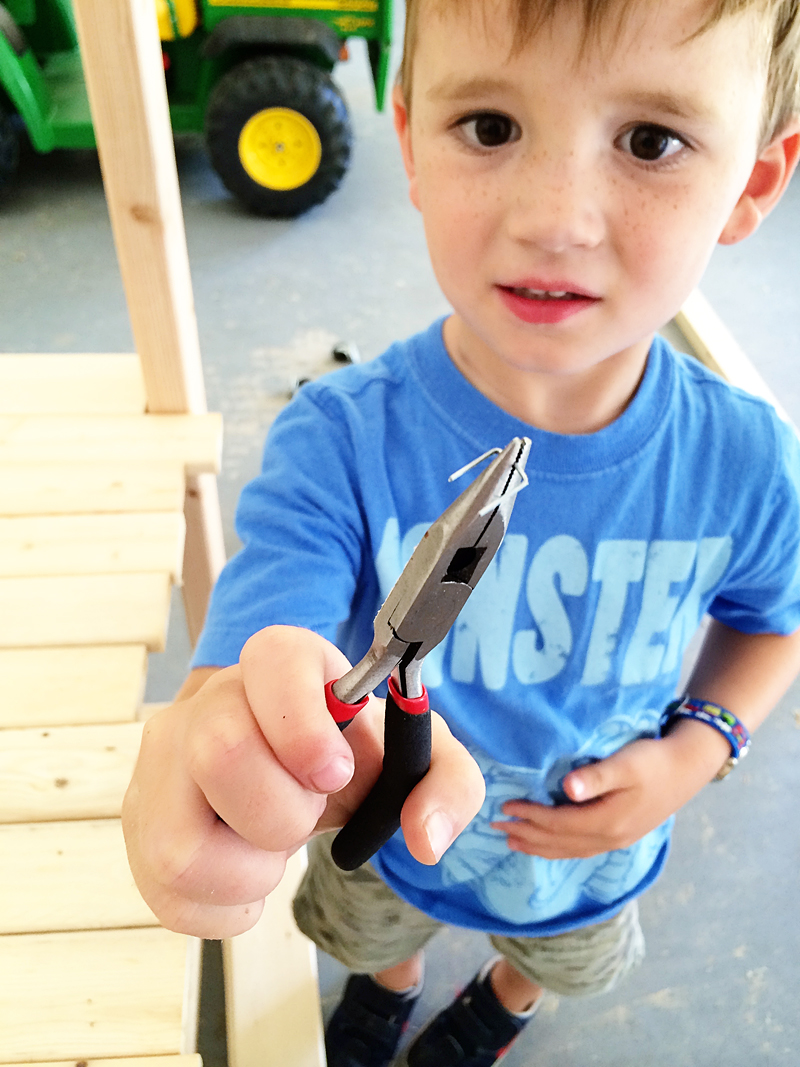
Will was in charge of removing the staples. He was so proud that he got to play a part in ‘building’ 🙂
He was very concerned that there were staples in so many boards. I’ll never forget how he told me they were “dangerous for customers”. You know…all the customers that would be purchasing lemonade in our backyard. All two of us. Doing our parent duty.
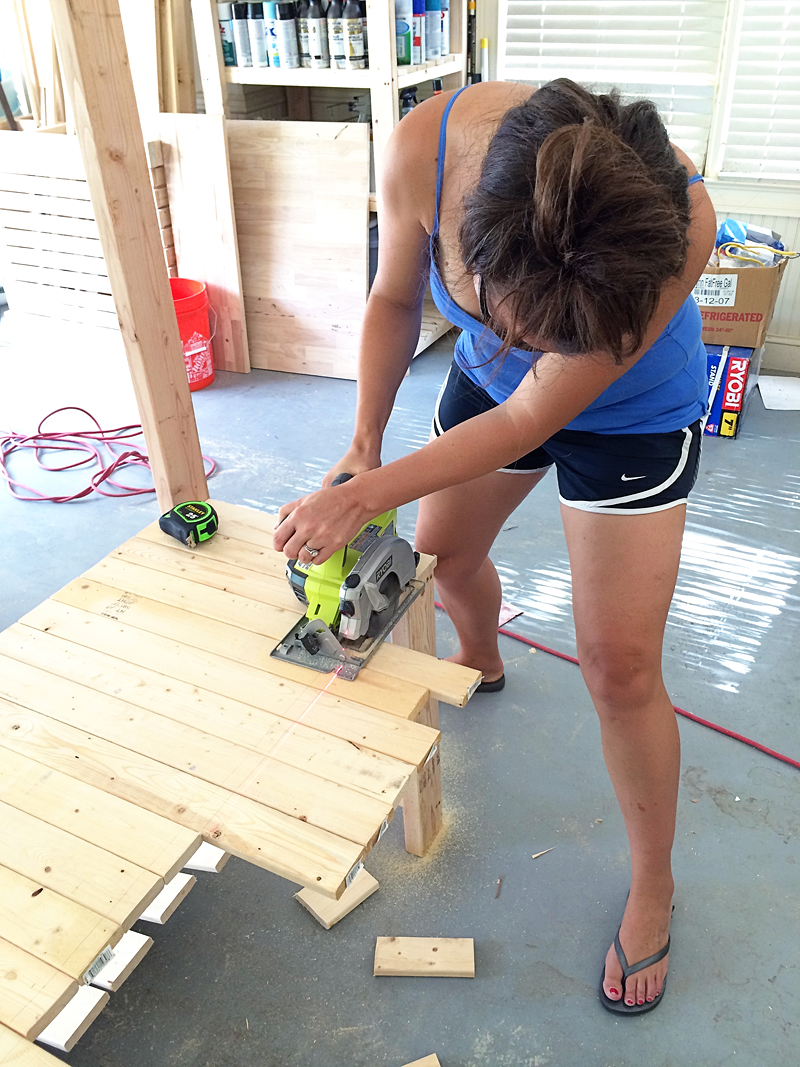
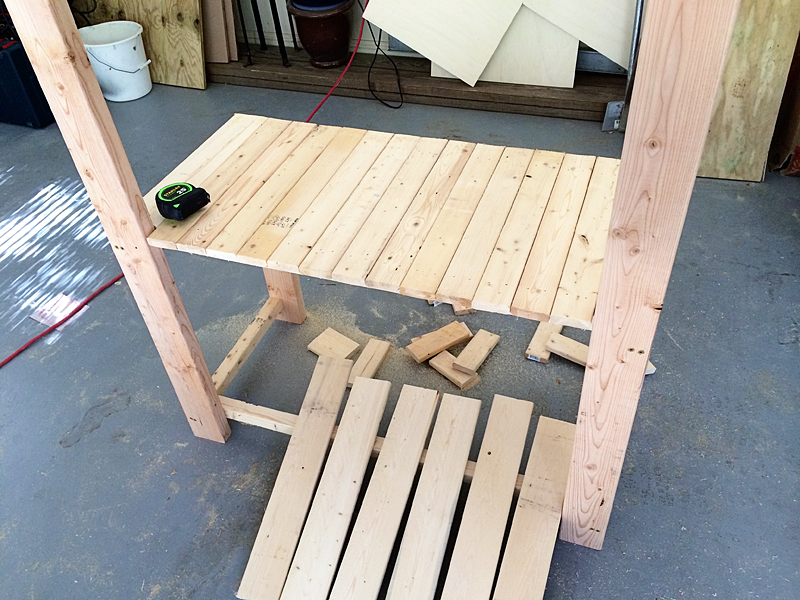
Once the boards were aligned and staple-free, I cut them to length.
Then came the boards for the front. Cut to length and brad nailed in.
I ended up adding some random trim underneath the top boards and at the bottom for more detail but you know…that’s optional 🙂
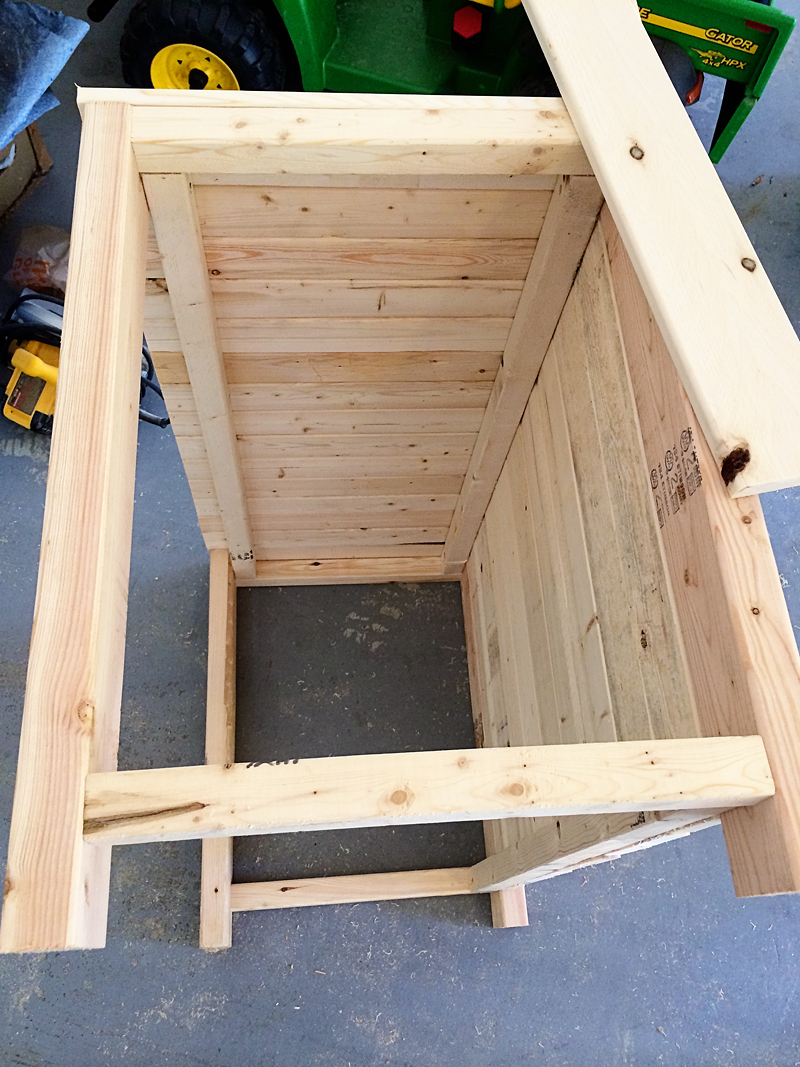
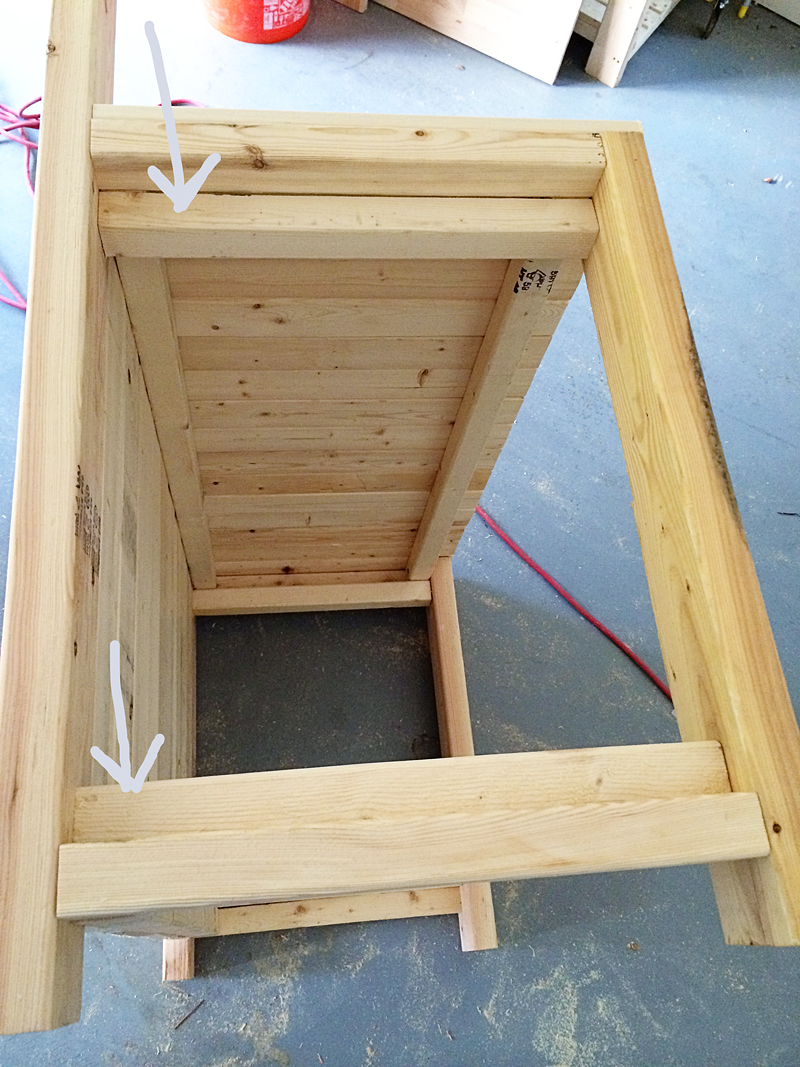
Then came the sides. I realized that I didn’t really plan for the sides well so I needed to take this and add a few more boards.
I added the one on top and one on bottom (aligning it with the inside of the 2×4 legs) and it ended up being perfect for the side walls to be nailed to.
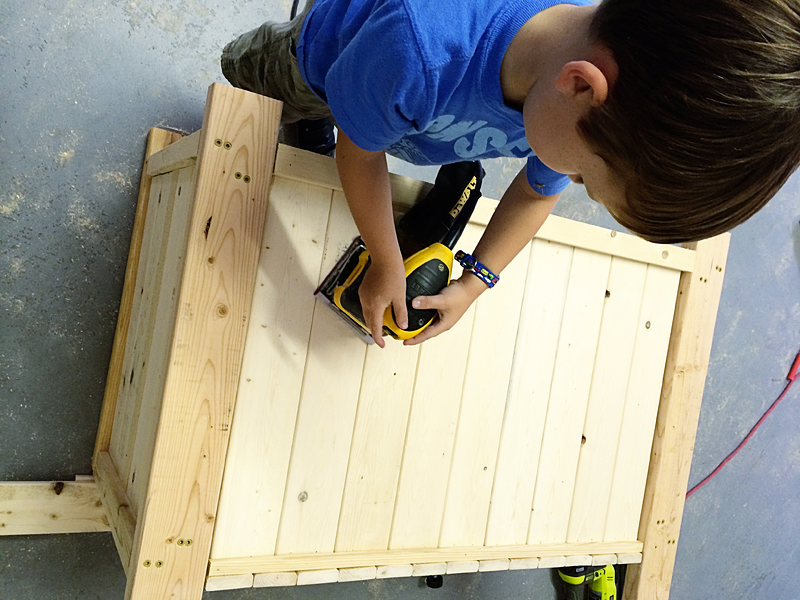
Once we had all the boards in place, Will got the important job of sanding.
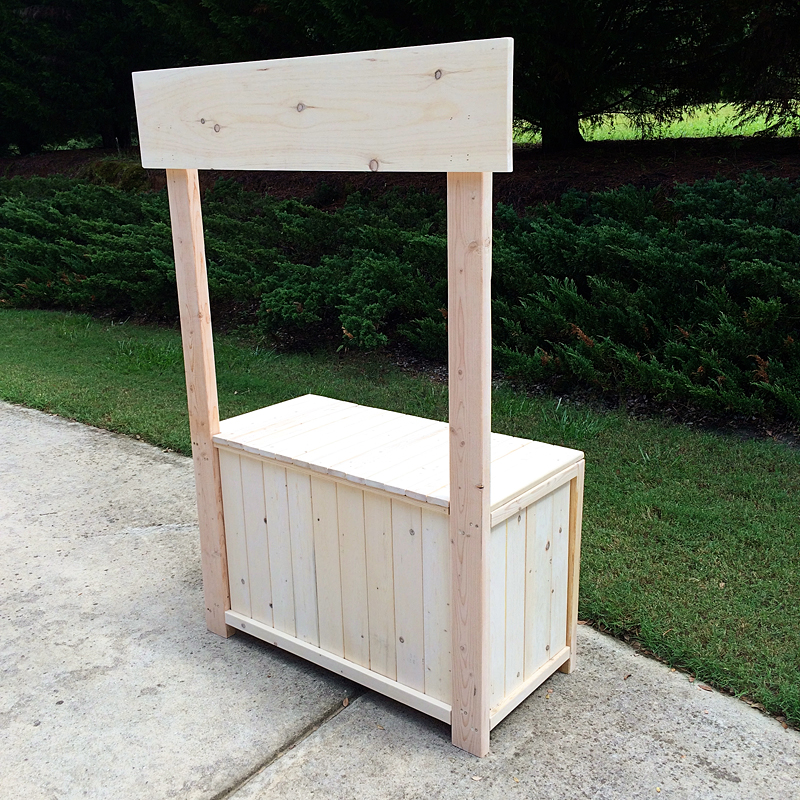
And then I attached the sign board and cut a few more for the inside shelf. Here she is in her unpainted glory….
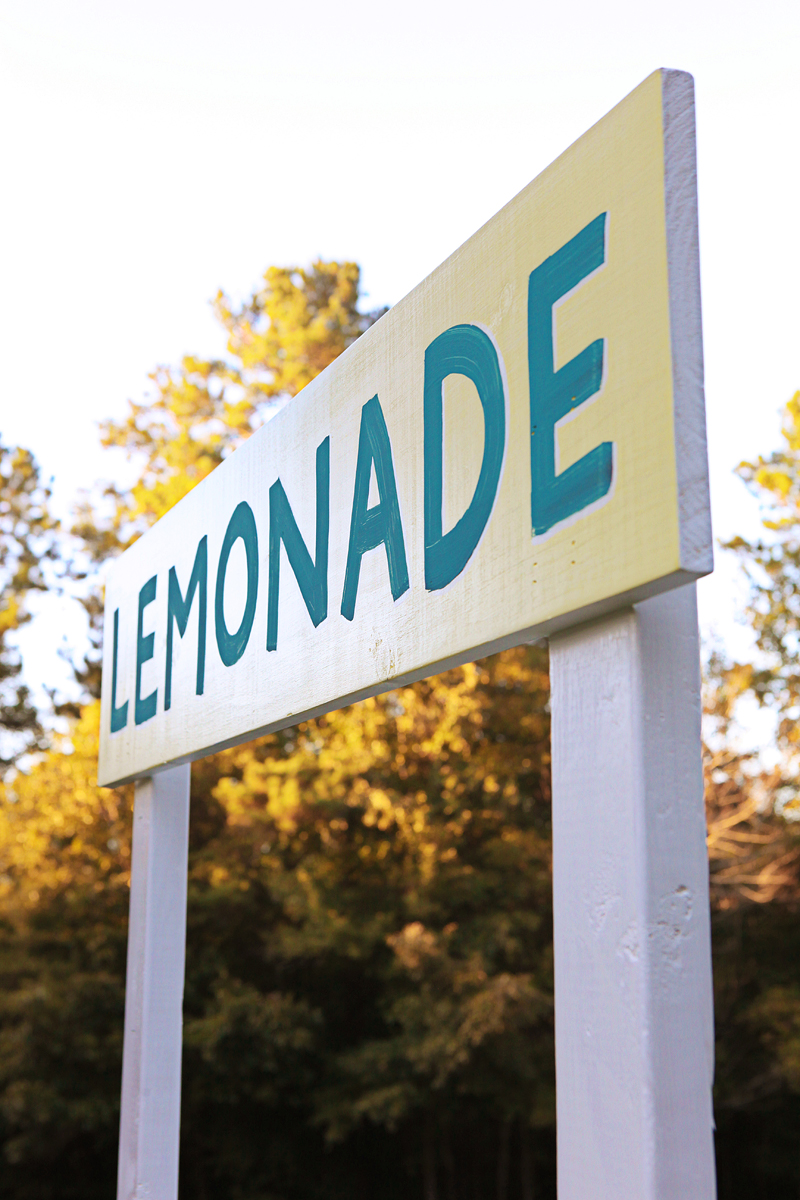
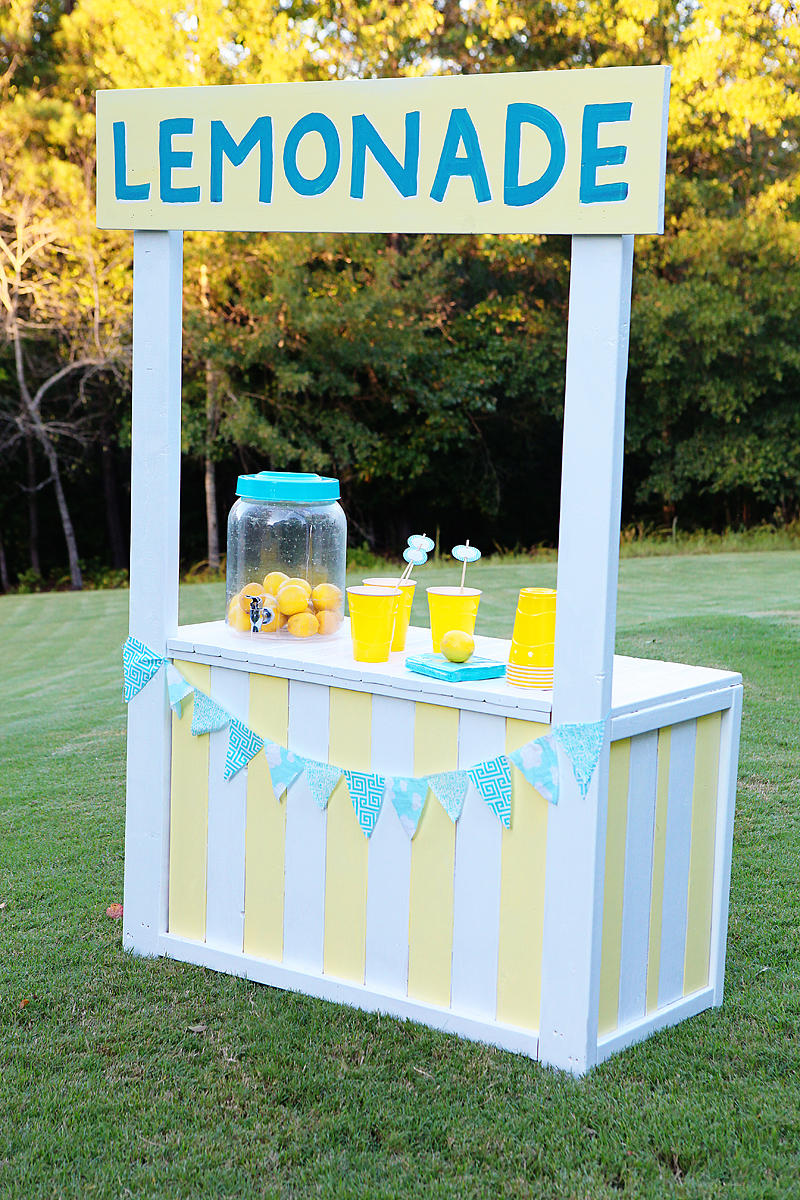
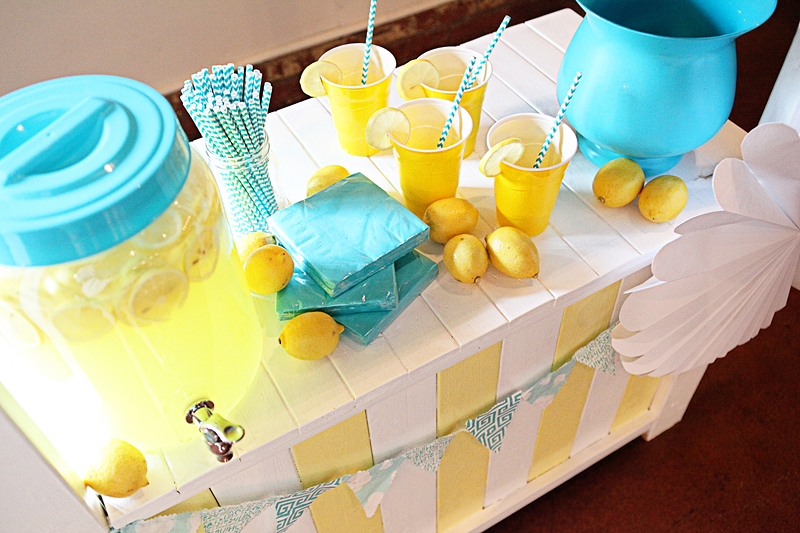
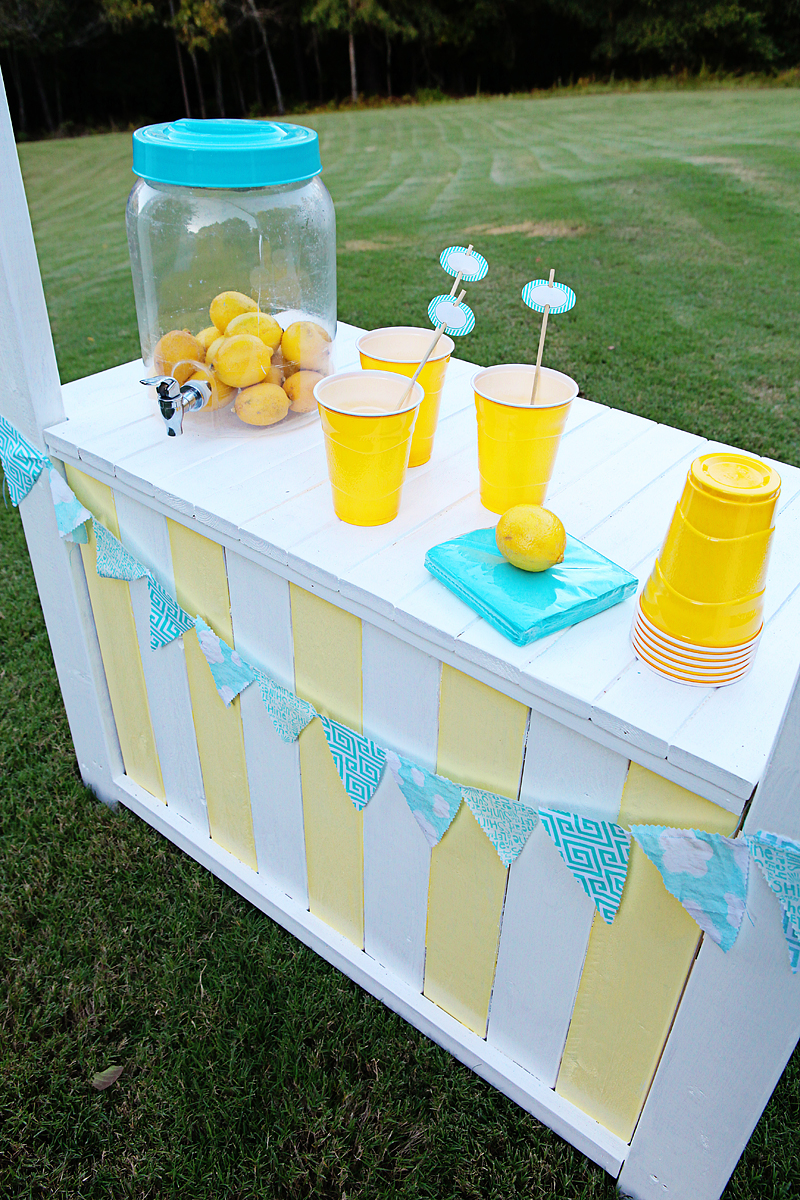
As far as the colors go – I went with the classic yellow and white look. Since our lemonade dispenser is turquoise – I used that color too.
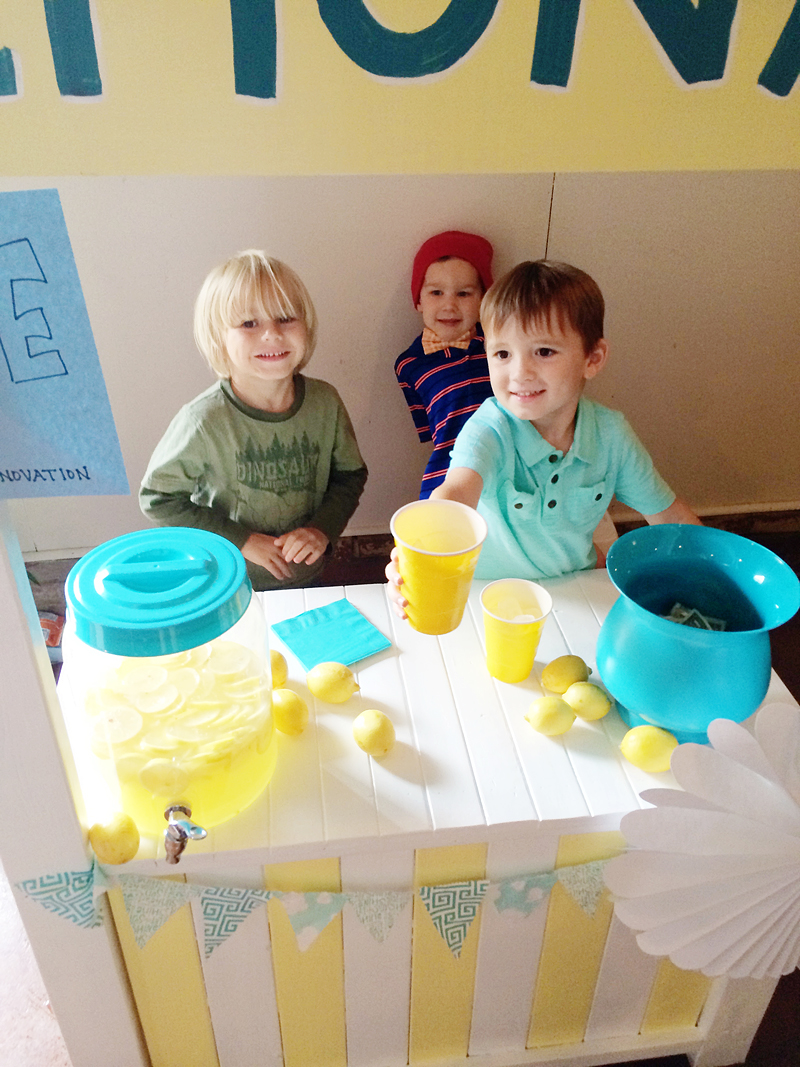
Isn’t that just the cutest all styled up in the backyard? Apparently someone gave Will lemons but forgot the water and sugar!
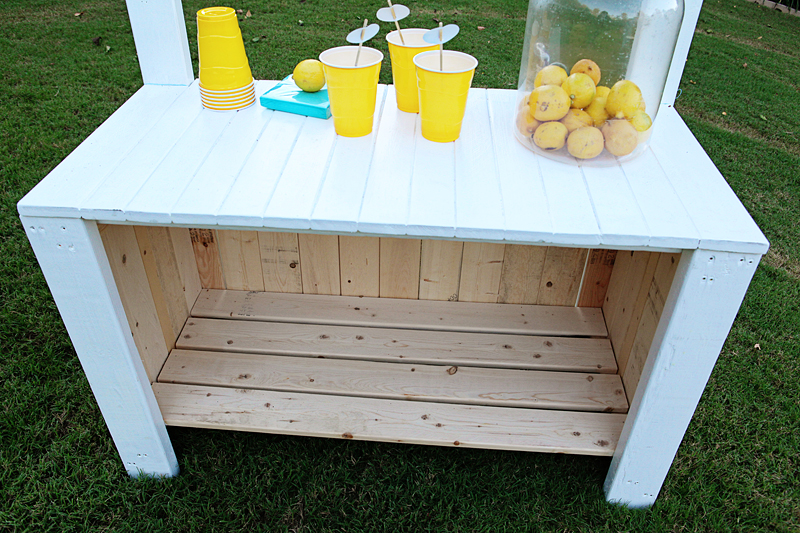
And here is the inside shelf. It’s actually perfect size for a regular cooler and supplies.
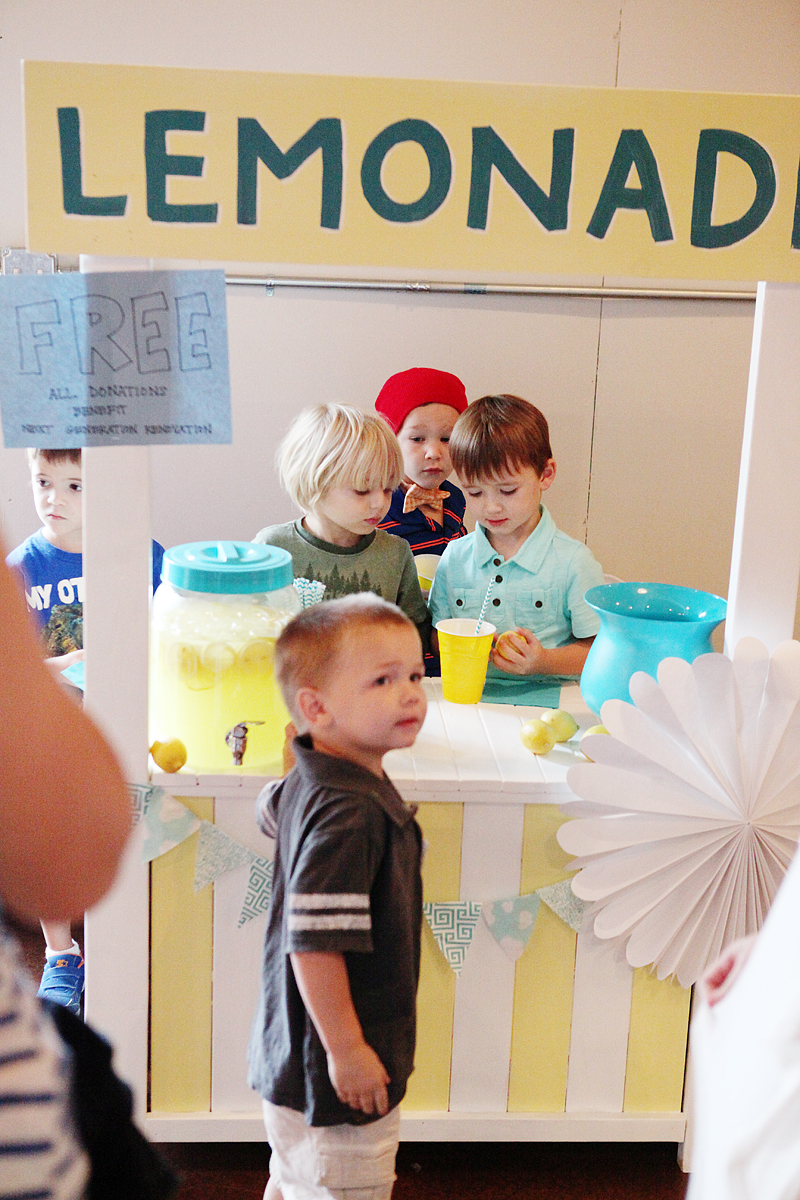
Okay – so after we built this bad boy, Will told us that he wanted to sell lemonade at church for them to be able to make money for the church playground. We couldn’t think of a more sweet cause so we called our pastor and three of Will’s buddies and they manned the lemonade stand that sunday after service.
The boys were so great at serving! One of them would scoop the ice, one would hand out napkins, one was in charge of straws and one would give instructions and say “thank you! come again!” And they made over $250 from donations that they got to give to the playground fund!
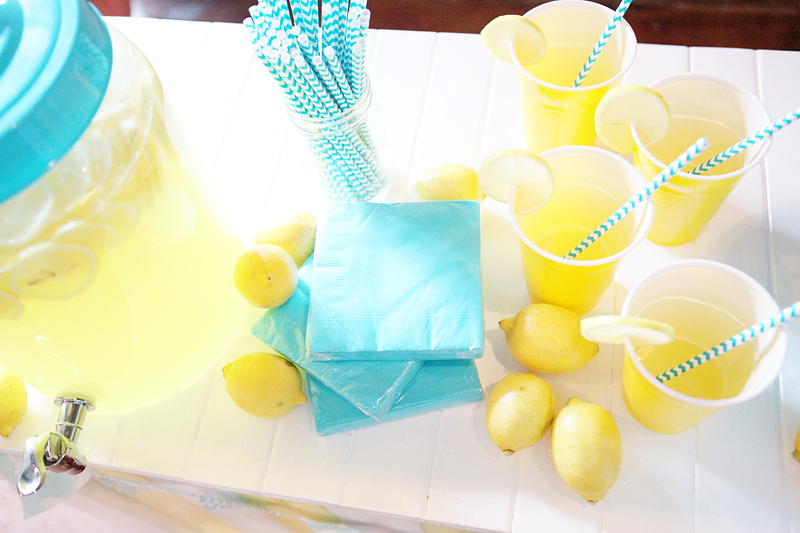
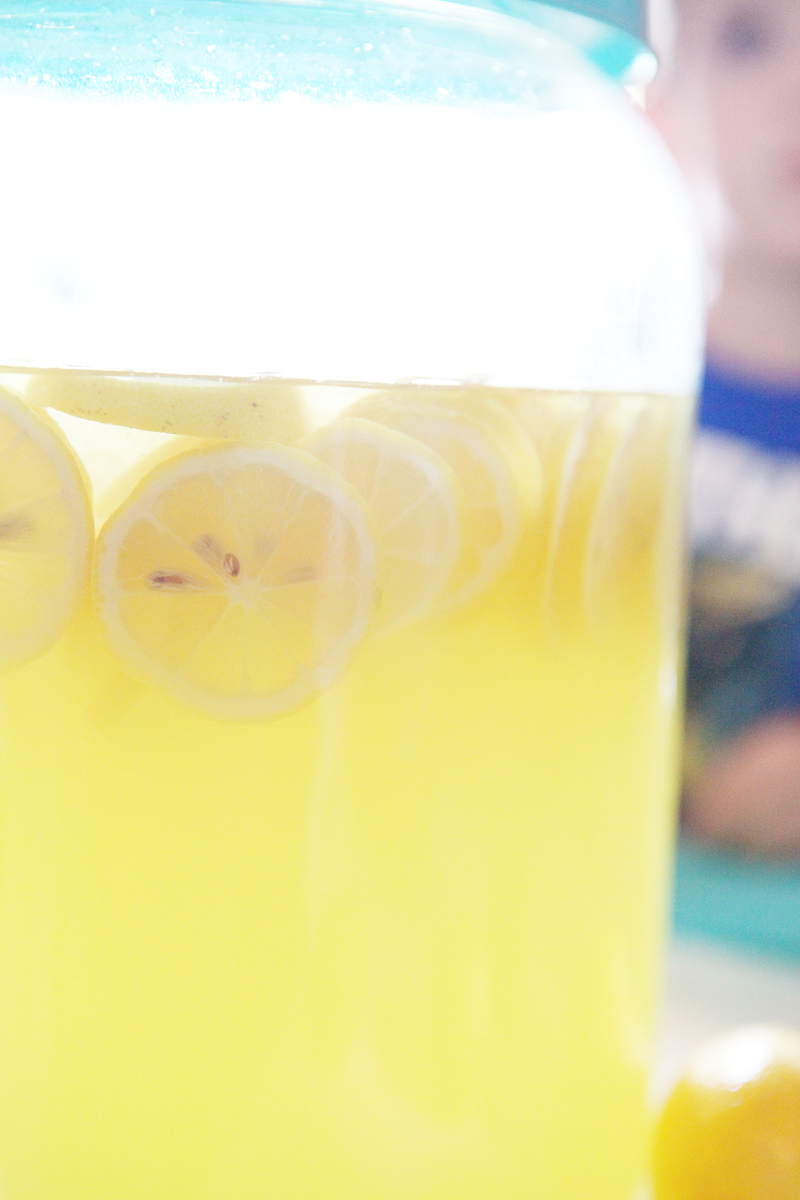
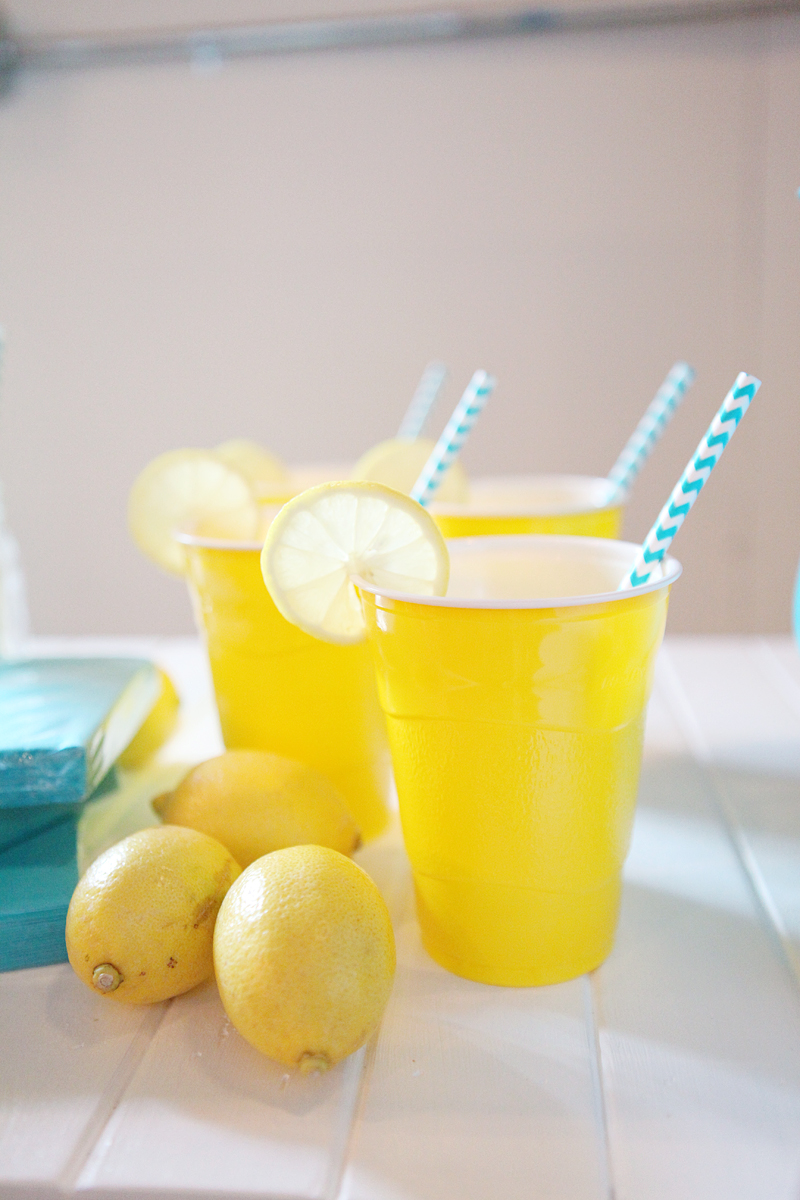
And yes, I went a little nuts with the lemons for staging 🙂 Hey it’s hard to beat that CountryTime but if you add a lemon slice, it gives the illusion of hand squeezed!
It was the perfect little setup since our ‘lemonade dudes’ probably wouldn’t have been able to pour lemonade. This way, they all felt real ownership of the process….and nobody minded filling their own cups.
So the funny part of the story is that when I handed over the wad of money to the child care director, she told me that they just reached their fund goals that day so we really could tell the boys that they made enough for the playground! And that the carpenters were coming that week to get started. Talk about immediate gratification!
It was so nice to be able to tell Will that his help serving and giving to the church would actually make a difference that he could see! Sometimes that’s the hardest part with donating to charitable organizations….it feels like nothing happens. But this time it was a great learning experience that stuff can happen….and fast too.
We since have had no real sales because I don’t let the boys near the street. Ha!
But they enjoy fake selling to each other and I like the idea from the play station from Land of Nod of an interchangeable lemonade stand/market/theatre/post office….so you will definitely need to check out the build instructions for that on Ana’s blog. Here is the link. It’s ADORABLE.
We’ve used ours for a face painting station at LJ’s birthday party (scroll down in this post to see it!) but other than that, it is pretty much lemonade 24/7.
Okay so I better run….I have 1.4 million things I gotta get done this week for the blog, Haven and the kids. But be sure to come check out the blog tomorrow – I am sharing a big curb appeal makeover and it is so great! I can’t wait to let you see the before and afters!
I bet that would make a sweet set for kids pictures too!