I love me a good mirror DIY. It’s in my blood. In my bone marrow. In my nerve sheath.
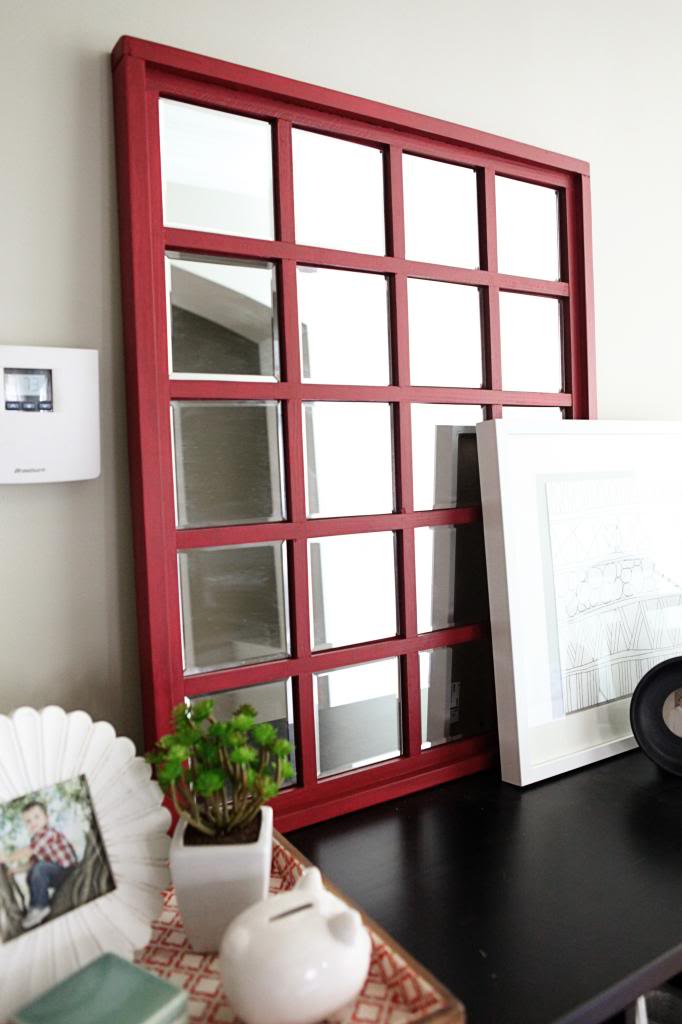
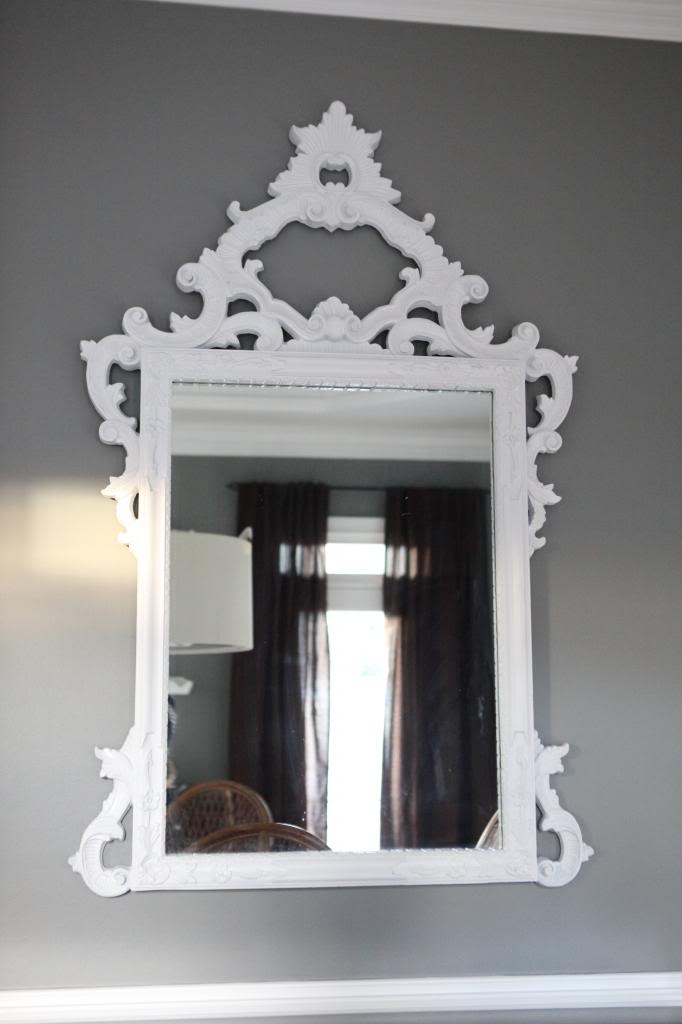
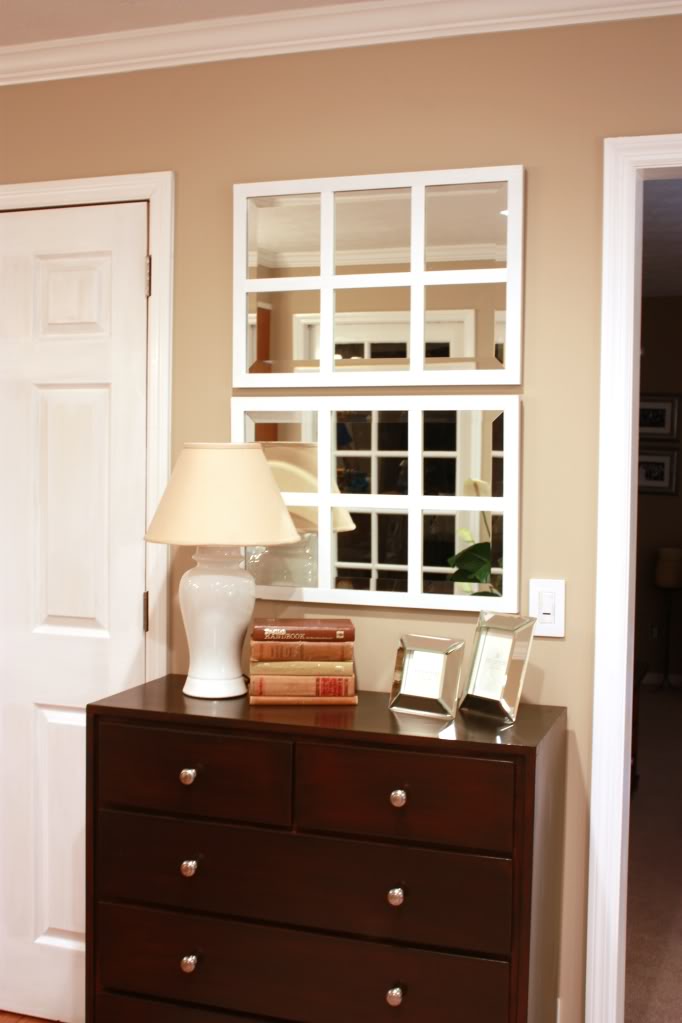
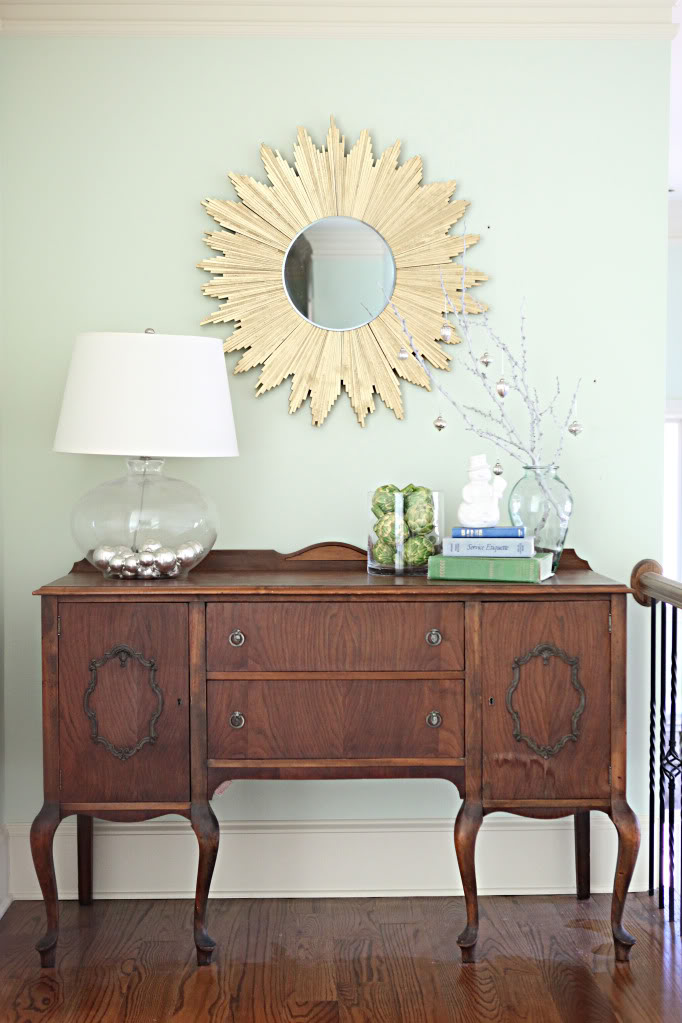
And over the years I have shared quite a few. There was the red grid mirror….which I am still obsessed with. And the Pinterest Challenge mirror that still hangs over our bed. The ornate dining room mirror got a makeover and then Weston broke the top of the frame….so it’s in our basement waiting to be Frankensteined back together. I made mirrors look like windows in our old house. Those are somewhere in the hoard. Don’t ask where. And the gold shim mirror that looks like a starburst? Well, it found a new home in our guest room….can not wait to show ya!!! We chunked out our old bathroom mirror….back before the days of Pinterest and clip-on mirror frames. And we used some fabric to make a cute black-n-white mirror outta something not so clearly cute.

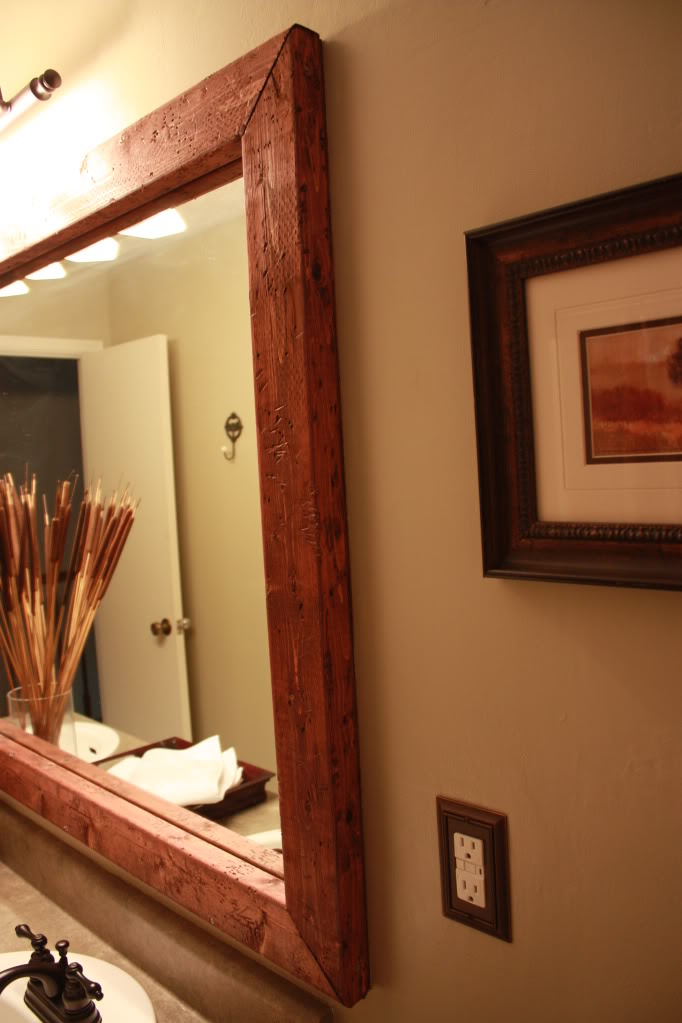
Well, today I wanted to share our newest member of our mirror family….
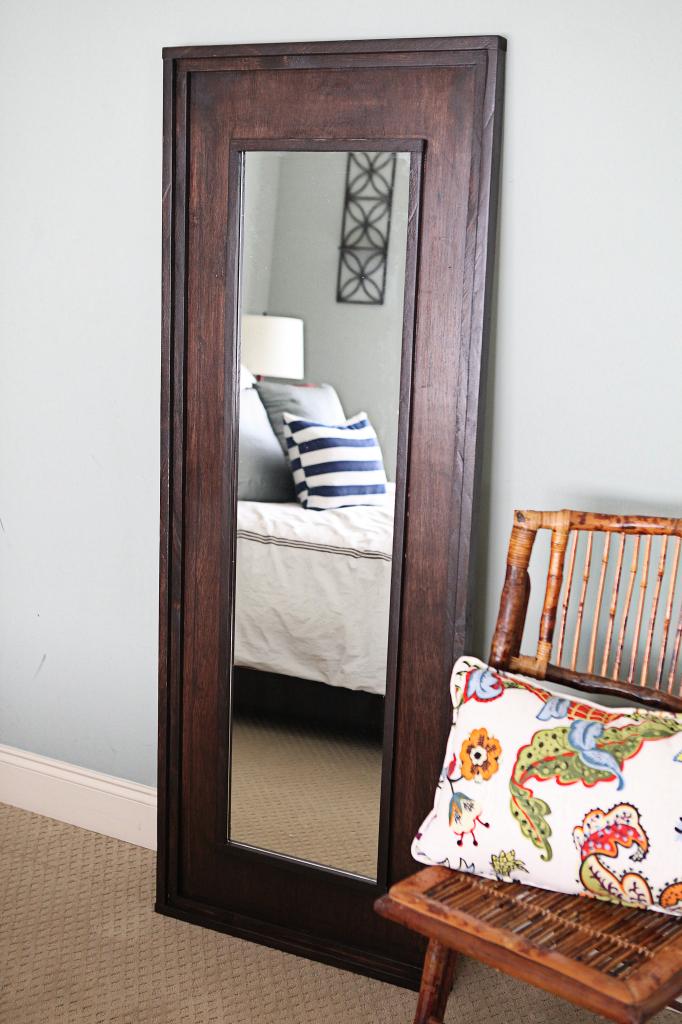
It’s a leaning floor mirror made from a cheap door mirror that we peeled off the wall in the basement.
In fact, there were originally two. Seven years of bad luck later….we have one.
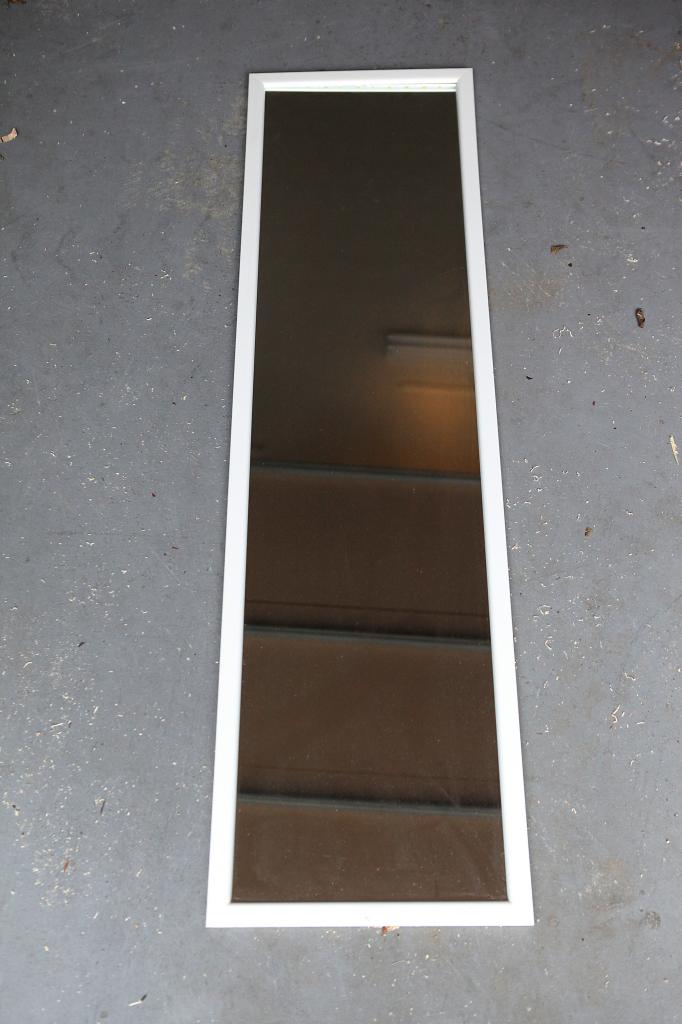
So anyhoo….
I saw a bunch of projects on Pinterest and other blogs that were boasting that they changed this $5 mirror with only two milliseconds of time and 57 cents of materials. I don’t know how they do that. It must be regional pricing or something because every project that I do…it takes me way more time and way more money. I have no idea how much this would cost because 1. we used a lot of scrap wood and 2. if you had to buy stain, poly, all the other materials, etc. – well….it would add up quick but I already have that stuff in my hoard. The point here is…if you love this project…it probably is cheaper than buying something brand new. maybe. I make no promises.
So the first thing you have to do is take the mirror out of the frame. First peel off the paper to expose the mirror guts. I am not allowed to use box-cutters because of multiple incidents that involved my blood on the floor and a screaming phone call to a minute-clinic so I used a chisel instead to gently scrape the glue off the mirror….I hear most people just use a knife to slice the glue.
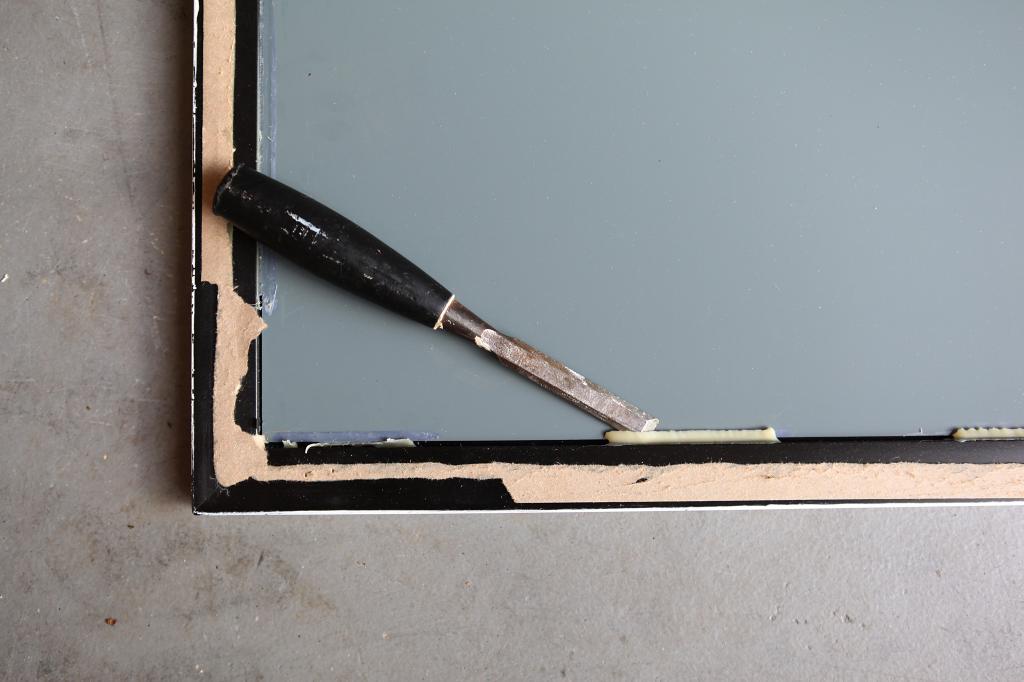
After it was carefully removed from the frame, I measured out my wood and made all the cuts.
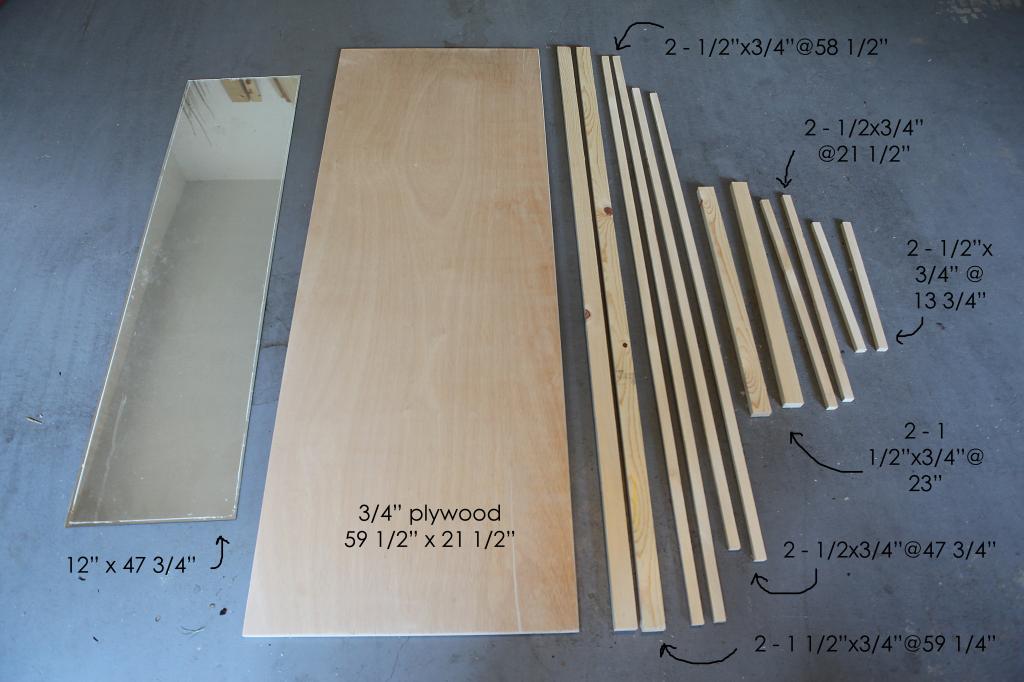
I was going for the same boxed out look that I did with the grid mirror. I figured that ‘double frame’ makes everything look really finished. And the fact that it was all based around a piece of chunky plywood would allow it to be super sturdy. The last thing we need in this house is easily-breakable-items on the floor.
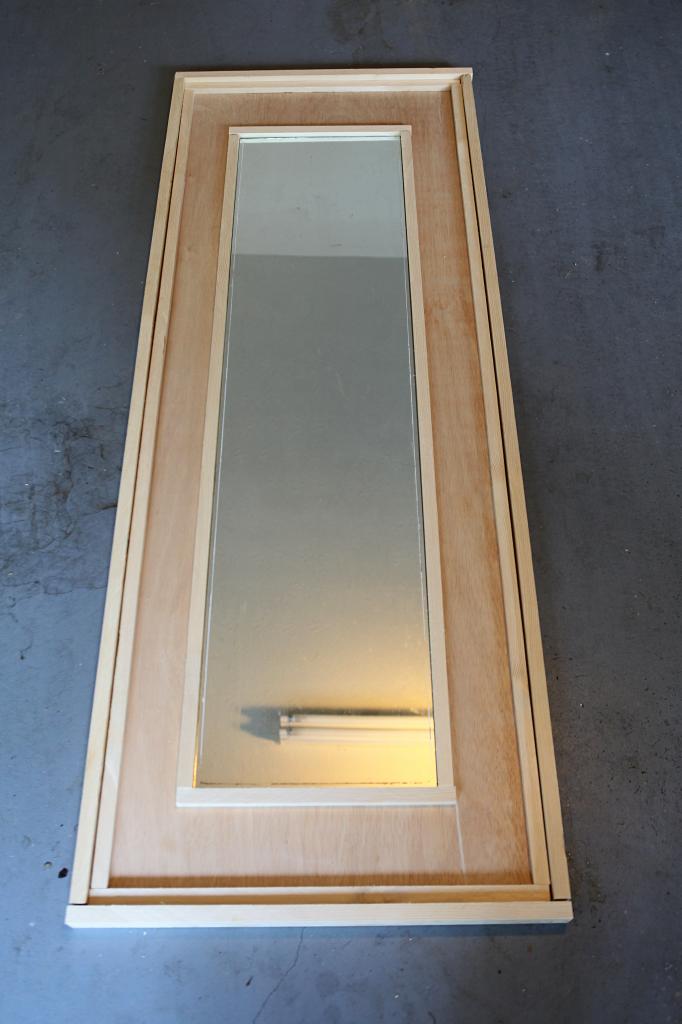
Once everything was brad nailed and glued together (the very outside frame was brad nailed onto the plywood but the rest was just glued)…it was time for finishing. I sanded the entire thing down and applied a heavy coat of stain – Rustoleum’s Kona. I should make it clear now that I am OBSESSED with that color. It’s rich. It’s dark. It inspires me to go to Hawaii. It is everything I love in a stain. My previous favorite was Dark Walnut but the Kona is even darker and richer. It’s like the difference between milk chocolate and dark chocolate. After it is dried, I did a coat of poly and then 440 sanded and then polyed again. Trust me on the poly….it makes a huge difference.
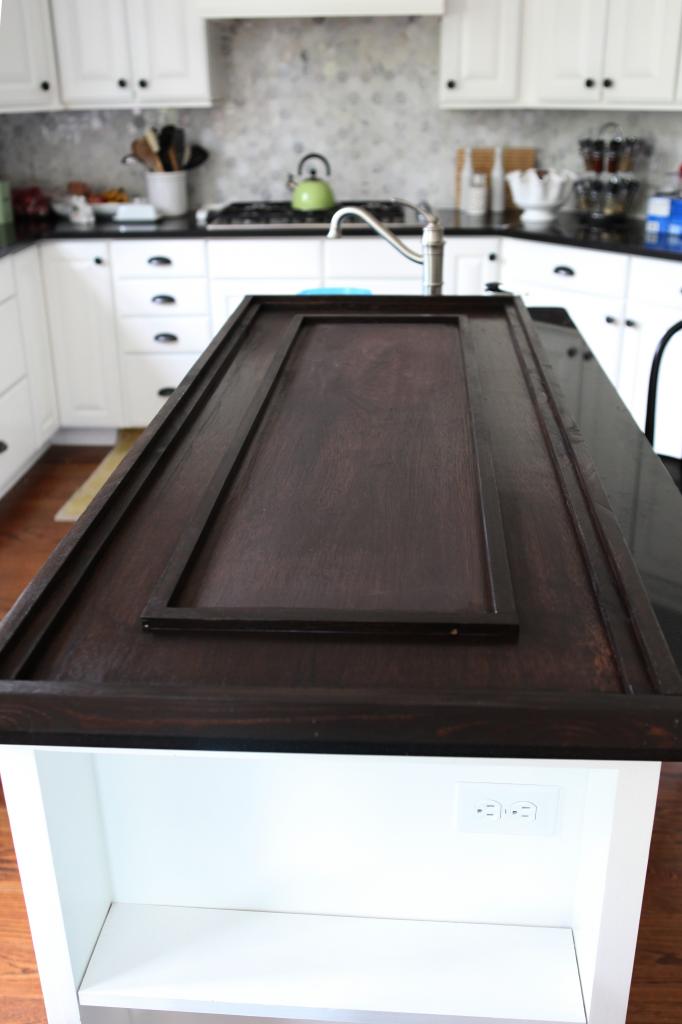
Then came time for the gluing. I used Elmer’s ProBond Advanced for this because it bonds to glass and wood – but I am sure other kinds of adhesives would work too…just read the label.
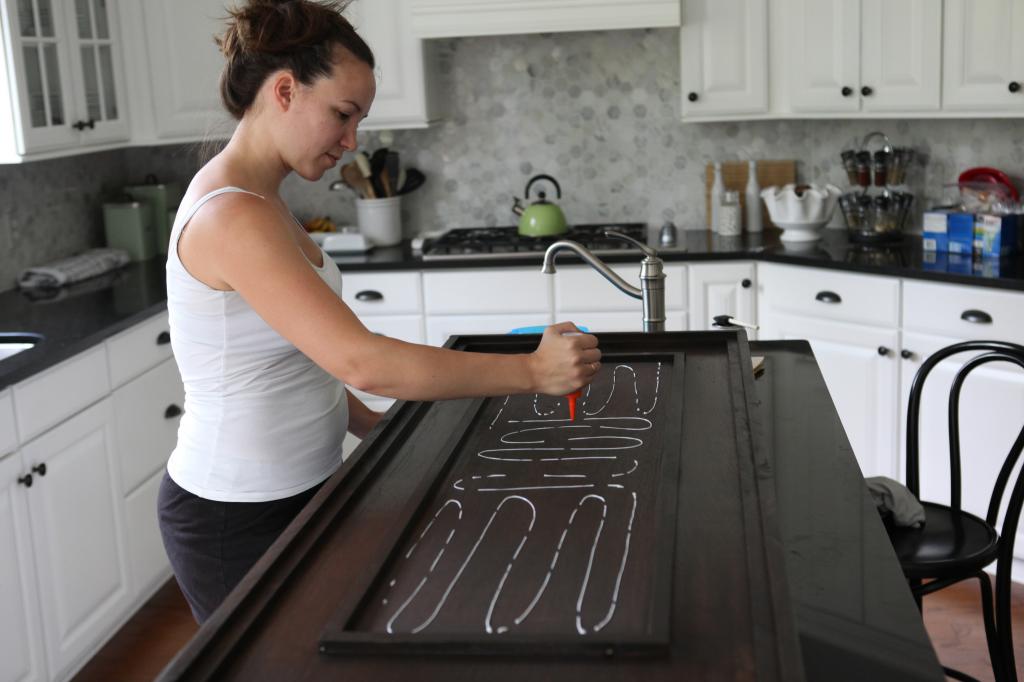
Pop that mirror in and hold it down for ten minutes with some heavy books and you are good to go! Well…at least you are good to check out your outfit before going anywhere 🙂
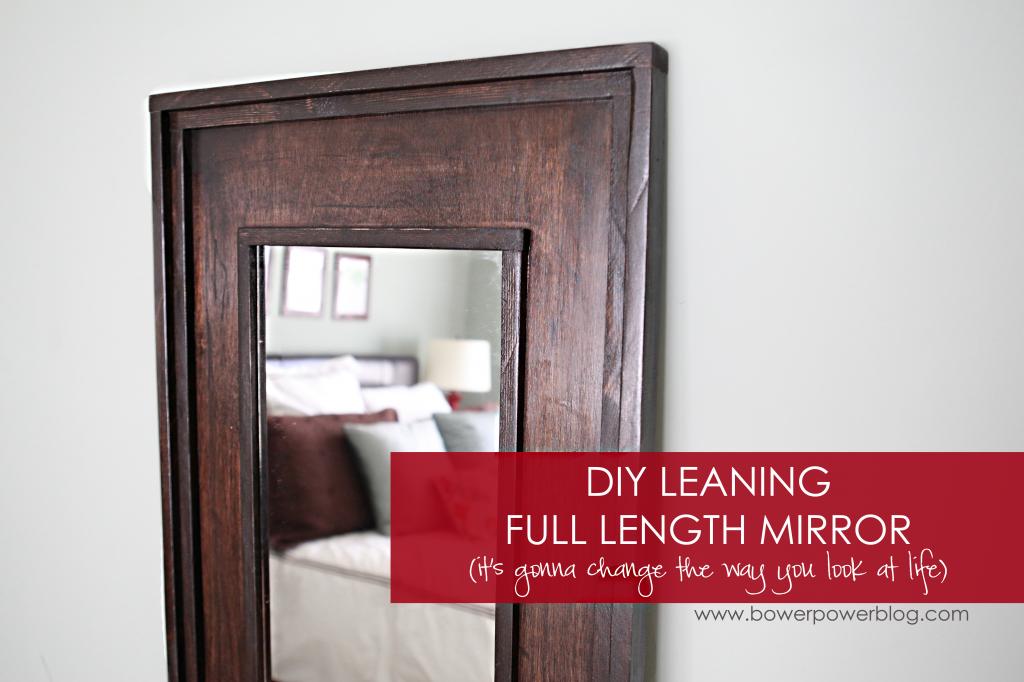
So there you have it! A fun little full length leaning mirror for your Friday. I was hoping to get the Bower Build Off post up today but one of the projects is still drying and so it’s gonna be a Monday morning post for ya….hope you come visit with your voting registration card ready!
p.s. you won’t require a voting registration card, a green card, a library card or any other type of card….just some eyeballs. Please vote for me thank you and I love you.
Update : Looking for more info on something you see in our house? We have a Shop the Bower House page with paint colors and links to accessories, furniture and decor!

What I really want to know is how did Mr. Safety (Jeremy) adhere this to the wall so it doesn’t fall on all the little people?! =)
Great tutorial! I have a cheapo over-the-door mirror that I need to get rid of, but maybe I can re-purpose it instead. Thanks for sharing.
http://jax-and-jewels.blogspot.com
that mirror looks wonderful! I am always so amazed with how you can see a project in its end stage and get it there. I would have looked at the mirror, all the pieces of wood and thought “I have no clue what to do here”. You just have the eye for design! Well, two eyes for design, but you know what I mean:)
Hiya Katie! Love the mirror! (Also love that you are rocking the universal still-nursing-a-baby outfit of tank top + stretchy pants that is my uniform on stay at home days. My self esteem thanks you.)
Aaaaanyway, was wondering why you opted to reframe the mirror rather than adhering the whole thing, frame and all, to the plywood. Do you think some ORB spraypaint or even a gel stain work to make the cheapy mirror frame material (prob plastic, right) fit in with the stained wood or would it have really cheapened the whole look? Does any of that make sense?
This is beautiful!
Yes! I was just today looking at my blank wall and thinking a big leaning mirror would be good there but didn’t want to buy something pricy and wanted something more substantial than a closet mirror . Thanks for sharing !
This looks so great! I actually have lots of scrap wood on hand from a recent project so maybe I’ll give it whirl.
Thanks for sharing!
-Kait
http://kaitlinmadden.com
The mirror turned out so great!! And I can see why that is your favorite stain–so rich and beautiful! Inspired!:-)
It looks great! Just what I need to do!
How do you have time to do stuff like this? I feel like this would take me a week and leave my house a disaster, and I only have two little kids! LOL.
I love it! Totally makes me want to redo a cheapy one that we have just like that in our basement, especially since I already have everything on hand. Quick question, though… is yours truly just leaning or did you attach it some how? I worry we might accidentally lock ours over.
and by lock I meant knock. Ugh, I’m tired
This is in our guest room so the boys aren’t ever in there but since we are redoing the space, we decided to go ahead and put a hook on the back to attach it to the wall.
xo kb
Just a little hook and some wire 🙂
xo kb
You should totally come visit Kona! (Also, I like the mirror, gonna steal that for our guest room)
Fantastic! You couldn’t have posted this at a better time. We’re creating a new walk-in closet in our master, and I have a frameless mirror that is going to go in there. I think I want our to hang on the wall though so I’ll frame it similarly and hang it.
LOVE this mirror! This turned out great! And I totally agree with you on other people seeming to find really cheap materials for their projects. My shopping trips for project materials always seem to be close the double the estimates on Pinterest.
This is great. I have a mirror just like this and have been wanting to add a frame to it. You have inspired me to get it done! The Kona stain is cheating on you with me, because we have been having a love affair for quite some time too. I try to use other stains, but I just can’t quit it! BTW I love that you mentioned the cost for projects, sometimes I feel like I am doing something wayyyyy wrong because I always go over the cost. And like you, I have a bunch of stuff already in my garage.
Well, this particular project we did a while ago. If that helps 🙂
xo – kb
The frame part was obviously plastic – even if we spray painted it – so since the texture would be different, I just scrapped it and went with the wood because it would look higher end in my mind.
xo – kb
Hey Katie,
I am loving this final result and hoping to tackle to this in a few weeks. Do you remember what type of sand paper you used for the first sanding? Thank you so much for your time and awesome blog!
Usually I do 60-80 grit and then progress to 120 and then to 300ish after that. The 440 is great between coats of poly or paint.
xo – kb
I LOVE this mirror! I am planning to tackle this project this weekend, and was wondering how the adhesive is holding up? I have been doing a lot of reading on products that corrode or eat away the silver backing on mirrors and was curious if you have had any issues with the Elmers ProBond causing any spider webbing or cracks in your mirror?
Ours hasn’t….I mean, the mirror is dirty from the boys kissing themselves in it but otherwise it still looks good 🙂
xo – kb
Thanks for this awesome post! I’m inspired 🙂 For this project, do you remember if you used a matte, satin, or gloss polyurethane? I can’t wait to get started!
I think it was satin 🙂
xo – kb
Gorgeous project, thanks so much for the idea!! I was wondering what kind of saw works best to make nice clean cuts to those thin little pieces of wood (1/2″ x 3/4″ and such) without them splintering?
A miter saw is the tool you want but really it’s all about the blade. A fresh sharp blade is a wonder!
xo – kb
Awesome job!!! I know it’s been a while since you did this, but 2 questions: 1) would 1/2 ply work ok? I’m going to hang it and use a larger mirror, so thinking of weight. 2) speaking of a larger mirror, how did you decide the dimensions? I’m going to use a 16×60 or 18×68 mirror. Thanks!
I would think so…as long as any hanging hardware doesn’t go through the back it should be good to go! And we decide dimensions based on the original mirror….just work backwards with the trim!
xo – kb