That’s what the basement flooring is doing.
But how did we get there?
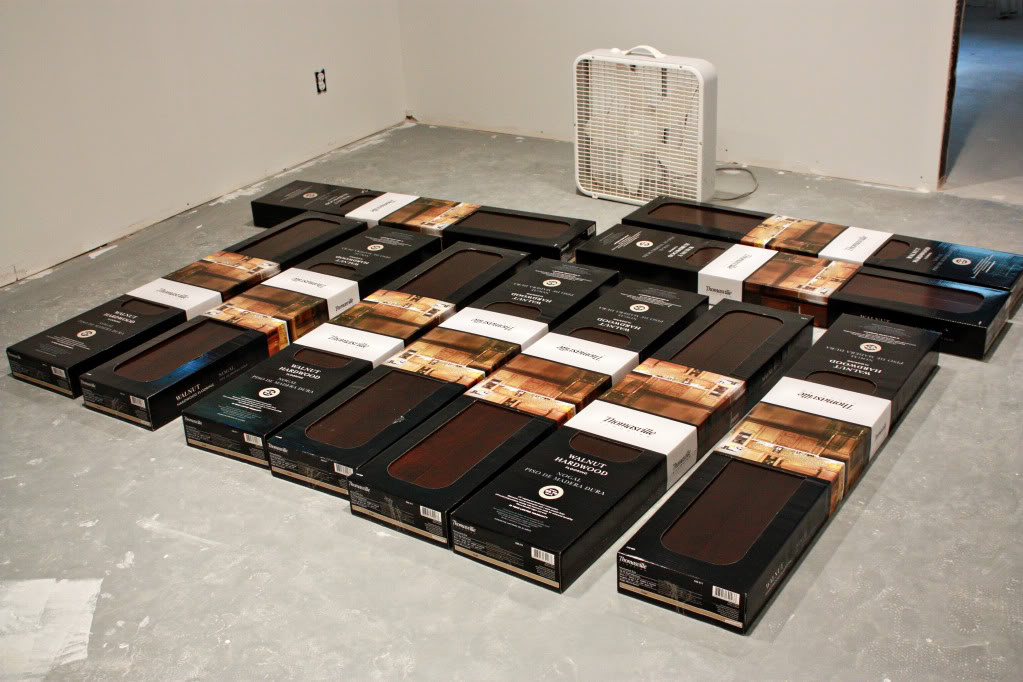
Well, first we laid out the boxes of hardwood flooring in the basment. This helps the wood acclimate to the humidity and temperature down there. This can prevent the wood from expanding or shrinking if it was new to the basement climate.
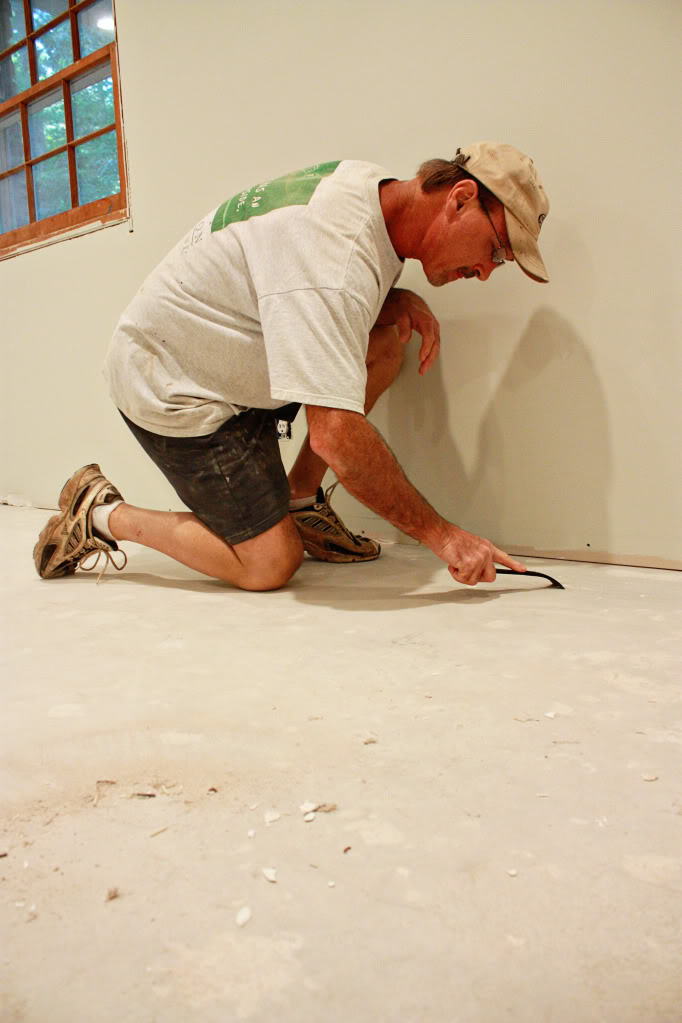
Then we prepped the floor. Pastor Dad is scraping up anything that the broom didn’t get.
Several people asked if we applied a self-leveling compound to the concrete slab first. No. We did not.
The reason we didn’t was because we have never used it before and because we had a relatively level slab. This would have cost extra and meant an extra four to five days of work (and we literally had no time to spare!). So we decided that the concrete would have to work – however, if you are planning on doing this project, you might want to check with your local home improvement store to get all the info first.
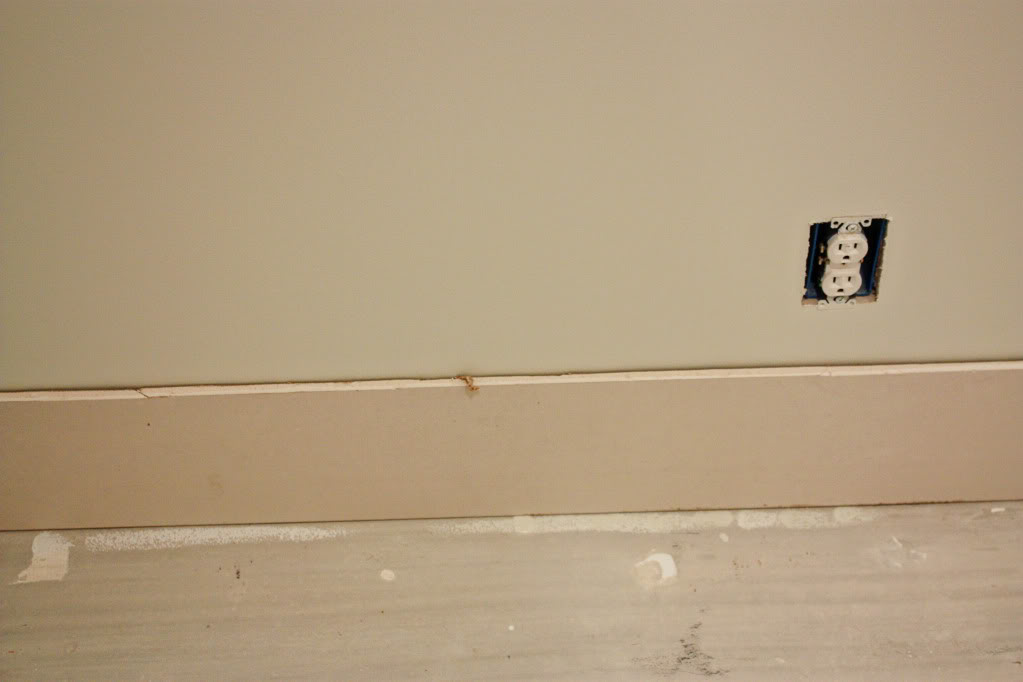
As spacers, we went with what we had on hand. A couple strips of 1/4 inch drywall was left over from the ceiling project and was the perfect size for making sure we had some lee-way for the flooring – just in case any future expansion space was needed.
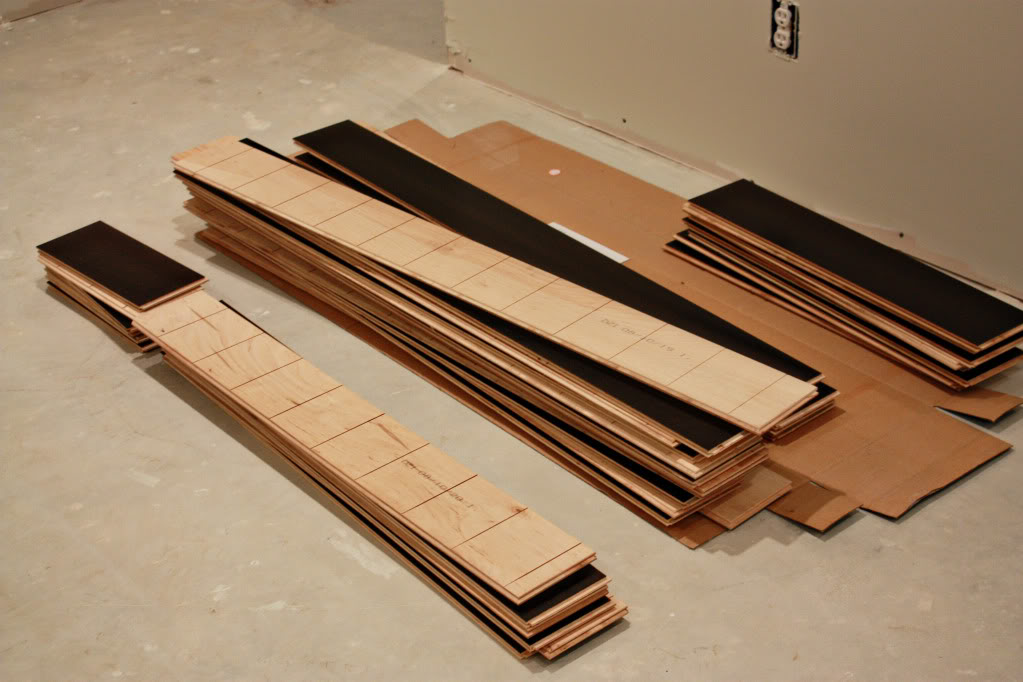
The flooring planks were laid out so that we could easily identify which size was needed next. It was quite an effort to make sure the pattern looked random (but not too random) and that all the seams did not line up.
Our flooring adhesive was not exactly fun stuff. Everything we read said that we should avoid getting it on the flooring surface and that we should wipe it up immediately if it did happen to smear. It really helped to have a whole roll of paper towels and a bucket of water nearby for quick clean up.
We ended up using the flooring adhesive trowel (in yellow) but the metal trowel would have worked the same if we just needed a little more glue.
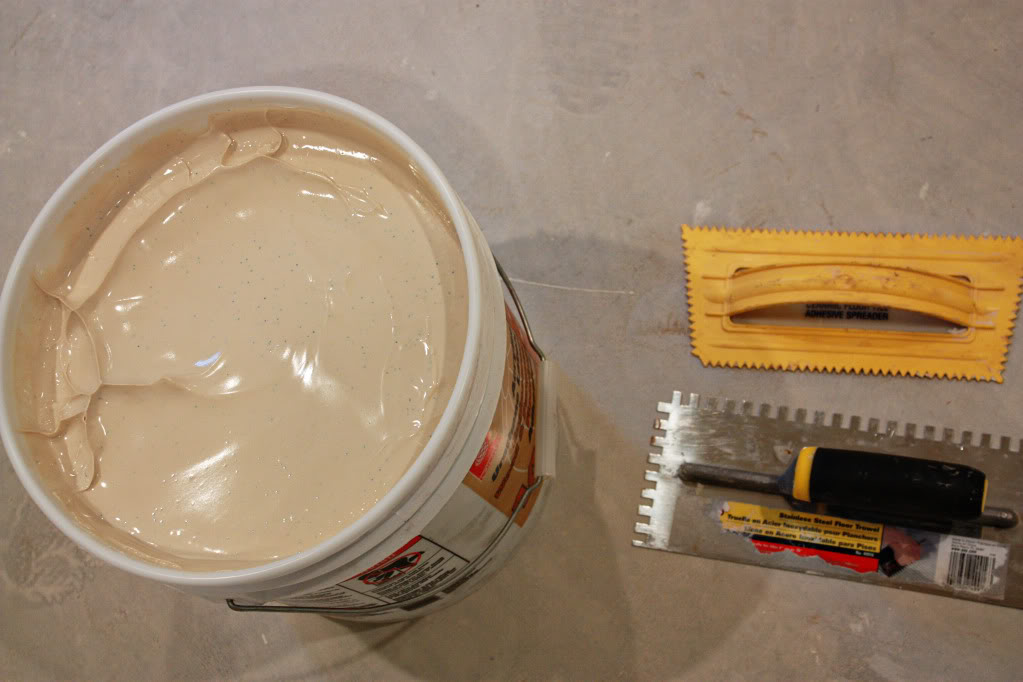
We attempted to spread the glue as thick as mayo on bread. The hardest part was getting it down and then pushing in the floor boards (they were tongue and groove) before the glue dried on the thinnest parts.
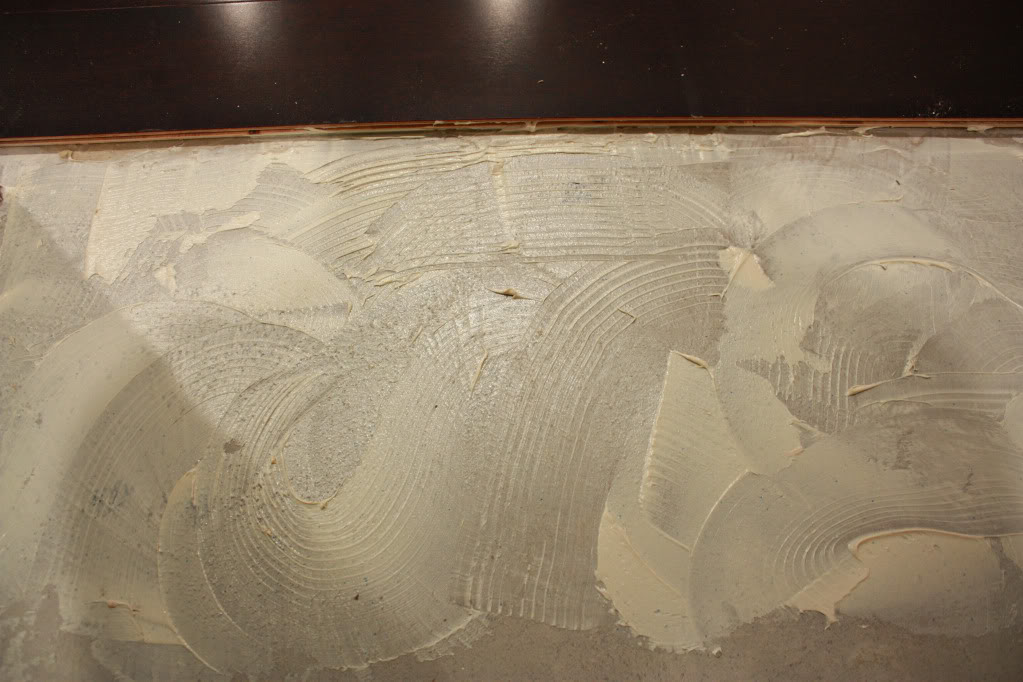
Once the glue was on the slab, the boards needed to be pushed into the adjoining plank and then over towards your ‘start wall’ as far as possible. Note that the ‘start wall’ has the spacer so that expansion can still happen if needed.
When you get to the end of your row, then just measure the distance left and cut the last piece to fit in. We used a chopsaw to cut them (and then used the scrap end to start the next row). It is really important to make sure you cut off the correct end of the last piece…otherwise you will have two tongues and no groove. And we all now how bad that can turn out 🙂
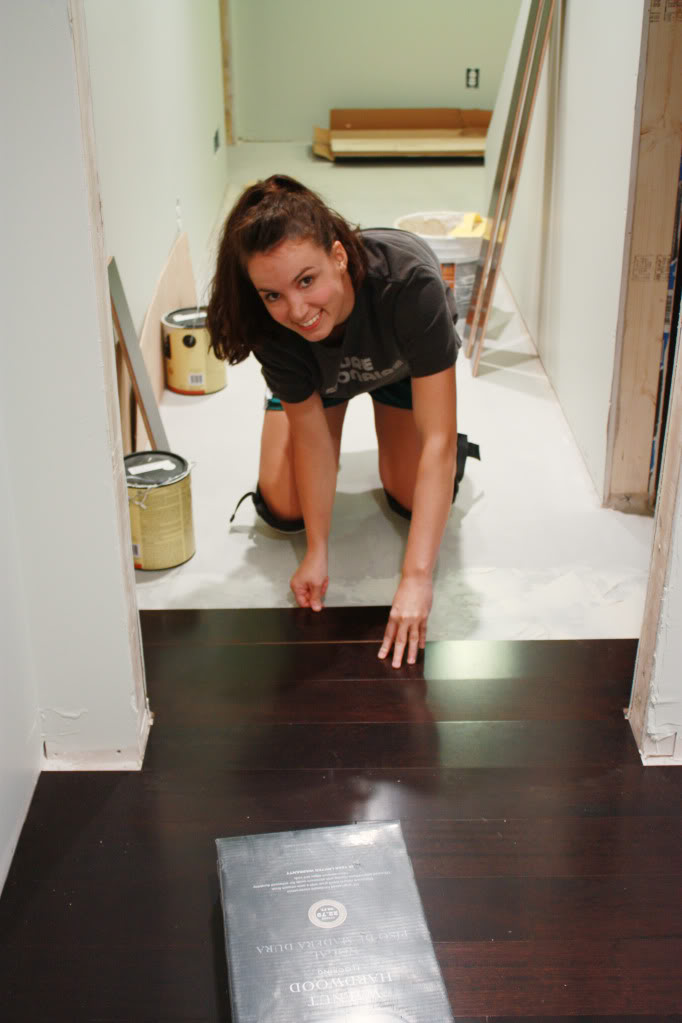
It really helped to have multiple hands on deck for laying this flooring. For the living space, we recruited our friend Luke and Pastor Dad to help. And boy, were they! In the end we found our groove and ended up finishing the space in about 4 hours.
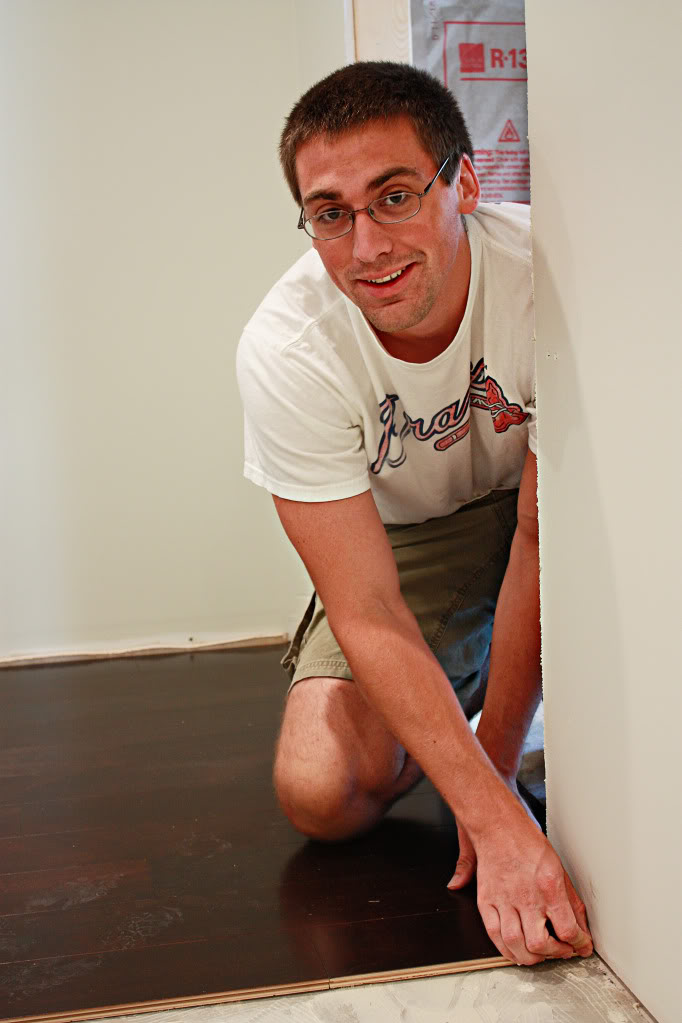
The final step for laying the flooring is to get a heavy object to put on top. The compression of the flooring to the glue helps form a solid bond and prevents future warping.
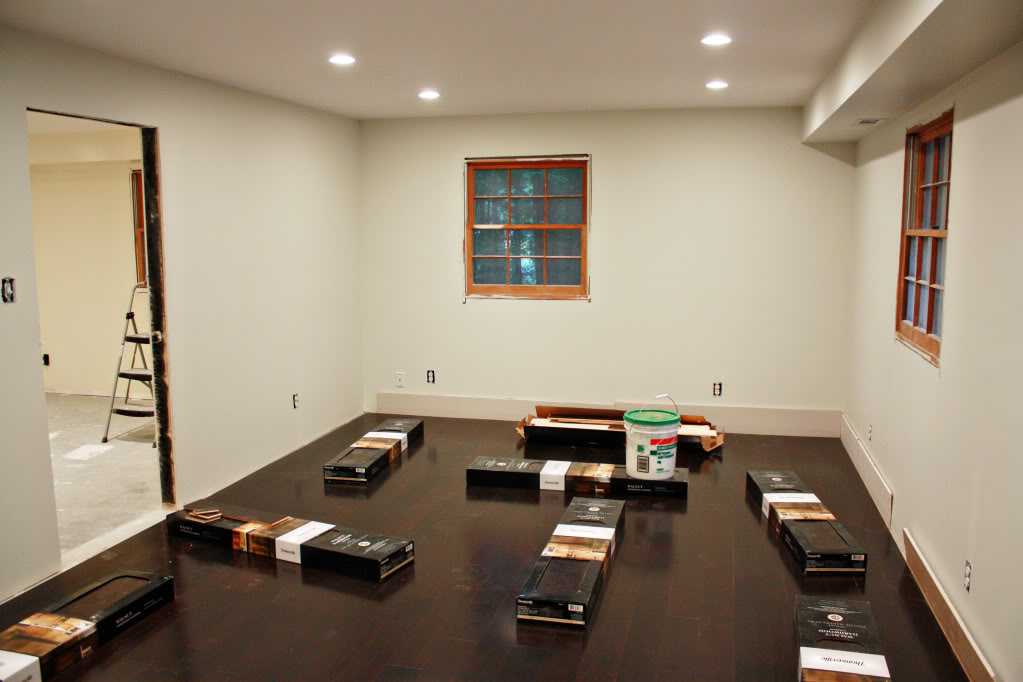
There it is – a wrap up of how we installed the beautiful Thomasville engineered hardwoods. We absolutely love the Walnut color and the bit of dark red undertones that help warm up the space and make the walls pop.
Oh and for more flooring fun – here is a little video of our progress:
[vimeo vimeo.com/6036787]
Happy viewing!
I love your floor color choice. It looks awesome!
What a gorgeous floor!!!!
You make me want hardwoods in my basement! I think I might have to attempt it after watching your video. Might need some tutoring first, though – especially in regards to the dance party at the end. 😉
I’m so impressed that you did this diy. It turned out great!
Why is that no matter how well one walks in real life, in a fast forward video everyone resembles a penguin? Hee!
Love the dark flooring.. LOVE it! The video makes it look so easy (but I know that it’s not.)
Love Pastor Dad’s booty dance. *whistle*
that was awesome. i loved the dancing at the end – hope the congregation doesn’t see pastor dad shaking his bootie like that! LOL. What a good sport.
I really appriciate you taking the time to show us how you guys did each step. I was trying to figure if you already did a post for the lighting yet or is it coming. My husband and I are trying to become DIYer’s, but I’m afraid that doing the recessed lights may not be too easy. Have your husband ever installed them before now? PLEASE KATIE HELP!!!
http://www.home23duncanboys.blogspot.com
wow vimeo sure made it look easy! your floors are the bees knees!
Hi L.Duncan,
Actually I didn’t do the post on the lighting because it really isn’t something that is easily explained. If you already have existing lighting units and would like to transform it from the traditional style light to a recessed light, then all you need to do is purchase a few simple tools and a recessed light kit from your local home improvement store. I would also recommend that if you decide to tackle this on your own that you follow instructions from a credible source such as a lighting how to book or a online electrical website. Also it is a very good idea for a licensed electrician to check your work. Jeremy learned from a book and then had an electrician friend show him some steps that weren’t outlined and double check this work (better two eyes than one charred house…that’s what I always say!).
Hope this helps!
XO – Katie
I have been dying to get my hands in this post, and it came not a day too soon – we found engineered, handscraped hardwood for $1.50 off the regular sq. ft. price!
thanks for the response. We probably won’t be doing that ourselves!!!
By the way, you guys ROCK!!! keep up the good work
So… are there any rules about walking on it after it’s been laid? Like you’re supposed to let it sit for 48 hours, or soemthing like that? Because I’m DYING to install hardwood jsut liek this in our kitchen, in place of the old, dated, poorly installed cruddy Pergo, water-warped floors that were there when we bought it, but it’s my kitchen, so I can’t “not stand” on it for a day or two… not to mention it’s where our front door is, and we can’t get in through our back door, so we’d haev to live elsewhere for a few days while it “sat”. Please say not, please say no! Bcause this is GEORGEOUS where the stuff we have it made to look liek there’s three wood pieces to each plank, and it look shorrible and way damaged… yuck yuck yuck!!
… but paying for install is SO not in the budget.
You go Bower Power! I still haven’t been to Lowe’s to pick a color! Hopefully soon… very soon! It’s hard to take 3 kids anywhere these days! I’ll be in touch soon! And… the boyfriend is cut in half on my header… just a little FYI.
What a cute video — and the floor is gorgeous!
I enjoyed your vimeo – you all did a fantastic job! It looks so nice! Basements never looked so good!
The video definitely does make it look so easy and I know it’s not! And ya’ll make it look fun and i know it’s not! lol, i’m so glad ya’ll got that DIY project done and over with!! Nice booty shakin Katie 😉
I think I need to work on my dancin’! Pastor Dad
Actually Dad – it looks like you got a whistle or two 🙂
Thanks again for all your hardwork…it wouldn’t have happened without you!
XO – Katie
Can’t see the vimeo since I’m at work, can’t wait to watch when I get home!!
One question, why did you glue it when it is tongue and groove, snap together wood???? Or is it not??!!
Hola Als –
You are correct – tongue and groove snaps together…however, over time the boards can separate and show cracks or even warp if any moisture gets trapped under those spaces. The glue helps the flooring stay in place as well as keeps it from forming pockets where air and water can accumulate.
Floating floors can be laid (no glue needed) but would require an underlayment that needs to be stapled to a subfloor (which we don’t have). The other type of flooring is hardwoods that are nailed down…but again, you would need a plywood subfloor. In the end, the glue down method was our best bet 🙂
Hope this answers your question!
XO – Katie
As beautiful as the floors look, how hard are they to keep clean? I have some dark wood furniture and they show every speck of dust. Do you have to dust your floors every day like I do my furniture?
Hi Mary –
The dark wood does show more dust than lighter finishes but since we have a basement slave…err..I mean, a basement brother who takes care of the area, it really doesn’t matter to me (insert maniacial laughter here.) We did buy a swiffer for the floors…so let’s give three cheers for quick cleanup.
XO – Katie
Um, why was there no dancing action in Nashville? I had no idea the Bowers were such a talented dance crew. Maybe next time…
-John
I just went back and showed this video to my husband because I’m trying to convince him to re-do our second kitchen’s floor. (Yes, we’re a two kitchen house, long story!) He’s down with the dancing part, we’ll see if the floor happens! Yours looks beautiful, even after the water. Hope you’re feeling a little drier down there in GA.
I just put in dark hardwood floors as a surprise for my wife. We both love the color, but we do have to swiff them every day. Especially with two cats and a little dog.
BTW, if you accidentally get glue on top of the floor, WD-40 works great at cleaning it up! Be careful though, the floor will get slippery, so you will have to use some soap to clean the WD40 afterwards.
Looks nice!
I found you through Bungalow23.com!