Cue the dramatic music! Turn off your ringers! Take your seats people! The grand reveal of my laundry room is happening! right! now! Put a few more exclamation marks in there for emphasis!!! (!!!!!!) This real-life docu-series spanned three years, two pregnancies and is finally ready for it’s red-carpet moment. I am so excited to share with you our new finished laundry room (I use the term ‘finished’ very loosely…it’s kinda like how I use the word ‘diet’ or ‘exercise’….interpret it as you will.)
This space is so nice to have….a dedicated laundry area on our first floor that is closely located to our garage door and was equipped with it’s own sink. The problem was….it was kinda ugly.
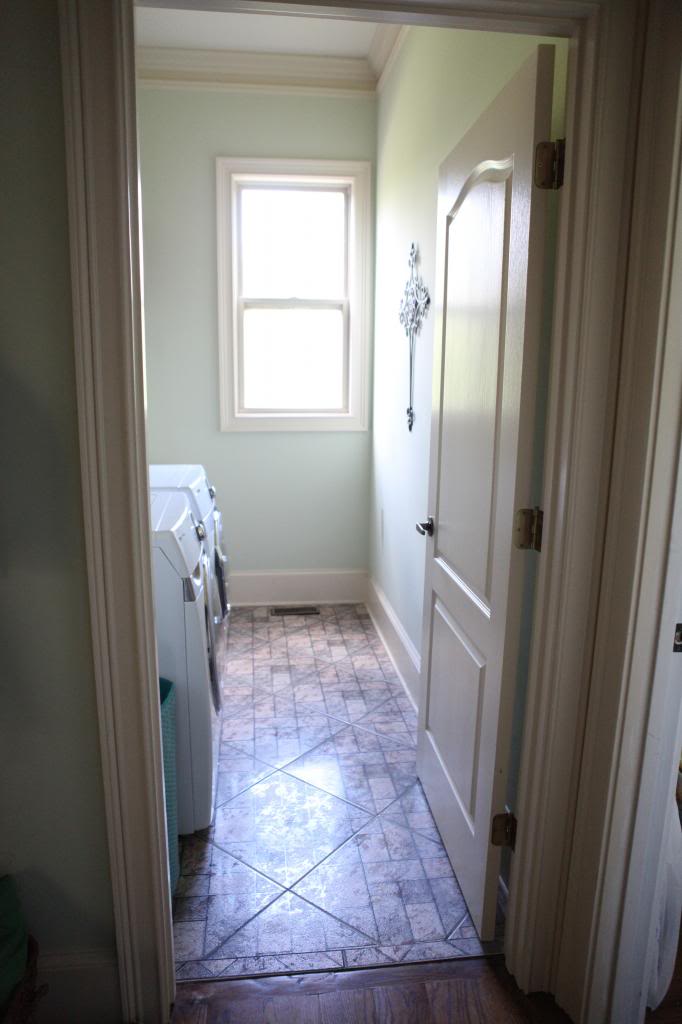
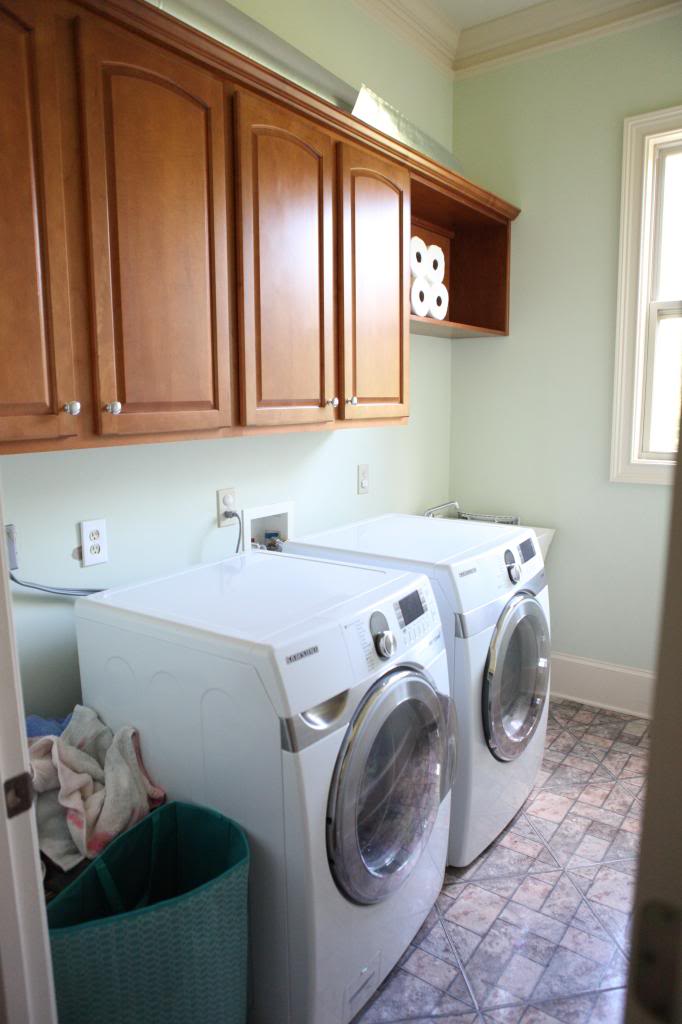
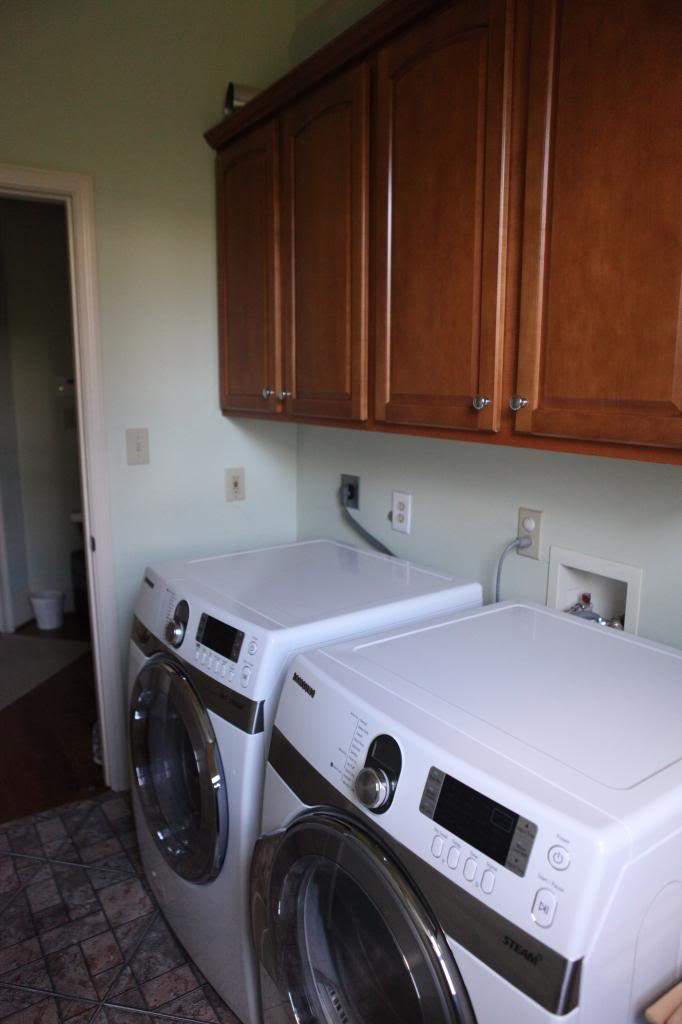
It had upper cabinets (great for storage!) and a utility sink (thank goodness the plumbing was already done!) and a spot for the washer and dryer. Other than that…it was more function over fancy.
A couple years ago we began the renovation and it has been PAINFULLY slow. We began with tearing out the floor and painting the walls and cabinets. Slowly but surely, we made small steps toward a finished space. This past December marked the ‘beginning of the end’ when we finished our countertops, installed tile and completed the space with additional storage and finishes.
I am so proud to share this with you! I hope you love it as much as I do….
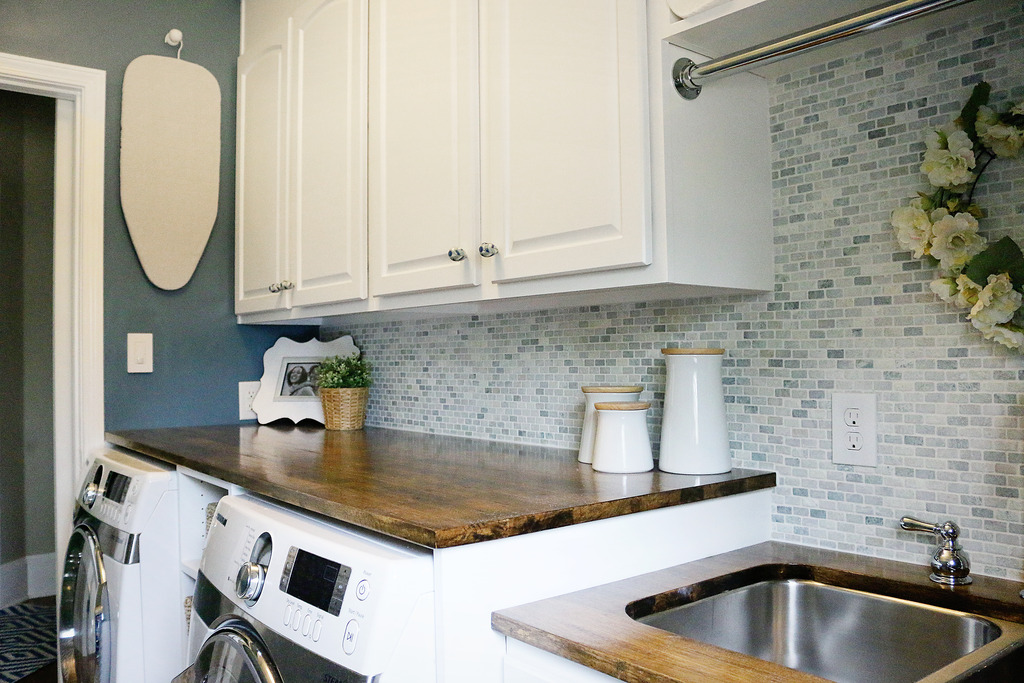
We kept the ombre wall and I still am a firm believer in the fact that it makes the room feel bigger. This space is only nine by five and half feet so it’s not the most spacious room in our house (why our foyer is huge and the laundry room is so small, I will never know), and the progressively lighter wall does keep it light and bright feeling.
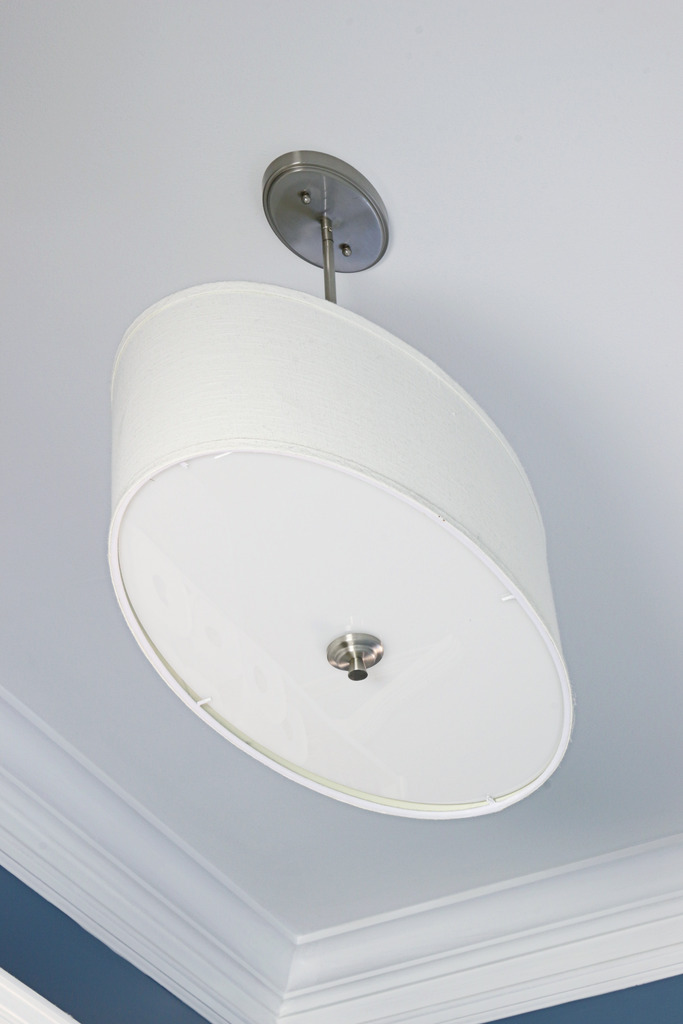
It also helps to have lighting. If you remember, we put the laundry room on a motion sensor switch and it just makes me so happy to know that when I leave the room, holding a baby in one hand and a basket in the other, that I don’t have to worry about switching off the light 🙂
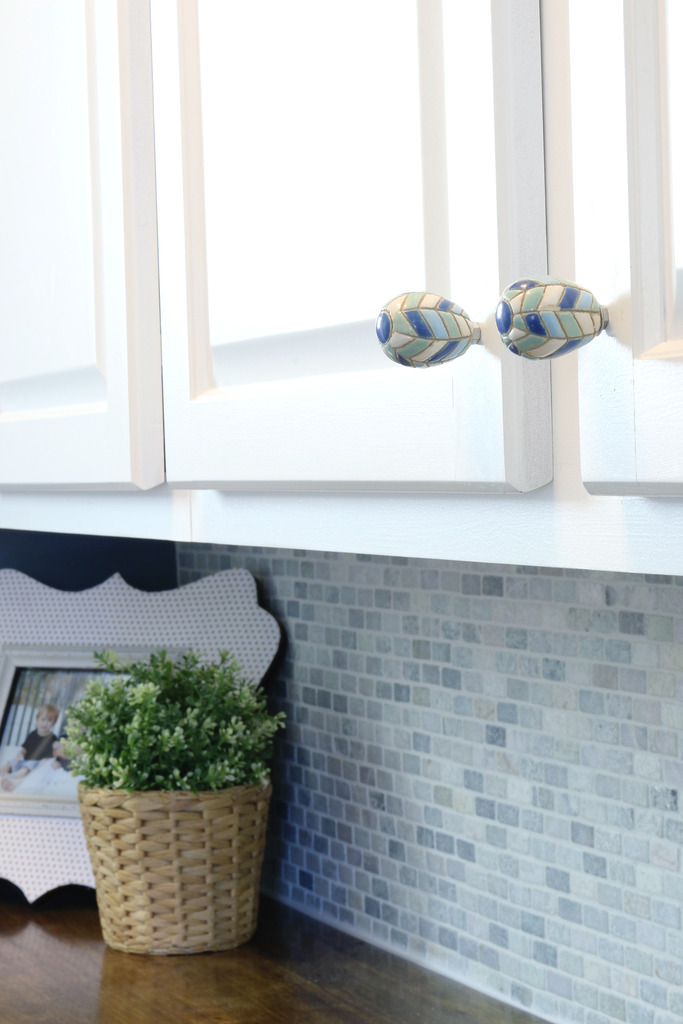
Also – these Anthropologie clearance knobs make me smile. I love the color and pattern and think they partner really well with the wall and tile.
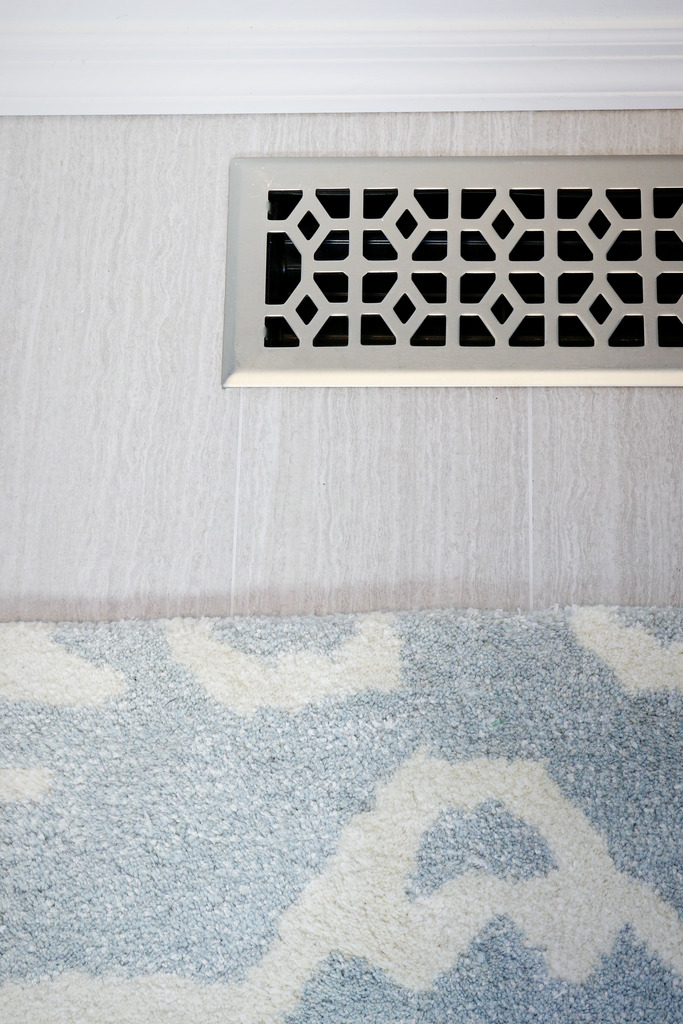
Another small detail that I love is this floor vent cover. It’s amazing how updating something so small can make the room feel fresh and new.
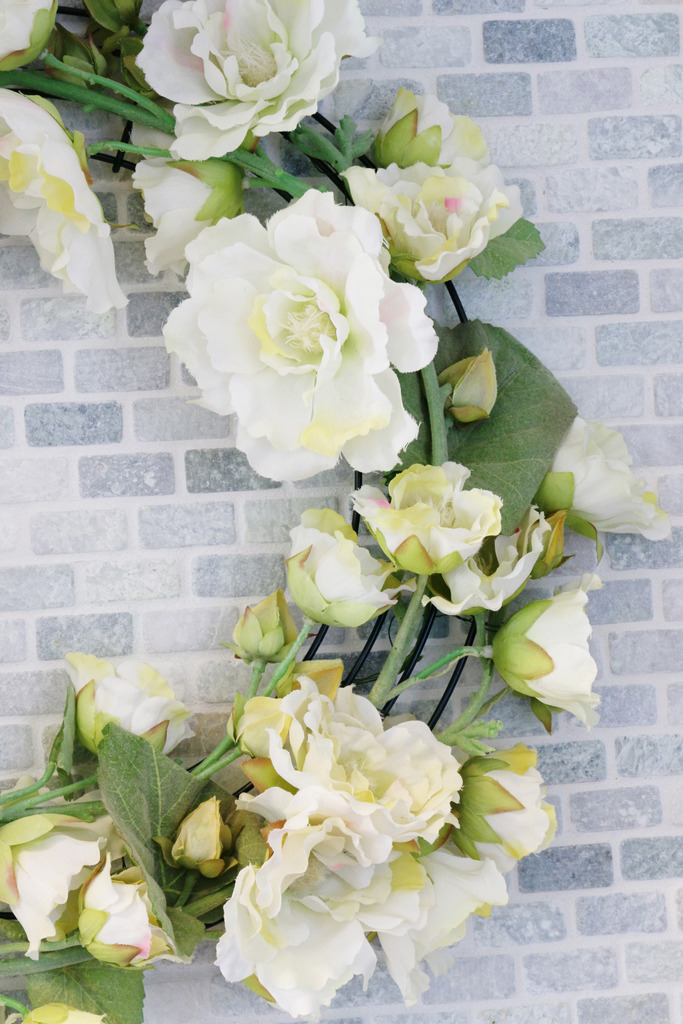
Before you see the big picture – just know that I am the crazy lady that put a faux flower wreath in here. I don’t care if it’s completely impractical…I am not put on this earth to be practical. I also get naked. every. day. (you are welcome for that logic.)
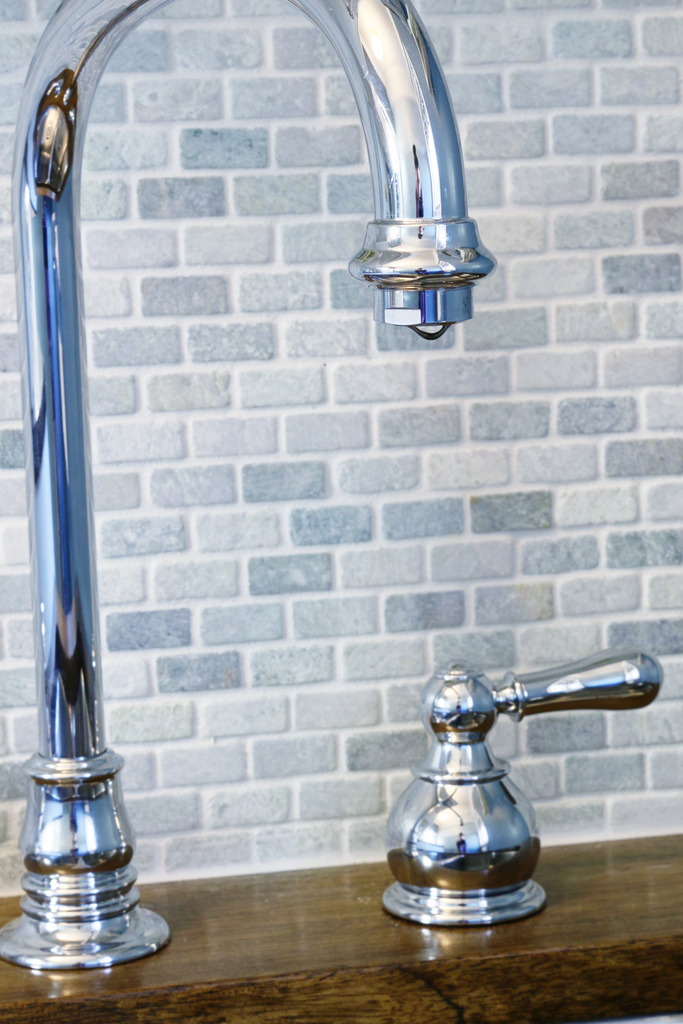
We went with a chrome faucet and I am so happy that this is DONE. It was a huge headache (more on that later) but thankfully this faucet came to the rescue and I love it.
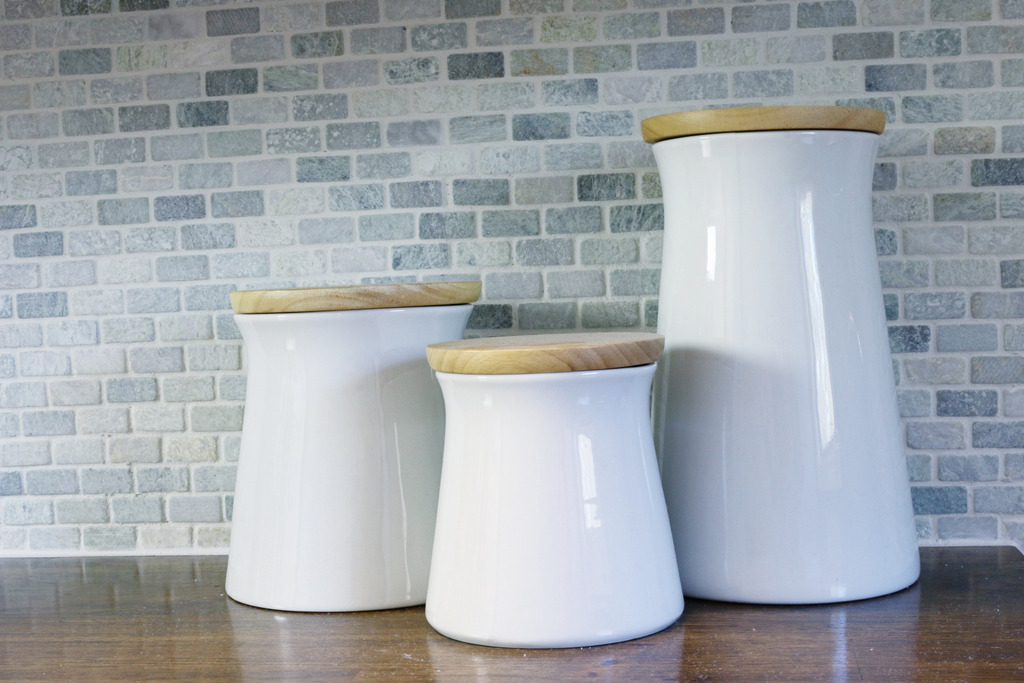
I got these little storage jar thingies (technical term) at the grocery store and they are great for clothes pins and things we don’t often use – like bleach pens.
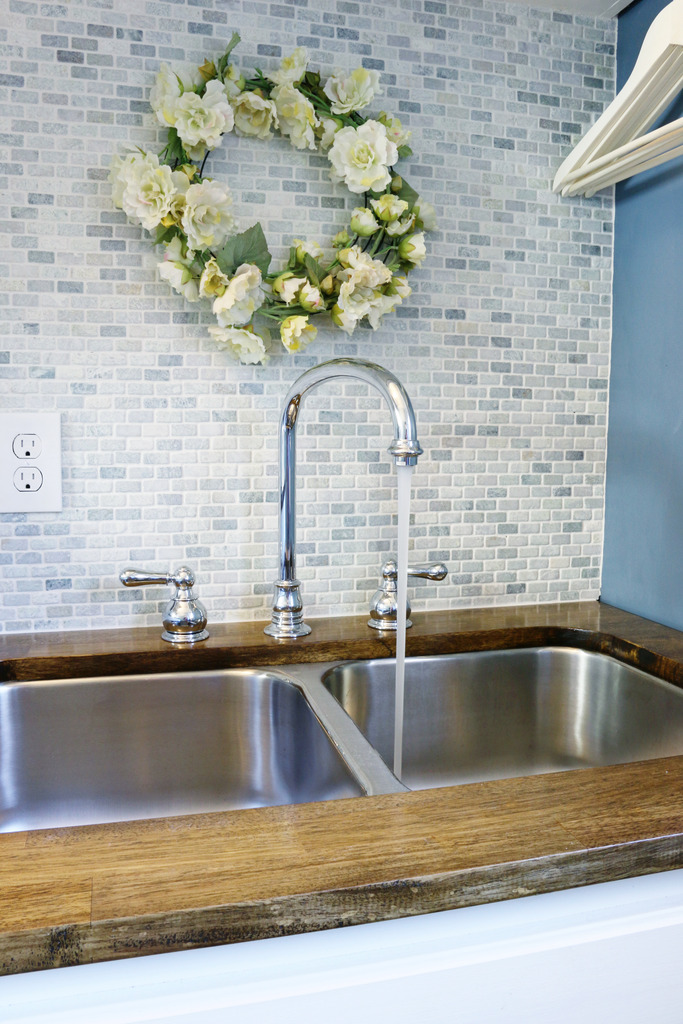
Running water…indoor plumbing…these things should never be underestimated.
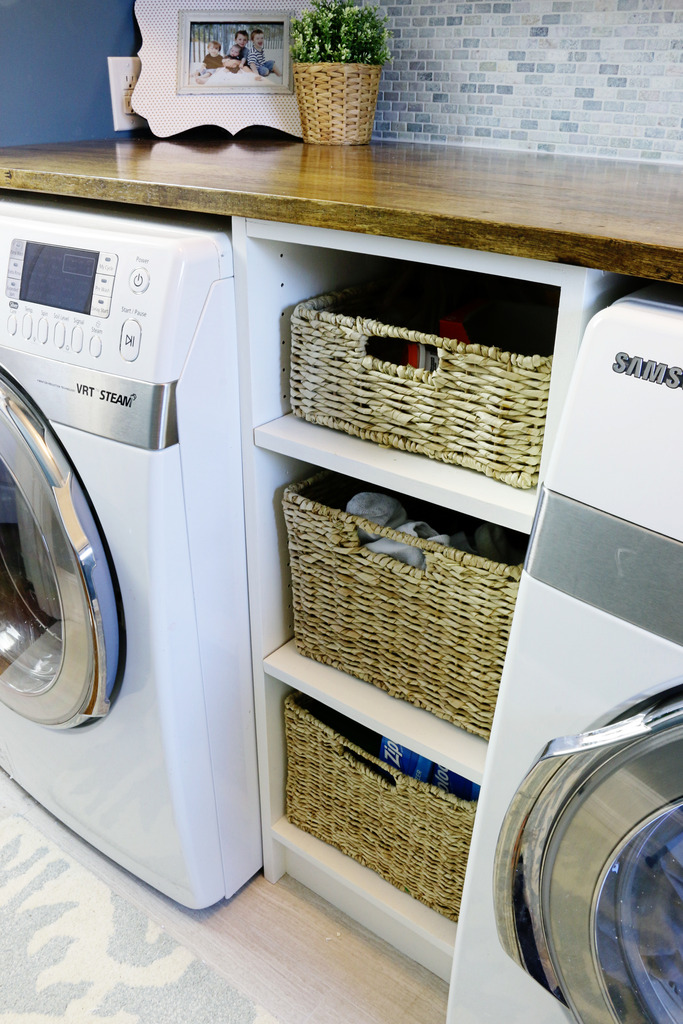
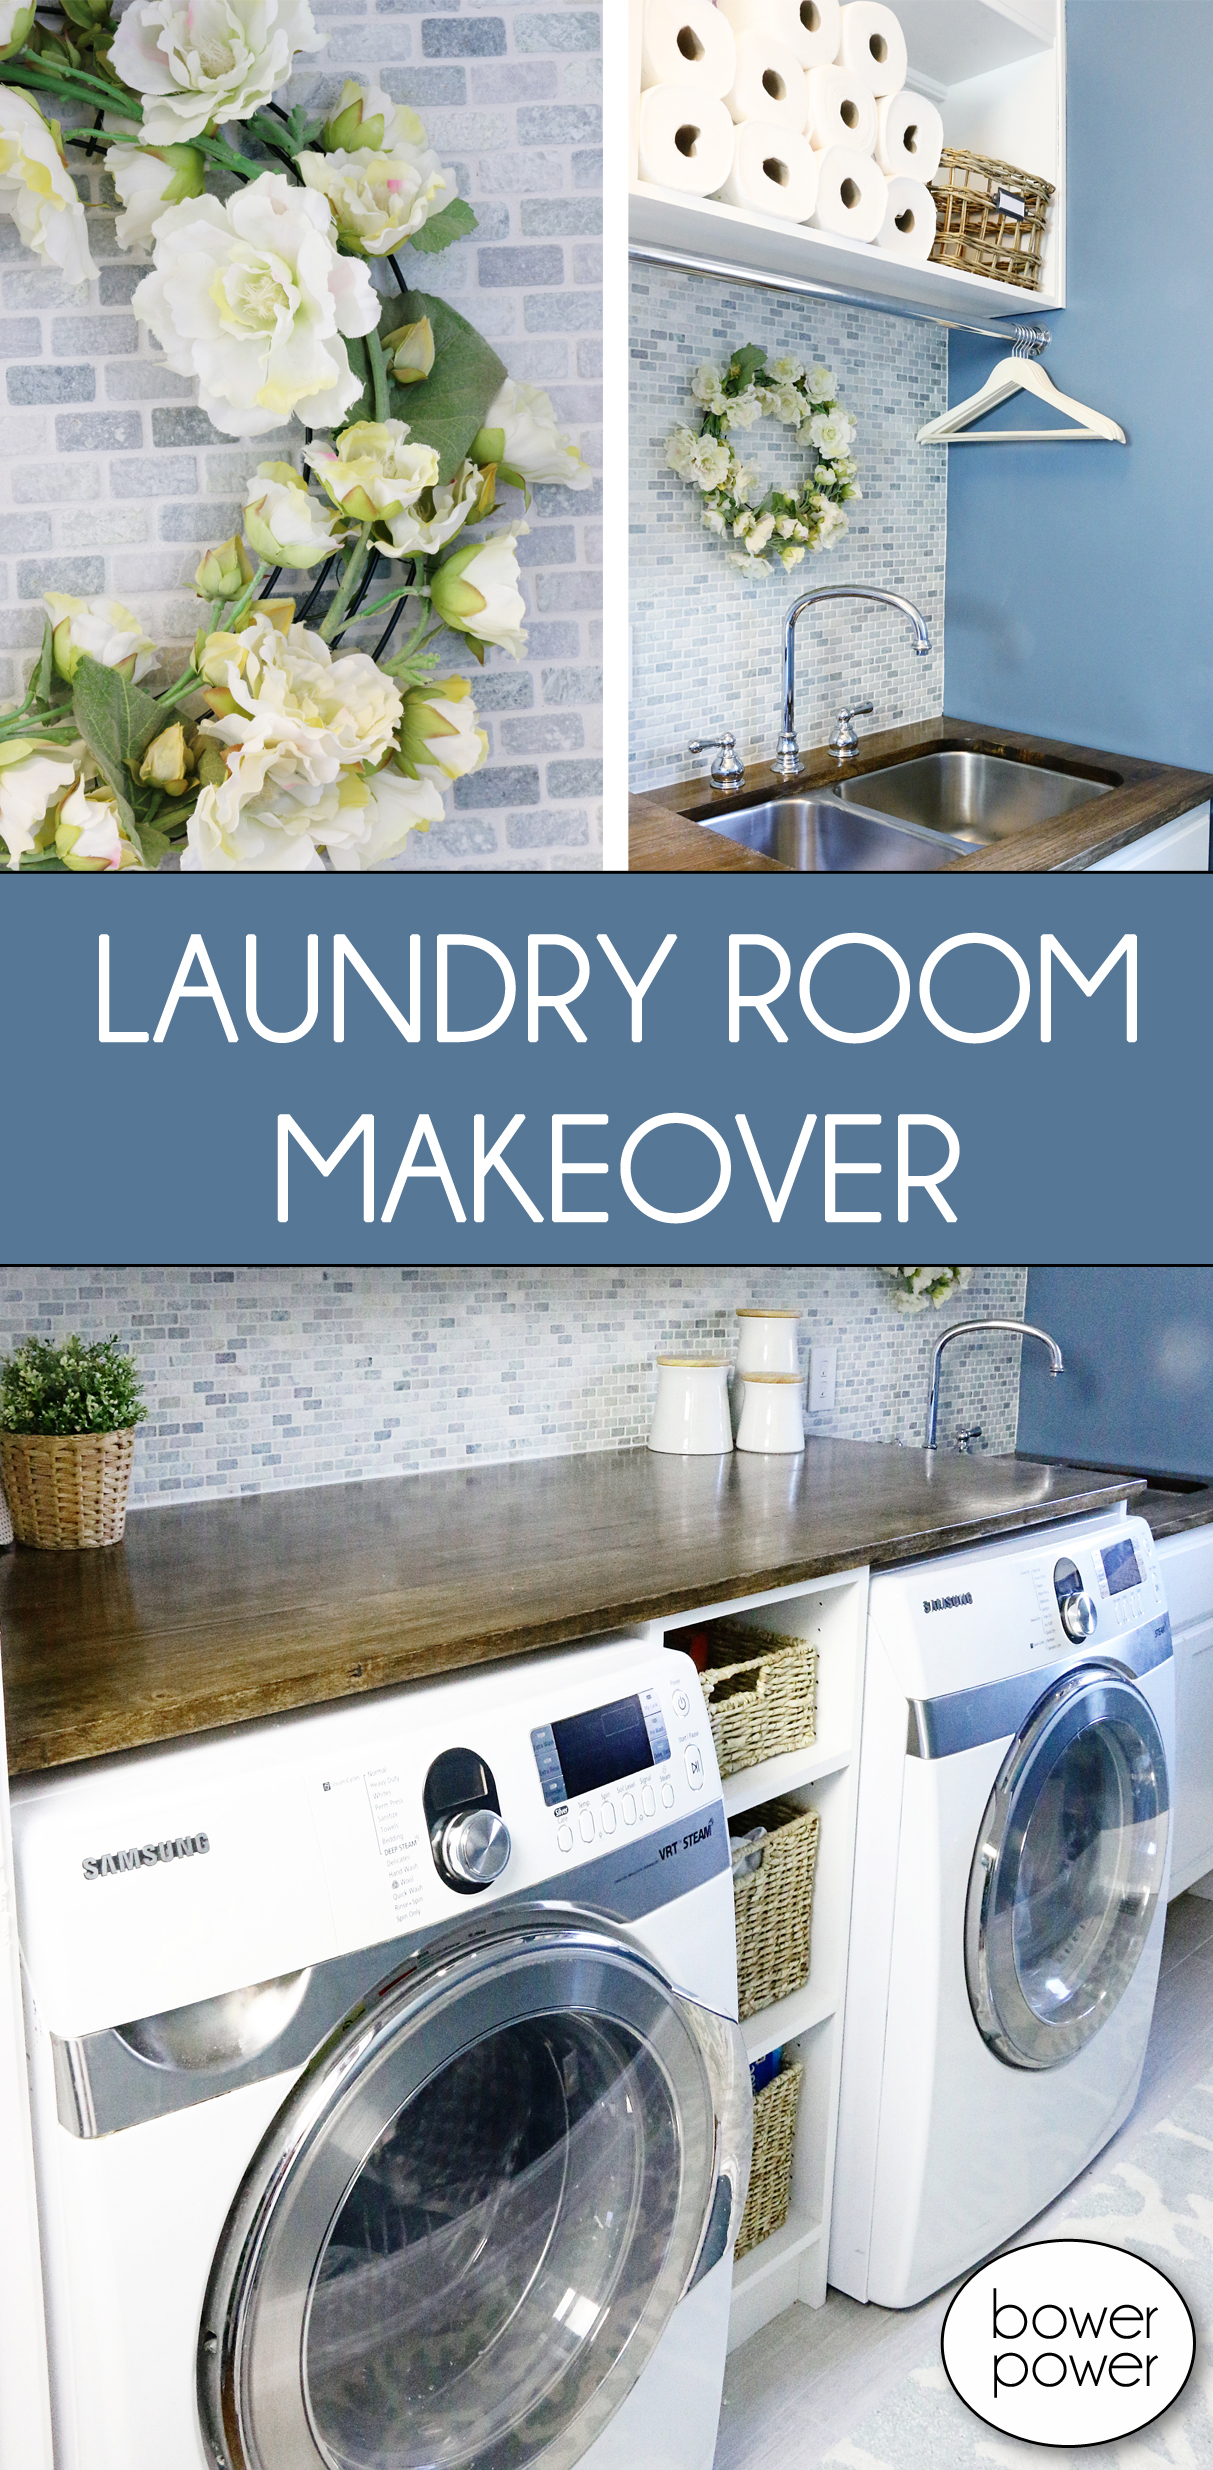
The DIY shelves are perfect for adding support to the countertop and for adding storage for lost socks and for extra pantry items like baggies and trash can liners.
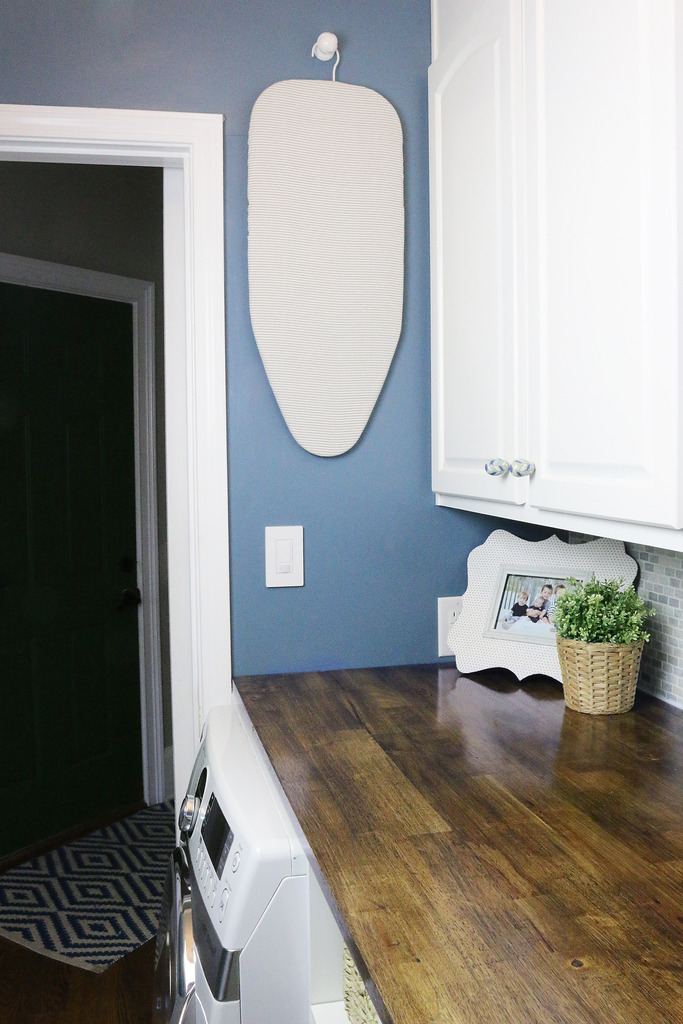
Another detail that I am obsessed with is the fact that I worked in a spot for my ironing board! I knew that I couldn’t fit a full sized board in here so I found this mini one at a Goodwill. I sewed an easy cover for it and found the perfect hanging spot. The door to the cabinet can still fully open without hitting the white woven picture-hanging knob (it’s one of my BFF Sherry’s designs!) and I love how the top of the board mimics the shape on the neighboring cabinet door.
And when I need to iron, I can put the board down, take out our iron and get to it! We also have a full sized ironing board upstairs but Jeremy tends to be an iron-hog 🙂
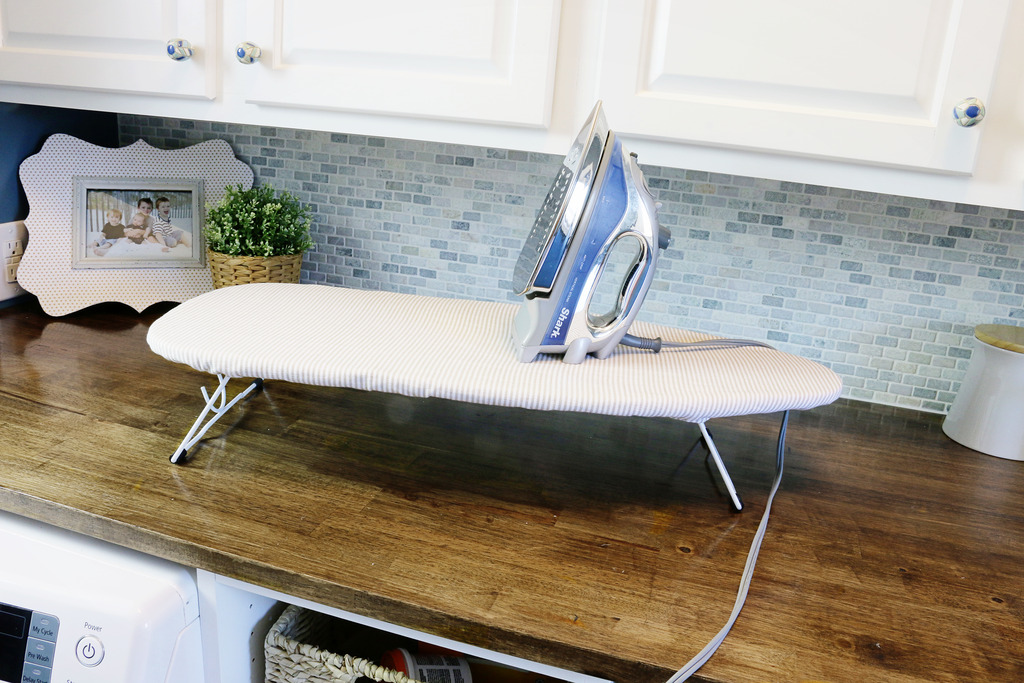
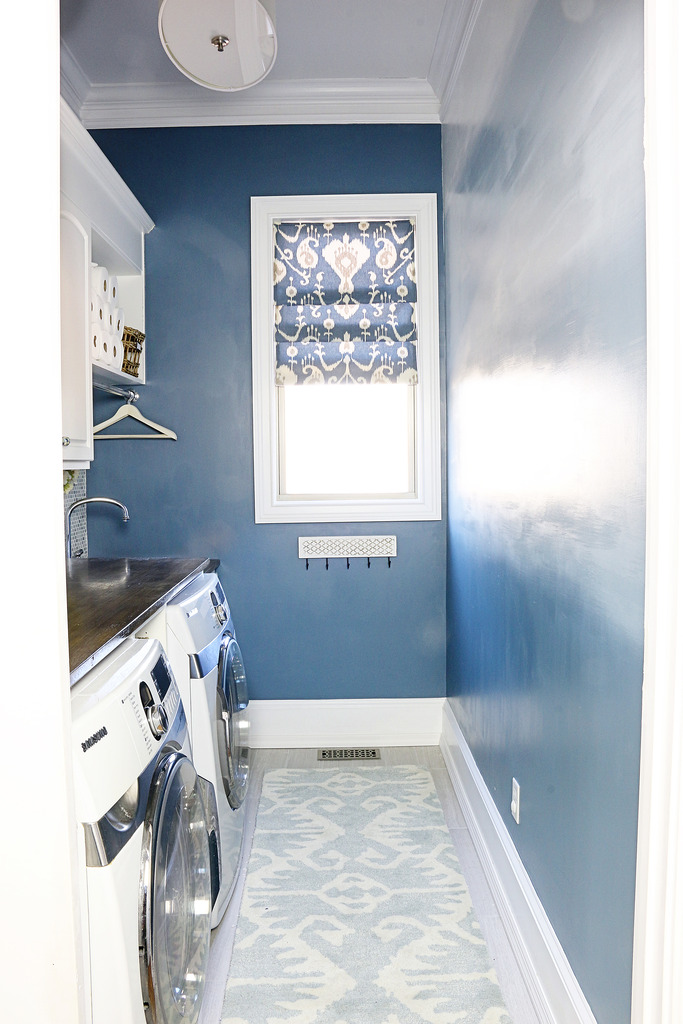
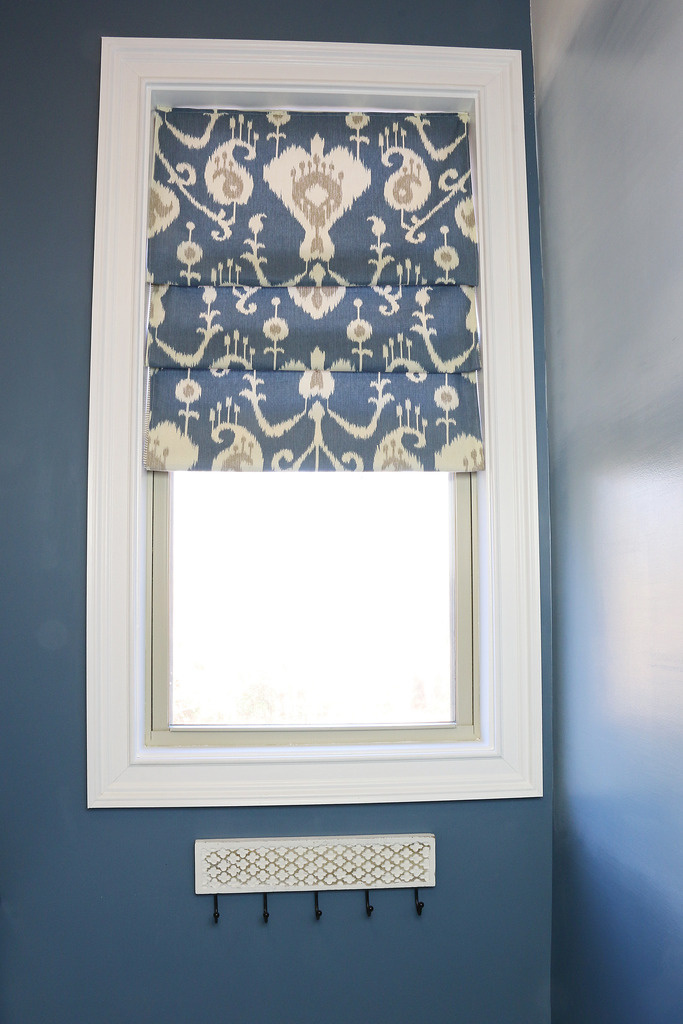
I can’t wait to share with you how I sewed that cover and also how to make this easy reversible window shade! It’s super simple and the dark shade is perfect for adding depth to this room.
Also – some people asked about that small hook rack below the window. That is from TJMaxx and I got it for the boys to hang their wet clothing on…we have so many times when a shirt gets soaked from apple juice or socks are worn outside in puddles or whatever so I decided that they could learn to hang them up until they are ready for the wash. Sometimes that rack is empty and sometimes full is an understatement.
Now are you ready to see the entire thing? Here is our grand reveal! Drum roll please…….Ta-Da!
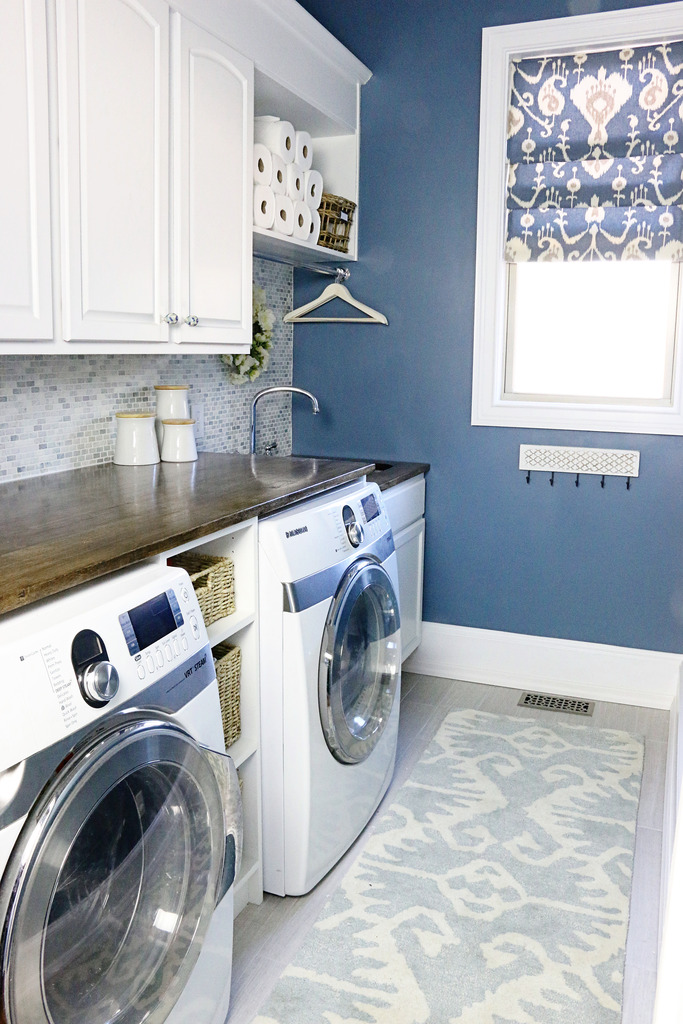
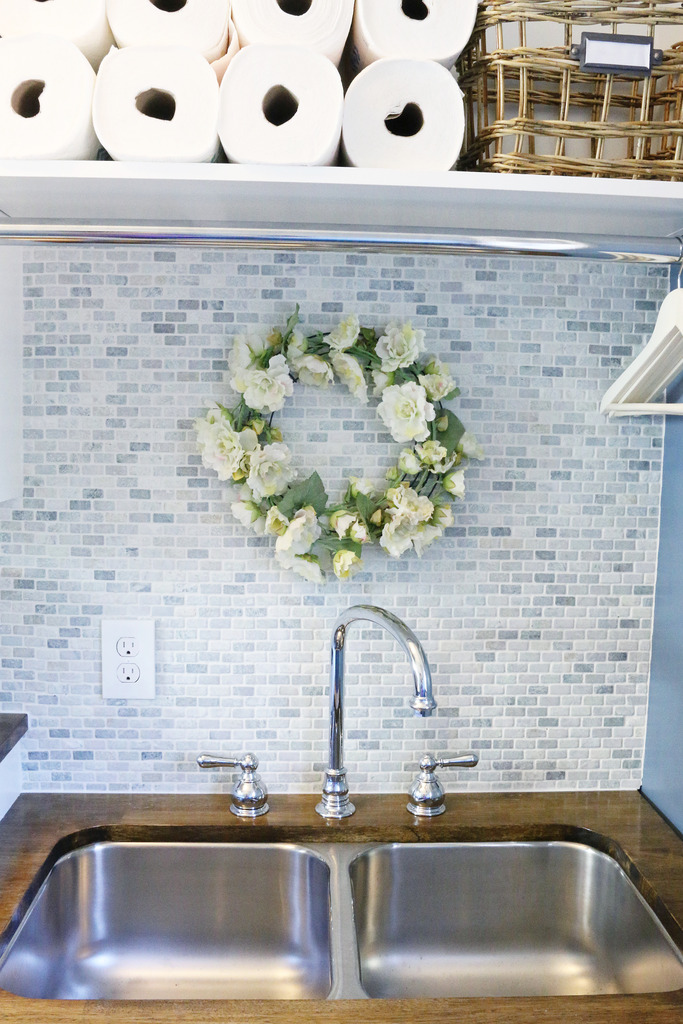
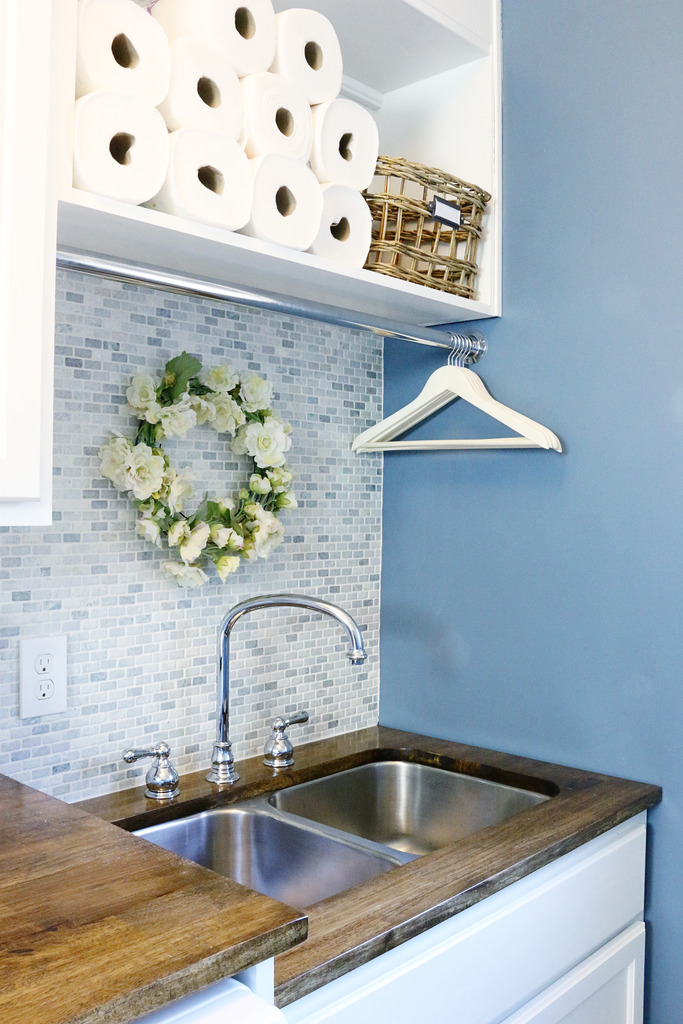
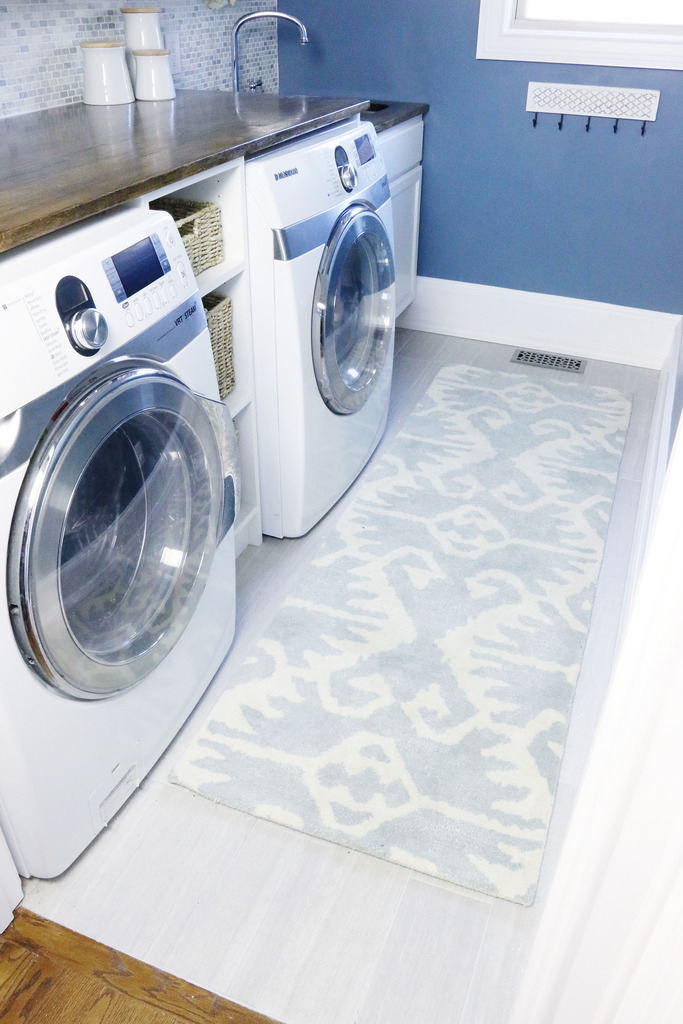
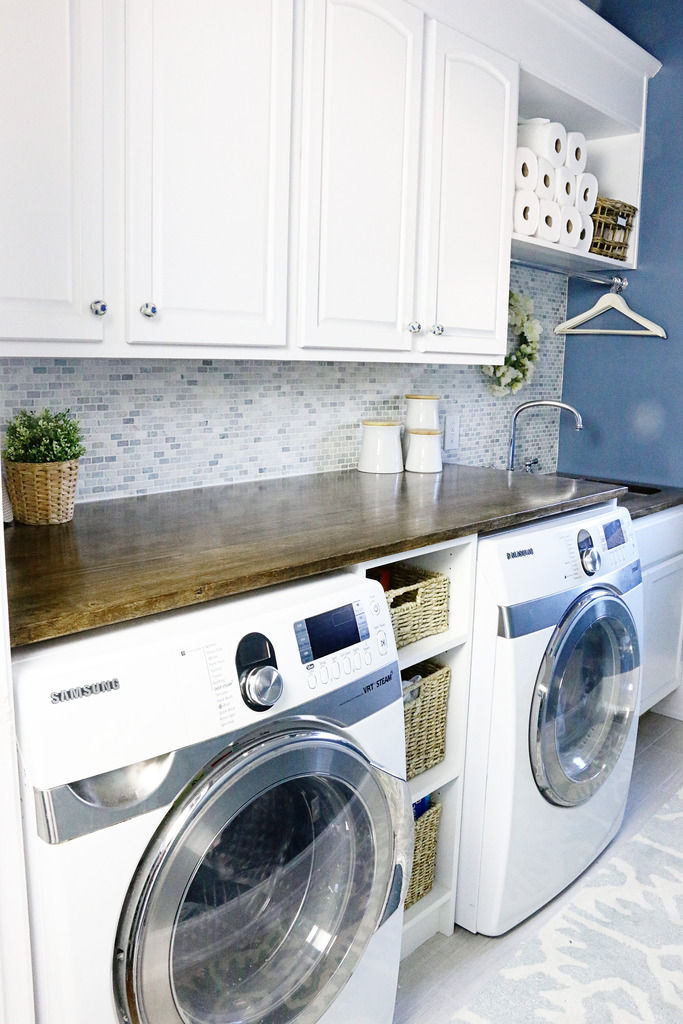
Here are the before and afters. These are my favorite to see because you can really tell it was a huge transformation!


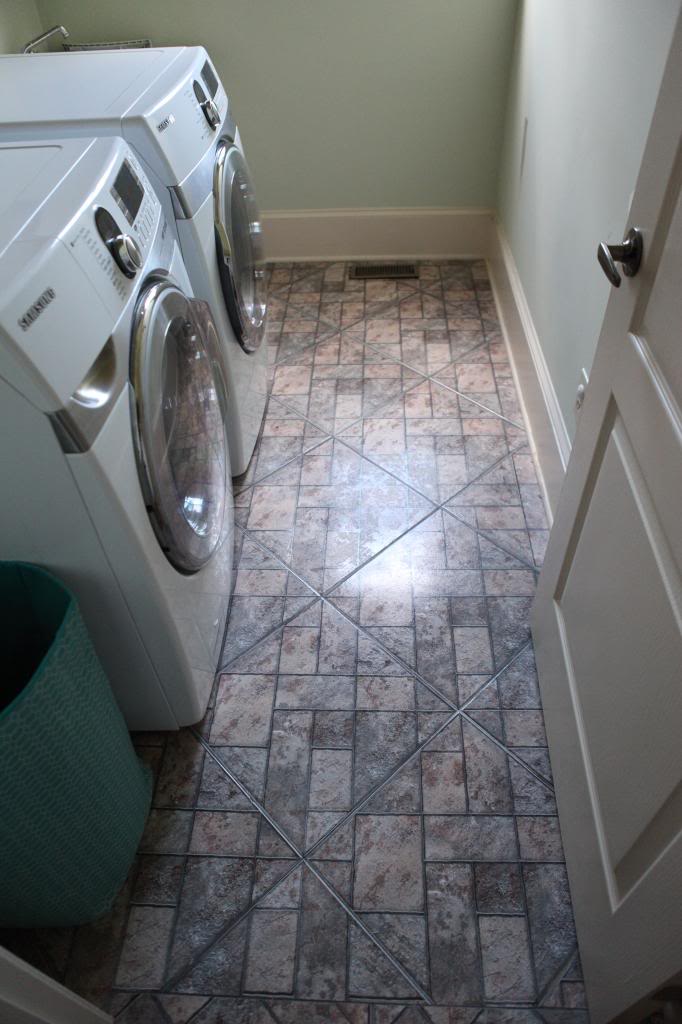

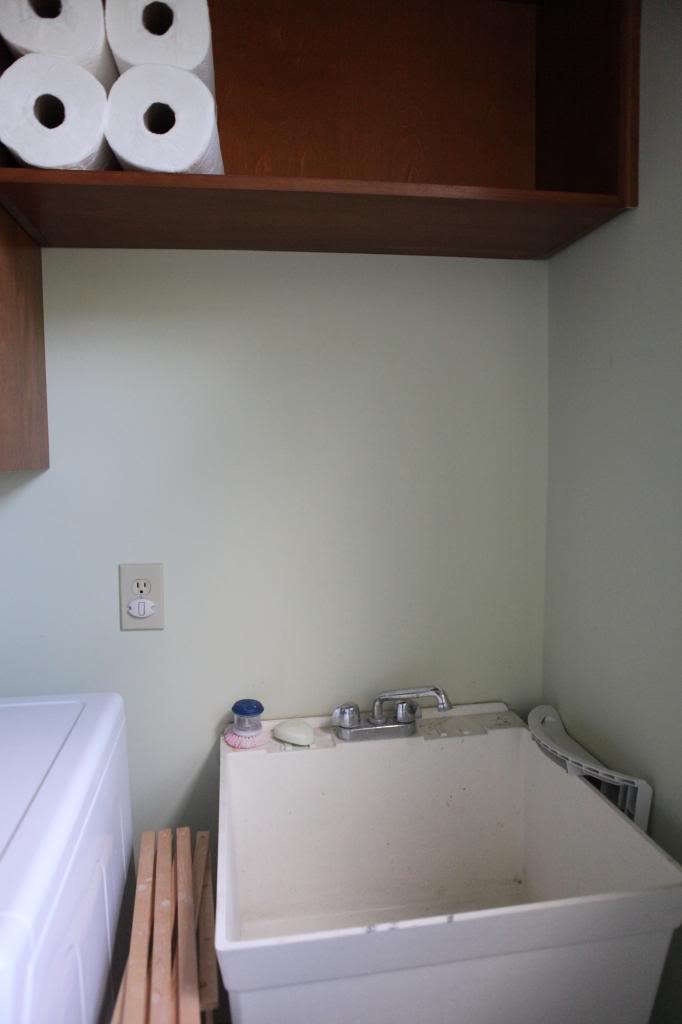


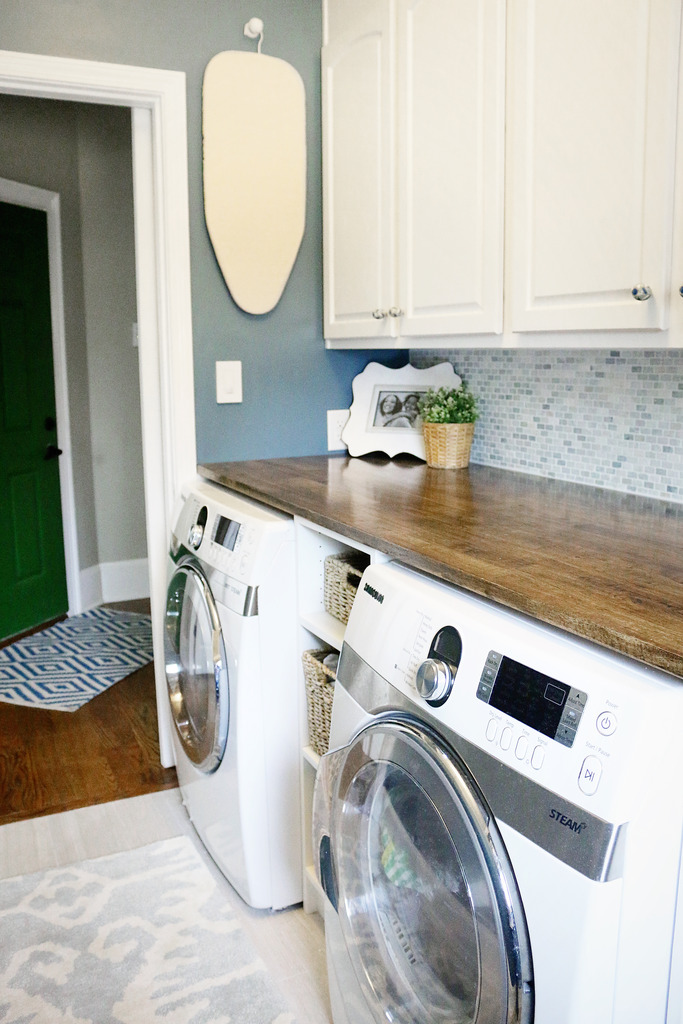
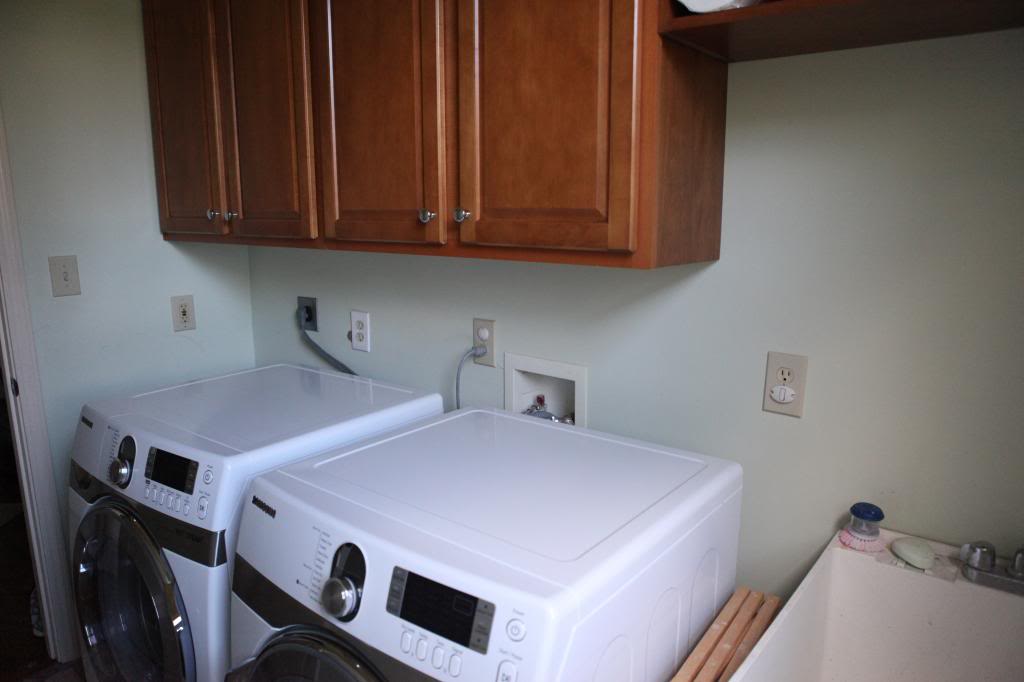
If you want to catch up on the past laundry room posts – here are the oldie posts….
Laundry Room Posts
- Laundry Room Befores
- Venting a hood
- Making Cabinetry Taller
- Demoing the Floor
- Painting the walls
- Painting an Ombre Wall
- Painting Cabinetry
- Installing Floor Tile – Part 1
- Installing Floor Tile – Part 2
- Building a Door
- Fixing the Dryer
- MDFing and A new Cabinet
- Countertop installation
- Tiling the backsplash
- Building a Storage Shelf
*******************************************************************************************************
Update : Looking for more info on something you see in our house? We have a Shop the Bower House page with paint colors and links to accessories, furniture and decor!

Wow! This looks great and is a huge improvement. I especially love how you maximized a small space. This is great inspiration for our laundry “room,” which is in our garage.
This is stunning! I love that you took a space you didn’t move and made it fully functional for your family and gorgeous at the same time. Go Bowers!
Oh my gosh!!! Love this!! Need to incorporate some of these laundry room design ideas into our laundry room (if we ever get to that point in our gut-job farmhouse project)
Oops…”didn’t love”
you totally needed that wreath in there, ever room needs a little faux floral! what a great transformation, that tile floor alone made such an impact. love it, now come do mine 🙂
What a lovely makeover! Love everything about it. We want to do something similar in ours – although ours is not a room, its a large closed that sits in the hall between the bedrooms. Anyway – my question is how you ‘hid’ or moved all of the stuff on the wall from the before pictures? There were like 5 plugs and the big opening where the washer hooks up. Can you discuss how you dealt with these? I want to put a counter top like yours but it would be in the middle of a bunch of plus and the washer hook up!!! Thanks!
Gorgeous!!! I love everything. 🙂
Just an aside, though – You may want to have that outlet at the laundry sink swapped for a GFI type to be code compliant. Safety first!
This Looks Incredible! It’s such an amazing transformation. And you have such a gift to pull so many different things together beautifully. I love the blues – it’s very peaceful. And those wood countertops are the bomb.
Beautiful!
Beautiful reveal!
(Also, I can’t tell what kind it is in the photo, but please make sure that the outlet next to the sink is a GFI one. )
Oh my goodness!! Talk about eye for design! Will’s taste in tile mixed with your ideas for the room turned out amazing! I am wondering, do you feel like you have enough hanging space? We are currently building a house and I’m not sure if I want our laundry upper cabinets set up like yours or if I want two cabinets on opposite sides with a hanging bar between them…any input would be greatly appreciated:) thanks for sharing Katie!
That is beautiful…classy and fun at the same time. The fabric you selected for the Roman shade is the deal selling point.
It looks really nice Katie. Great job. You must be so thrilled to have it done. Anything that makes doing laundry more efficient and enjoyable is a win-wine. Enjoy 🙂 And as always, thanks for sharing with us.
Ha ha. “Win-win…” not “win-wine”. whoops. Froidian slip.
This room turned out beautiful! Did you move the laundry hook ups yourself or did you have a professional do that? If it was a DIY, do you have a tutorial? Thanks!
Wooo! I love this!! Gives me major inspiration for my eventual laundry room makeover!
One question- where did you get the vent cover? It’s SO cute! I have one in my bathroom I need to purchase and it’s on the wall above the toilet so a good looking option would be SO MUCH better than a standard one.
Great work! Pinning this now… xx! Elsie
It looks fabulous! The whole room shots really show how well it all came together!
What an amazing job!!! It looks fantastic! And it is really encouraging to hear how long it took…our DIY projects are taking forever and I sometimes wonder if they will ever be done! But you give me hope : )
Oh how I wish I had a laundry room! It looks amazing! I guess I should be grateful to even do laundry at my house in the garage ((sigh))
Your laundry room has more style than our master bedroom, or any other room for that matter:)
That outlet is chained off the GFCI. I believe that multiple GFCI on the same circuit can cause each other to trip. Does that make sense? You cab connect the new outlet to the LOAD terminals on the GFCI outlet. That will put the new outlet on GFCI protection. I hope that I’m explaining this correctly 🙂
xo – kb
I think so. We generally don’t hang too much – things get taken upstairs frequently. I think if I did anything differently, I would have made the center shelving with a pull out drying rack for laying sweaters but that is the only thing different for wet clothes. Other than that – yes, the bar is plenty for our family.
xo – kb
Love it!
But wasn’t there a post about moving the outlets and hookups?
You connect the new outlet to the LOAD terminals on the GFCI outlet. That will put the new outlet on GFCI protection. Here is the link.
xo – kb
It’s complicated to explain – that outlet is chained off the GFCI. I believe that multiple GFCI on the same circuit can cause each other to trip. You can connect the new outlet to the LOAD terminals on the GFCI outlet. That will put the new outlet on GFCI protection. I hope that I’m explaining this correctly 🙂
xo – kb
NIIIIIIICE 🙂
xo – kb
Hi girl! That one is from Lowes but I saw some super cute ones at Floor & Decor and Home Depot recently – thank goodness these home improvement stores are coming out with better options! I can’t wait to see your bathroom 🙂
xo – kb
Here is the post about it 🙂
xo – kb
Here you go!
xo – kb
Beautiful! Makes me want to do laundry…kinda! The hook rack for wet clothes – genius! I need one of those, my boys always have wet shirts. Stealing that idea now, well as soon as I purchase a hook thingy.
i could stare at this room all day. you did such a wonderful job! i’ve always wondered how hard installed an undermount sink would be, you guys make it look so easy! that room would make me want to do laundry all. the. time.
Beautiful!! Where is the rug from? I love it!
Looks great! Would love to know how you made the roman shade!
This looks beautiful. Great work! And I love how everything goes together so well!
Wow, gorgeous. You could sublet that place. lol
I don’t generally hate the prior owners’ choices, but that original tile was cringeworthy. And the original trim color.
I have the same question, but the link you give isn’t active; says “webpage is not available”.
Awesome! Thanks for the reply:)
Love it all!! Can I ask where your rug is from?!
Oh my heart – that hanging rack for wet things that need to be washed, but need to dry first!! So much YES – I’m figuring out where to put one of these in my laundry TODAY!!
Gorgeous! Congrats and enjoy it!
Sure! Overstock! There is more in the previous post 🙂
xo – kb
Overstock! There is more info on the previous post 🙂
xo – kb
Looks super!
Um…AMAZING!!!! I love every little detail! The knobs on the cabinet doors are such a fun little pop of color. I would want to do laundry all the time in this room 🙂
Beautiful….I’d find myself sitting in there admiring it. ha!!! Great job Bowers!! 🙂
So jealous! My laundry room is basically a hallway but I also have an insanely large foyer (without any outlets! and switches that are placed in the center of the wall making it very difficult to hang anything…someday we will tackle those issues….someday…)
You did a beautiful job – throw a TV and a chair in there and you can hide out all day!!
Looks great, Katie! Way to go! Did you tile over the plugs/washer connections on the wall above the washer/dryer? I want to do a backsplash in my kitchen over top of some unnecessary outlets, but my tile guy said it’s a big no-no. What are your thoughts/tips?
We moved ours! It is fairly simple if you are brave!
xo kb
Looks ah-mazing!! Great job!! We’ve been secretly competing with you for the “longest time to complete a laundry room makeover” award, and with yours being complete I think that means we won! We removed our utility sink last August and have had pipes sticking out of the wall ever since!!
Another beautiful Bower renovation!
I love the light fixture – where did you get it?
Wait…you started last August? Because we started in May of 2013. Game on girl!
xo kb
It was clearanced out at Lowes!
xo kb
It looks awesome, good on you guys!! I love the ombre wall in particular 🙂
Love love love all your home posts! We don’t have a laundry room…more like large laundry closet, but I could definitely use this as inspiration!
Any hints on the brand of the canisters from the grocery store? So simple and classic and hard to find!!