One of my favorite things to pick up at Goodwill is frames. I have a tendency to stop in almost once a week. And everytime I stop in, they have such a variety of frames – some good. some not so good. some just like Michael Lohan….totally messed up. I look for ones that meet the following criteria:
- intact frame (I like em like I like my babies – the chunkier the better)
- noncracked glass (and if there is cracked glass…do not run your finger over it to check…even if your tendencies tell you to)
- a mat that is in the right proportion to the frame (not too skinny)
It’s a bonus if I can find multiples of the same frame. It’s also a tendency of mine to buy multiples. I could pass over something if it’s flying solo but as soon as someone says “THERE’S TWO”, I’m on it like a 13 year old on Justin Beiber. Also, I like em ONLY if they are cheap. If I even question whether or not they are overpriced, I walk away. That wasn’t the case for these two:
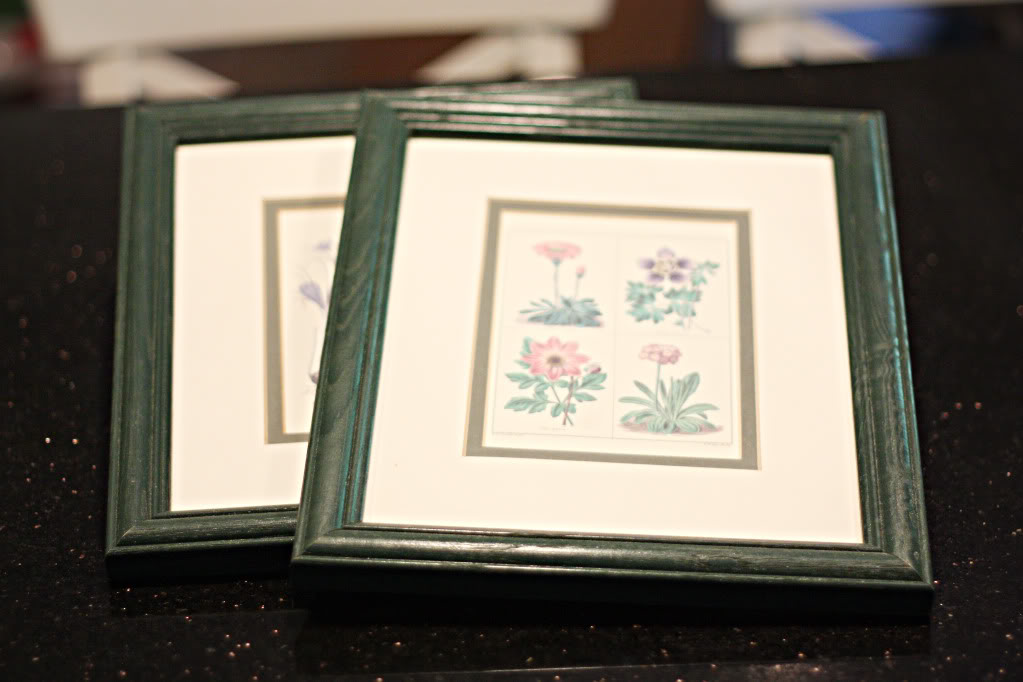
They met all my requirements so I picked up both for under $1.50. Once I got them home, I gutted the innerds (yes, I just made disassembling a picture frame sound redneck) and pulled off the white mat. The frames got a quick coat of white spraypaint and the mats were pulled apart so that I could give them the ‘switch’.
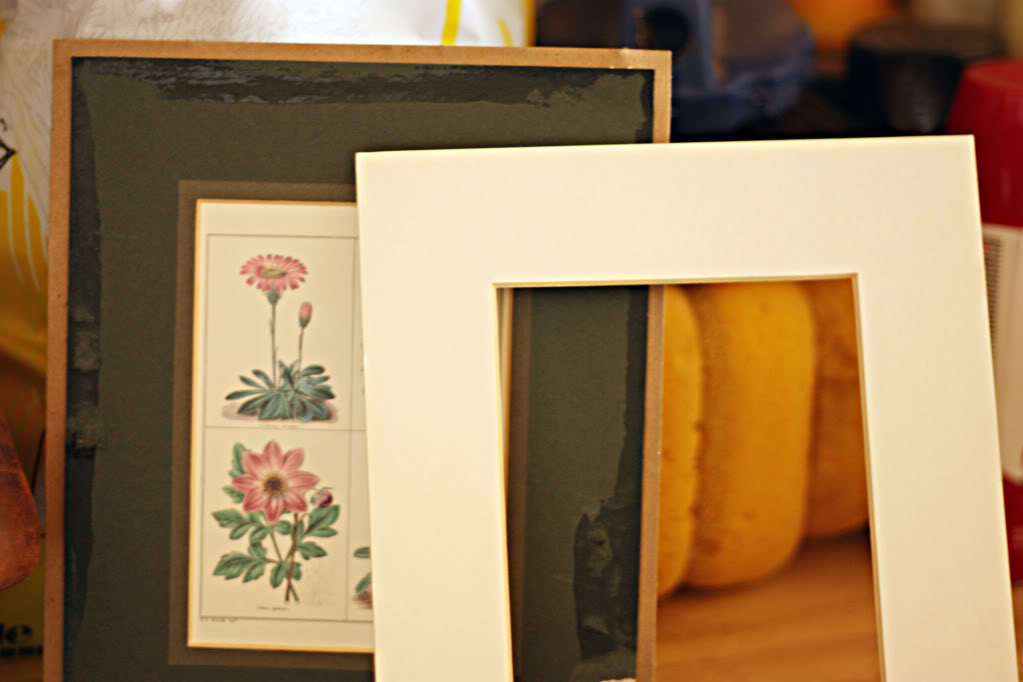
What is the ‘switch’ you ask? Well…as much as I love two toned mats and hunter green is going to make a comeback one of these days…coughcough…I really wanted these frames to look a little more neutral and updated. So the switch included changing the color of the frames AND covering the mats with fabric. More specifically, covering the mats with a neutral tan fabric.
First thing I did was grab my fabric and cut it leaving an allowance all the way around. Then I located the center of the mat and snipped a little nugget outta the middle. This nugget hole will help me later.
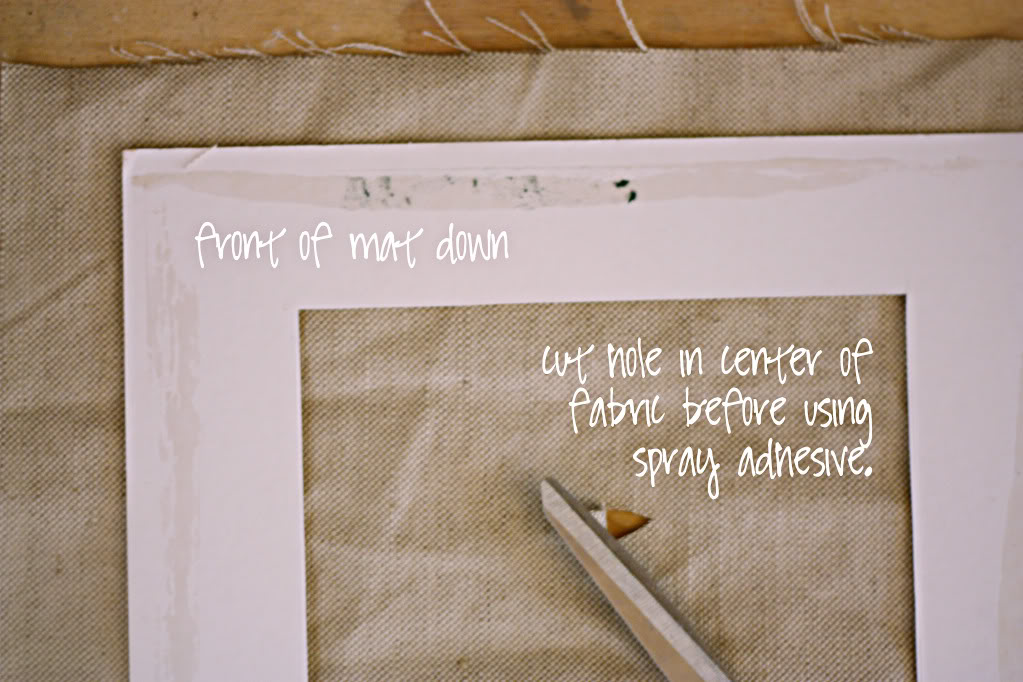
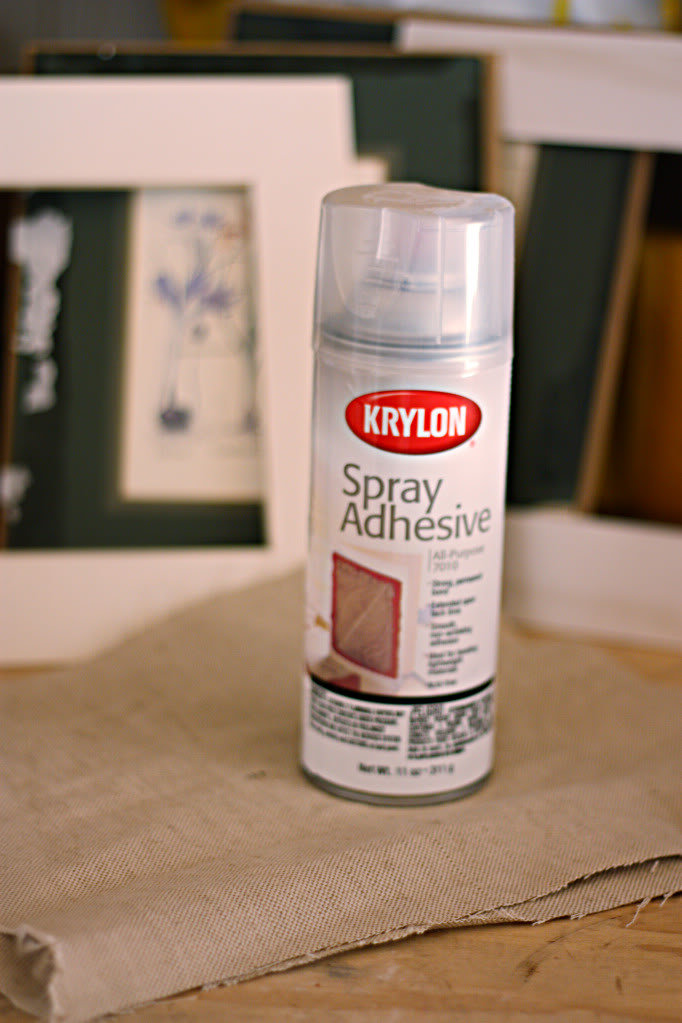
Then after ironing my squares of tan yumminess, I covered the front of the mat with spray adhesive. Don’t spray too much….and let it dry for about 30 seconds before laying it face down (adhesive side down) on the wrong side of your fabric. Press firmly.
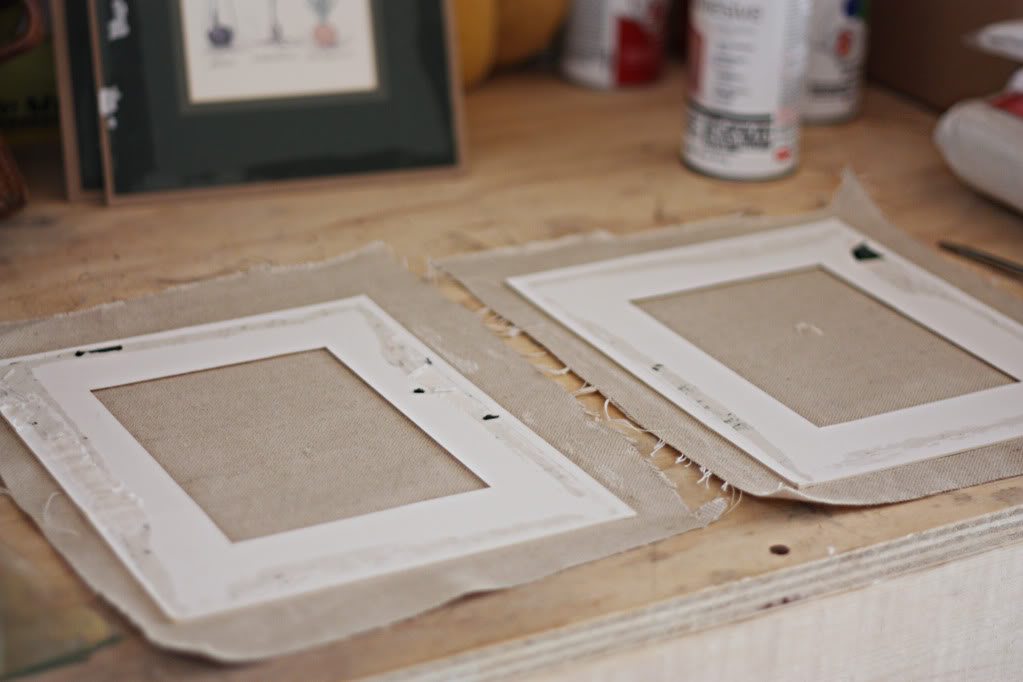
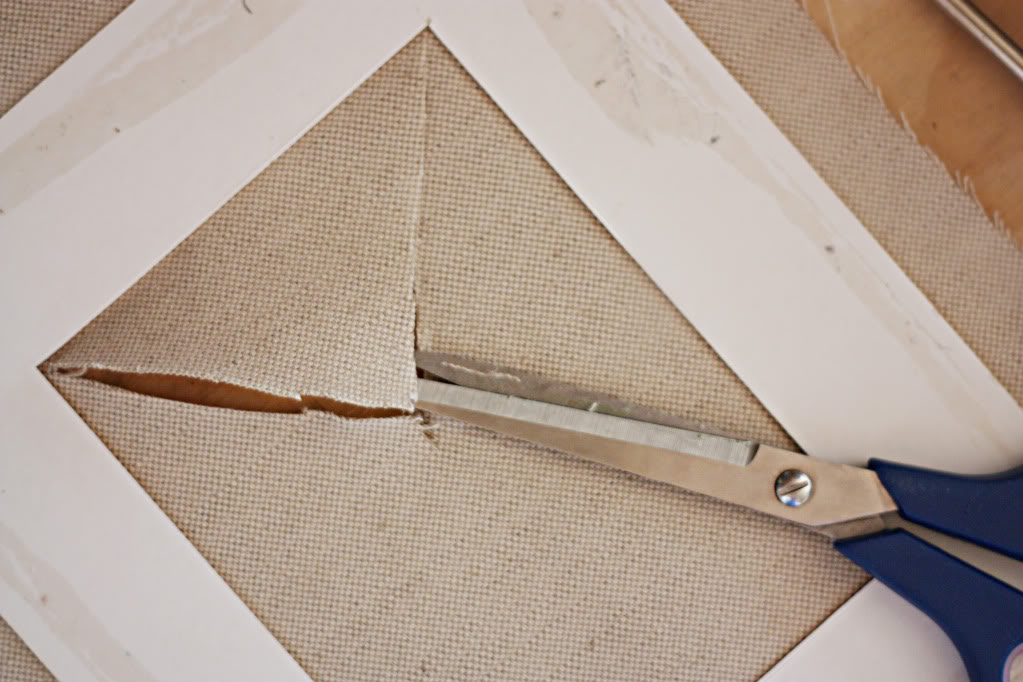
Now you wanna start cutting. Using a sharp pair of scissors, cut your fabric starting at your nugget hole (told ya it would come in handy) all the way to the inside corners of the mat.
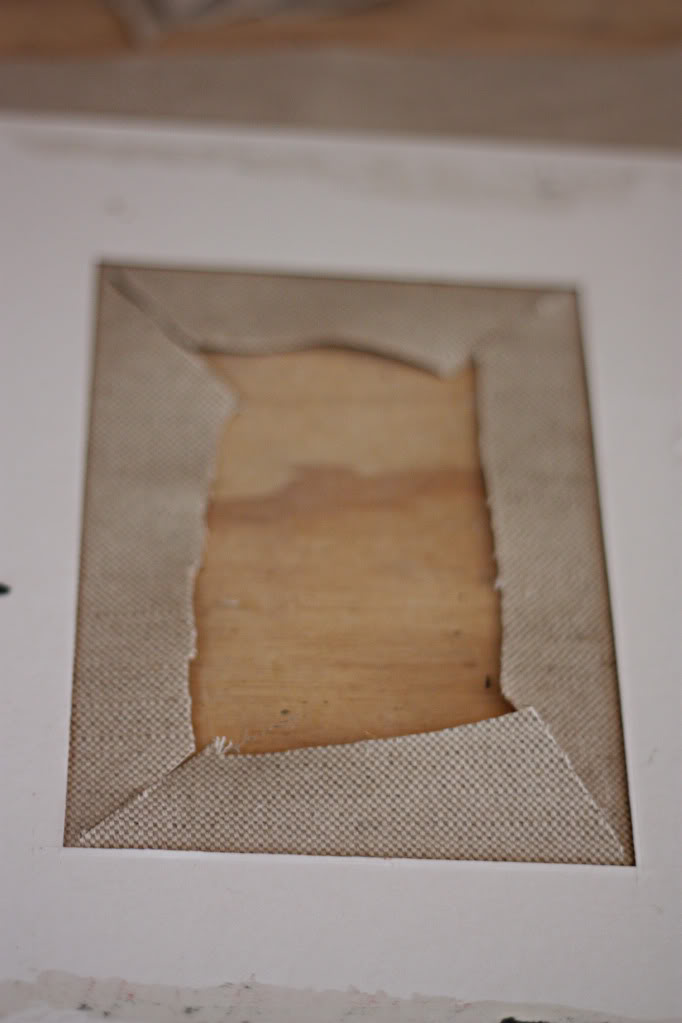
I like to clean things up so I usually cut a square out of the middle too. Make sure to leave about an inch of allowance.
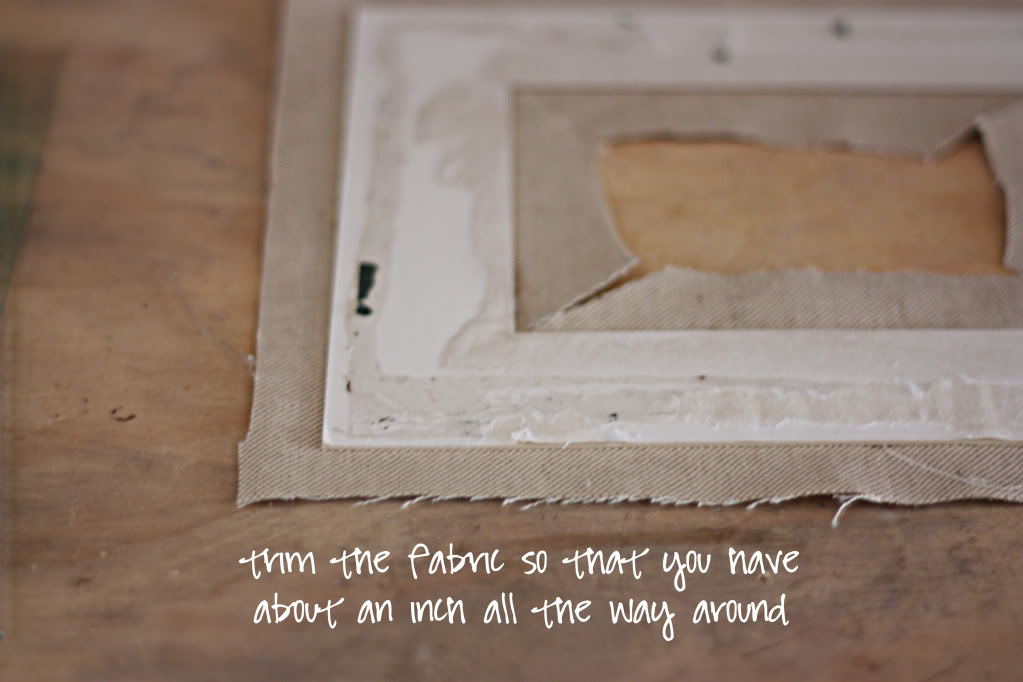
Now you are gonna trim all the way around your mat. Again leave an allowance. Then using your spray adhesive – coat the wrong side of the mat. I like to do the middle part first and I spray a thick layer on the part that my fabric is gonna lay. Wait for the spray adhesive to get a little tacky before folding the fabric over. Don’t worry about too much adhesive…even if it drips a little on the mat, the fabric will sop it up. Then you want to fold over the outside edges. Remember to smooth out wrinkles by pulling the fabric tightly against the edges, press firmly and wait for it to stick.
When it comes to the corners, I like to miter them. Here’s a quick way to do it and makes them oh-so-clean looking. Pinch the two sides together to make a little ‘ear’.
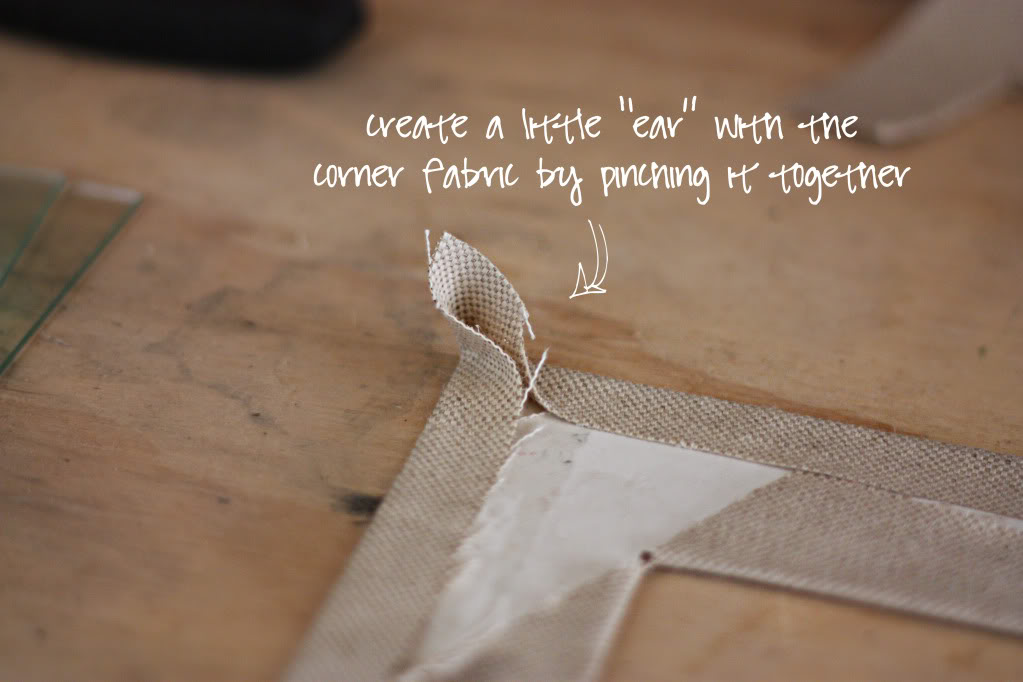
Then using your scissors, get the blades really close to the mat and snip off that ear. If you snip it close enough, you will end up with a perfect little corner to press down and stick to your mat.
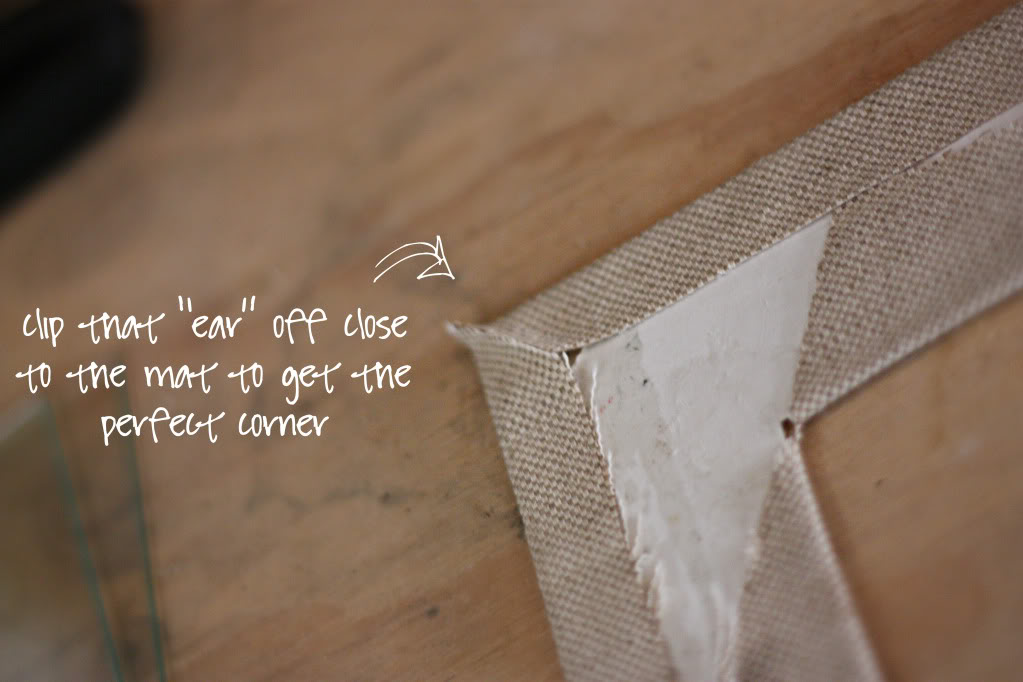
Then just reassemble everything, pop a photo in and….
….(wait for it)….
BAM! One very like new photo frame. Two actually. All for the cost of a buck and a half.
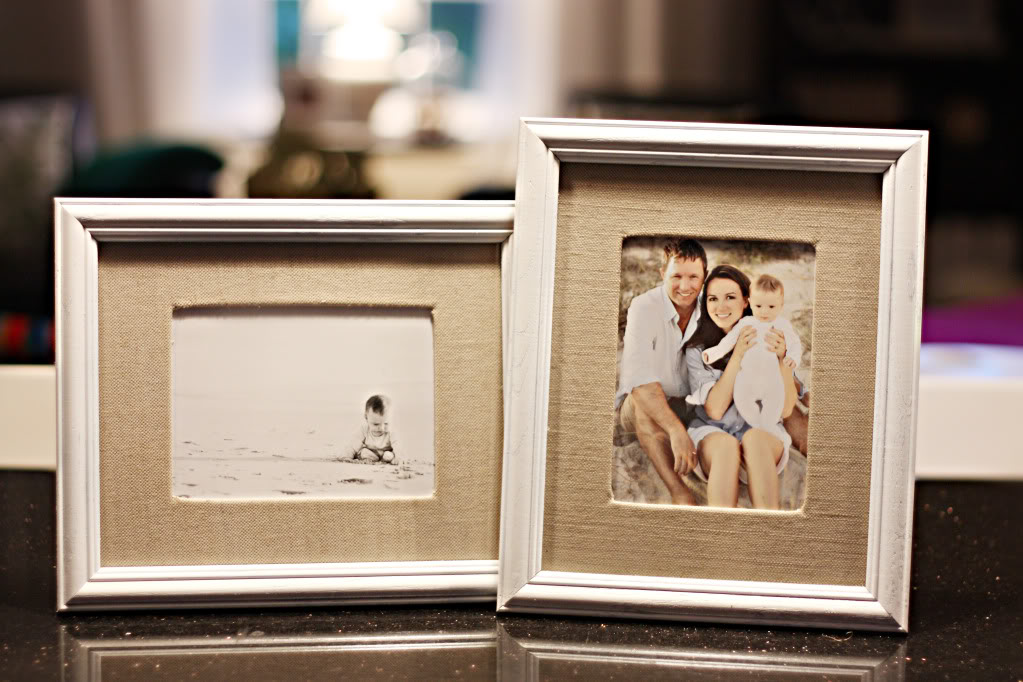
Dontcha just love that texture? And it is sooo easy. And it can be personalized for any space…you could use any fabric you like or any color spray paint or stain. I want to do an entire gallery of these things. Just gotta find the frames.
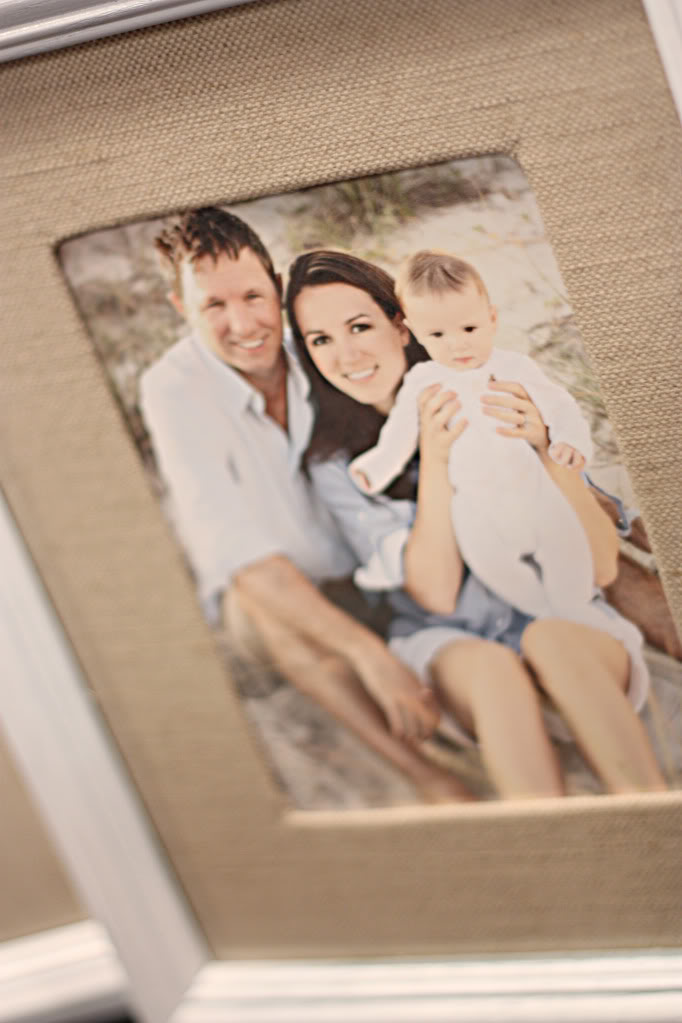
And this is easy enough that a kid could do it. A kid that you trust with sharp scissors. And an iron. Actually maybe only adults should do this craft…in fact…I am kinda surprised that Jeremy let me do this. I have tendencies you know.
I LOVE this idea and am so going to use it! Thank you for the great tutorial!
And, um, I actually do hope hunter green comes back. I know I know…..I’m probably the only one, huh?
The texture is perfect for your beach pics! I need to head over to a few thrift stores and load up on frames!
Thanks for the idea!
Ahh, I LOVE this! I revamped from Goodwill frames at the beginning of the year to give me some jewelry storage – http://www.thestrengthoffaith.com/2010/01/rainy-day-project.html
I hate paying full price for frames now. 🙂
Wow I love those! What a great idea and thank you for the tutorial!
Love the idea of the frames! But just a preservation tip from an archivist: if you have any heirloom photos or artwork make sure you use acid free mats! If you don’t, your photos or artwork will have “mat burn” in about 10-20 years. Sorry to be the Debbie downer 🙁
You had me at Spray Adhesive. I just discovered pray painting so now I need to find out what other spray-things I’ve been missing out on.
Love these! I totally need to check out my local Good Will way more often! Thanks for the inspiration!
Wow! From fugly to fabulous! I frequent Goodwill for home decor too but I never find frames to my liking. I guess I’m not thinking far enough outside the box! 🙂
These turned out great Katie! Thanks for the inspiring idea!
Love this idea, Katie! Thanks for the tutorial!
Wow, those do not look like you only spent $1.50 on them. Amazing! This post totally made me rethink my current frame situation. I forsee a trip to Goodwill in my future!
Hiya! I am a former lurker and now first time commenter. This whole frame project is AWESOME. I like it a lot- a LOT. Thanks Katie!
Wow I love those, it perfect for the pictures you had! What a great idea and thank you for sharing! I found your blog on YHL, that I love, and fell in love with your blog as well!!!
I love this idea. I have already made one of your craft ideas and now I cant wait to try this one. I love the look on people faces when you pick up the ugliest picture/frame, and proceed to the checkout with a big smile on your face because you know you are going to work some magic on that baby.
You are so funny! I love your last paragraph. Great idea and tutorial.
So cute!
I adore this post! I have bought frames specifically because they came with fabric mats even though I didn’t LOVE the frame. Now … thanks to you, I can make my own mats. Thank you, I love it!
I did this with burlap and a frame from IKEA earlier this year. Oddly enough, mine was for a beach picture too, but doesn’t have a cute baby in it.
http://lessonsofanewlywed.blogspot.com/2010/07/lesson-63-why-i-may-be-burlap-crazed.html
Be careful that you don’t use this technique on any irreplaceable photos – cause I doubt that spray adhesive is acid-free, and it probably contains some harsh chemicals that could damage old fragile photos or artwork. Just a heads up!
Thanks Sweet T for the heads up…that reminds me, it’s also a good idea to scan and save any irreplaceable photos into a hard drive you store in a safe location…must put that on my to-do list 🙂
xo – kb
Love this look! You’re my inspiration to get over to my local thrift store, but I just haven’t gotten to one yet. I want to get rid of some stuff around here before I start adding more. Thanks for the helpful tips!
Love this! What a great idea to use fabric, I would never have thought of this.
Oh I love this idea! Great job Katie!
I’ve done that too! Got a white frame for 25 cents, then for the backing I used some really pretty textured paper… that I tore off an old wedding invitation. Hehe. Repurposing. Anyways it turned out fab.
I LOVE the look of the frames. They look beachy and modern at the same time!
Thanks for good stuff
Hi! Love this! I went right out today and picked up some frames based off your 3 tips. I can’t wait to get started! What spray paint do you use and is it a matte finish? And what do you do of the glass won’t come out? The metal holder tabs in the back are just big enough to keep the glass from coming out. What can I do so I don’t break it? Thanks!
You always find such great things at goodwill! Maybe that’s the secret… stalking it every week 😉 Those frames are lovely!!
OMG! I’m TOTALLY doing this project. 🙂
I recently found your blog and it is fantastic. I found out about your site on my favorite blog, YHL.
Keep up the great work!
Oh, I love this idea! I am so going to do this!
Do you prime the frames before you spray them? Or is that depend on the material that the frame is made from? I got a couple of frames from Goodwill about a month ago (one wood, and one metal) and I wonder if I would only need to prime the metal frame. What are your thoughts?
Hi Abby,
I would say that it depends on the material and the previous finish. The purpose of primer is to ensure better adhesion of the paint to the item being painted. So…if the wood has got some major layers of poly, then I would prime it. If the frame is metal and has got a rough finish – like textured – a primer won’t do much but it couldn’t hurt. If the frame is metal and the finish is super slick and shiny – yes….prime away 🙂
xo – kb