My boys…well, I didn’t teach them to love cars….they just do. They have loads of different toys at their disposal…(I mentioned I’m kinda borderline a hoarder, right?!)…but they are drawn to the cars, trucks, and anything with wheels. Which is fine by me. They are cheap, easy to find, and in general, encourage imaginative play. And let’s face it…it’s pretty awesome to say that you own twenty-seven vintage collector cars.
So after I had my little heart-to-heart with Will about his room, Jeremy and I decided that we needed to do a little mini-makeover…including putting some toys back into his room. We had removed almost every single toy to help with bedtime (spoiler alert – it didn’t work) so we talked about how it wasn’t going to become Toys R Us again…that our main play areas would still be downstairs in the living room and in the basement (until we create a dedicated play space) but some toys would be great for back in his room…namely, his collection of MatchBox cars.
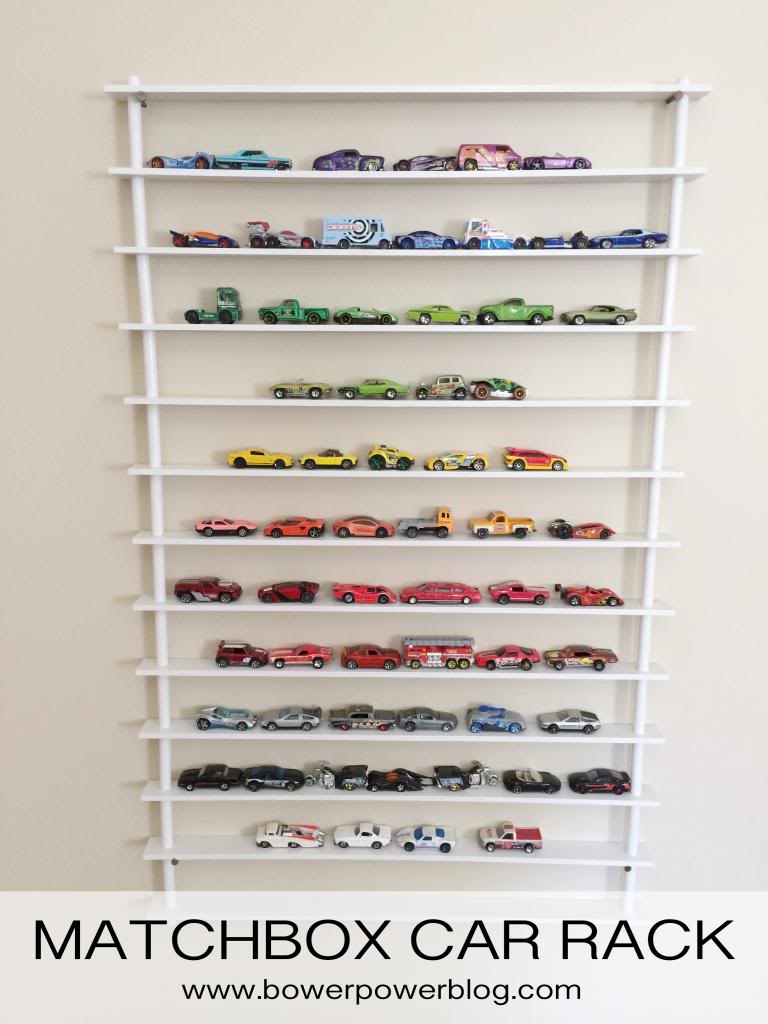
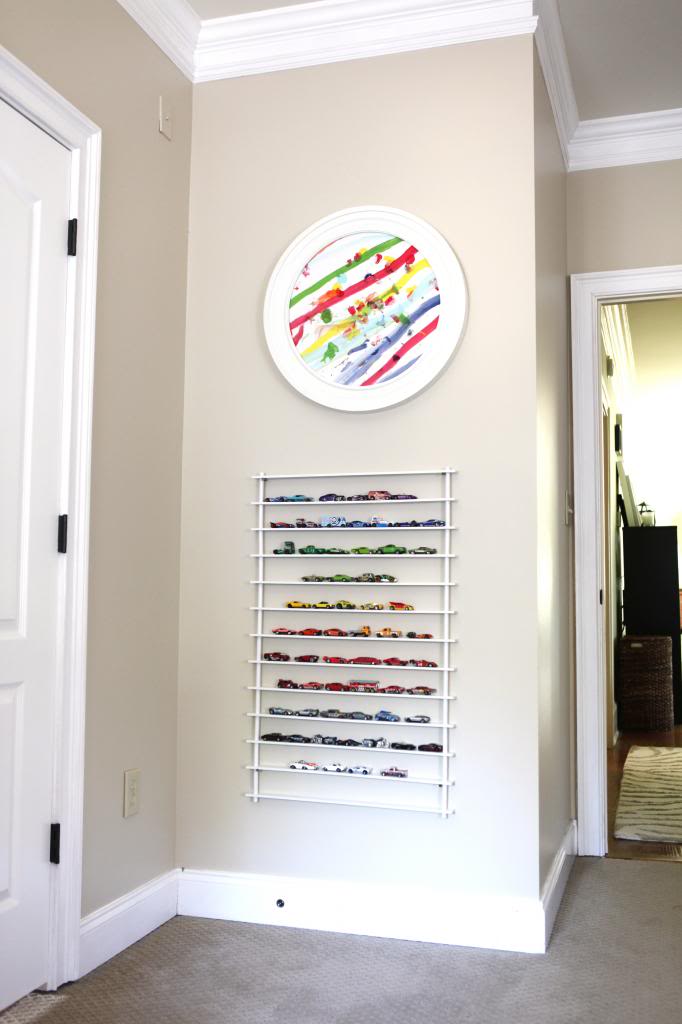
And that’s why we built this…
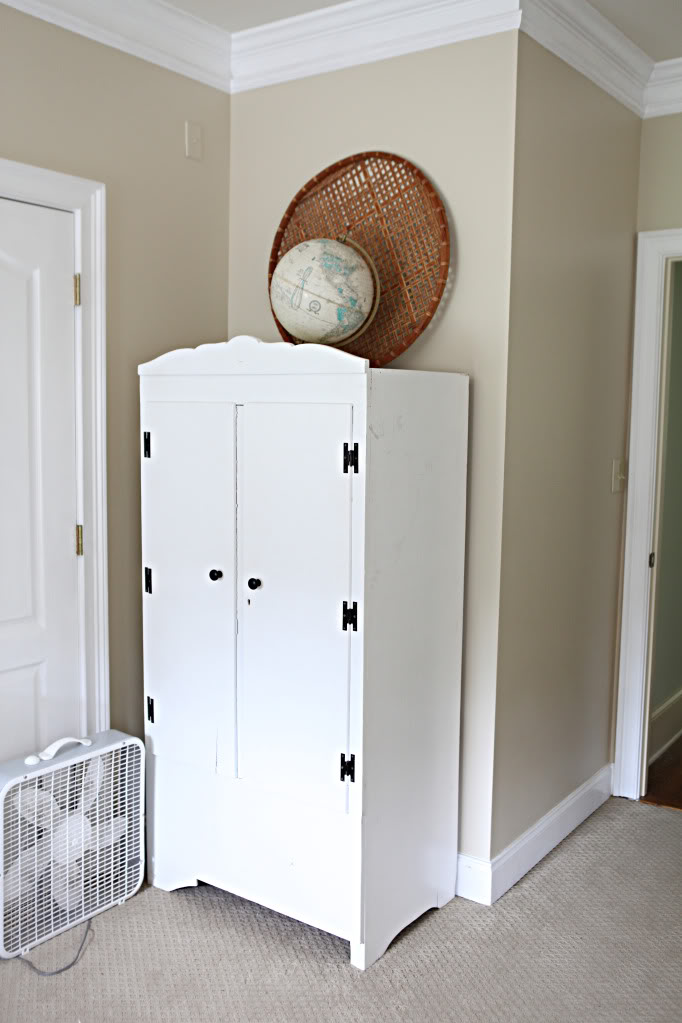
When you enter Will’s room, there is one other door to his jack-n-jill bathroom that his room shares with Weston’s room. That door swings open into the room, creating a sortof unusable space behind it. We had a big wardrobe behind it but we moved it out a while ago. So we decided that that narrow little wall space would be perfect for his new car rack.
The supplies to build it are really simple. You need the following:
- (2) 1/2″ x 48″ dowel rods
- (13) 1/4″ x 2″ x 2′ craft boards
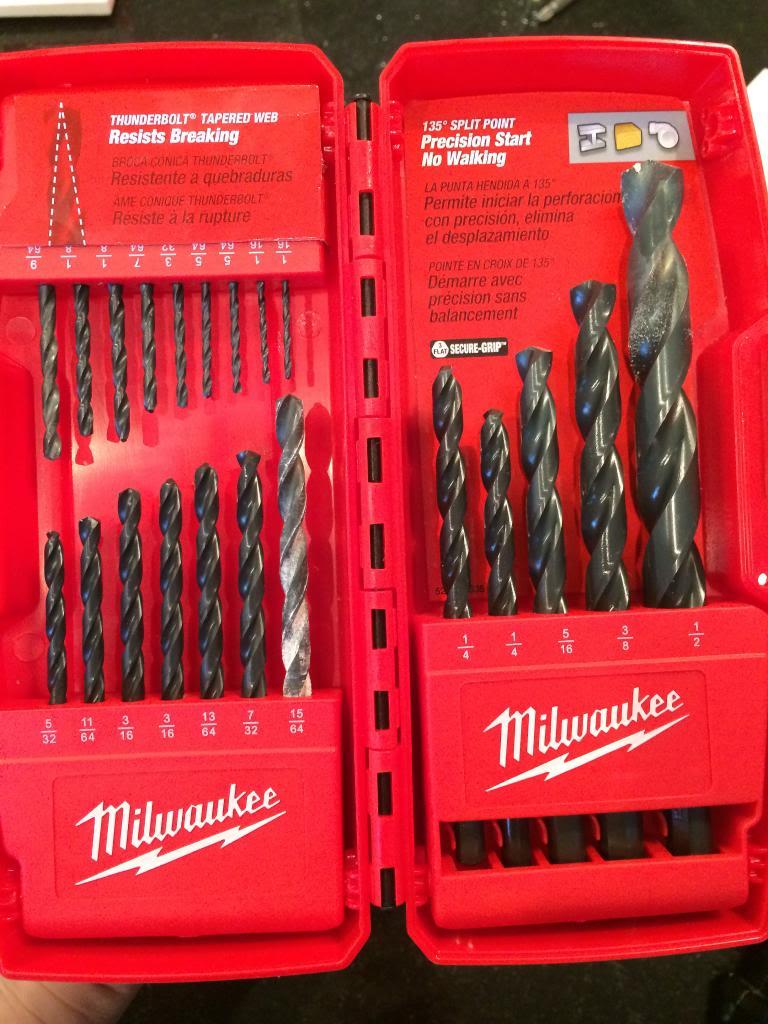
It requires you also to have paint and primer, a drill and a 1/2″ bit, and a few large headed nails for hanging it.
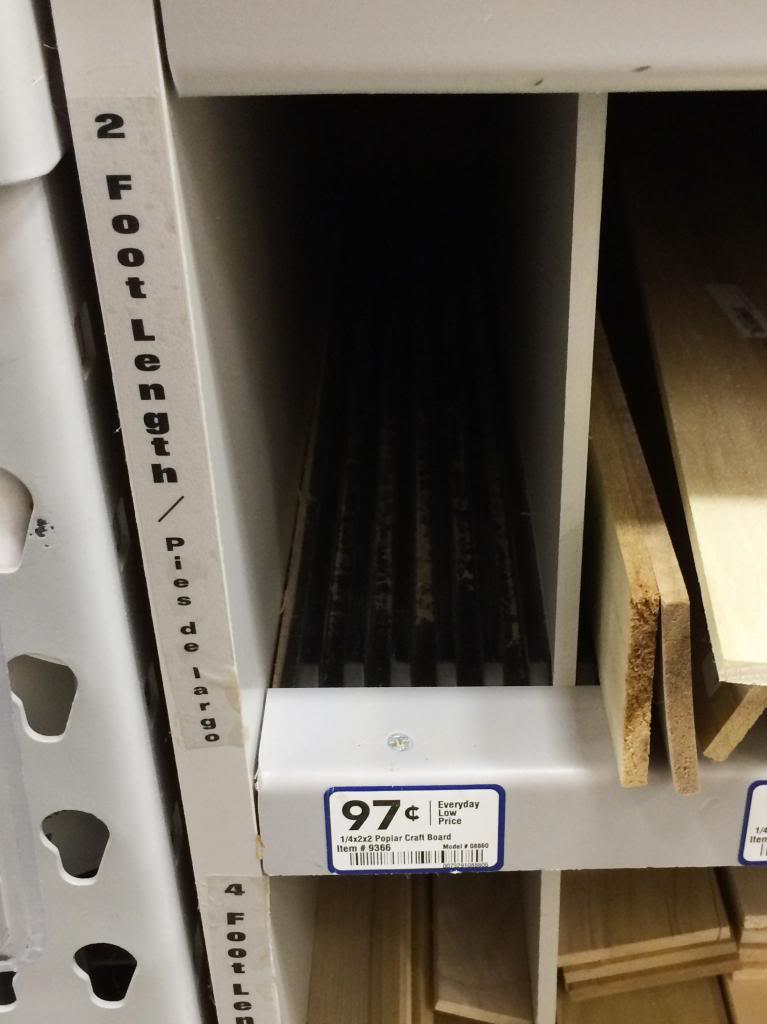
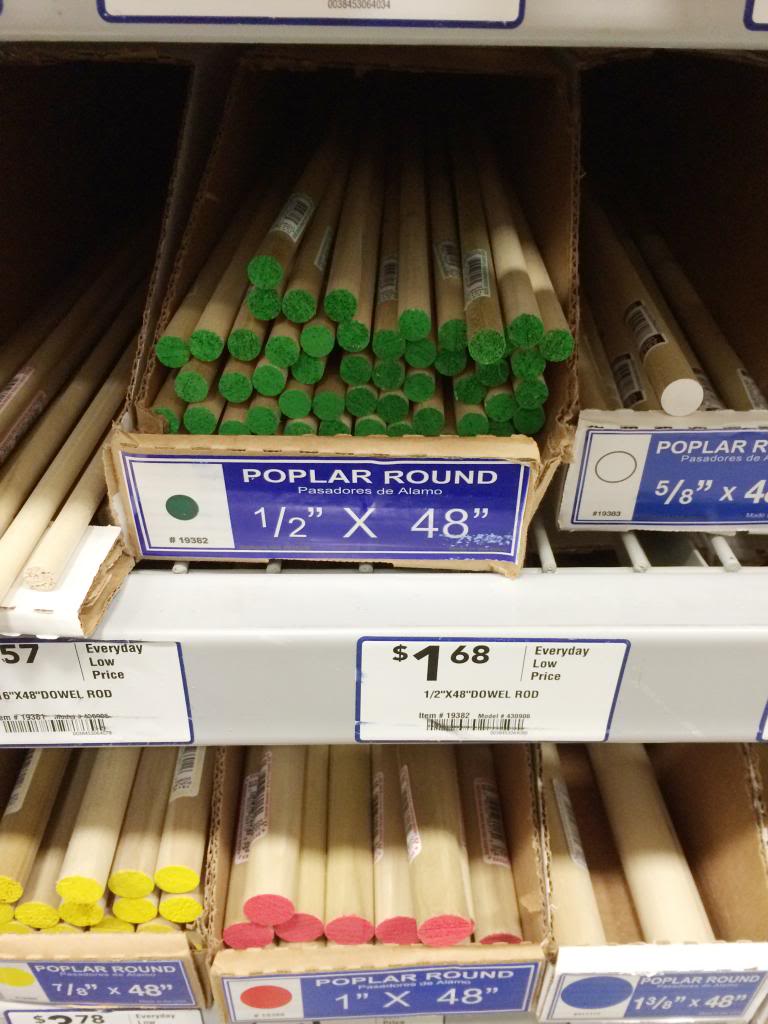
All in all, the supplies will cost about $20….I already had the paint so I spent $16.
So that’s the first thing you do…just prime your boards…front, back and sides.

After they were primed, I drilled a hole one inch from the edge on each board on each end.
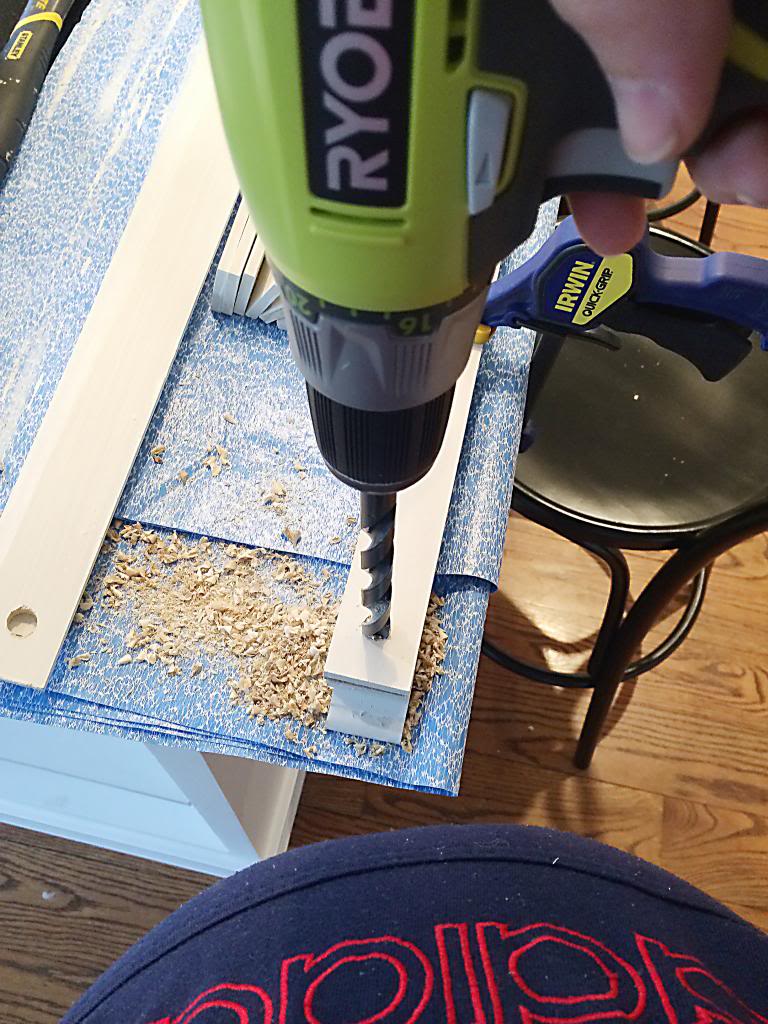
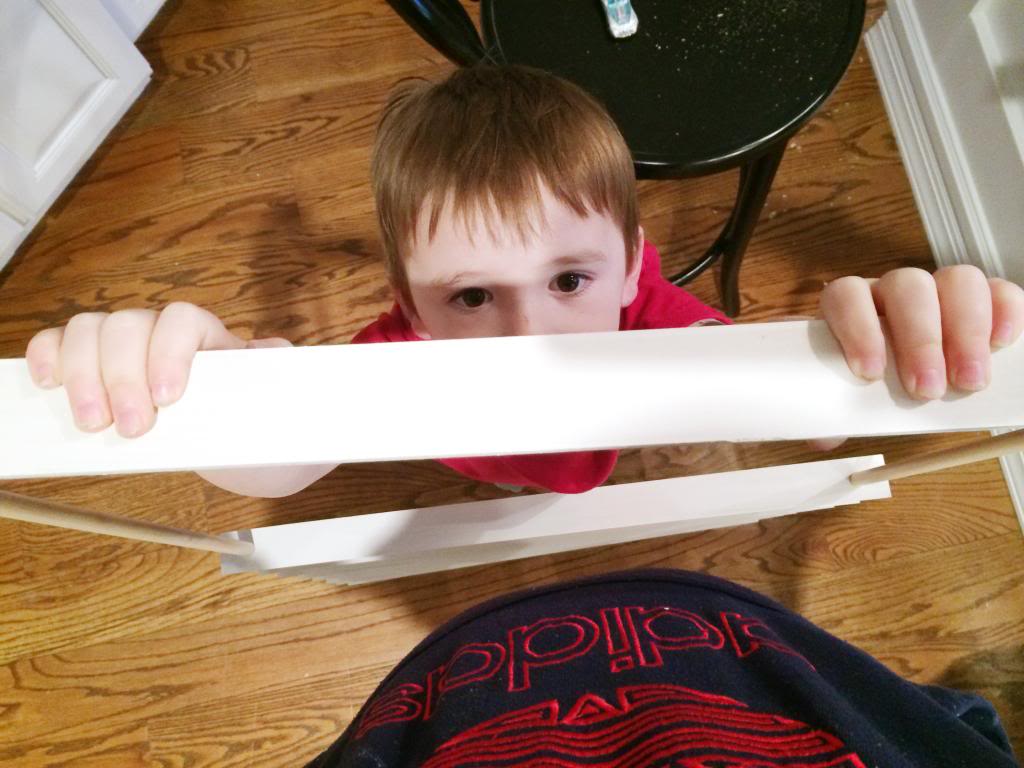
Then we slid each board down equal distance on the two dowel rods. The fit was really tight and it took a little muscle (as shown below)…
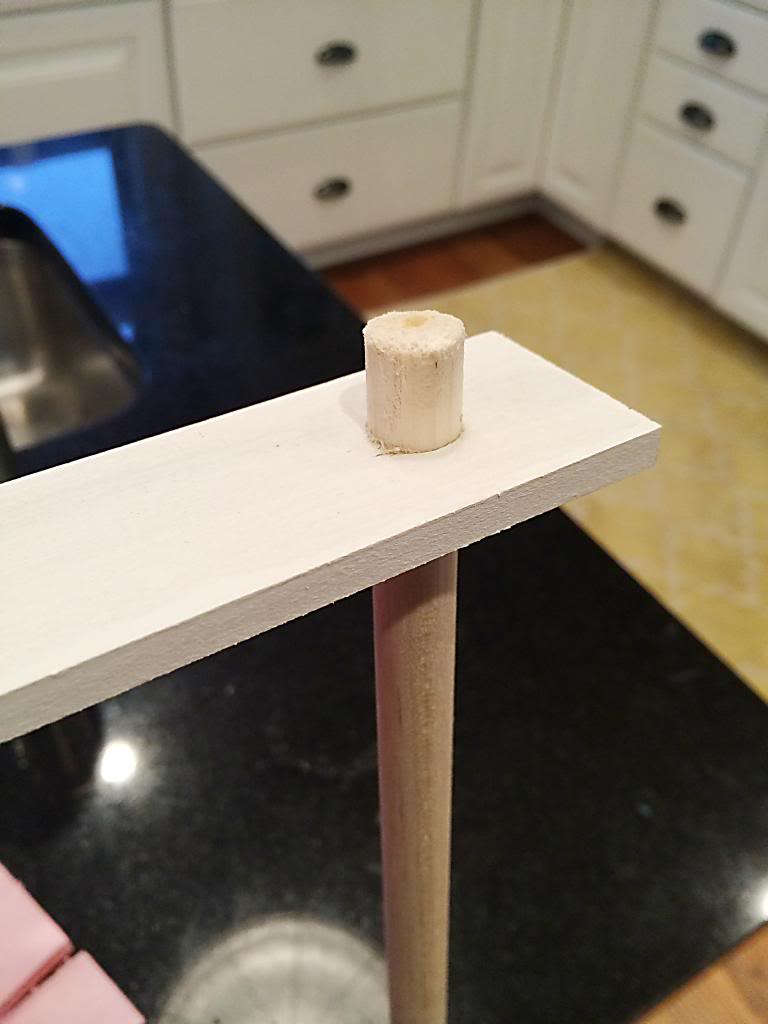
We left about a half inch on the top and then cut off the excess dowel rod on the bottom with the miter saw. This was the stage where I took it outside, did a light sanding with a block and then did about two coats of white spray paint. Why did I prime first, assemble next and paint last? Because I knew that the fit would be tight and the paint would help keep any non-super-tight boards in place. It was like painting a tight window shut…it’s not gonna be unbreakable but it will a pain to move.
At first we thought we would hang it with L-brackets but in the end, it seemed like the easiest solution was probably the best…four strategically placed nails. We purposely chose nails that were extra long (to go into studs) and that had large heads (to hold the thing in place). I would show you a photo of Jeremy hanging it but apparently the masses think this was the most exciting thing ever…
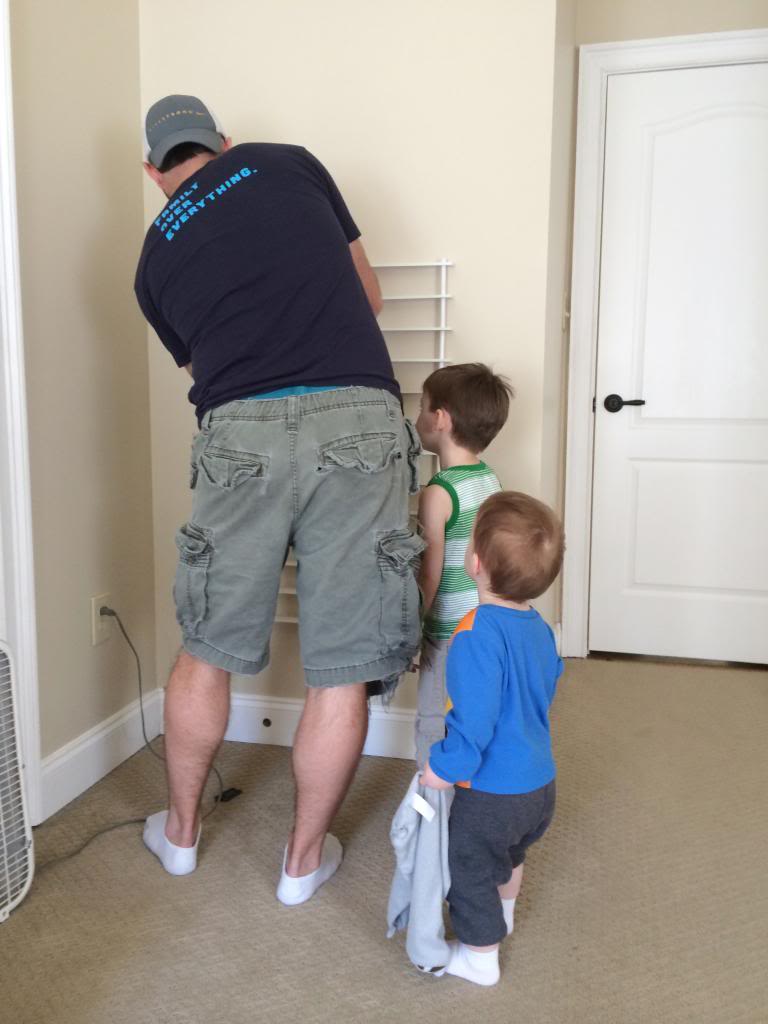
Then came time for the cars. We collected only some of the ones floating around the house (because let’s be honest, if we collected all of them, we would need a much bigger car rack!)
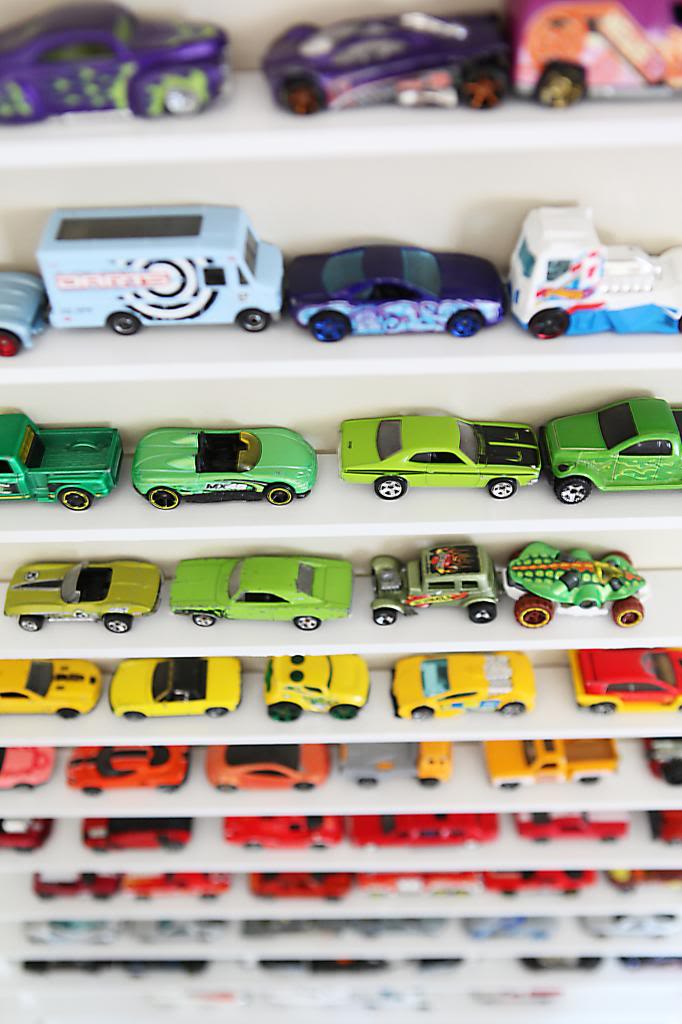
Will and Weston had the job of loading it up. I later made it into a rainbow and Will thought it was the best thing ever.
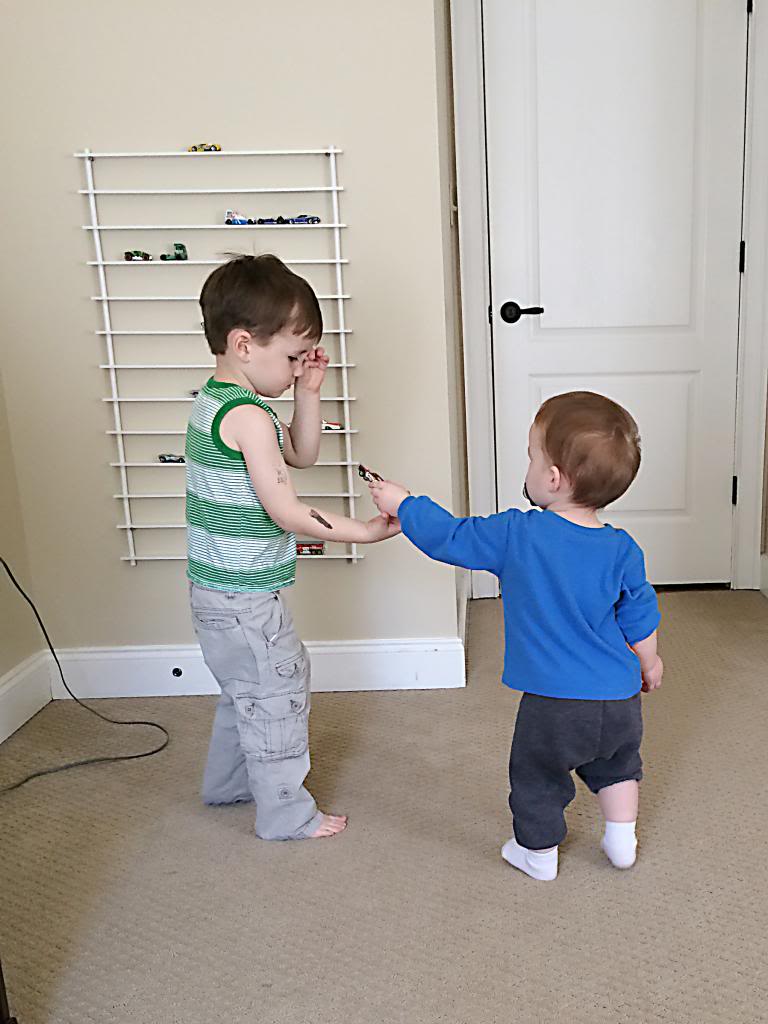
I think his direct quote was “It’s like a wainbow wall gawage FOR MY CARS!” And he may or may not have said thank you for his car rack about fifty times…which made me think that maybe he isn’t as spoiled as I thought he was. Don’t get me wrong…that thought was fleeting…he’s totally spoiled…but at least he’s grateful for his spoils.
(oh and here’s a better look at where those nails were hung. So far it has been just fine with both boys loading and unloading it every day but if you have kids that like ripping things off the walls, you may want to consider using another hanging method.)
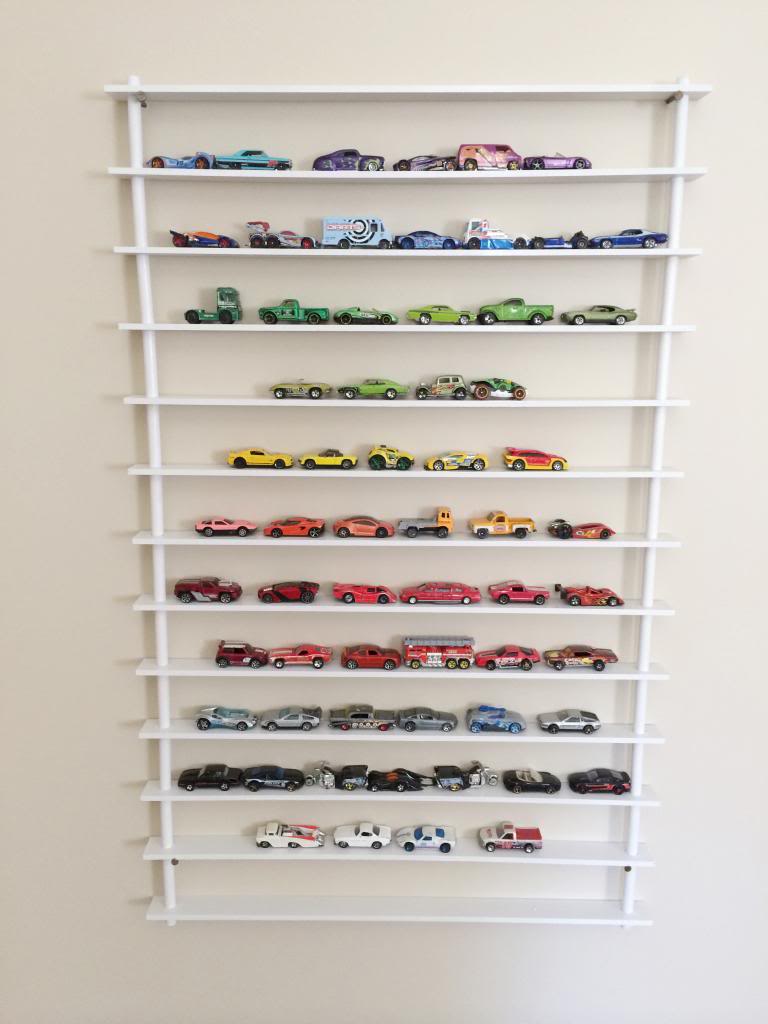
I think that we need to do a few more things in here to make it a little more Will-friendly (I really want to repaint too…just to get this space to be in our house color scheme) but that may have to wait for now because of the whole having-a-baby-thing. Unless I work this hot body of mine and get Jeremy to repaint before that….yeah…probably not. I mean, even the thought of shaving my legs is laughable at this point 🙂
So that’s our new little project…what have y’all been working on lately? Anything in the kid’s room? or the garage? or something sorted by the rainbow?
I feel like the laziest person alive when I read your blog. Ha! So inspiring though. Makes me want to learn how to use all of those power tools. 😉
Cute little “wainbow wall gawage”, great that you’re including Will in the plan for the room. So many design blogs show these kid rooms that clearly were not planned with a real child in mind.
Hope little LJ makes his exit soon!
What a great idea. I love it!
This looks great! What a little sweetie he is. I think it’s wonderful that you’re letting him get involved in personalizing his room.
Love this!
Super cute and easy. Thanks for sharing.
Katie – this is genius! I have a son who has so many cars, garbage trucks and busses and he is dying to have them on display as he hates putting them away out of sight. This is going to the top of my DIY lost !
So cute and practical. I love it!
Omg! I have seriously been trying to come up with an idea to do exactly that in my sons bug boy room! This is awesome and something I know I can do! Thanks so much! Now will you puhlease have that baby already! Nipple stim, sex, walking, cayenne pepper are the tried and true over here (my third job after mom and wife is obgyn!).
Love it! Sounds like the little man is digging the new addition. Where did y’all put the wardrobe?
This is such a fun idea for a boy’s room! I totally see why they love it.
This is so cute and easy! I have two girls, so no cars for me! But they love small little things like dolls, kittens, puppies, blah, blah, blah… and they are everywhere! Then they will lose their favorite one in the depths of a toy bin! Now they can be in sight and not of the floor! Making it this weekend.
What a cool project! Great idea! Looks pretty perfect!
Katie that looks awesome! I love the wall that you put it on, it’s the perfect space for it, and the multi-colourness of it looks awesome with the cotton ball art above!
I can’t believe how much you’re still getting done with that belly… lol… hope it happens soon!
http://www.hystericallyeverafter.com
LOVE it! I’ll definitely be copying this idea! Our little dude has way too many Hot Wheels. I stopped counting at 70-something (he’s only 2 years old!). I usually just toss them all into baskets in the living room, but I think this might be a great way to get him to help put them back up.
Do you have any idea how often I search on Pinterest for something like this!? Thank you! I think I’ll make one for all his hot wheels and then modify a little for all his little monster trucks that I keep stepping on!
Oh and SPEAKING of kids’ rooms… I recently took the BIG PLUNGE and turned my baby girl’s closet into an adorable reading nook/nap spot.
It’s SO cute and she loves it!
Check it out…
http://hystericallyeverafter.com/2014/03/04/nobody-puts-baby-in-a-corner-but-a-closet-works-for-us/
It’s great that you are thinking about what your little guy wants for his room 🙂 They have their own opinions, don’t they, lol! I really like his painting above the cars too, it looks so happy 🙂
We will be doing this asap. I find matchbox cars everywhere! Thanks for the tutorial!
I love it! I have a little man the same age as Weston and he already has a strong love for anything motorized!!!! I may need this in his new room! Also just wanted to say I love your blog and love reading it each day! You have a beautiful family! Thanks for all the amazing ideas and laughs!! 🙂
Well done, Katie. I’ve been trying to think of how I can help my 6-year-old son organize his vast Lego minifigure collection. I was thinking about an IKEA picture ledge, gluing lego bricks on that, but I like this idea so much better. He’s outgrown the cars, but he has tons of Legos now. Boys and their toys, they never outgrow some sort of toy. Thanks!
I have a big boy…my husband…who needs one of these for his toy car collection. 😉
I love it — so cute and smart — I think my guys will love this just as much!
BUT, my favorite part of this post — Weston bringing back the one pant leg pulled up look!!
He’s like, so OG!! I NEED a pic on Instragram with his mustache paci and the pant leg up!
LOL!
I hope you are doing ok over there — I keep thinking of you home with those boys — I hope Jeremy or family or friends can stop by to help — I am so miserable at the end of my pregnancies (especially with #2, I can’t imagine what I would be like with #3) — I just hope you are doing well!! 🙂 xo, Darcy
I love how you hung Will’s painting over the matchbox car garage and made the whole wall happy and rainbow-y.
Looks great Katie! Such a great idea!
Love this. No kids for me, but all I kept thinking when reading this was, “hey, this would be great for storing all my nail polish…” 🙂
I haven’t commented in forever (I took a general blog reading hiatus after having my own precious little baby this fall, but am getting slowly back into it now) but just wanted to say that (1) I love this idea (2) Will’s wainbow quote is wunderbar, and (3) Weston is totally rocking the one pant leg up look. So cute!!
Love the picture with Jeremy and the boys……and the fact that his t shirt has ‘family over everything’ …at least that’s what I think it says, such a happy coincidence!
Absolutely adorable!!
I’ve seen dowels, but not craft boards. Where do you find them? Did you purchase these at Lowes?
Love it!
What a great idea! This would also work for Littlest Pet Shop toys for a girl’s room:)
This is so cute! I love simple projects like this that bring so much to a room with just a little creativity and time. Glad that he loves his new car rack so much! I just finished making fabric covered bulletin boards from my sewing room this week! http://www.sewitseamsbyjanelle.blogspot.com Also a simple project with a ton of usefullness. 🙂
Yes! They are available at Lowes and Home Depot!
xo – kb
I agree with Will – this is totally the best way to display a car collection ever! My son’s car table is currently housed in my “library” and this would be a great way to store his cars without the room looking like a play room.
That is super cute! What a great idea!
In storage 🙂
xo – kb
What a great idea! I collect perfume bottles and keep them boxed up because no place to display. I am going to steal this idea and make it…………
Thanks
Gloria
This is awesome, I saw another one that was great for hot wheel cars, but we are needing to do both hot wheel cars and Thomas trains as our 6 and 2 year old share a room.
I am soooooo tired of the buckets of cars and trains on the floor. We will be making this…. THIS WEEKEND!!!
I am going to do 2 of them side by side as we have a huge wall for it.
Thank you so much for posting this, it has big enough spaces between the shelves for the trains and some of the odd shaped cars we have, which was the issue with every other car rack I have seen and it is in my price range. We will be painting them with bright colors, to match there room. Again THANKS SO MUCH!!
Looks great!! I have seen one other, but yours is much simpler, and cheaper! I’m working on my g’son’s room and this is definitely a must have! Thanks for sharing! Hugs & Smiles, Theresa
I’m with you Samantha, I love this! And I am just going to make some of the levels a little different spacing to accommodate some bigger cars! Katie did a great job!