My mother taught me many things. Do not chase boys with worms. Do not pee or poop at a public pool. Do not walk behind anyone at the chili cookoff. She was a wealth of knowledge. But there was one thing she never instructed me how to do…properly clean a paint brush. So now that I am old and gray (still mostly brunette but I did see a few silver strands once…screamed, fainted, cried, and then plucked the wirey little suckers), I thought that I would share with you some wisdom on how to keep your paint brushes looking brand-spanky-new. You can just call me “mom” 🙂
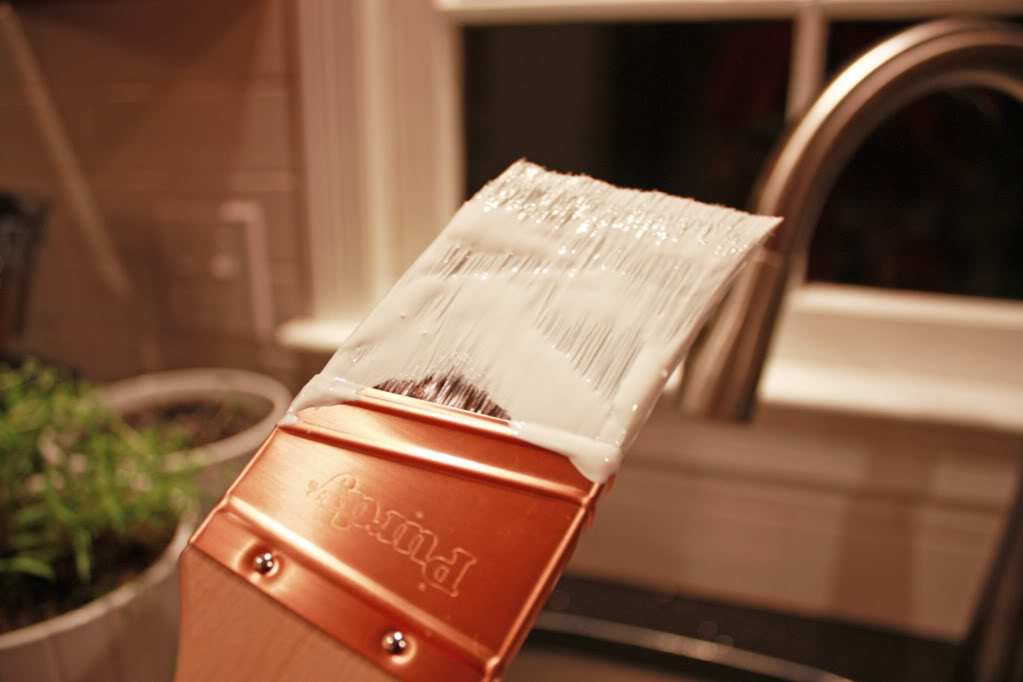
Here’s a familiar scene. A Purdy brand paintbrush loaded with white waterbased paint.
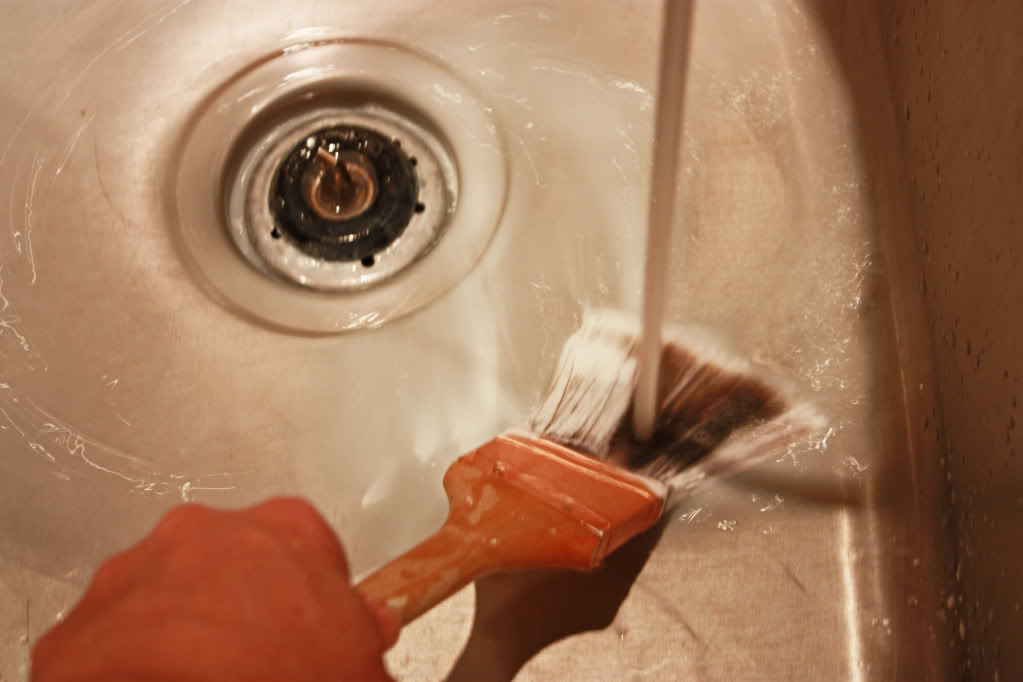
1. Rinse the paint out. I use my kitchen sink…yes, I know that it is bad for my septic tank but I am pretty sure that we have had some guests flush a tampon or two which is way worse. Maybe the tampons absorb the paint…maybe. Anyhoo…enough gross tampon talk. Push the paint brush against the bottom of your sink and have the stream of water flow directly on the bristles. Make sure you do both sides. The water should run completely clear when you are done. If you can still see wet paint, use a paint comb to separate the bristles near the metal and continue rinsing.
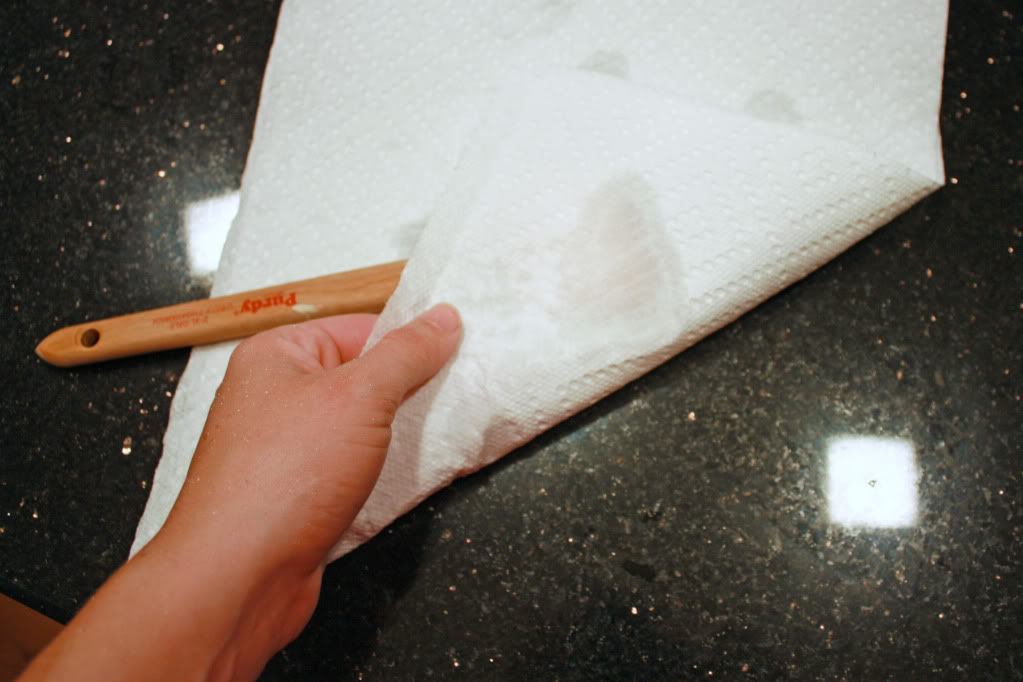
2. Dry your brush. Fold a papertowel around the brush and apply pressure to the brush. Do not rub the bristles as they will get teased like 80’s Madonna bangs. Teased bristles will ruin a brush and make it no longer useful for cutting in and doing detail work. Using the papertowel, continue folding and blotting out the water.
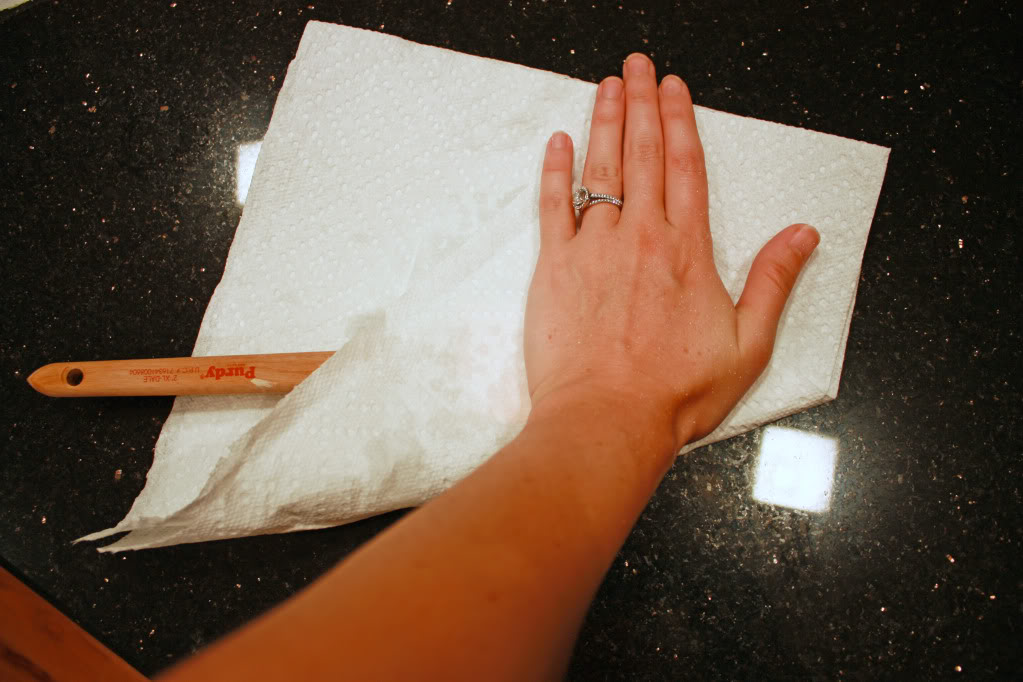
NOTE: at this time your brush will probably have dried little paint particles that did not come out with the rinse. Usually they are halfway up the brush and result over time in what I call CBS or “Crunchy Brush Syndrome”. If your paint brush has CBS then it is only useful for stippling and spanking your kids. If you attempt to use a CBS victim on your walls or furniture, a smooth finish is close to impossible. You have a better chance at reuniting Paris and Doug.
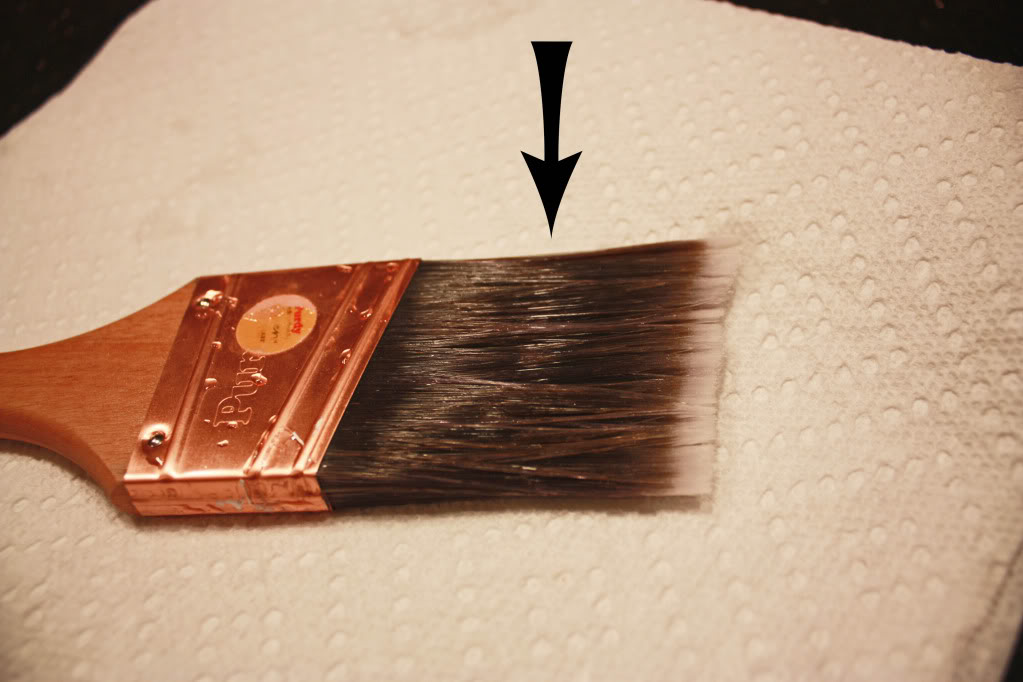
3. REMOVE DRY PAINT PARTICLES. Paint thinner or mineral spirits can be used to remove the dried little bits that currently call your paint brush home. There are two methods. One method involves a flat pan and soaking the brush in a bed of paint thinner. But it usually wastes a lot of the paint thinner and so I hate that method. I use the wipe method. Wad up a paper towel and soak it with the paint thinner. Then hold the brush handle and use the paper towel to wipe the particles. Always, always, always wipe AWAY from the handle! You don’t want to cause a ‘curly bristle’ or a ‘stray bristle’. (Can you tell that I spend way too much time painting?!?) The process takes a little elbow grease and is pretty tedious but in the end you will have a clean brush.
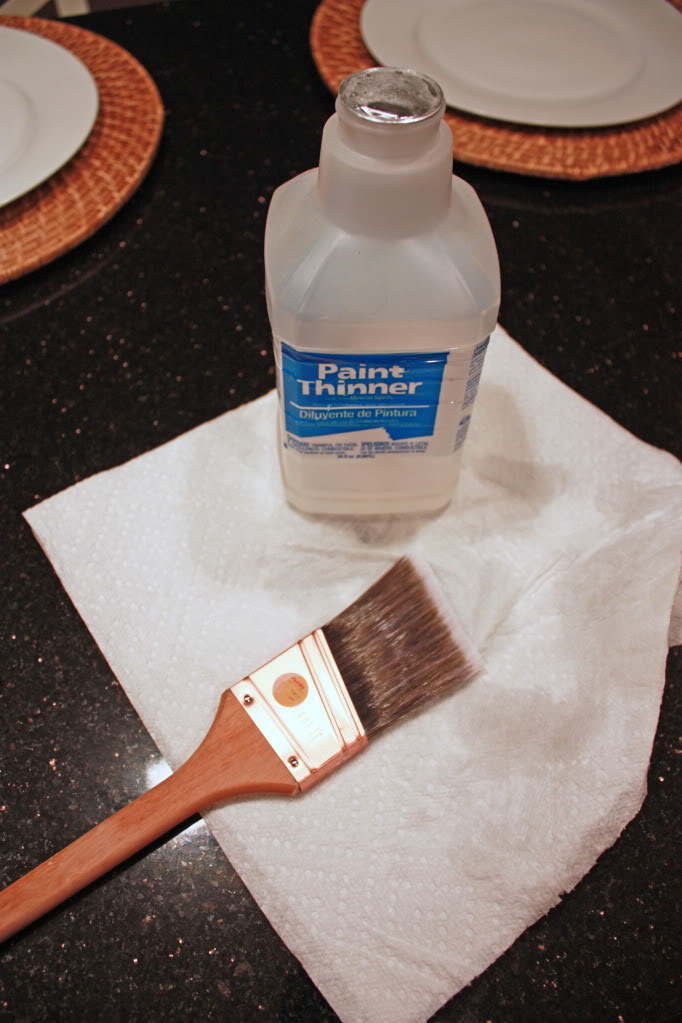
4. REPEAT STEPS #1 and #2 (except don’t dry it completely). Your paint brush should look newer than one of Hugh Heffner’s girlfriends.
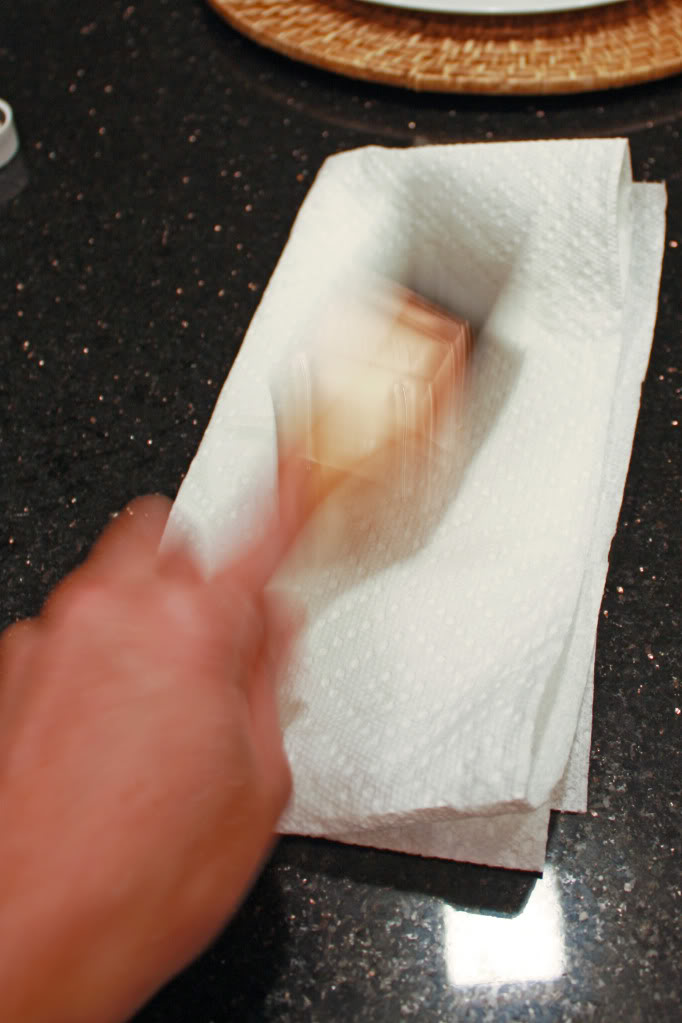
5. WACK THE BRUSH. Here is my favorite step. The wacking. In order for your brush to retain it’s natural bristle shape, you must repeatedly and lightly smack the brush on a paper towel. If you don’t do this then the bristles usually form a ‘split-hoof’. A split-hoof or a triple-split-hoof is when the bristles clump together and dry, making it nearly impossible to retain a uniform painting utensil. Does this make sense? Either way…wack till the brush looks like it just came out of the package.
6. ENJOY YOUR BRUSH FOR CENTURIES. Oh, didn’t you hear? I decided I am going to live for 300 years. Either that or until the boyfriend dies. There is no way I am going through life without being able to nag that sweet redneck man 🙂 Back to the point…check out the brush after I cleaned it:
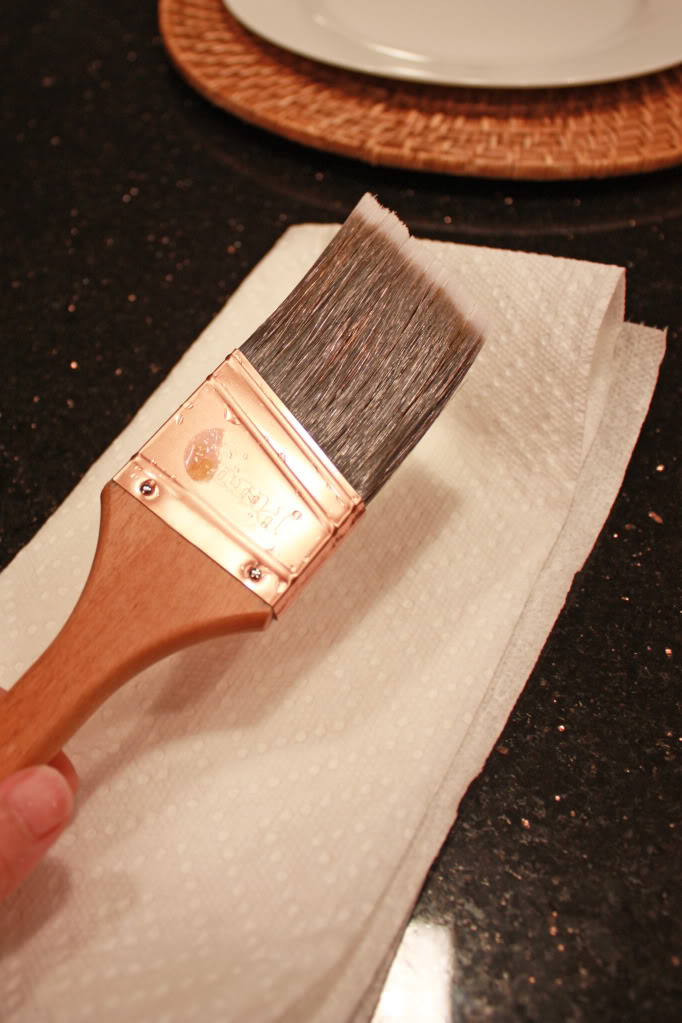
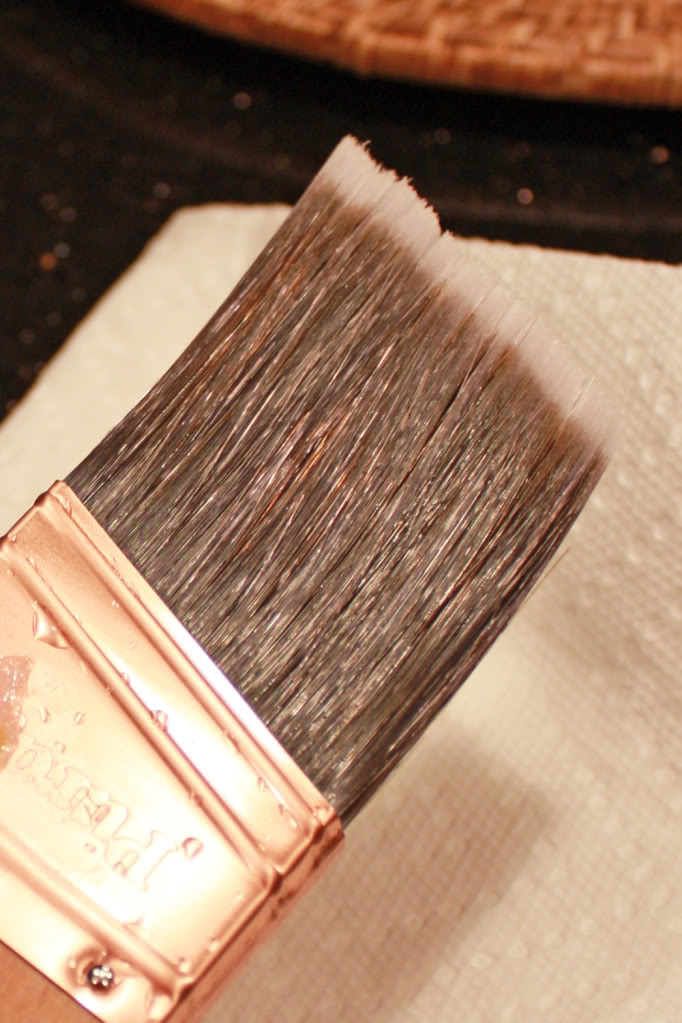
So there you have it…a nice and newly cleaned brush. And this is a way to be environmentally helpful too…I mean, paint brushes don’t grow on trees. Well, the handles do. The bristles grow on horses. But either way, your new brush can stay looking fabulous job after job…just like you 🙂
Your timing is impeccable! I’m getting ready to paint a frame at home and I was concerned about rinsing out the paint! I give you an A+ Katie!
::writing down ‘Do not walk behind anyone at the chili cookoff.’::
Mr. FC calls the split-hoof phenomenon “paintbrush camel toe”. Ewww.
I’m so bad about cleaning brushes. I’m all, these are disposable right? Thx for the tips!
I vote Mr. FC blogs too. First the marbles…now paintbrush analogies?!?! No wonder he scored such a cool chick 🙂
XO – Katie
lmao at newer than Hugh’s girlfriend. You crack me up. Only you can make cleaning a paintbrush funny.
I’m usually pretty “green,” but I’ve always hated cleaning paintbrushes. But, what’s worse – rollers. Can you do a clean-your-paint-roller tutorial. Or, can I get the goahead to just throw them away after use? Please?
girl I was just dealing with that yestarday after priming my walls. Good advice!
Hi Katie, I found your blog a few weeks ago but this is my first comment. One thing that I’ve always wondered…how long does it usually take for the water to run clear in step 1? I always feel like I’m standing there for ages, wasting water, waiting for the paint to stop coming out…then I usually get tired of waiting and decide that’s good enough. That’s probably why I’m continually buying new paintbrushes. Hmm.
Lol, what would I do without this tutorial? Good tips, thanks K!
This would have been so helpful for me these last two weeks, but I finished painting last night!! (moving in/refinishing an apt) My brushes never looked like that when I was through with them though! thanks for the tip for future painting!
I admit this is a great tip, but it really makes me (a chemical freak)nervous you used mineral spirits (I know you wiped it off) and then wacked it close to what looks like a plate.
Ummm–I couldn’t find an appropriate place to ask this question, so I’m just askin’ it wherever comes first.
I’m buying a couch–a real one that is not secondhand or from my parents. Big step for me. I have narrowed it down to two colors–cream and pewter. Which one do you think would be more “foolproof” for moving around a lot and a variety of decor (not to mention the bank-vault/dropped ceiling, berber carpet smorgasbord of weirdo elements I have to deal with)?? Both are neutrals but which do you think is the smartest choice?
Hey Ann – I am so glad that you brought this up. Even though the Occupational Health and Safety Administration lists mineral spirits as one the safer alternative cleaners or solvents, it is still HIGHLY important to clean the brush very thoroughly before you whack the crap outta it. This is also another reason to promote the wipe method vs. the soak method to get those little paint particles – less chemicals for the brush to absorb. Also, I use VERY hot water and run it over the brush until the bristles no longer have that oily look and feel. Granted, you may feel a little more safe to just do the whacking step outside (where I assume you don’t keep the plates). As for the photo – I snapped the pic of the whacking step before dirtying up the brush (I don’t usually whack inside…little water particles go everywhere!) so no worries – I am still alive and well. The boyfriend however tells me I am very sick 🙂
XO – Katie
Hey there Kim!
Yes, this task does take a while to complete. However, if you like you can always fill up an old bucket and dunk the entire brush for a couple hours to loosen all the excess paint off before you begin step #1. The dilution process really helps. It uses less water in the long run but requires an outdoor hose or utility sink for the rest of the job because you don’t wanna have drippings from the bucket. If you find that you can’t do it…find a kid in the neighborhood that will rinse it out for a buck…my, how much a child will do for a dollar! Hope this helps!
XO – Katie
And now I finally know how to properly clean a paint brush 🙂 and laughed while I learned!!
the paris and doug comment is GREAT!
And now I finally know how to properly clean a paint brush 🙂 and laughed while I learned!!
the paris and doug comment is GREAT!
Sorry, forgot to add great post! Can’t wait to see your next post!
Cool. The comments are very funny. Don’t ever get me close to a paint brush. I am lethal. If you doubt me ask my wife. Bobby Gee check out my blog
http://bobbygee.wordpress.com/
Great tips! Thanks 🙂
Do you use the same method for primer? I have had trouble getting primer out of a brush… although haven’t tried your method yet. I’m sure that will work better than my lazy method. thanks!