The product for this post was provided by Behr Paint Company but all paint color and product selections, design choices, and opinions are our own
Our backyard transformation is taking a long time for us and yes I am about to blame Mother Nature. It’s ALL her fault! I mean. Yes….maybe we can place a tiny smidge of the blame on our children but it’s mostly her 🙂 Seriously though guys this is taking a while to tackle and we are here to share the process so hold onto your boots.
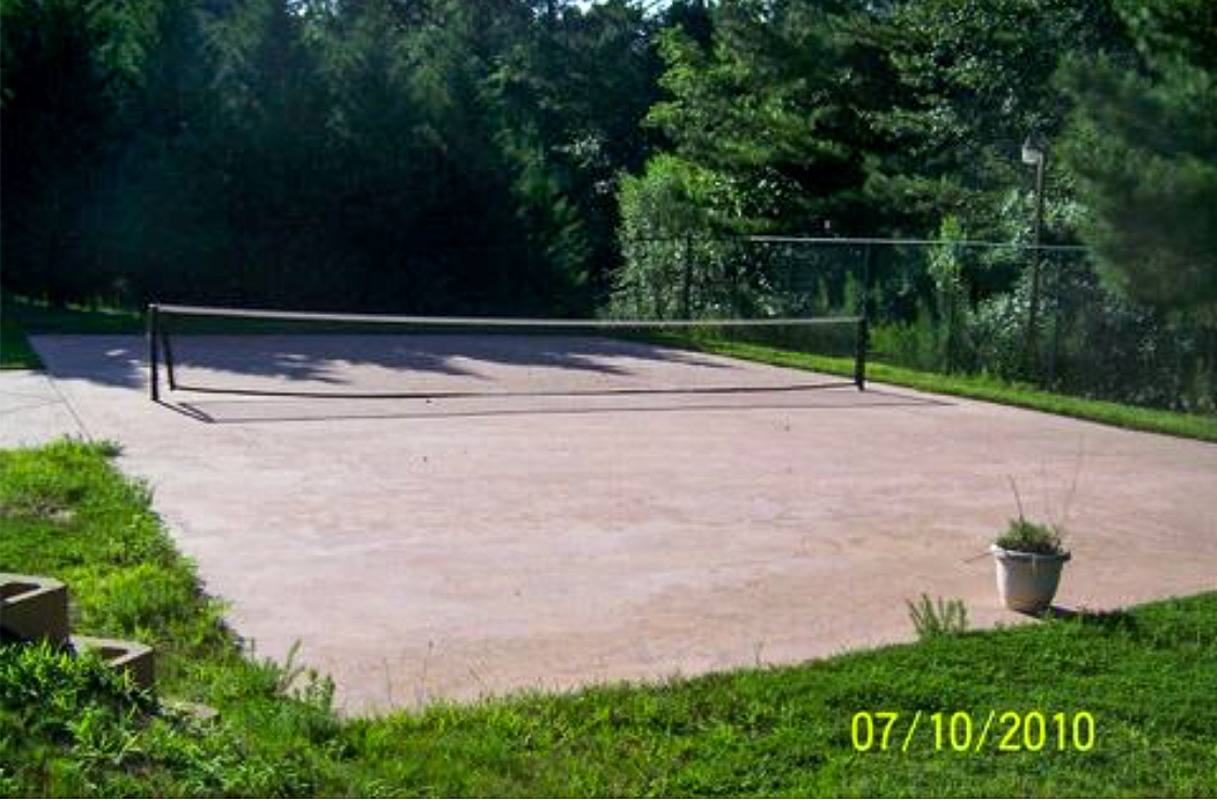
We are looking to transform the concrete pad (affectionately known to our children as “the tennis court”) to a basketball court (our children have never even seen people play tennis!). It has taken us a long long time but we are finally seeing the light at the end of the tunnel and I think it’s a SLAM DUNK. Here is how Mother Nature messed us up and also how to transform a concrete pad with Behr Premium® Granite Grip™!
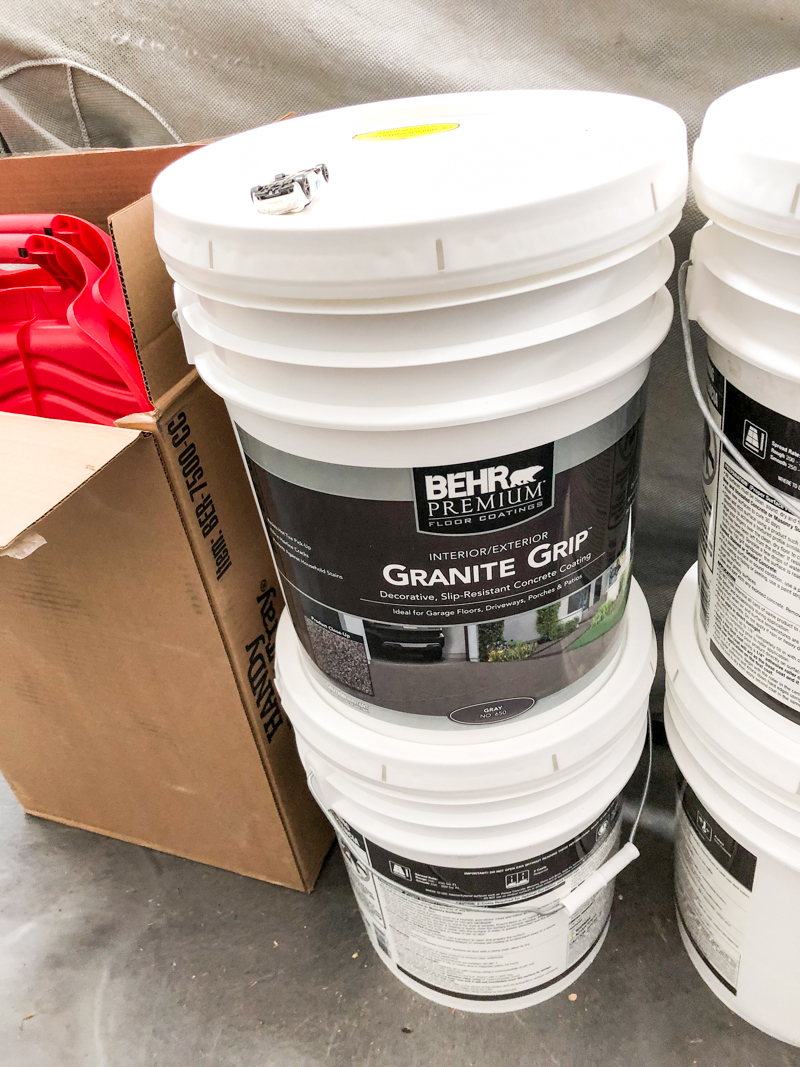
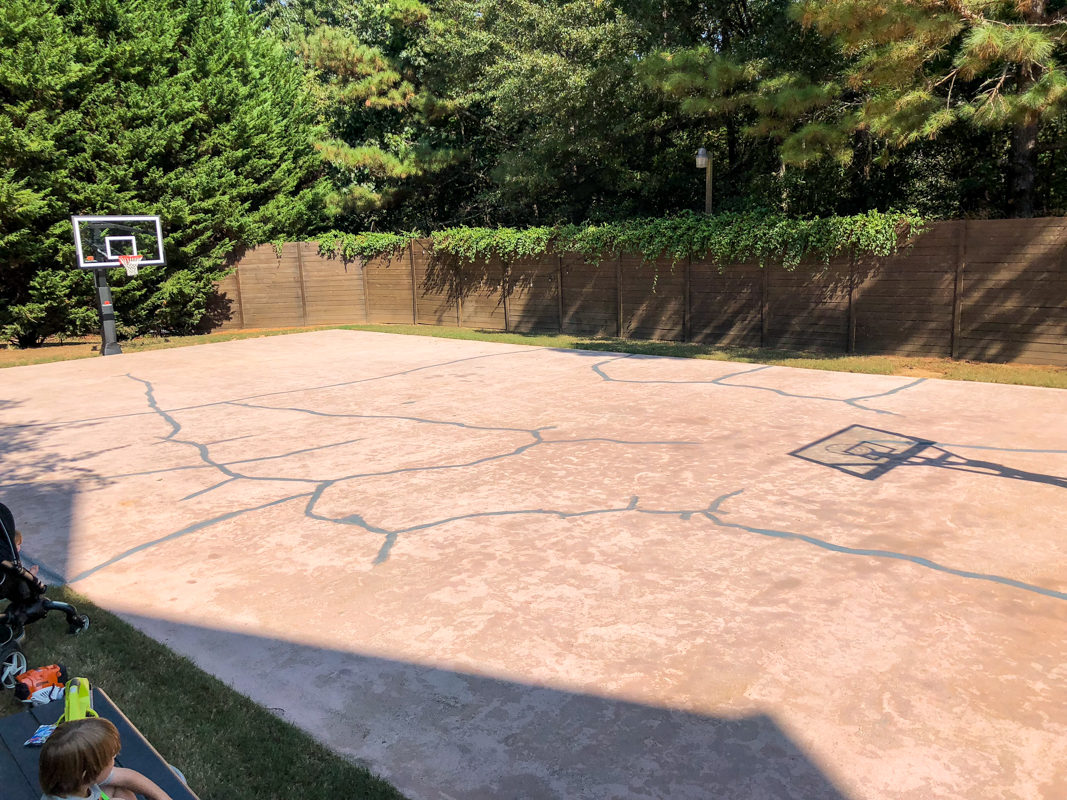
First – let’s talk about our concrete. It’s a pink color. And it doesn’t go with our house at all. I don’t know why exactly the previous owners chose to go with pink but we were excited to change the color and we did a TON of research on exactly what product would be best for this project. In the end we chose to go with a Behr product known as Granite Grip.
.
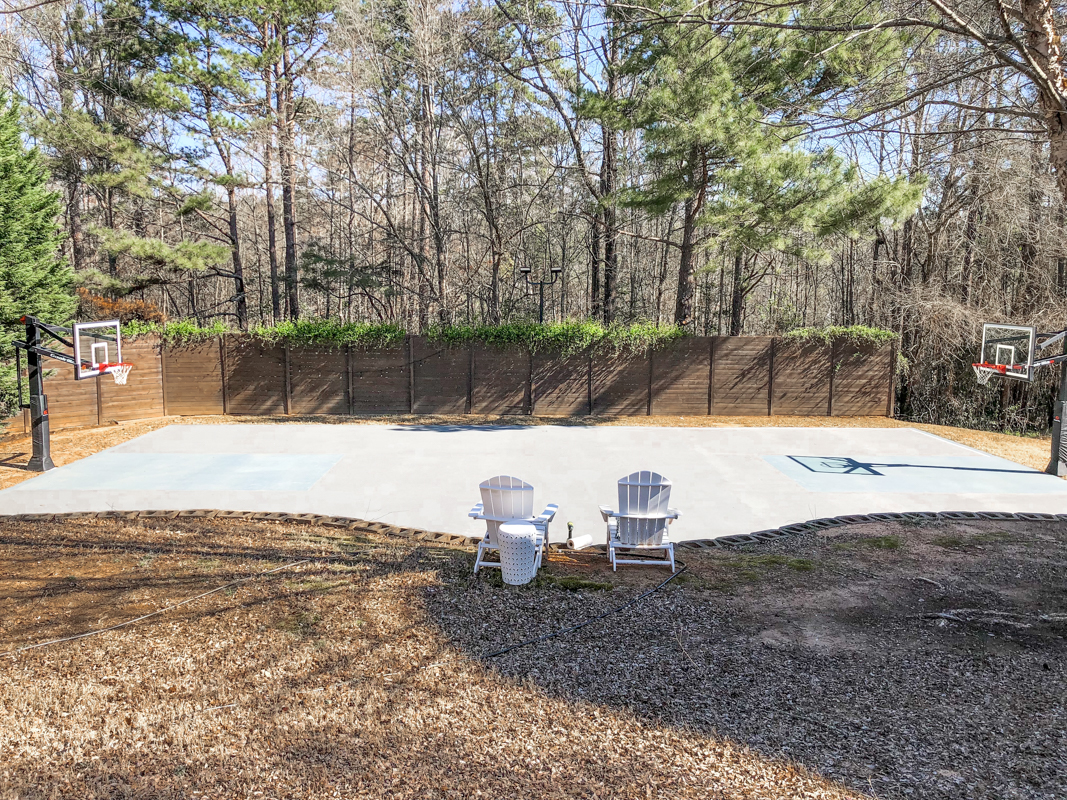
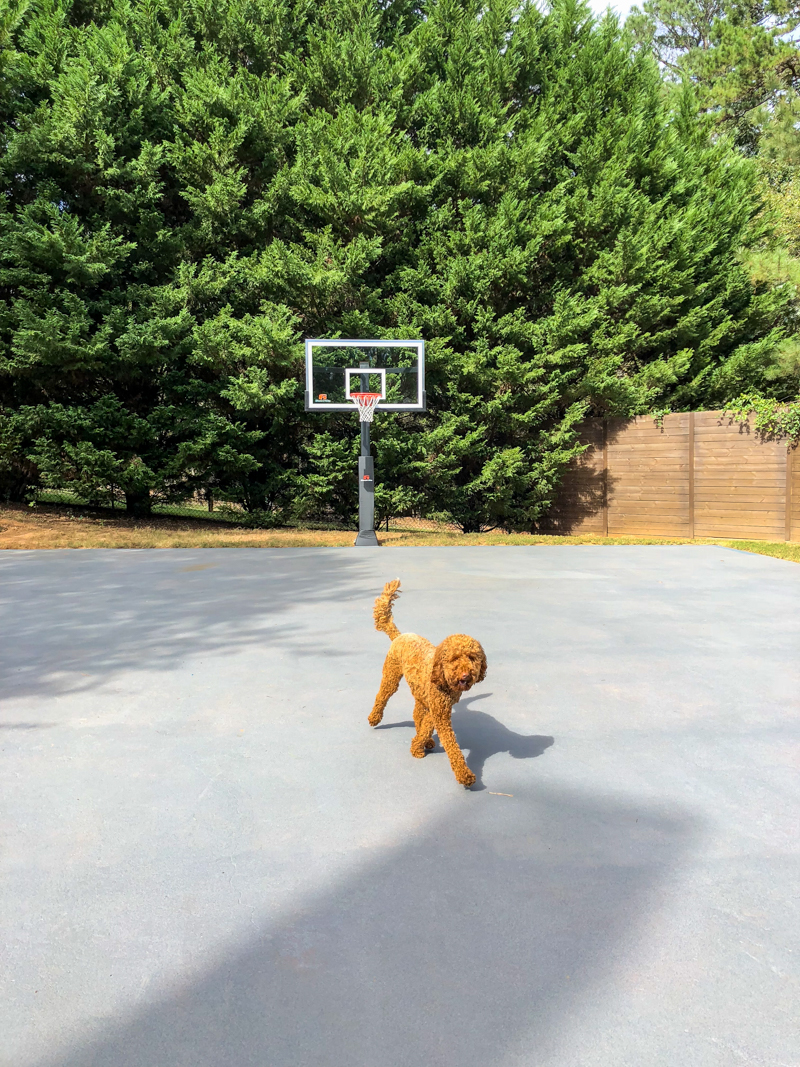
Spoiler alert – this is the finished product after living with it for a bit and WE LOVE IT.
Here is why we went with the Granite Grip.
- Lots of color choices. This meant that we could choose exactly what colors would go where on the court. We wanted grays and blues, so we used Gray GG-650 and Azul Diamond GG-05.
- Textured finish. This was a big deal for us. We wanted something textured but not painful for bare feet. It also needed to be slip resistant. We were worried at the kids get bigger and faster that they might slip on the damp pad while sprinting and this helps ease my mama mind!
- Hides cracks. Our concrete had tons of hairline cracks and we were afraid that a stain would make those cracks more pronounced. I loved that Granite Grip can even fill small hairline cracks and make the concrete look almost brand new!
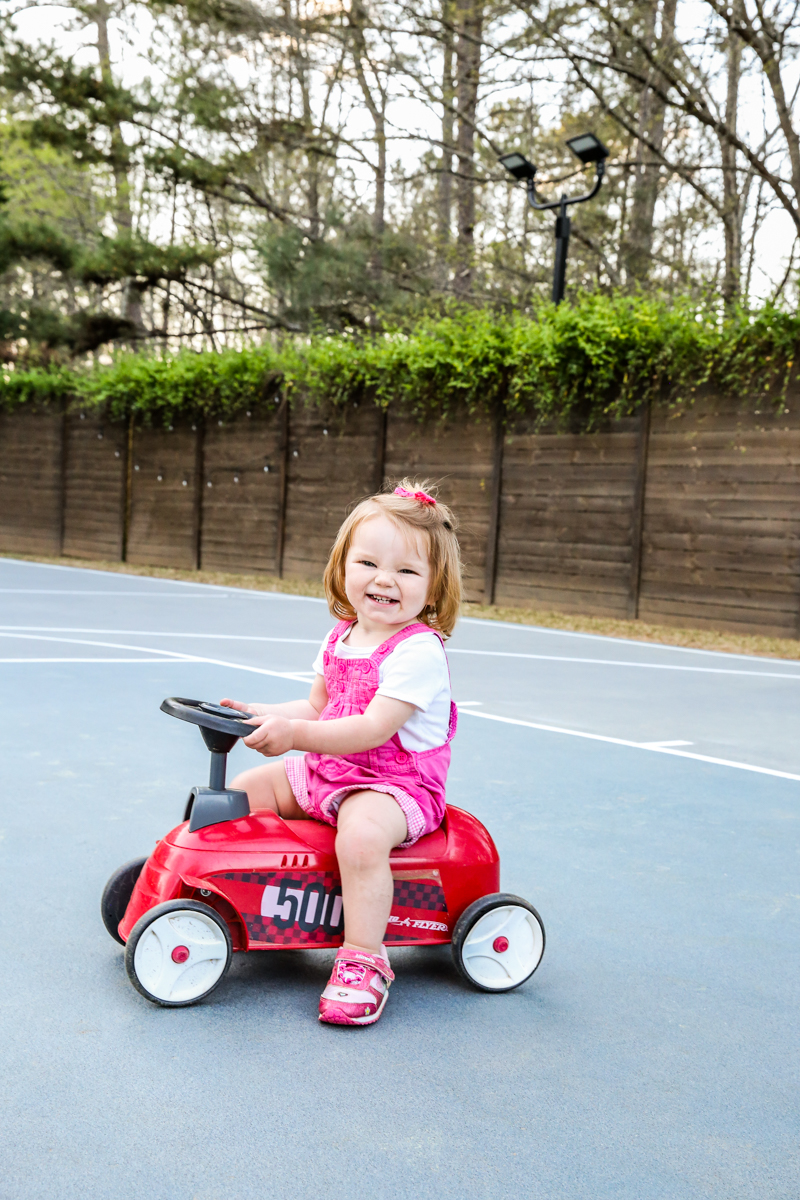
- Resists hot tire pickup. So it gets hot here in Georgia. And our kids run their little four-wheelers all over the place – especially on this court. We noticed that the previously unfinished pad would show bike tire marks and fourwheeler marks. No. Just no.
- Durable finish made for concrete. I have five small kids. Durable is my best friend. I would even go so far to say that durability is the number one requirement for ANYTHING that comes into our house.
So now that you know why we chose Granite Grip….let me just say that we were super excited to see this change! Since we knew we were gonna be talking a lot about this product, we reached out to Behr to see if they had any new Granite Grip colors coming out or insider info we could share and they shocked us when they said they wanted to provide the product for the makeover. We obviously are thrilled! And boy do we have all the best tips for this project….mostly because we did it wrong a few times! ha!
You may be thinking….well Katie, why did you blame Mother Nature then for the delay?! Well, here is the thing. We do projects a little at a time. We have kids so we can carve out time here and there during the day but it’s difficult. Also it takes extra long to film and take photos of projects so a weekend project typically for us takes three times as long because we are documenting the process. This project required very large chunks of time to actually DO IT. And we had LOTS of rain that held us back and caused massive delays. Whenever we went to do another coat or finish a coat, it had rained and washed dirt onto the concrete again. It required a full cleaning and to be fully dry so it was a guaranteed three day setback. Long story short….it rained a lot in the last six months. You can imagine our frustration.
BUT we are officially done with the court area and I can not wait to show it off to you! If you are looking to do this same thing in your driveway, concrete pad or yard somewhere – here is everything you need to know.
First we had to prep our concrete court. It required pressure washing and a fully dried court before we could apply any coating.
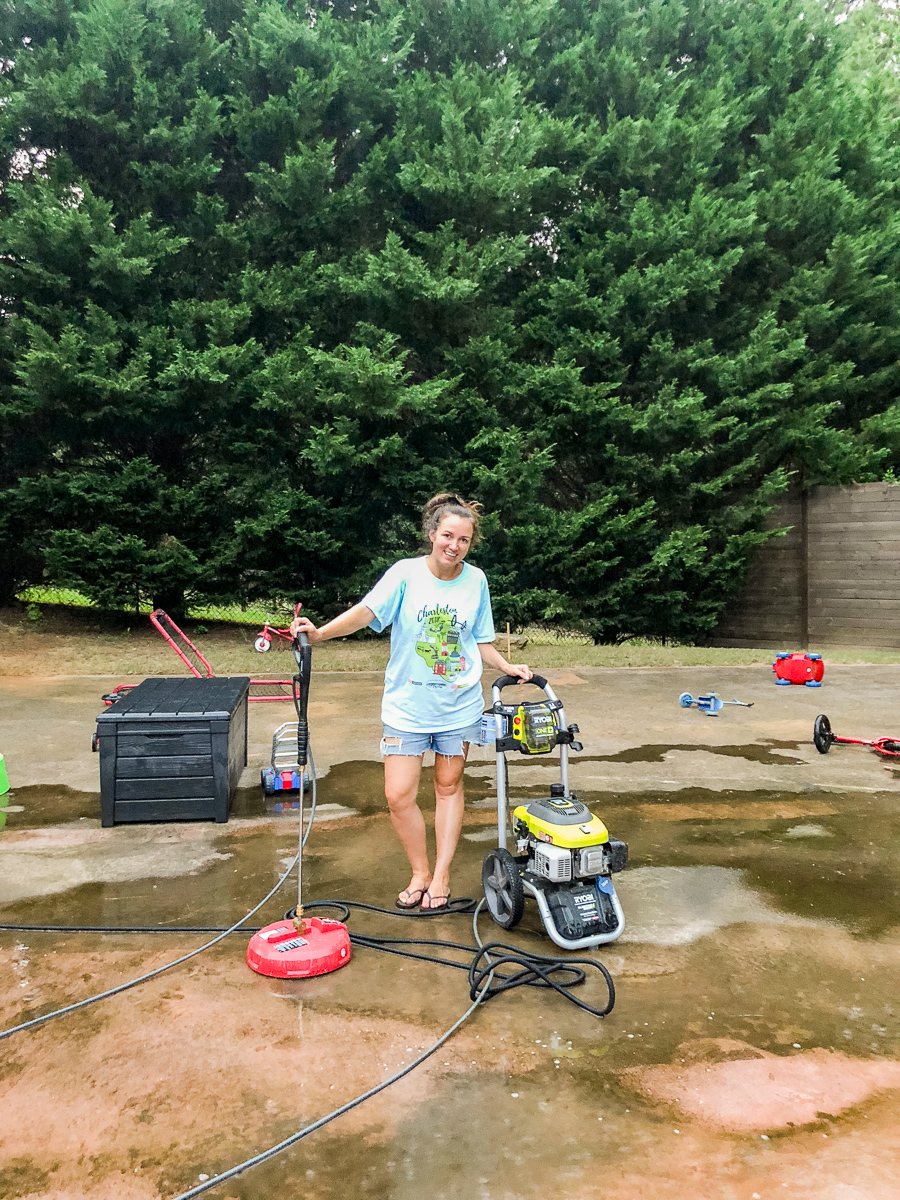
When we started this project – it was last fall. After pressure washing and making sure it was free of any dirt, debris or dust, we started the application process of the Granite Grip.
The product instructions did mention to etch prior to application to create a textured profile which helps the coating to adhere and bite on to the surface. However the surface already had a textured profile and we thoroughly cleaned and pressure washed to ensure the coating will adhere properly.
STEP 1 – MIX BUCKETS OF GRANITE GRIP
For the very first step, you have to prep your Granite Grip by mixing the buckets of color together to ensure that your color for your entire surface will be uniform.
STEP 2 – COAT CRACKS
Once you mix your Granite Grip, you pour some in a smaller container and use a brush to coat all your cracks. Our court had lots of cracks and it required a large amount of time to coat each one. I would heavily recommend doing a thinner more narrow coat the first time and successively make the coat wider and wider. I found that doing this with multiple coats really made the crack almost impossible to spot after the process was over.
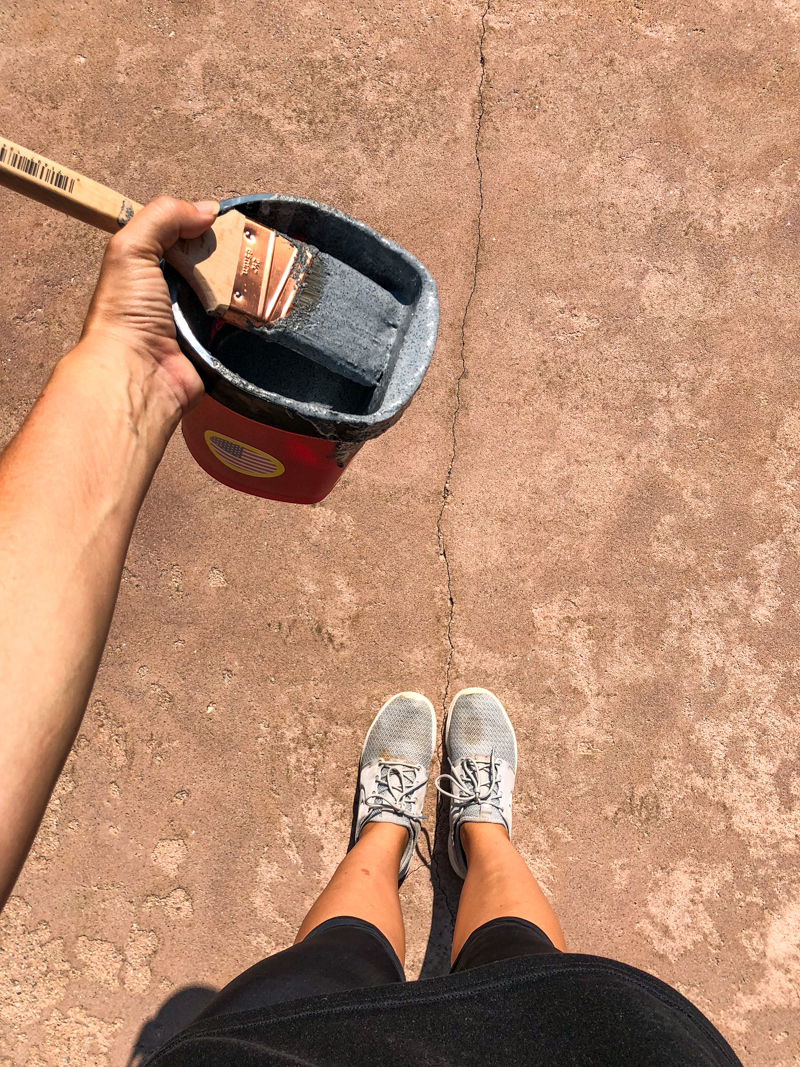
It was also way easier to do this process when using a new brush. The product is like a glue consistency so that thicker product needs a good nylon/polyester brush. I also highly recommend using a Handy paint cup to do this because lugging a 5 gallon bucket around is no fun.
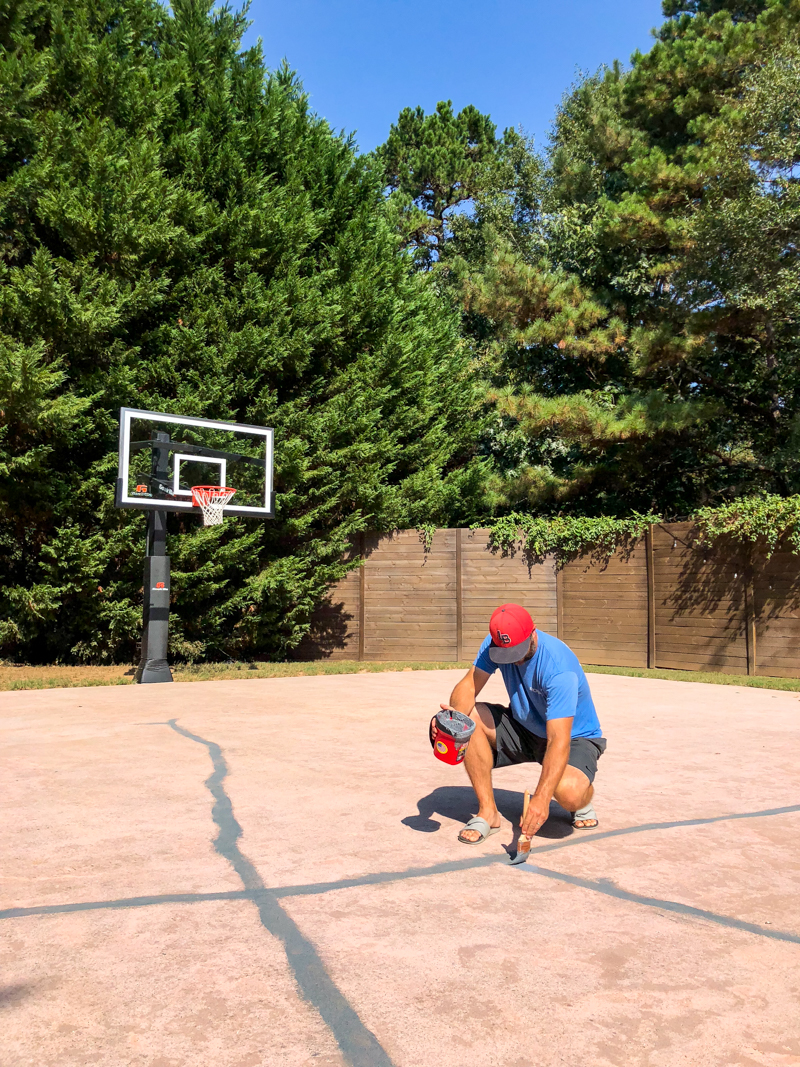
As you can see, we did just the cracks that we felt were more visible….we didn’t do all the endless hairline cracks.
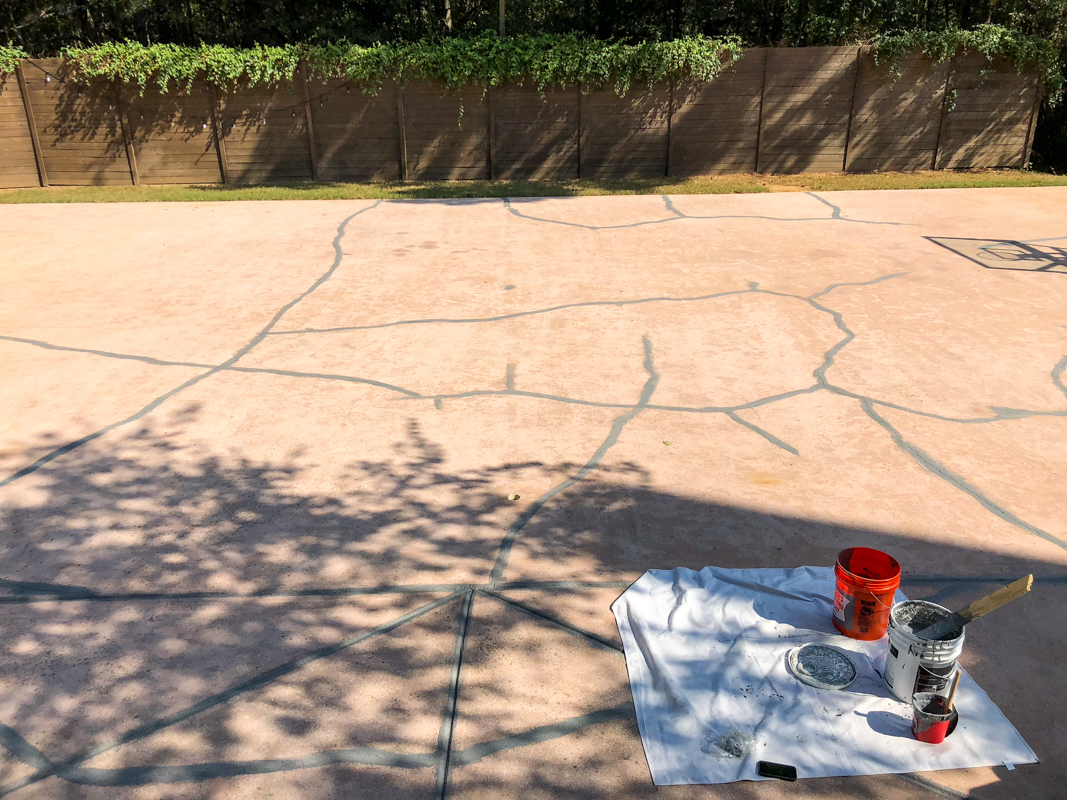
You must allow those thin coats to dry fully before recoating or doing your full coat.
STEP 3 – APPLY THE GRANITE GRIP
Using the same brush that you used for the cracks, you will want to coat the edges of your concrete. We did this as we went so that the edges remained wet for blending well into the center surfaces.

The instructions say to roll or spray your Granite Grip onto your surface with a light coat. We also read that you should avoid patterns (like what we did) but we were more focused on the thin coats than the pattern and figured that the coat the matters the most is the last one!
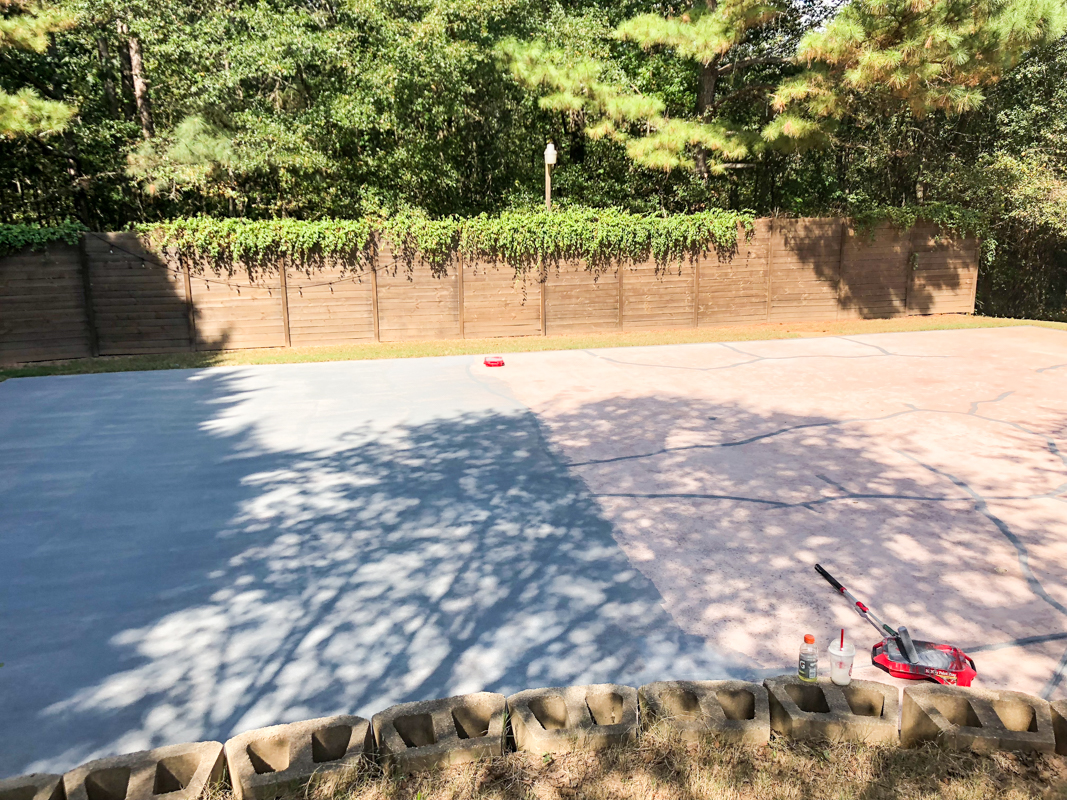
When we started the process we only had a roller and not a sprayer that would work for this type of material. We used the recommended 1/4″ adhesive roller cover. But later I’ll share how we 100% recommend getting a sprayer.
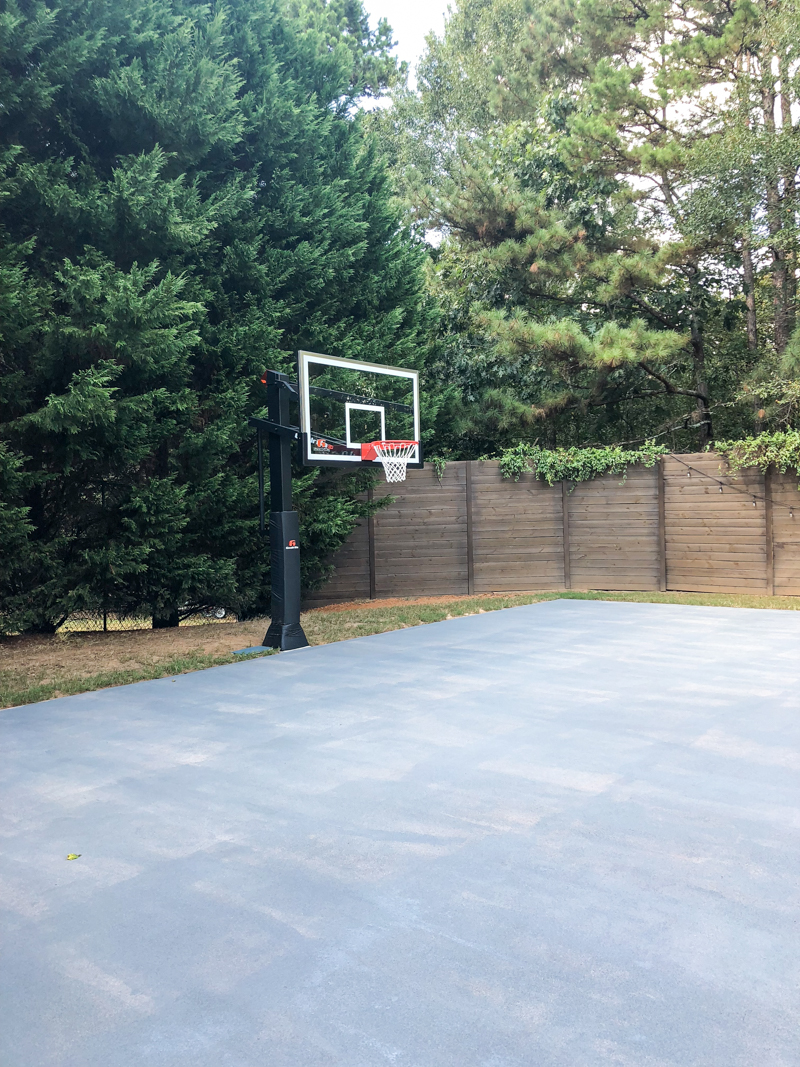
The first coat will dry to the touch fairly fast (at least it did for us) but the instructions say that you have to wait 2-3 hours till you can recoat. Since the rolling process is a rather tedious process (you want it to be thin so it takes multiple passes), the entire court took us two days to do the first coat.
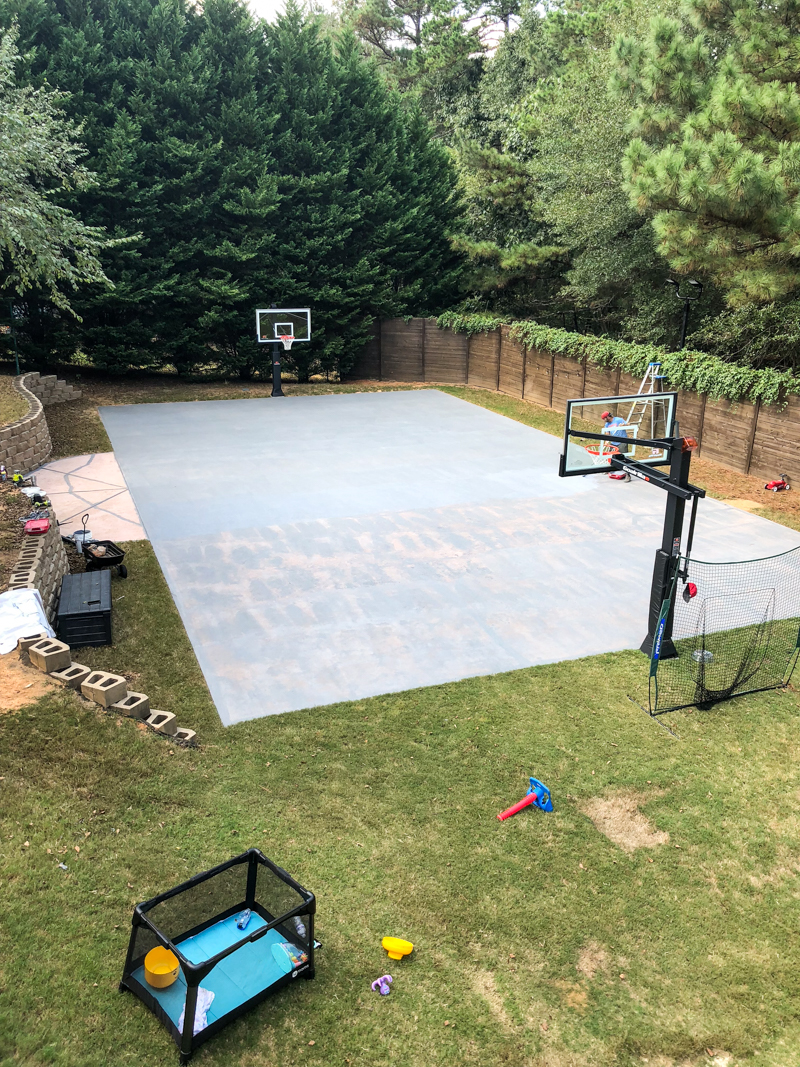
STEP 4 – APPLY MULTIPLE COATS
This is kinda self explanatory. The surface needs multiple coats – the number depends on how thin you make your coats and how much opacity you want.
STEP 5 – ADD ACCENT COLORS
We wanted to create a basketball court so for us, we wanted the lane and out of bounds to be a different color. Since the Granite Grip comes in different colors, it can be rolled directly over base colors.
Ignore the white lines in the future photos – this is our first attempt at doing the lines and it was a hot mess.
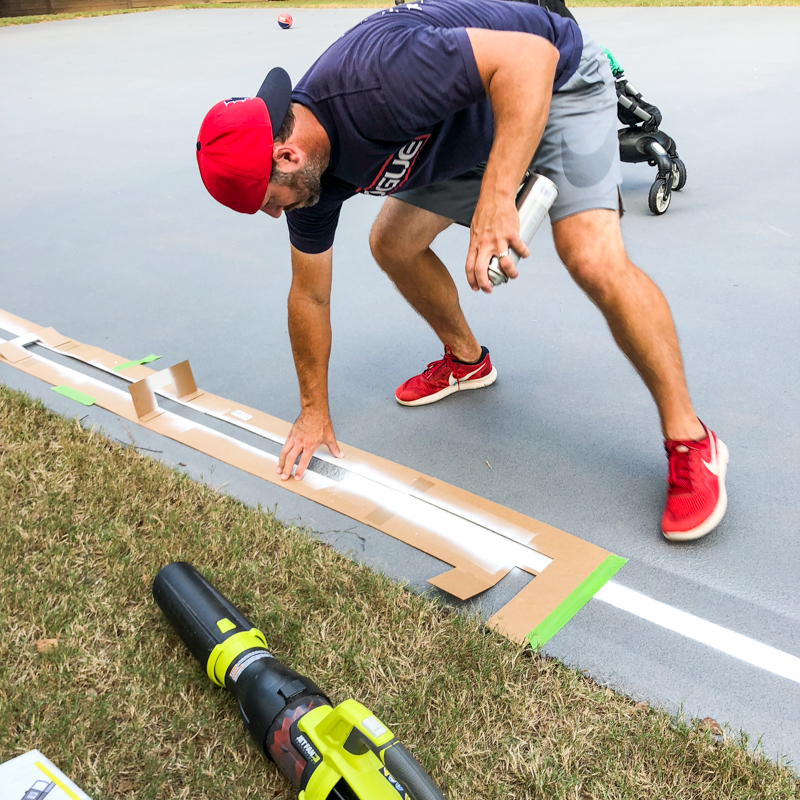
For painting the lane and the out of bounds areas, we first laid down painters tape.
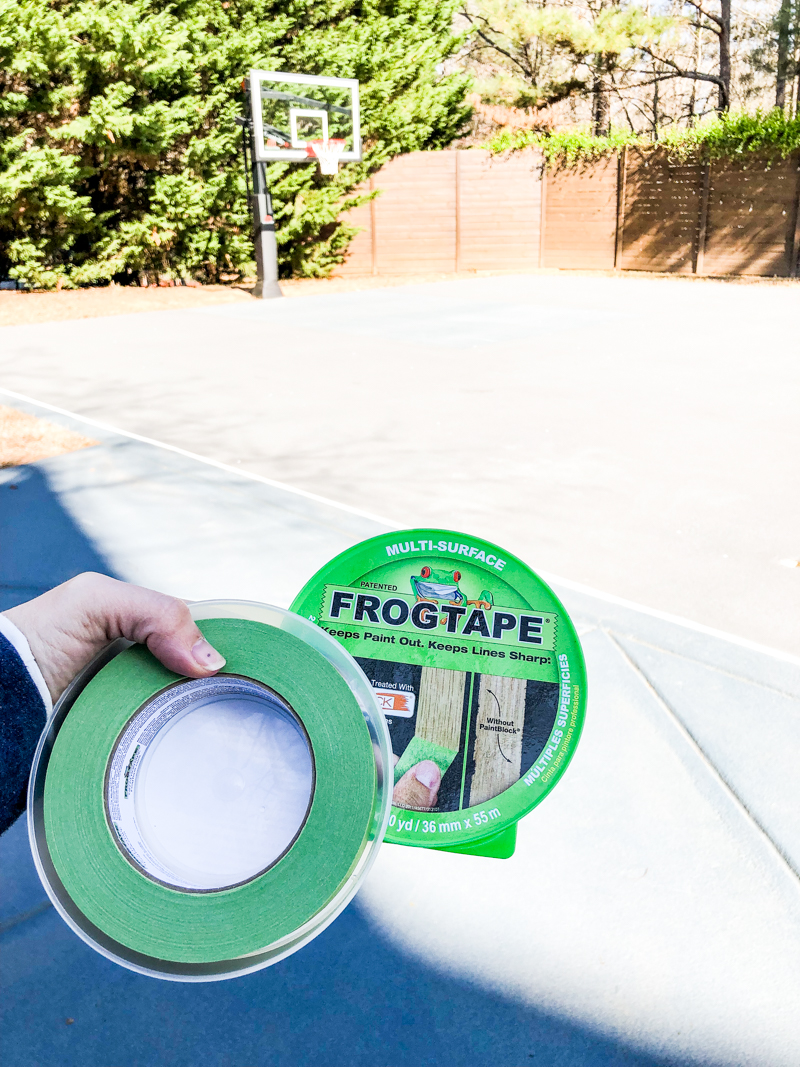
The wider Frog Tape was a great boundary line for the roller we used. For the lanes, we decided to go with a blue color that would contrast subtly with the gray.
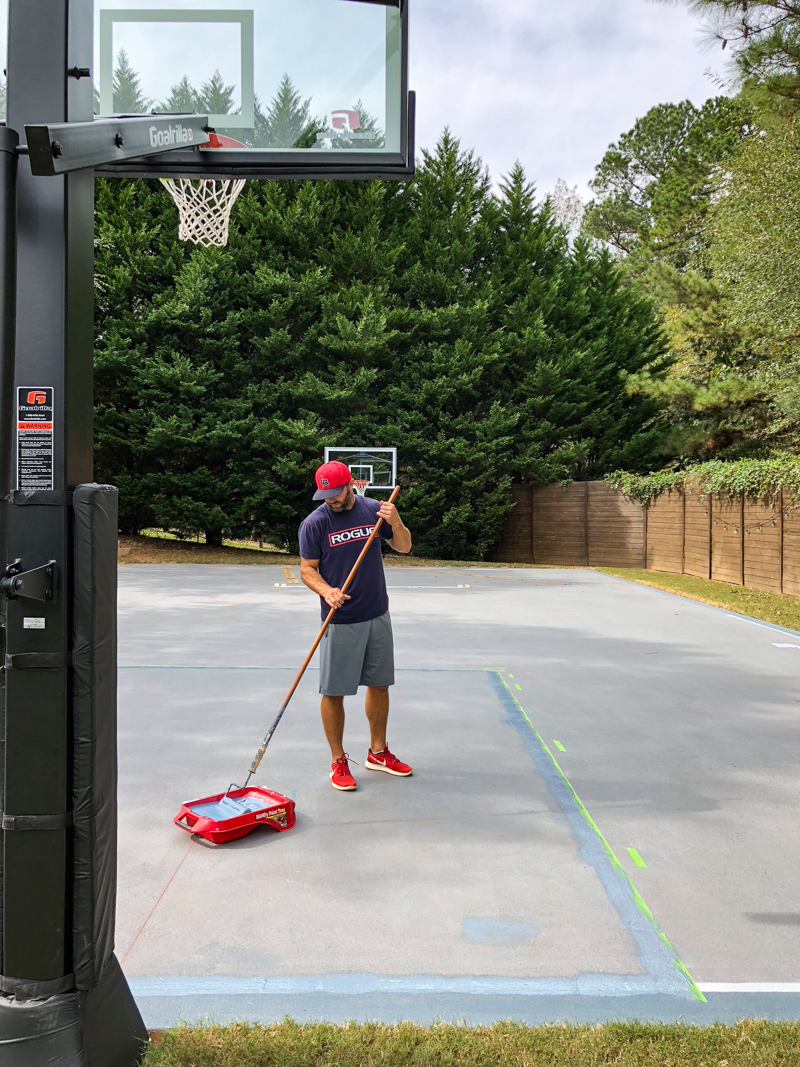
As you can see, the Granite Grip rolls on rather thick. It requires several passes to get the thin coats required.
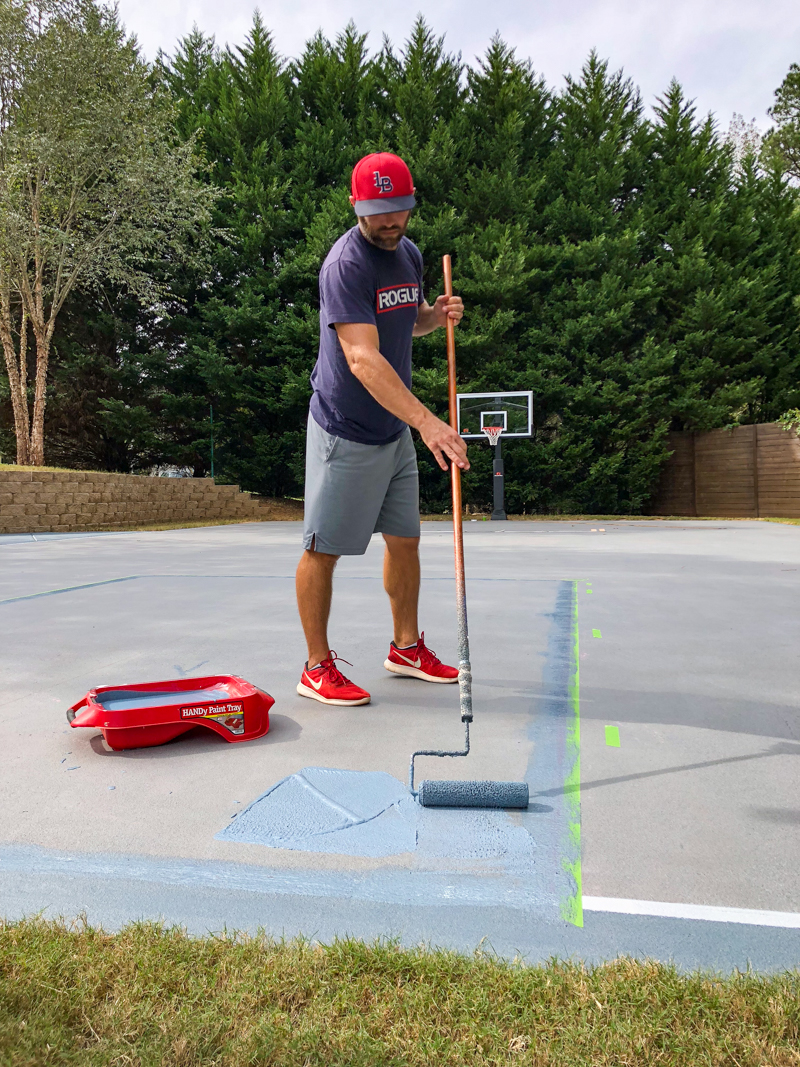
The accent colors do dry darker than the wet. Also the tape is best to remove when the final coat is dry.
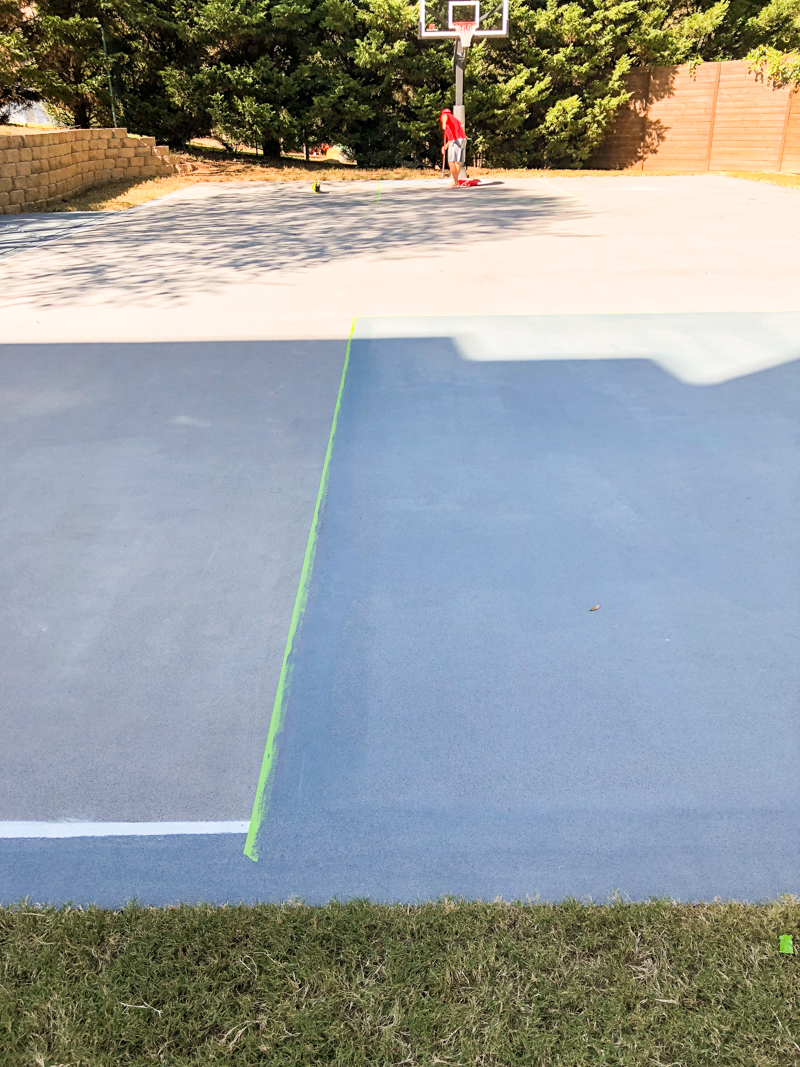
That’s it! That’s how you do the process!
So now to answer some questions.
Does this process take long? It all depends on the weather and dry time. For us, this took excruciatingly long because we had rain every three days. So when it rains, our concrete would get dirt washed onto it. That required another cleaning and to allow it to dry again. If it rains and your concrete gets dirty – it’s an automatic delay. So as long as you have good weather, you should try to do as many coats as possible during the fair weather.
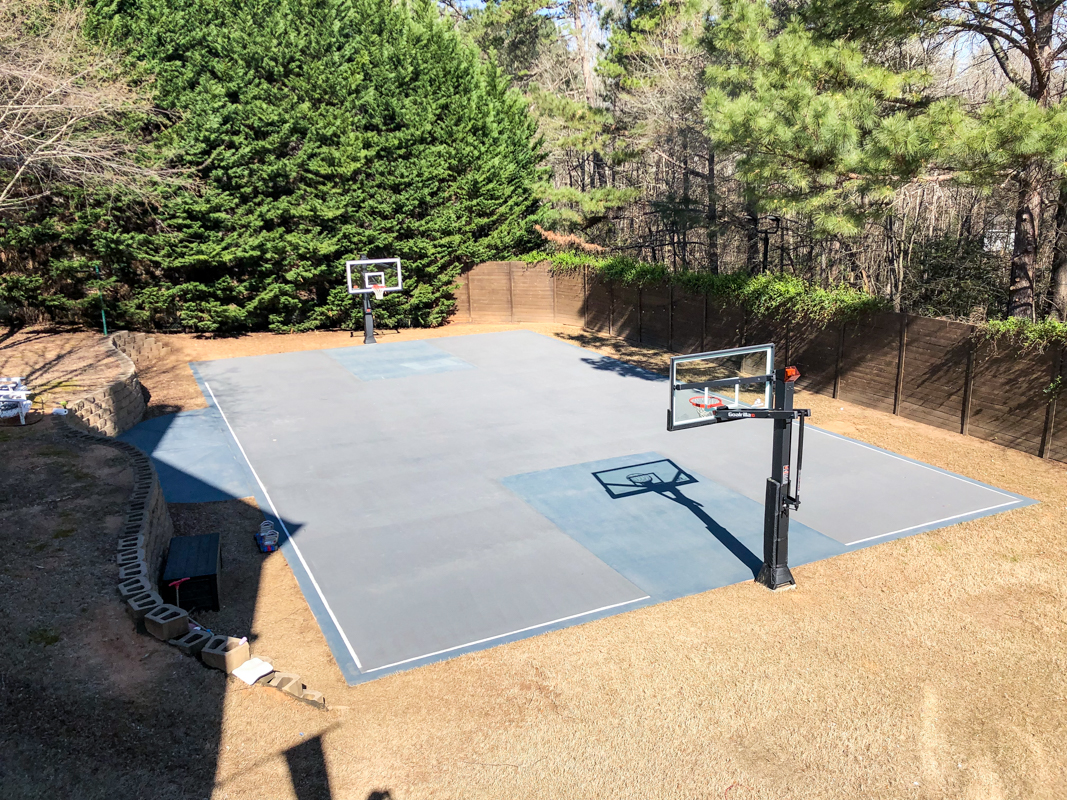
Is the finish even or uneven? I would describe the finish as mottled. It is supposed to have a varied opacity that gives it dimension and movement. It does NOT look like solid paint.
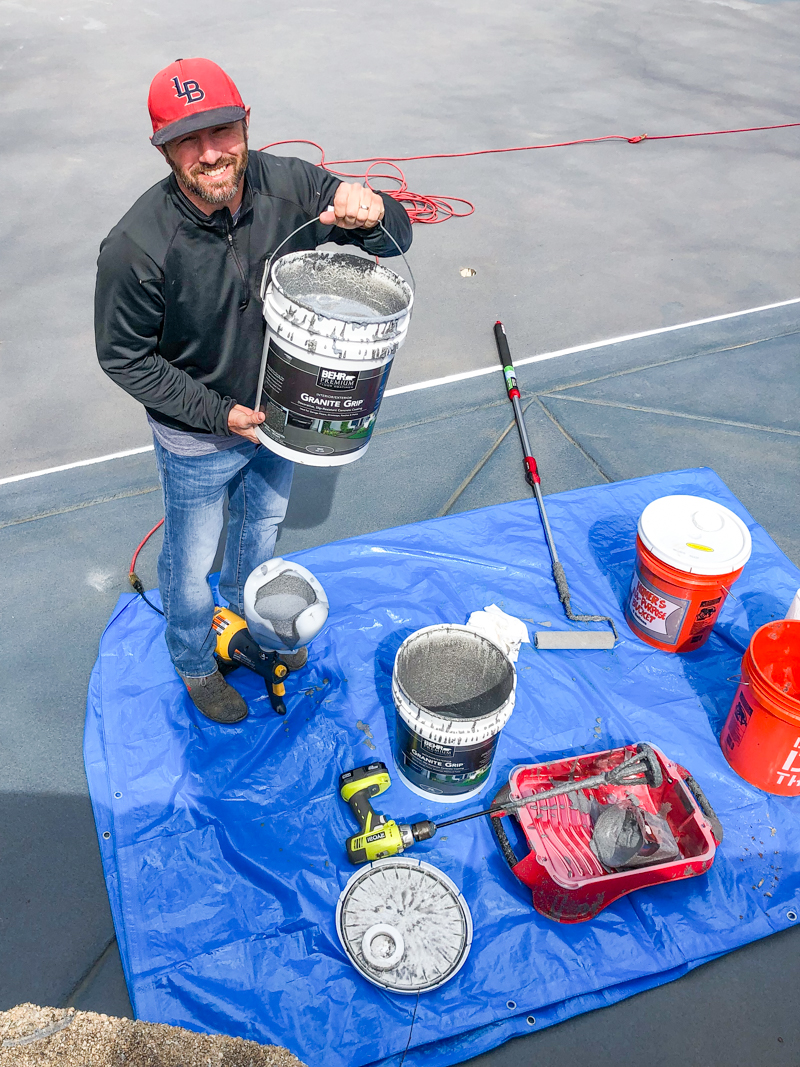
How do you spray it on? To spray it on, we bought a texture sprayer. It is different than a paint sprayer in that it shoots out the Granite Grip more like heavy rain drops.
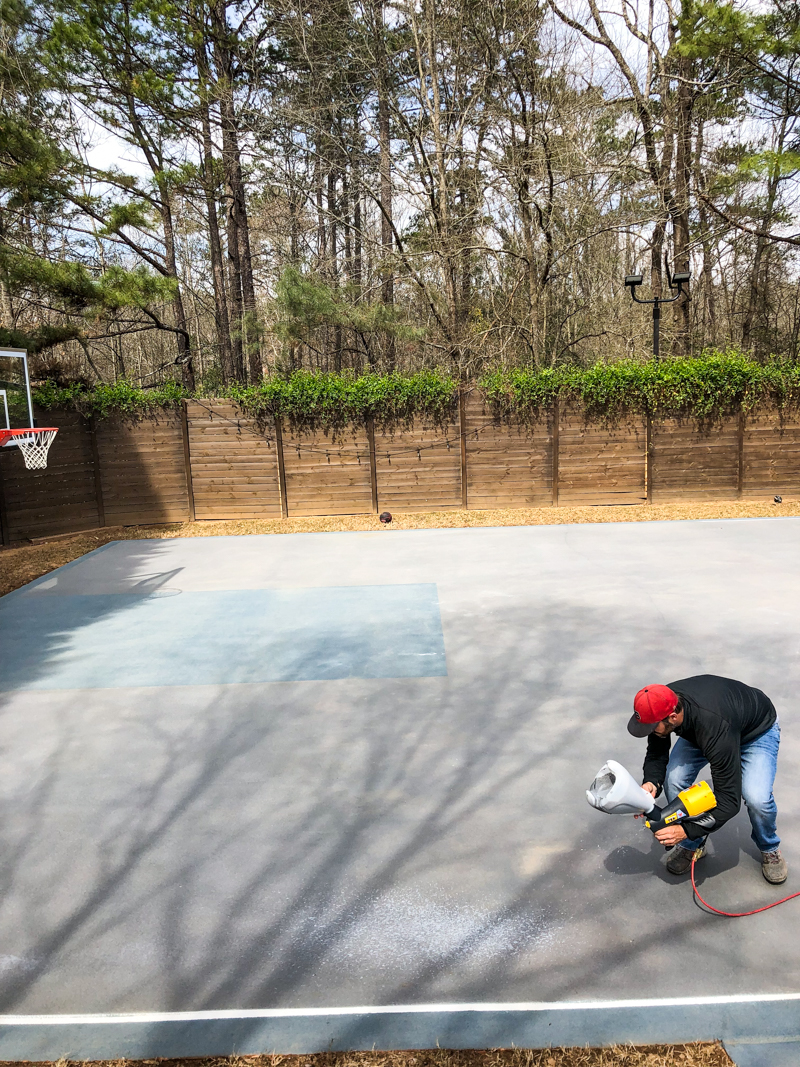
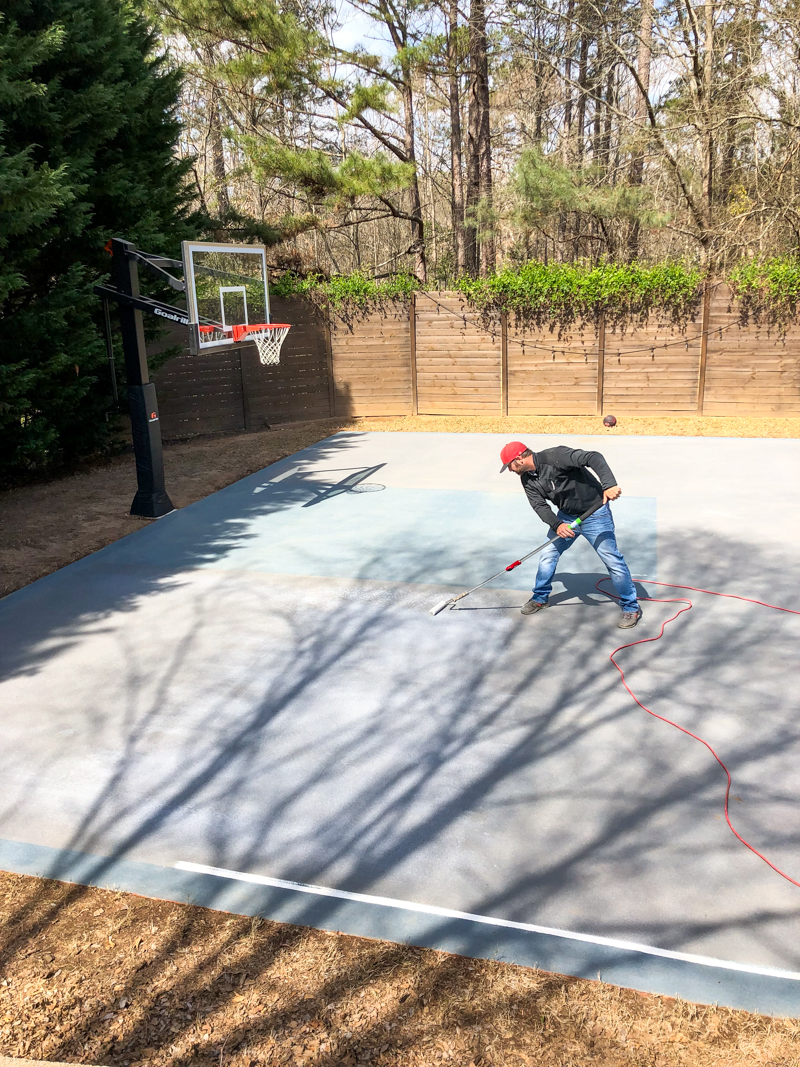
After spraying the entire feed of Granite Grip, it’s time to backroll the product. It is MUCH easier and faster to use the sprayer and roller vs just the roller. It allows for a much thinner and more even coat. It also requires less rolling in general which saves LOTS of time.
That being said – if you do this process – we ABSOLUTELY recommend using a sprayer.
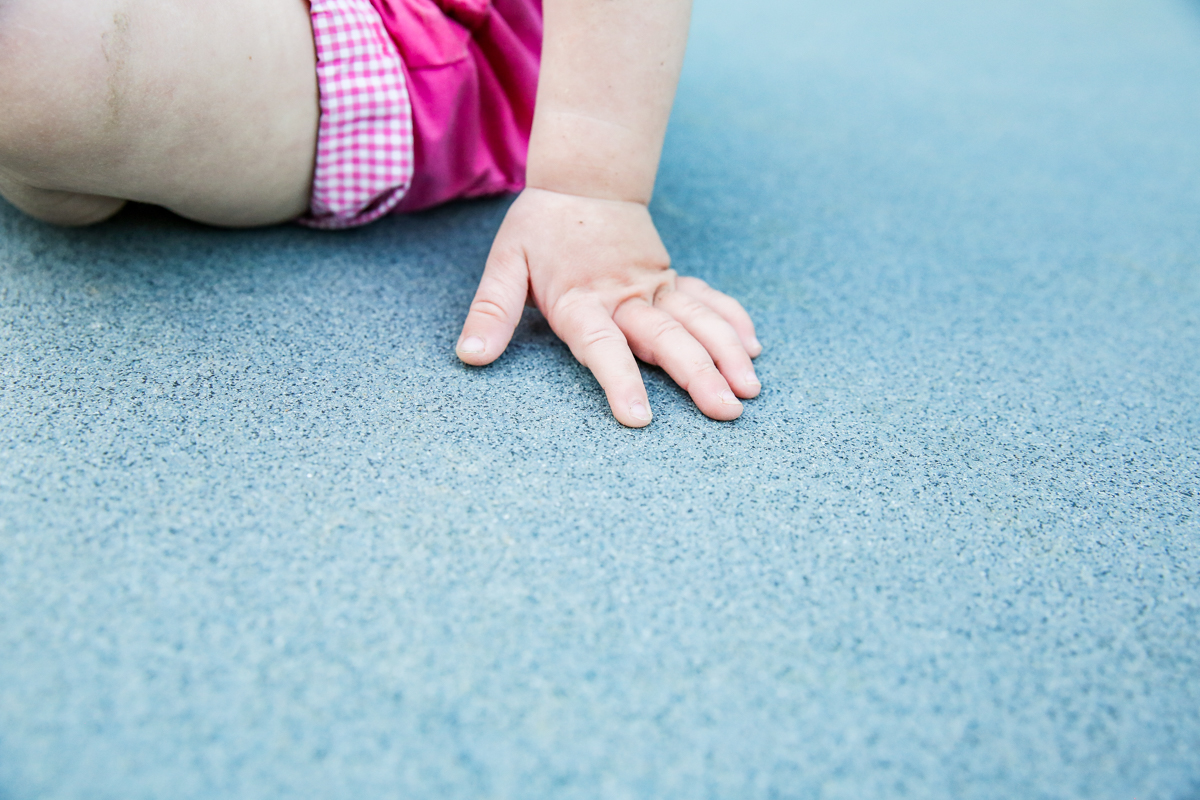
So how do we feel about the finished court? Well – it was exactly what we wanted. It is textured but not painful on little bare feet or too rough for baby fingers.
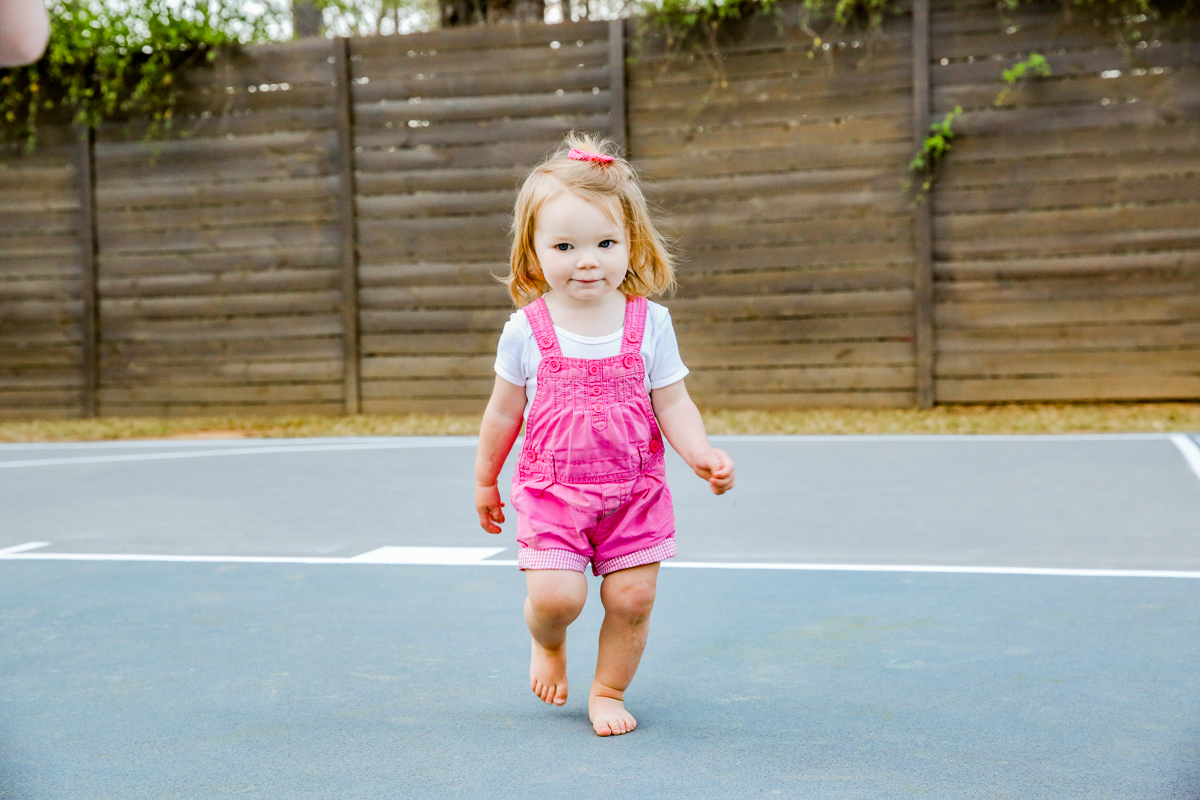
The finish has just enough grit to be slip resistant. Also it sprays off very easily so clean up is easy!
Also it has been very durable so far. We have had bikes screech to a halt with no marks, four wheelers do donuts and there are no tire marks.

The best part about it so far is also that it is exactly the colors that we love. We were happy to say goodbye to the pinks and warms hues and hello to the grays and blues. Overall – we are very very pleased with the Granite Grip results!
Next up – how we painted the crisp basketball lines that really made the colors pop and the court look 100% finished!
