Disclaimer – This post is sponsored by Floor&Decor. All opinions are 100% my own.
It has been WAY too long since I updated you on the Pedraza kitchen….I know, it seems to be dragging out but it is MOSTLY done (styling and little things still need to be accomplished) – if I was a teacher, I would give it a 92% completion grade. Fully functioning appliances and sink and lighting and paint and all that….so now comes the fun part…the details 🙂 But for this particular post I wanted to share with you the Pedraza tile and more importantly, how to tile around a window. I know. You may have tried it and thought things were going REALLY well until the very last minute, and then your tile didn’t match up, things were off and everything seemed wavy. Well, I am here to share some tips on what to do to avoid that whole loosing-sleep thing when it comes to tiling a windowed wall.
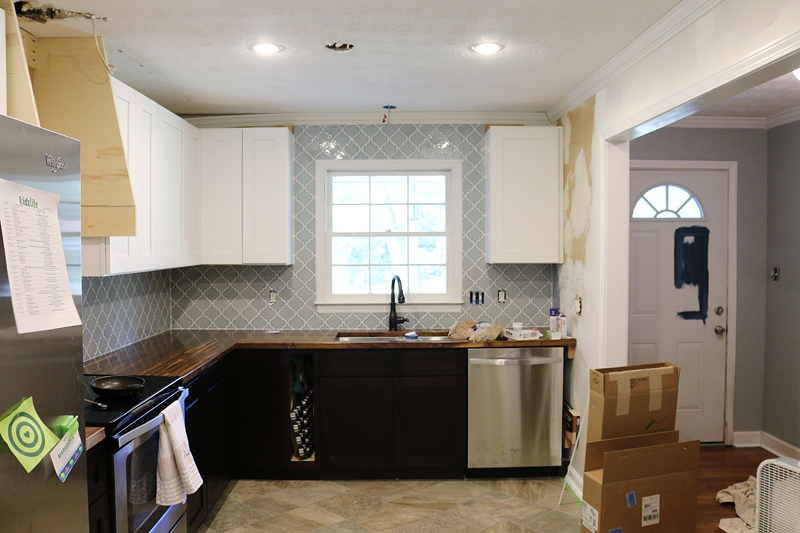
First, a little recap on how far we have come. The Pedraza’s didn’t really have a backsplash before. It was a piece of aluminum glued to the wall and it was painted so you didn’t even know it was there. Charity especially was REALLY excited to be able to pick out the new tile for the backsplash and let me tell you – it was the ONLY thing that she had a strong opinion on which made it super easy to choose.
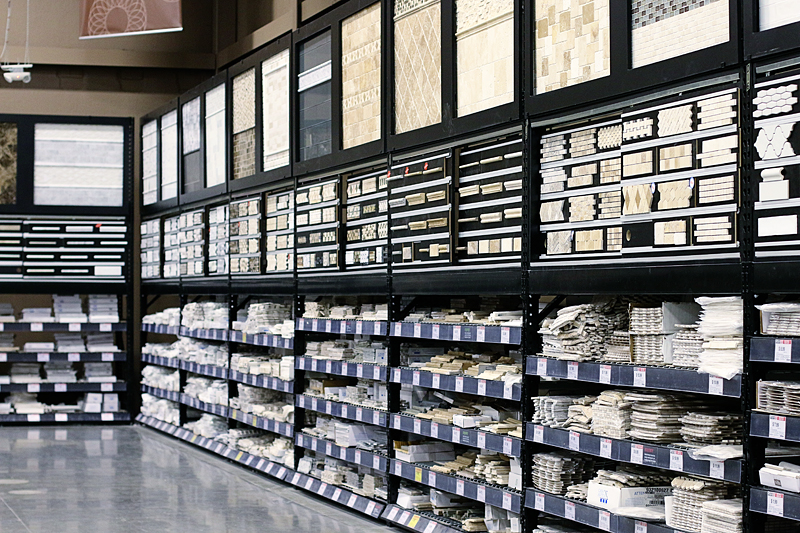
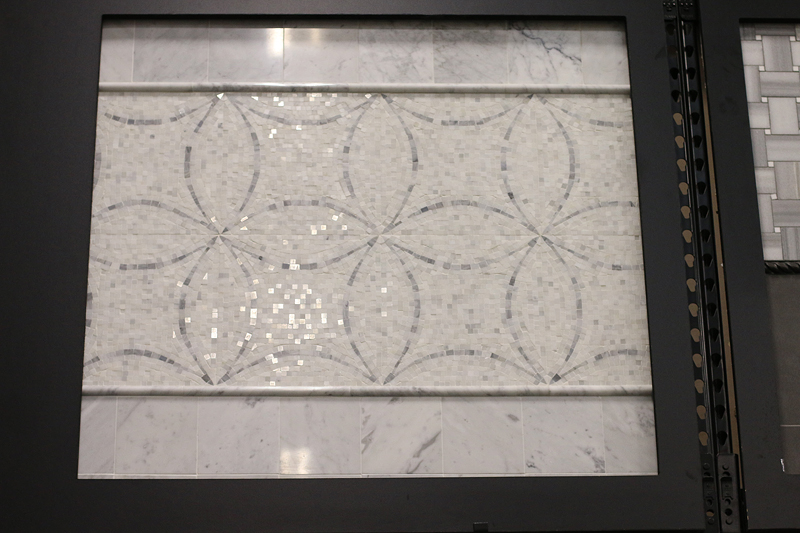
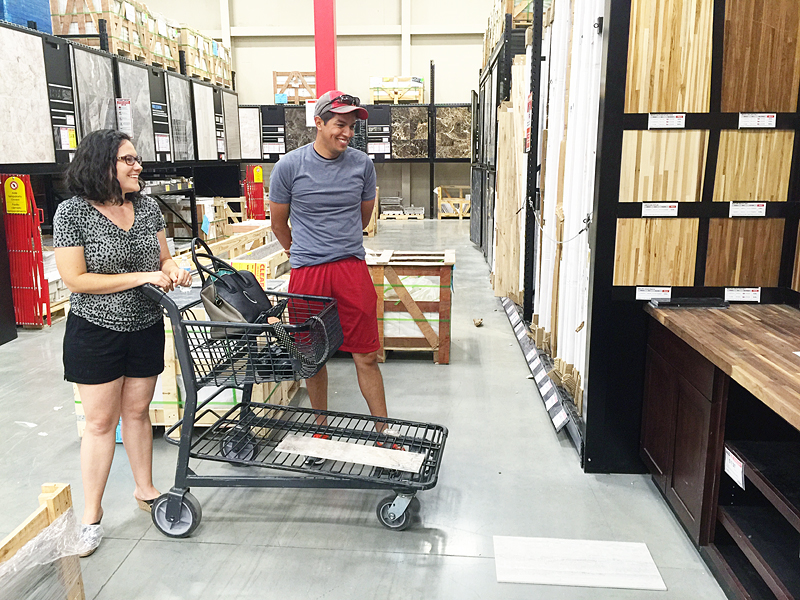
One Saturday this summer, we all met up at Floor & Decor for the tile shopping process and I blogged about it before but seriously….I freaking love that store. I could just go there to window shop. It’s so fun to me!!! The decorative tile is my absolute favorite section of the store because they always have new options and seeing all that tile inspires me to do something beautiful!
Some readers have asked me what tile store I recommend….and here is my official opinion….I have tried them all…and you should design a room with your aesthetic and budget in mind. Figure out what styles you like that you can afford. Most of the time, stores will either have only one option that fits in your design concept or in your budget….and then come to Floor & Decor. They have a low price guarantee on the same tile – so it’s worth a visit. I have found their quality to be great and their customer service is so helpful. I’m not gonna tell you that your design should be based on a certain store….that would be like saying, you should never shop for shoes anywhere but Shoe Carnival….that’s silly! I will say that Floor & Decor has never disappointed me with options, quality and with their helpful staff and that it’s the first place I go to find tile.
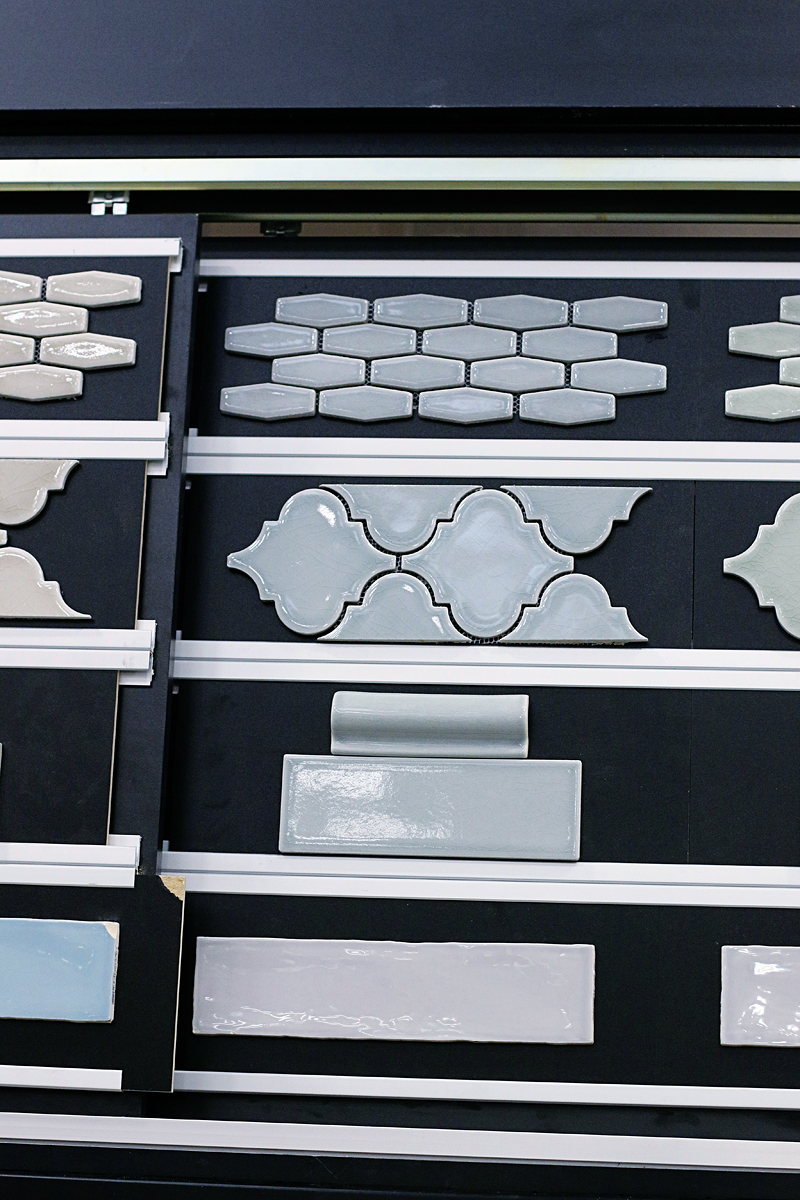
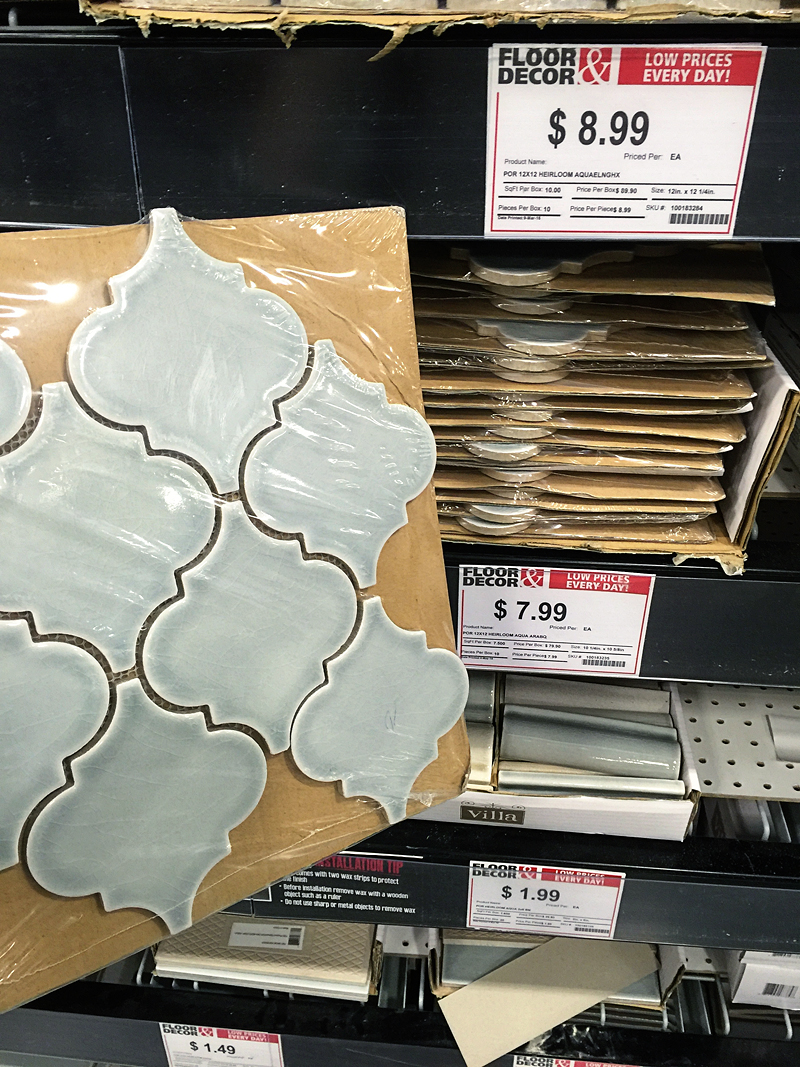
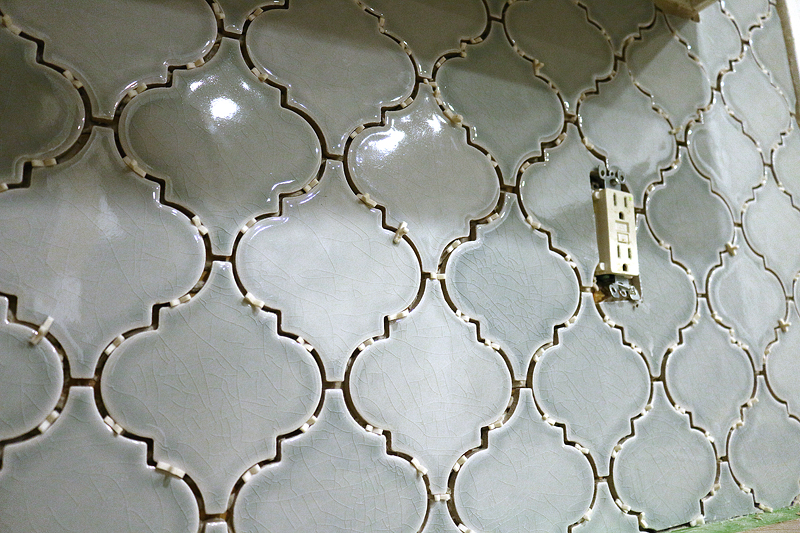
Now back to the story about Charity. As soon as she saw this blue crackled glass arabesque tile…it was over. done. kaput.
I was over there drooling on this wall…..ohhmagawrsh this tile melts my butter!
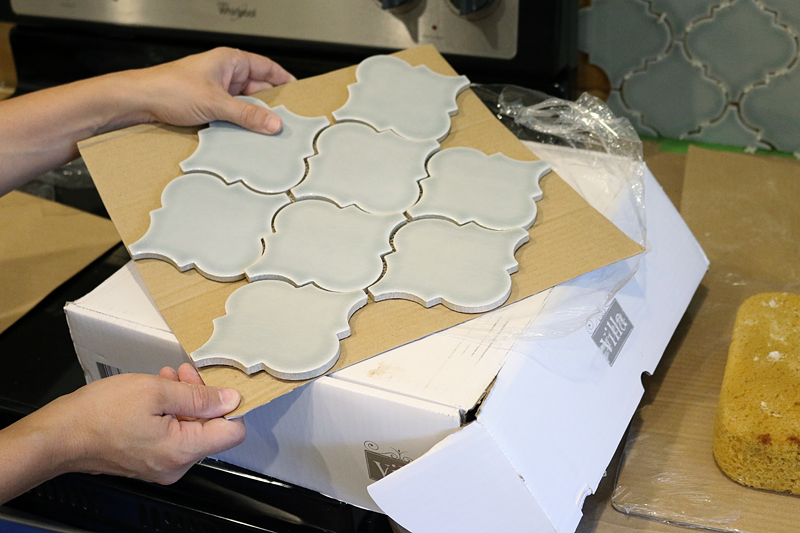
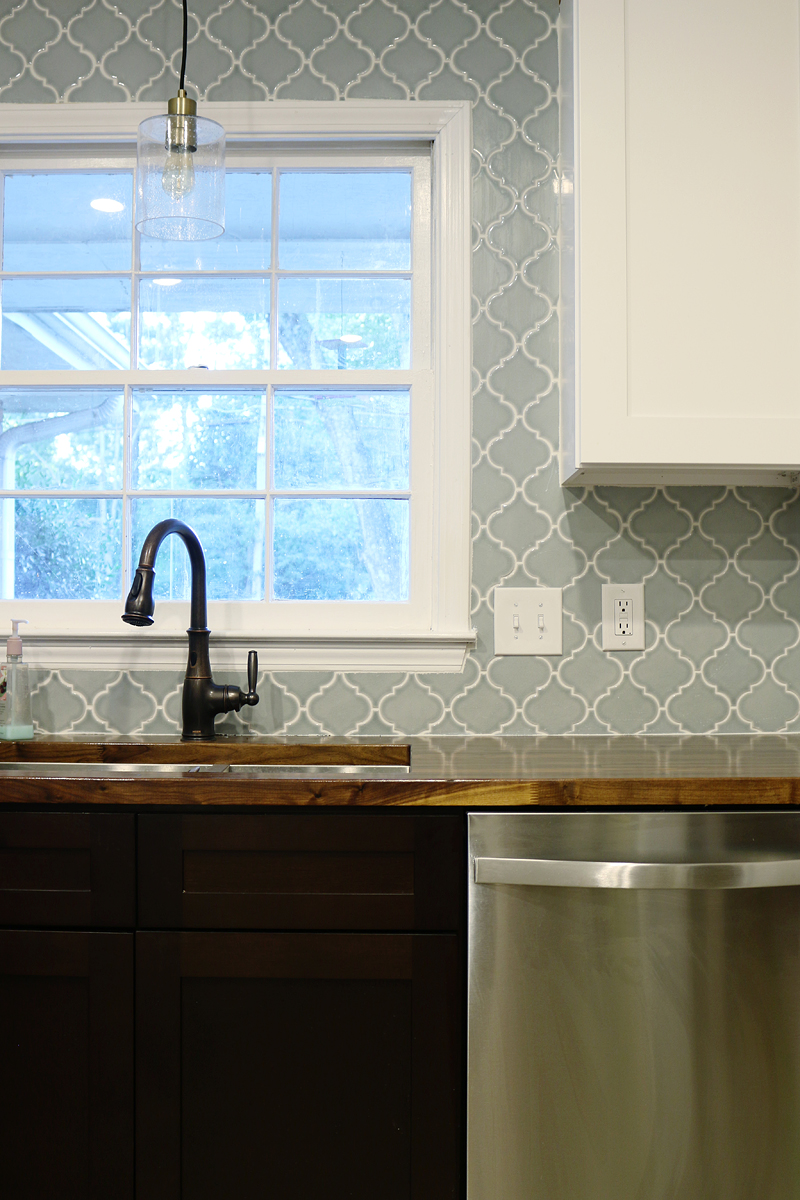
But she was certain that this was her dream tile for her kitchen and I was SO happy that the choice was so clear! Plus the price was great at $9 a piece. It’s called the Villa Heirloom Aqua Arabesque Porcelain and it’s SO pretty. Also, I love the fact that Floor & Decor has it in other sizes and shapes…so if you wanted to do a bathroom with a bullnose edge or you liked the finish but in a different shape – they have those options too.
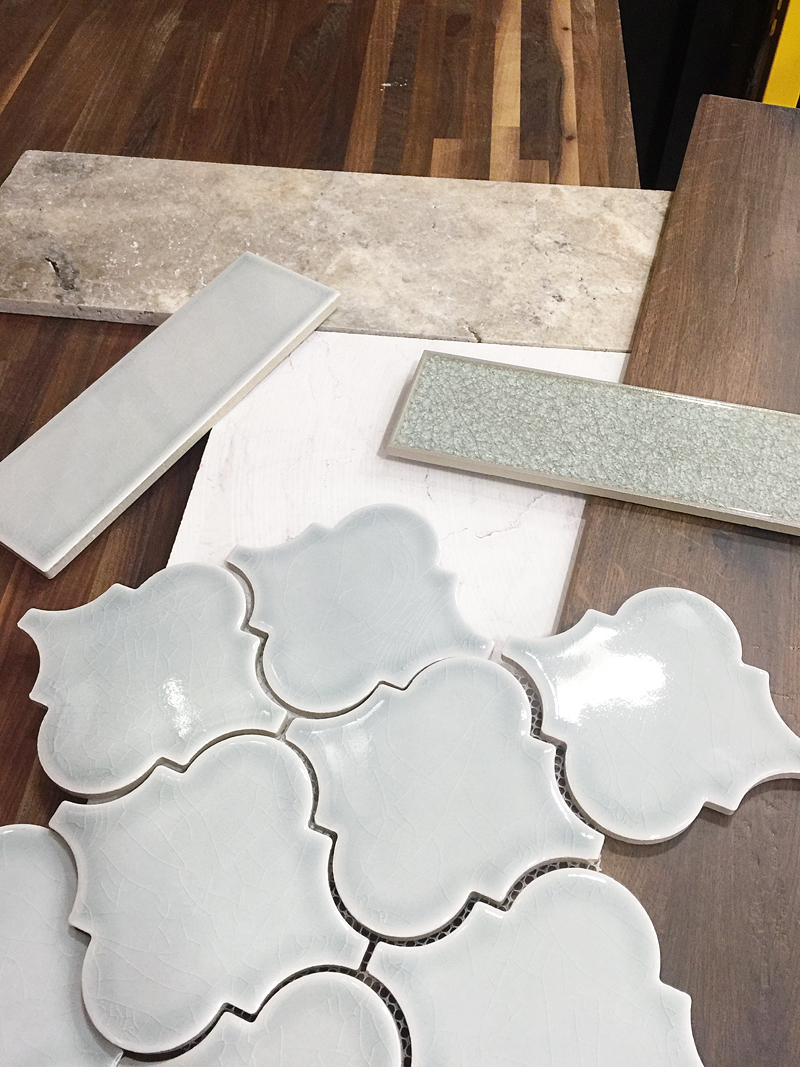
We laid it out with the different colors of the kitchen and it totally worked.
It was nice to be able to see everything conceptually together in one store. Floor & Decor is also the spot we bought the butcher block countertops so we just camped out, created our own little real-life moodboard and sorted through all the options.
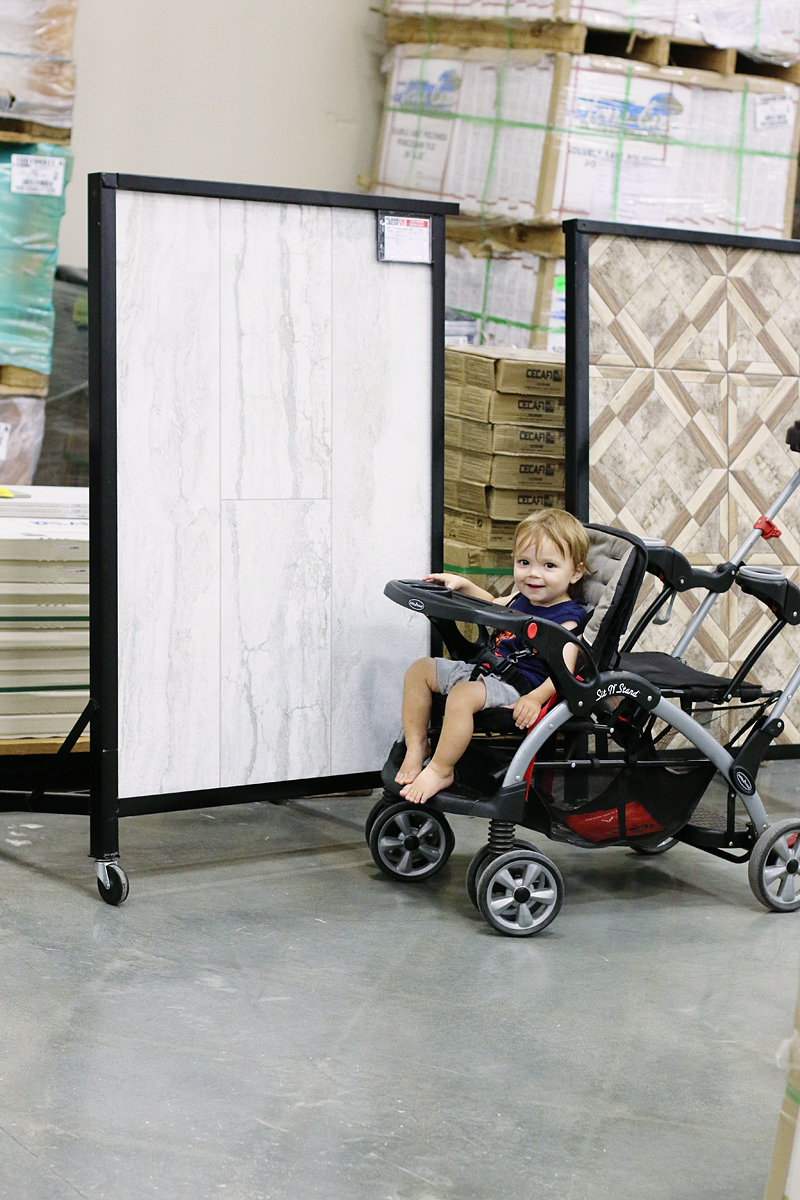
Maxi Knight has good taste. Isn’t that floor tile amazing?! Come to mama!
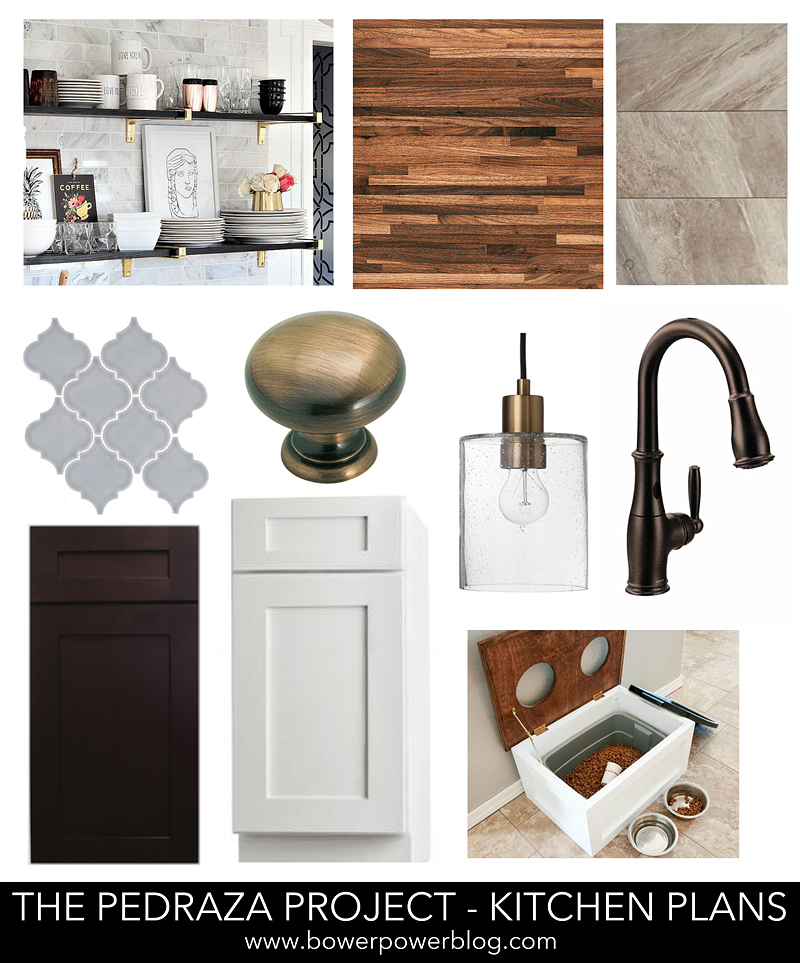
As you may recall, this is the moodboard for the space and it’s perfect for that tile choice….
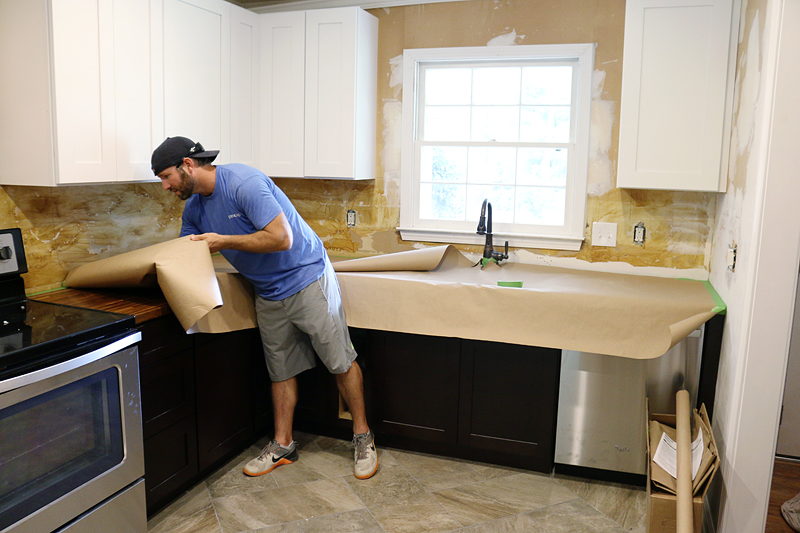
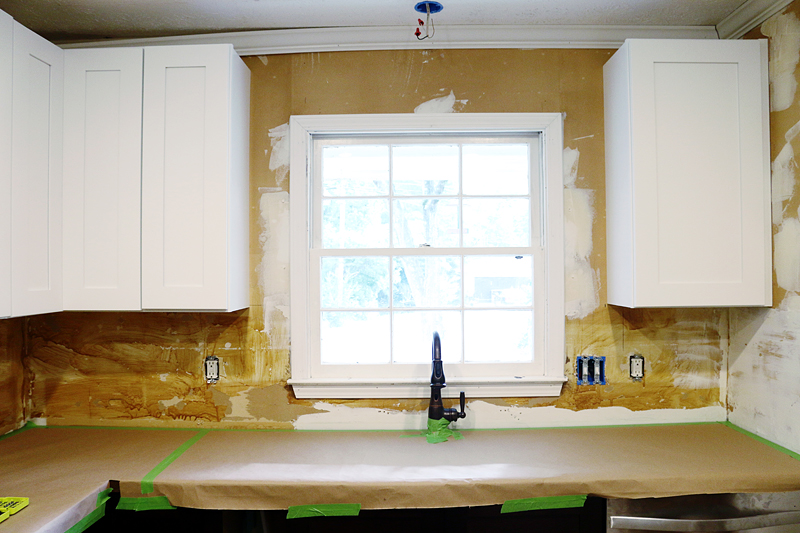
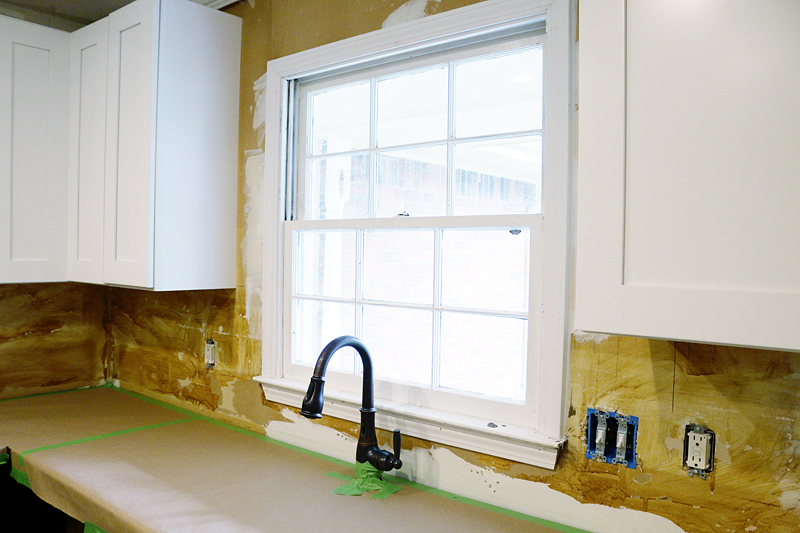
Okay so once the countertops were done, the tile prep needed to happen first….
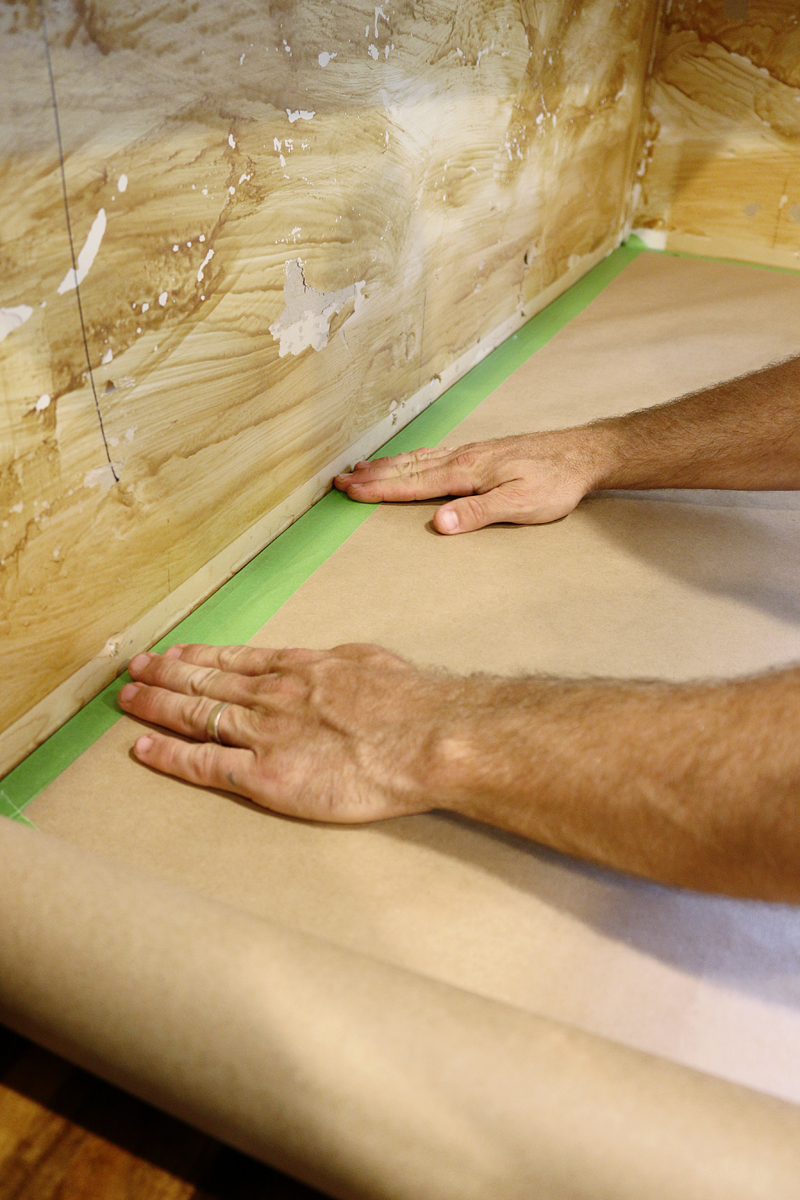
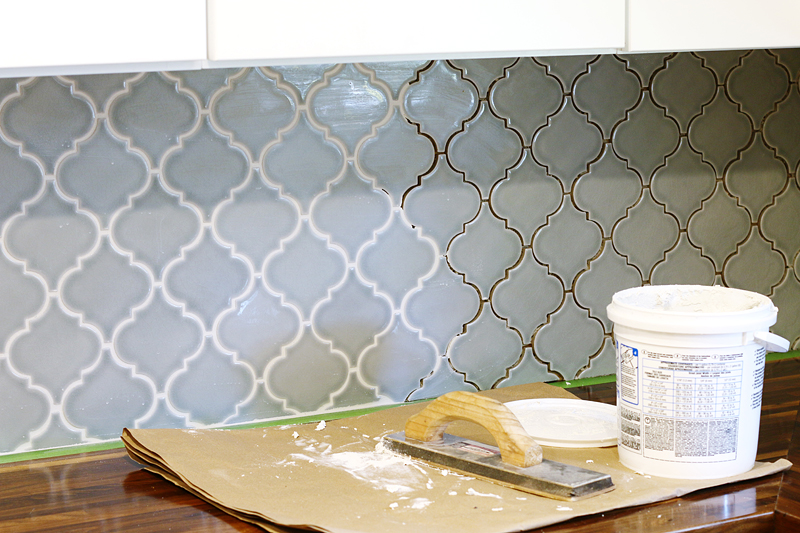
We have found that painters tape and thick painters paper is sufficient for most counters.
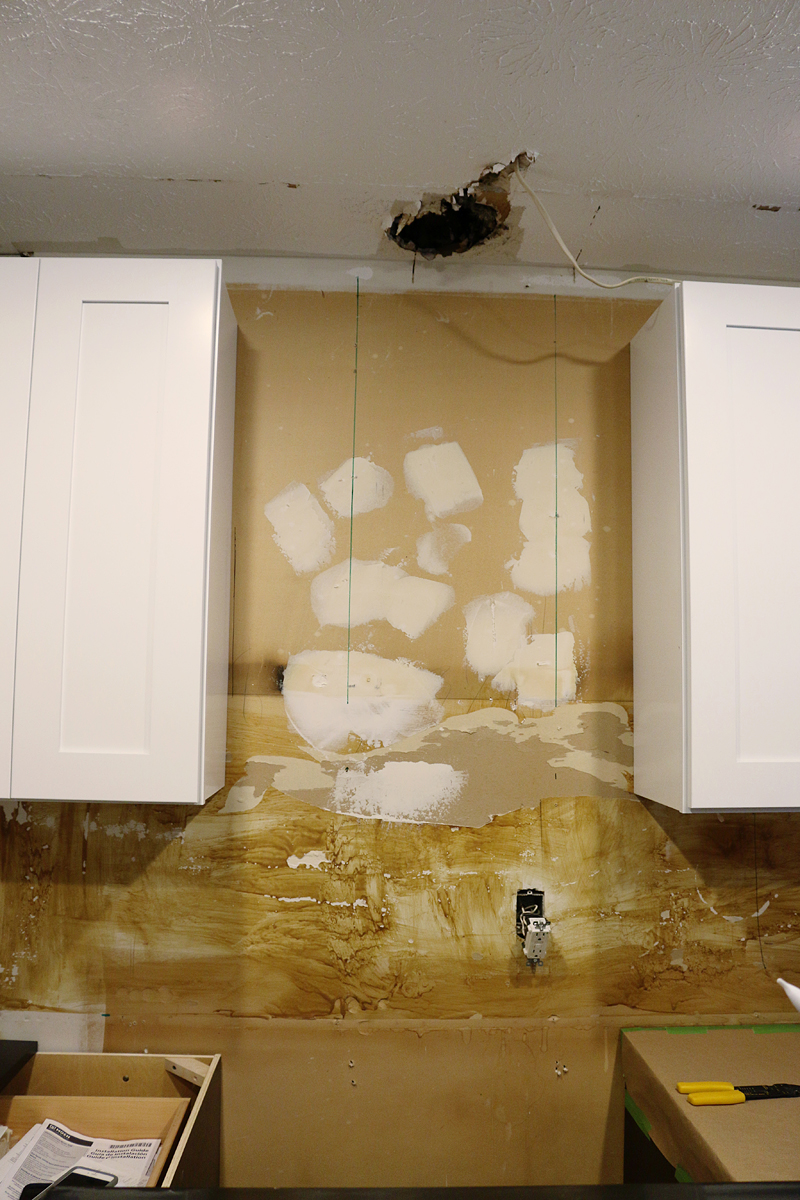
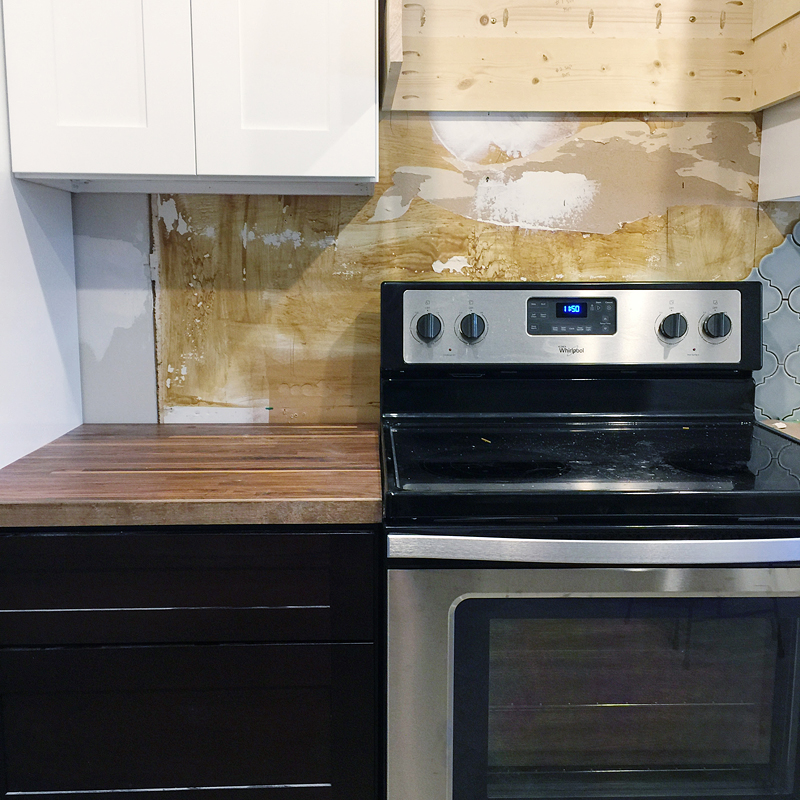
We also had a bit of prep for this area….so that we could know where the tile would start and stop….and also because that plug was a total waste. Who needs a plug that literally is right behind the stove?
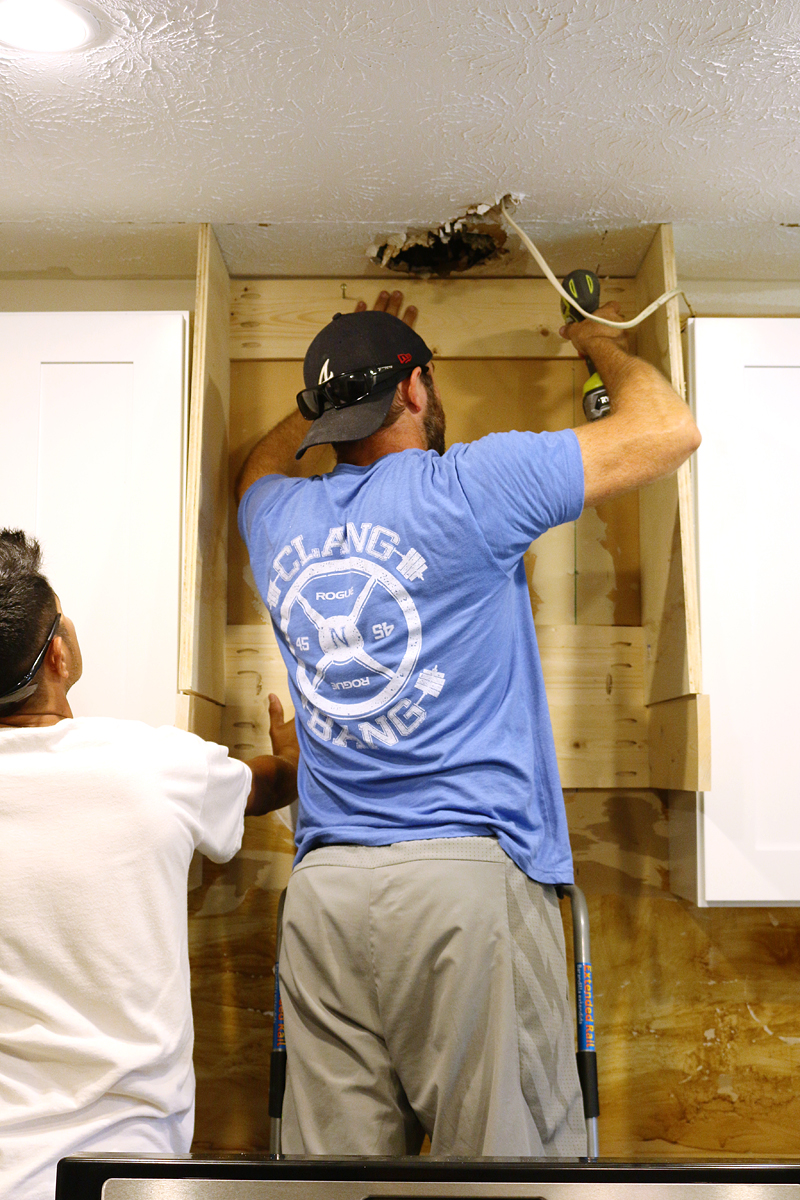
We built a custom hood for in here….more on that later….but the frame needed to go up before the tile, so Jeremy and Danny installed it after I rushed to make it.
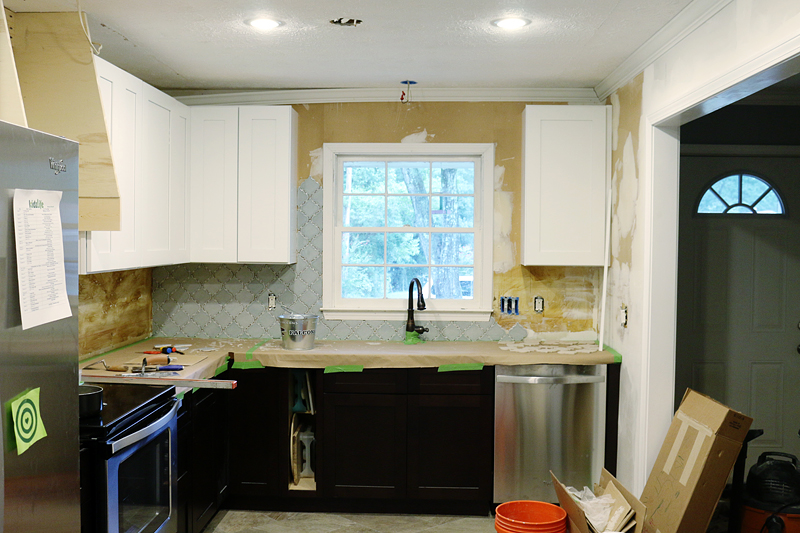
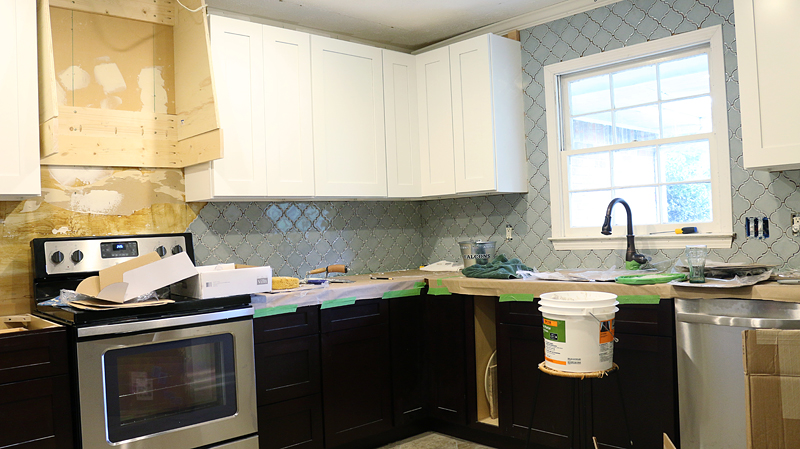
Okay….so once the majority of prep was done, it was time to tile. Since there are two focal points in this space – one in the center of the window on this wall and one being the stove and hood on the other wall, I needed to account for those and tile from center OUT.
Okay….so here it is….
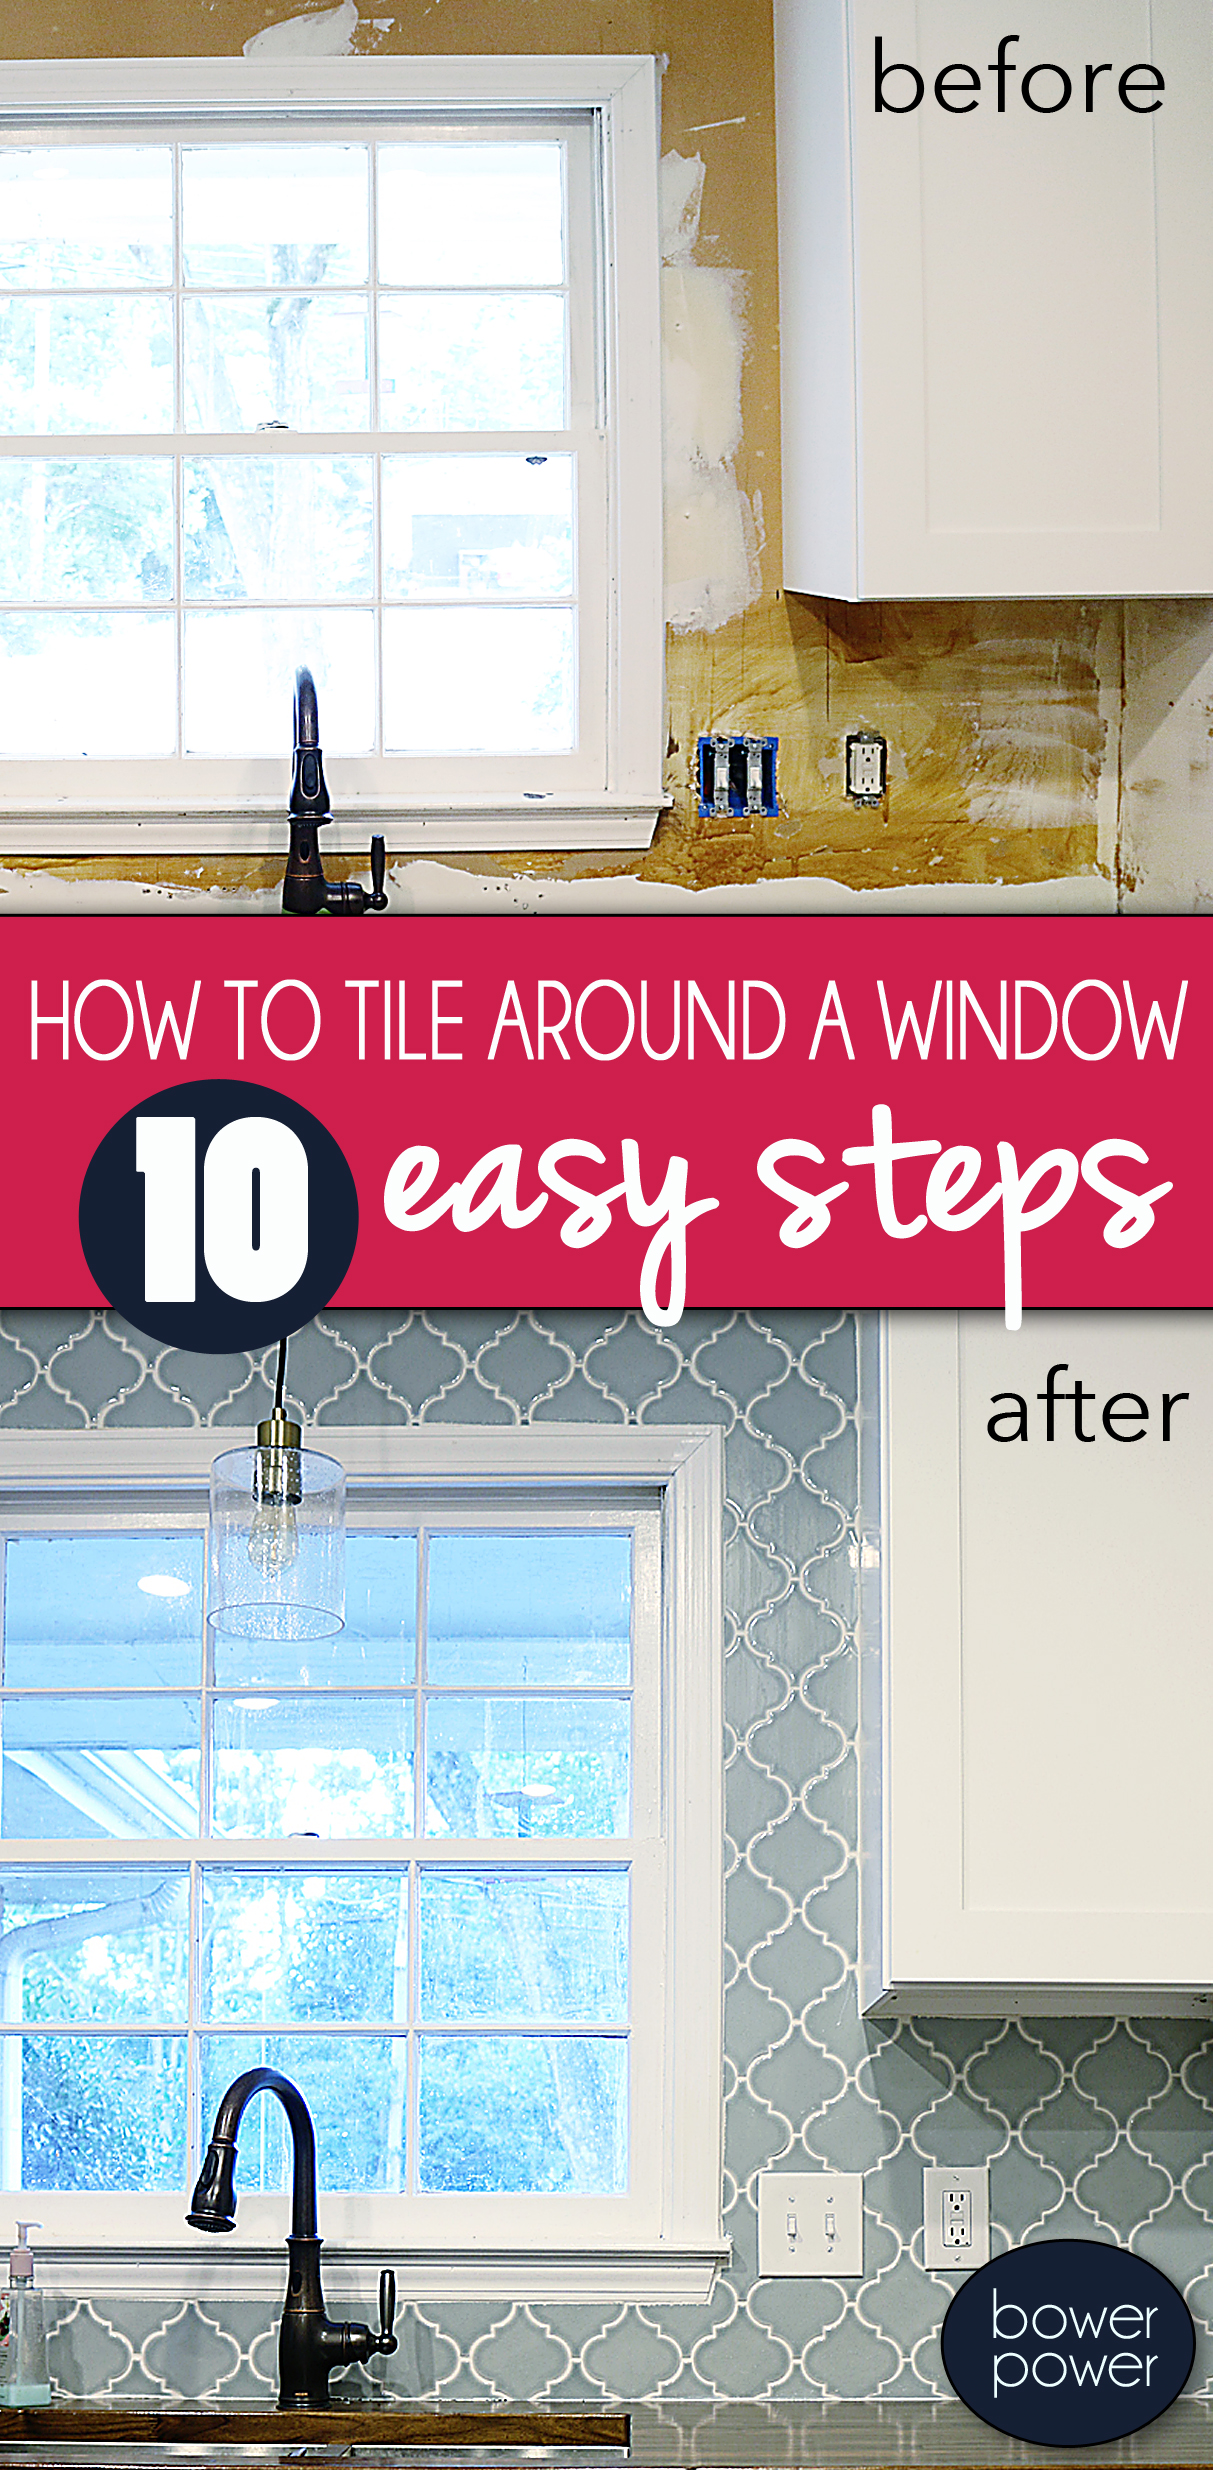
HOW TO TILE AROUND A WINDOW
#1 – PREP YOUR WALLS & COUNTERS
Make sure your walls are smooth enough and remove any weird caulk, bumps, or nails. You also need to unscrew all your outlets and pull them out far enough to accommodate any tile bits that might go under them. Remember to turn off the power to them before you electrocute yourself 🙂 Also, make sure you have all the stuff you want to protect, taped and covered.
#2 – GATHER YOUR SUPPLIES
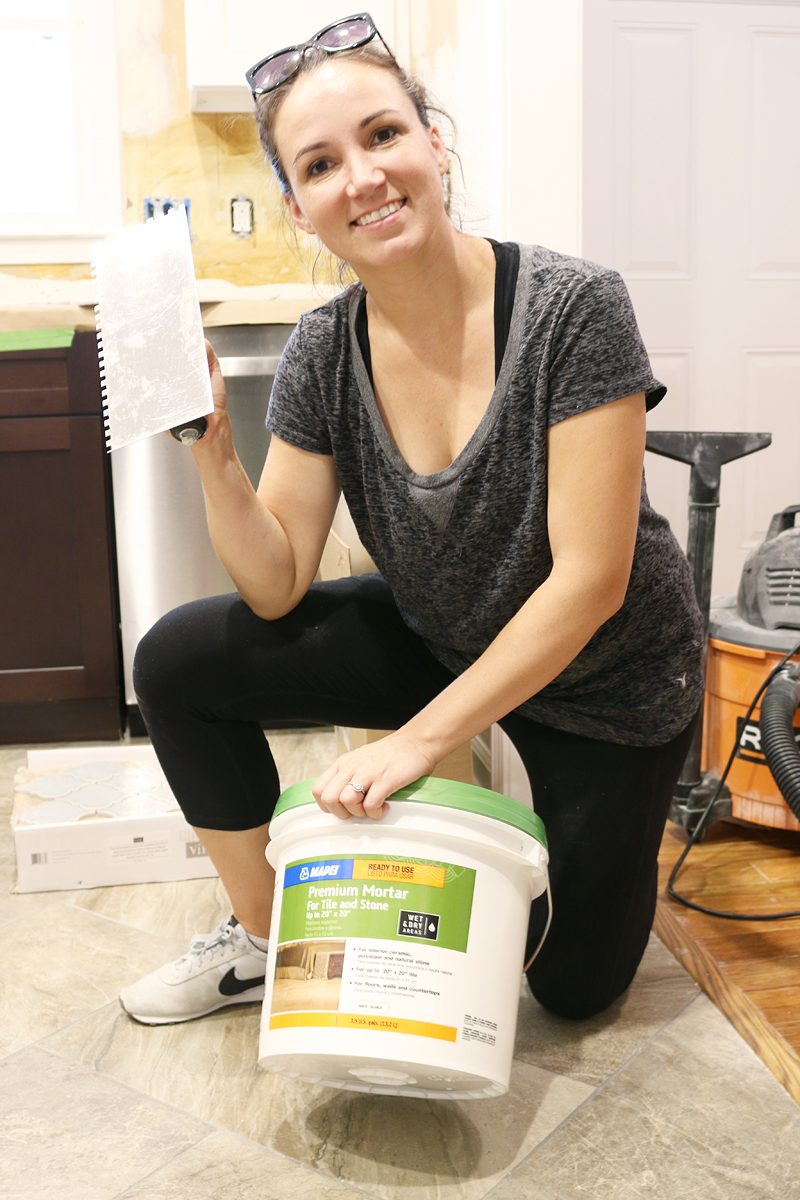
You will need your tile, a tile saw, a trough and spacers and your adhesive. Adhesive for backsplashes is called thinset or mortar. You can use either one. Thinset and mortar may be available premixed and is a great time saver.
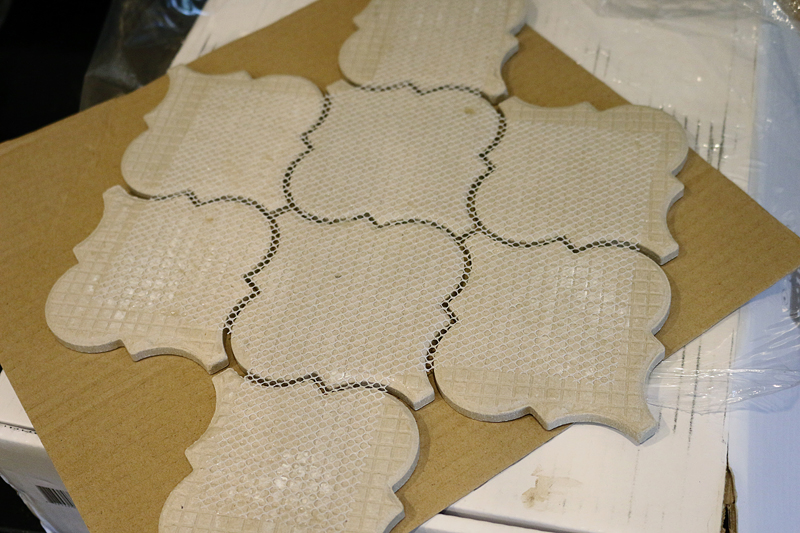
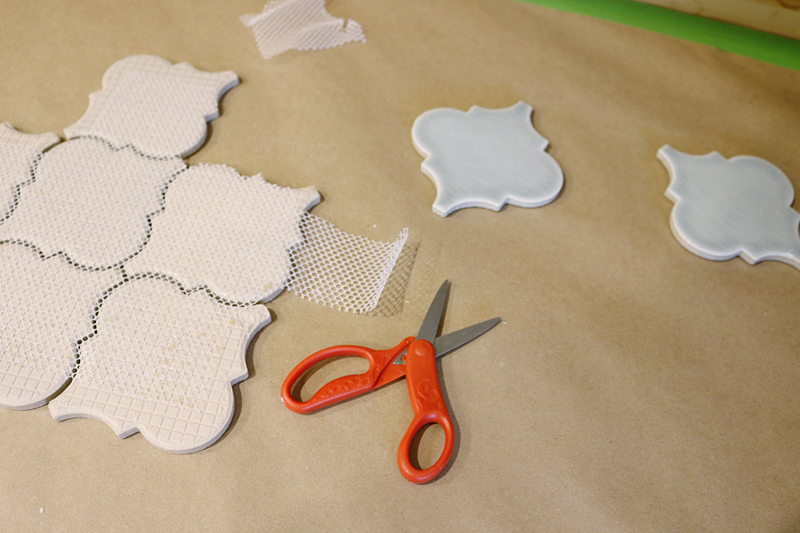
This tile is great because it came in sheets with the mesh backing. This allows you to apply a square foot at a time. When tiling around a window, you will probably need to remove the mesh from the tile and use individual pieces.
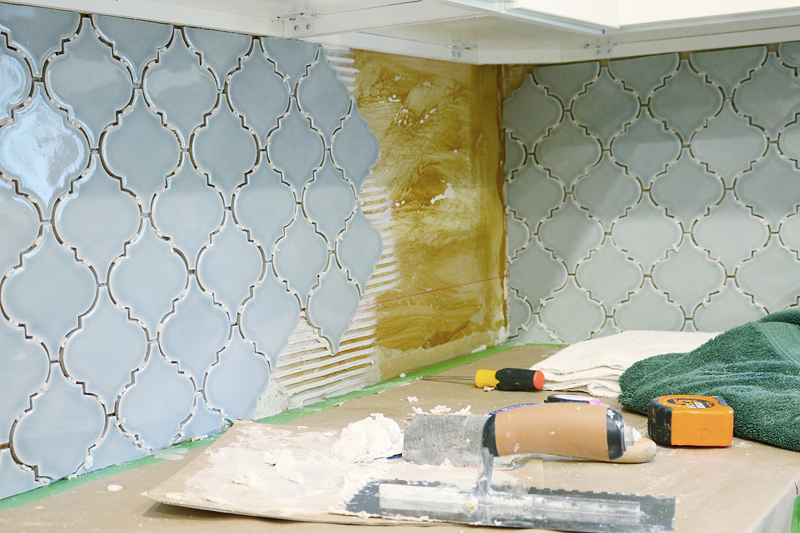
Your mortar will be applied with the trough and is kinda like icing. It’s messy and you want to avoid having it too thick or too thin. You will need an even application of it – either on the wall or on the back of the tile (this is called back buttering).
#3 – DECIDE YOUR FOCAL POINT AND YOUR MERGE LOCATION
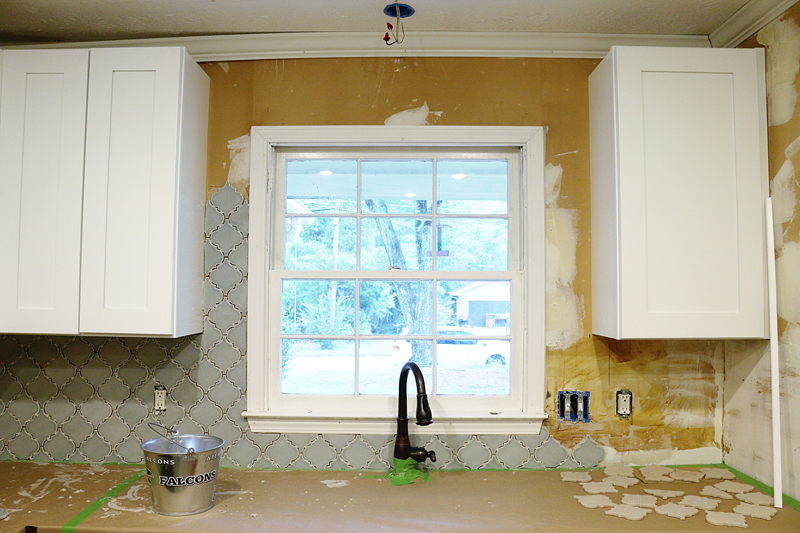
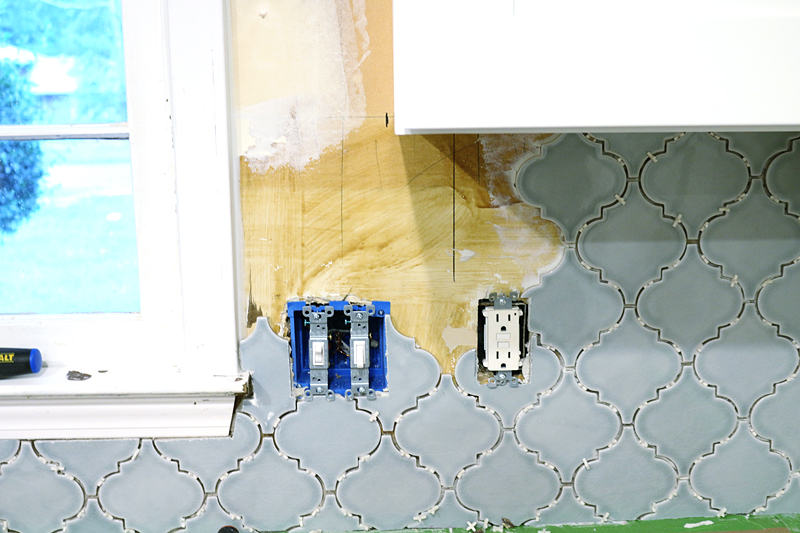
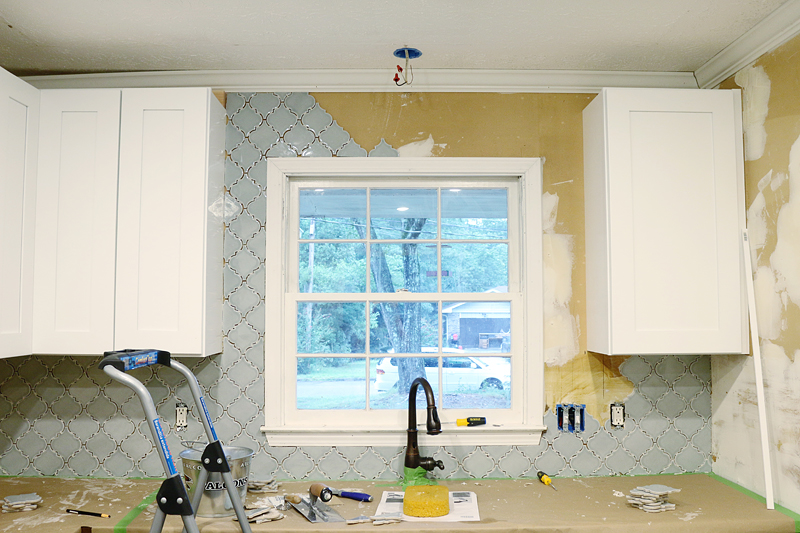
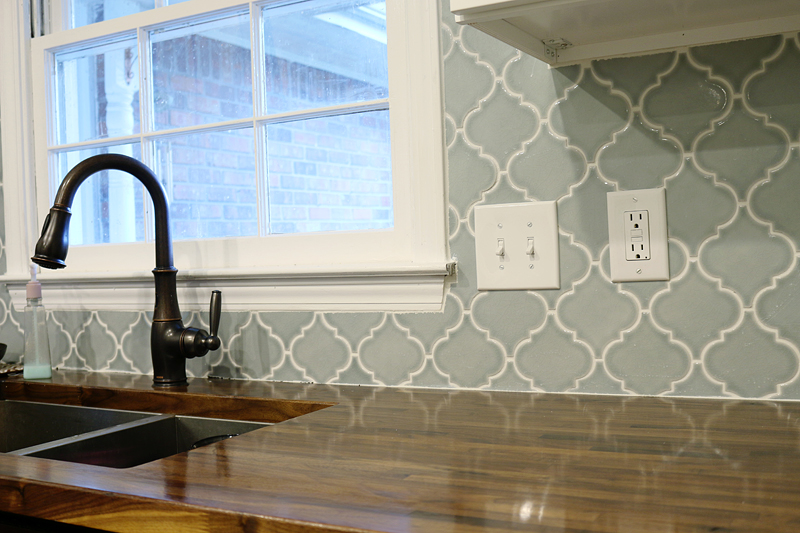
Your focal point is usually the center of a window, sink or stove and that is where you want the center of your tile job to start. You can either use the center of a single piece of tile and align that with your focal point or you can put a center seam there. Either way, you want everything on both sides of the focal point to be balanced. It would be a shame to ignore the focal point because then a full tile might fit on one side of the window but not the other….and this would make it look like a poor tiling job. Also decide your merge location. A merge location is when your starting tile meets up with your finished tile. The merge location could be at the top, side or bottom of the window….I decided to make it merge together on the left hand side of the sink. See the light switches and plug? I would tile all around the window and if there was any small issues with alignment or spacial gaps, it would reflect there.
#4 – START TILING AT THE BOTTOM
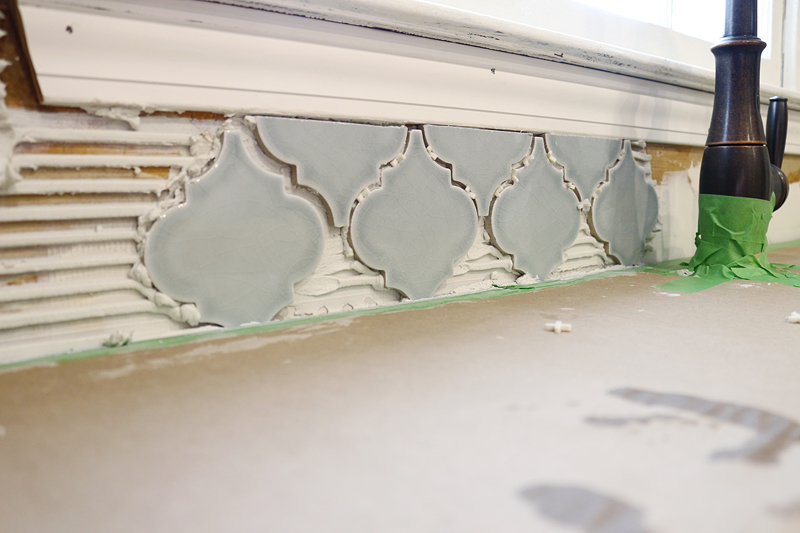
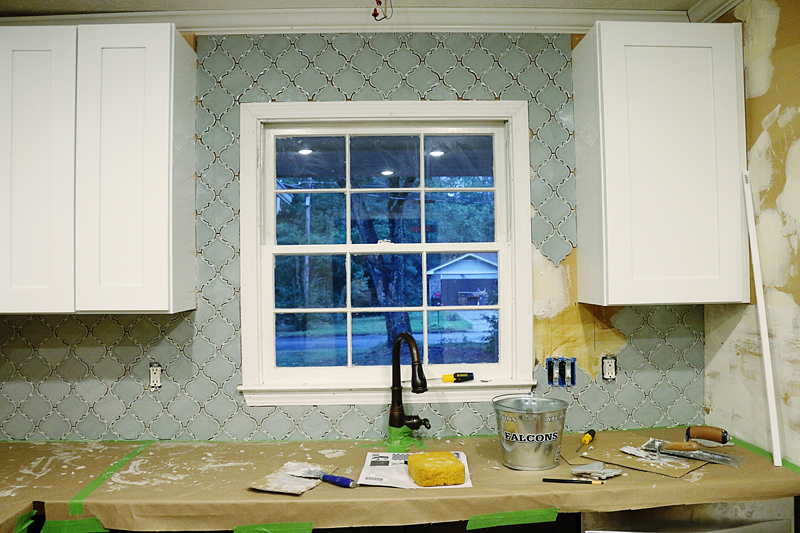
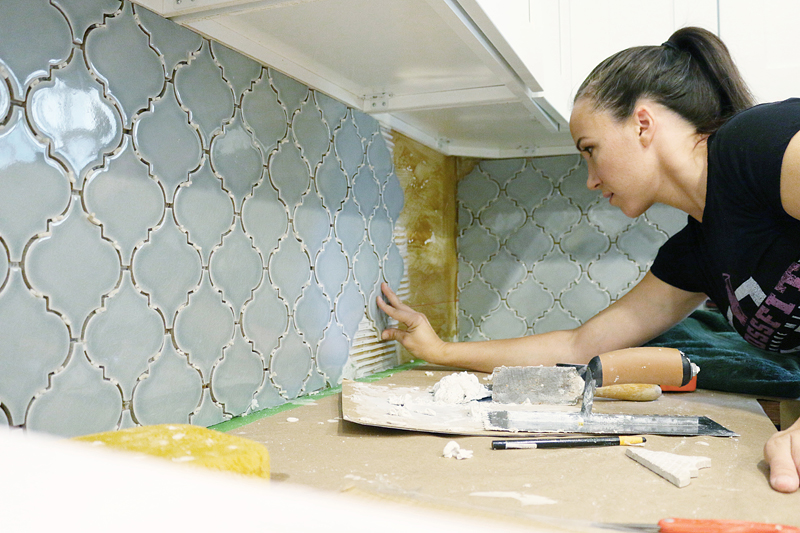
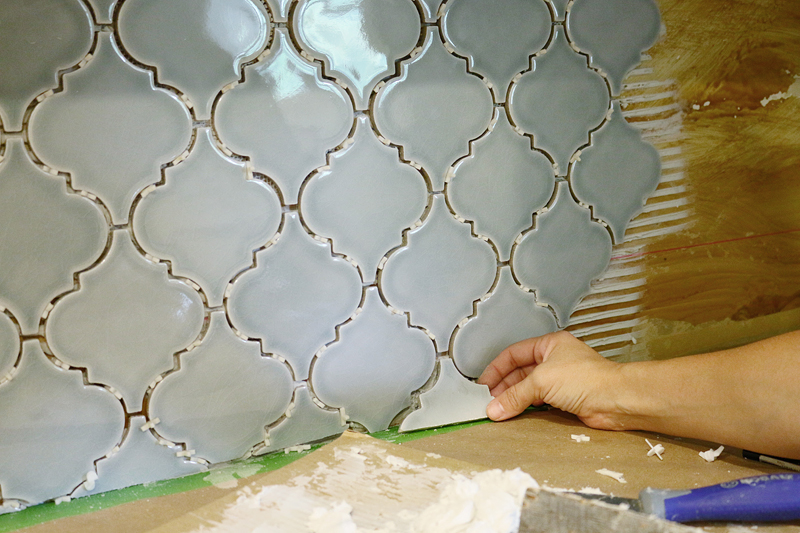
When tiling around a window, I always start at the bottom so that I can make sure that the weight of the tile has something to rest on. The bottom row of the tile rests some of it’s weight on the countertop. This is a really detailed area and will test your patience.
I found that sometimes I would only remove certain tiles and that made the bottom row go faster.
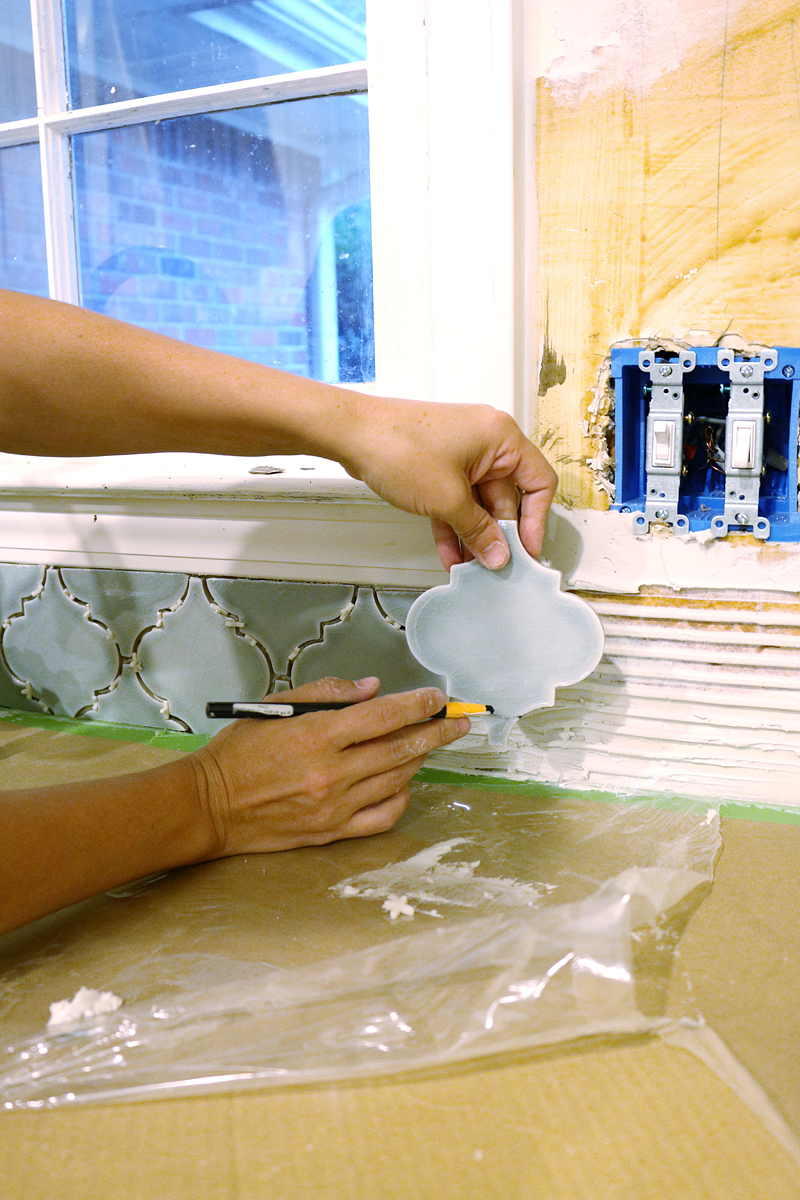
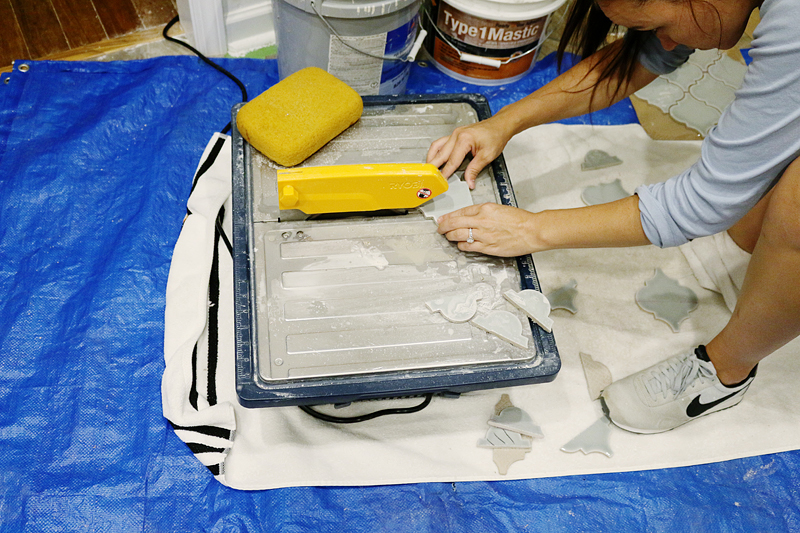
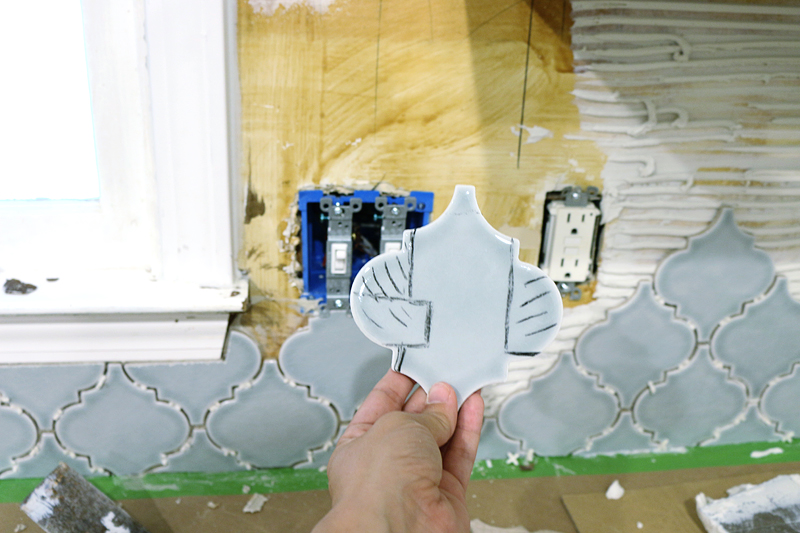
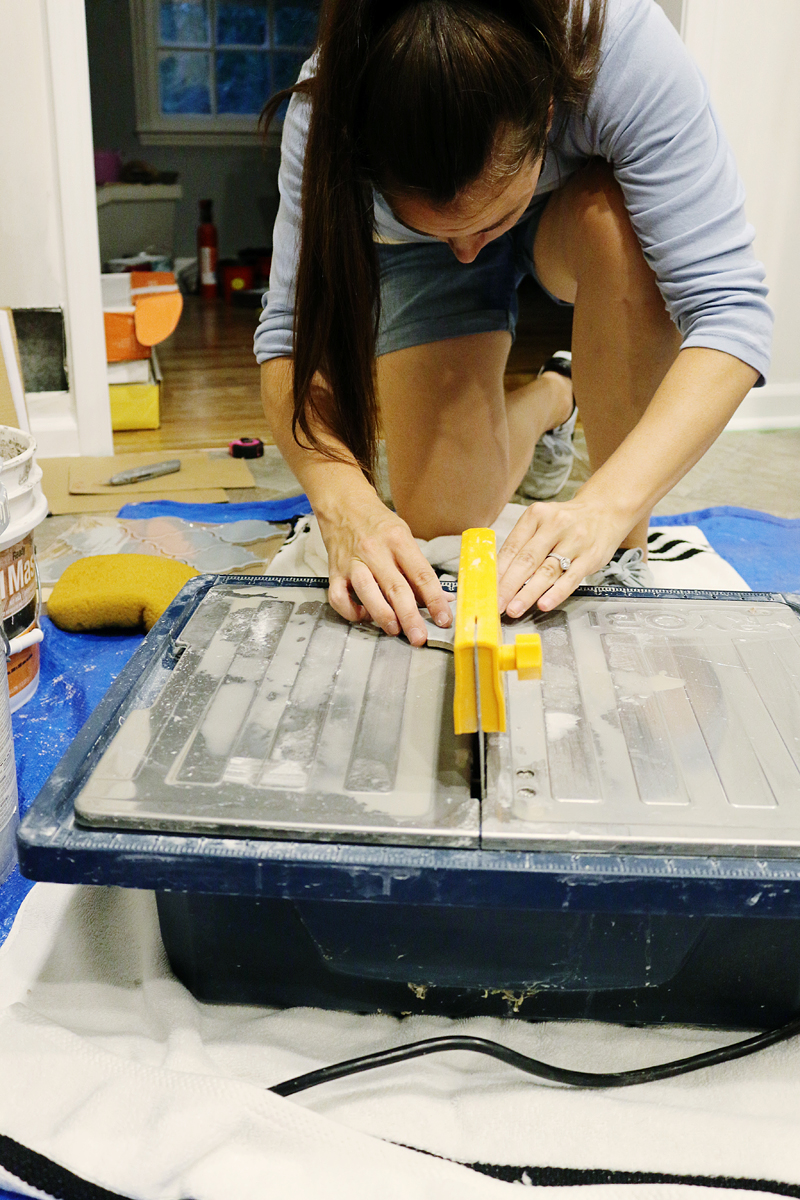
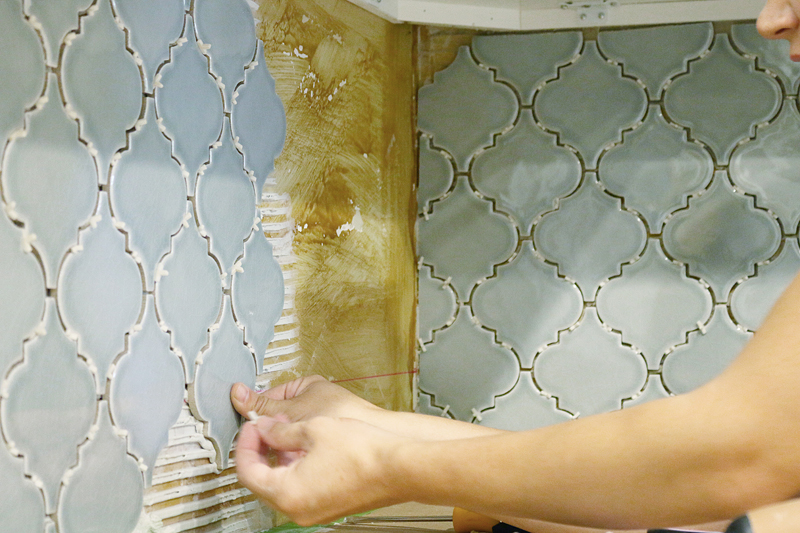
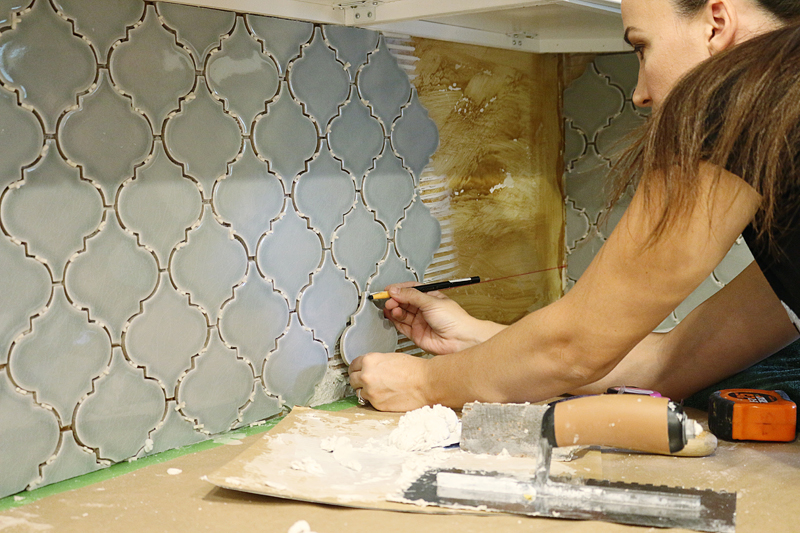
It’s also important to mark cuts for individual tiles. Don’t cut every tile and expect your countertop or wall to be perfectly square….most are not. Cut each tile for it’s specific location. Using a wax pencil, you can mark the part you will cut off….
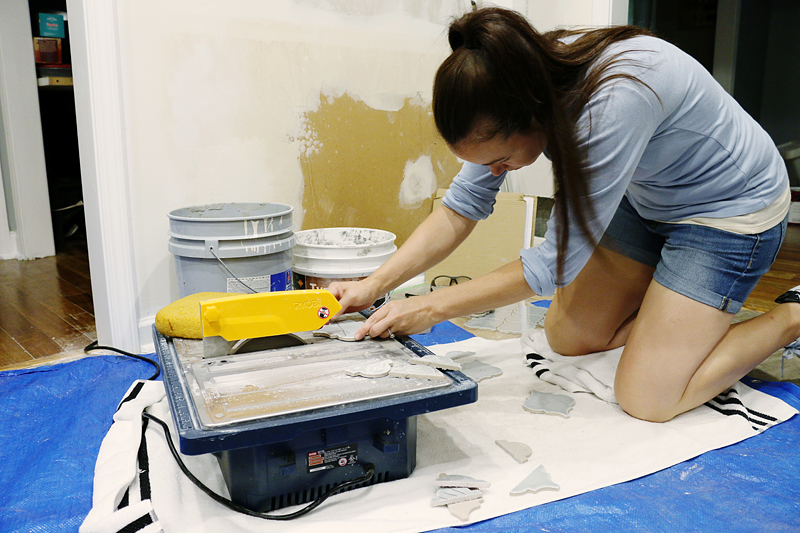
And then use a tile saw to trim it to the correct length. I will warn you – this glass tile is no joke….tiny little shards of glass were flung about and we would get little cuts on our hands and legs if we weren’t careful.
#5 – TILE UP ONE SIDE OF THE WINDOW
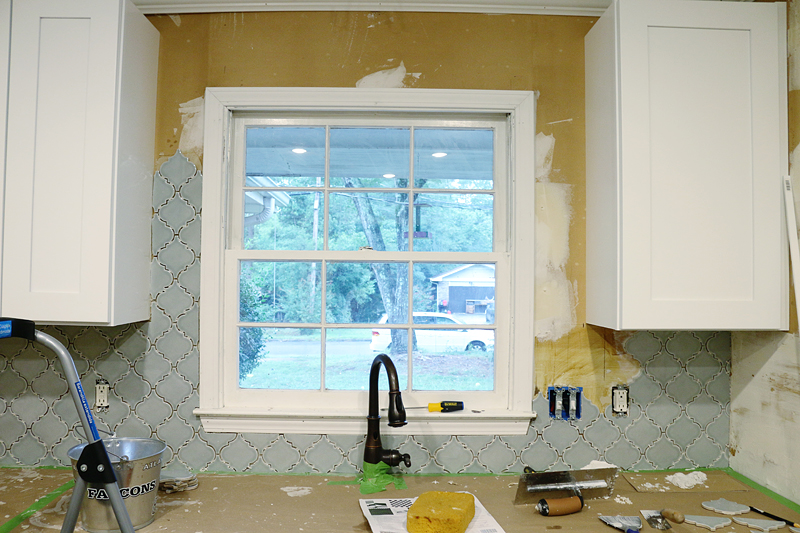
Once the bottom row is done, you can start tiling up the window on the opposite side of your merge location. Be sure to take note of how plumb the tile looks by stepping back and making small adjustments. Remember that not all windows or cabinets are installed plumb and so minor spacial adjustments will need to be made.
I like to also step back occasionally just to make sure that the tile is looking okay with the grand scheme of the kitchen. If it is starting to lean left or right, you will want to shift things while the adhesive is still wet.
#6 – TILE ON YOUR MERGE SIDE TO MINIMIZE THE MERGE SITE
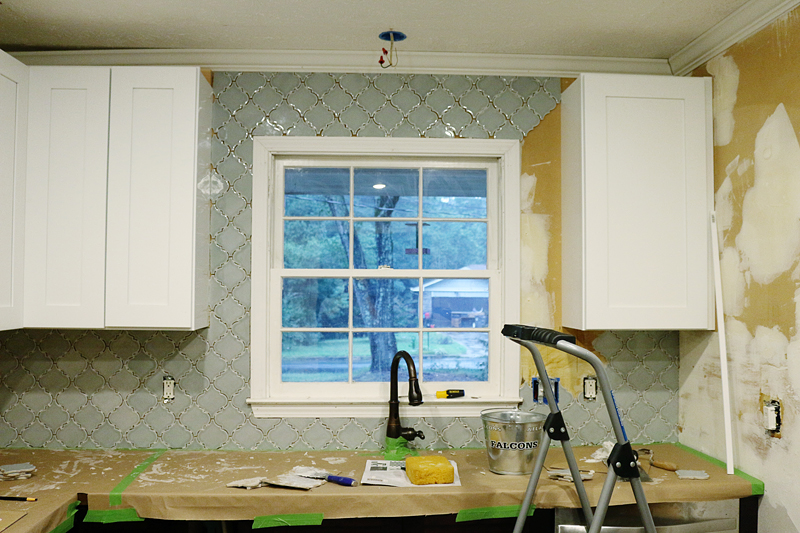
I know – I am using the word merge a lot and it’s weird. I get it. So sorry. But it’s the only way I can think of describing where the base tile meets the tile you will end with. That is where any gaps will appear. Sometimes you leave more space between tiles on the top of a window compared to the space between tiles on the bottom….giving you a gap where they meet. Sometimes the whole tile mass will shift as it goes up a window and be not plumb….giving you a gap where they meet. Sometimes the walls or cabinets aren’t plumb and can make the tile off….giving you a gap where they meet. That merge site can have gaps. It can also NEED more space. So work quickly and efficiently. And minimize that merge site by tiling up to the area. I have four tiles at my merge site – because I chose it to be near the switches. This minimizes the area where gaps can occur.
#7 – CUT TILE TO GO AROUND SILLS
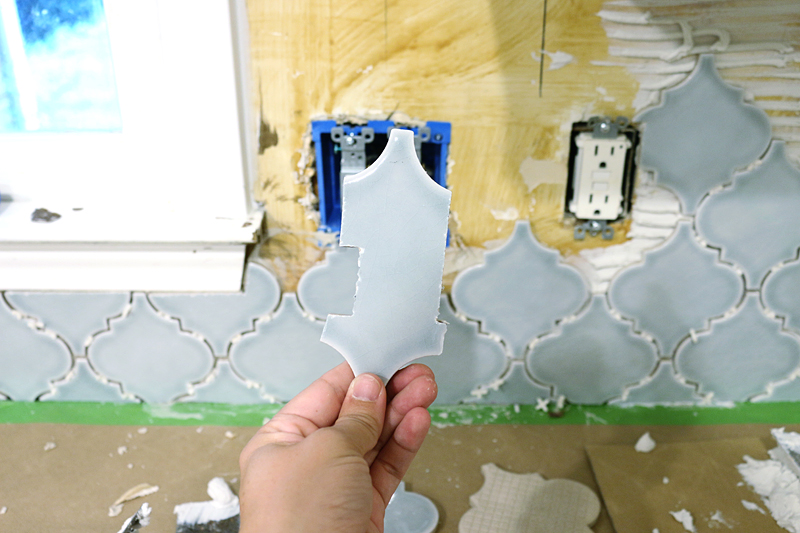
I know it will be frustrating but taking your time to make good cuts for the tiles around the sills will make your job look professional. Mark the tile with your wax pencil, make slow and steady cuts and dry fit it to the window.
Sometimes this means cutting more than one tile. Just take your time on these areas to get it right.
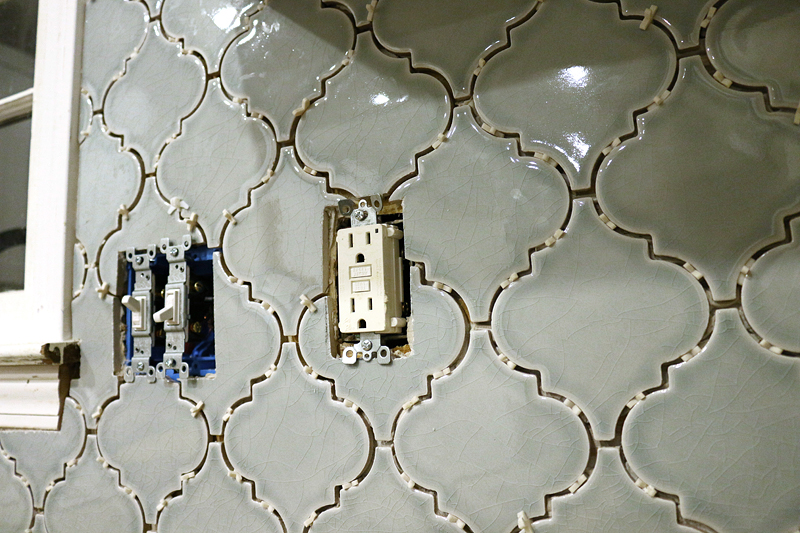
This cut was our hardest one and it had to accommodate an angle, a sill, an outlet box and still fit in the pattern.
It looks good and is ready for it’s date with destiny – aka grout 🙂
#8 – TILE ACROSS THE TOP
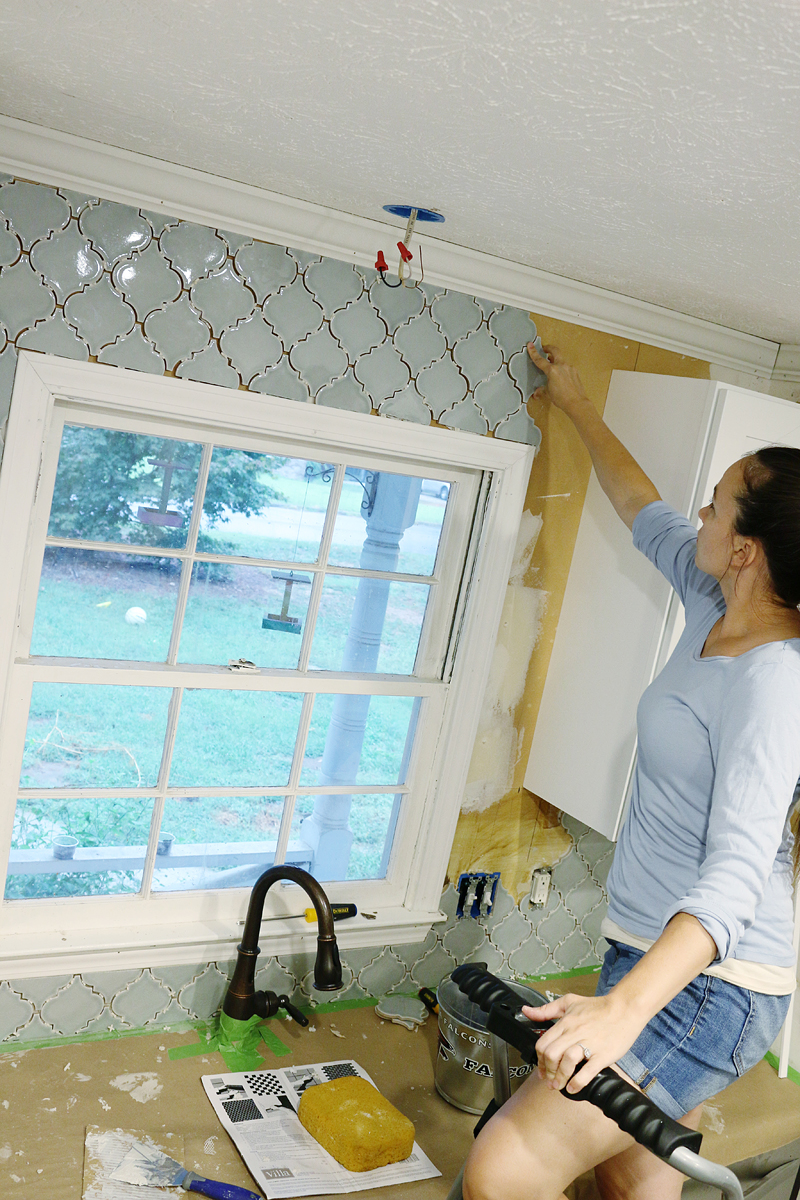
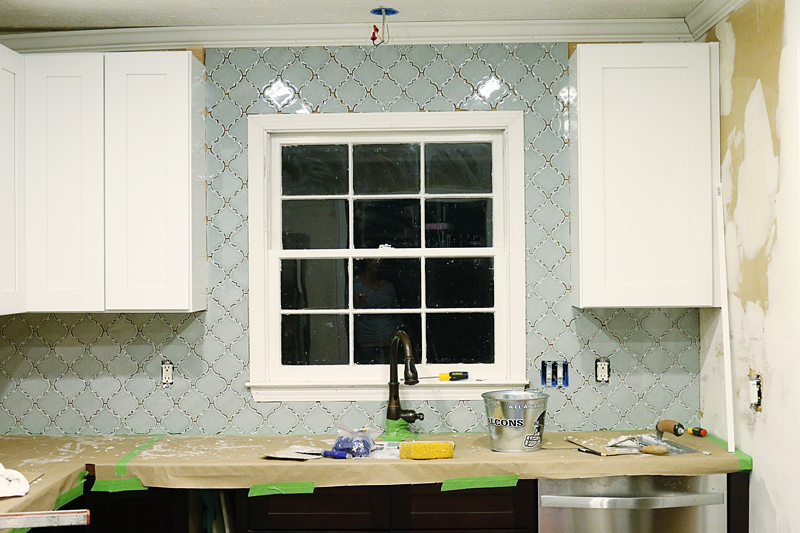
Tile around the window by continuing the pattern from the side opposite the merge site to the very top corner. I personally tile all the way up to the crown molding if it’s already installed.
Make sure that the top rows are also level with the crown and window.
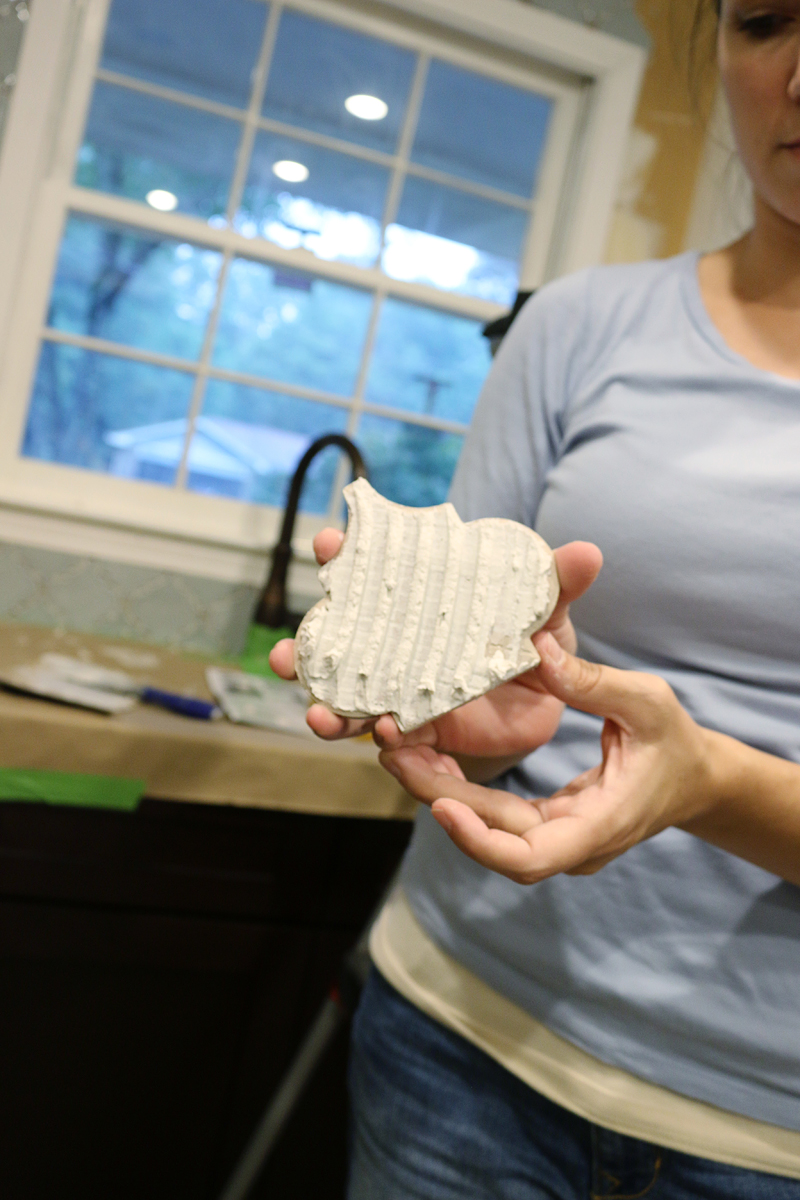
I like to back butter most of these tiles because I did not want to mess with excess mortar squeezing through the gaps.
#9 – TILE DOWN THE WALL ON THE OPPOSITE SIDE OF THE WINDOW
Once your top row is complete, it’s time to tile down the remaining side. This is a little tricky because now you are paying more attention to the grout space on the top of the tile rather than the bottom.
Make sure your cuts are precise and fit well. You do not want to force the tile into place….it should be cut to the correct width so that should you need to shift things, it’s not jammed.
#10 – TILE TILL THEY MERGE
You are so close! The tile should be coming close to meeting up with your existing bottom tiles and when they do come together, it’s either heavens bells or a huge headache. Hopefully paying attention to the spaces and the levelness of your tile as you went up and around has allowed you to have a glorious meet-up moment!
The biggest trick is to use spacers….even if the tiles are already on a sheet of mesh, things can shift. Using spacers will help you have really evenly spaced tiles and should be very helpful.
Sometimes you may see an ever so slight gap between tiles that is larger than other spaces….this can be normal and hidden with grout. Just make sure you do put a spacer in between they lies where things are getting tight so that you still have a spot to put grout.
You officially tiled around a window! Well. Virtually 🙂
Congrats and I hope you can use those tips in the future.
Here is the rest of the tiling recap…..the next spot was the wall with the stove.
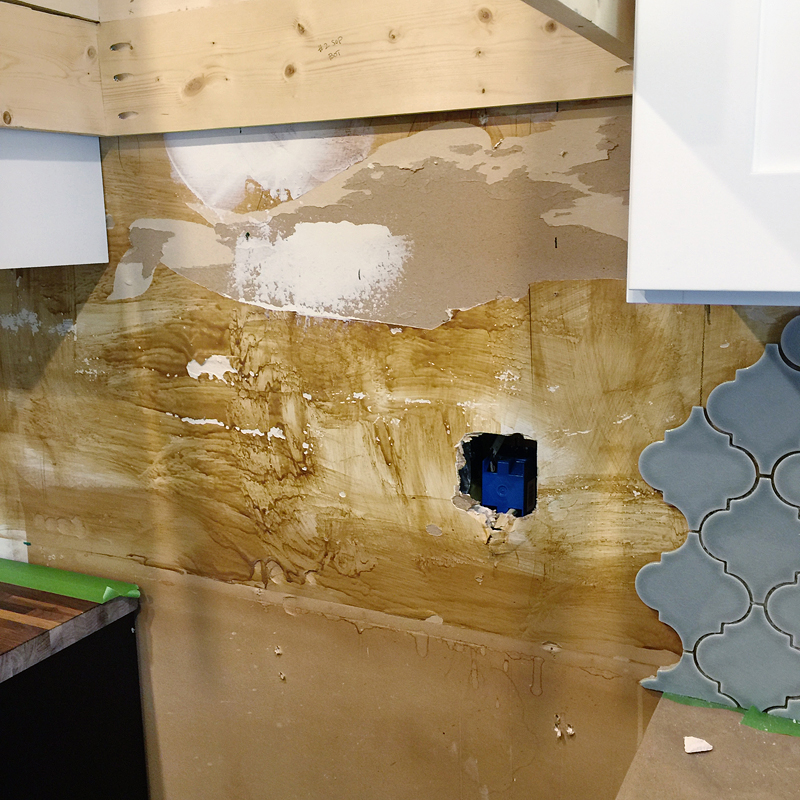
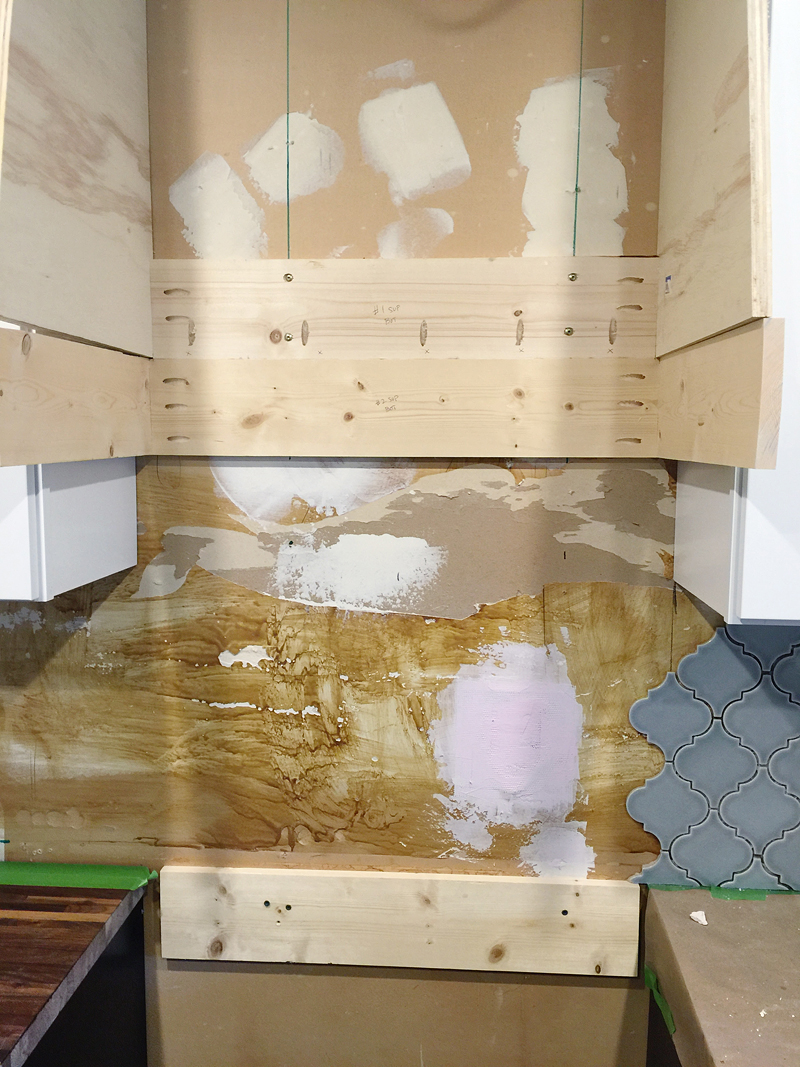
It still needed a lot of prep because I had this outlet hole and the tile needed a ledger board behind the stove to rest on. Jeremy had little options for this outlet and I told him that switching it to the other side of the wall (where there is a garage) was a much better idea than having a weird outlet sticking up above the stovetop.
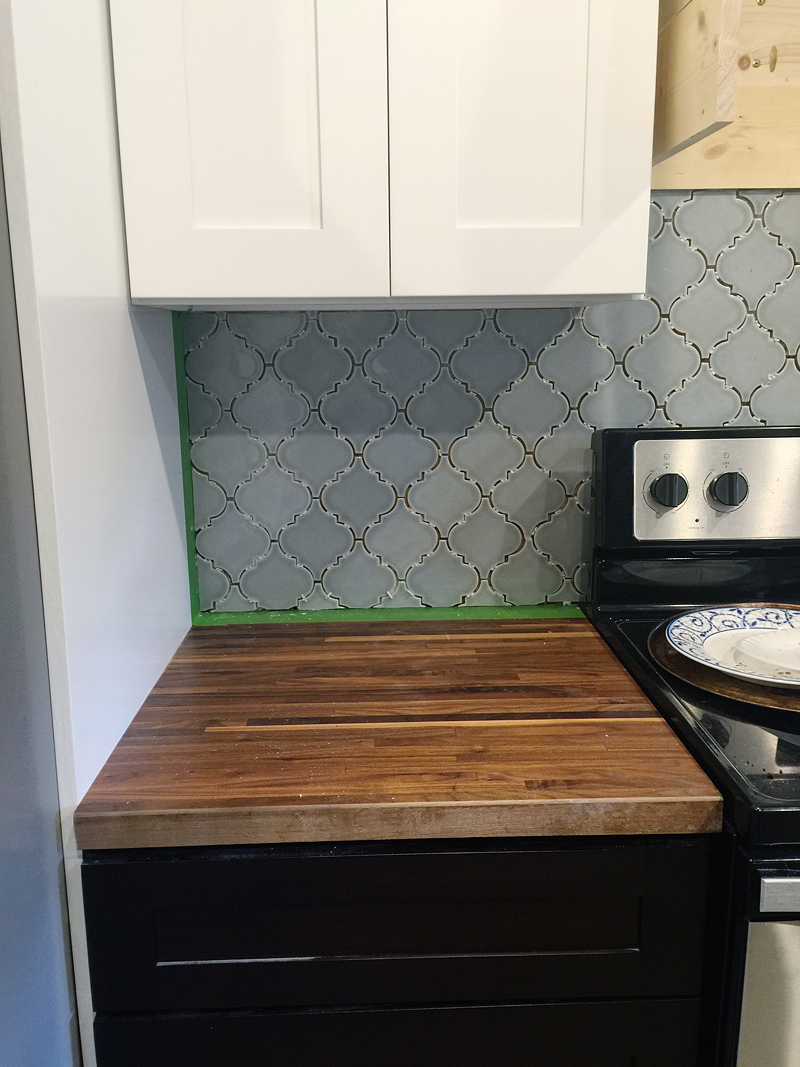
The wall to the right of the stove, I had already tiled.
This section went fairly quickly. As you can see, I did not back butter this section but instead just troughed the mortar to the wall.
Isn’t is amazing how ugly that existing wall was and how beautiful it looks with the tile?! Crazy pretty.
I did notice a tiny shift in the levelness of the countertops here. Almost all houses have a slight shift in them and you will notice when doing detail work like this.
With big spaces to tile like this, it’s helpful to do the full sheets and then go back and fill in the gaps.
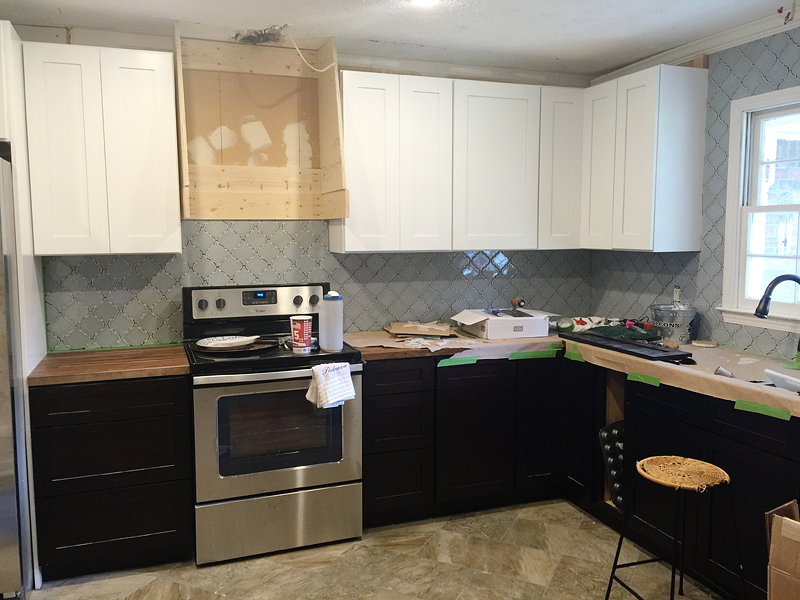
So this was the point we were at after two days of tiling….
And I still had one more small section to go. The first task on hand was to repair the wall hole. I got a repair patch at the home improvement store and spackled it. I can do a mini post about patching holes in your wall….it’s a very easy thing to do. Any one need that in your life?
Then I installed a ledger board for the tile to rest on behind the stove. Nobody tiles all the way down the wall behind the stove because it is never seen and it’s a waste of tile and resources. This ledger board acts as a support until the tile adhesive is dry….then it can be removed. I simply screwed it into the studs of the wall at the level I wanted the tile to stop.
And then I tiled like normal all the way to the corner.
It was at this point that we all got pretty excited! The tile really made a huge difference!
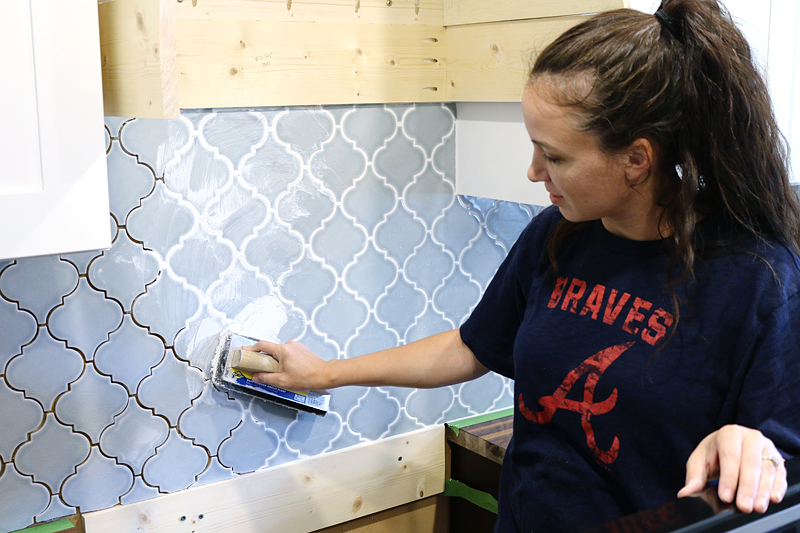
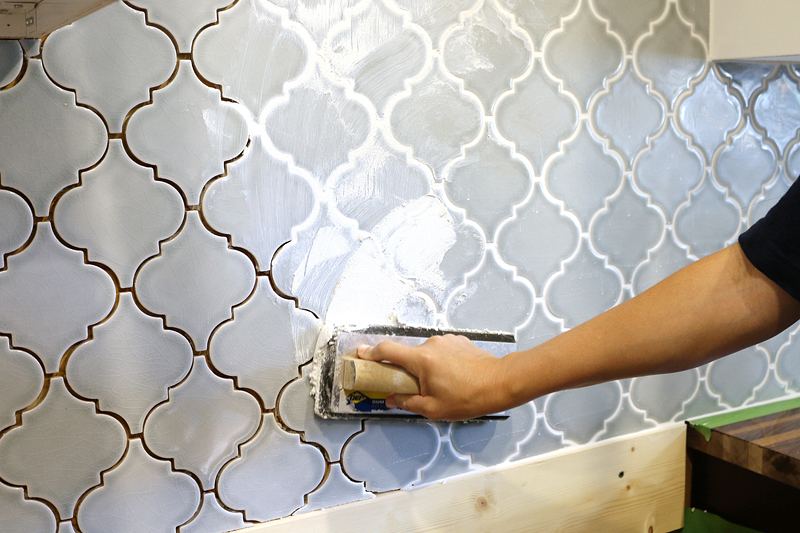
Next came grout and we went with white grout to make the backsplash feel crisp and clean.
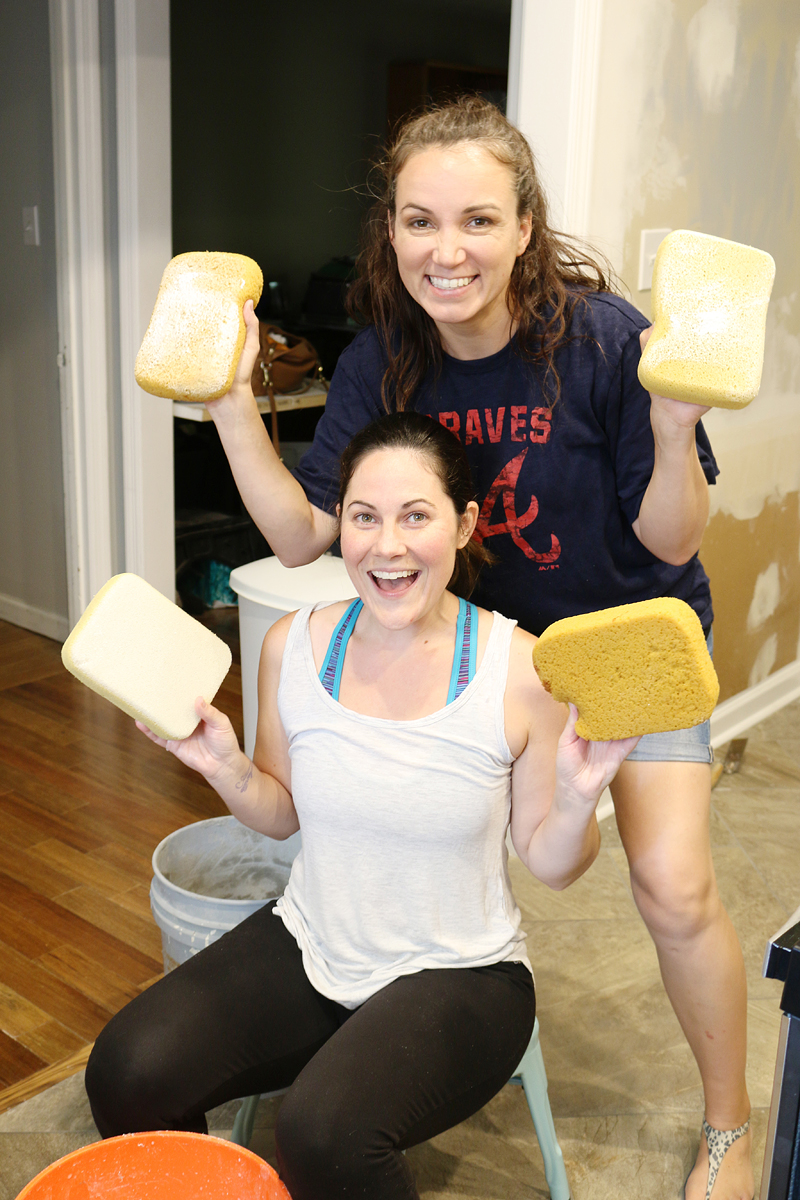
Charity was my ‘sponge assistant’ for the grouting process. She kept on saying that she didn’t know it was all this easy….she literally learned how to cut tile, install it and grout during this project and she always says that she is the least crafty person ever so if she can do it….really, anyone can 🙂
And here she is all grouted and installed! Makes such a huge difference right?! (oh and you can go back and see what we did to the front door in this post!)
I love the way it plays so nicely with the cabinets and the fresh trim and it contrasts so nicely with the countertop which warms up the space.
I know that it still needs sealing and caulking but for the most part, it’s DONE!
So who is now a fan of this tile! (all hands shoot upward!) Yeah…me too! I think in person it’s even more beautiful because it has these tiny little cracks in the tile which make it look more interesting. Here is the direct link so that you don’t have to scroll back up to it. And check out the other colors it comes in too!
And for those of you that want to see more of how this space came together, check out these old posts…..
- Meet The Pedrazas
- The Pedraza Laundry Plans
- Demo & Building a Wall
- Beam Building
- DIY Cross Cut Countertops
- Hook Me Up
- Watercolor Pet Portraits
- The Laundry Room Reveal
- The Kitchen Plans
- Demoing a wall
- Tile, Cabinets & Appliance Details
- Sink & Faucet & Garbage disposal Details
- Painting Tips
- Tiling the herringbone floor
- Butcherblock counters
- Lighting & New Front door color
This is a sponsored conversation written by me on behalf of Floor & Decor. The opinions and text are all mine.

Shards of glass fly everywhere?! Eye protection, girl!!! I do it all the time too, though.
Looks absolutely beautiful! 🙂
Have loved this tile since you first showed it. It is beautiful!!! Kitchen looks great!
I know…right?! #fail
xo – kb
It’s beautiful. And never in my life will I ever attempt to tile around so many tricky bits. I’ve always been impressed with your skills but lately you’ve been re-setting the bar very high.
Your boys are going to grow up to be awesome DIY’ers.
So…what happens if the merge goes south? Like have you ever had to deal with everything not lining up? I’m a sloppy, impatient DIYer (like I can’t paint a room without getting paint on the carpet and ceiling), so I’m just curious about worst case scenario since I assume that’s where I’d find myself if I tried to tile my own backsplash.
Hello Kate,
I came across this page while browsing last night and I’m worried that the boy in this site is Will, corrected me if I’m wrong. I thought it was the right thing to let you know. Sorry to tell you this in the comments section.
https://aliexpress.com/item/Kids-Boy-Cotton-Nightwear-Pj-s-Sleepwear-Cotton-Casual-Pajamas-For-Kids-Boys-Girls-1-7T/32749808665.html?spm=2114.10010308.1000016.1.hdDDRy&isOrigTitle=true
The worst case scenario is that you tiled the bottom with smaller spaces than the top….meaning that the top tile had bigger spaces…or that the tile was not plumb going up the window and tilted toward the merge side….that would leave you with an OVERLAPPING TILE. That would really stink because it would mean removing all of the offensive tile and trying again. If it was already dried…it would be a real pain.
xo – kb
Gosh I love that tile. 🙂 So many little cuts. You’re Awesome!!
WOW! What an amazing job! I have not tried tiling yet…I am scared of messing something up. But I am pinning this post for when I do try it! You make it look so easy!
Looks great! I just used the premixed gtouynthat you don’t have to deal from HD and really liked it. It is pricey, but not having to seal it is amazing and worth it.
Can you show how you marked that piece so precisely?
Did you caulk the seam between the countertop and the backsplash? My contractor put grout there and now it’s all crumbling out behind the sink and I’m afraid it’s going to get water behind the tile. It was only finished a few months ago, and it’s already crumbled out.
Yes we caulk between the countertop and tile. That method needs to be redone every few years but it only takes about ten minutes and is well worth the effort in my opinion!
my cabinets do not go up to my ceiling. Should I tile around the window up to the ceiling or just to the bottom level of the upper cabinet?
You could do either. I would recommend going around the cabinets and doing the entire wall if you choose to go up high. If you just do to the bottom level of the cabinet, then cap it with a pencil tile that looks good with your backsplash.
xo – kb