Interested in staining your porch or wood deck? I’m here to help! I did this project over the summer and absolutely LOVE the difference it made in the Monroe House curb appeal. And I wanted to wait and see how the stain held up before sharing it all with you. Good news! It’s just as beautiful today as it was when I snapped these photos!
So here is the step by step DIY tutorial on how to stain a porch or deck.

HOW TO STAIN A WOOD DECK OR PORCH
First I would like to say that this is not my first time staining a deck but it was my first time staining a NEW wood porch. Wood that is new needs to acclimate for some time (new wood usually has a higher moisture content level) and as long as you do some research for your porch and the recommended guidelines….it should turn out absolutely beautiful!
For our particular wood (which was tongue and groove) we were told by our contractor and the wood supplier that it would need two weeks tops to dry out and then we would need to stain. We marked our calendars for two weeks and when the time came, it was our top priority.
STEP 1 – CLEAN AND PREP
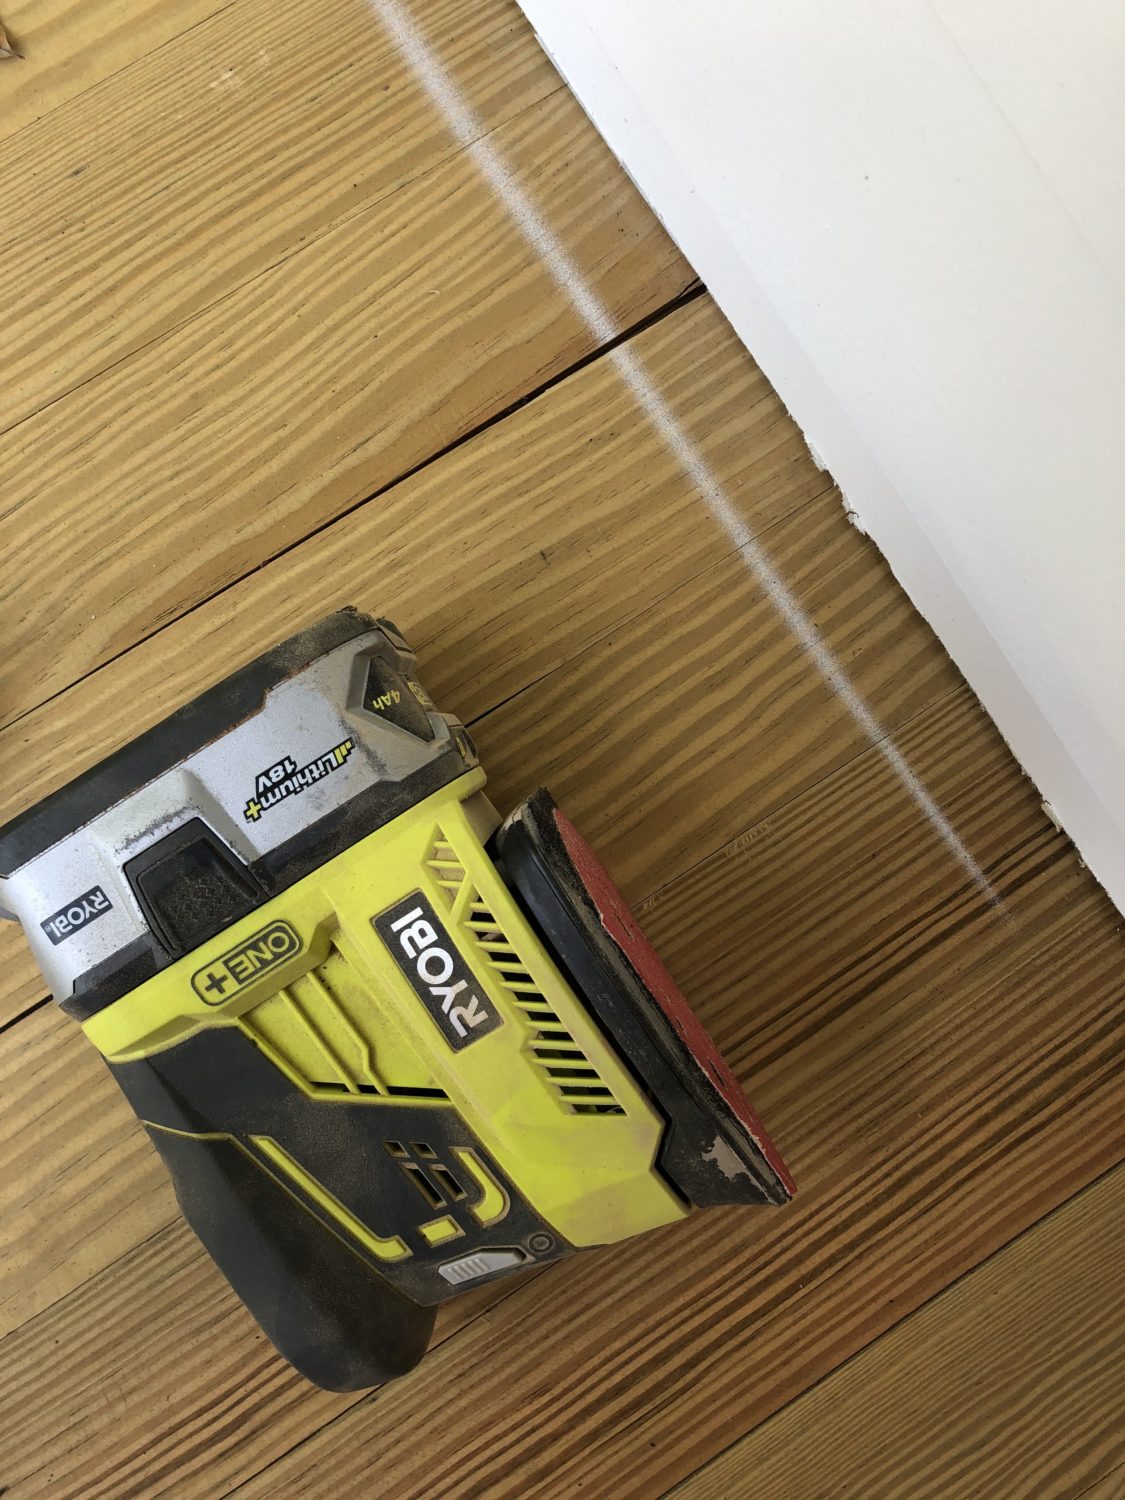
Cleaning can look differently for different wood porches. For ours, we had a tiny bit of overspray from our house that needed to be sanded off. The porch should be free from dirt and dust too.
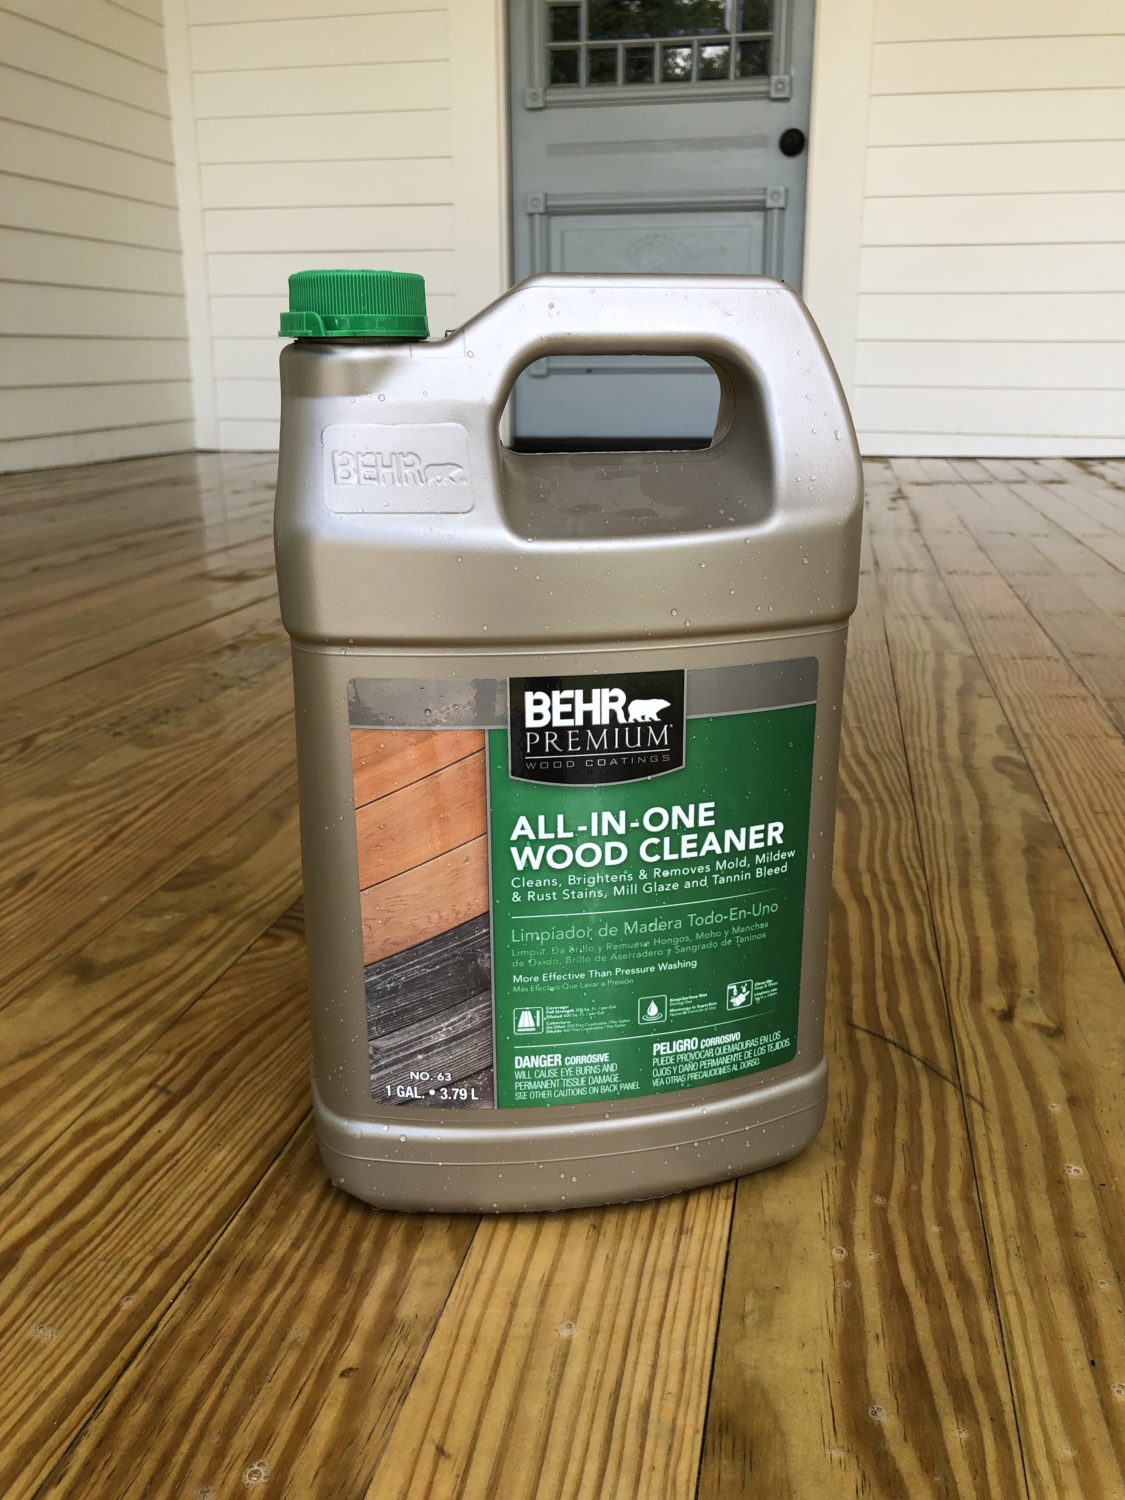
The cleaning step also includes using a wood cleaner that removes mold, mildew, mill glaze and other stains. We used the BEHR Premium All-In-One Wood Cleaner that is applied 24-48 hrs before your staining begins. The steps are very simple.
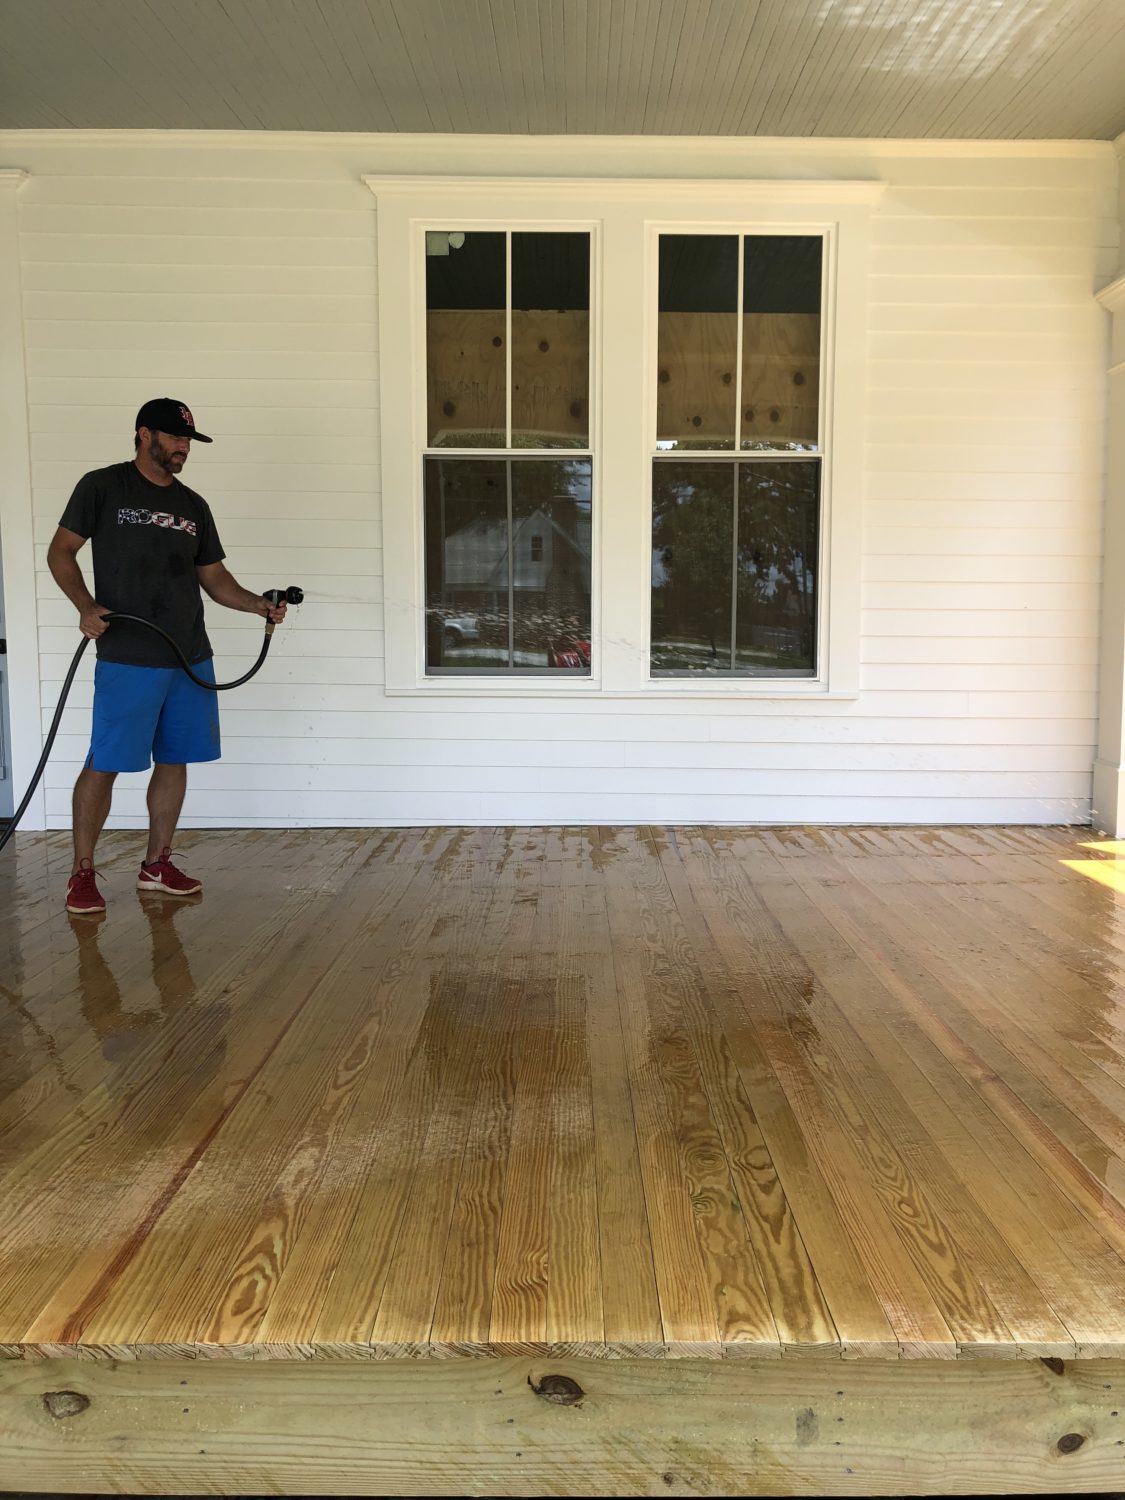
First you spray water onto the entire deck or porch. It should be very wet and not allowed to dry during the cleaning process.
Then pour your cleaner solution into a backpack sprayer or a pump sprayer.
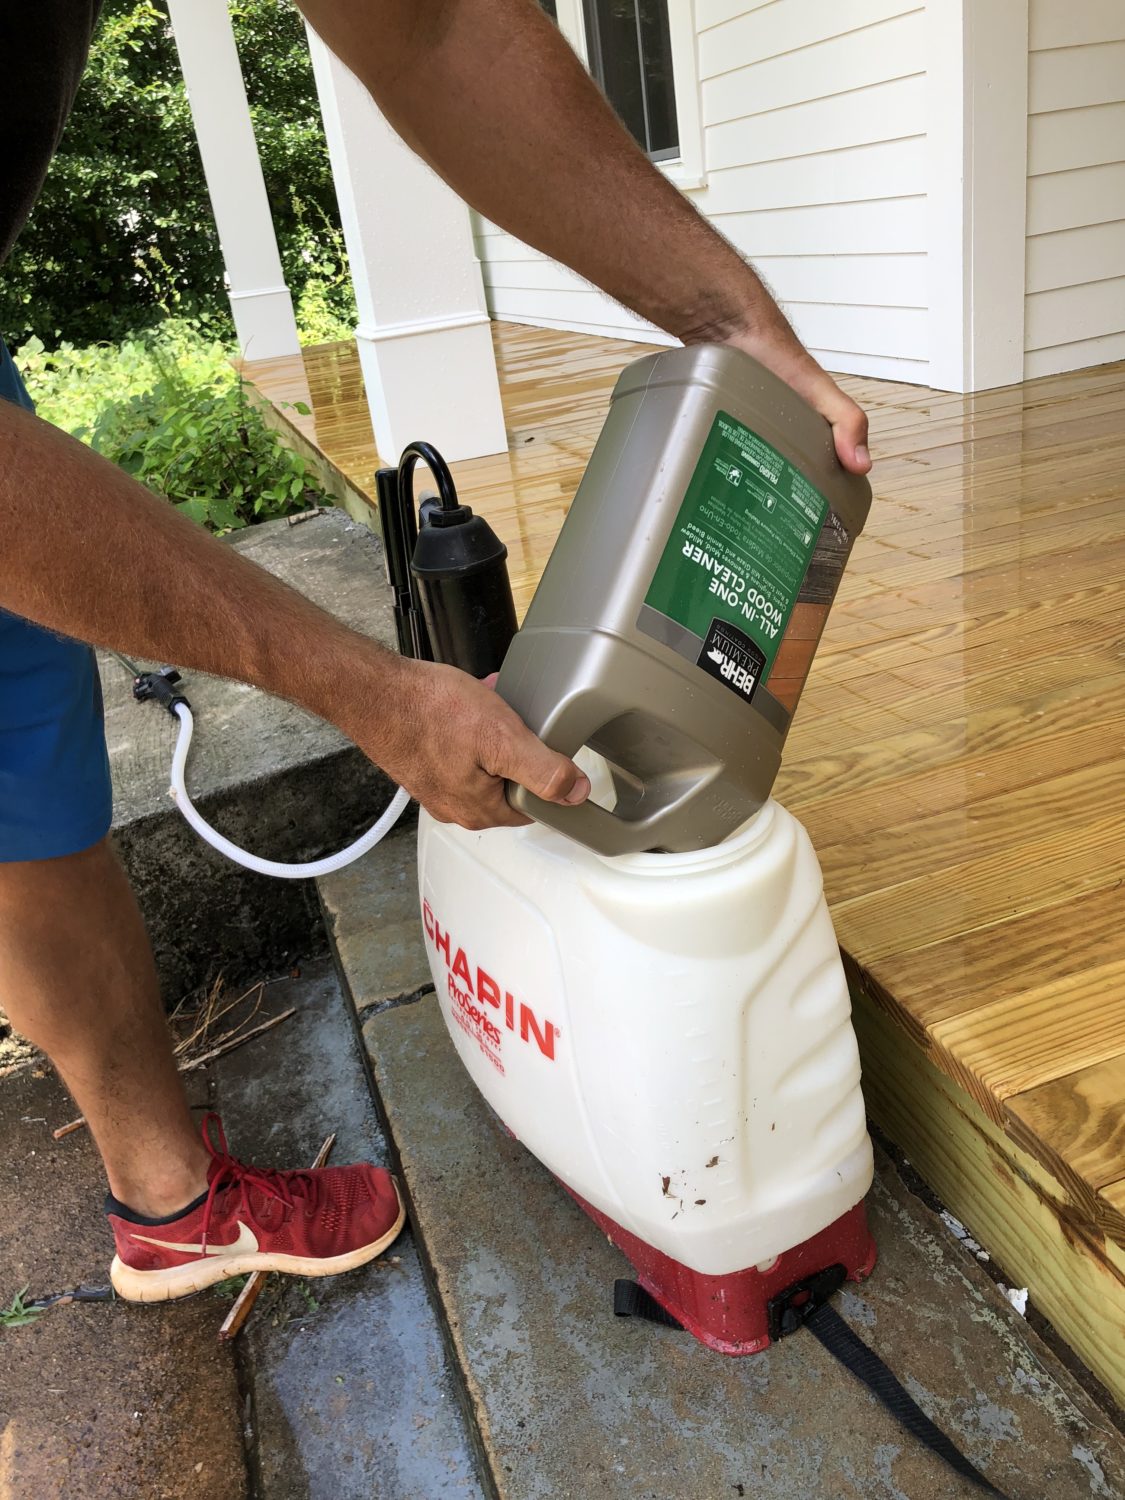
Dilute the solution according to the directions.
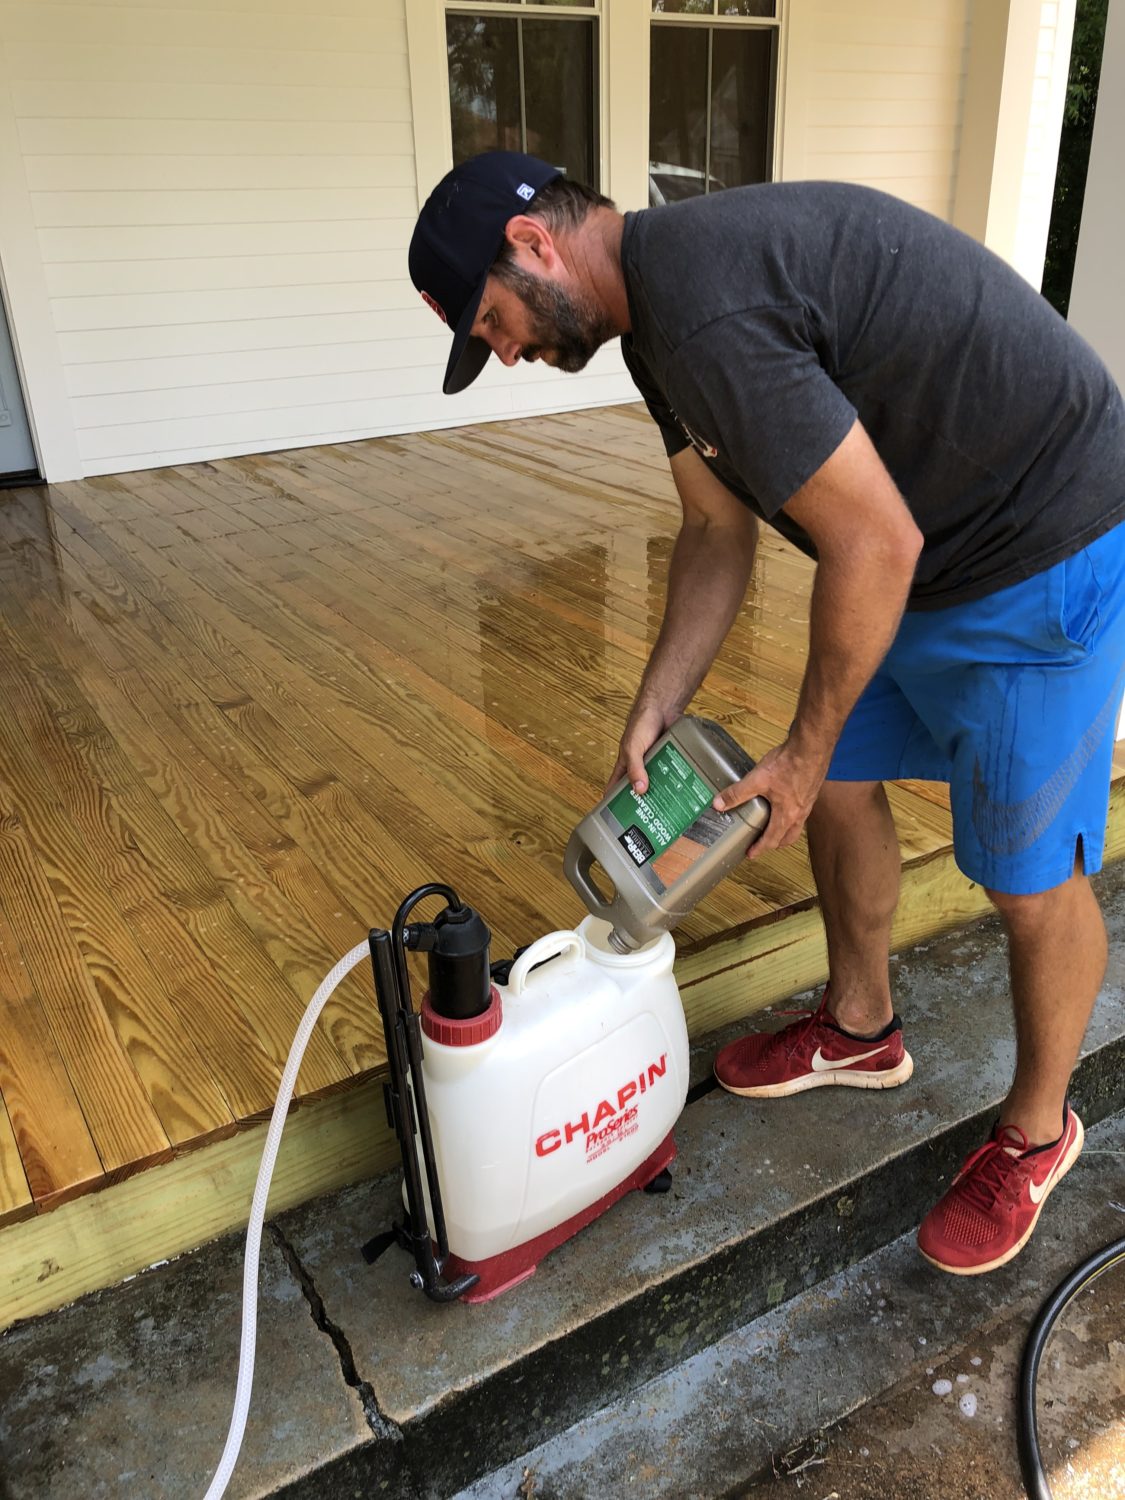
Then apply a generous layer of cleaner in each section of your porch.
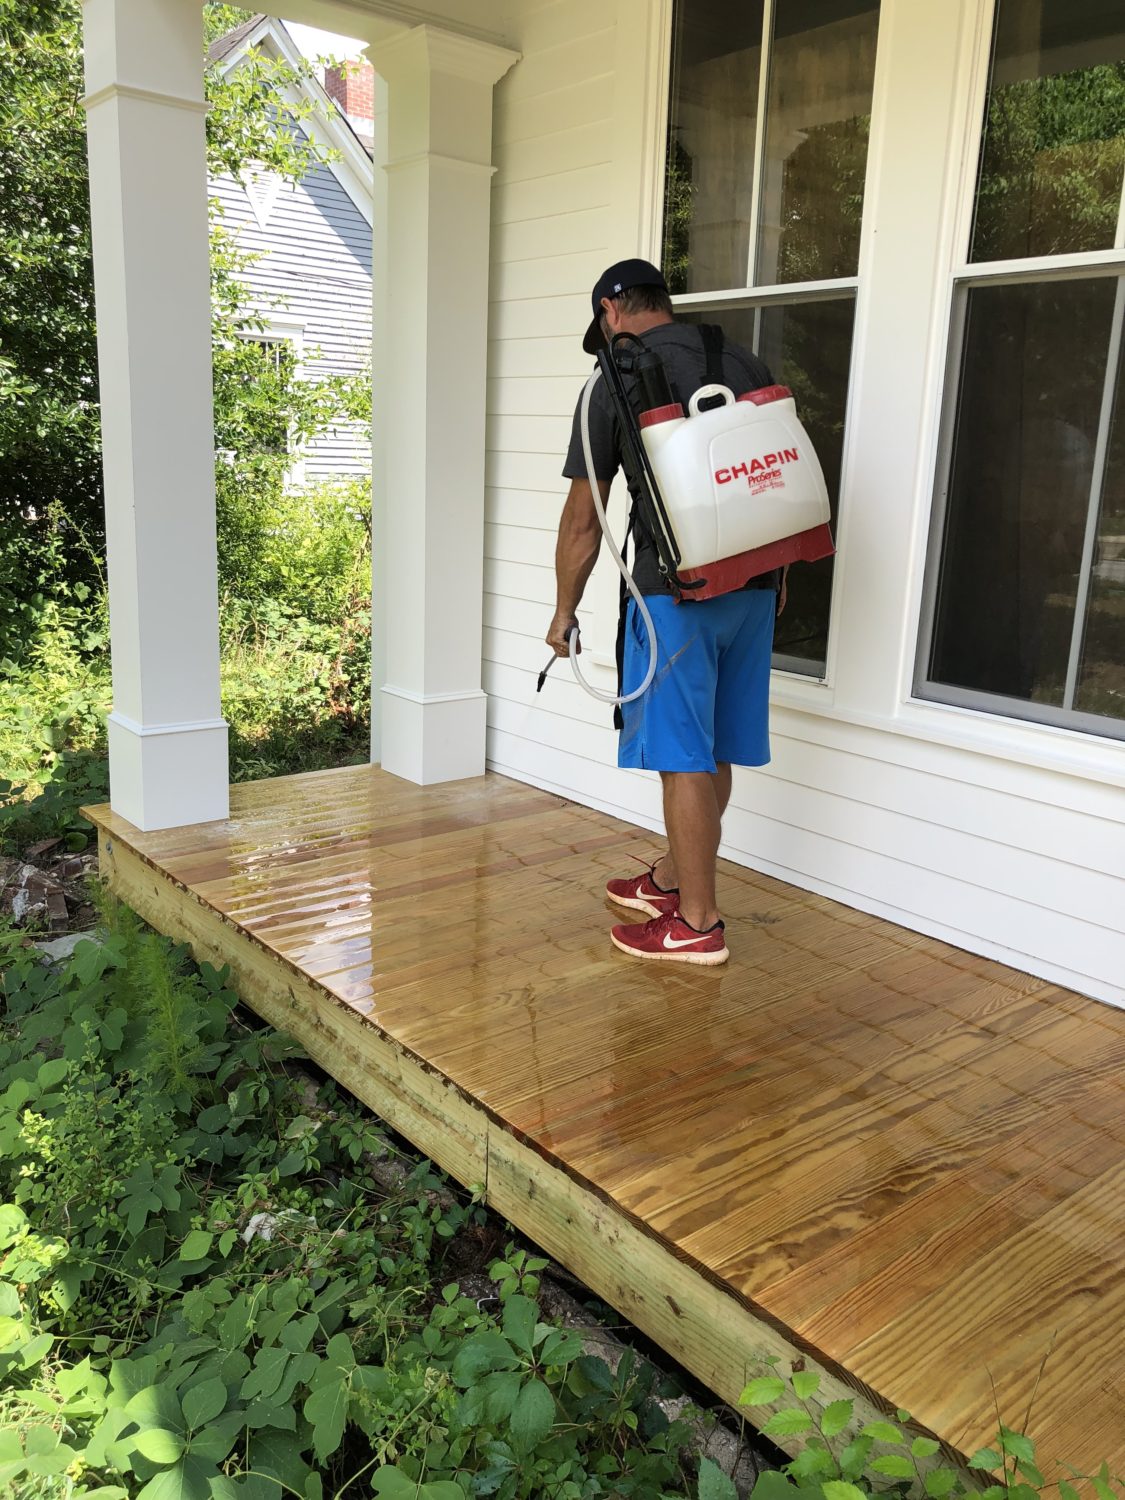
We sprayed enough to be able to see tiny bubbles of solution. It needs to have a good amount on the boards and again – this can NOT dry out. If you are doing it in full sun, make sure the solution stays moist by respraying often.
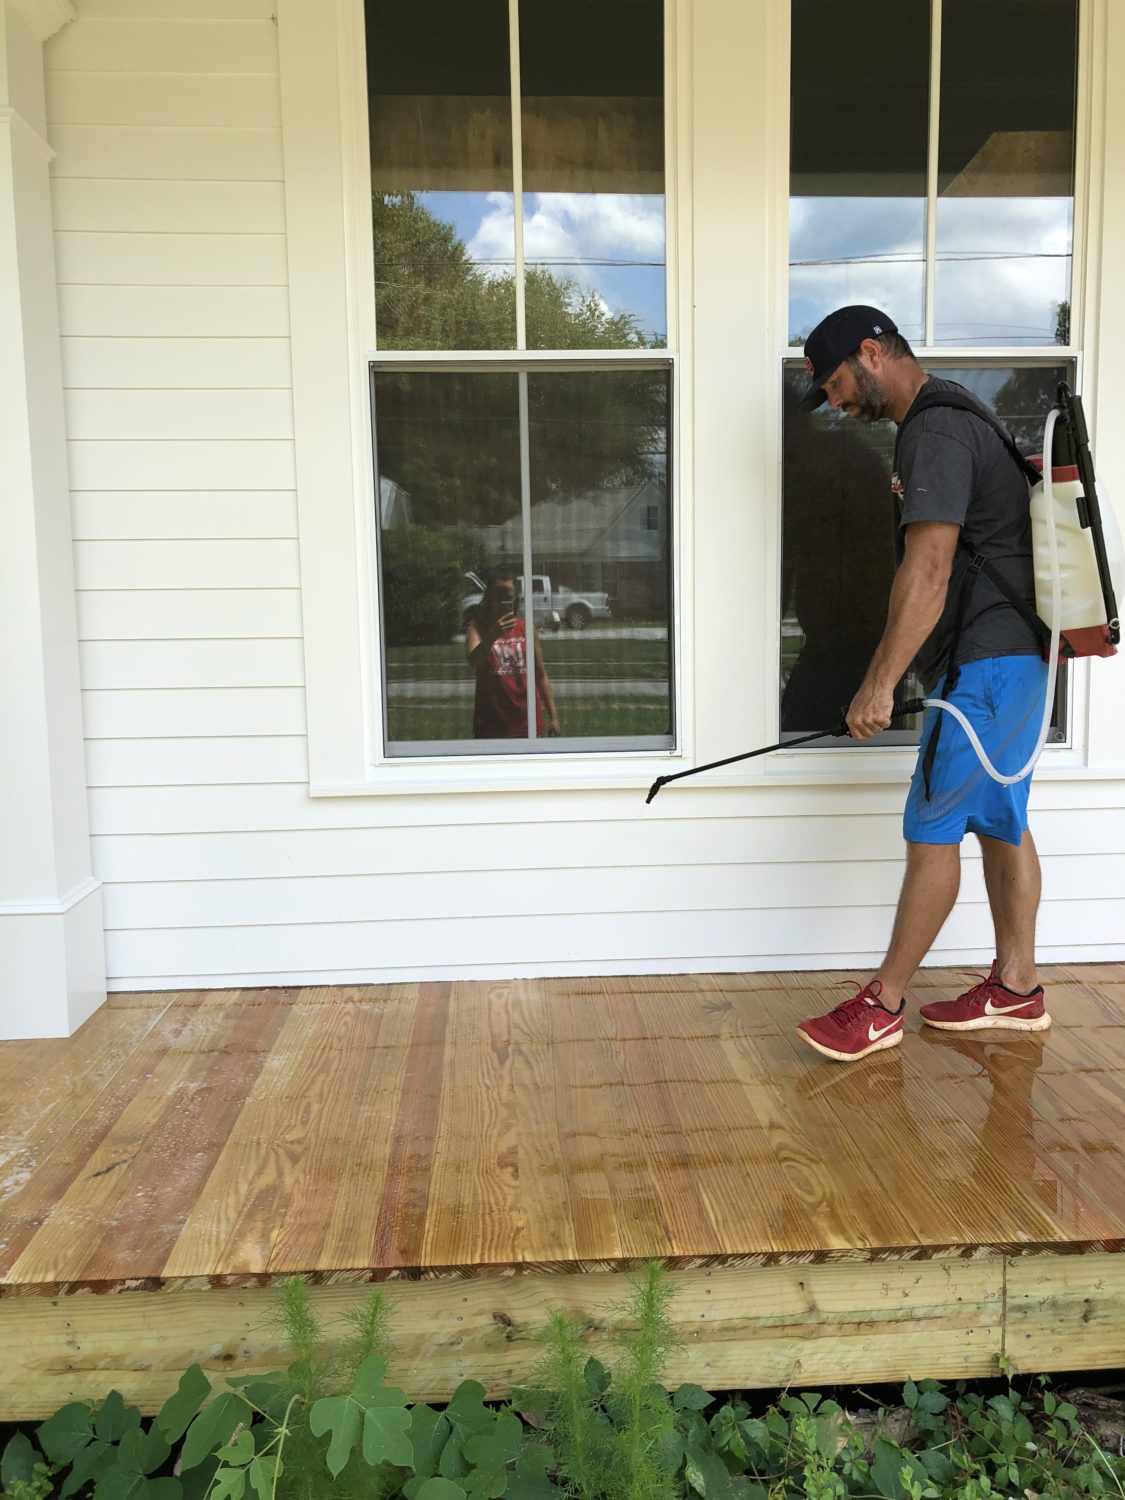
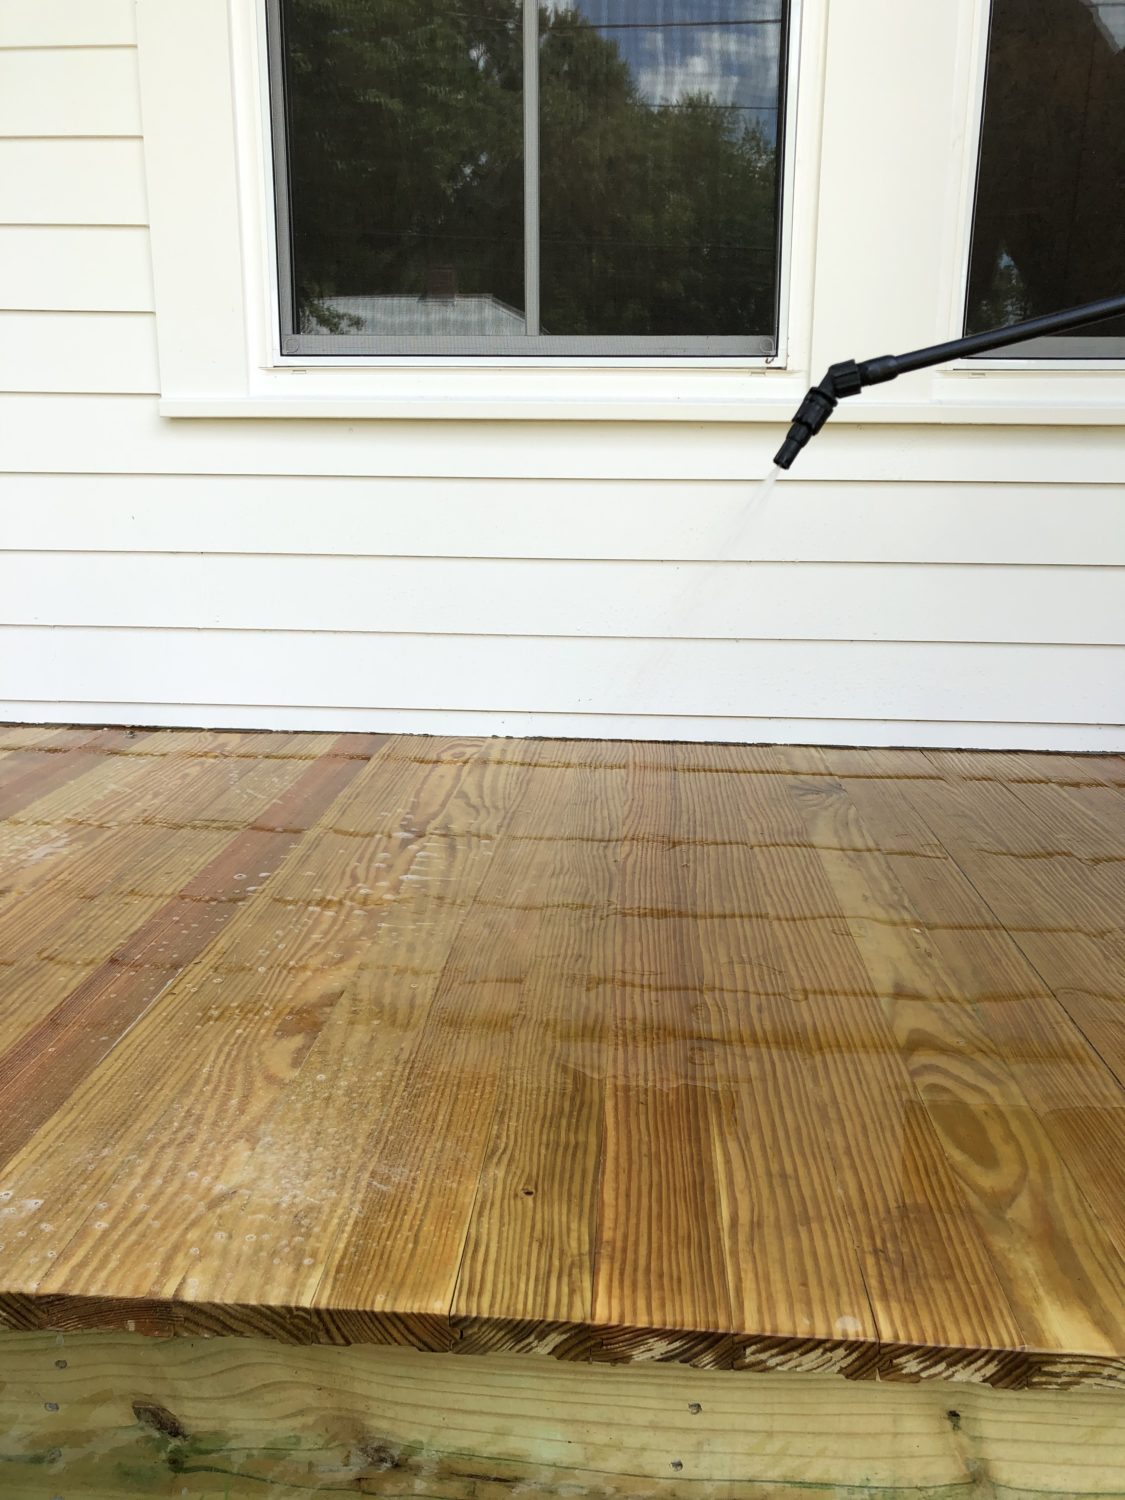
Now it is time to scrub. Using a long handled scrub brush, scrub the wood with the direction of the grain. And then scrub against the grain, then with the grain again.
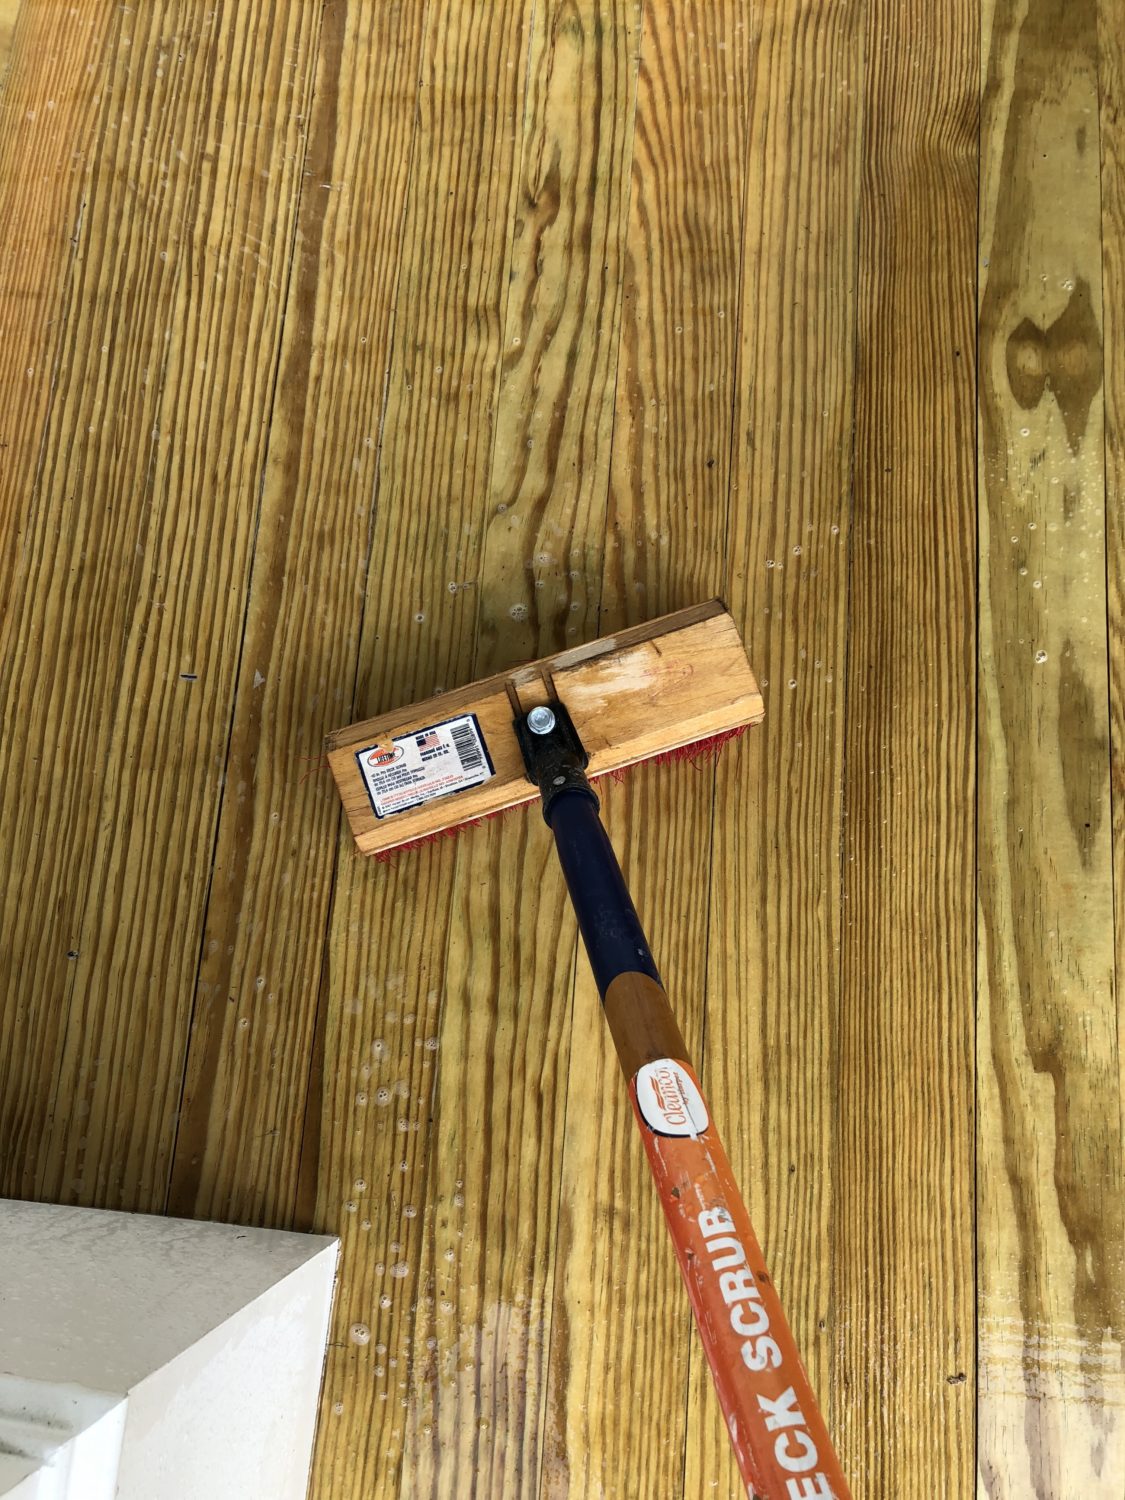
We did not anticipate seeing any difference in our new wood but this cleaner absolutely did lift the small bits of dirt and mildew and whatever else and brightened the entire porch. After you are done scrubbing, rinse with water until the entire spray is free of soapy bubbles. Sometimes this means rinsing multiple times in a row.
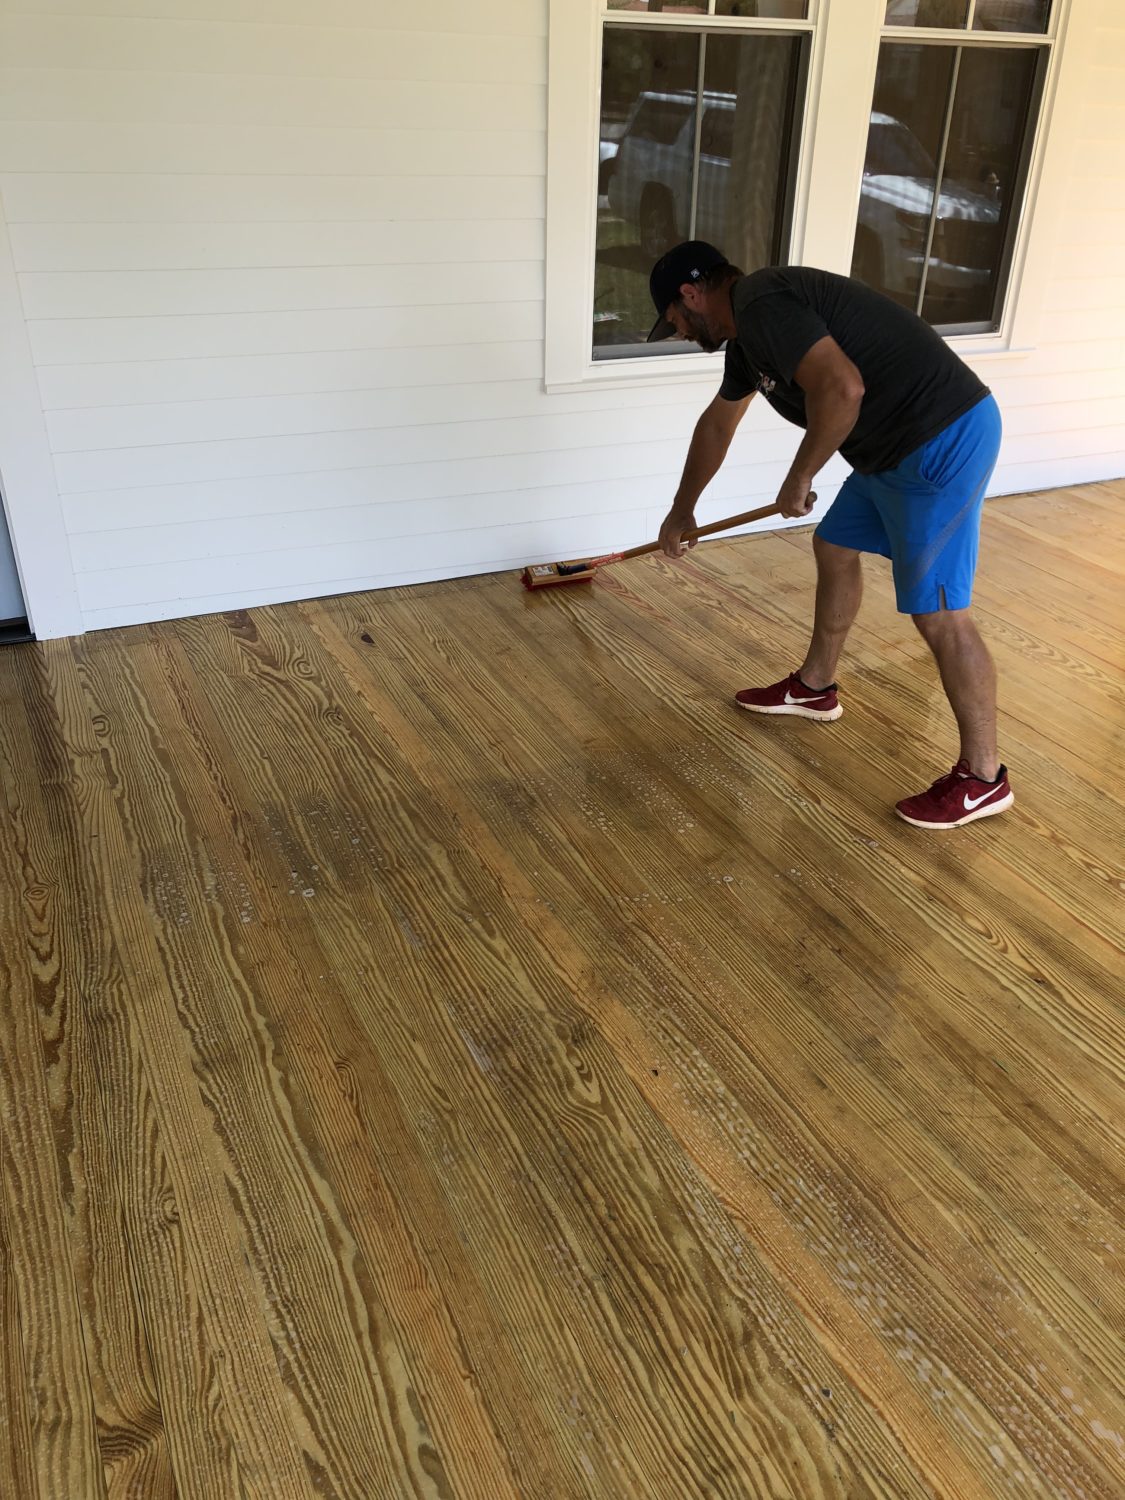
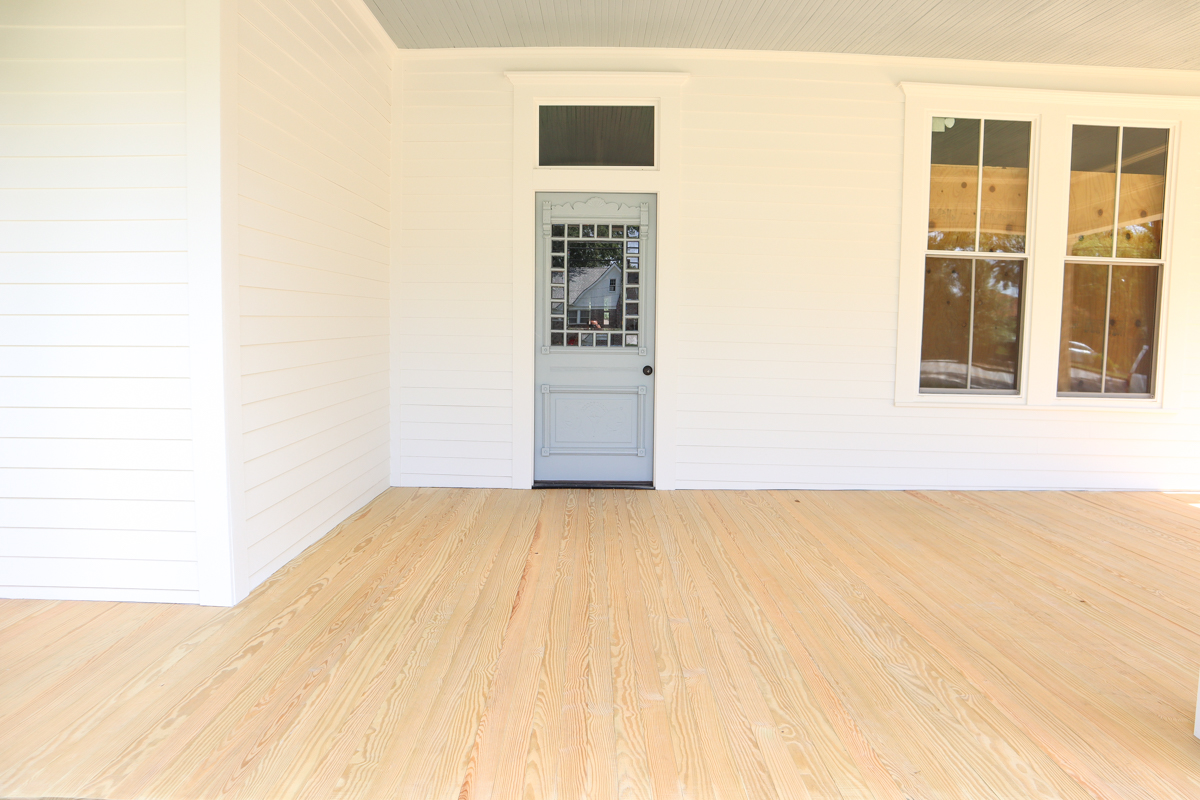
Allow the porch to dry for at least 24-48 hrs. Now you are ready for the exciting part!
STEP 2 – PICK OUT YOUR STAIN
I knew that with this porch, we wanted to see some of that fabulous wood grain of the tongue and groove boards. This meant that I would need to stick to semi-transparent or transparent stain. I decided to pick a semi-transparent because it would also protect the deck and be less maintenance in the long run. I have used Behr’s Semi-Transparent wood stain in the past and loved it so I ran to my local Home Depot to get some colors.
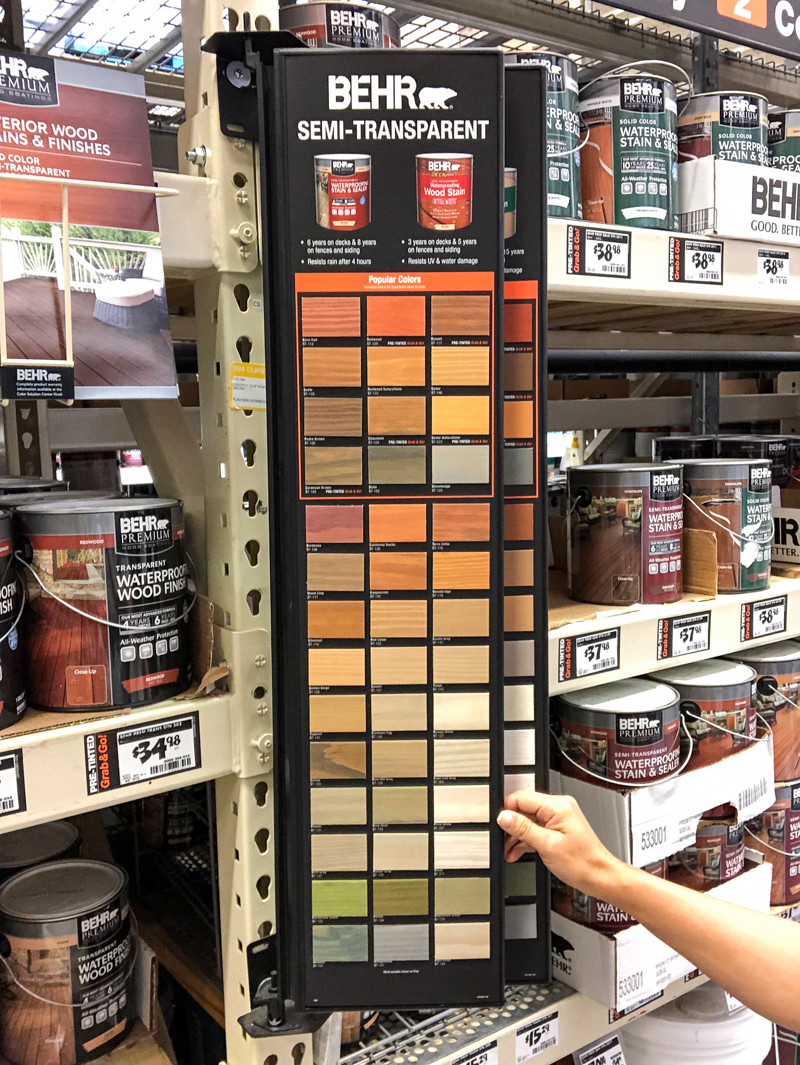
I ended up trying three different light color stains.
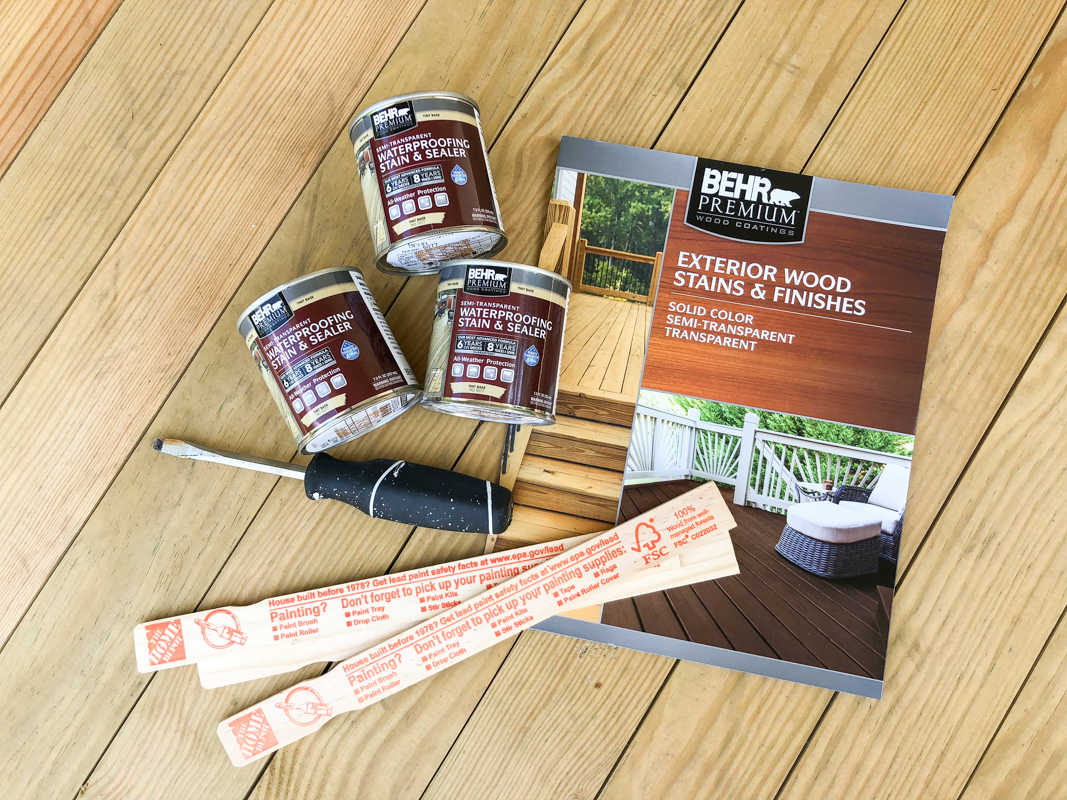
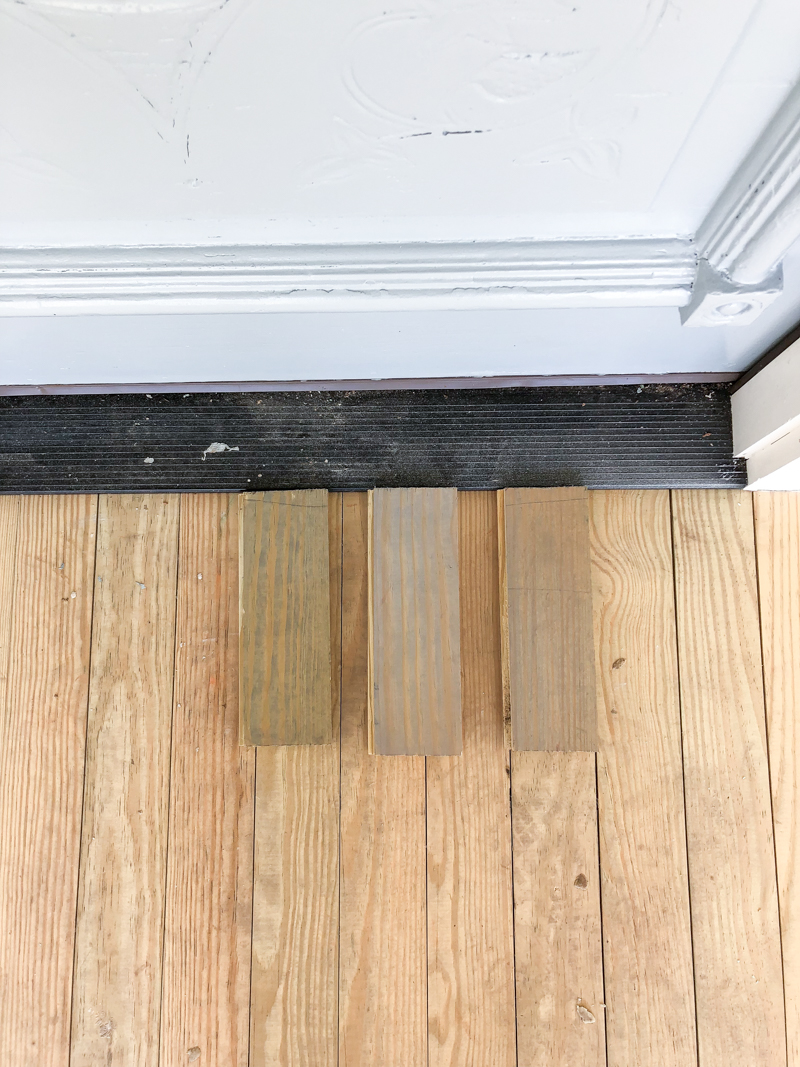
I tested them on boards and used them next to the front door to establish what I liked the most. In the end I decided to go with BEHR PREMIUM® Semi-Transparent Waterproofing Stain & Sealer in Drift Gray ST-137.
STEP 3 – PREP FOR STAIN
Prepping for the stain is fairly straightforward. We used FrogTape to cover all the painted areas. This means two layers of tape on all the posts…
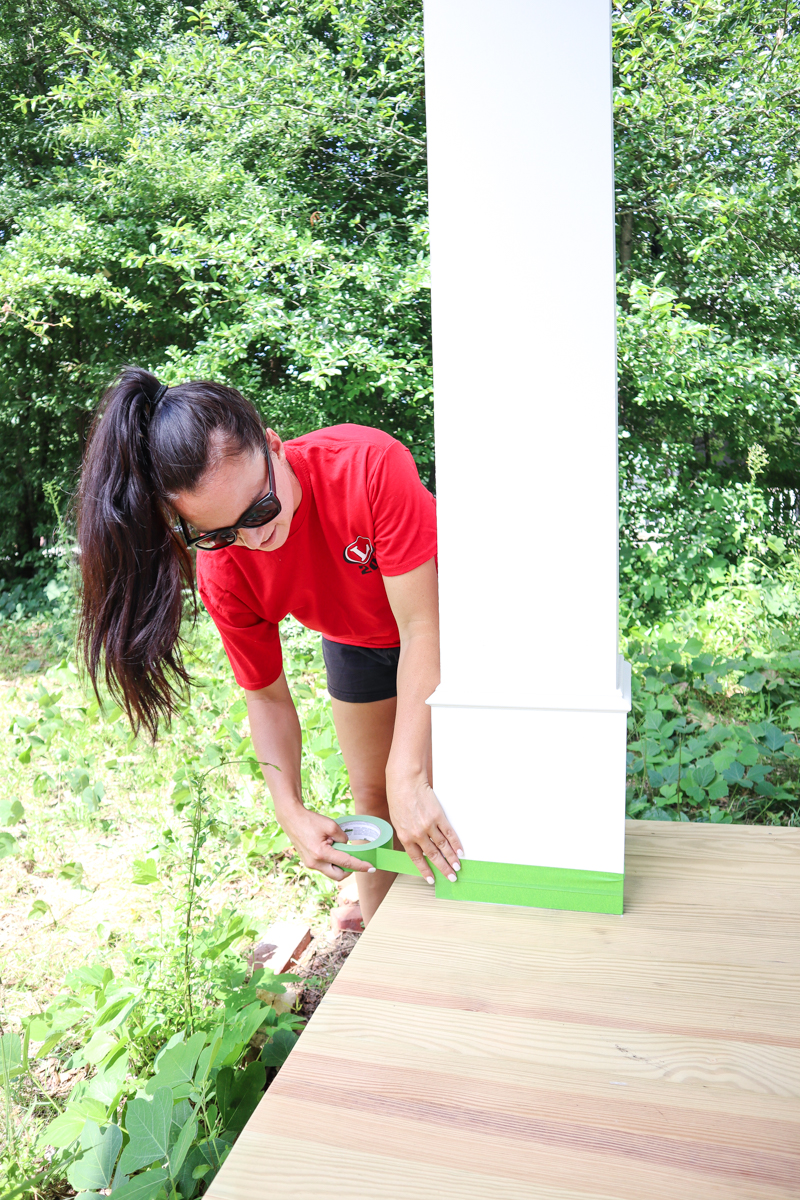
and around the porch on the siding…
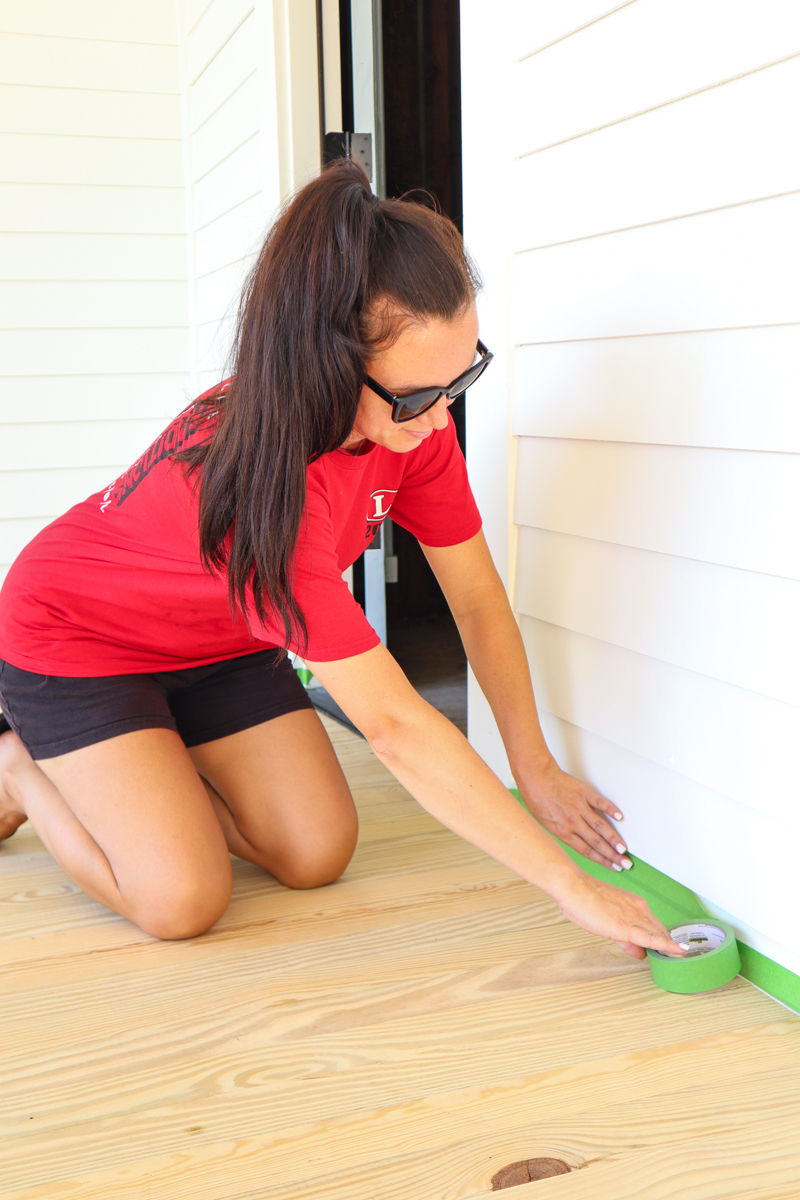
It literally took maybe twenty minutes tops but it saved us so much time in the long run!
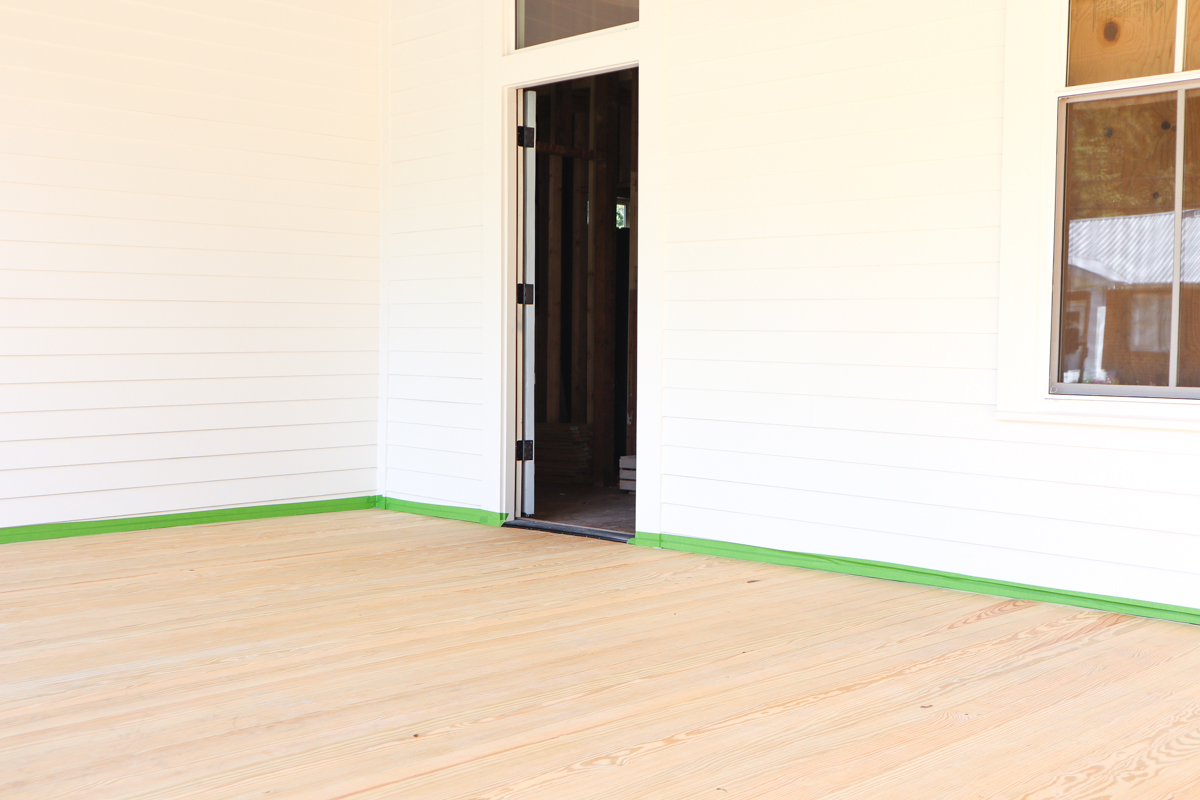
We really got excited at this point because it was getting real 🙂
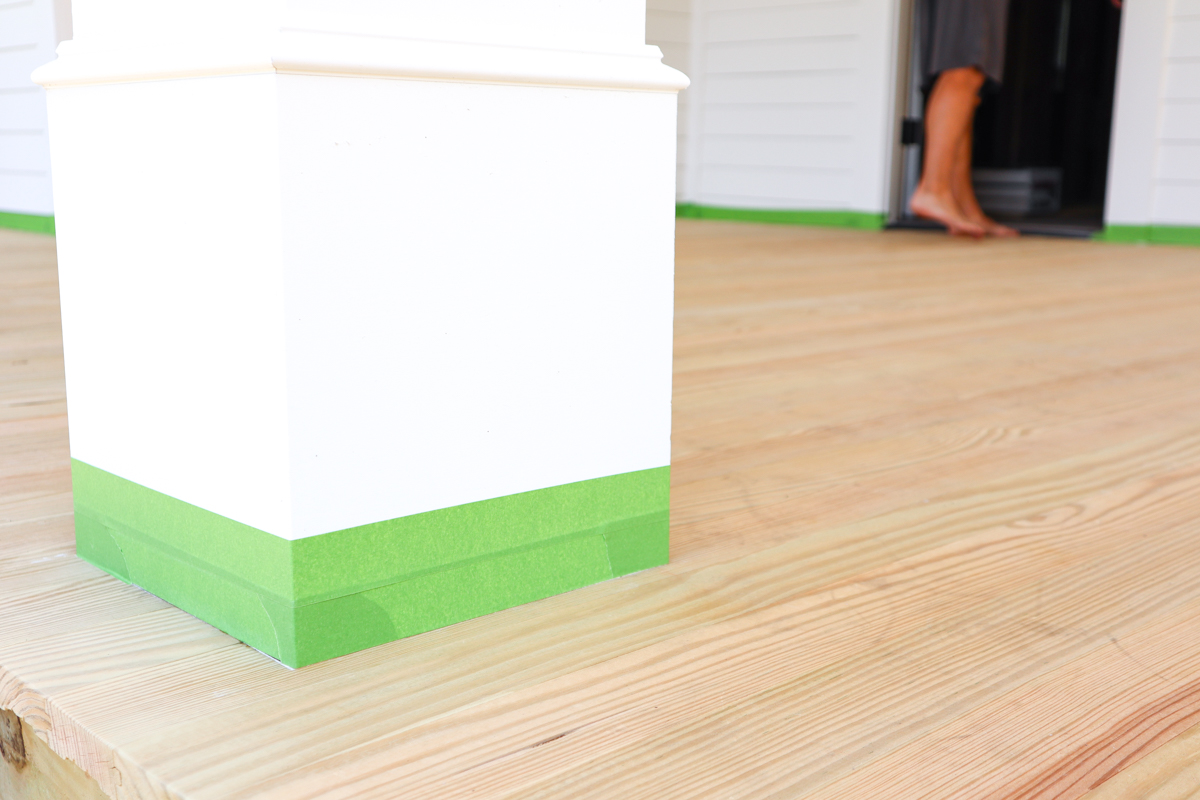
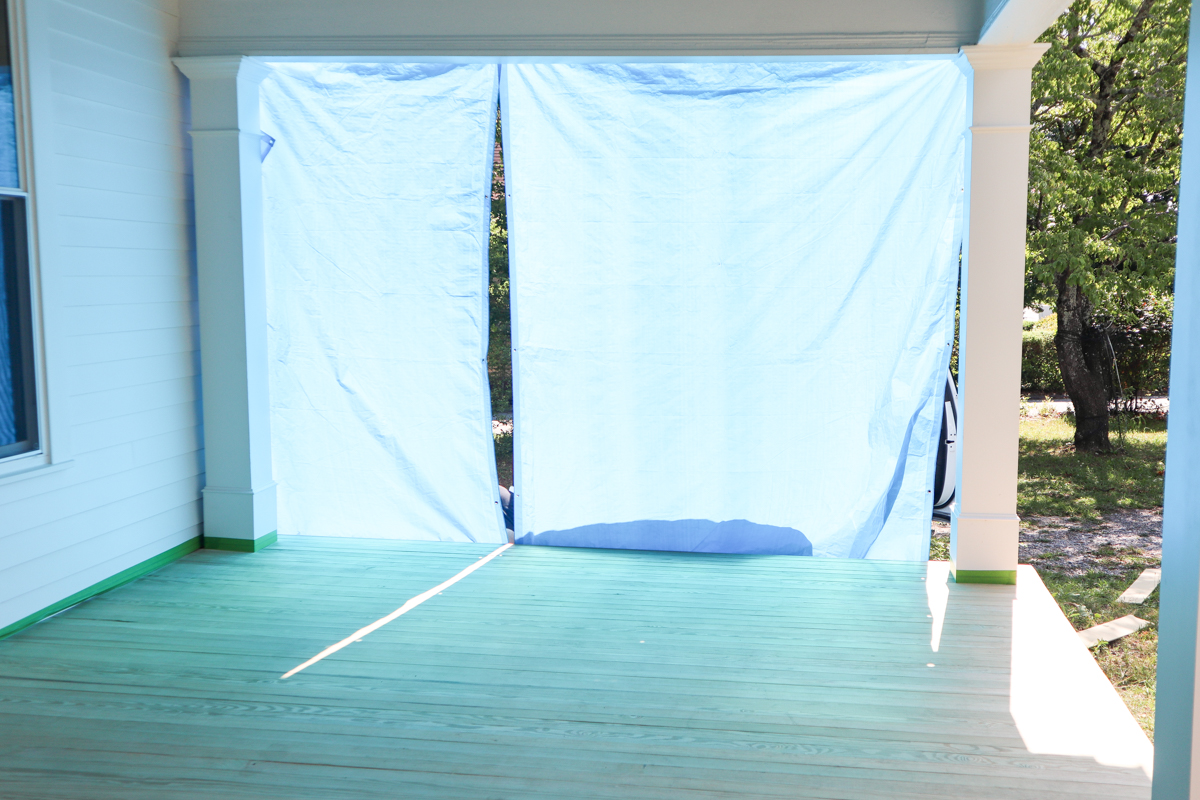
Since the directions also said that we shouldn’t stain in full sun, we opted to hang up blue tarps on one end of the porch that gets alot of afternoon sun. There was honestly no time in the day to avoid full sun so this was our solution and if you see a blue color cast on the porch – this is why!
I promise we didn’t stain our porch florescent blue 🙂
STEP 4 – GATHER ALL YOUR SUPPLIES
For this project we loved using certain supplies that made the job a little easier. Here is what we used…
- BEHR PREMIUM® Semi-Transparent Waterproofing Stain & Sealer in Drift Gray ST-137
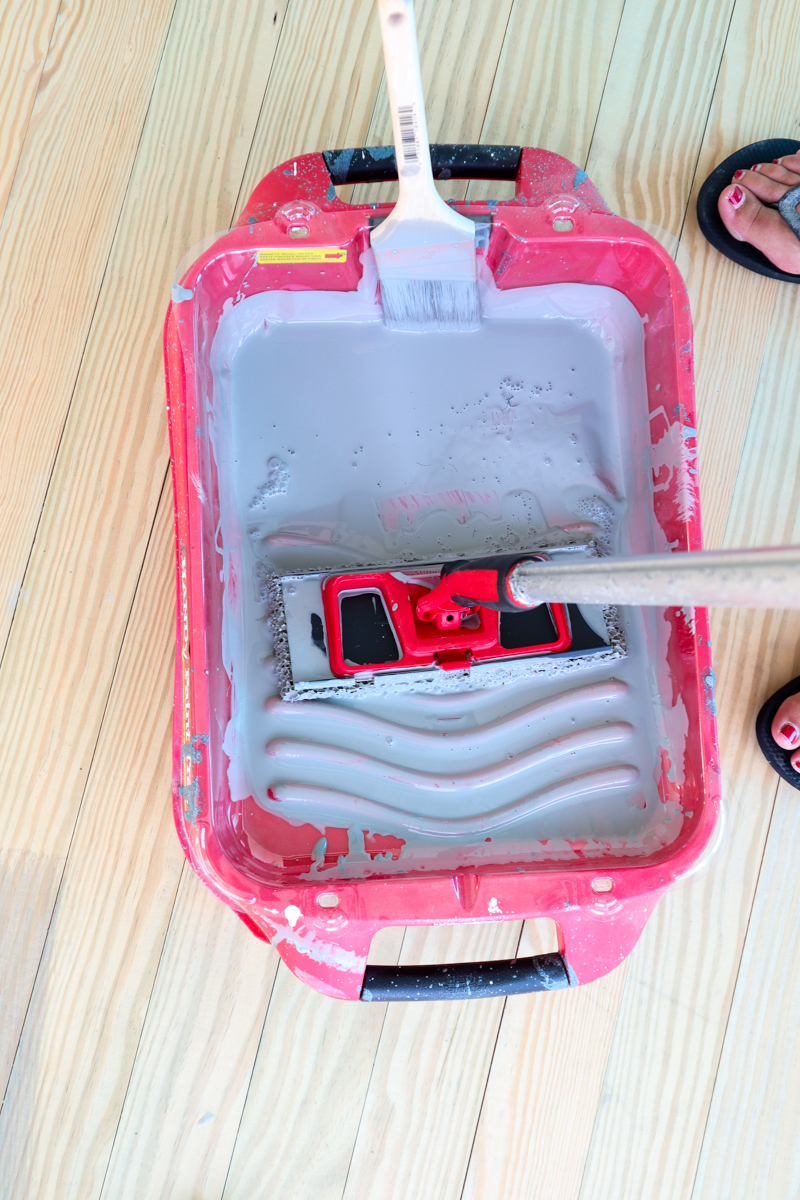
- HandyTray (with liner)
- high quality synthetic brush
- Shur-Line paint can Pour & Store lid (stain is thin and can splatter easily so this made it faster and easier to refill the tray without the mess)
- Shur-Line stain application pad
- Shur-Line extension pole (we love this thing…we have bought it several times over the years and I’m pretty sure family members just keep stealing it because they love it too)
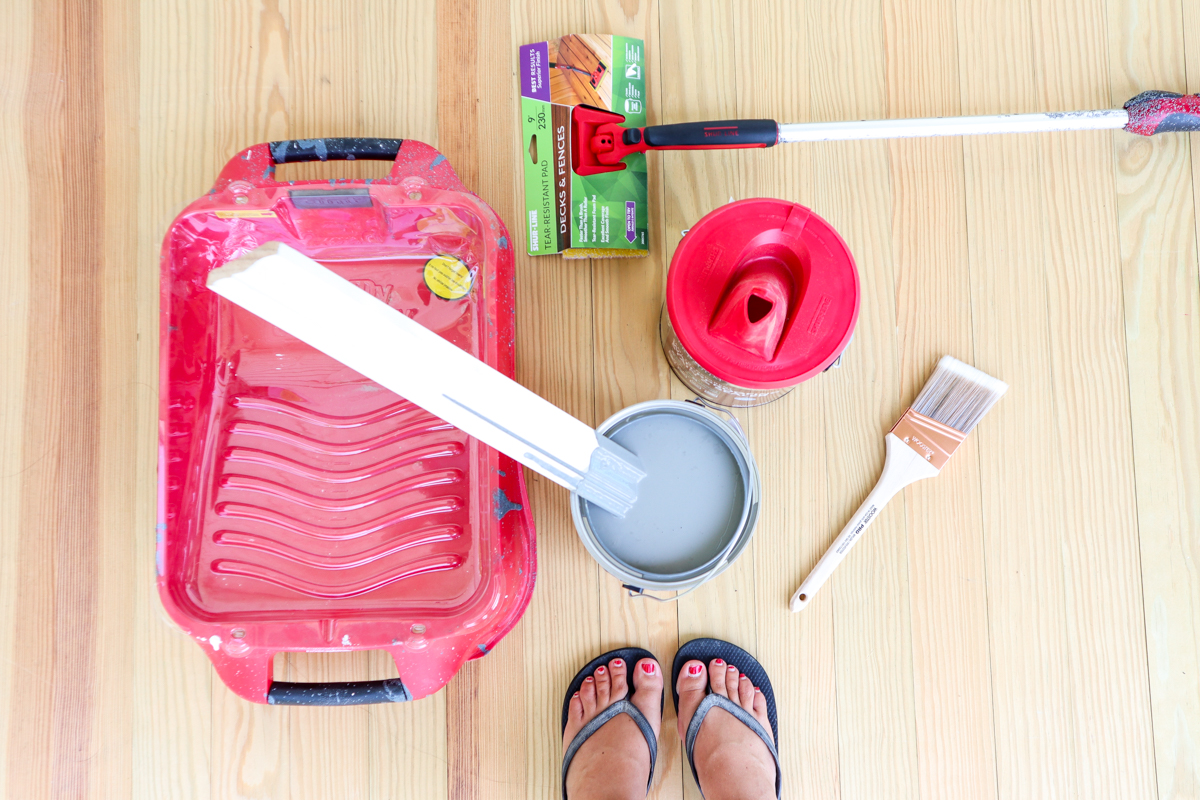
We went through 2.5 gallons of stain to do the entire porch with two coats. If you are using several different cans, make sure you use a bucket to blend all the gallons together to get the most even color throughout.
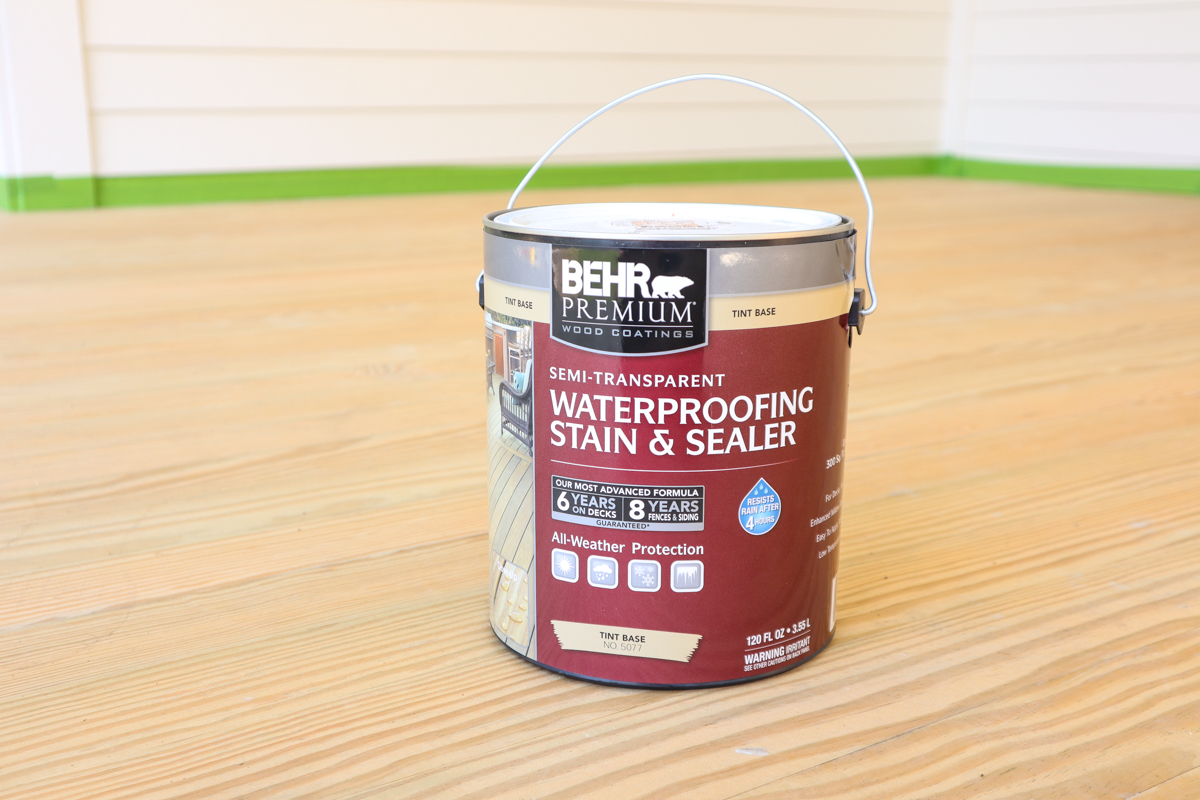
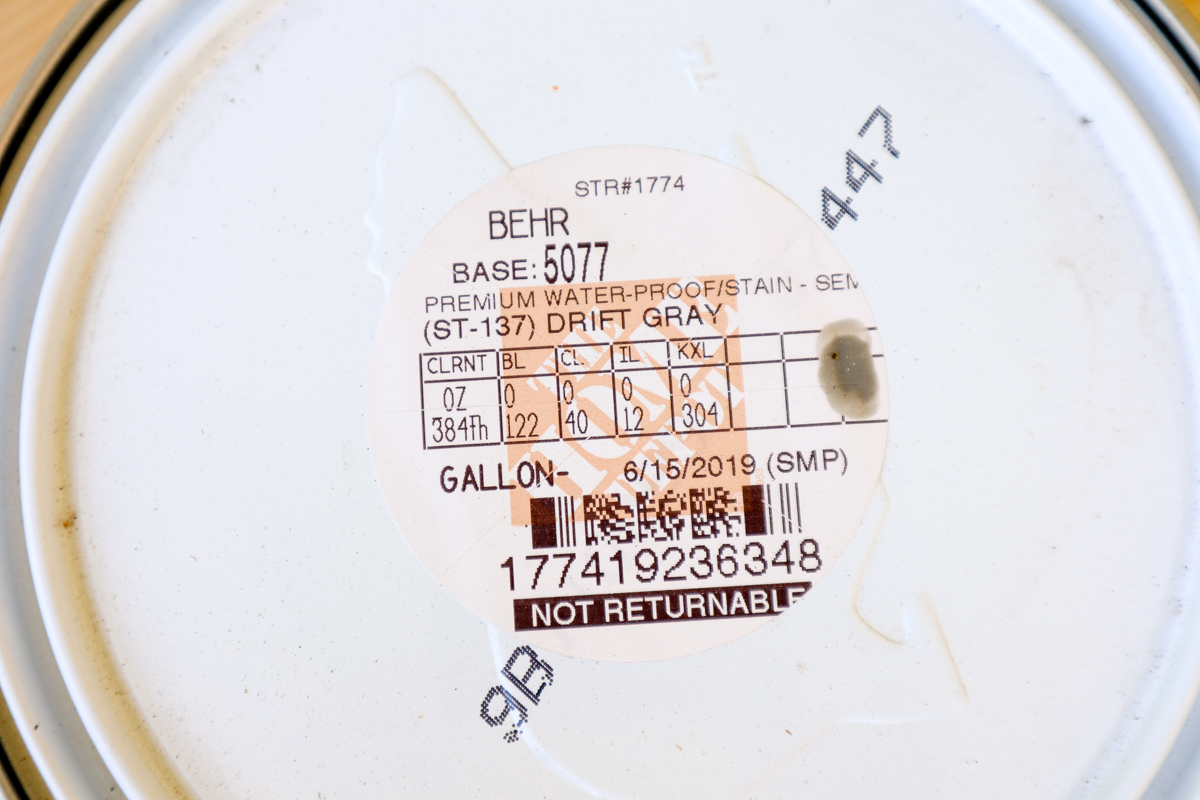
And this is if you are one of those people that love having the stain ‘recipe’. Again – the color was drift gray.
STEP 5 – APPLY STAIN
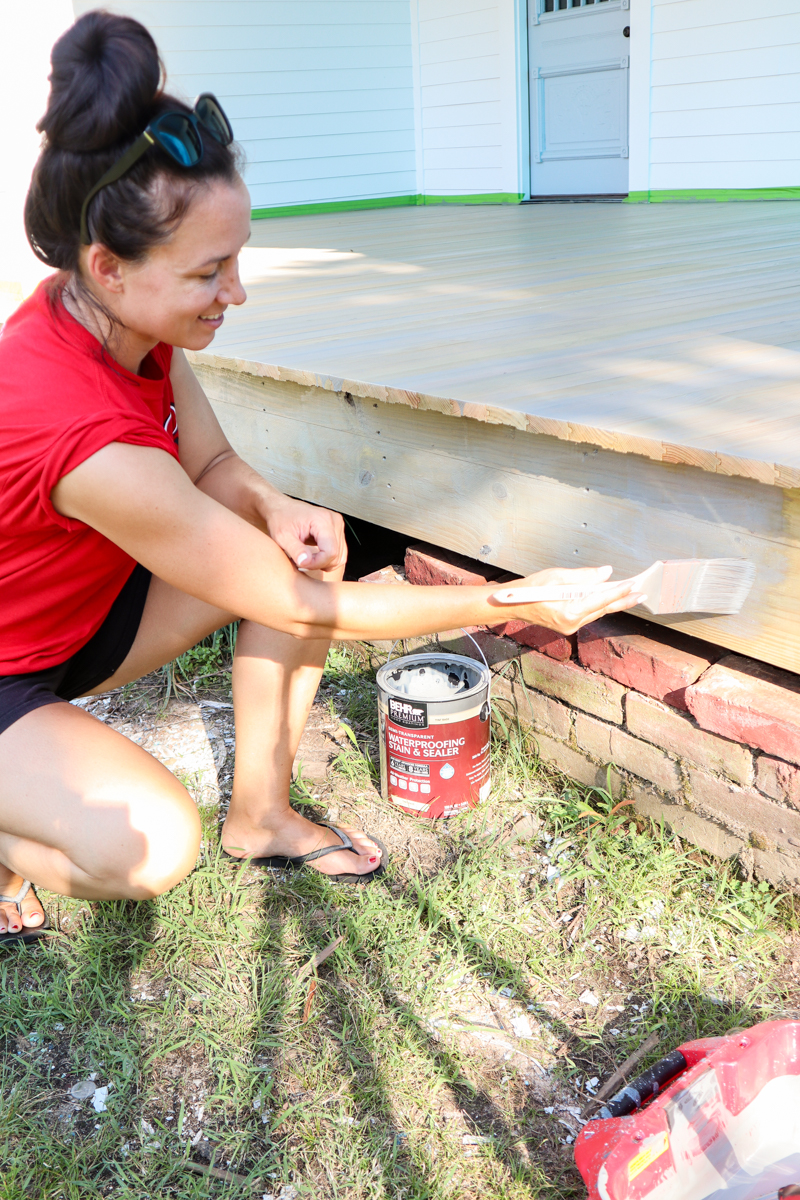
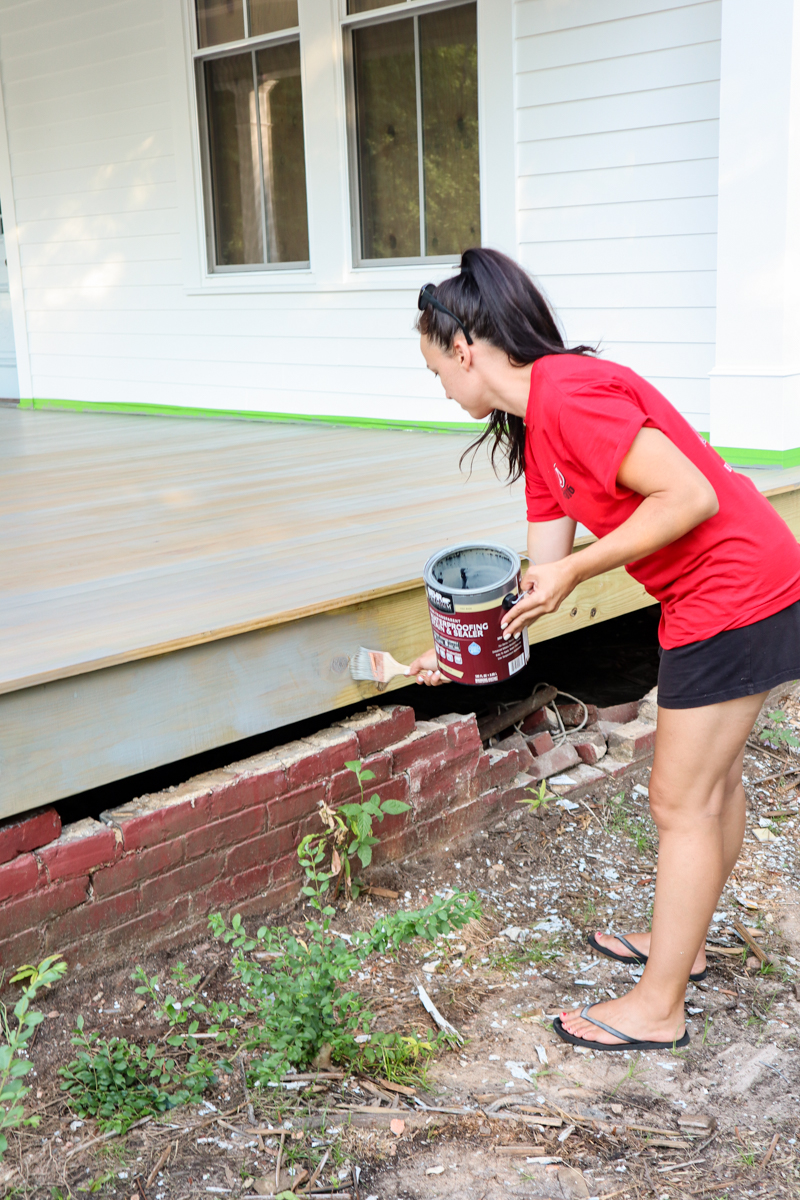
Using your brush, apply stain around the edges and columns. Make sure to brush with the grain of the boards and not create a harsh blend line for when you use the stain pad.
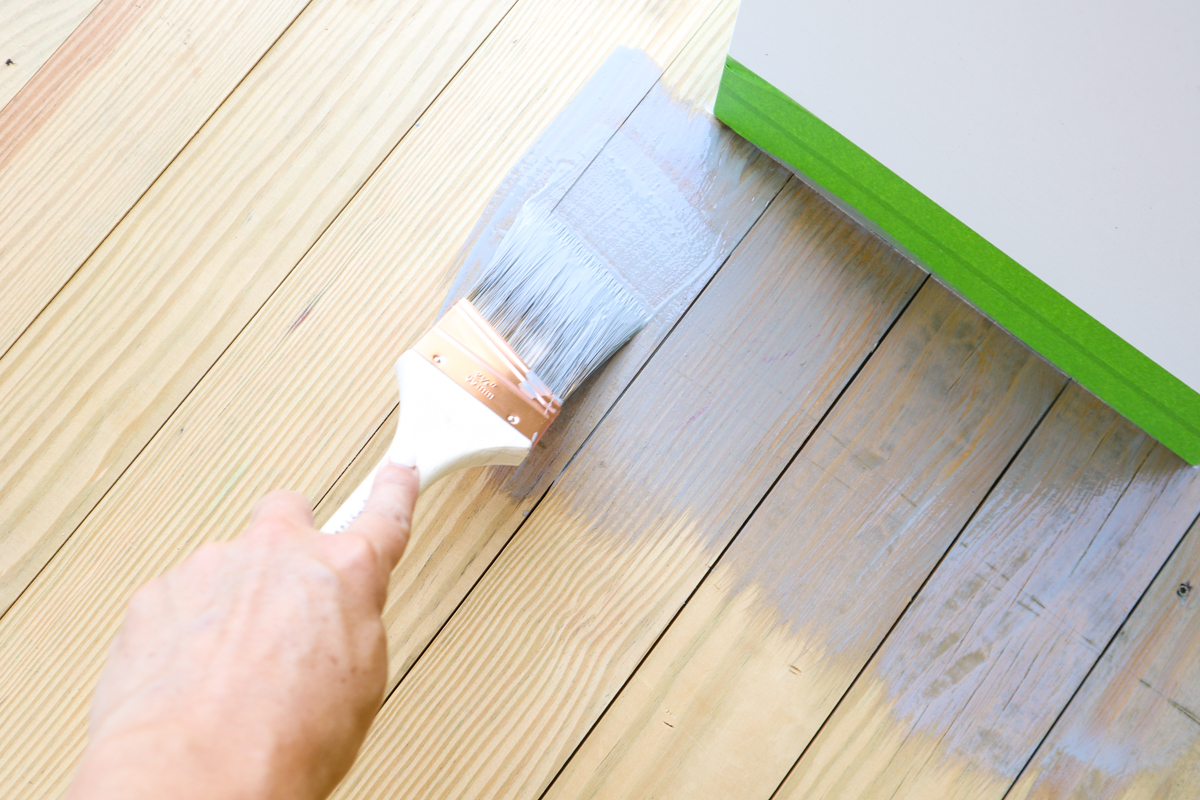
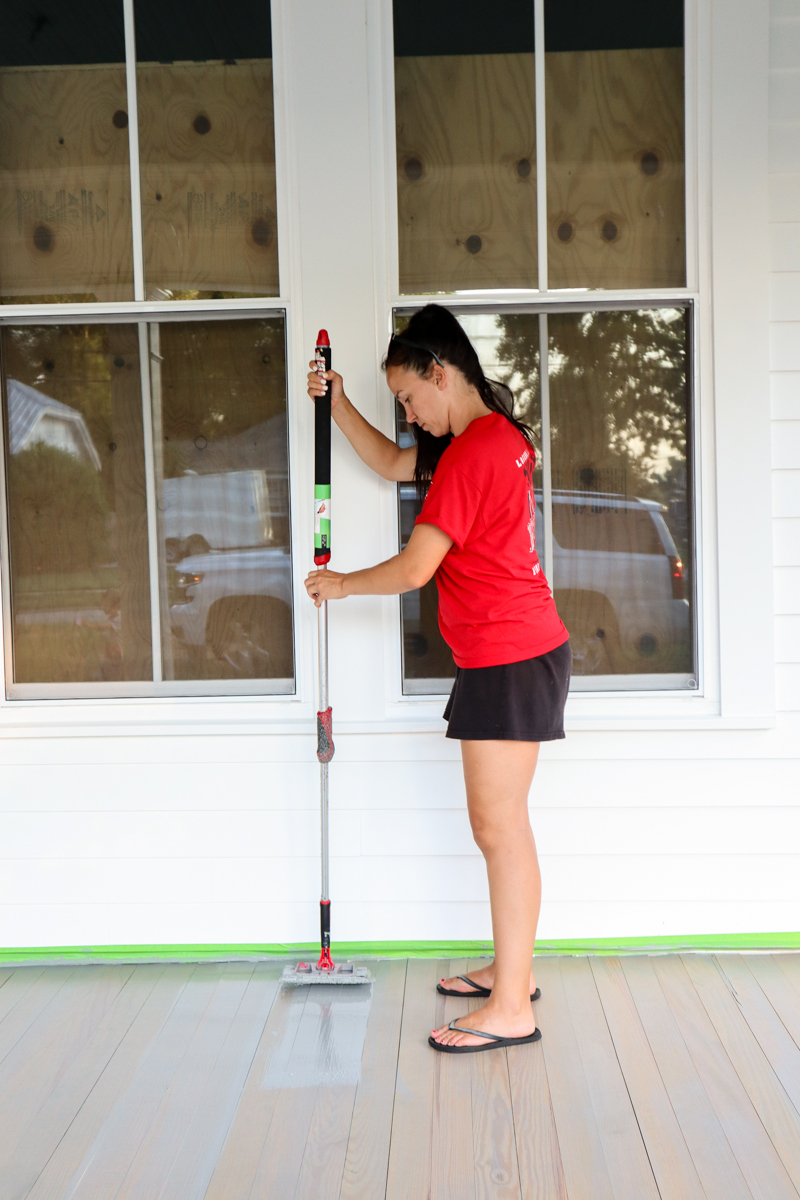
For the length of the boards, you will use your application pad to do a few boards at a time. It’s important to apply it from the inside edge (next to the house) to the outside edge.
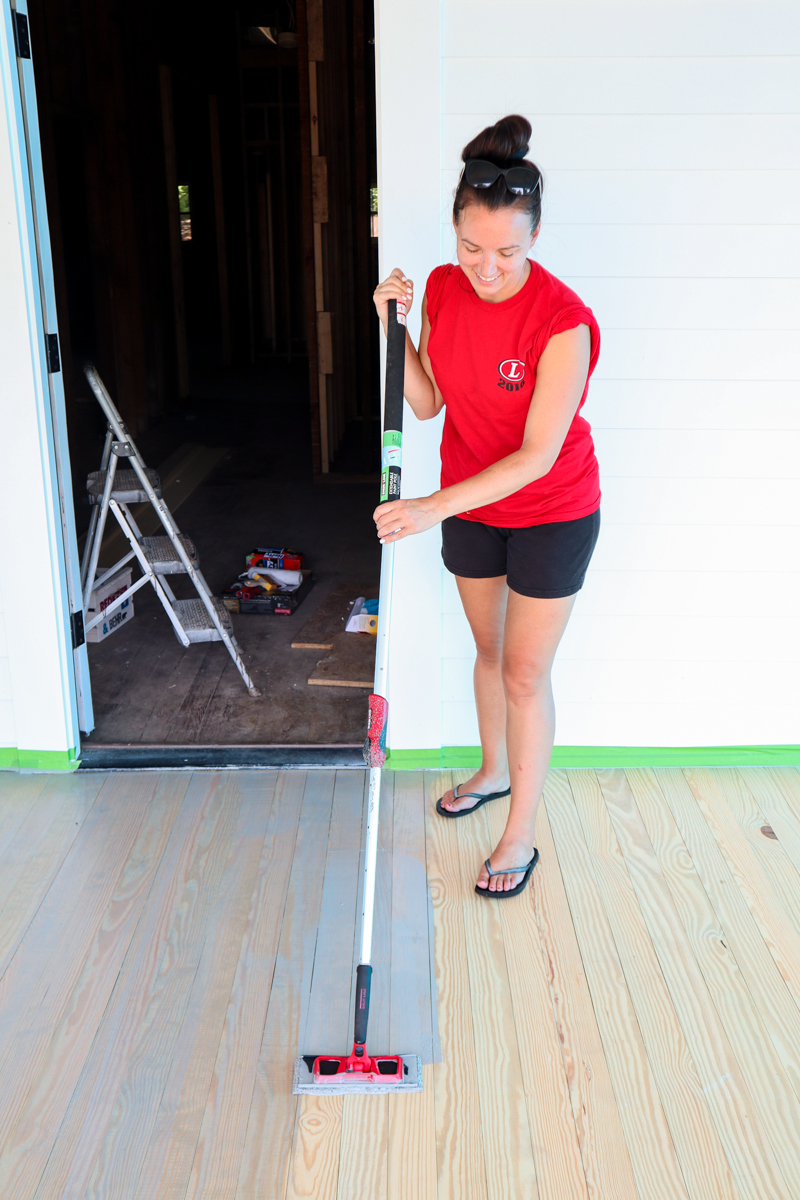
My best tip is to dip the application pad into the paint tray and then push the majority of stain out into the tray. This will prevent major drips or too much stain being applied.
Then place the pad down and push it multiple times to spray that stain into a very thin layer.
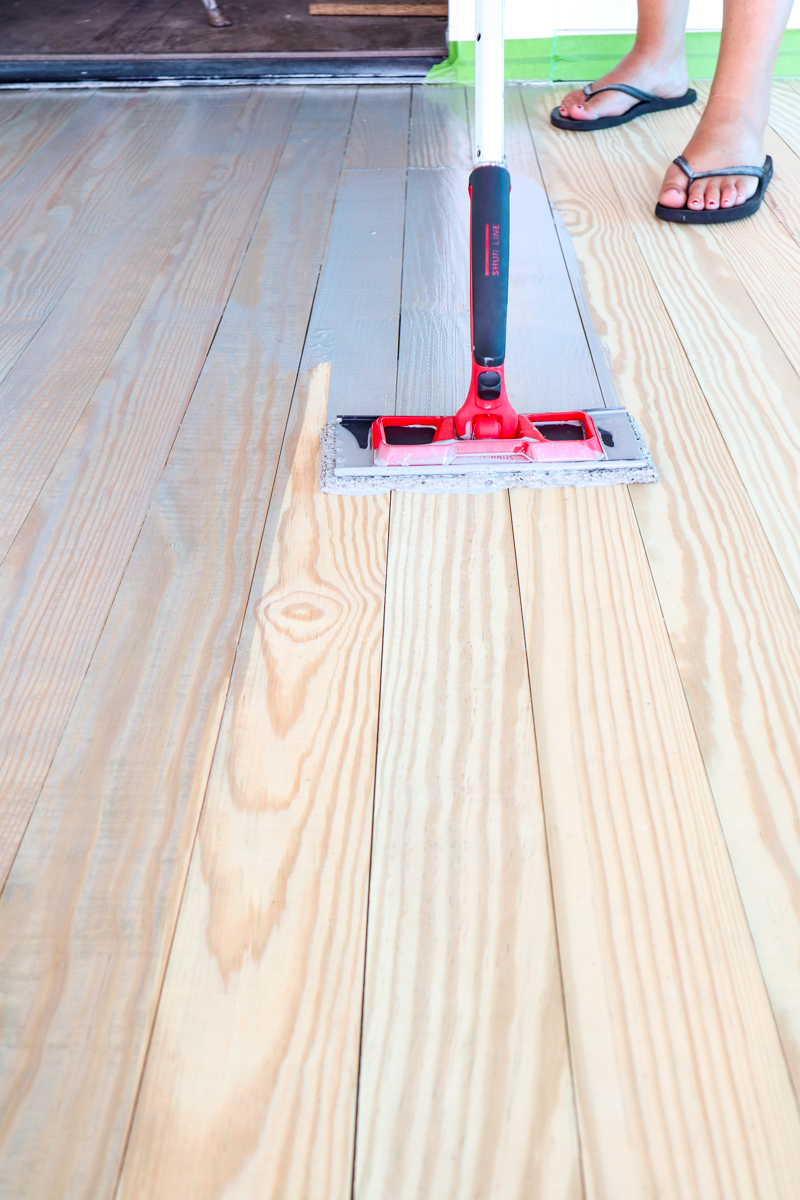
You may find it easier to pull the excess stain away from the inside edge and then push the excess stain the length of the boards. That is the way I was able to make sure the entire board was evenly distributed.
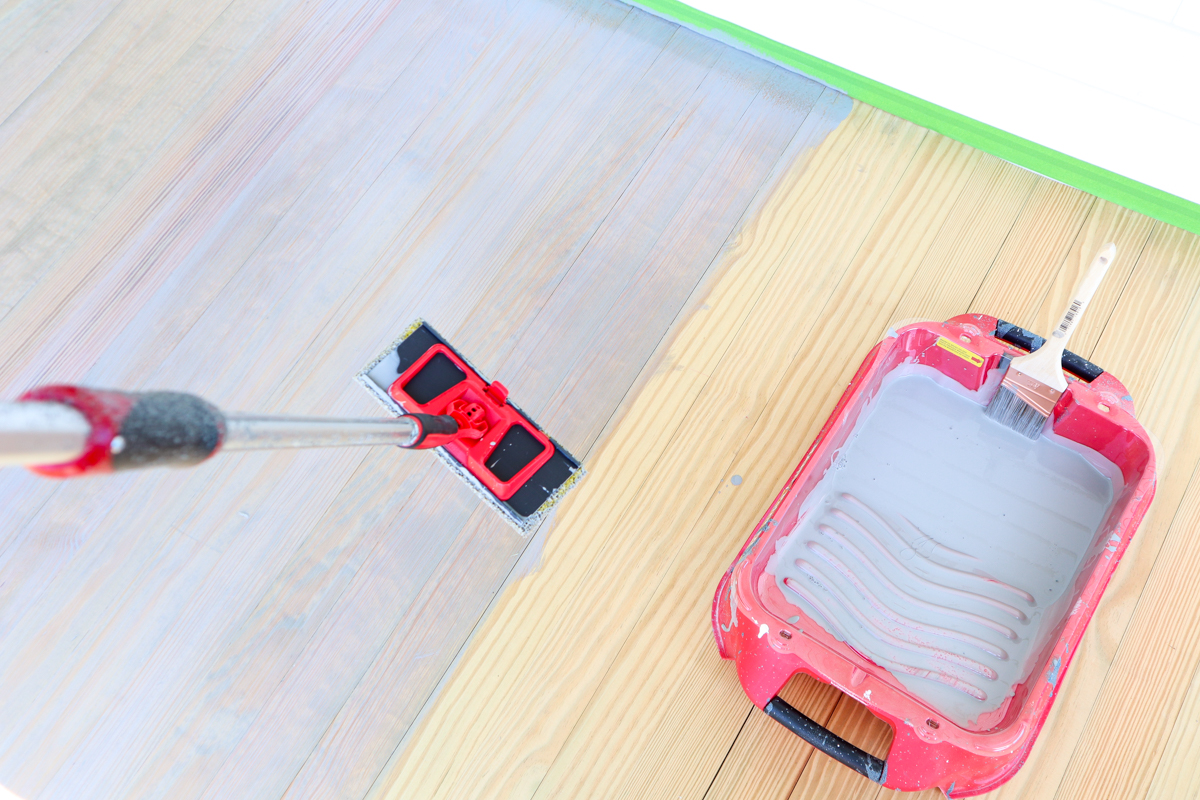
Be careful to go back every so often and check for any drips or thicker spots. The key is THIN LAYERS.
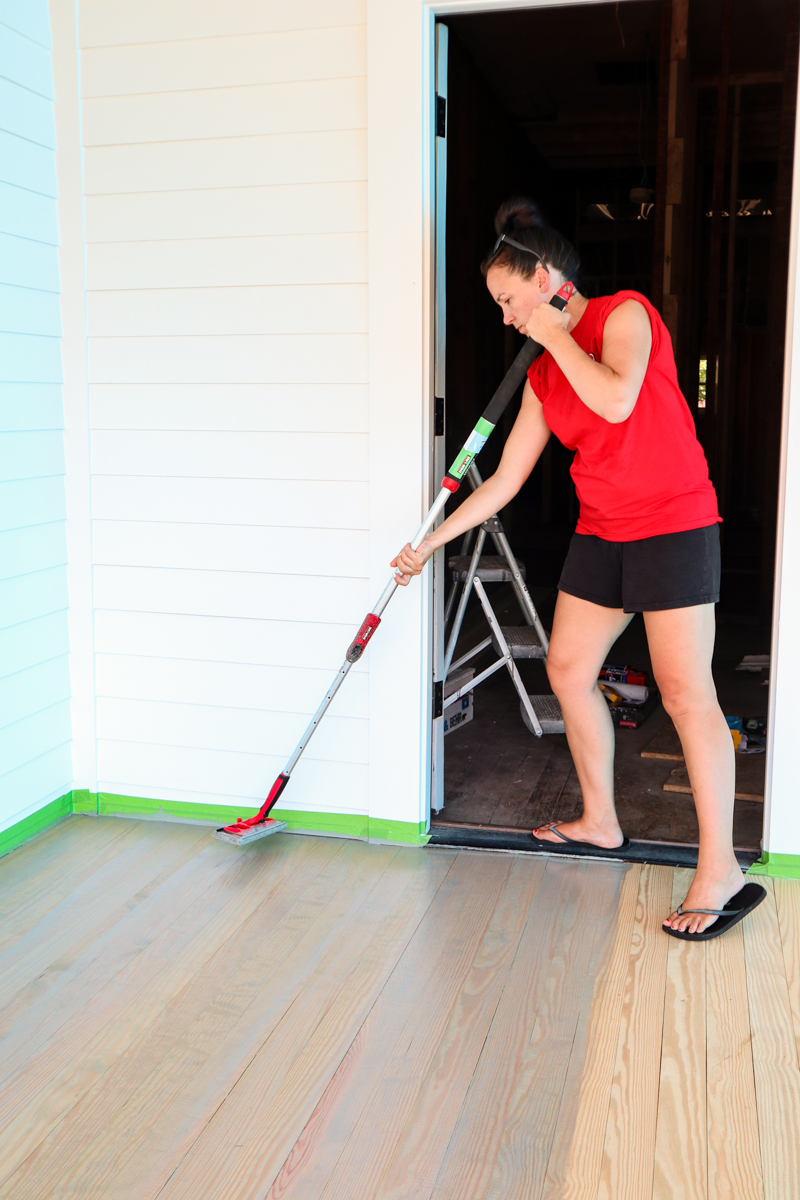
This is me after only a few boards with stain – SO HAPPY with the outcome!
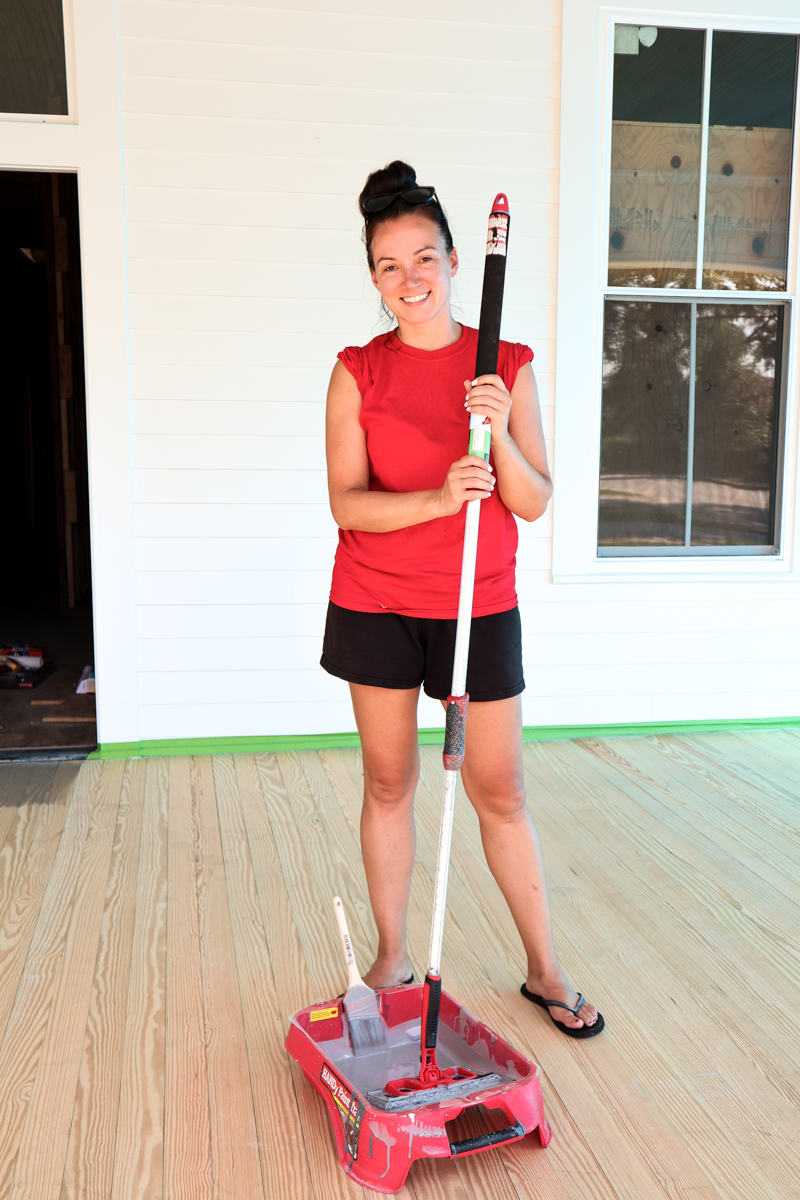
For all the edges and band board and apron – I used a brush to apply the stain.
Then it came time for the stain to dry before I repeated the staining process. It did not take long to get it done – maybe three hours tops for prep and two coats.
Then we allowed it to dry before removing the tape.
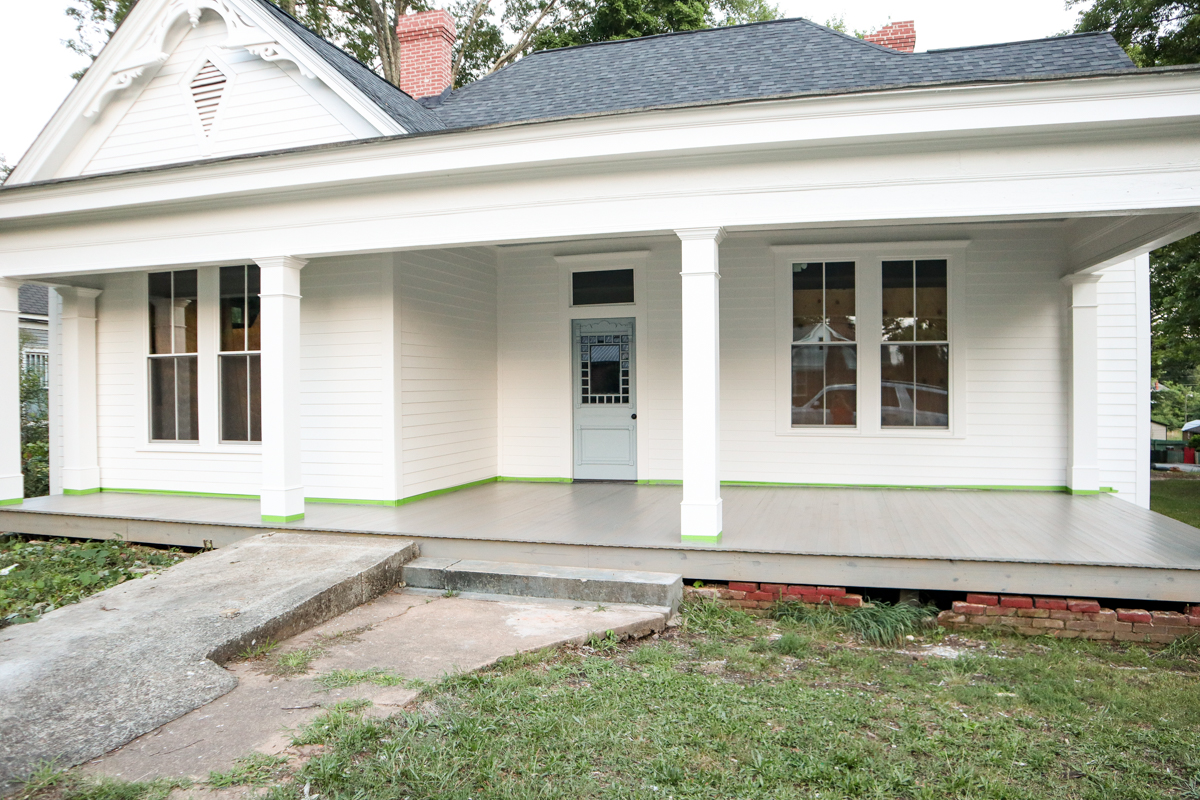
I was so excited about the final result though. It was perfectly coastal – with little peaks of warmer wood popping through that drift gray look.
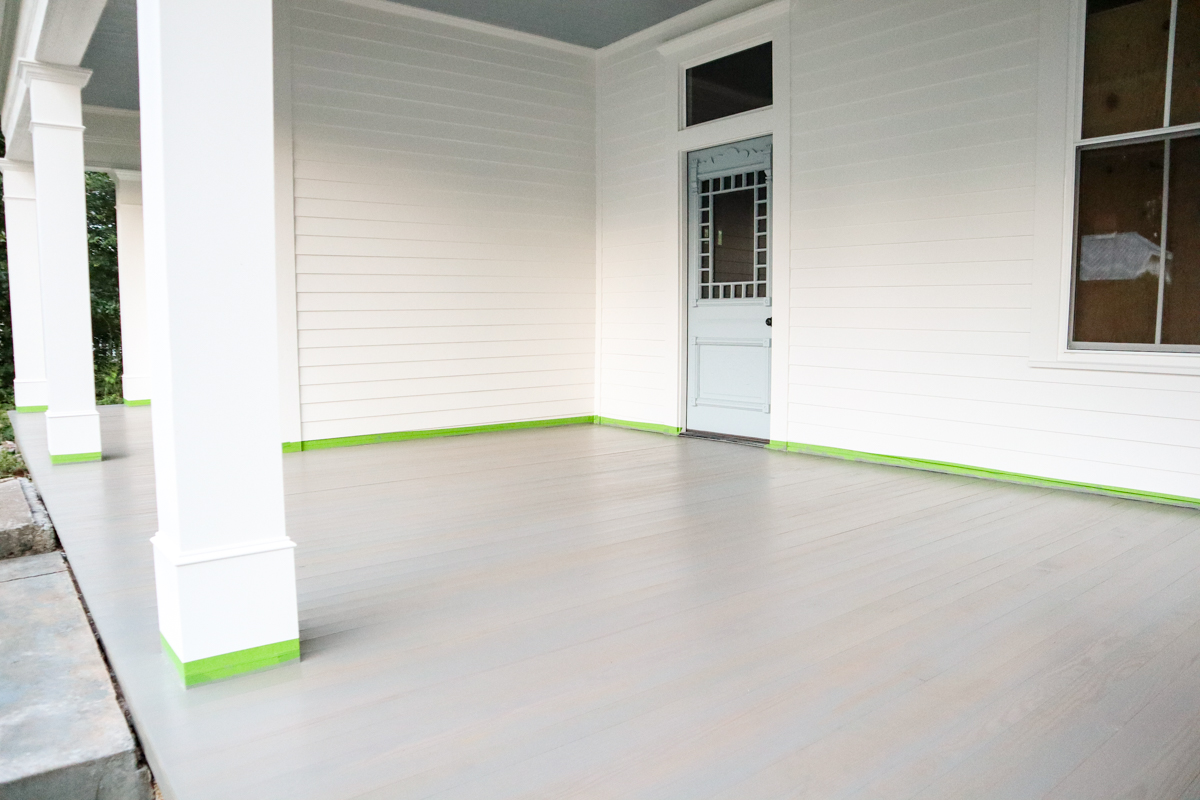
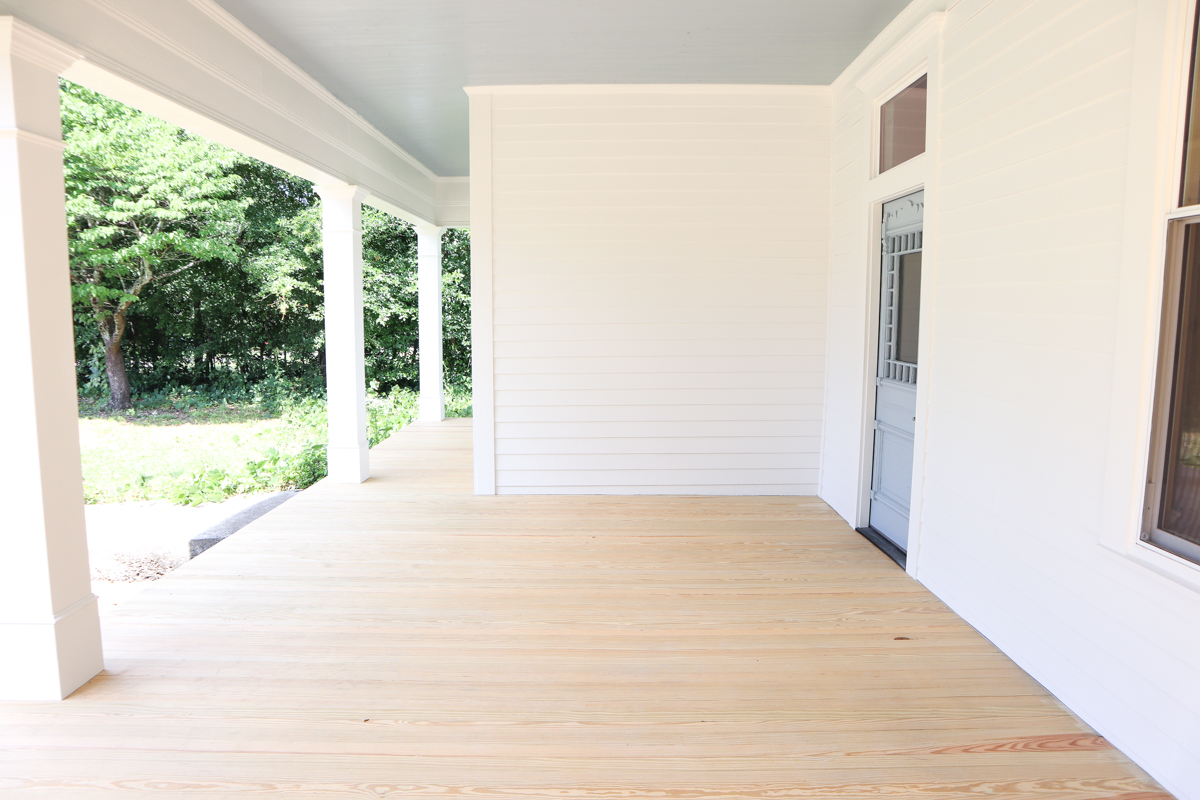
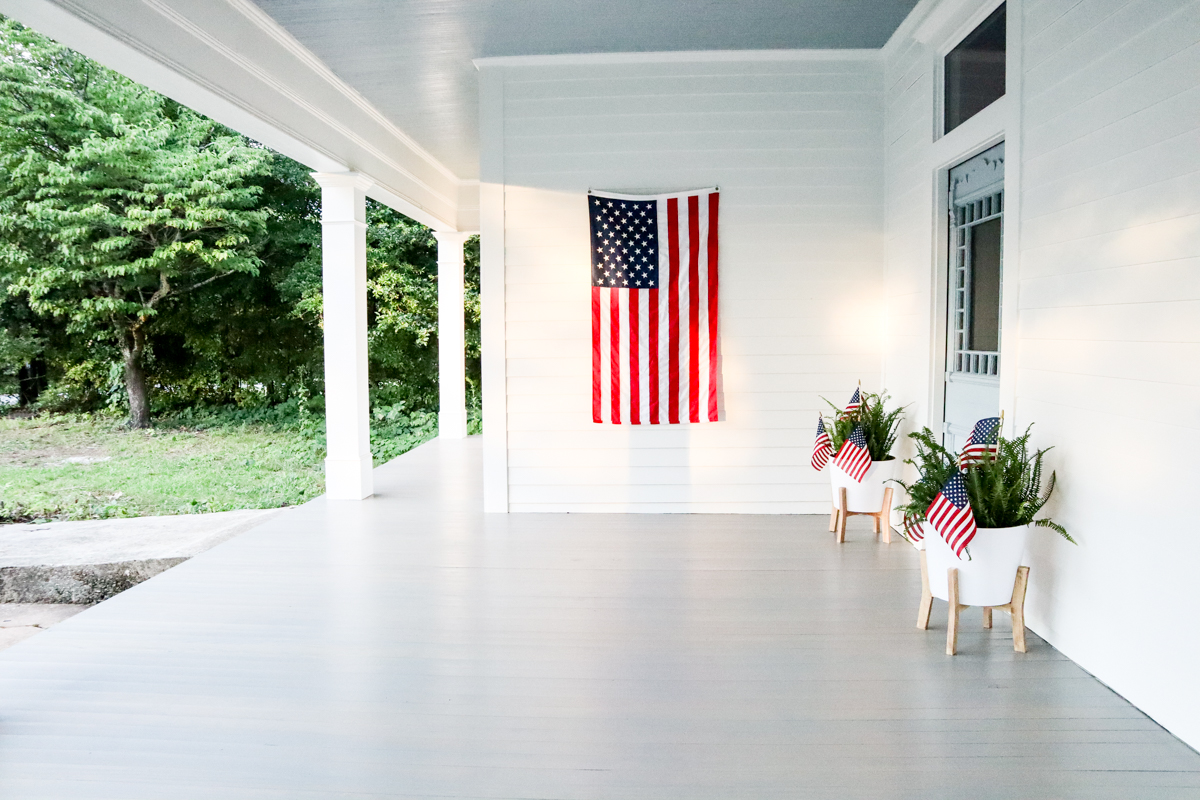
And so you can see the before and afters – here is the porch from the same angle with and without stain….
BEFORE
AFTER
BEFORE
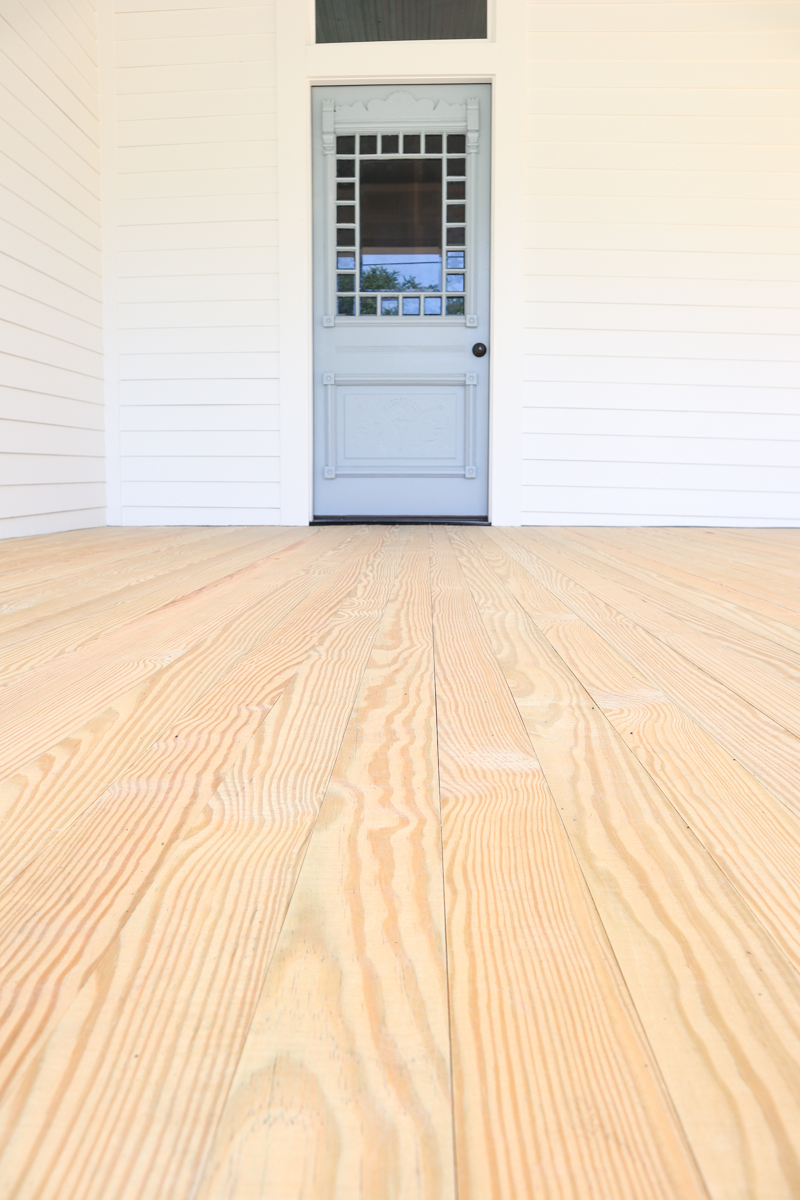
AFTER
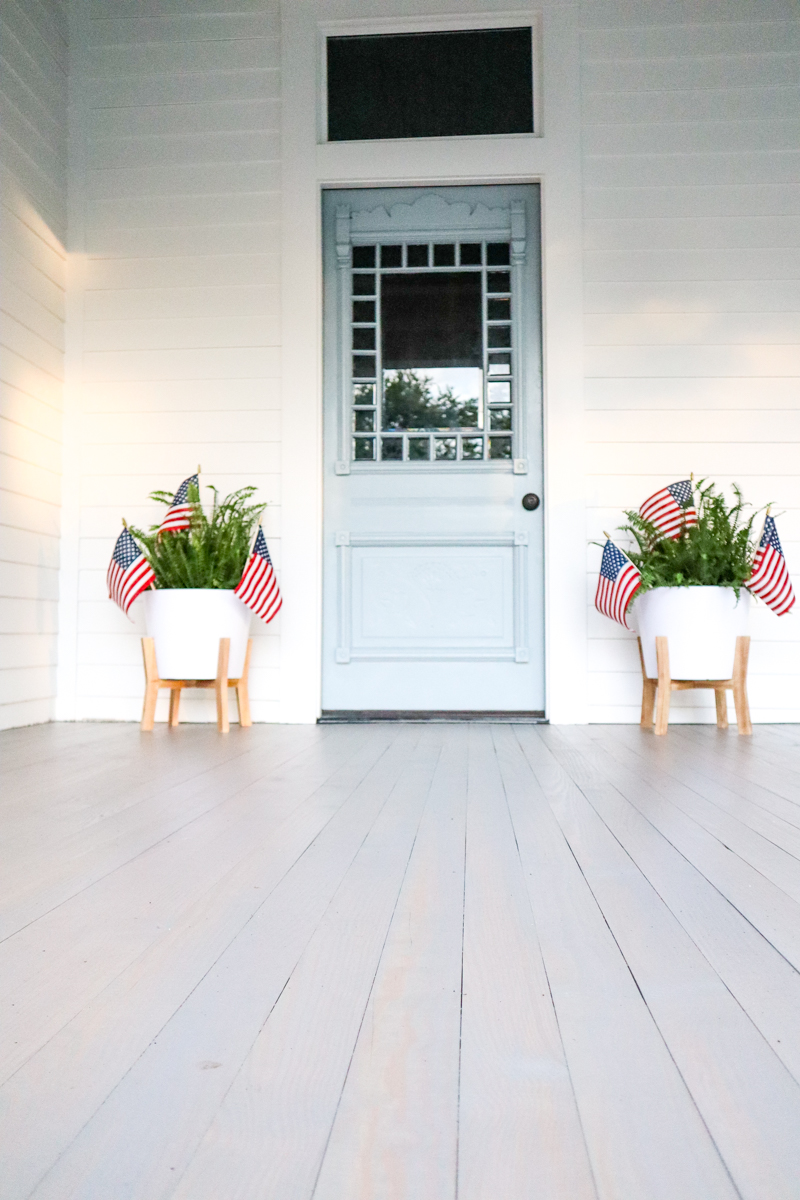
And that my friends is how to stain a porch or deck! It’s so so simple and the key in my opinion is to just manage the drips! Honestly – my deck here at the house is needed some refreshing and I was thinking “Man I wish I had known about this application pad when I did it at my house!” It really made a huge difference.
Hope this is helpful and to see more of the Monroe House updates – please visit me on Instagram at @bowerpowerblog and look up #bowerpowermonroehouse LOVE YOU ALL and HAPPY DIY-ING!