If you have ever wondered how to remove carpet, I am here to tell you that you are powerful. Bower-power-ful. And if we can do it….so can you! Seriously. We are normal people with normal sized muscles and normal sized brains who just have the guts to try stuff. This DIY is basically foolproof. It’s super easy and the hardest part is carrying it to the car! Please note that most carpeting can be taken to local recycling centers and here is the easiest website for finding one near you.
Now maybe you are removing your carpeting for allergy reasons, or perhaps because you are replacing it with a different type of flooring, or you could even be removing it to replace it with new carpeting. Whatever the reason, we are here to walk you through the process and little tips that we learned as we removed the carpeting in my closet. Let’s just jump right in!
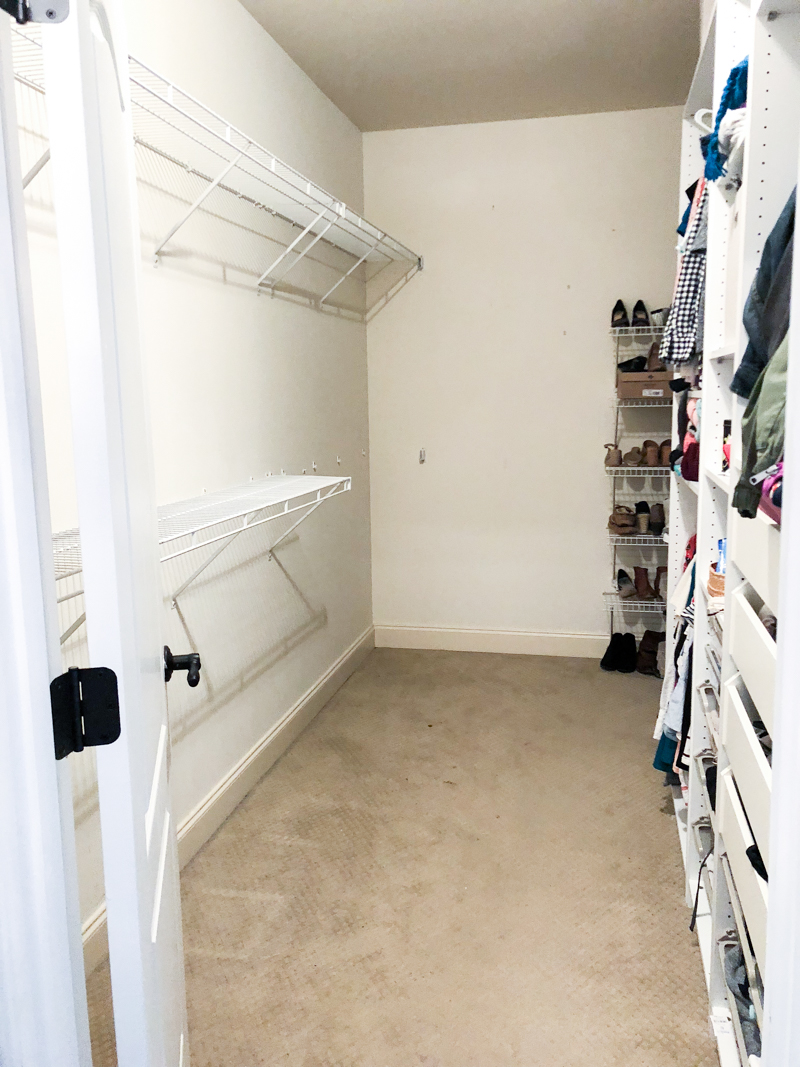
My closet was carpeted seven years ago when we moved in so we were removing it because we wanted to replace it with luxury vinyl plank flooring. It only had “our gross” (carpeting is generally a magnet for allergens and all the gross that comes with living!) so if you are ripping out carpeting that was there before you inherited it, you may want to wear a mask!
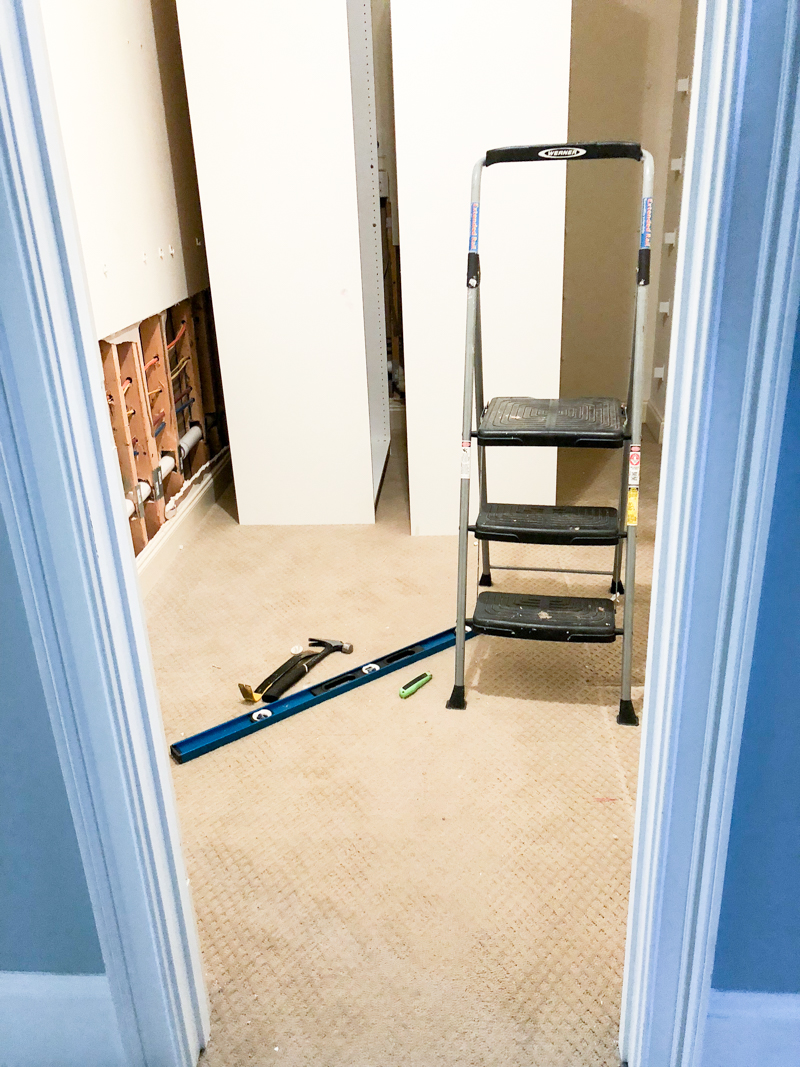
SCORE THE LINE
The first step in removing carpet is scoring the line where you want it to end. In general, we know that the edge of where any neighboring carpeted rooms need to end is the doorways. For the edge to be clean and turned under and fastened, you need to allow for margin – at least 3″. This allows the carpet to be pulled and stretched to the correct location and length. In ‘regular people talk’ that means you need to cut the carpet 3″ from where you want it to end.
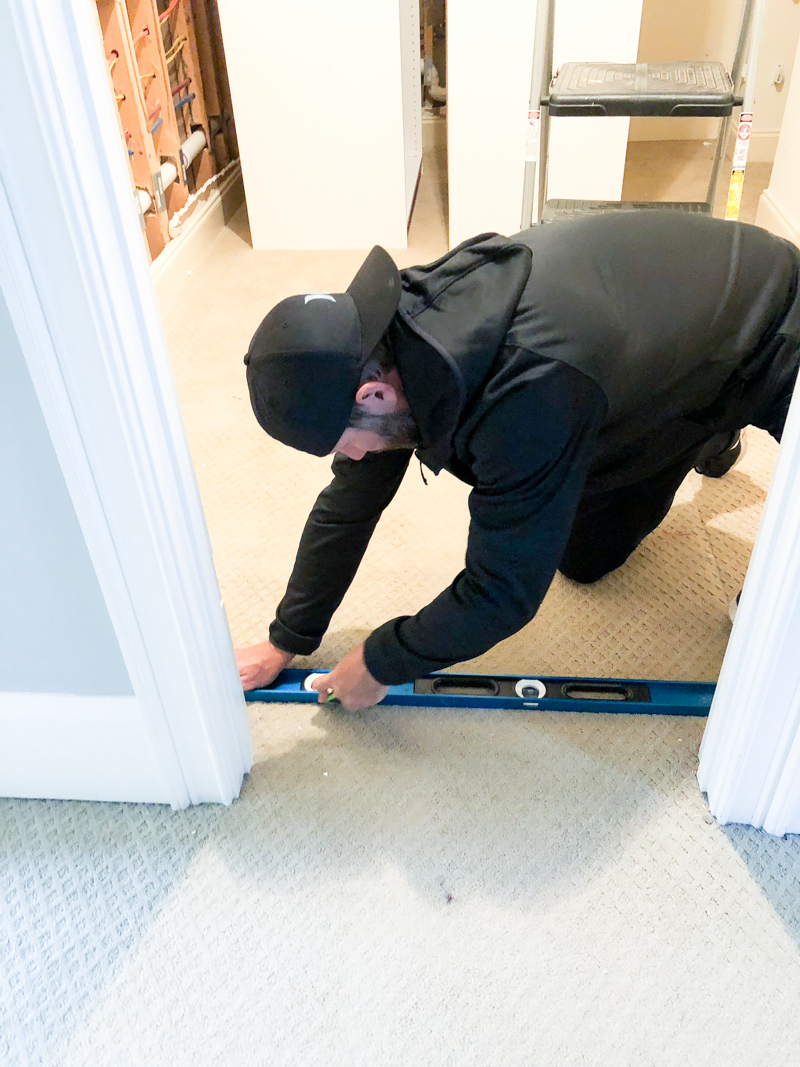
Using a straight edge and a sharp rectractable knife, cut the carpet through with several swipes to get through it. Then carefully pull the carpet up. Underneath you will usually have a carpet pad.
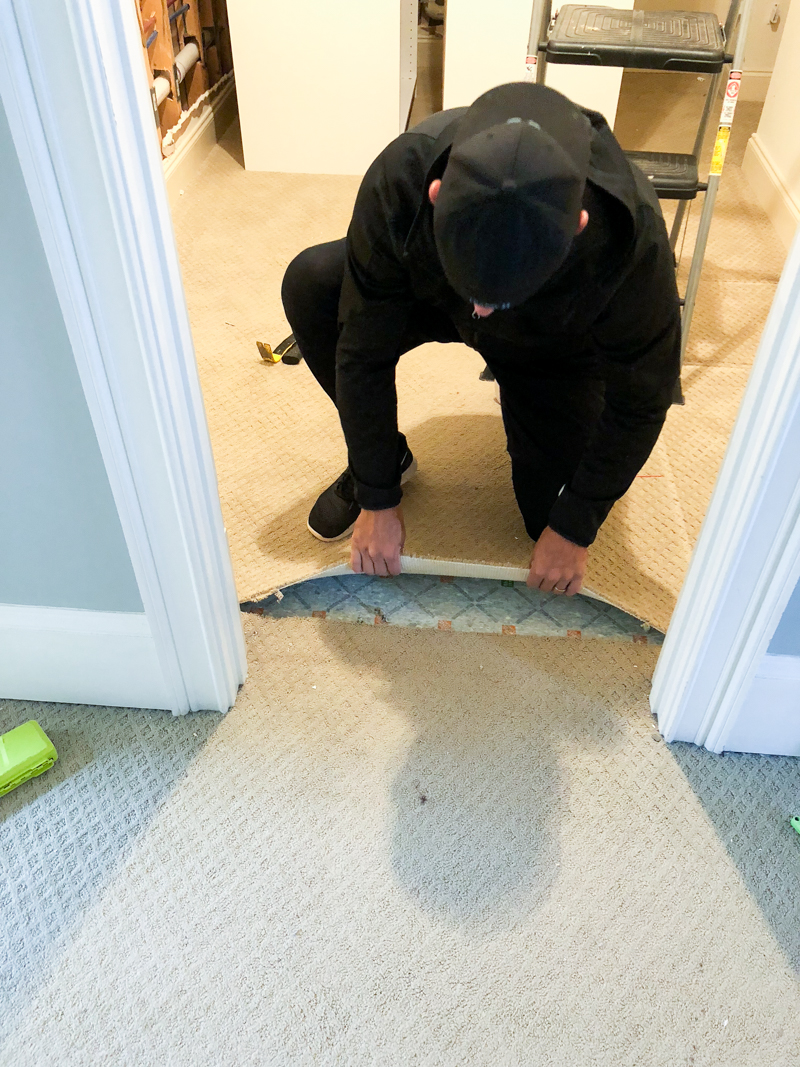
BE A JERK
Carefully pull up the carpet starting where your cut was and work your way around the edge of the room.
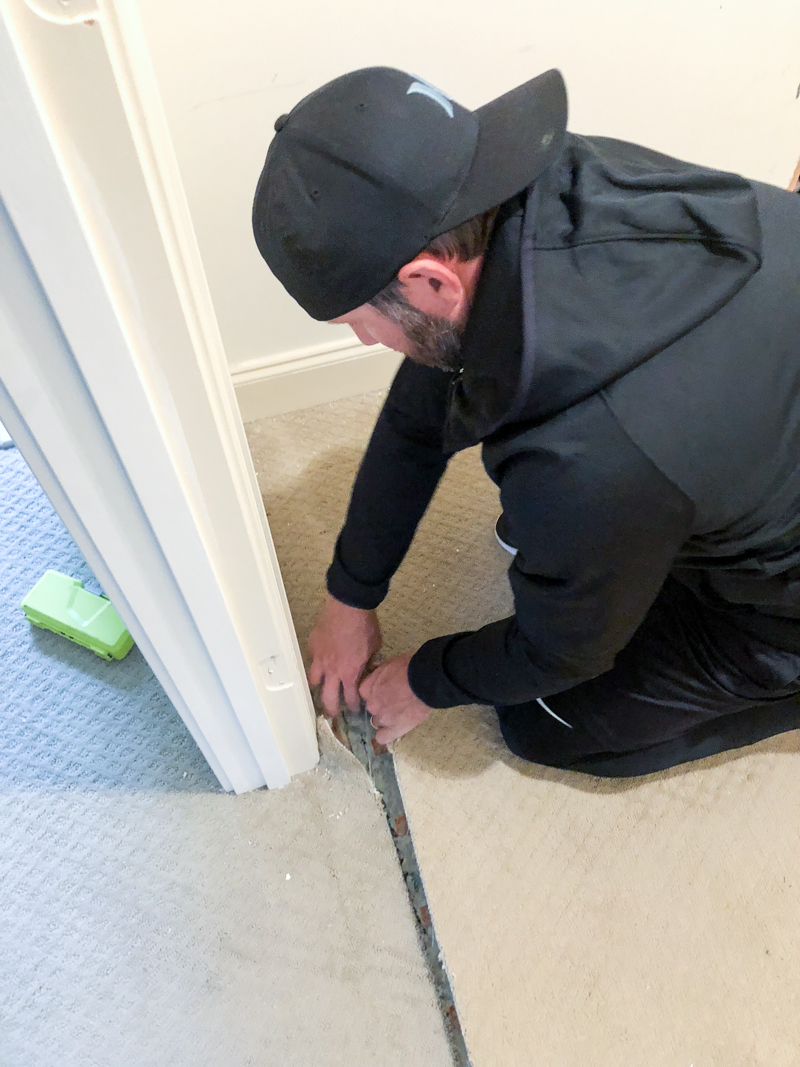
It helps to wear gloves (Jeremy is a rebel like that) and do quick jerky pulls instead of just slowly leaning your weight into it.
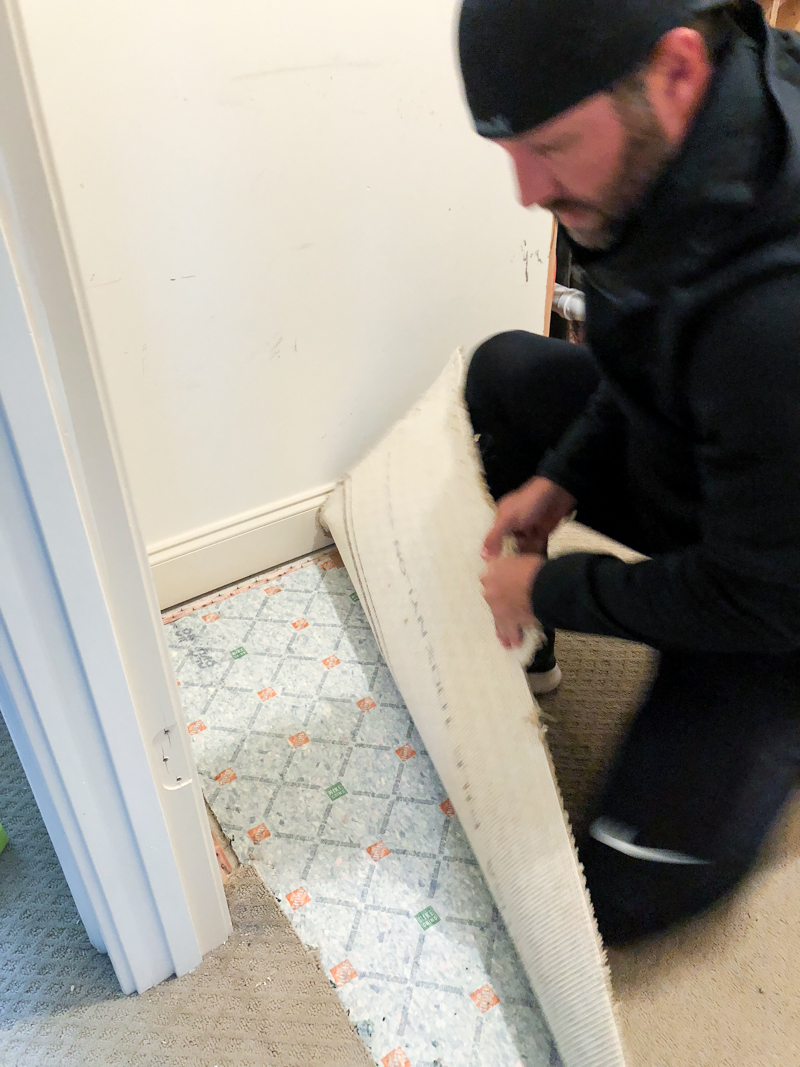
Once you get to one corner and get that up, work in the opposite side to get an entire wall length of carpeting up.
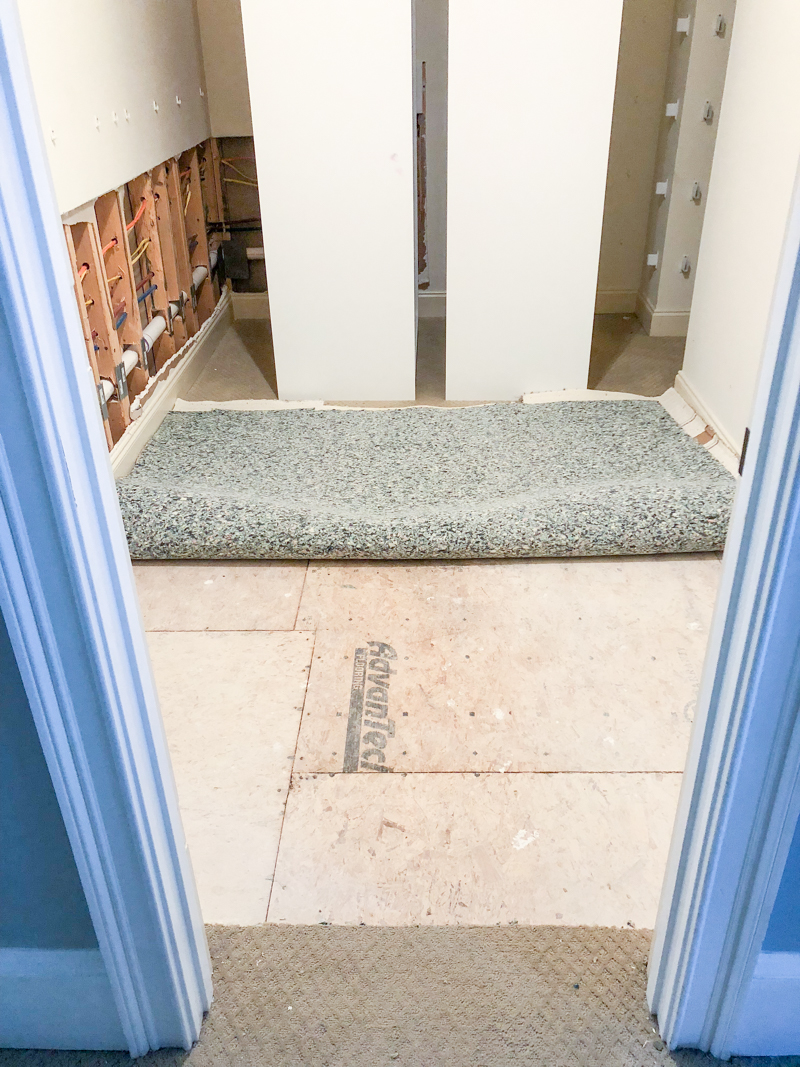
ROLL IT UP
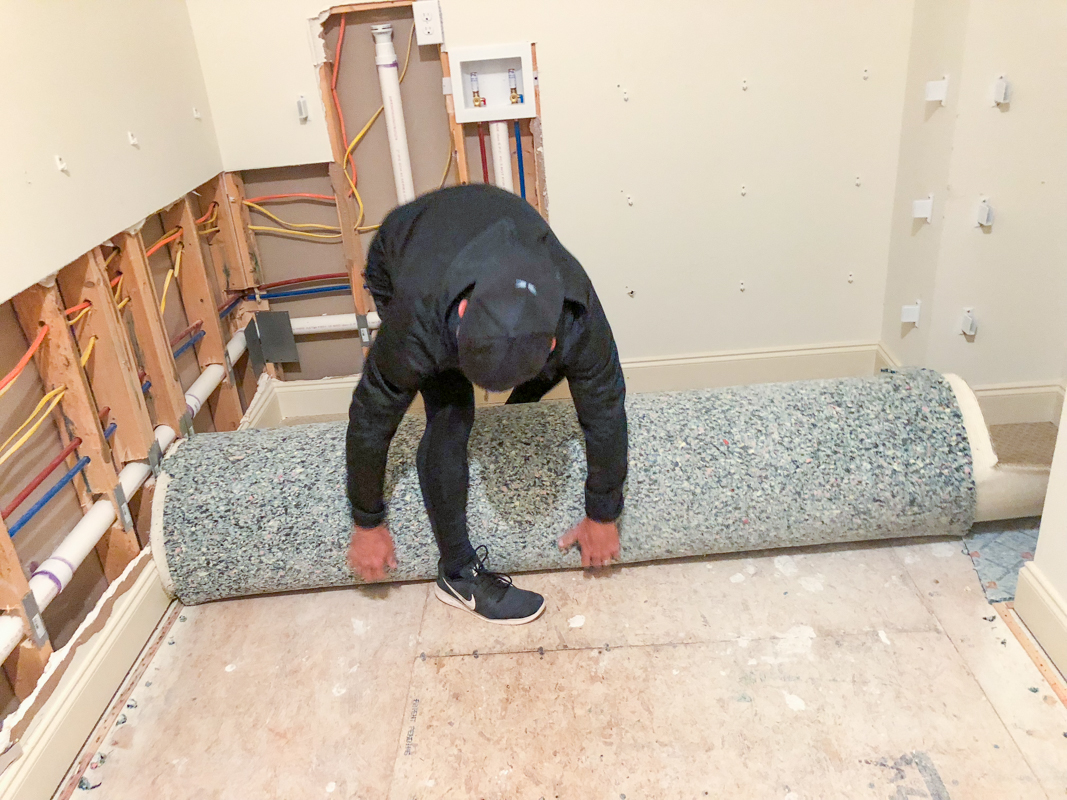
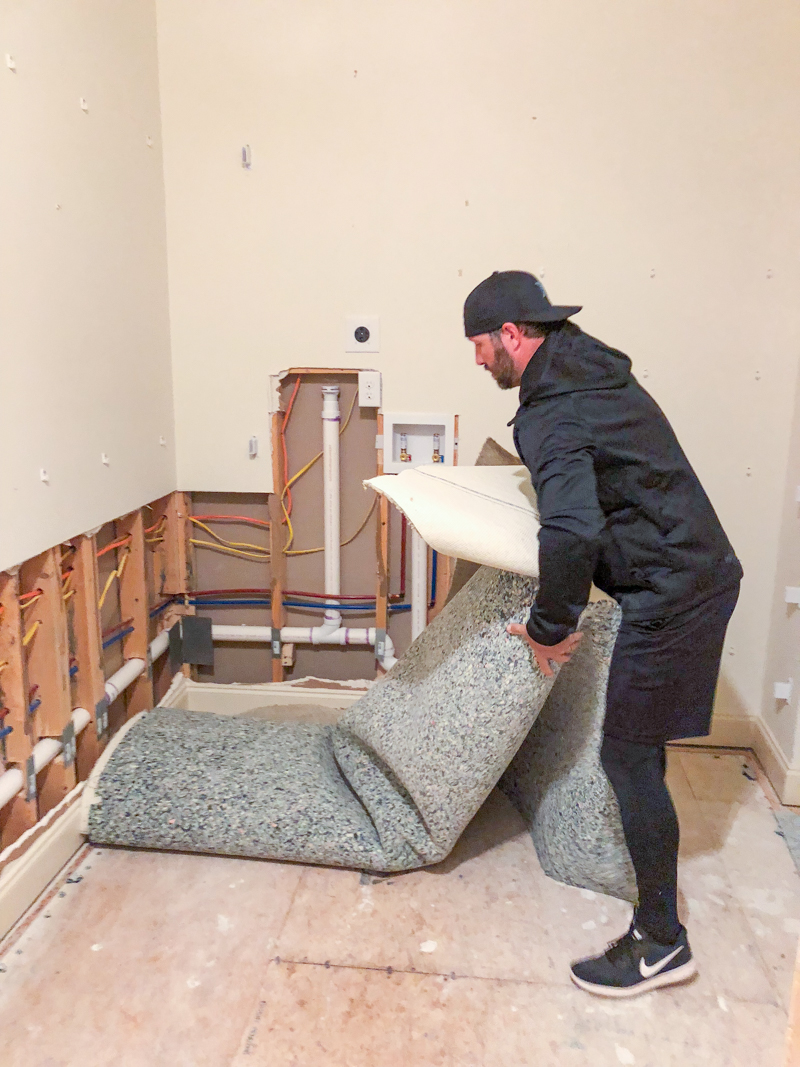
Now as you pull the carpet off the tack strips, it helps to roll the carpeting up.
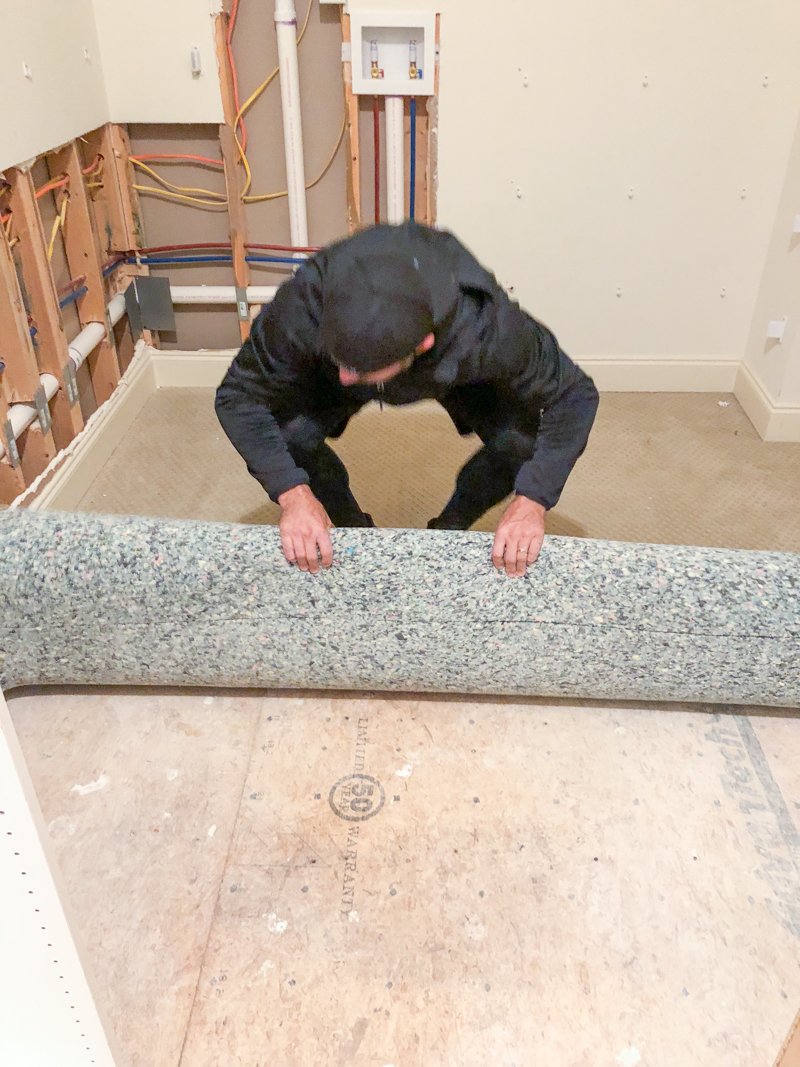
The weight of the carpet as it is rolling up will help with pulling the rest of the carpet up. You may have to go back and forth from one side to another to do quick jerks on the edges where it is still attached.
REMOVE CARPETING FROM ROOM
We rolled our carpeting up and took it out in one fell swoop but don’t do this if you have trouble carrying heavy items. If you prefer to carry smaller loads or if your room is just way too big to handle the rolled up carpet, cut the carpet into strips using your knife. Cut it every three to five feet and roll up before hauling away.
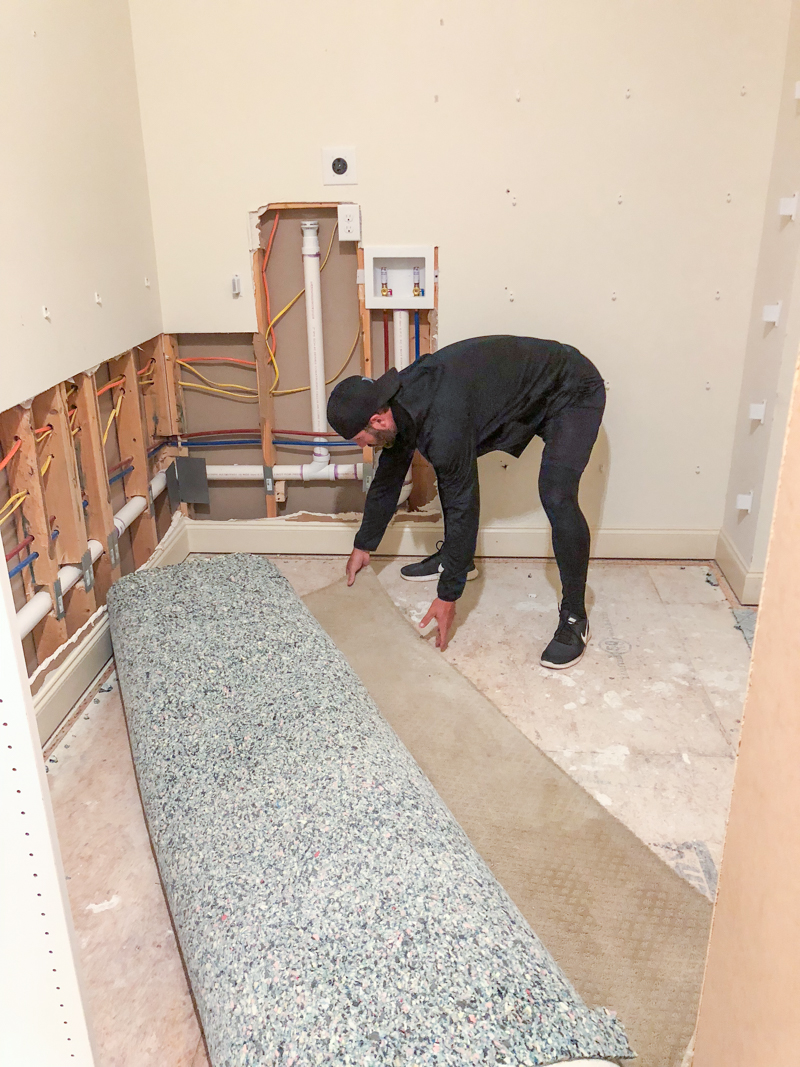
Remember that most bulk carpet does not qualify trash pick up but you could always take good condition carpet to a ReStore or take it all to a recycling center.
REMOVE TACK STRIPS
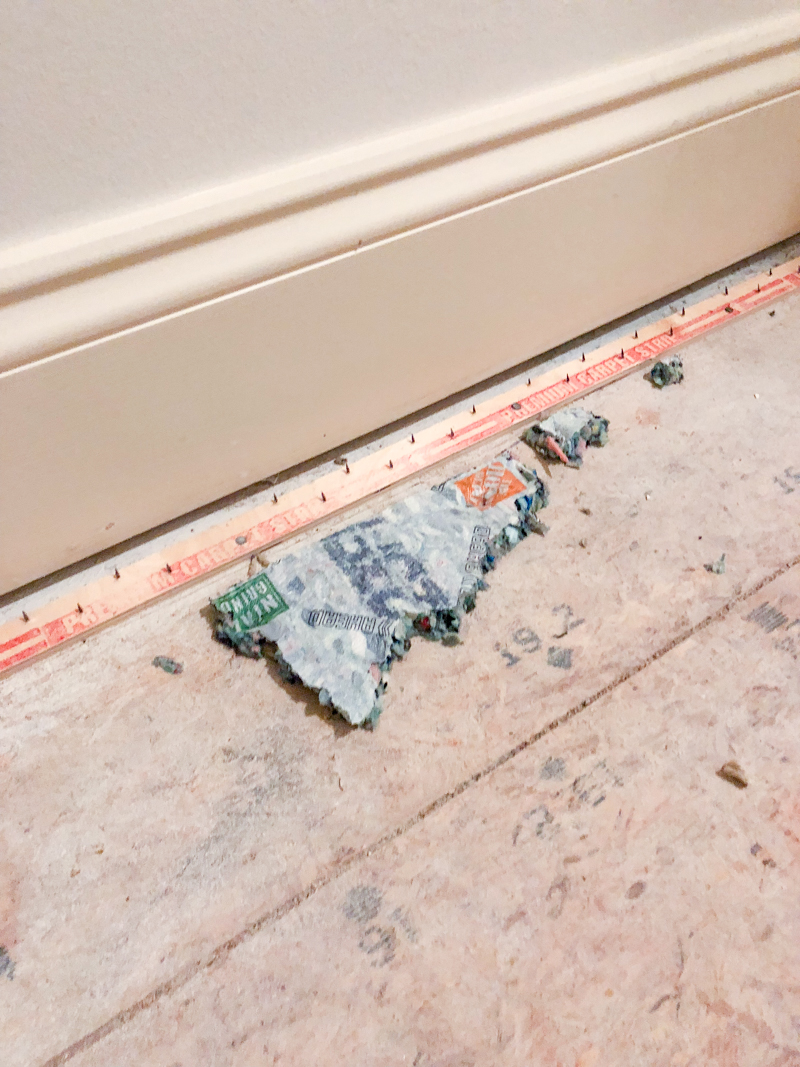
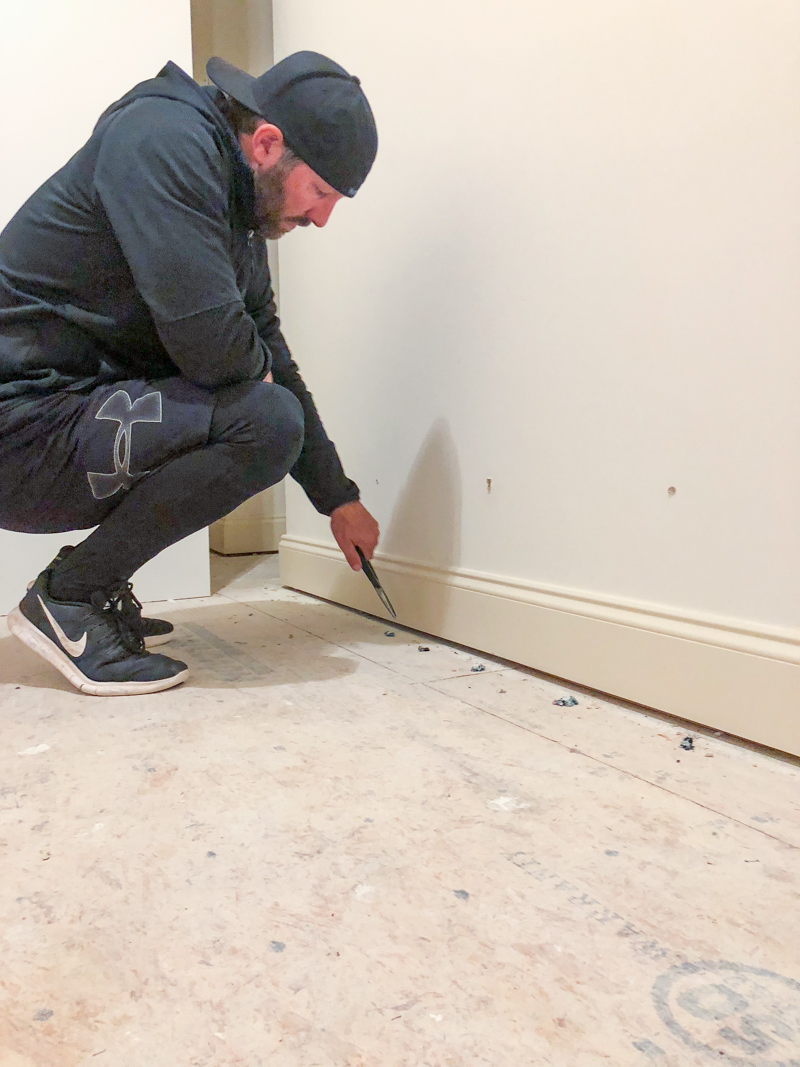
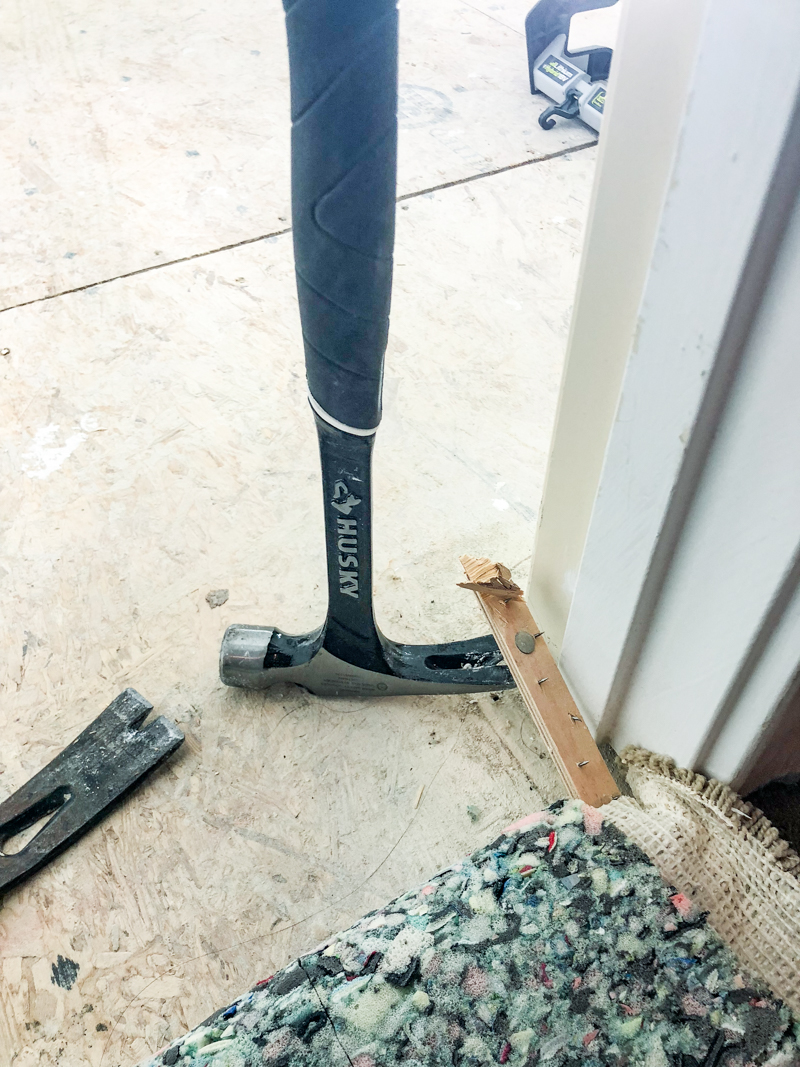
Tack strips are pieces of wood that carpet installers attach to the subfloor to hold the carpet in place. Tack strips have small barbs sticking up to hold the carpet taut and securely. You will need a crowbar and a hammer for removal (or a flat head screwdriver will work if crowbars are few and far between at your house). I also really recommend gloves and puncture proof trash bags. Get the edge of the crowbar under the edge of the strip by tapping it in place and pop the nails up. They are super gratifying to get up. Also they want to attack you so be careful!
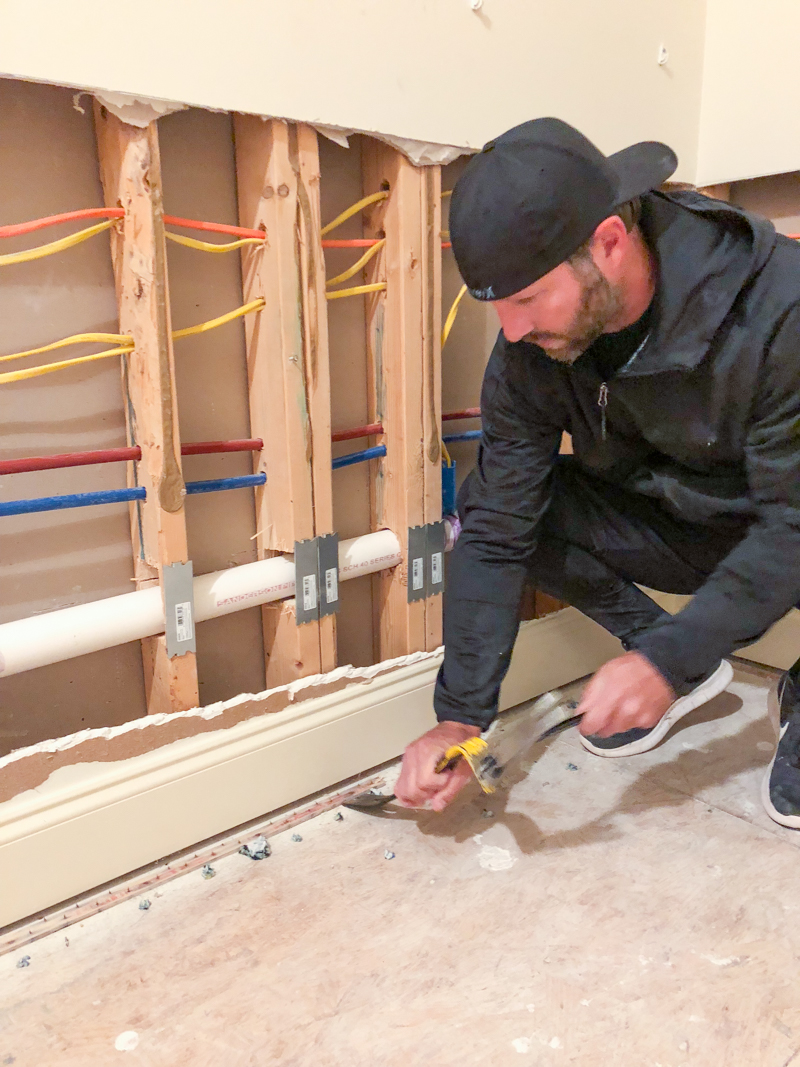
The tack strips can be broken into two foot sections. They are easier to discard this way.
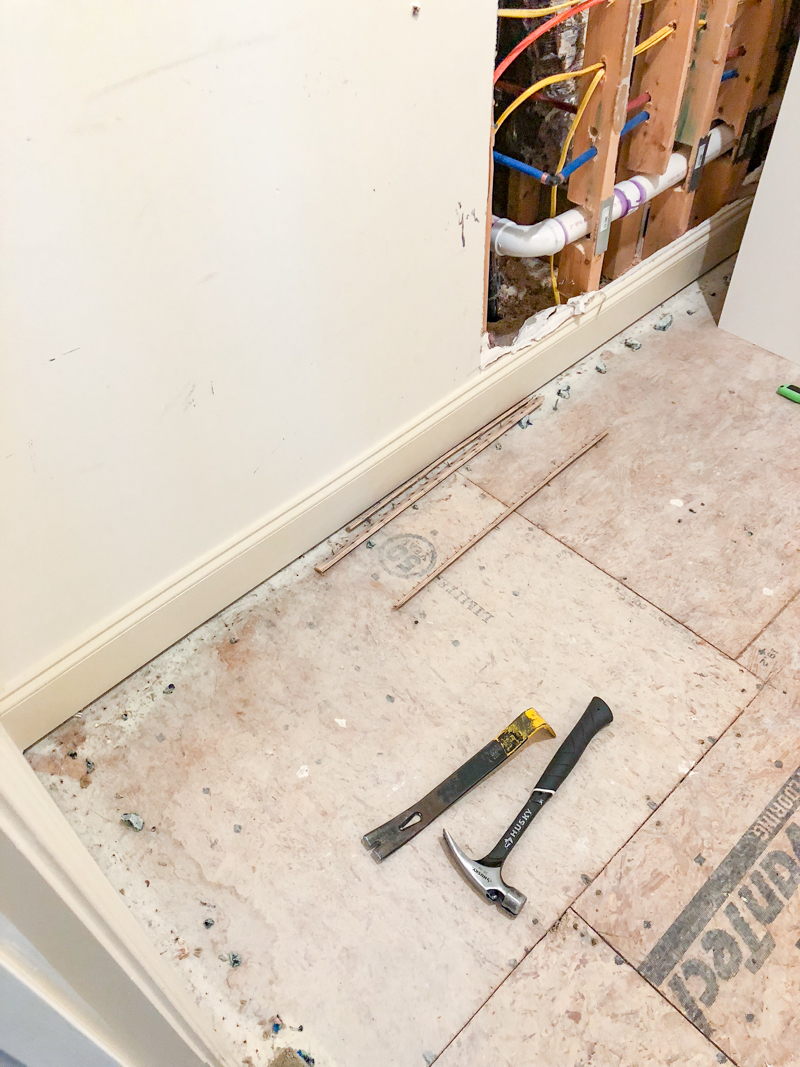
REMOVE THE STAPLES
Oh the staples. Carpet installers get very staple happy! The staples hold down the carpet pad and are going to be the worst part about the entire carpet removing process.
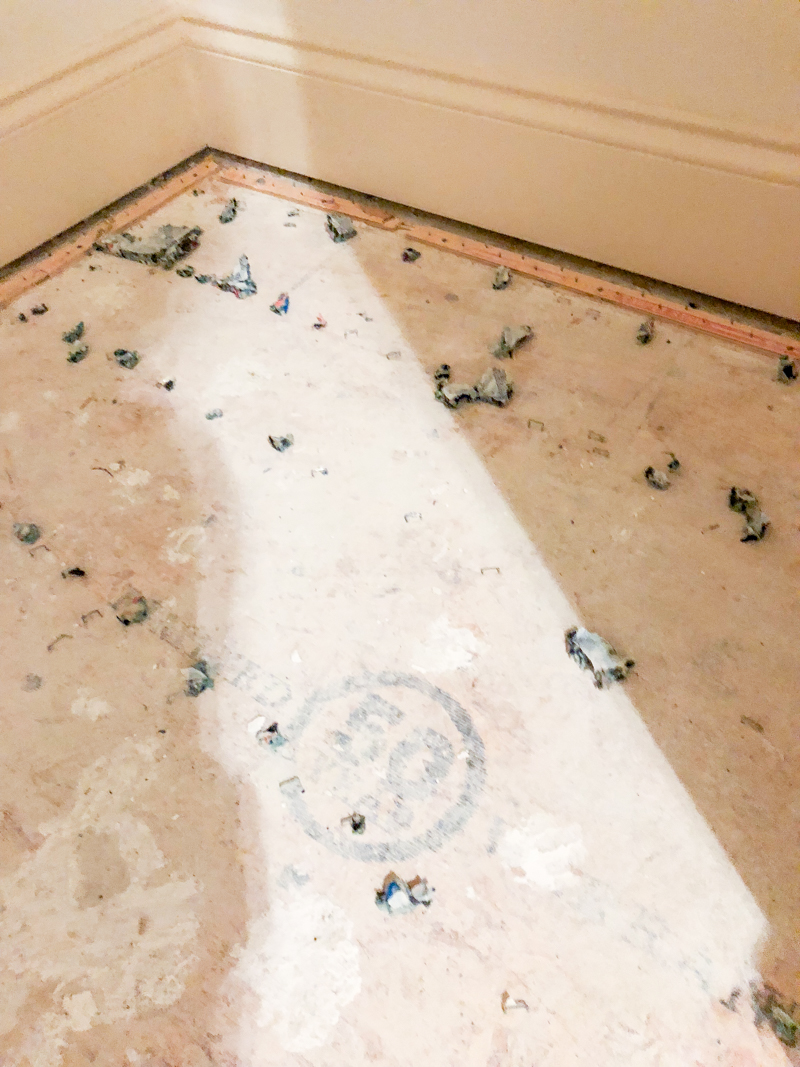
The best thing to do is use a pair of needle nose pliers and go to town! Specifically the small village of “Pullerupagainville”. You will reside there for a few months until this job is done 🙂
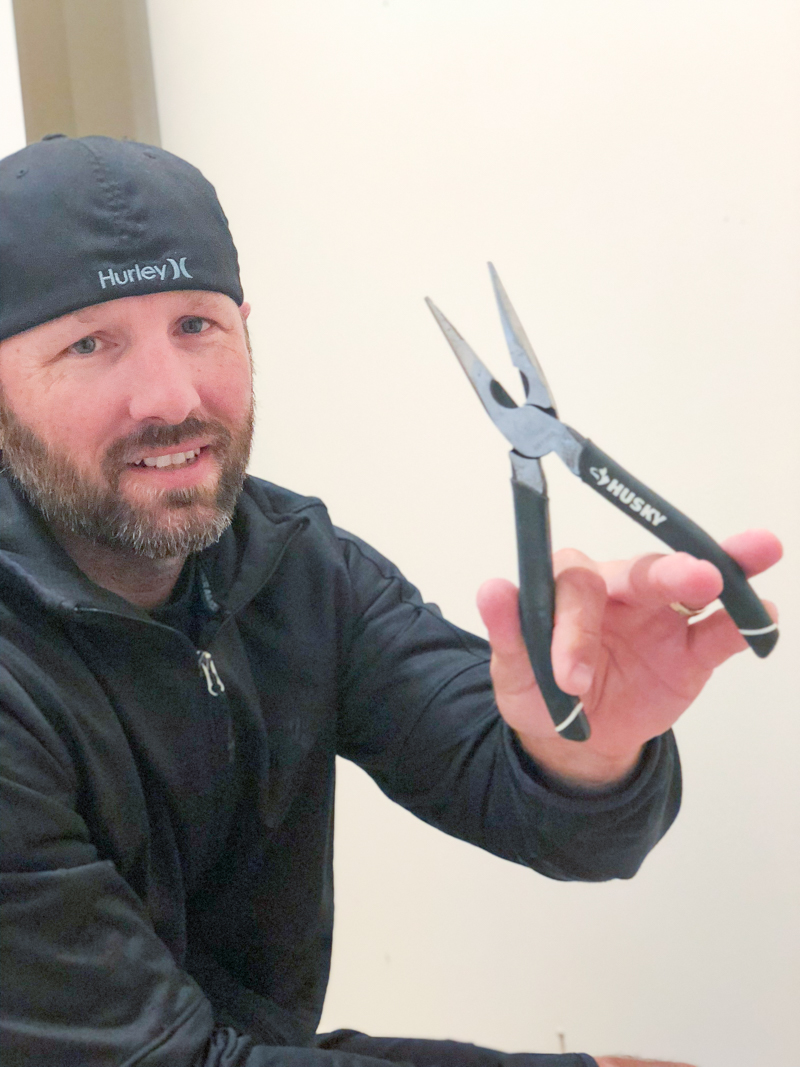
In all seriousness, the staples can be annoying but pinching the top and pulling straight up with the pliers is your best bet.
PREP THE TRANSITIONS
Transitions are the places where the new flooring (whatever that may be) will meet the old flooring. If the old flooring is carpeting, then you will need to prep all the underbelly parts. For example, our carpeting in the master bedroom is meeting the soon-to-be-installed vinyl flooring in my closet. The place that they touch will be a straight line smack dab in the center of the door way. We cut the carpet extra long on the vinyl side to make sure that the carpet can be pulled and tucked accordingly. But we still have to prep the part that is UNDER the 3″ for vinyl.
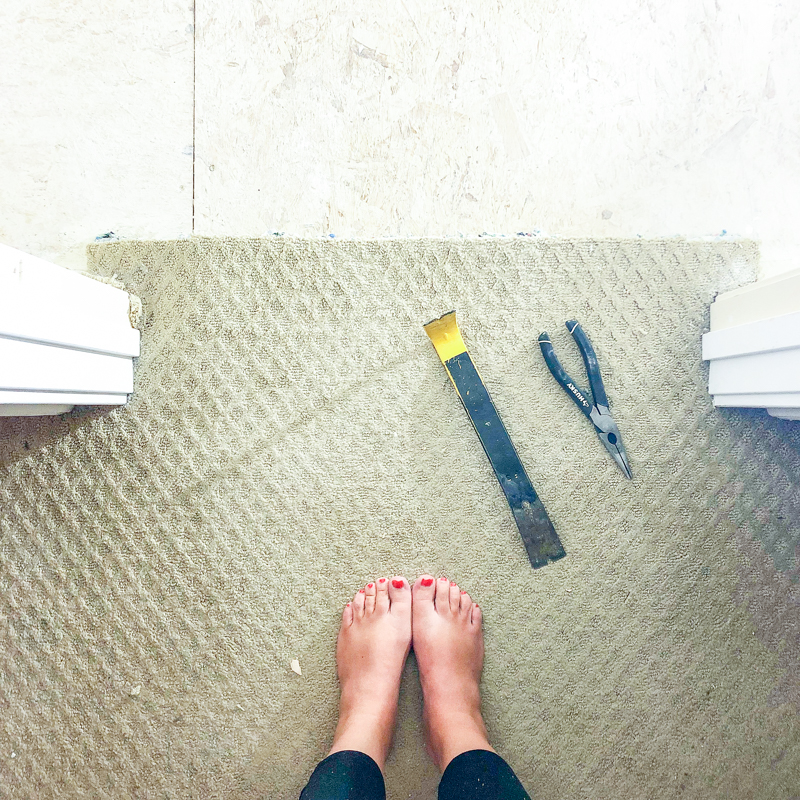
Carefully I pulled back the carpet, exposing what was underneath – more padding, staples and tack strips.
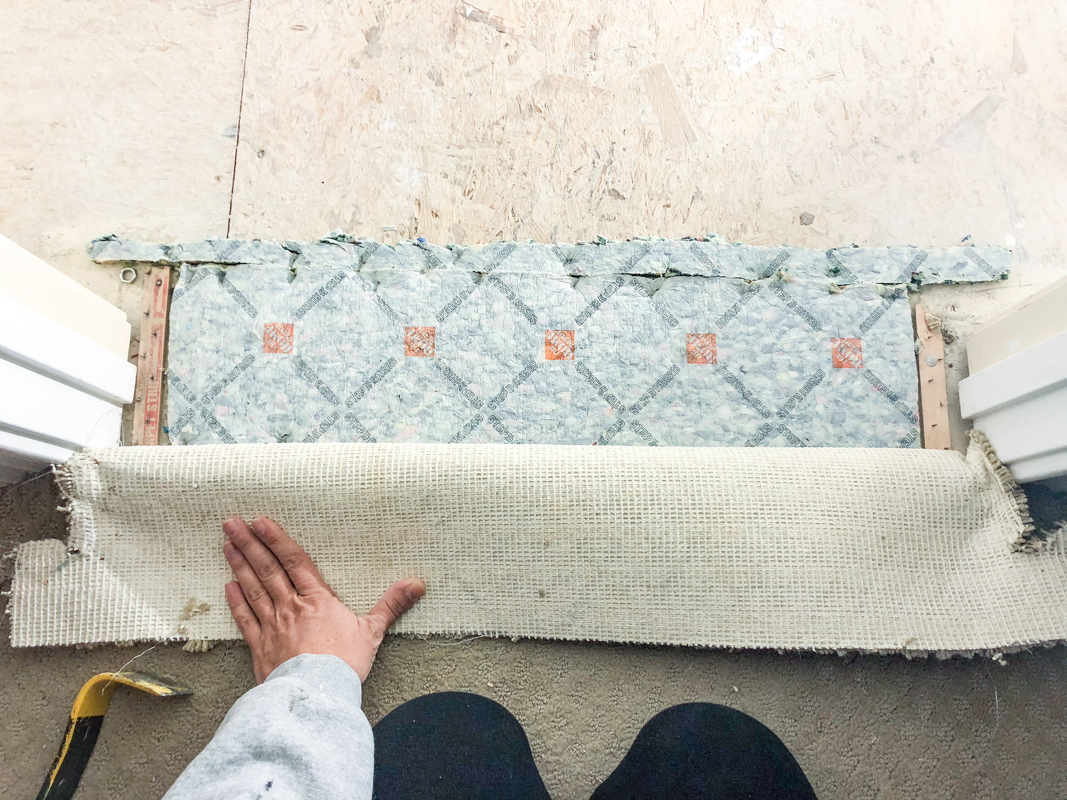
I removed any padding that wouldn’t be needed.
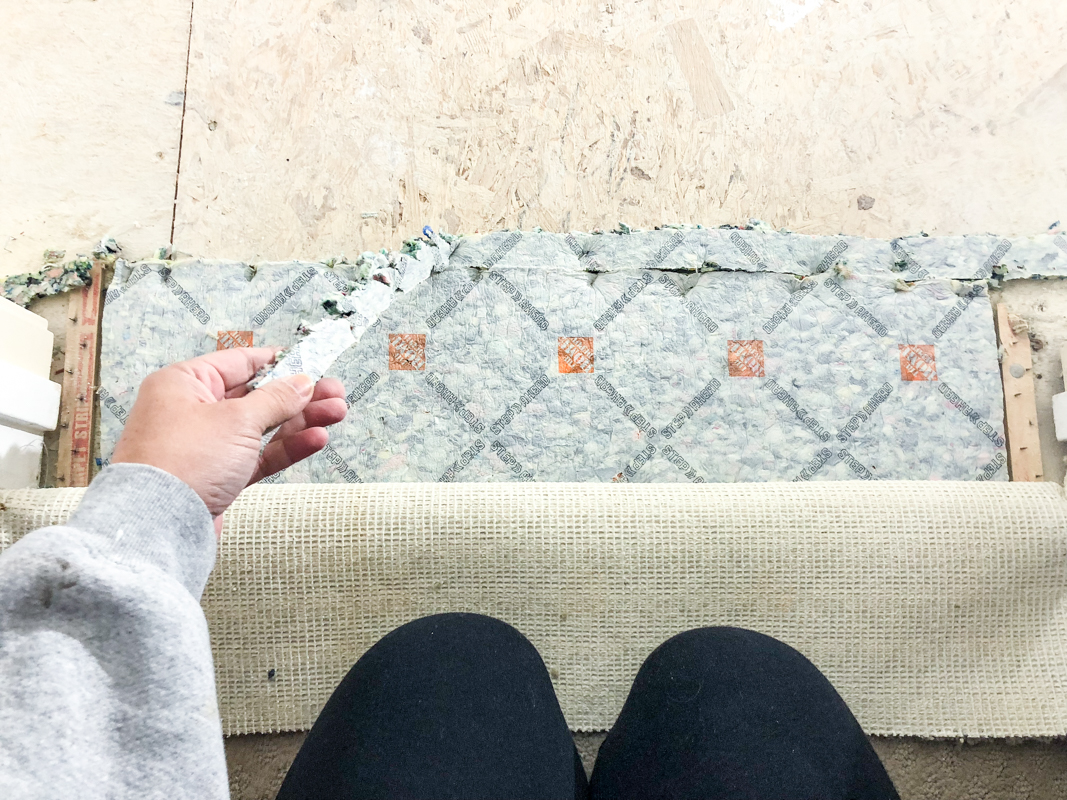
Then pulled back the padding and carpeting before tackling the rest.
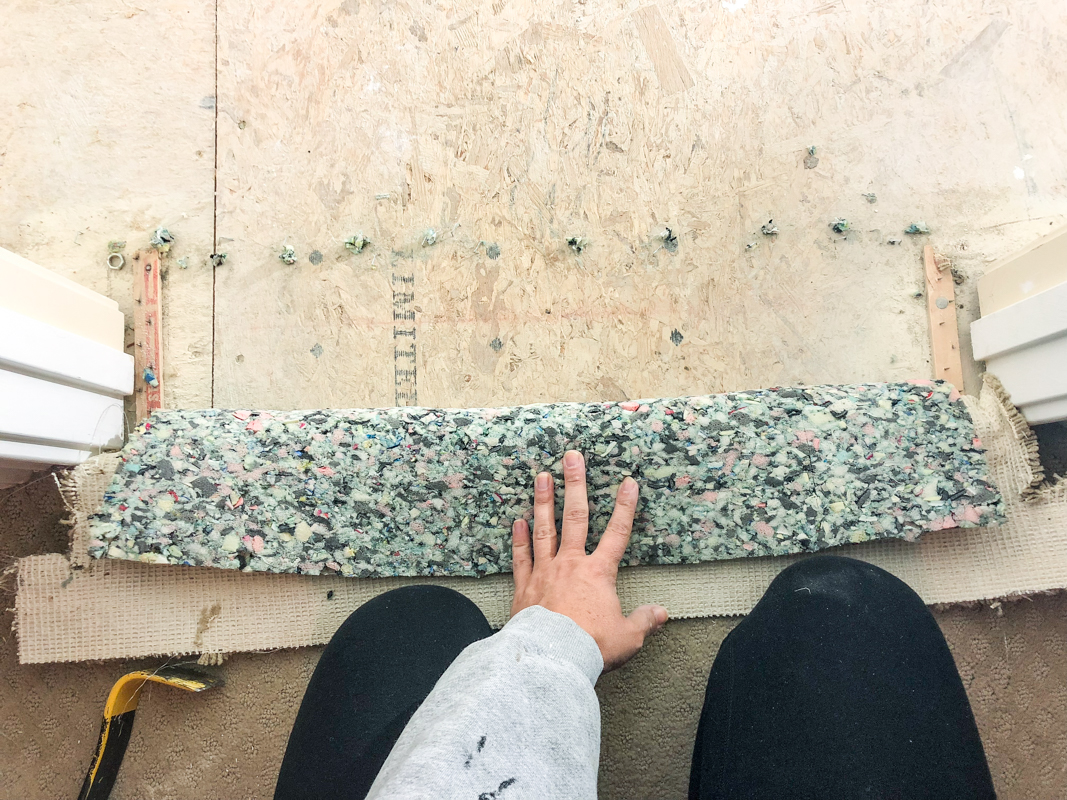
Staples and Crowbarring Action. (Sounds like a country dance bar!)
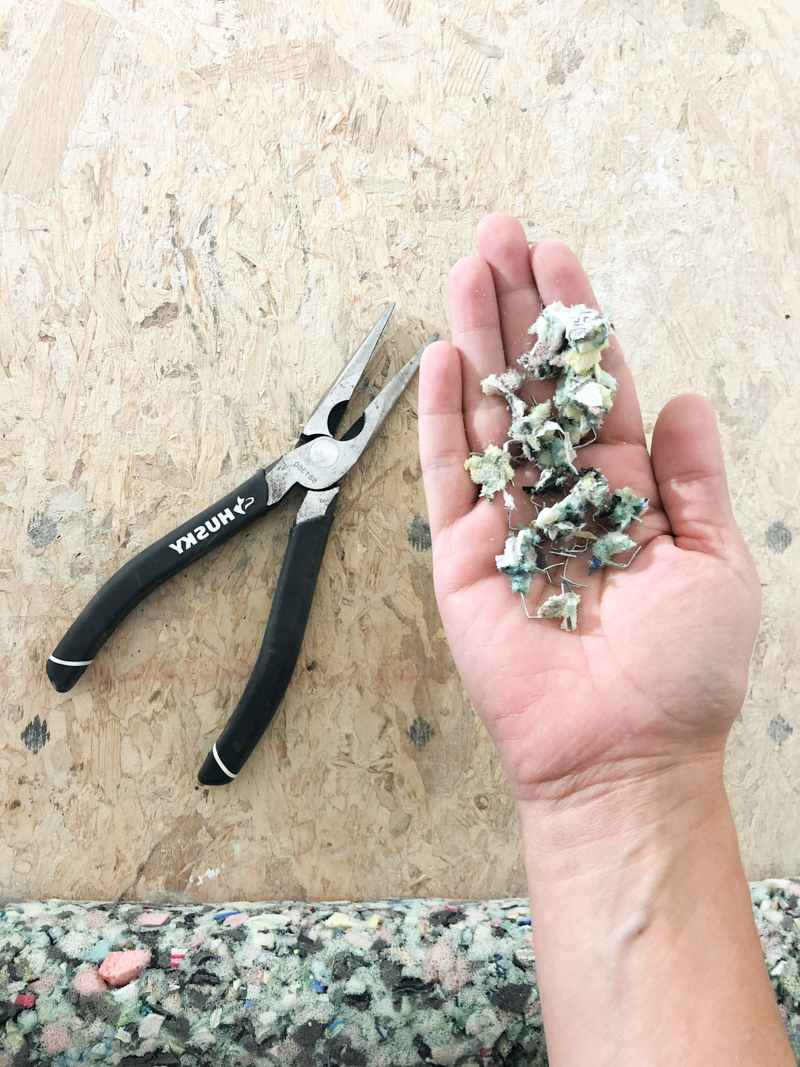
And soon we are ready to roll! Errr lay vinyl!
The very last step in the carpet removal process is prepping the floor to make sure it is solid and secure and to double check you didn’s miss anything. I take a drywall knife and glide it along the floor to see if the flat edge catches on any missed staple or popped nail.
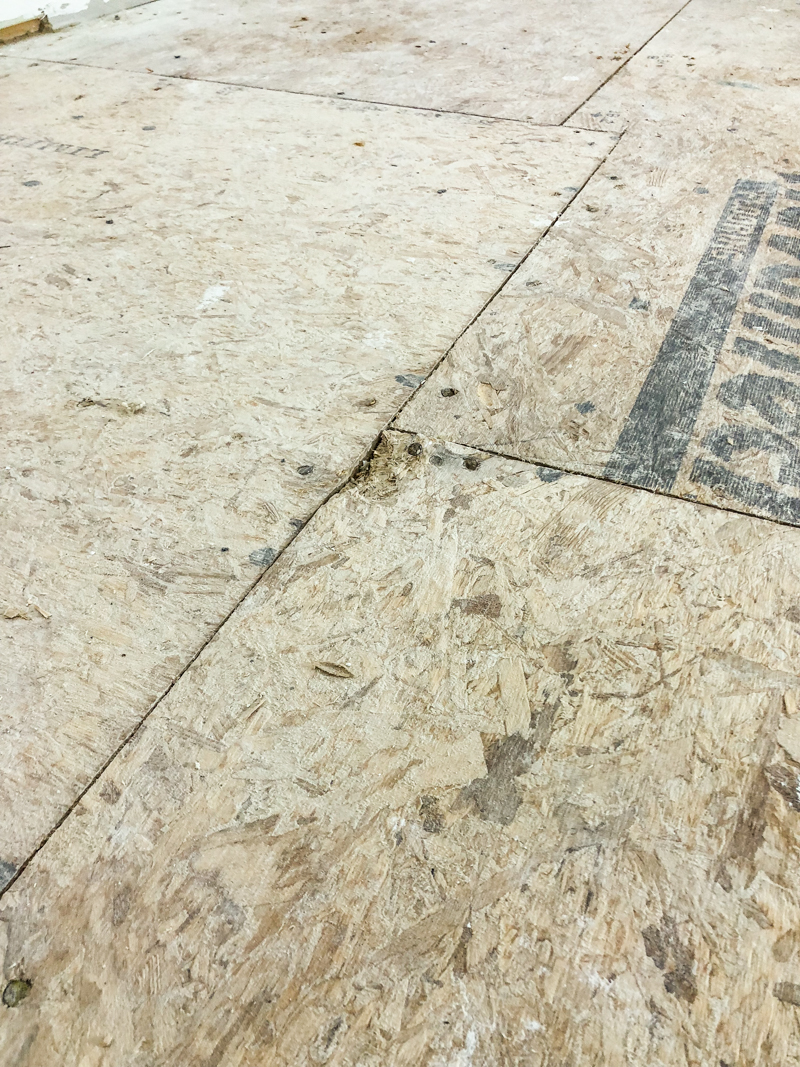
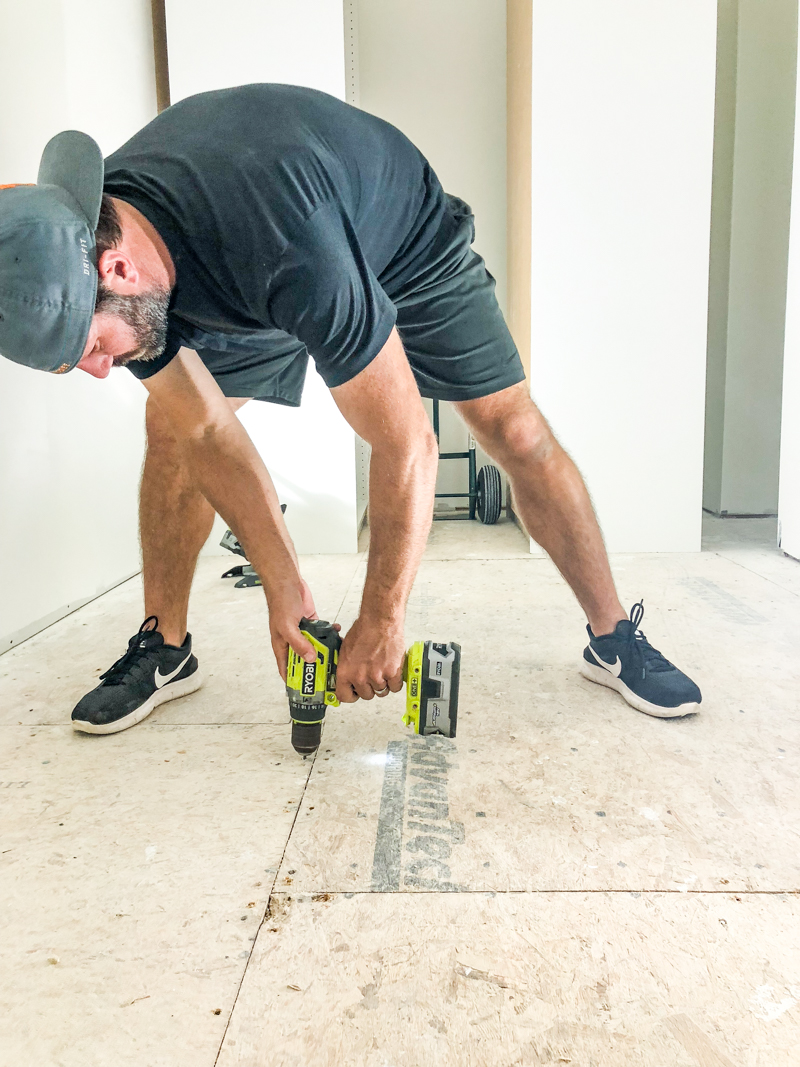
If boards are squeaky or nails are popping up…pull them out and secure any squeaky boards with screws into the joists. You definitely don’t want to leave ‘baby-waker-uppers’ if you can help it!
DONE AND DONE! You did it! That is seriously such an easy job to tackle but it can help save you so much money. A lot of places will charge you $1-$4 a square foot for carpet removal – and that adds up QUICK. And the money you save can be put toward fun stuff LIKE light fixtures or poufs! Give me all the poufs!
Thanks for this guide. I now have an idea how to remove the carpet in our bedroom. I’m planning to change it next month. I hope there’s also a guide on how to put one.
Nice tutorial! I can’t wait to rid my home of all the carpet!! Did you guys install the vinyl yourselves? If so will you be showing how you did this also? Love your blog!
Katie – Is there a reason you didn’t use a nail/staple-pulling tool like this one? Or maybe you don’t know about it? If you don’t have one…you need to get one immediately. They are THE BEST. https://www.amazon.com/Crescent-NP11-11-Inch-Pulling-Pliers/dp/B008NM6VAA/ref=zg_bs_553310_2?_encoding=UTF8&psc=1&refRID=ERQ9SCYJCPCPGZJ4TT35
Please forgive me but I got her upset when folks on twitter said mean things about you’re gorgeous son, I just wanted to say you are the greatest mom in the world. Im from Atlanta, Ga and you’re a great mom..
Until you find out that the pad was glued to the hardwood floor. Then it is REALLY fun. I would show you, but your walk in closet is bigger than my bathroom.
I love those! I used one when we helped a friend but we just didn’t have one 🙂 Next time I’ll have to be more prepared!
xo – kb