Today is the Wood Art Challenge day! I am so honored to be a part of this group of DIYers and makers and woodworkers that are making and sharing their own wood art today in blog world! So the premise is simple….create art out of wood and make it square and then share it with the world. Sounds pretty simple. And all good ideas usually are….simple!
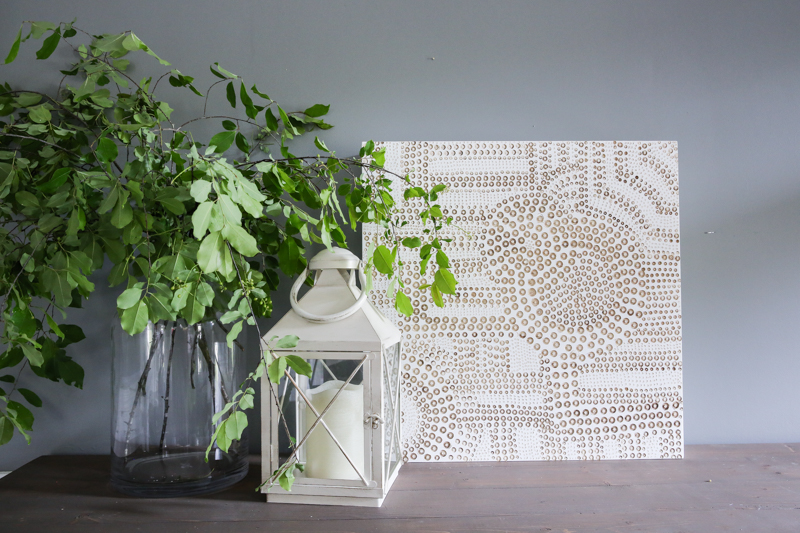
I was really inspired recently by some tribal ink prints that had these repeated dot patterns all over. It was very simple but so beautiful and I just wanted to do my own spin on that but make it with the wood so it would have loads of texture. My solution turned out to be very fun and a great foundation piece for any gallery!
So if you want to make this at home, it’s fairly simple with the right tools.
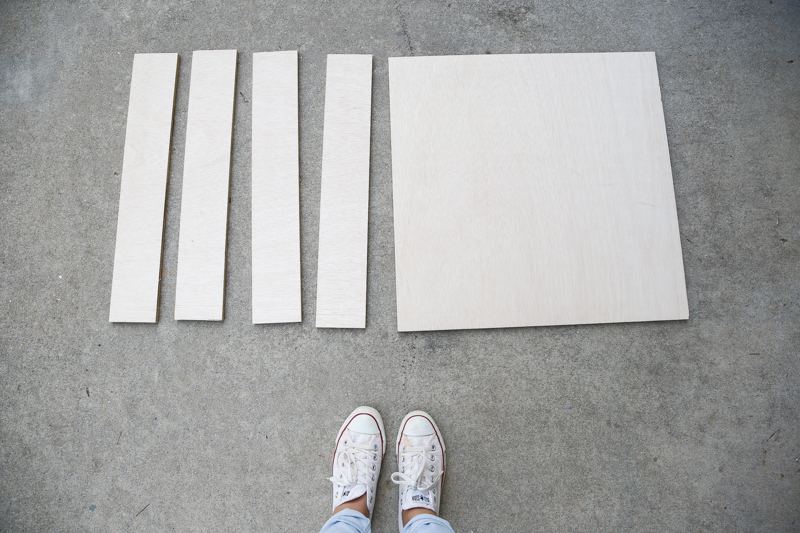
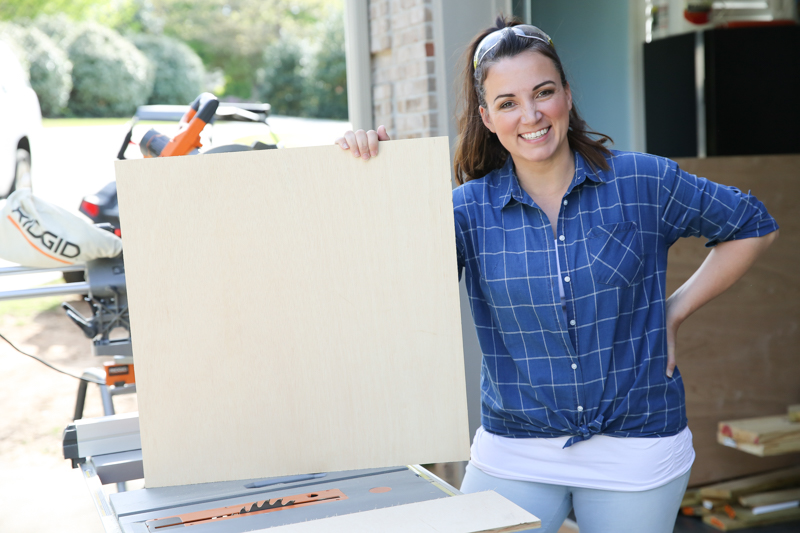
First you need a piece of plywood that is 1/2″ thick and is 2 feet by 4 feet. You will want to cut it with your table saw or circular saw to be 2 feet square and then cut the remaining half into four strips that are 4″ wide.
Go ahead and sand your biggest piece – this will be the front of the art.
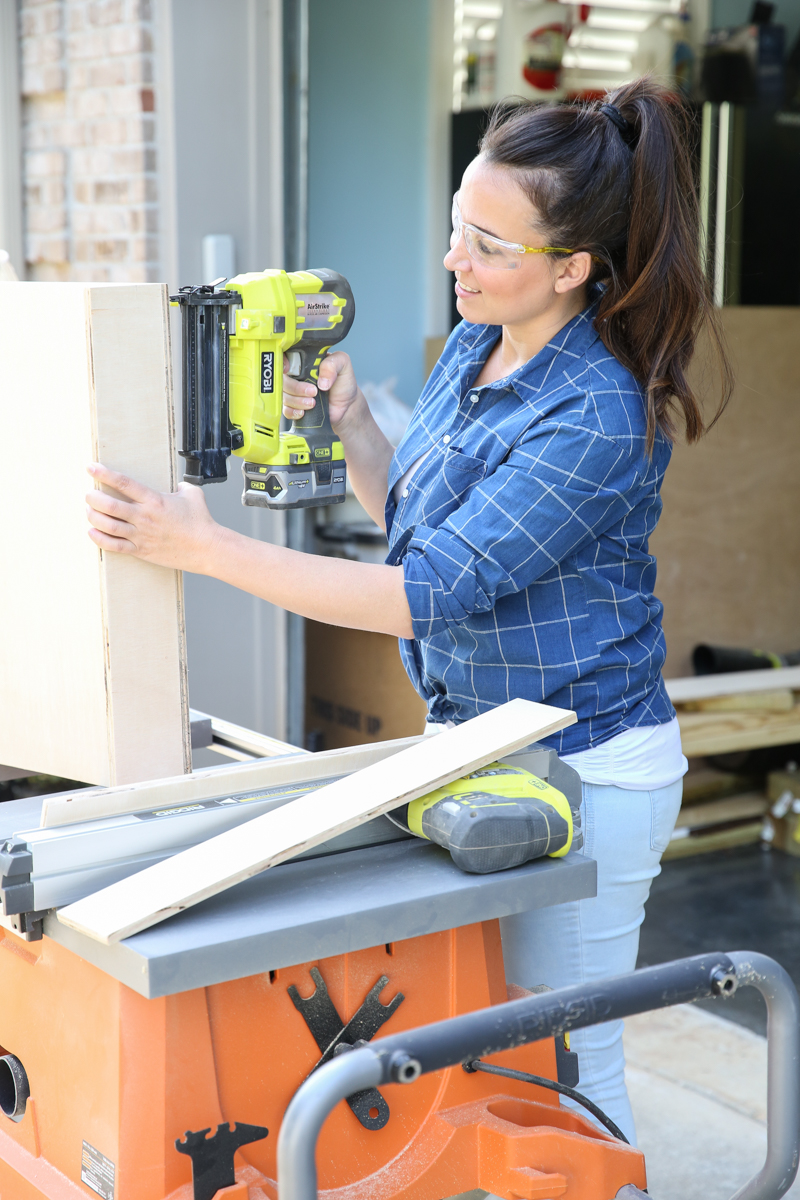
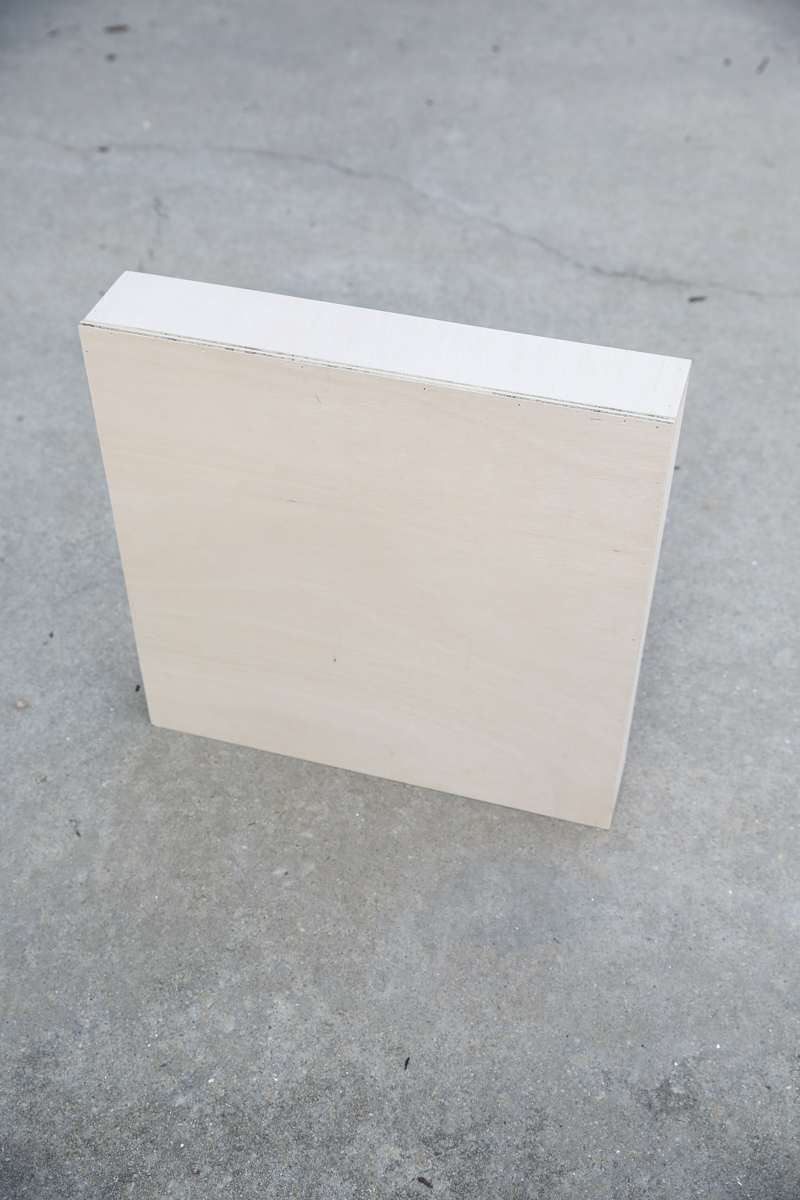
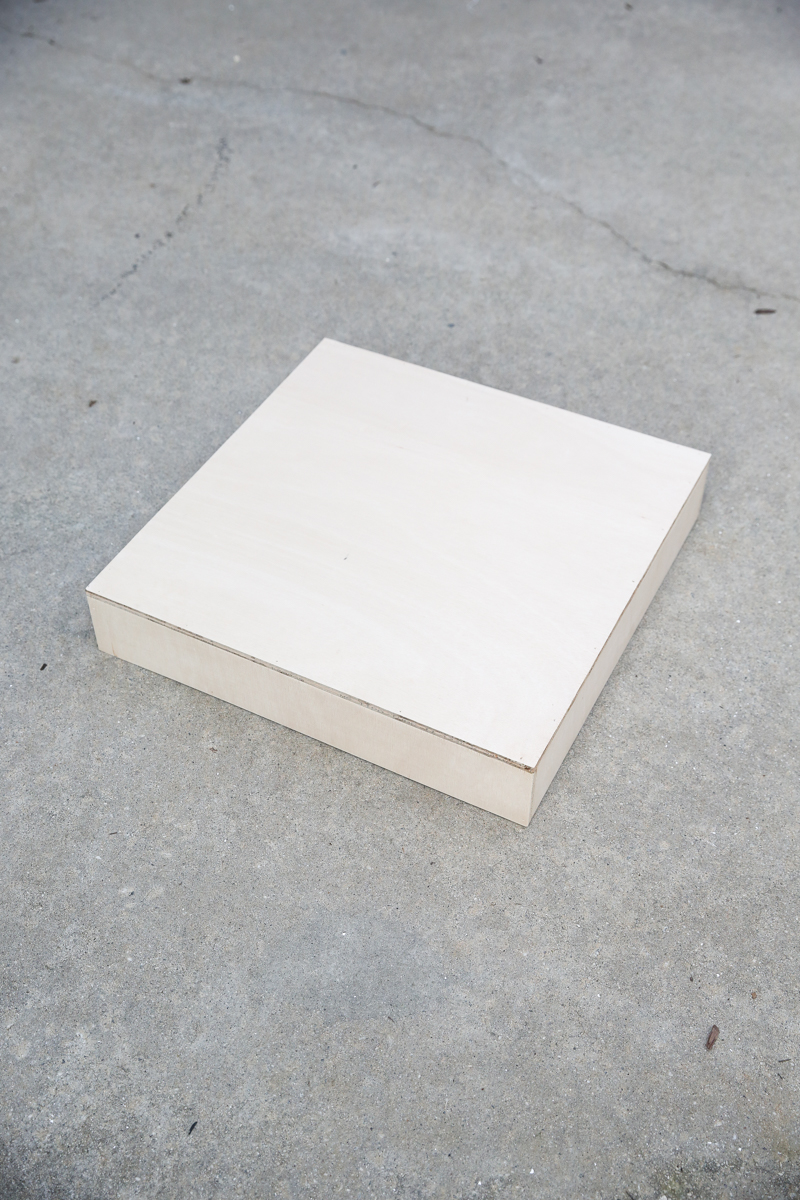
I decided I wanted to make mine stand out like a box so that if I wanted to hide things behind it (like a thermostat or a bag of peanut m&m’s, there would be plenty of room). I used a brad nailer (I have this Ryobi AirStrike which does not require one of those giant air compressors!) to attach the four sides. Oh and two of the sides will fit pretty perfectly but the other two will have to be trimmed down with a saw.
Once the sides are all brad nailed together and to the face of the artwork, it will look like this….yes, it’s oh-so-fancy (hahahaha!) but hey….for $18, this is going to be really easy for anyone to replicate!
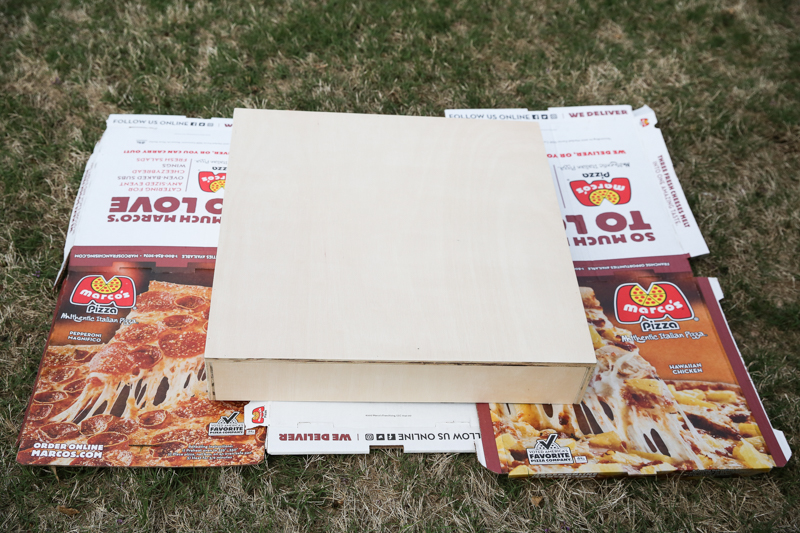
Then you are gonna wanna eat a whole lot of pizza. Seriously. Just Pizza the Hut. Do the Dominos. Belittle that Caesar. March to Marcos.
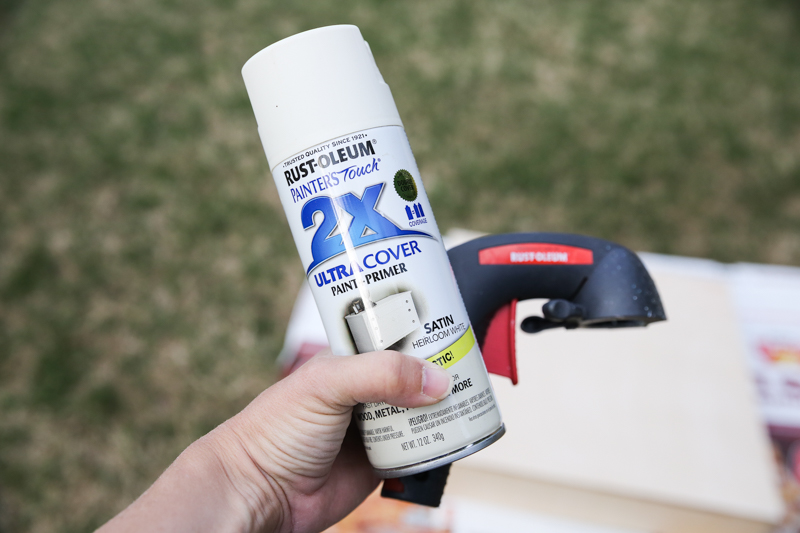
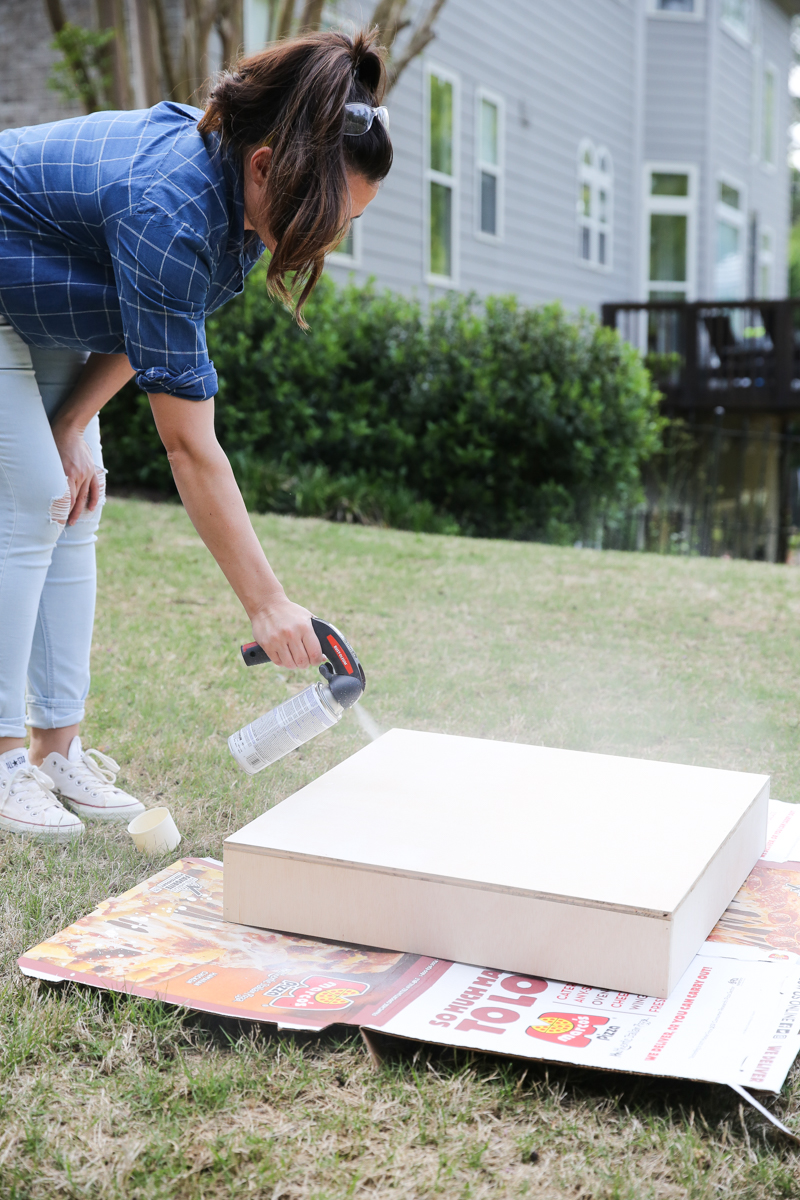
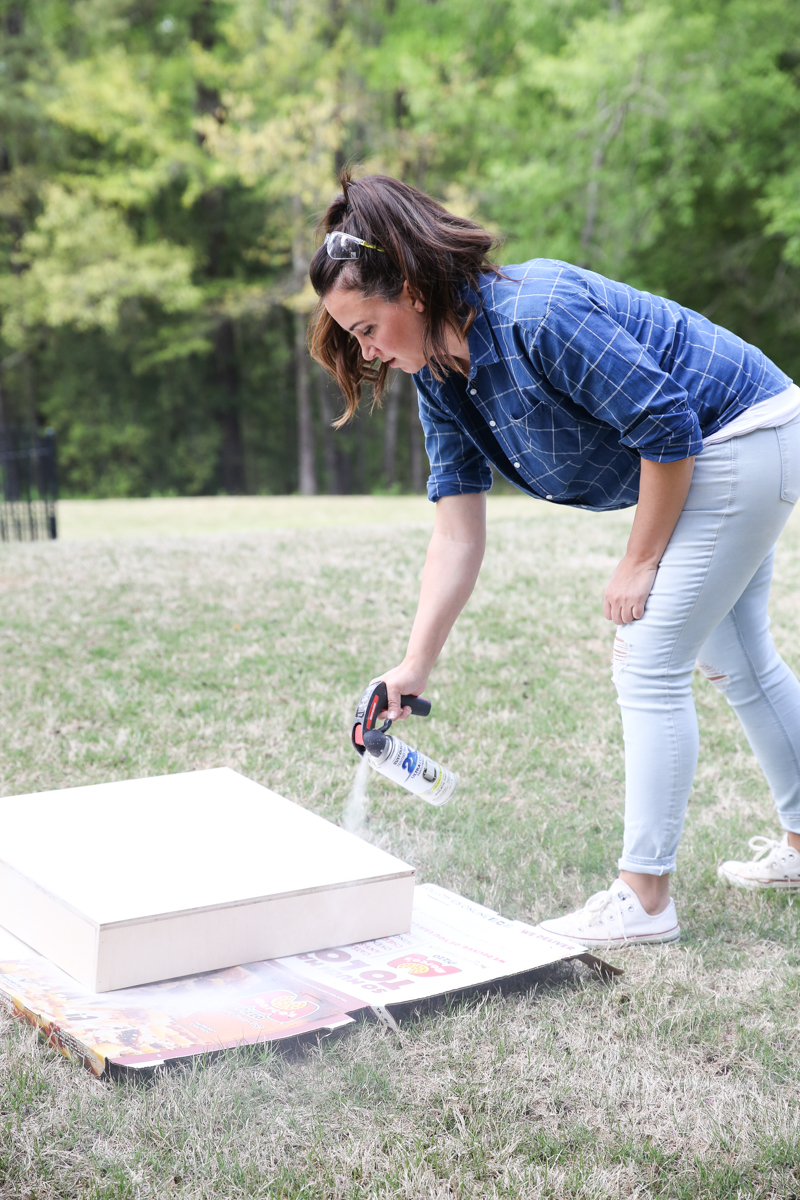
Why so much cheesy Italian deliciousness? Because it’s time to paint. I had picked up this random can of 2x Ultra Cover and decided to use this as my primer. Using spray paint that is light colored and has paint and primer in one is my trick to getting done a little faster. There is no clean up and it sticks so much better than other primers!
I simply gave it a simple starting coat on the top and sides.
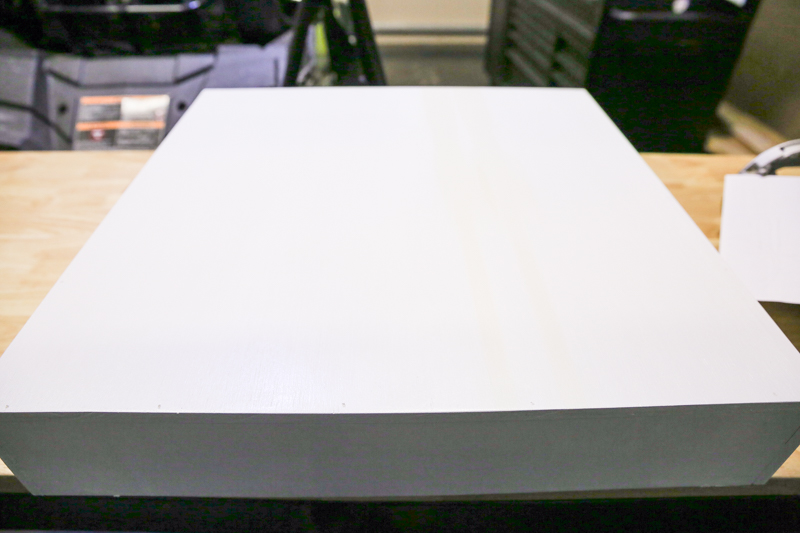
This priming step dries really fast and doesn’t require a whole lot. Then I just painted the box with semi-gloss white paint (the leftovers from our trim work!) to give it a solid starting point.
And there you have it. Wall art made of wood. I call this piece REBELLION.
Just kidding! It’s basically like a big wood canvas waiting for the personality to develop.
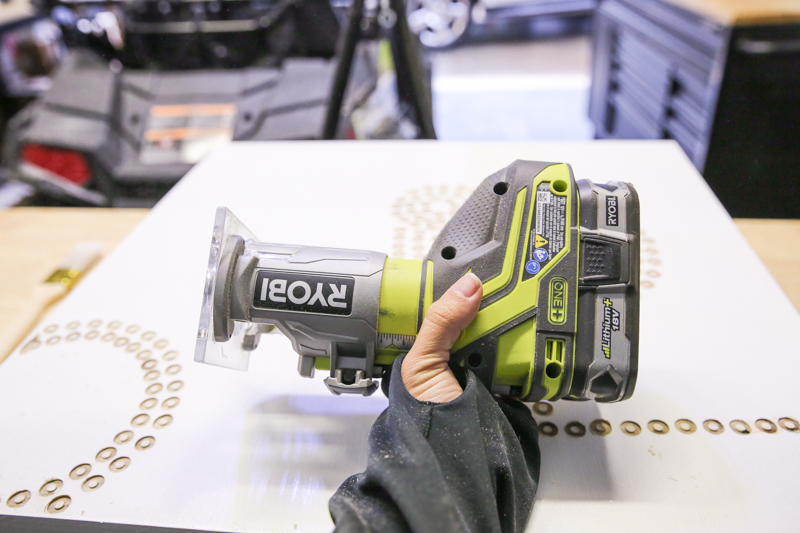
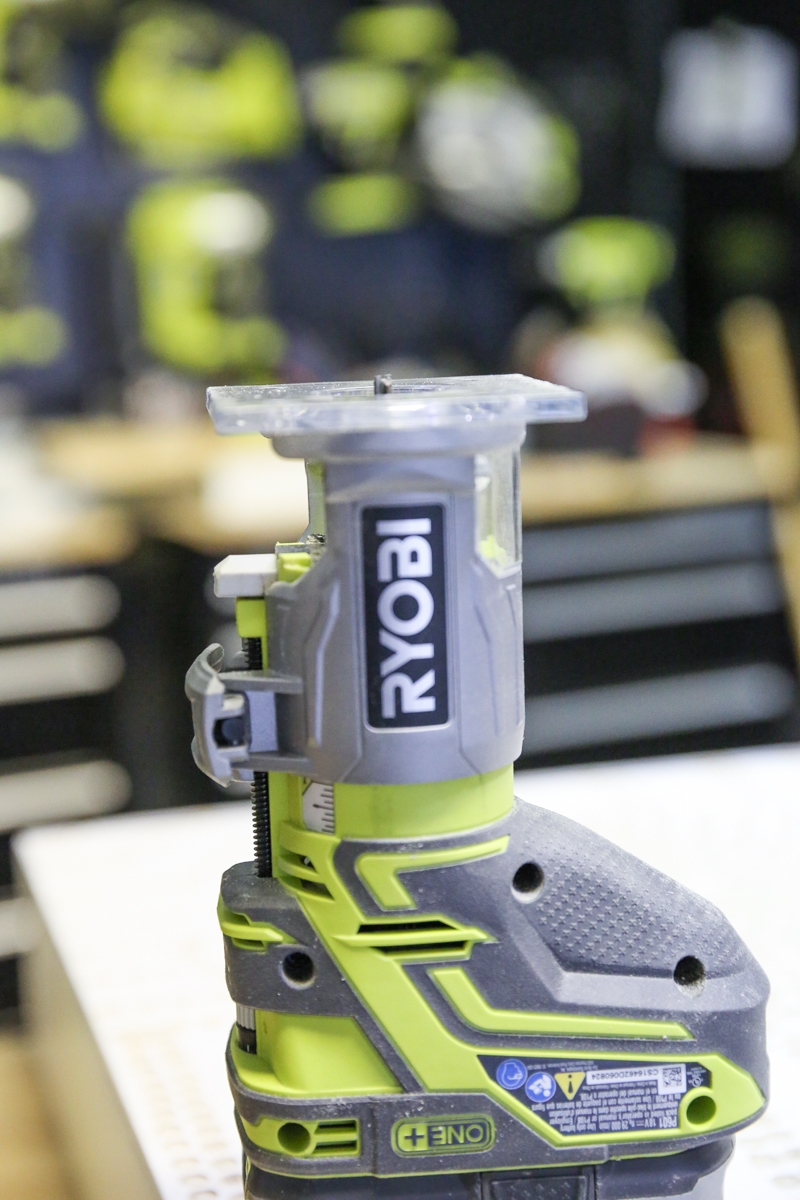
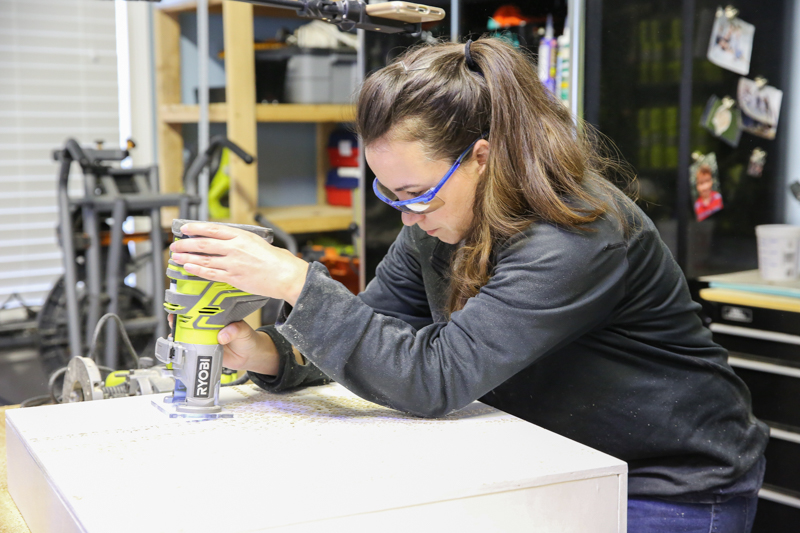
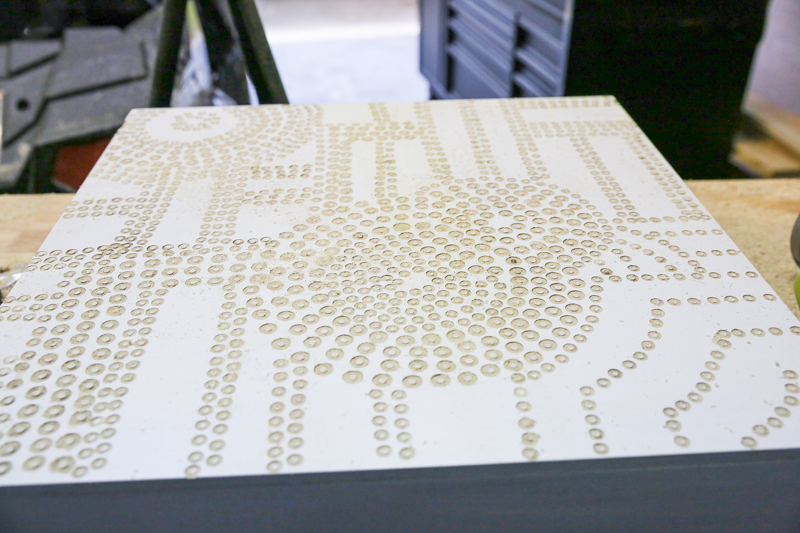
So the first thing I did was decide to make my biggest circles and I did that by using the largest routing bit I had for trimming and popping it my palm router. I could have used my plunge router but the palm router is way easier for me to handle.
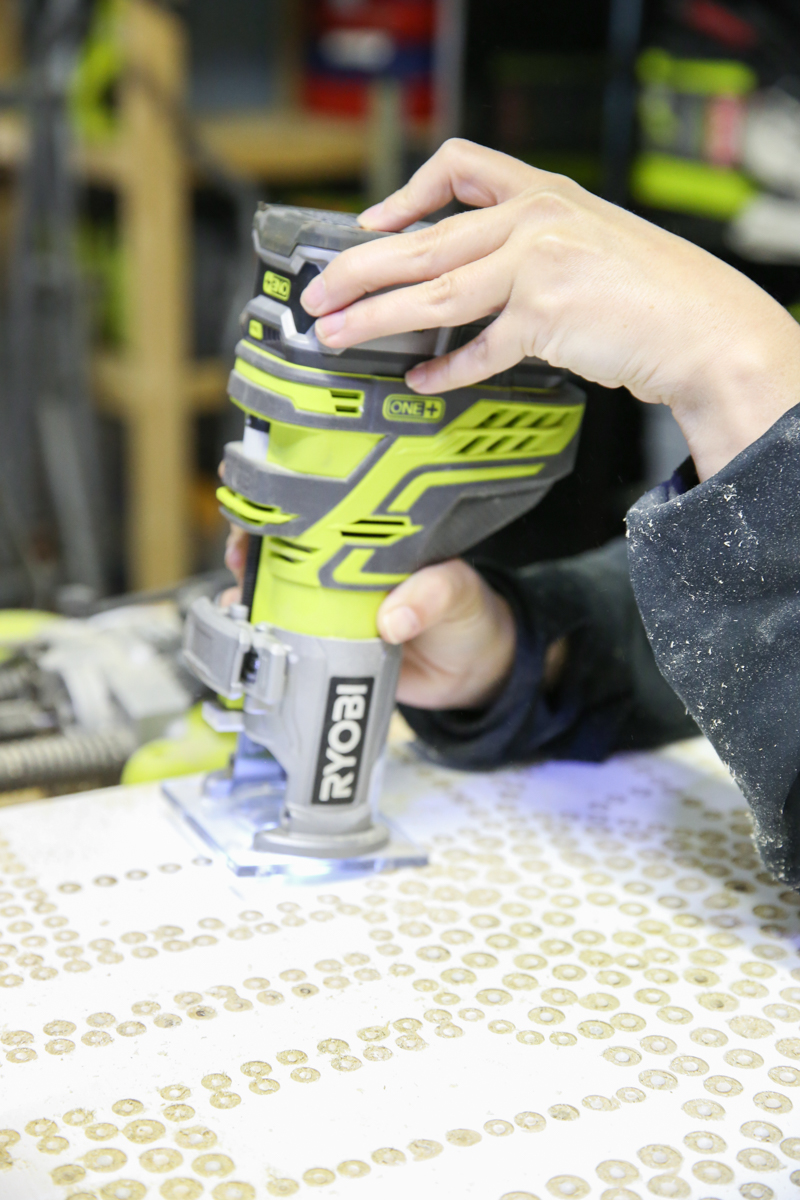
I have this one from Ryobi and I love love love it. I actually search out projects I can use it on 🙂 And routing is one of those things that I didnt know was so gratifying.
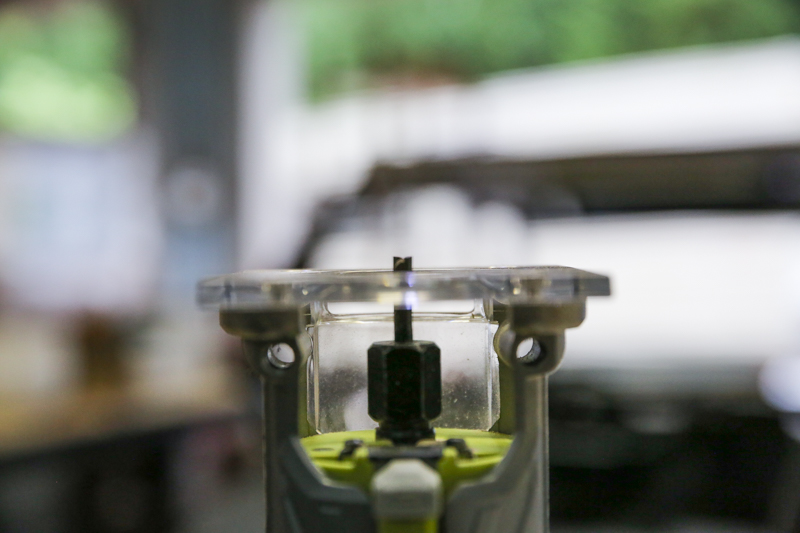
The bits that you use can be adjusted to a certain depth on a fixed router. I made this one show only a very tiny bit of blade.
What is that? Like a 1//8th of an inch maybe? Something like that.
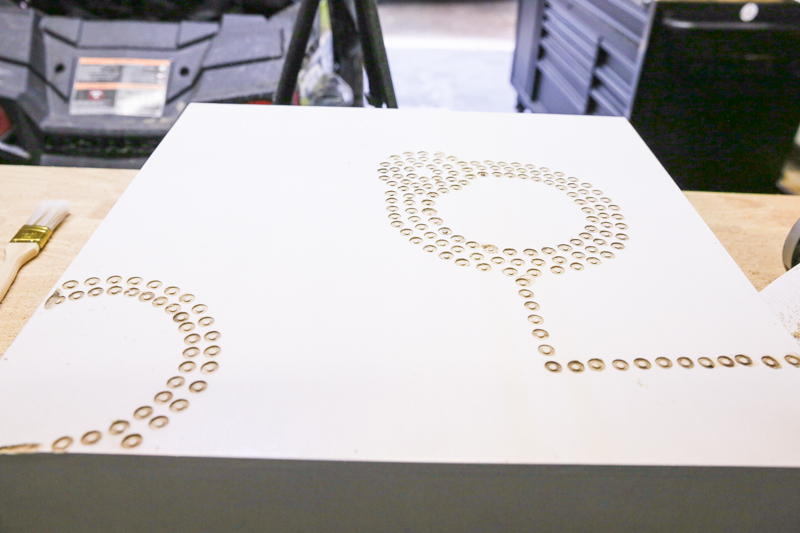
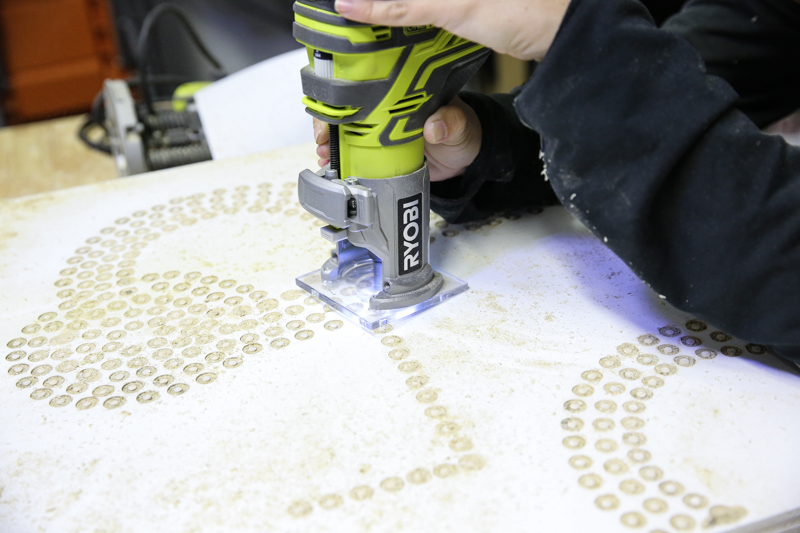
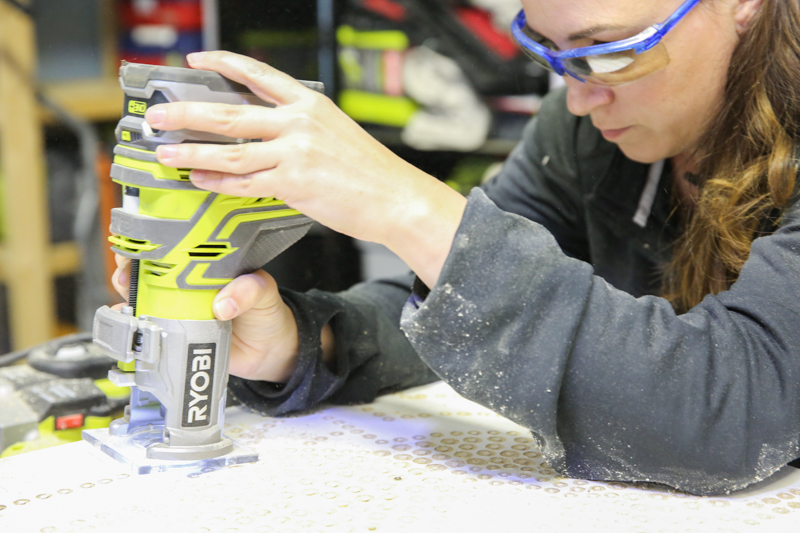
Then I just carefully routed the holes where I wanted to make a design.
This was after I did the first couple of sizes of routers bits.
Also, this is a very tedious job and it helps to know what your brain is thinking! I had planned out my design roughly on a piece of paper and it was very helpful to reference just in case I was seeing stars (or cheerios!).
Another helpful tip is to use the plate as a guide. Tip the router to rest on that plate while you align it to the perfect spot to make your mark. The router bit can then make a cleaner divot!
Also shoutout to Jeremy for having a clean jacket that I could borrow without asking 🙂
Okay now this is when I started filling in even more lines….
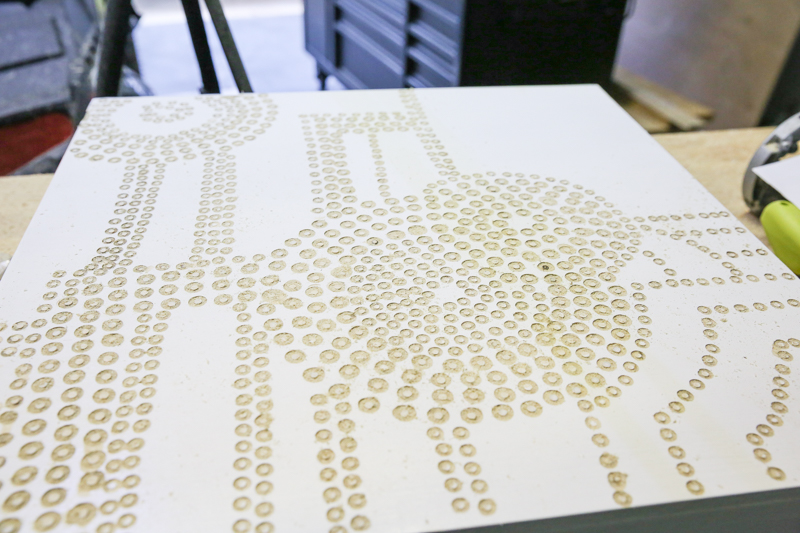
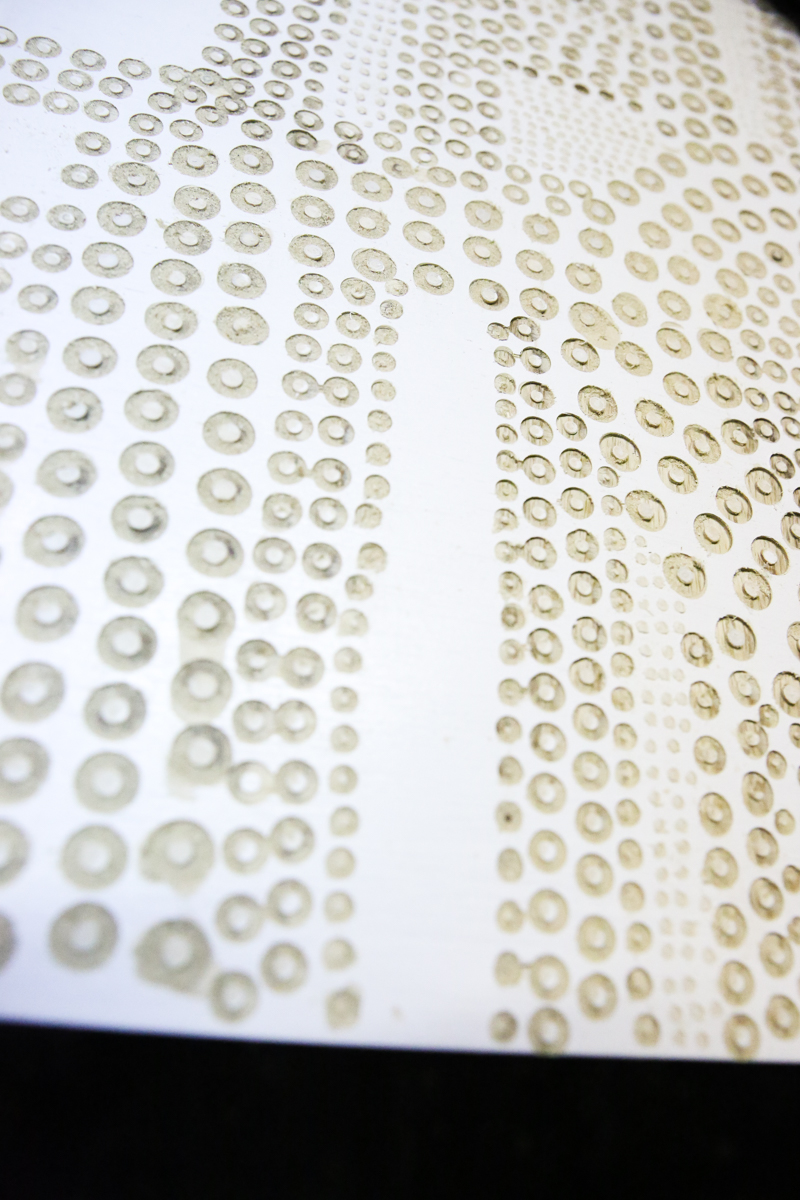
You can see that the two biggest router bits make a circular mark. But you want to be careful that you set that depth correctly. You don’t want to be poking a hole through your work!
Next comes filling in the little undone gaps and giving the piece even more texture.
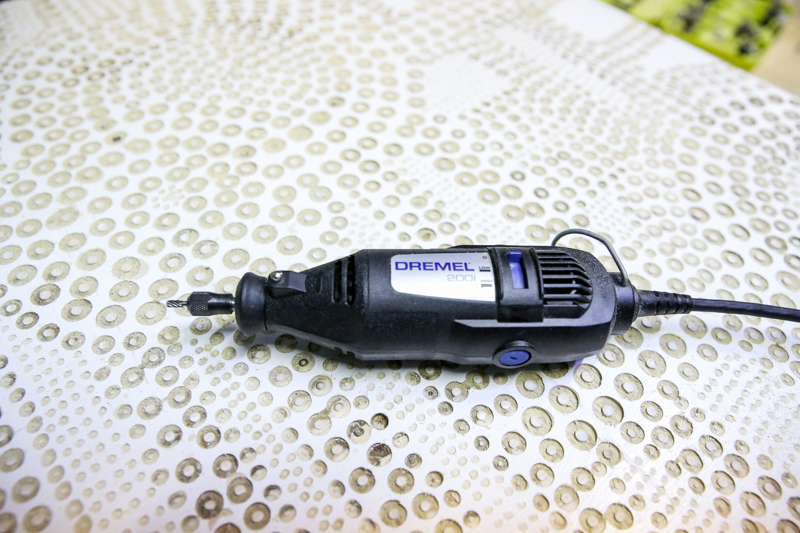
For this I used my Dremel and the only little drill head that it came with.
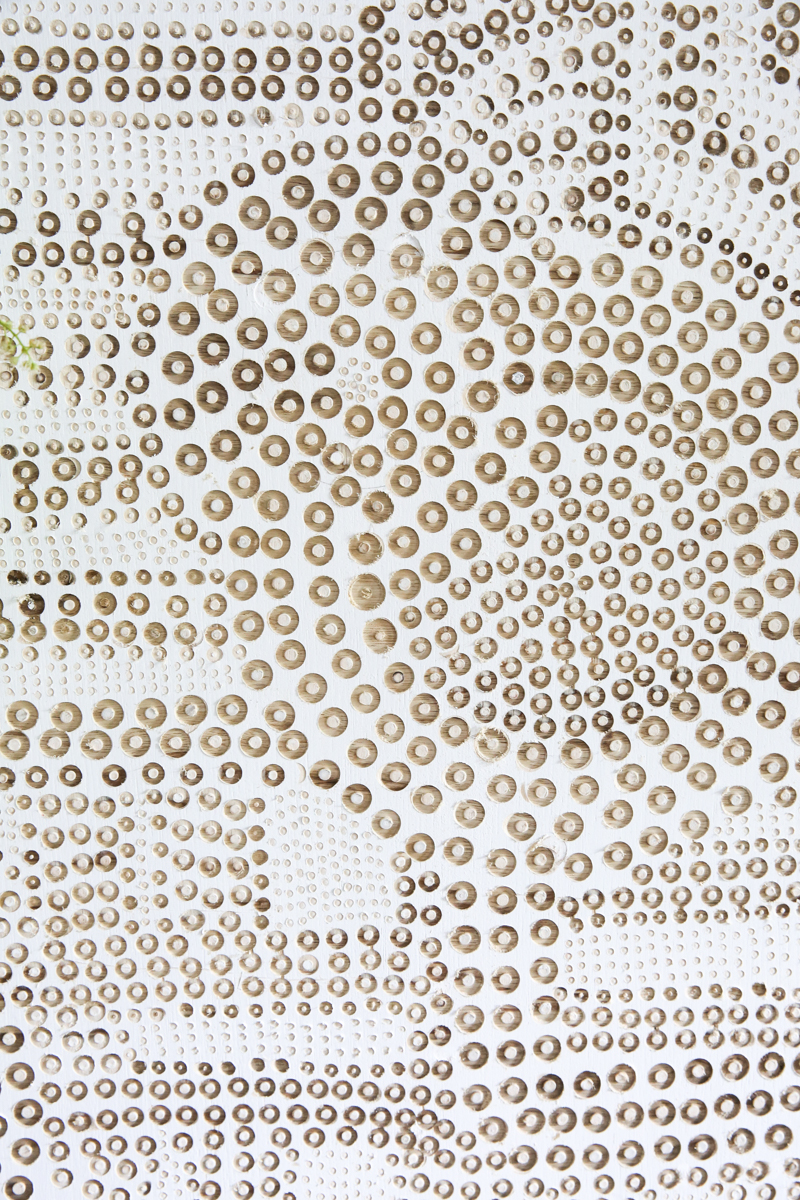
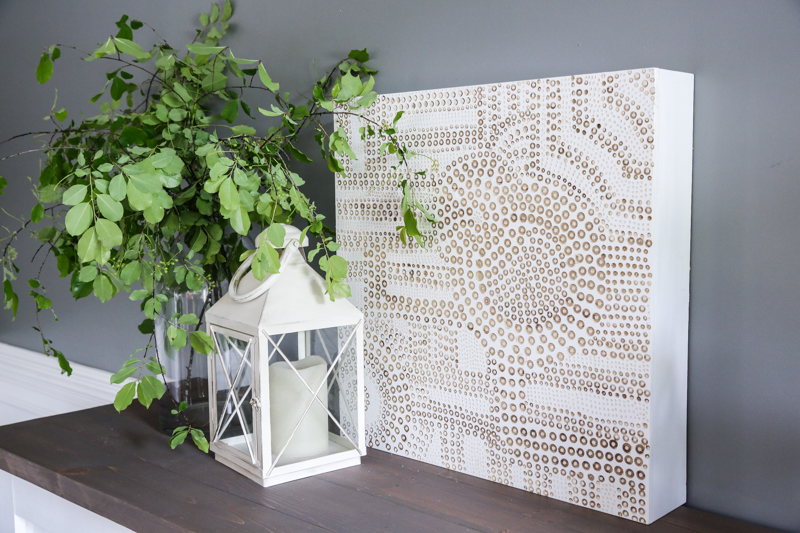
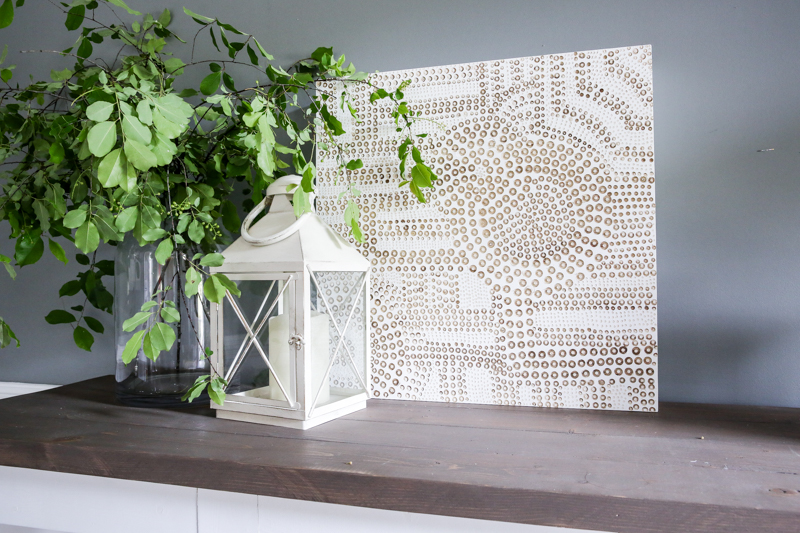
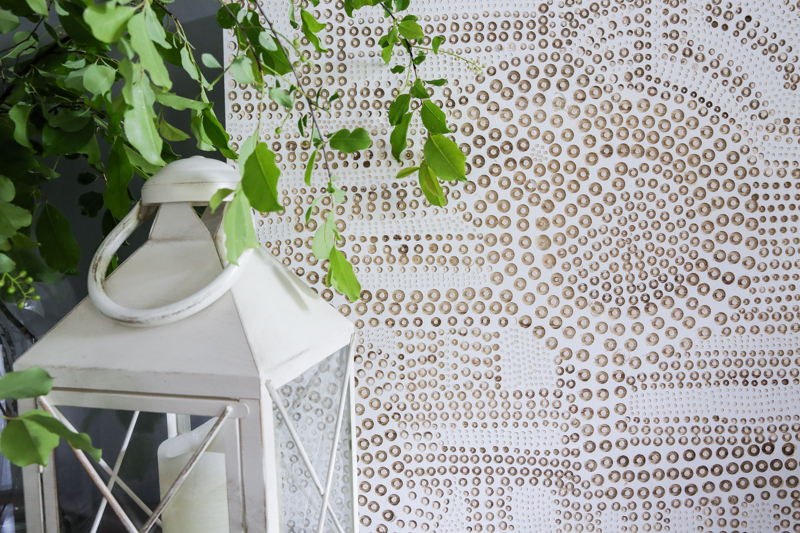
The end result is super textural and gorgeous.
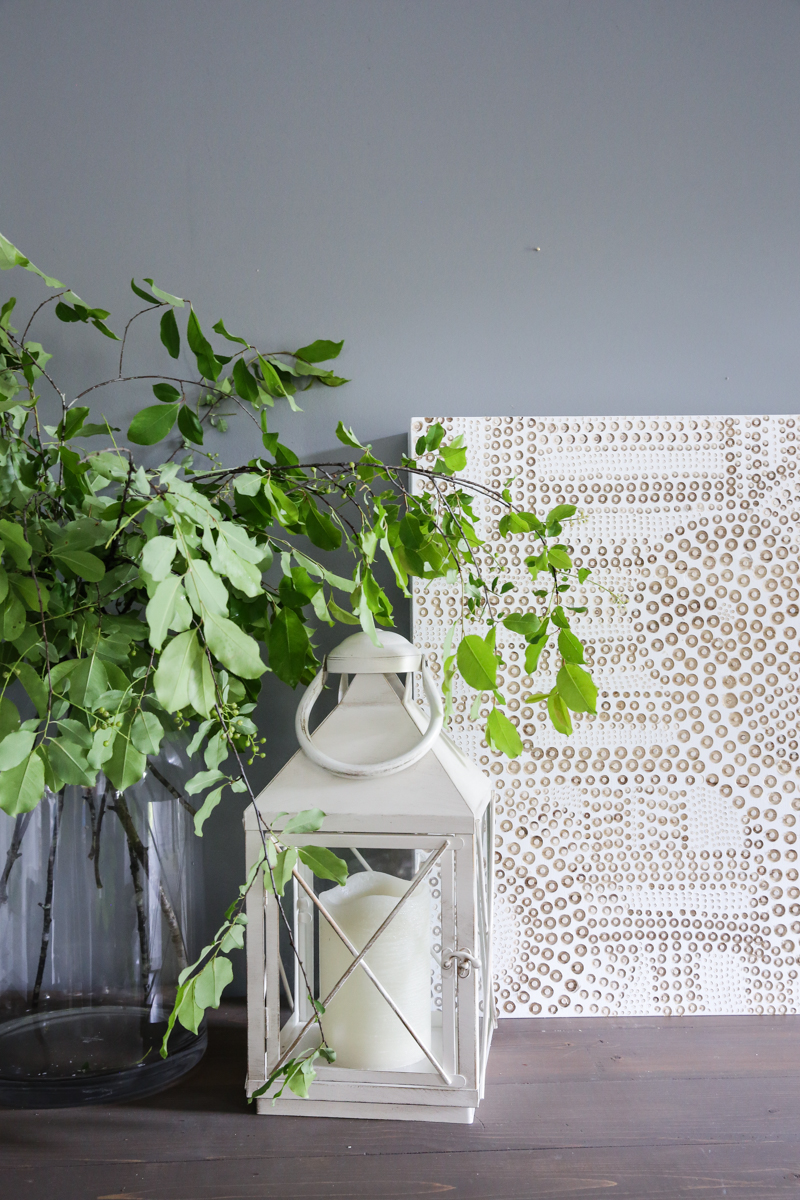
I can’t tell you how much I love this! And I feel like Target should sell something similar in their stores. And surprisingly, I realized that making it a box is super helpful because it can stand on its own! Wahoo!
All that lovely imperfect handmade design.
So that is how we made our wood art challenge piece. I know there are many MANY others participating in this challenge so let me share with you all these amazing people….
Here are the links to all the other folks participating in this fun event. You can click on any of their names to see their wood art…(they are in alphabetic order for all of you to easily find your favorites!)
1) Reality Daydream
2) 100 Things 2 Do
3) House Becoming Home
4) Anika’s DIY Life
5) My Repurposed Life
6) 3×3 Custom
7) One Project Closer
8) Merrypad
9) Chatfield Court
10) Create & Babble
11) Hazel & Gold
12) Jen Woodhouse
13) Sawdust 2 Stitches
14) Wood Work Life
15) Remodelaholic
16) Evan & Katelyn
17) Jaime Costigio
18) Pneumatic Addict
19) Bower Power
21) My Love 2 Create
22) Addicted 2 DIY
23) Her ToolBelt
24) Shades of Blue
25) Ugly Duckling House
26) The DIY Village
27) DIY Huntress
28) Mr Fix It DIY
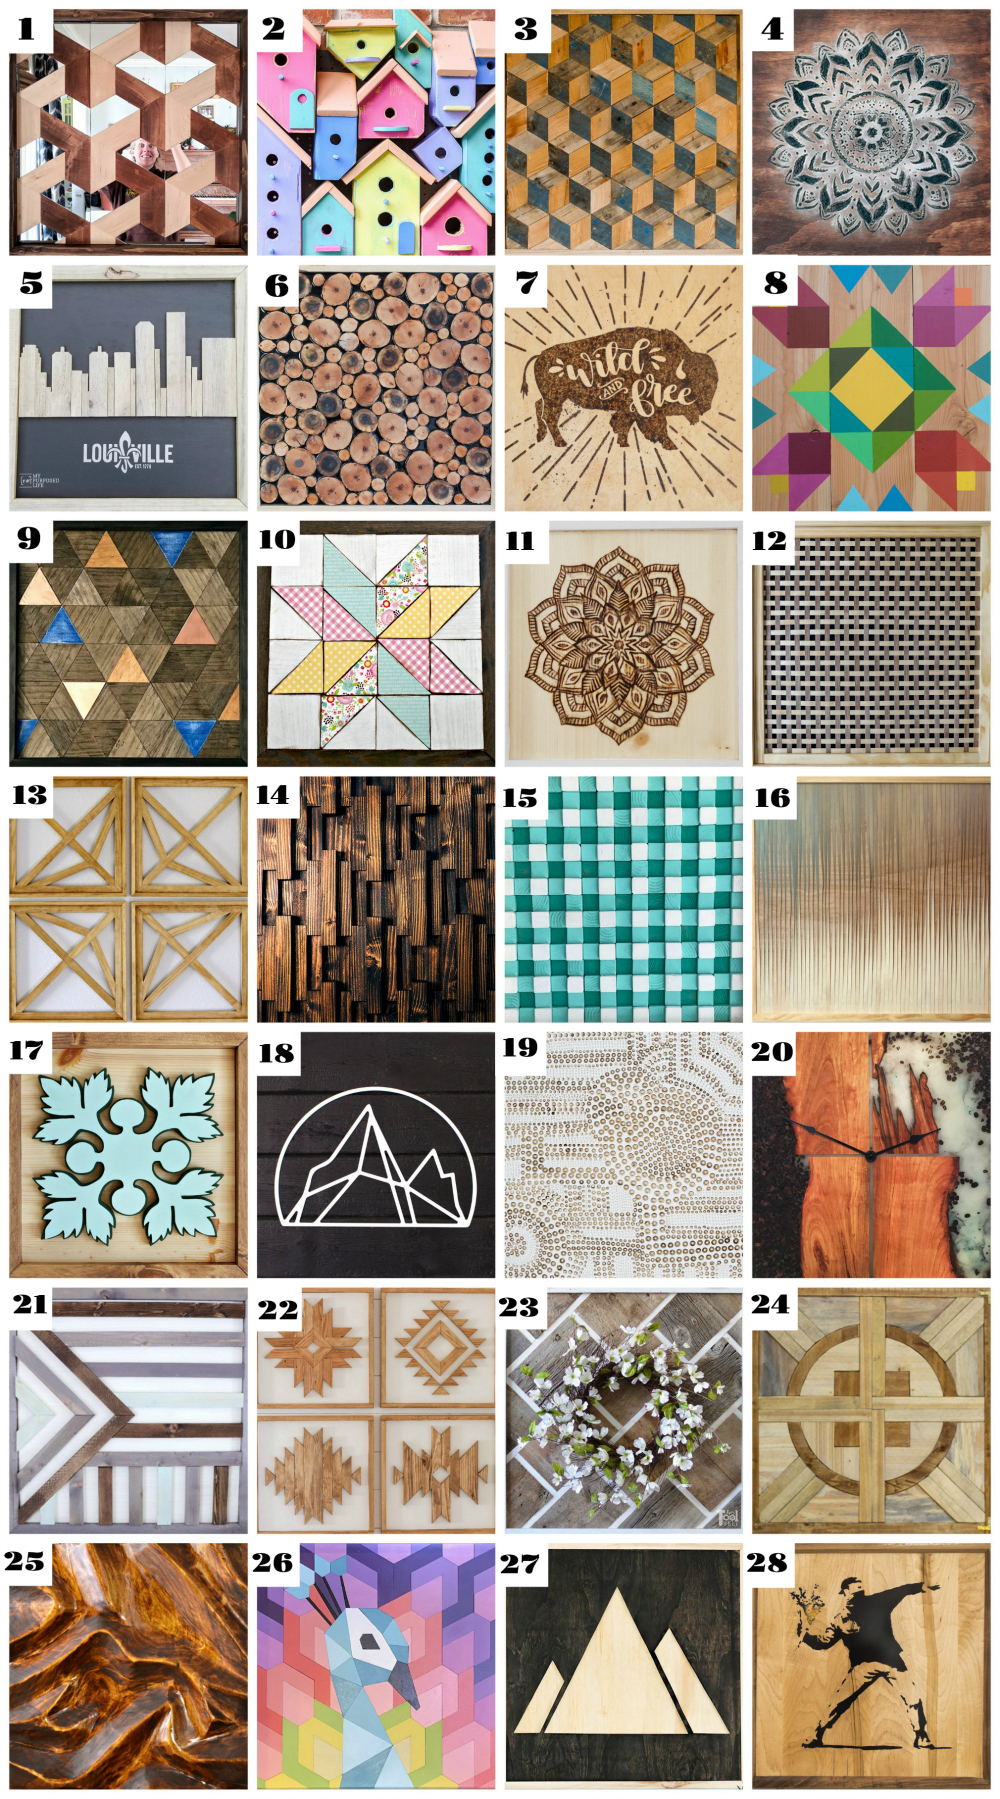
And just check out this amazing collage of ALL the artwork together! So cool, huh?!
You should definitely check out all the different projects and let me know which one is your fav!
This is so cool Katie, I love how it turned out!!! (and making it into a box was brilliant)
Katie, I just love the organic feel of your art! And such a unique concept! LOVE! <3
It’s beautiful Katie! It reminds me of African tribal art for some reason… can you have that design printed on a pillow for me? That’d be great, thanks. 😉
Oh my gosh I love this so much!! You’re so creative – and it looks do-able!
I love when you post projects like this. I really like how yours turned out! I’m going to check out the other participants. 🙂
That turned out amazing! I absolutely love it!
Yours is sooo beautiful!!! What a great technique! I also liked very much number 2, 14 and 19!
The router is my least favorite tool, I think I should try this one. It seems smaller and more manageable….one I might actually use!
The textured wood wall art looks great!
gail
That is so cool! Great job! It does look like Cheerios…….send a picture to Gereral Mills.
Pretty sure Target is not in the market for your particular, hmmm, woodworking skills:)
I love the way yours turned out–and what a unique method of creating something amazing!
So textured and creative! They’re all amazing.
You just never know 🙂
xo – kb
Does anyone else see BB8 from Star Wars in here!?
All the textured wood wall art images you have shared here are looking superb! And thanks for sharing this DIY project idea.
Great work! Wall arts play an important role in interior design. You really inspired me with this wall art creativity. Thanks and keep sharing.
Oh, wow, what a great idea. Thank you for sharing, Katie! I always get inspired when seeing such original ideas.
By the way, how did you decided what you want to make? I mean the design.
I saw an art print that had lots of dots that was very inspiring!
xo – kb
This is really beautiful. What a lovely idea. Pinning