Concrete countertops are amazing. Let me tell you.
I have been preaching about them for a while now. I mean…even Joanna Gaines from Fixer Upper has them in her farmhouse kitchen. Oh now you are paying attention 🙂
And the thing is – you can make them yourself with a few tools and a little brute strength. The costliest part of these counters is the forms and that is what we are gonna talk about today – building concrete countertop forms.
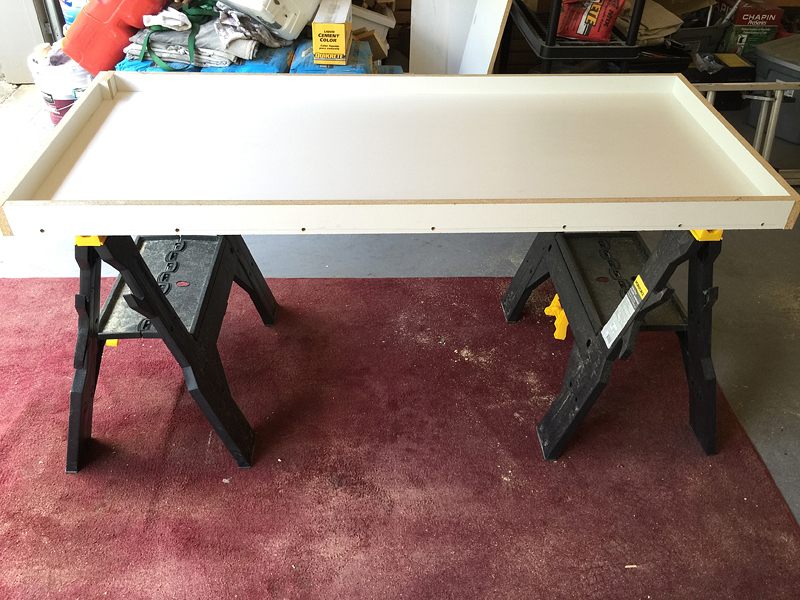
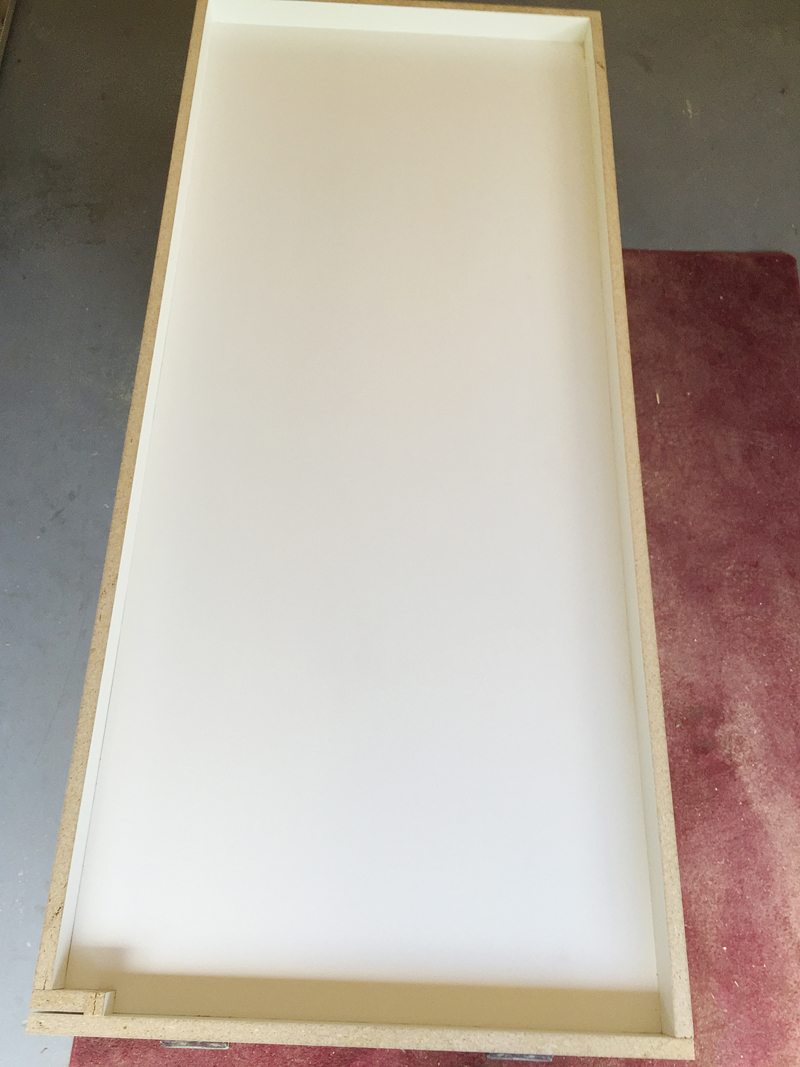
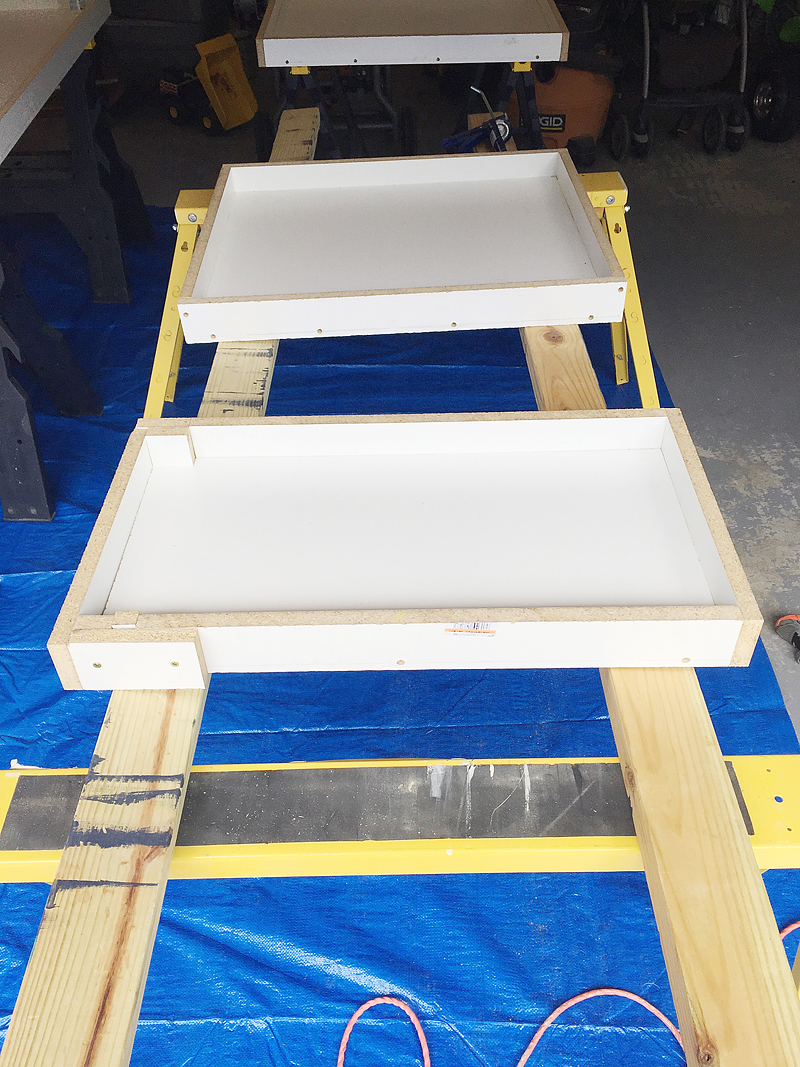
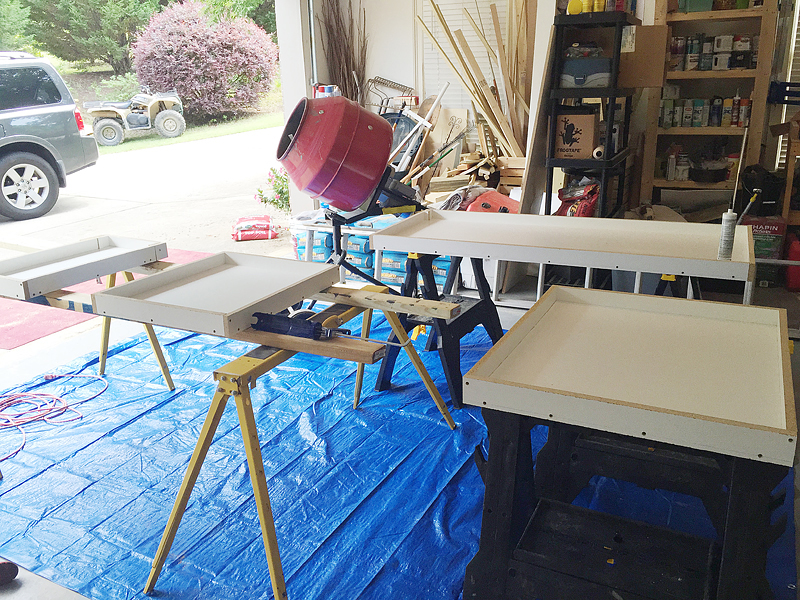
So as you can see above – the forms are basically boxes that are going to hold your concrete until it firms up and becomes a legit weight bearing countertop. The counter pieces actually fit INSIDE the forms so you are making an outline with the walls of your form and the top of the form becomes the bottom of the counter. Did you catch that fast ball? I hope so because those things can hurt!
We learned this technique from a master of concrete. His name is Scott Dilley and we are pretty much his biggest fans. He makes amazing furniture and makes concrete countertops ALL THE TIME. And he is the one that taught us how to make these countertops….so if we screw up these instructions….we are very sorry Scott! If you want to support him or check out – here is his site.
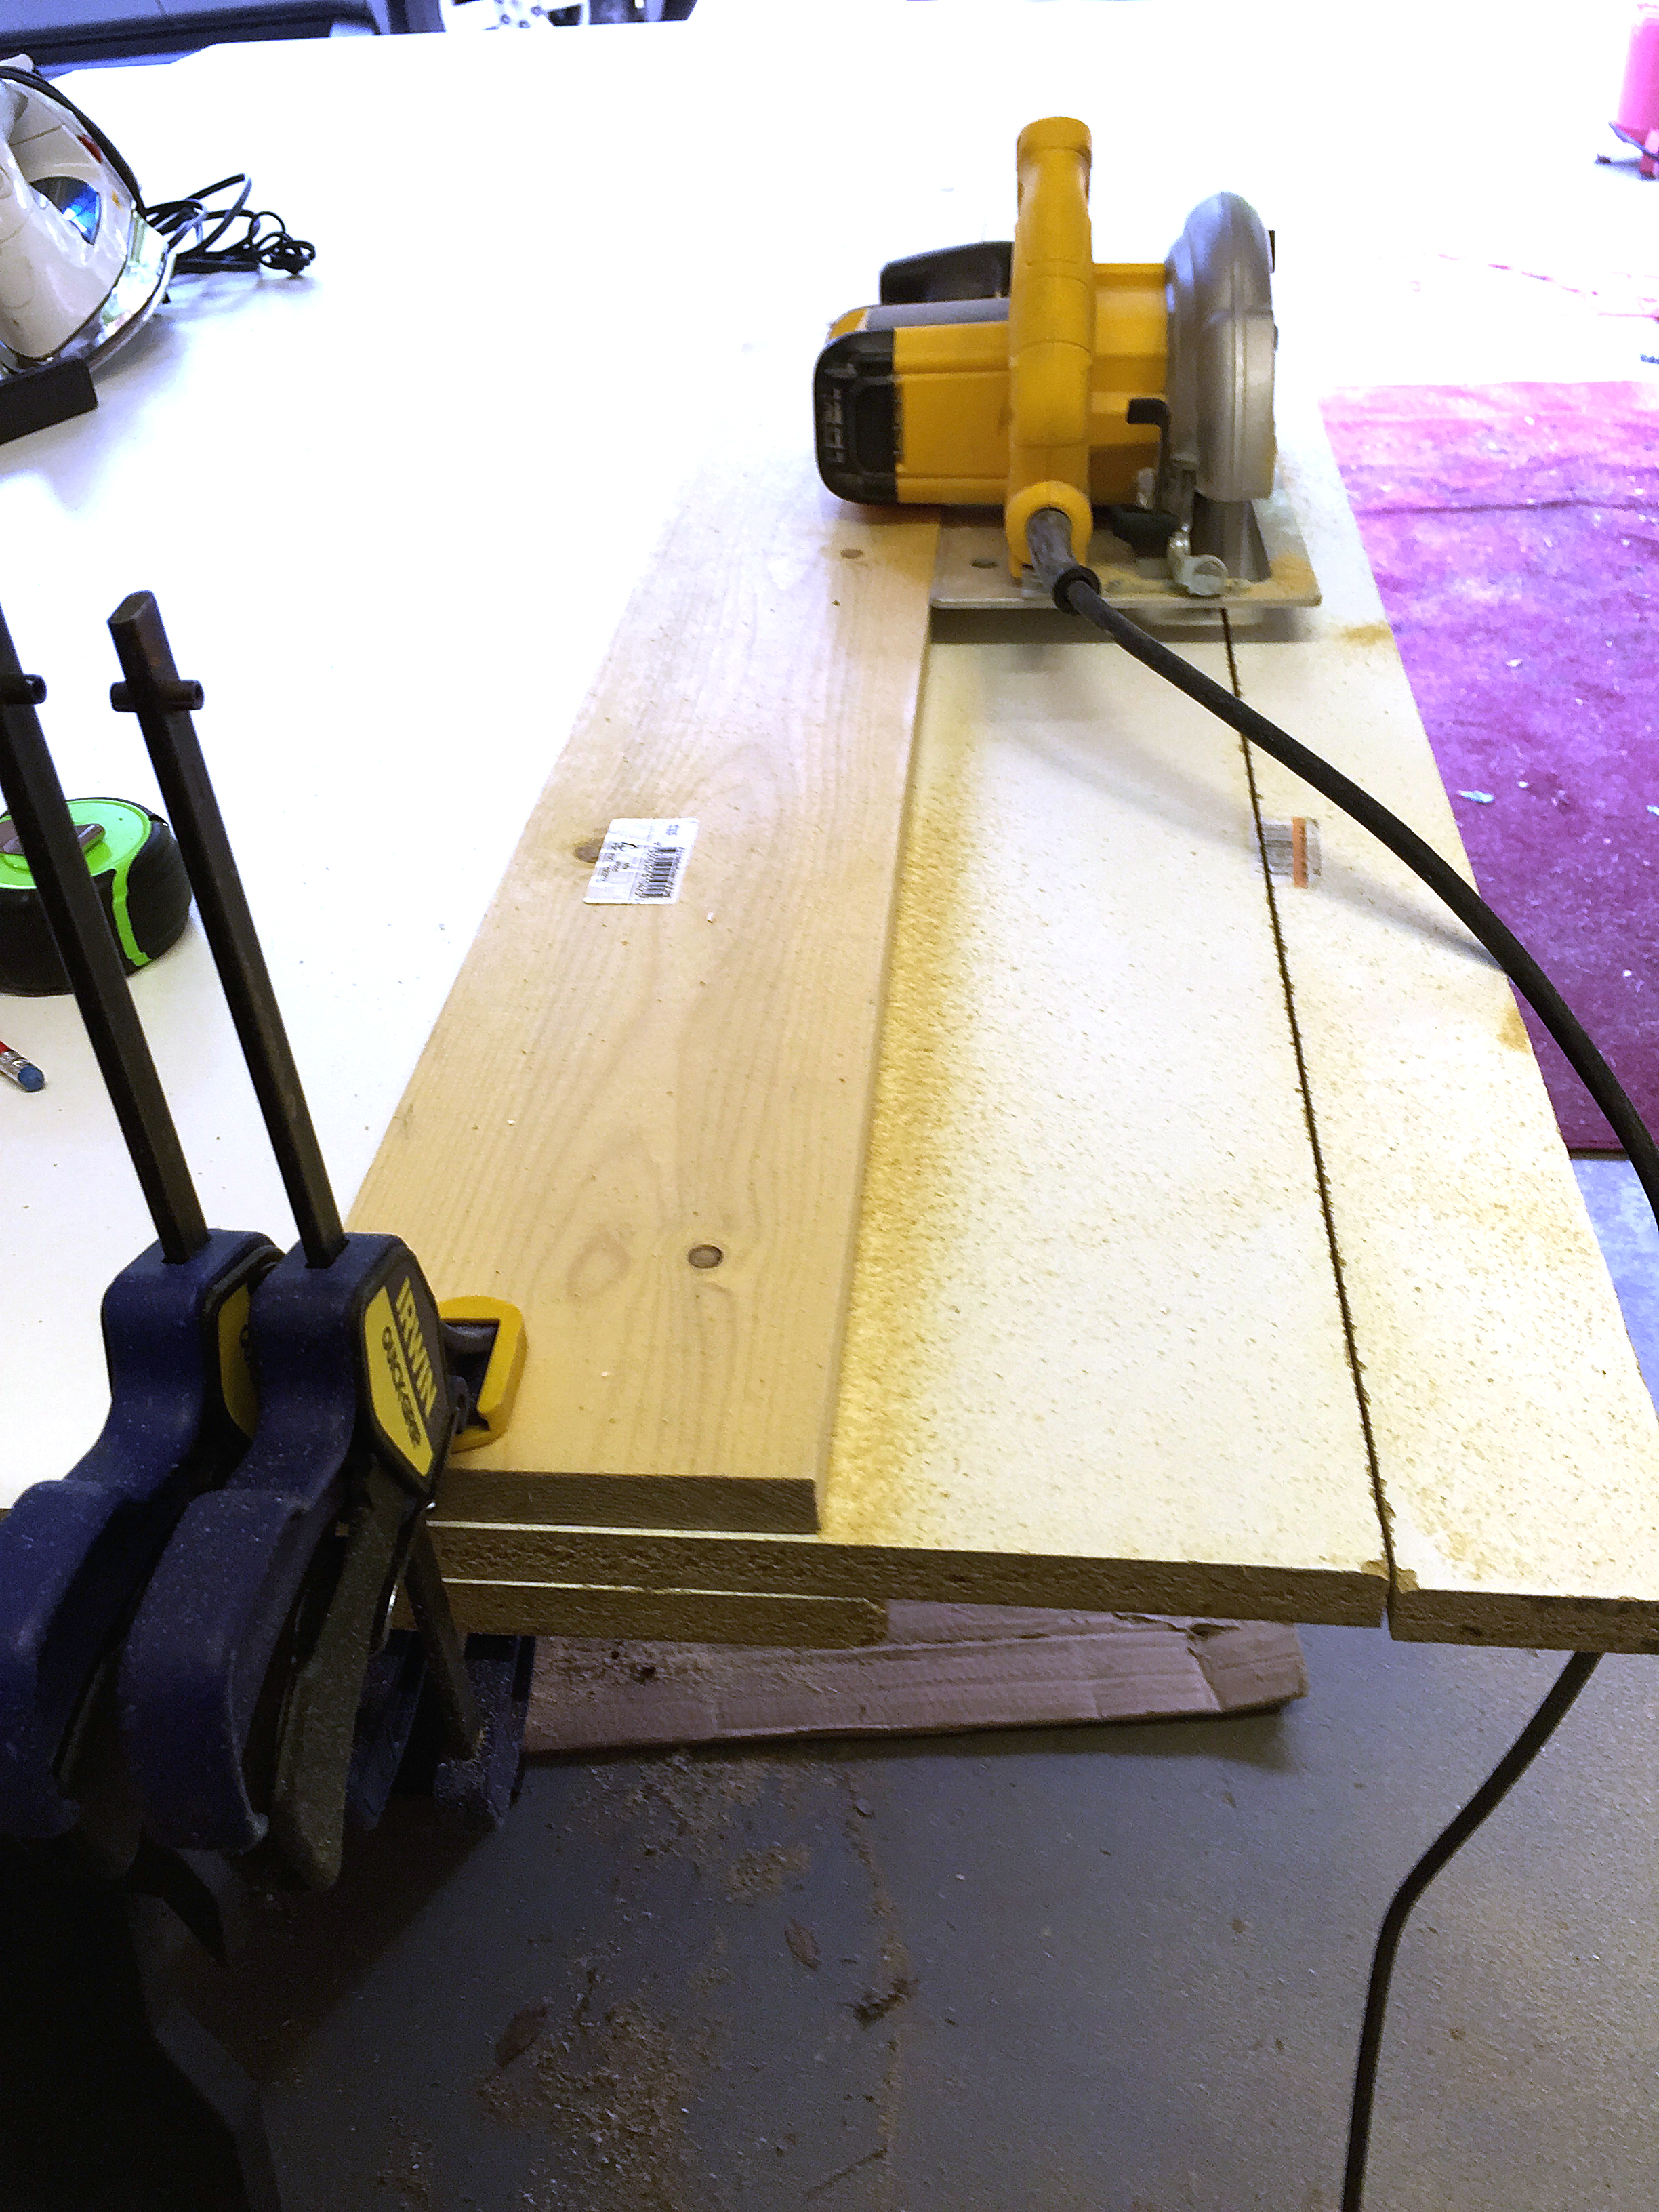
Okay so the first thing you need to do is cut your bottom piece of melamine. It’s coated and concrete can’t stick to it where the white coating is at. It runs about $30 for a 4×8 sheet at Home Depot. So measure the space you want your countertop to cover (allow for overhang and all that) and then cut your first piece of melamine to those dimensions. We used a circular saw and a board as our guide…
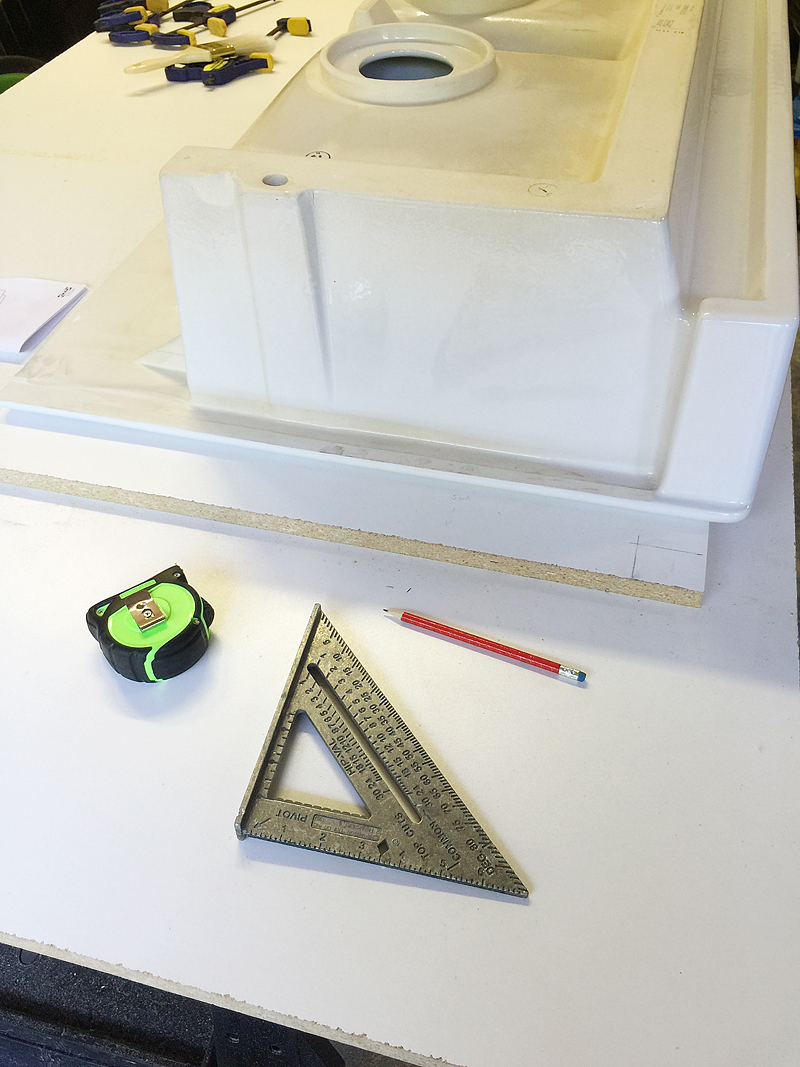
If your countertop needs any cut outs for fitting sinks (like ours!) or around cabinetry or other features in your kitchen, you will have to mark those areas and cut the melamine with a jigsaw to remove the extra cut-outs.
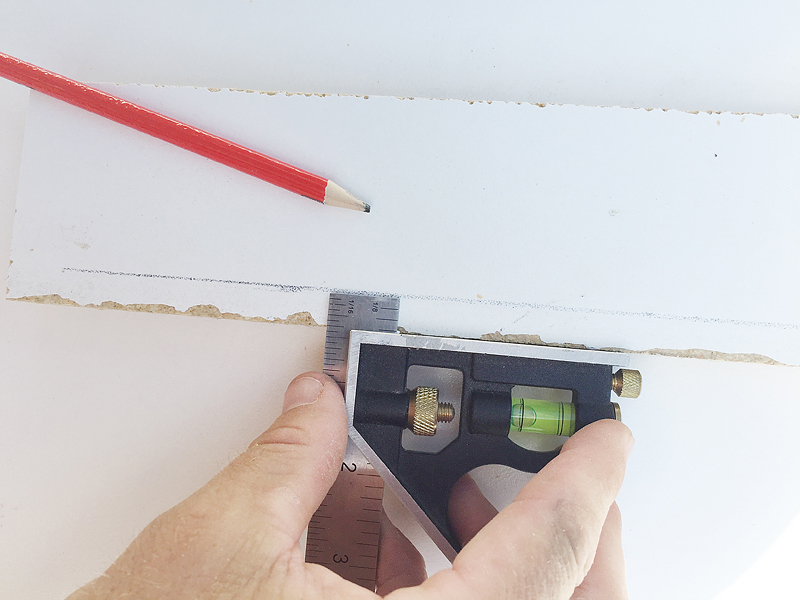
Then you want to cut your sides. We wanted 2″ thick countertops. You can modify how thick you want your countertops by cutting the sides to be taller. These pieces of melamine are roughly 2″ plus 3/4″ (for the bottom melamine) tall and cut to the length of the sides. Then we had to mark the line to drill the screws in. You will want to mark the line 3/8″ from the bottom side.
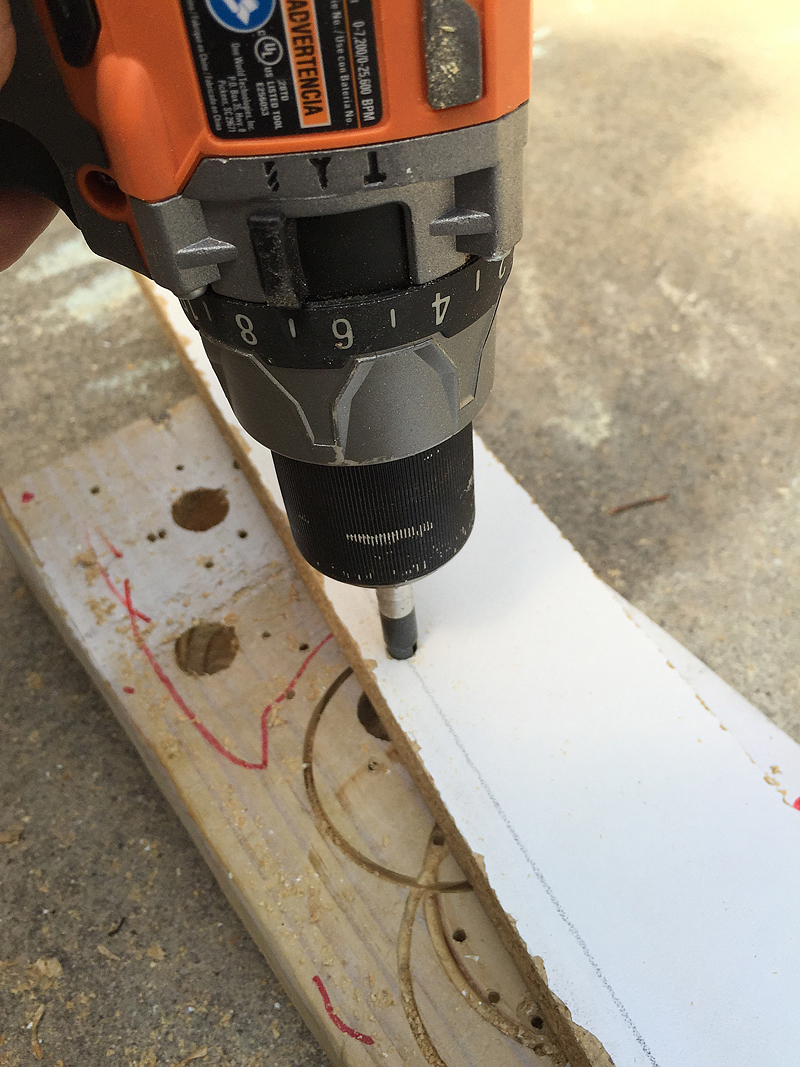
Then pre drill your holes every 6 inches.
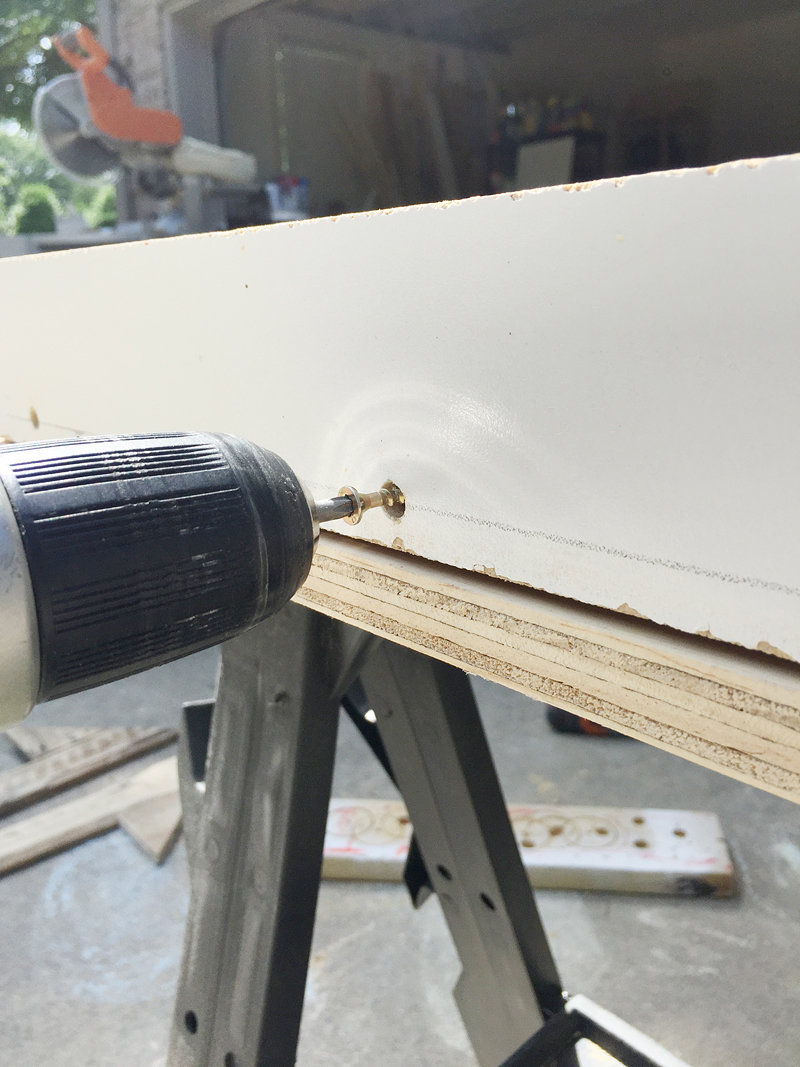
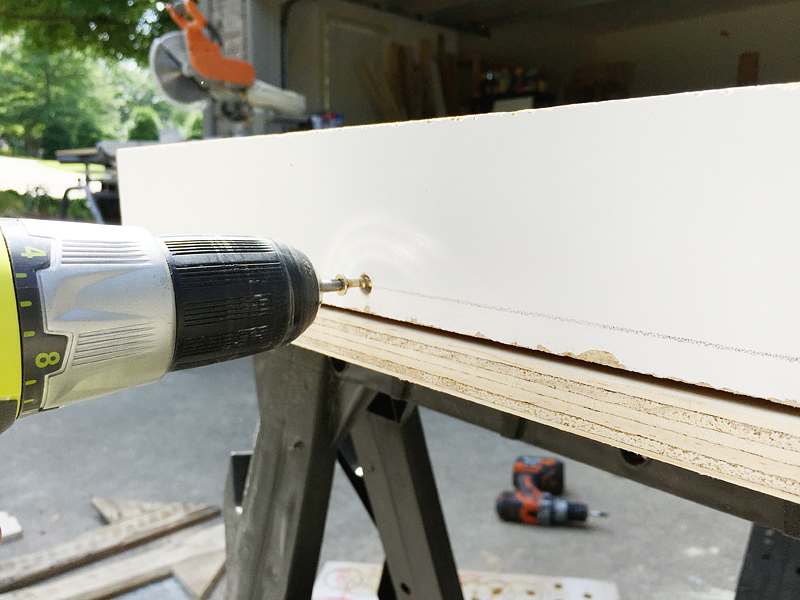
Place your sides next to the bottom melamine and screw them all together.
The boards themselves will be scrapped after the first pour – you probably won’t want to salvage them – so its important to be slow and thorough with the forms to make sure they are correct.
Any cut-outs will have to be built around with smaller pieces (like we did in the lower left hand corner)….
And then all your forms will be places on elevated surfaces (you need to get underneath them) and be sure they are LEVEL! We used some 2×4’s over tarps because when you do the concrete pours – it gets UBER messy. Like think toddlers in a mud pit after red bull.
Now that you are all set up, it’s time for sealing all those edges.
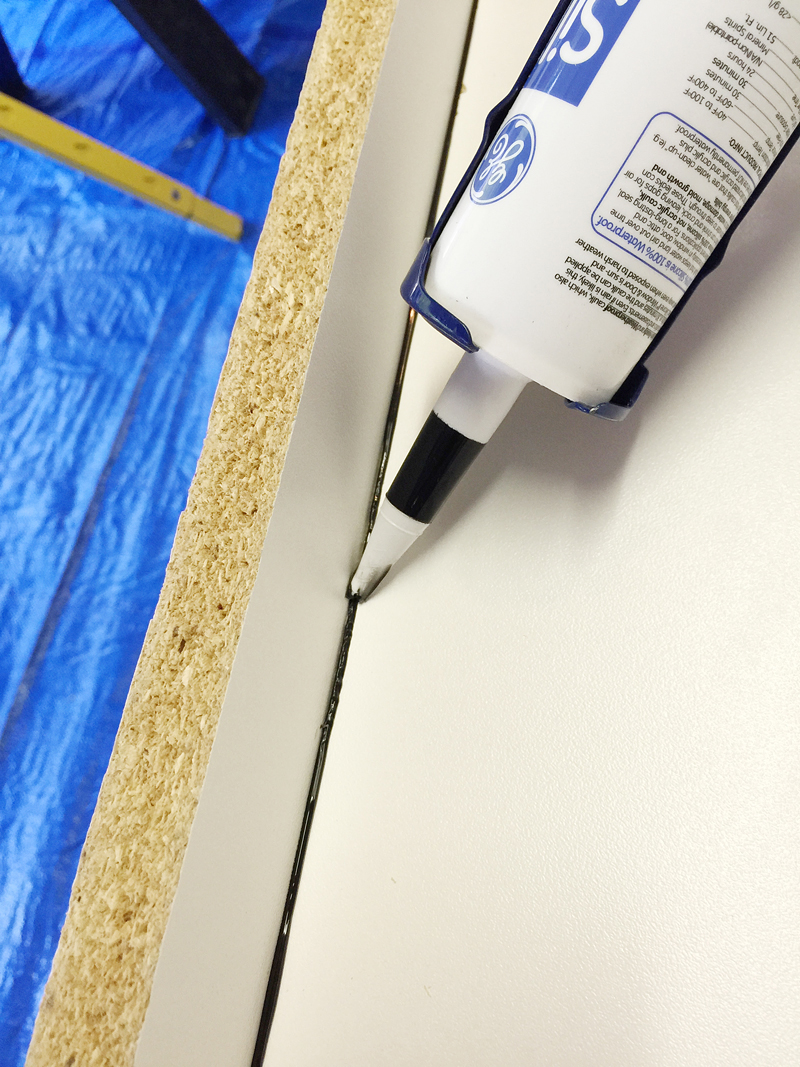
We used a silicone as the sealant and there are two different ways to go about sealing all those edges.
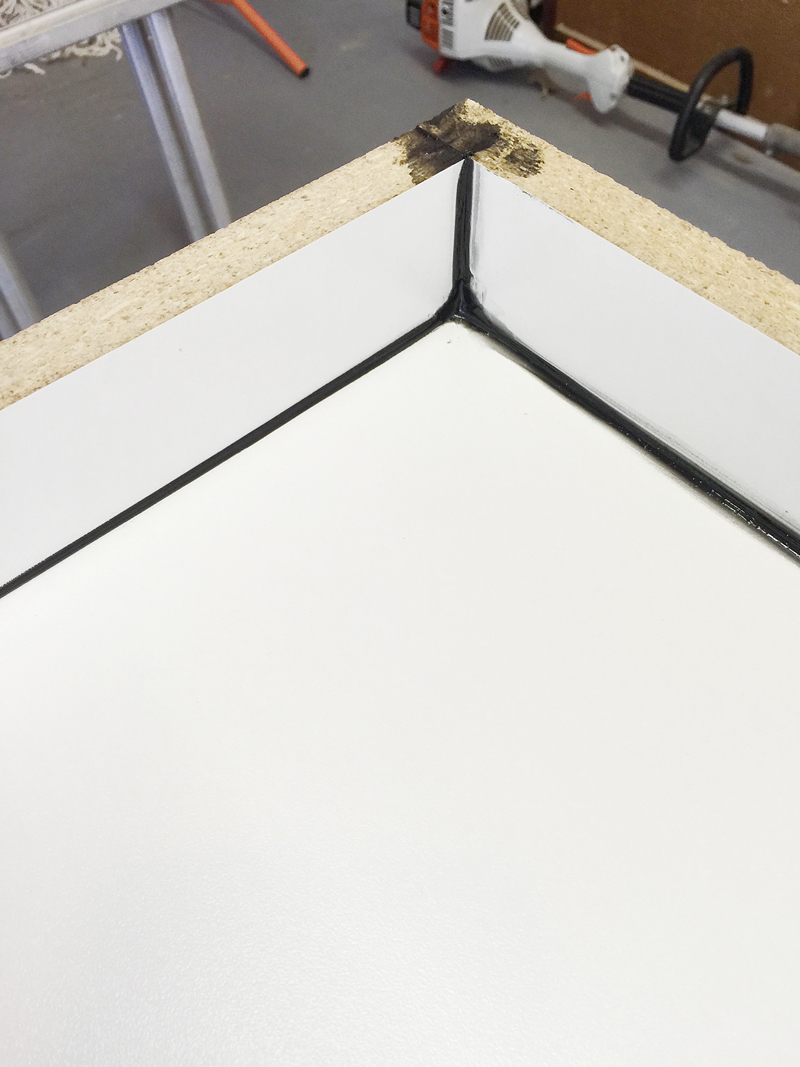
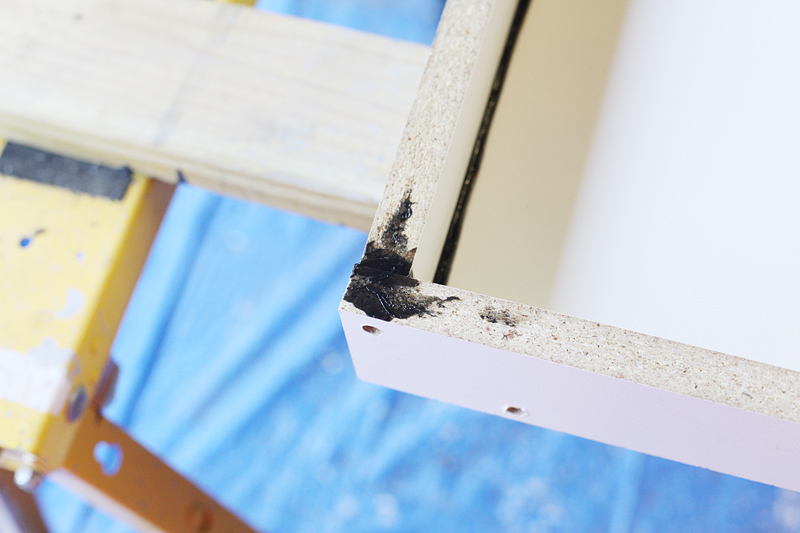
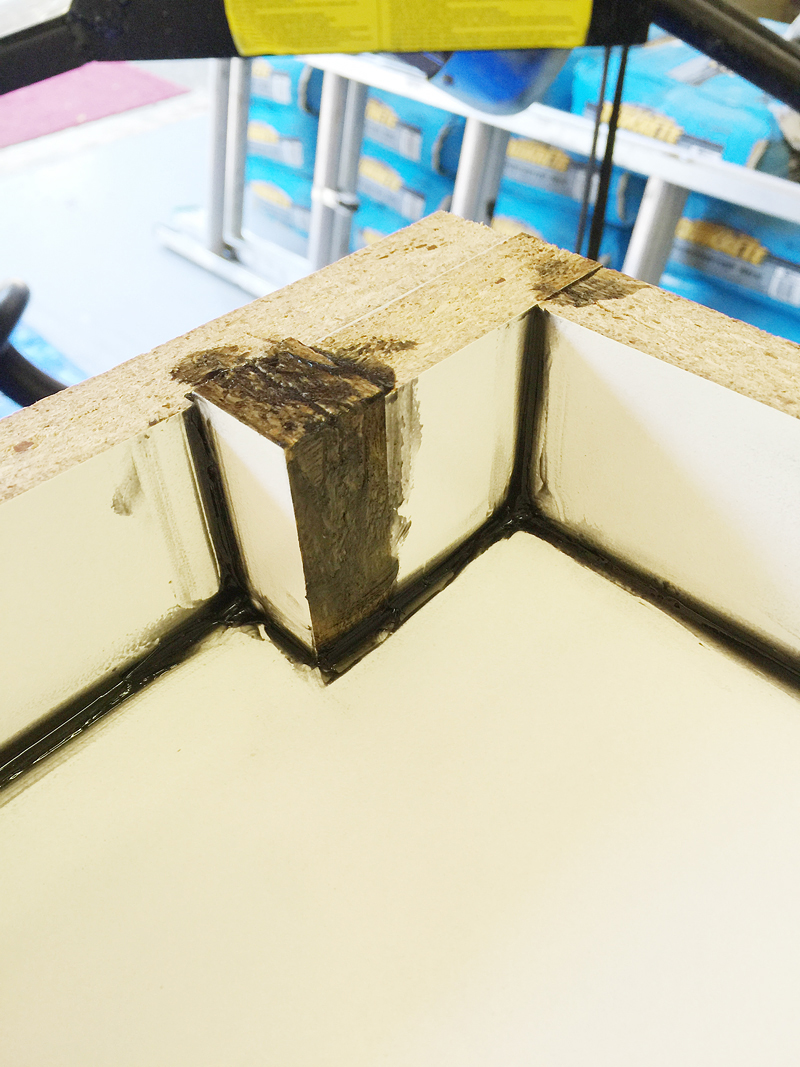
The first method is the fastest. This is my preferred method. Basically you just squirt a thin line into all the cracks and take a wet finger and smooth it out.
You also want to make sure you seal the corners and the upright seams and the seams on the very very top of the corners like so…
The exposed particle board edges that could hit concrete also need completely covered. Note that this method is the messier and less perfect edge way to do things. The edges of your concrete will show all the globs you leave behind so I suggest that if you have zero patience for glob-removal or smoothing….maybe try a different method 🙂
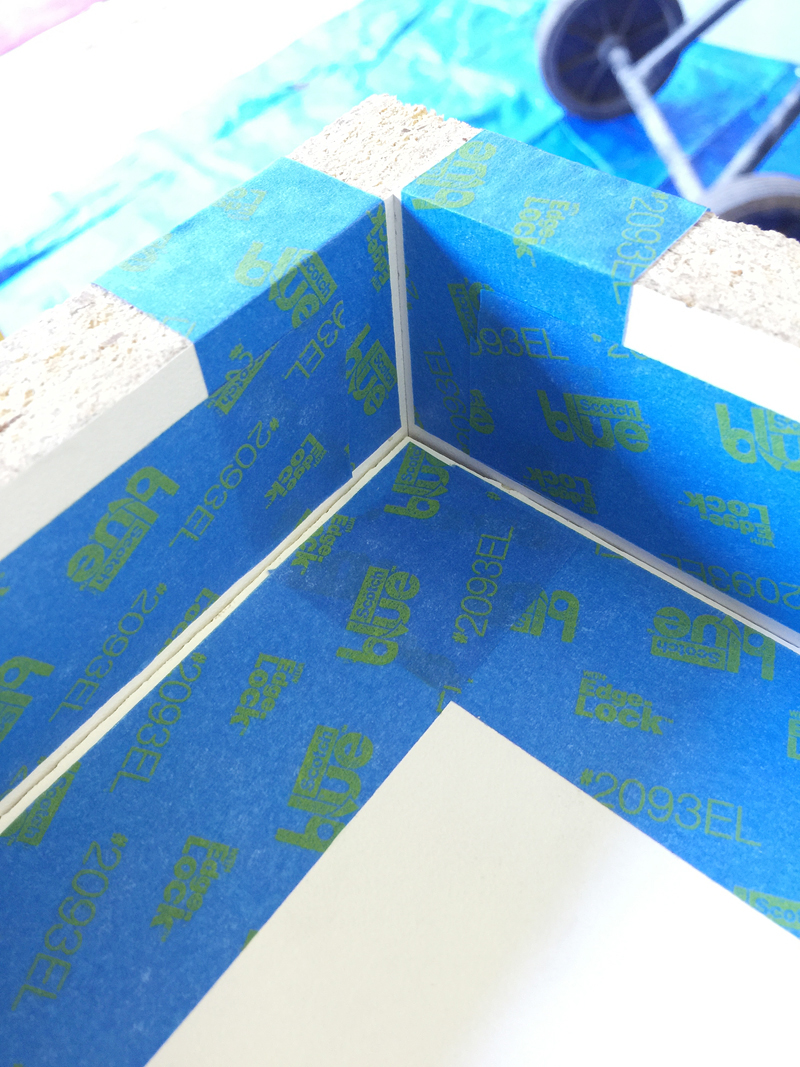
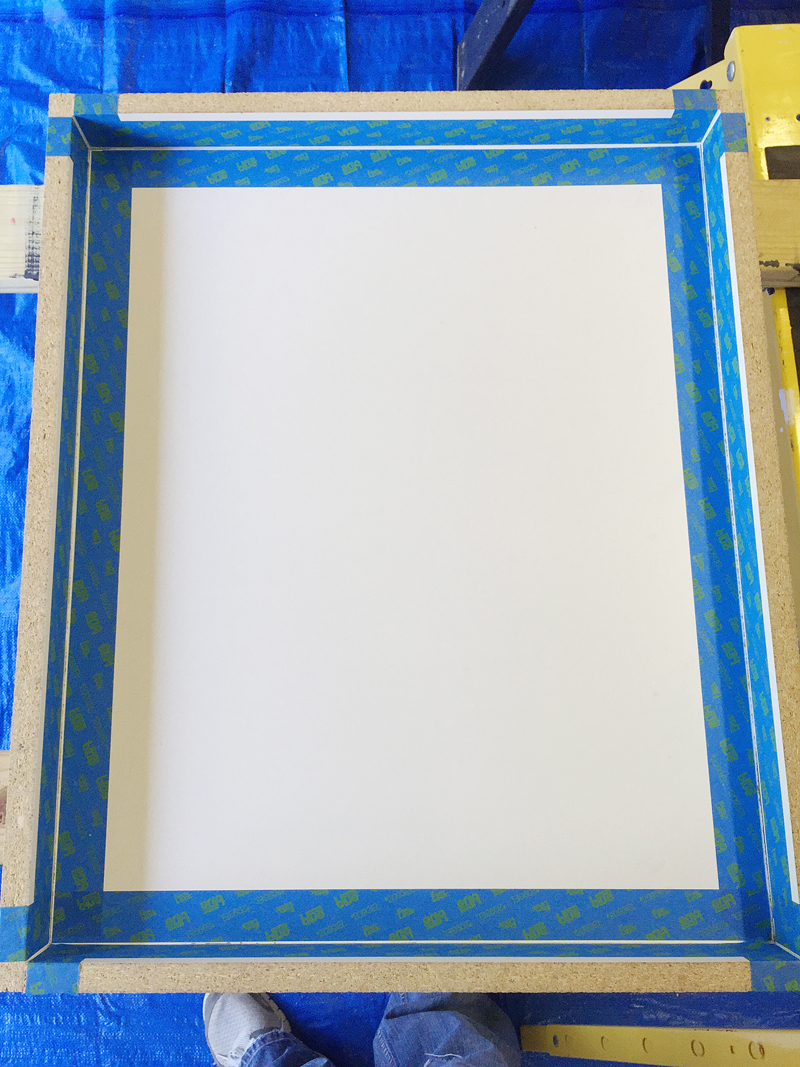
Method two involves some thick painters tape. Jeremy in general hates doing caulking and is notorious for the glob. We should call him Notorious G.L.O.B. That’s his new rapper name.
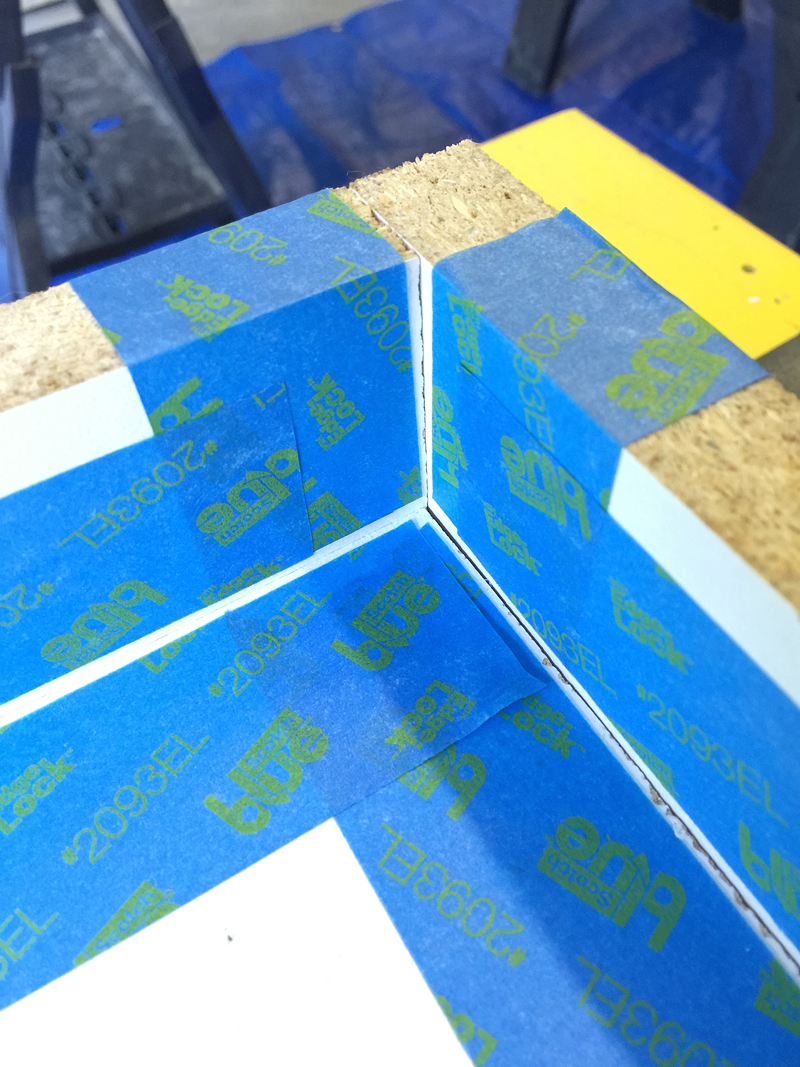
Basically the idea here is to use tape to create the areas where the silicone will stay.
It’s very easy to do but takes more time than my smear it on method.
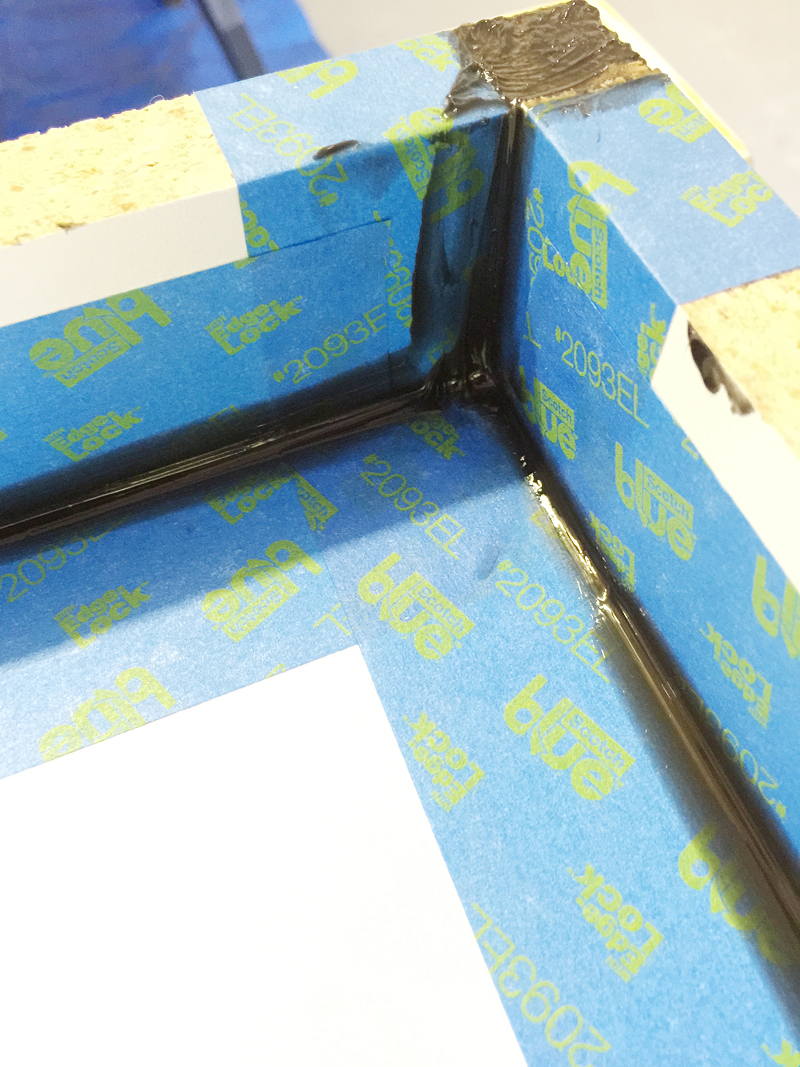
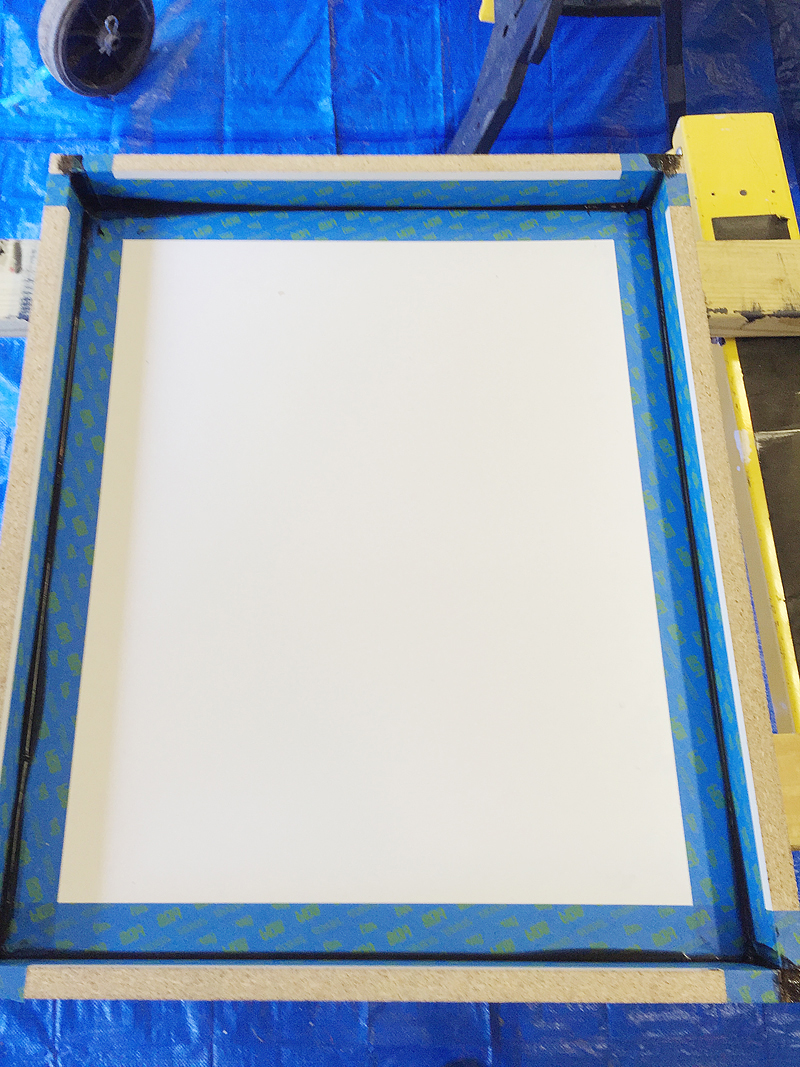
When you do fill in the seams, it is very much the same except any blogs will be smooshed onto the tape and you don’t need to worry about leaving any residue because once you pull the tape up, it looks perfect.
Note Jeremy’s giant glob on the upper left 🙂
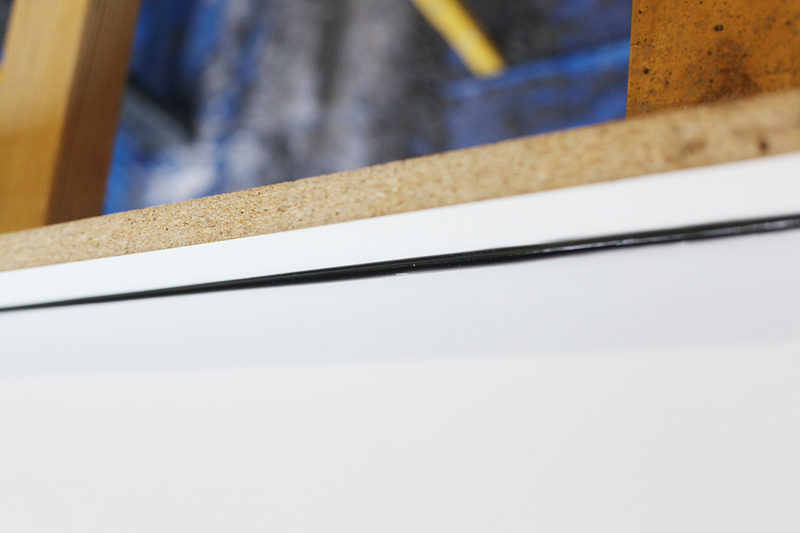
Once you remove the painters tape – look how smooth the lines are. Purrfect.
So once the silicone is dry, your forms are officially ready. Now you can get to the concrete part of things!
I will be posting the concrete stuff later….so be sure to tune in and you can see our misadventures (yes we did it three times and three slightly different ways to get different results!)
Concrete countertops are so pretty and I had no idea that forms are used to make them!
if the diaper cake is for the wife of your gear-head brother…. look up “motorcycle diaper cake” on pintrest….. even its not – look it up!!!!
Thanks for the shout out! We definitely love our concrete!
Love concrete countertops!! Can’t wait to see what they are going to look like! We own a concrete construction company but it’s a little different than the countertops 🙂 As for the diaper cake easy peasy. Good luck! Hope to see pics of that as well.
I had no idea you could make your own forms! That’s part of what has dissuaded me from considering DIY concrete counter tops. My husband has mentioned it, but it always sounded so scary and like if I messed up it would be catastrophic. This helped me visualize how it might work!