Wanna know how to brighten a room? Add more light.
It’s not even a joke. I am not kidding. It’s really that easy. And they make these awesome things these days called light-bulbs. A bulb of light. That you can put ANYWHERE for instant light. It’s literally a miracle.
Our basement bedroom went through a dramatic makeover earlier this year and it got a whole lot of brightening.
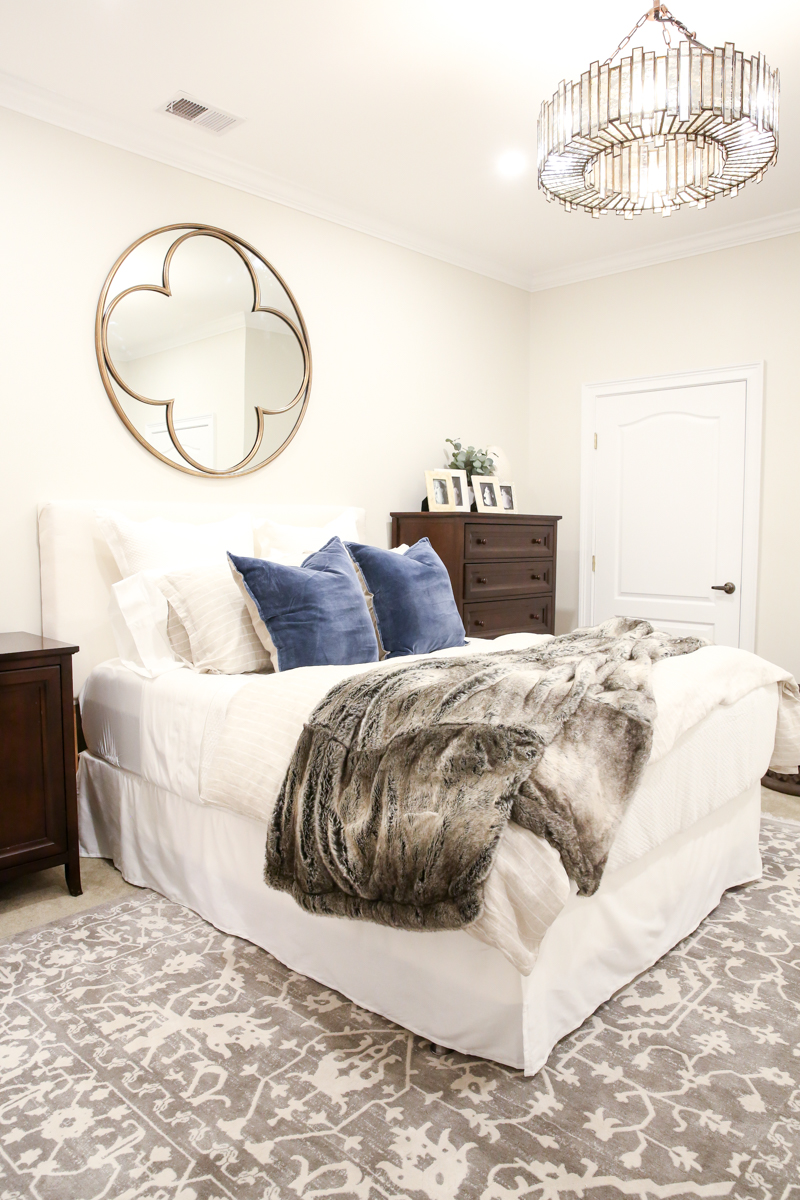
The one that got most of the glory was the center piece of the lighting scheme – this gorgeous chandelier.
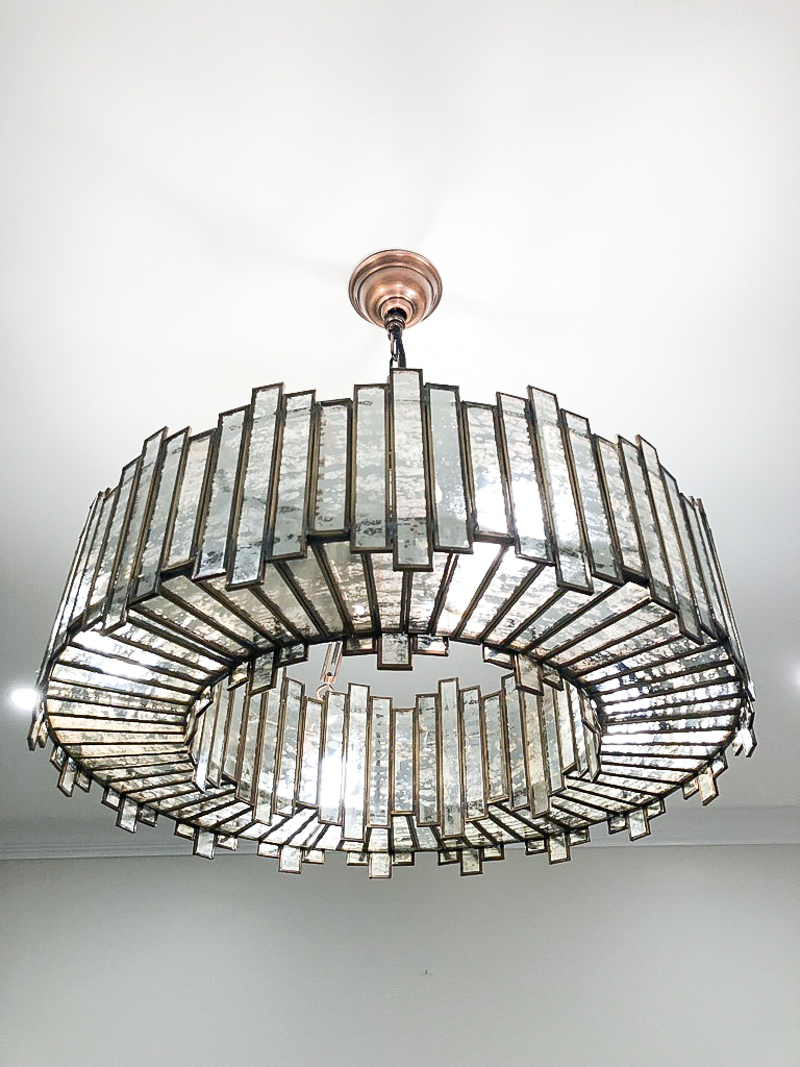
But really it was a combination of factors. Before, we had a dark ceiling before that received a few coats of white paint (instantly brighter!) and the walls and trim also got fresh new paint (steering still toward a neutral but a lighter one made a big difference!) and then we kept the majority of the textiles on the brighter side (white bedding, white headboard, neutral rug, etc.) and even added a big mirror that bounces the light around. And the very most impactful thing we did to brighten up this drab space was to add four recessed lights in the ceiling.
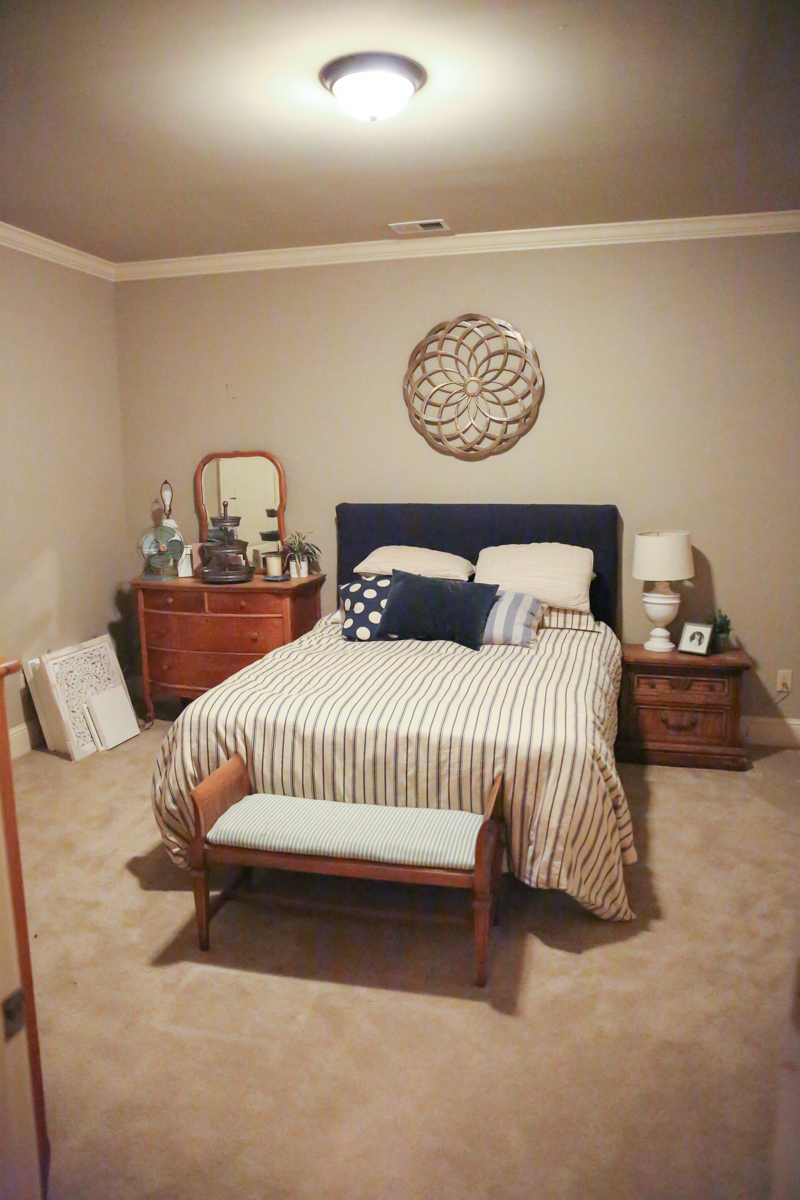
Before we only had the center boob light that really didn’t do much. I’ve found that usually darker rooms feel dirtier to me (it’s a weird personal thing) but for me, I prefer the lighter feel.
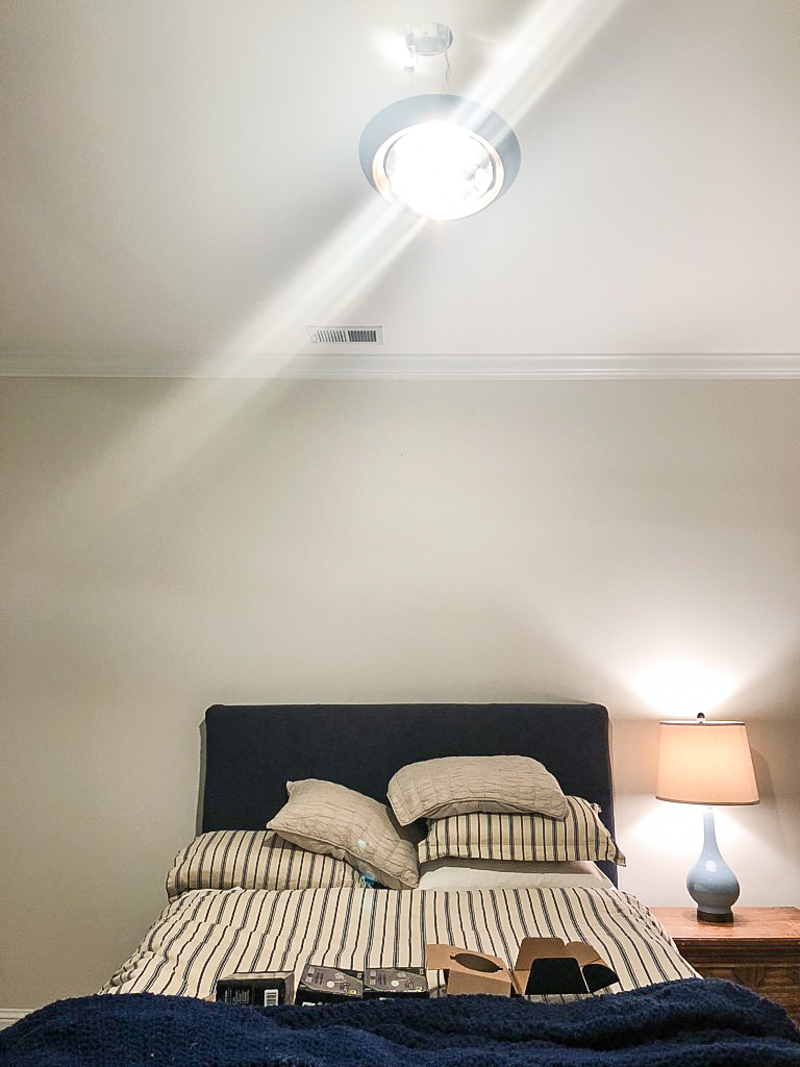
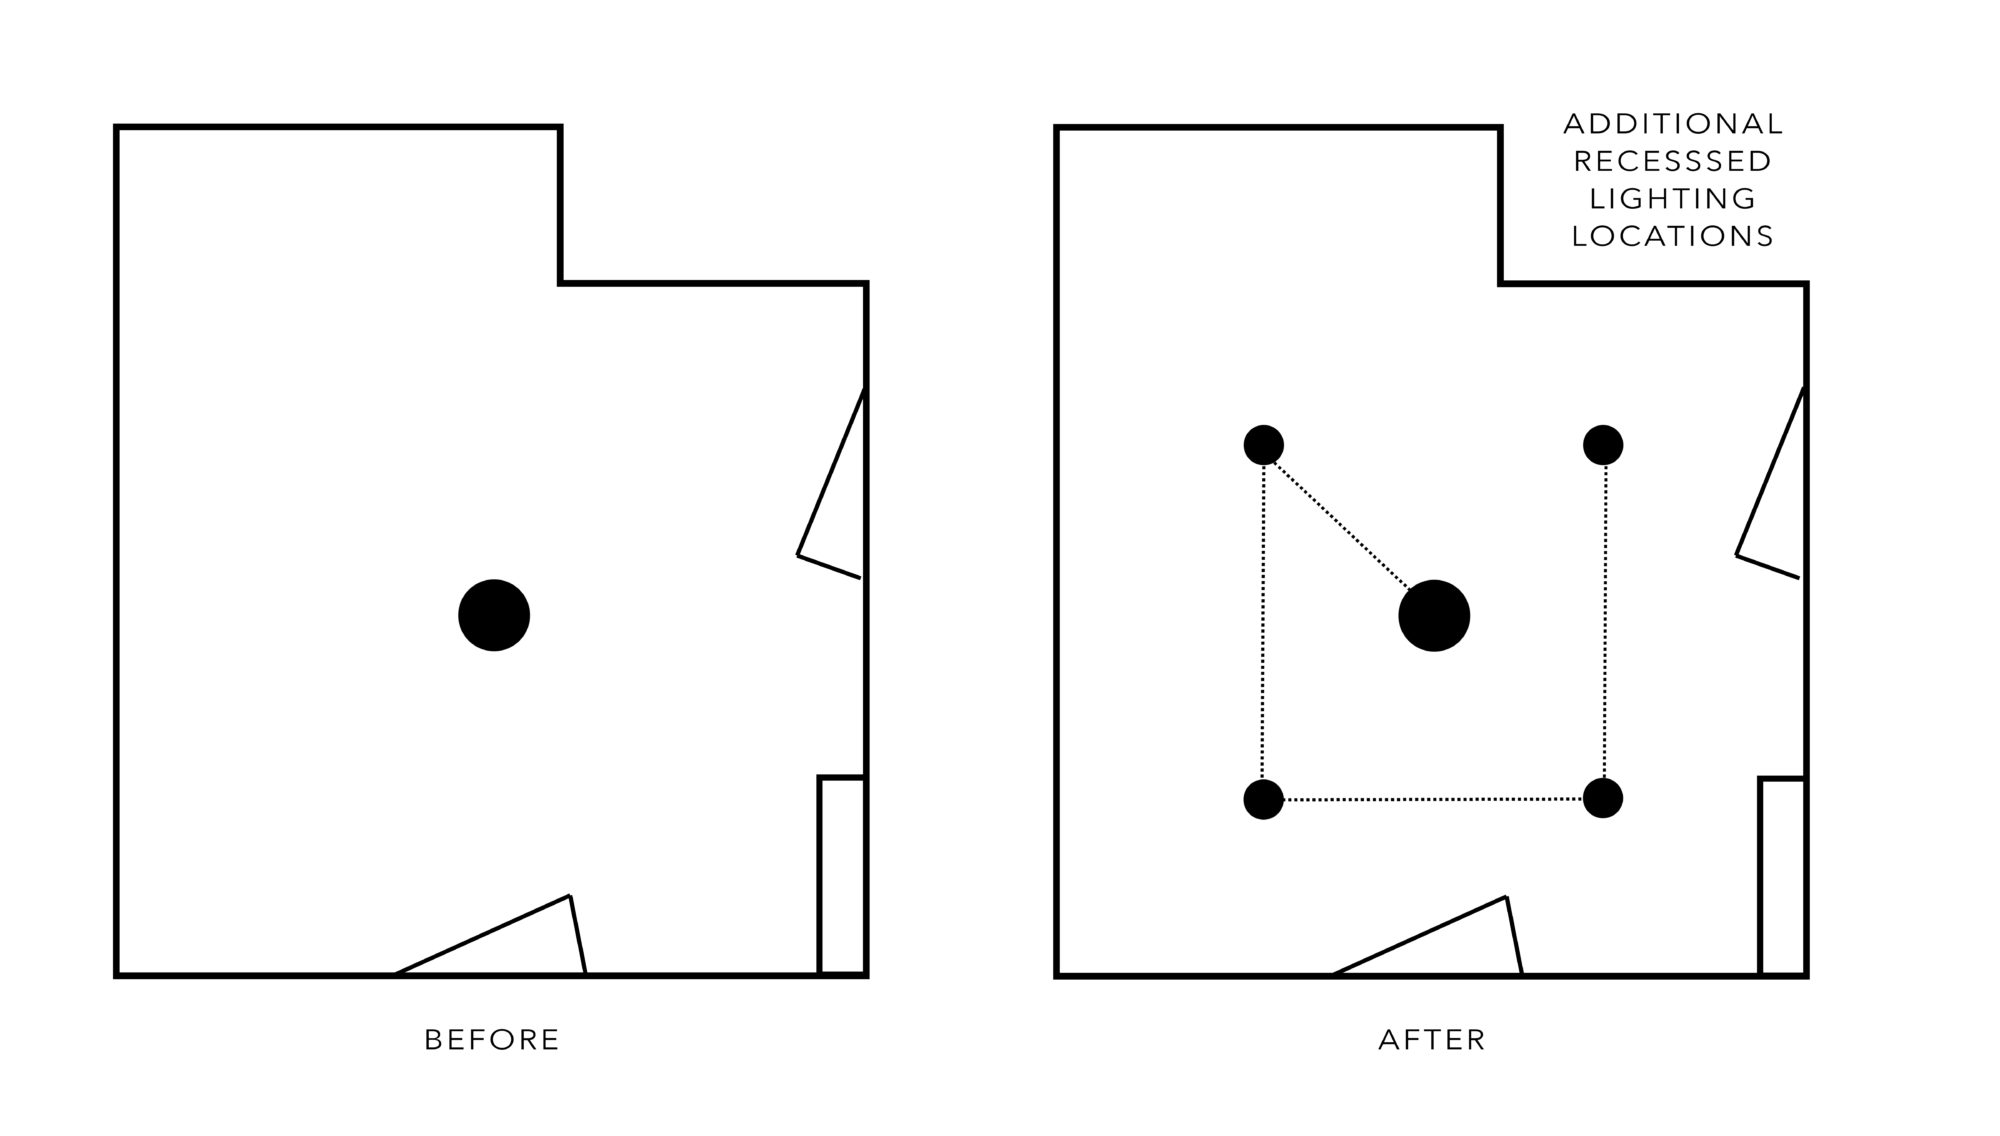
So the plan of attack was to add four additional recessed lights in the ceiling. In order to do that, we were gonna link all the new lights to the existing center light. That way when we switched on the room light, ALL the lights come on. This is called daisy-chaining-lights and it is very easy.
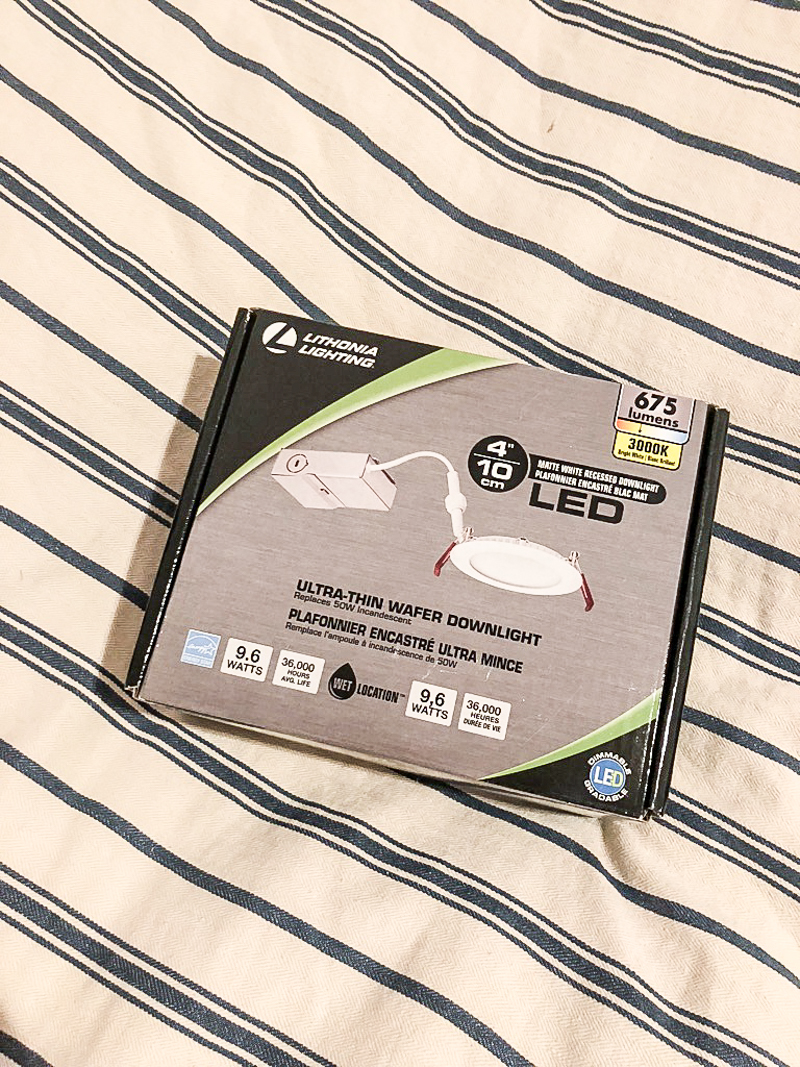
For our new lights, we went with this ultra-thin wafer LED light. Here is the link.
These come in three different sizes – 6″, 4″ and 3″. These ones are the four inch. And the lighting is 3000K 675 lumens – which I find is a perfect light! It is bright, light and happy with out being too warm or too stark.
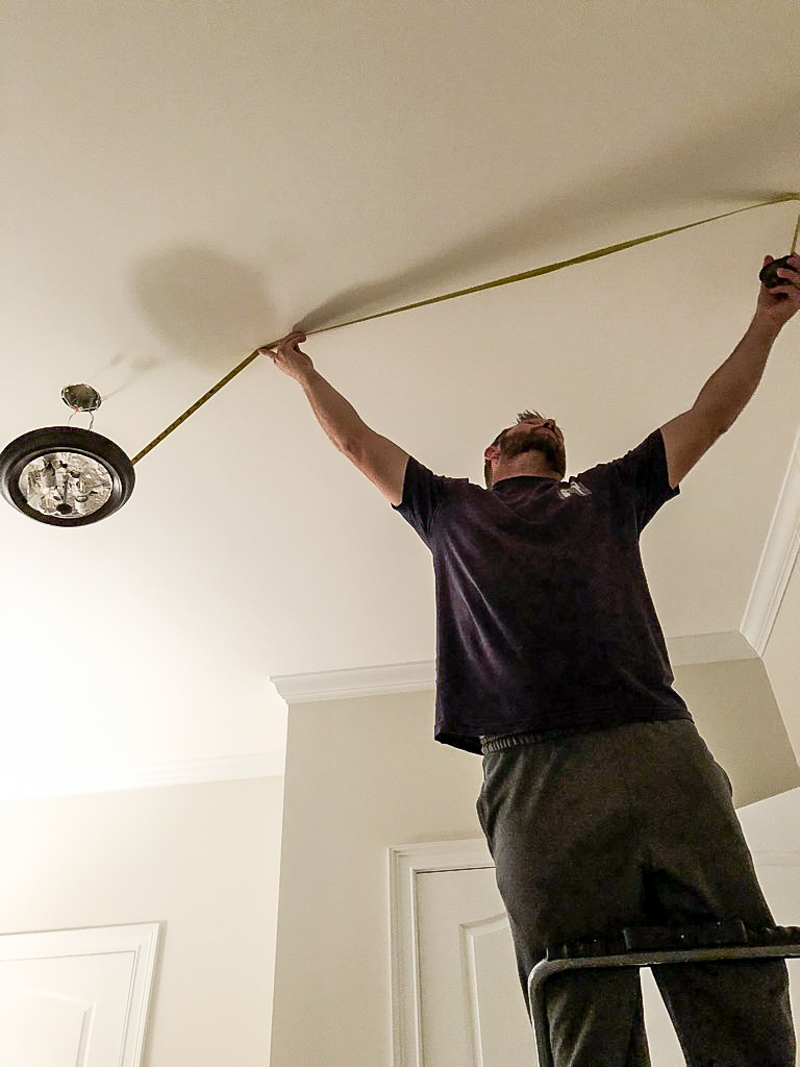
So the first thing we did was plan out the location of the new recessed lights. I wanted them to be equal distance from the wall to the center light. And then I also wanted them to be equally distant from each other. In the end, the location of the center light made all that a very impossible thing. So we measured, eyeballed, marked and eventually ate dinner….before coming back down and really making the light location decision.
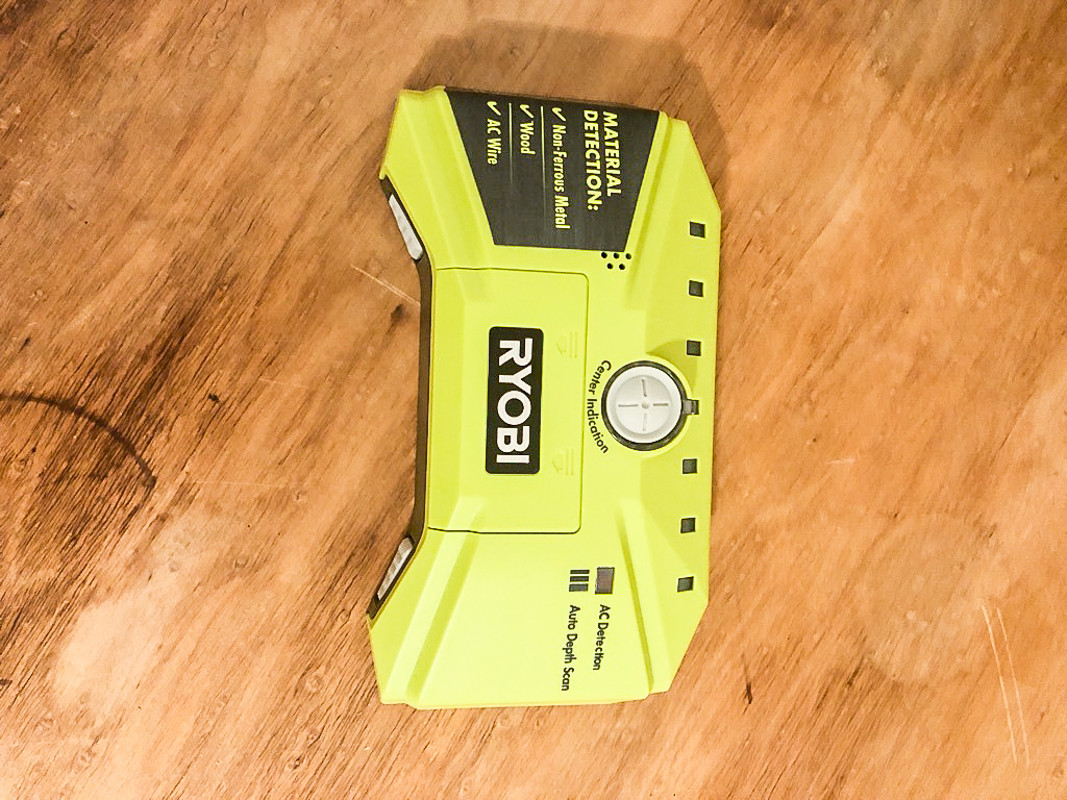
Jeremy got to use this fancy new tool and he loved it. It’s a stud finder – and it is one that actually works (stud finders notoriously do not work so to find one that does is like finding a needle in a haystack).
The wafer light kit came with a template for the size of the hole….
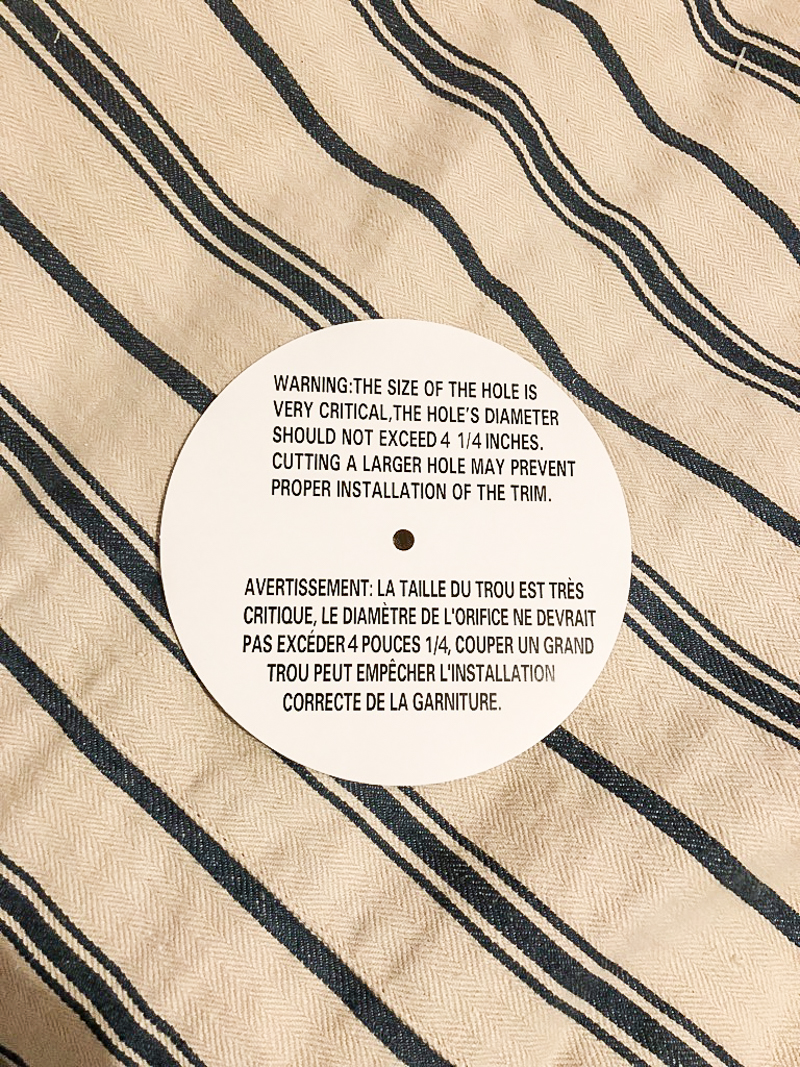
Jeremy’s trick is to measure and mark with the template first, using a sharp nail to mark the center. Also I am fairly certain this look was because someone was screaming POOP in the next room 🙂
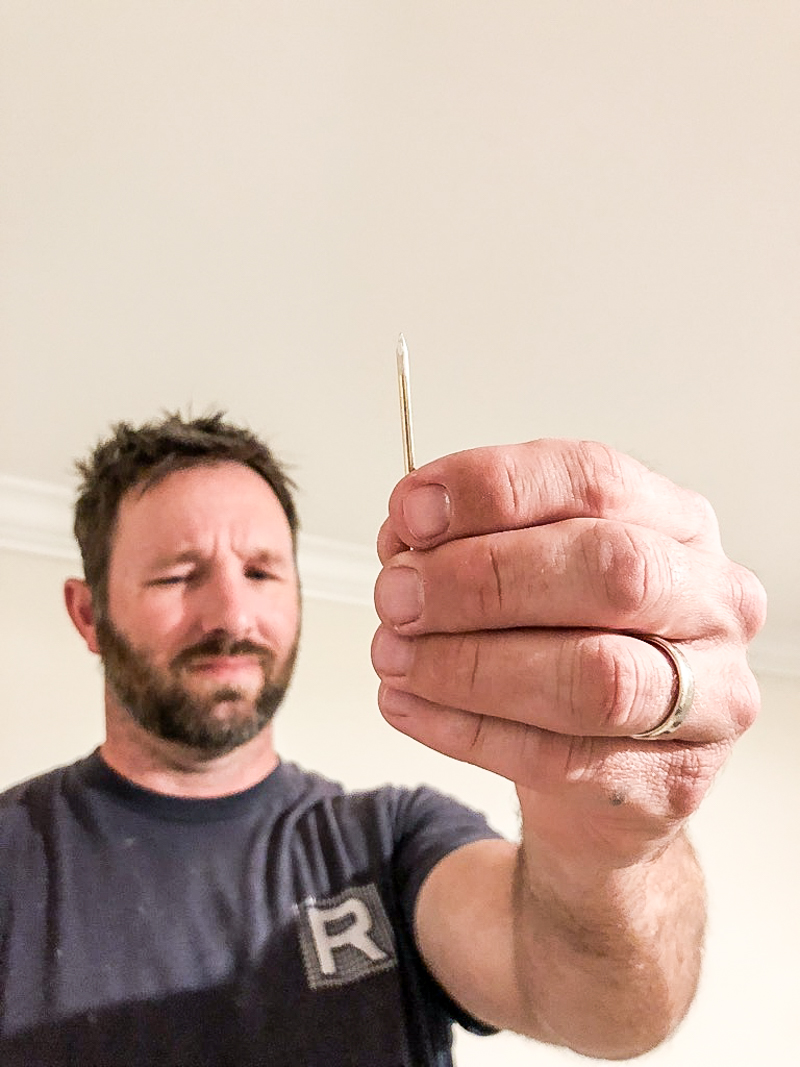
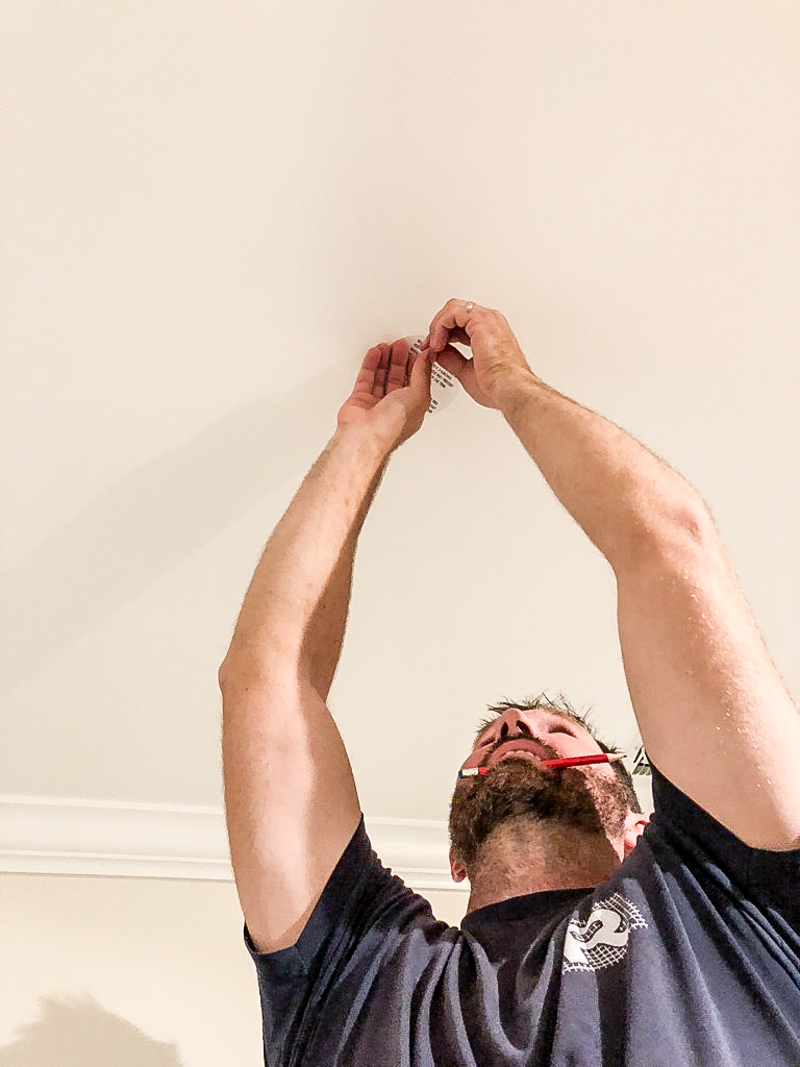
He also marks the edges to check them with the stud finder. If there is a stud or something structural where we wanted the holes, it meant shifting ALL the holes so that it still was balanced.
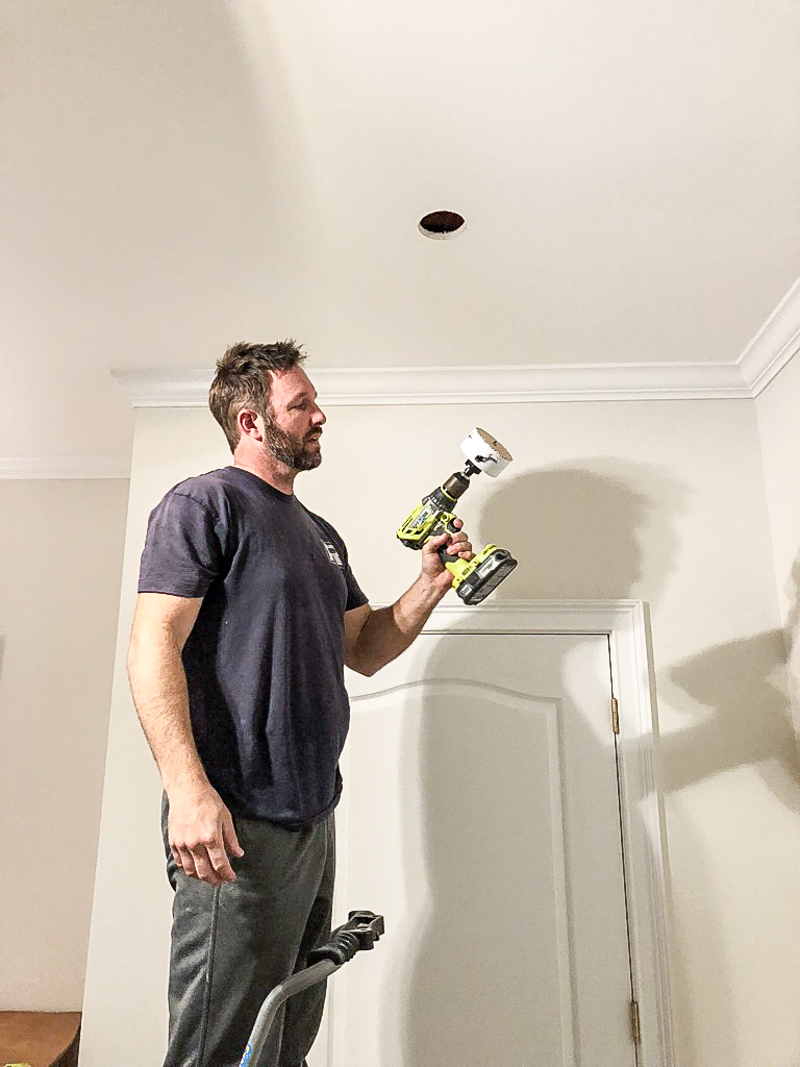
Once the location was determined, it was time to drill some holes. We use our favorite Ryobi brushless drill/driver (seriously if you haven’t gotten a brushless one yet, you are missing out. These are awesome because they require less muscle!) outfitted with a round hole saw. Here is the link to that cool attachment.
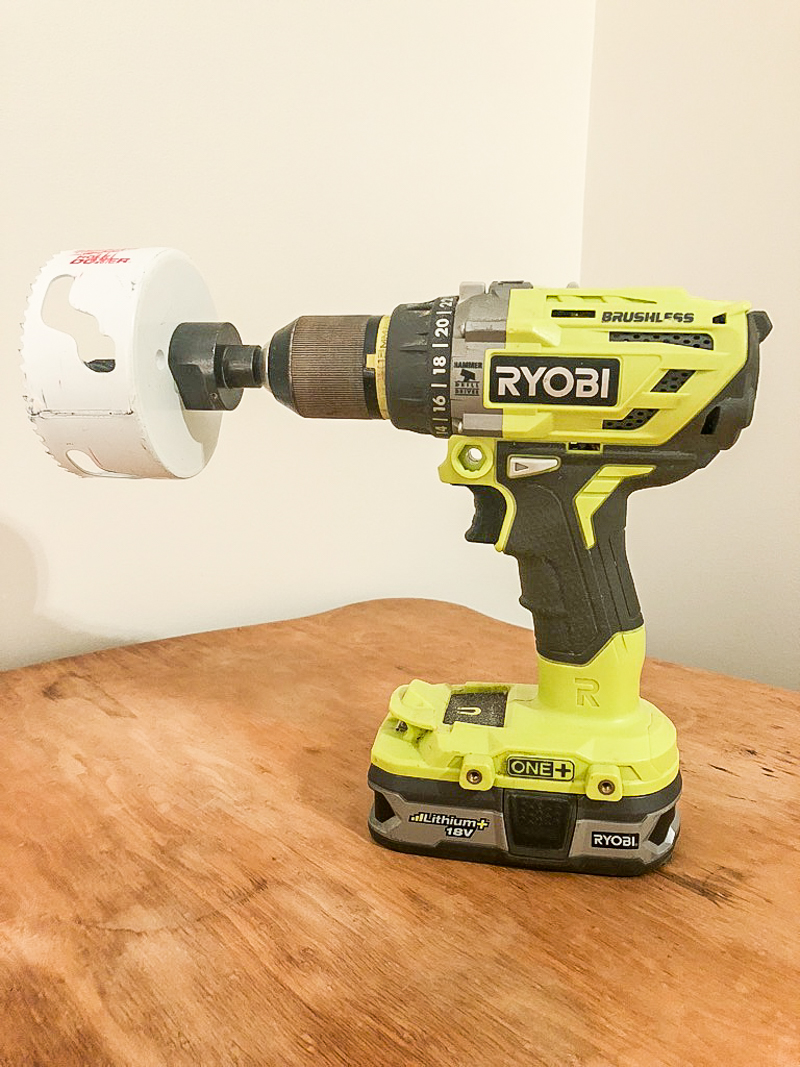
So wherever the center was marked is where the center of the drill bit goes. The hole dozer (it’s what ours is labeled) cuts way faster and cleaner than a manual hole saw.
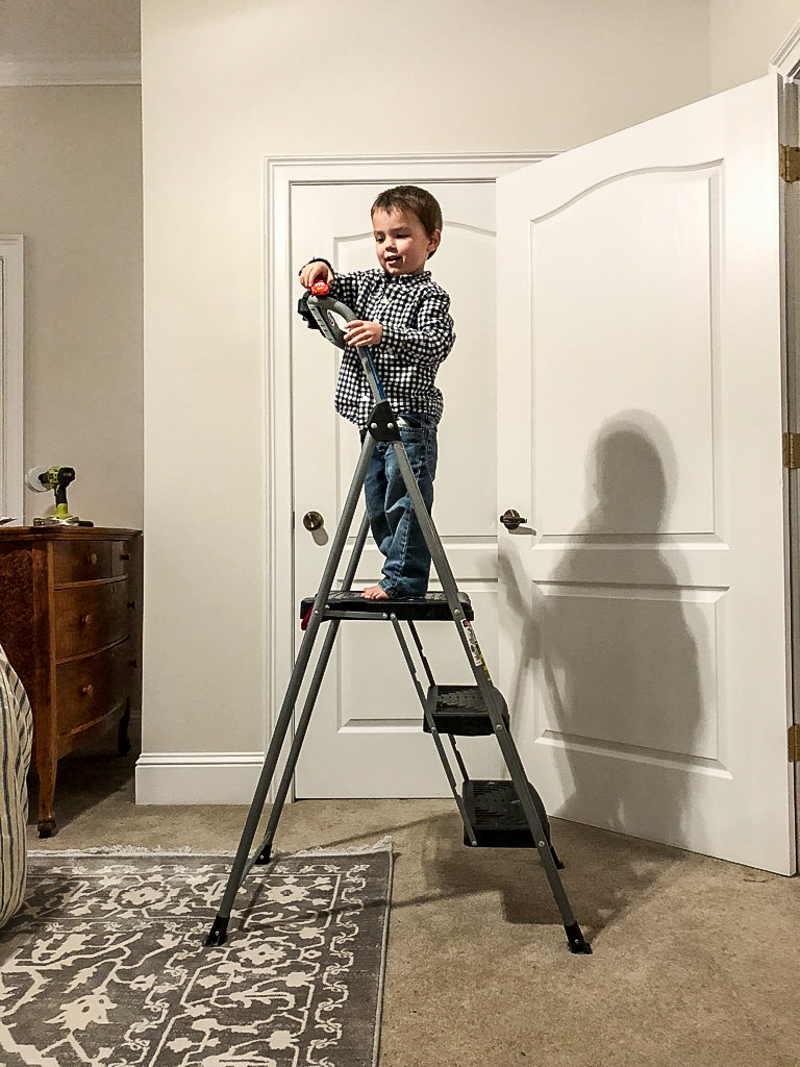
Someone constantly wants to be like daddy 🙂
The lighting can’t happen without wiring so basically you run a length of 12/2 from the center light hole to the first of the recessed light holes. I wish I had a photo of this but my phone died. Then you have a length of wire from each hole to the next in the chain (look to see the location chart again to see what we did).
There will be two wires in most hole locations. The chain goes like such….
- HOLE #1 (old boob light location) – wire from light switch (POWER SOURCE), wire to hole #2 (first recessed light)
- HOLE #2 – wire from hole #1, wire to hole #3
- HOLE #3 – wire from hole #2, wire to hole #4
- HOLE #4 – wire from hole #3, wire to hole #5
- HOLE #5 – wire from hole #4
Does all that make sense? It is linked together and can be traced back to a single light switch. And since all the lights are LED and use a lot less power, they won’t overload your breaker.
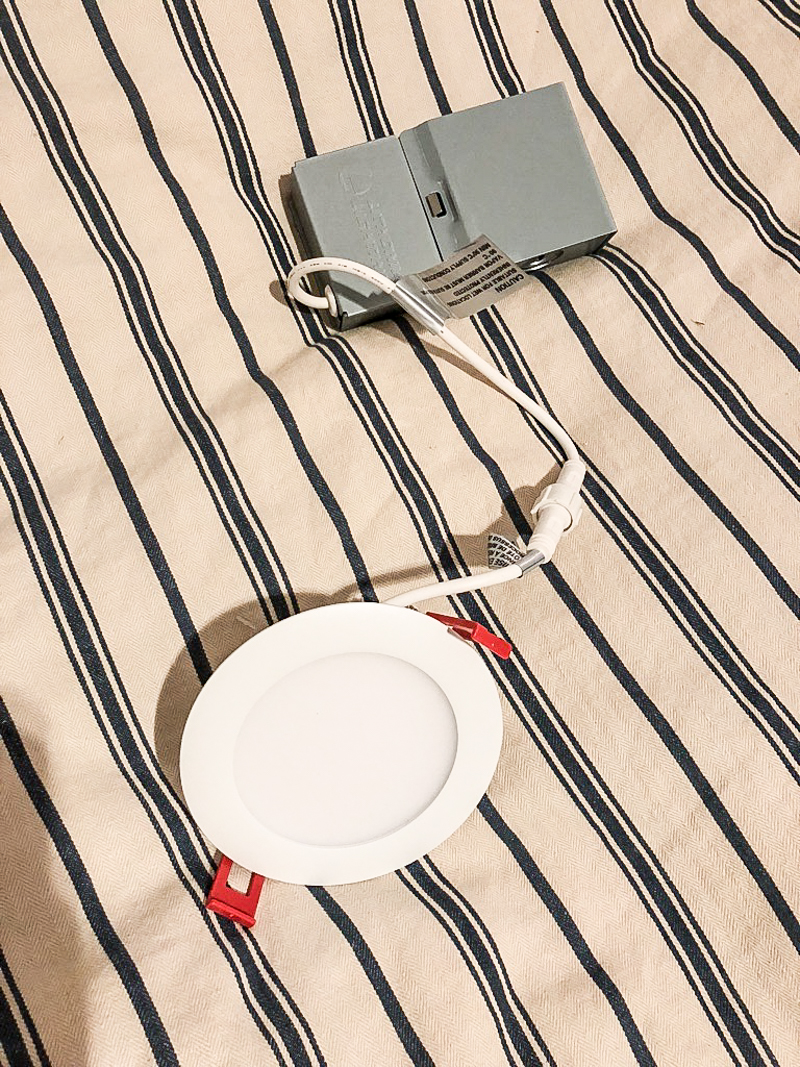
Basically once the wires are strung, they are connected in the metal box on the recessed light per the directions and then you use those red clips to keep the light portion clipped onto the ceiling.
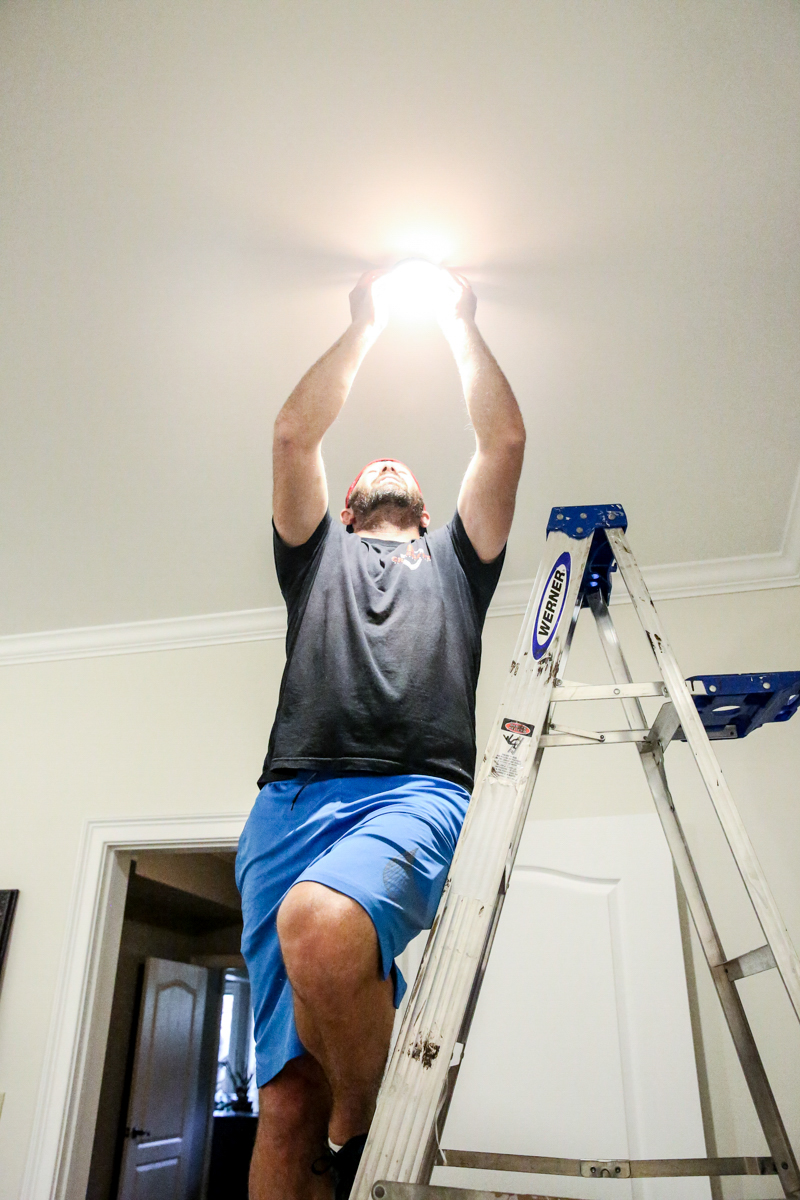
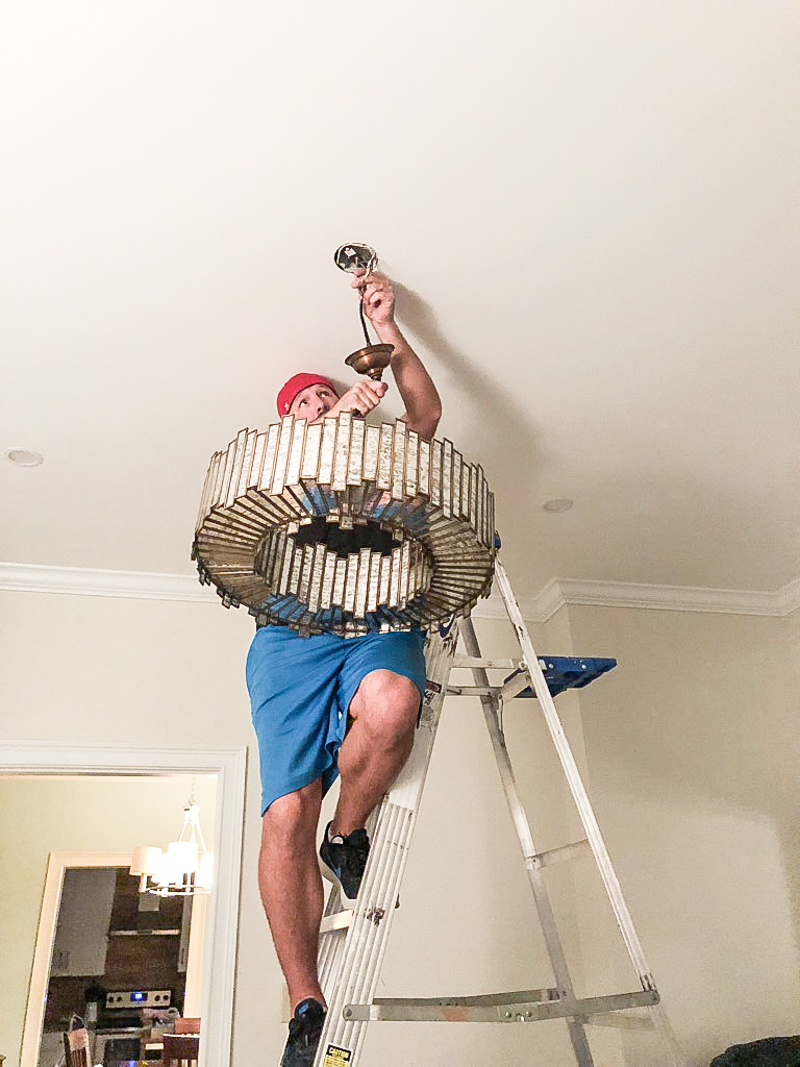
Jeremy also installed the light fixture at that time.
In the end, we had a MUCH brighter space and it goes to show that sometimes the smallest things (like more lights) can make a world of difference in making a room feel cleaner and brighter. Here is the room void of almost all the decor and it still feels super fresh just simply because the new lights!
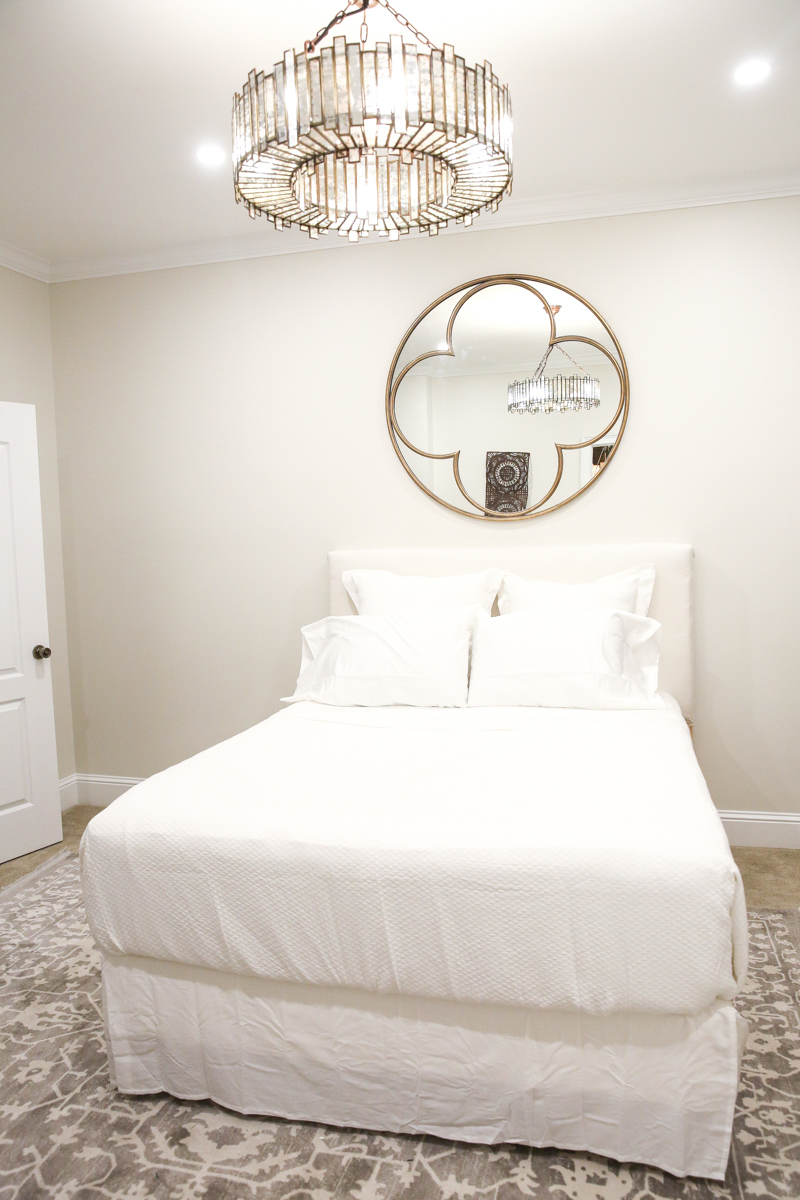
And because I know I will be asked a bazillion times….here are the sources for the items in the room….
- light – chandelier
- mirror – mirror
- rug – Joss & Main
- duvet & shams – striped bedding
- fur blanket –fur throw
- quilt – Target
- headboard – DIY
- blue pillows – blue pillow
- paint color – Sherwin Williams Classic Gray
Wow those lights make a huge difference! And I’m loving the new format of the blog when I view it on my phone with the latest post right at the top! Thanks!
Hi Katie!
I am thrilled you posted this project… This has been on my list for a long time! We’ve had quotes from electricians but haven’t pulled the trigger. They all seem to say it will be expensive, messy, lots of damage to the ceiling to repair, etc.
Two questions-
How did you connect the wire to the main central lighting fixture? Ours is a ceiling fan, but I’m assuming it doesn’t really matter. Just not sure where to connect the wires.
Also, did you run into any trouble running the wire to each hole? It seems like you’d run into studs at least in one direction. How did you get the wire from hole to hole without issues?
Thanks for giving me the courage to try it!
Looks great. Did you have to make any additional holes to get the wires through to meet up with each other?
Did you have to go through any joists to get the wires where they needed to be? How did that work?
Just saw your instastory about partnering with Abercrombie. Please tell me you don’t condone paying $60 for a pair of kids jeans. I didn’t want to leave this comment on Ella’s birth story post, but wasn’t sure how to let you know that I am dismayed that anyone would charge $60 for a pair of kids jeans, no matter how soft and long wearing. I guess if you have five kids that could all wear the same passed down pair you could maybe justify it, but…
I get that it’s not for everyone…trust me, I get it…but I also have four boys that clothing goes through. Also I am way more willing to pay more for items that are for photoshoots (which is how I treat this!) and that can be worn WAY more than once. Also – if you do invest more in clothing it usually means that you can consign it for more later. All that to say…it might not be for you but everyone spends money differently and if it’s not for you, thats cool but we shouldn’t shame people for doing it differently…we are better than that.
xo – kb
Our ceiling is dropped and it is attached to joists that we can go over so that is what we did here. In our first home, we did go through the ceiling joists and you use a extended flexible drill bit to create holes to force the wire through. It takes some finagling but its possible.
xo – kb
We had to create four holes (per the diagram) and then those were the only ones we did. Our joists are dropped for the ceiling so we could go OVER them instead of THRU them.
xo – kb