Man, my post titles just keep getting better and better.
Seriously…I could open up shop and pay some serious bills with genius like that. I could call it Katie’s Barrel of Puns. Or Play on My Words. Of course, I’d have to turn moms & toddlers away every day because they would think it’s a Bouncy House, or Bouncerama….or whatever they’re called…I have no idea…because I live in the middle of nowhere. all alone. with my puns.
Did I just make that awkward?
Sorry. Let’s forget that happened and just move on.
Earlier last week, I revealed my little living room switcheroo (oh don’t worry – if you didn’t like the original plan or the final result – it’s bound to change again soon)….but more importantly, I showed ya some new homemade pillow covers.
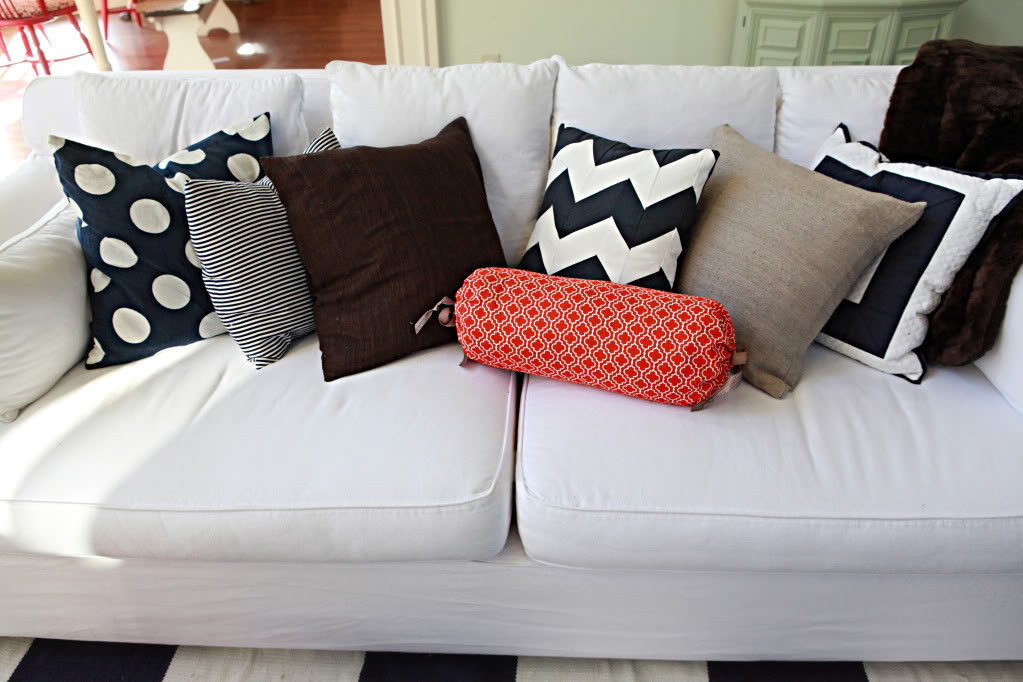
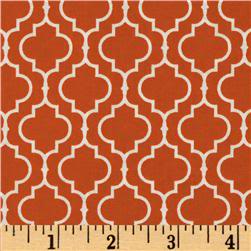
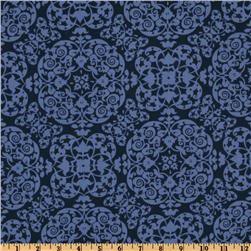
First let’s just get it out of the way – the two fabrics that I was talking about using for this space were as follows: The orange one is Metro Living Tile Orange and the navy is Michael Miller Secret Garden Vintage Ironwork Midnite . When they arrived in the mail, I was pleasantly surprised. For one – the orange was smaller than my little scale-in-my-head imagined but I needed a smaller scale pattern so it all worked out. The blue one was fantastic – so fantastic that it made the other fabrics look not-so-fantastic…so I am planning on using it in a different space…a fantastic one. How’s that for overplaying a word.
The bolster pillow insert was from an old Walmart pillow I had in our new luxurous sleeping bag closet (to get on the inside of that joke – watch the video at the end of this post)….but I know they sell them at Ikea for cheap too…and the other chevron pillow insert is just a standard 16″ square pillow…nothing fancy here at Casa de la Bower.
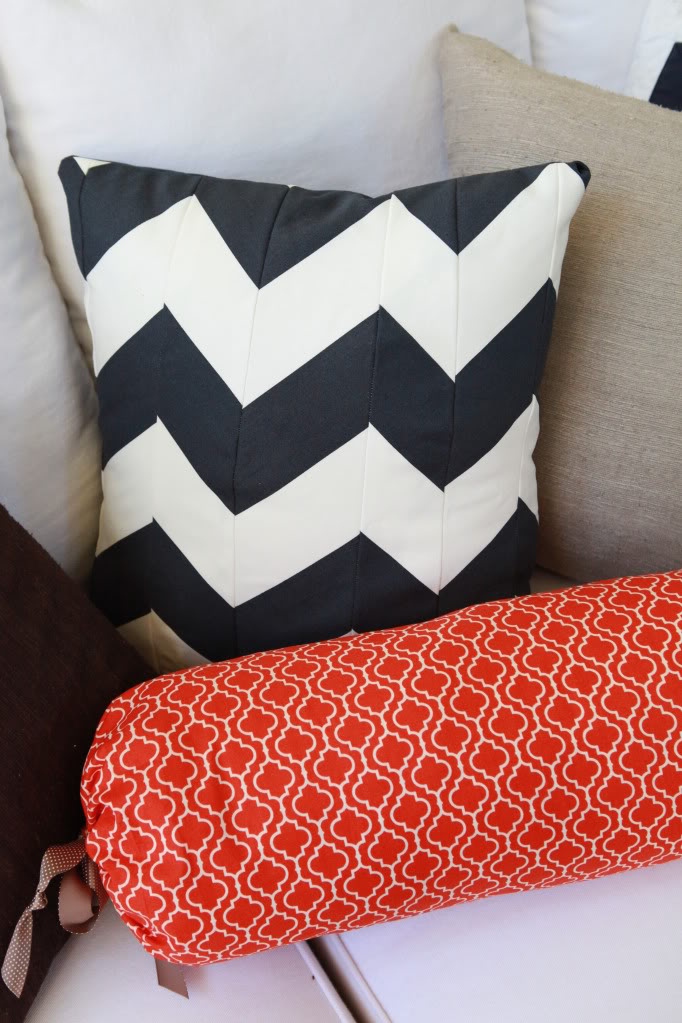
At bat is the chevron pillow. Whenever I make pillow covers, my easiest and fastest way is to make a pocket pillow – it’s three pieces…the front and then two back pieces that overlap…creating a pocket for the pillow to slip into.
I looked online for a couple chevron pillows…but they were all $20 plus…which isn’t really that bad. But I had this old navy & white striped fabric (it’s way old – I even used it on a chair ages ago…but Ikea sells something exactly like it now)
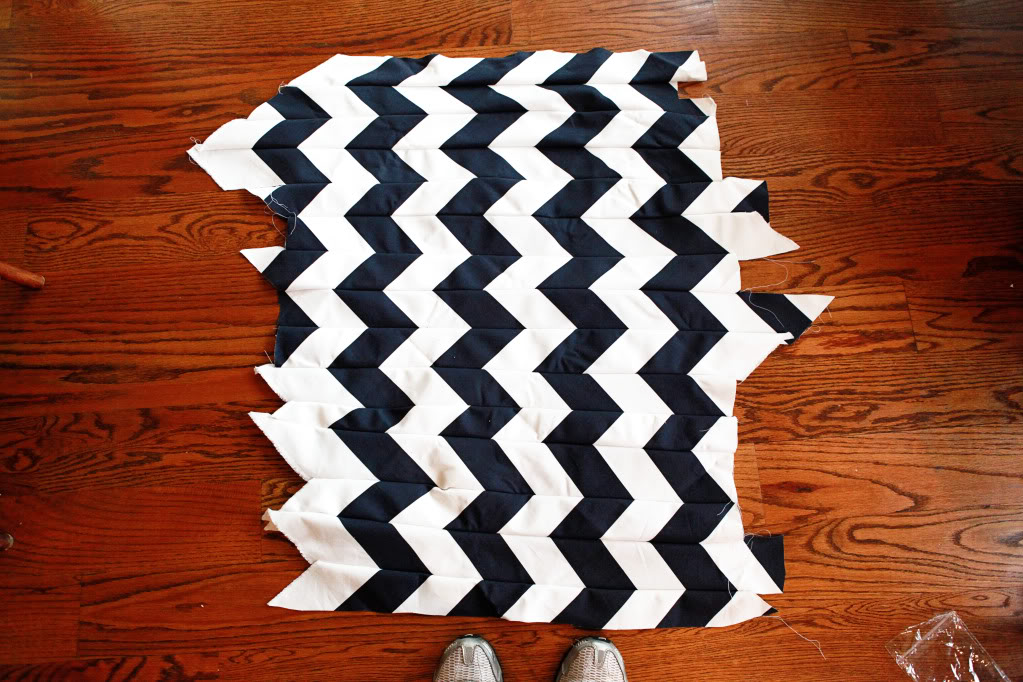
I cut the strips at an angle so that I could get those zigzags…it’s important to do it in opposite angles…
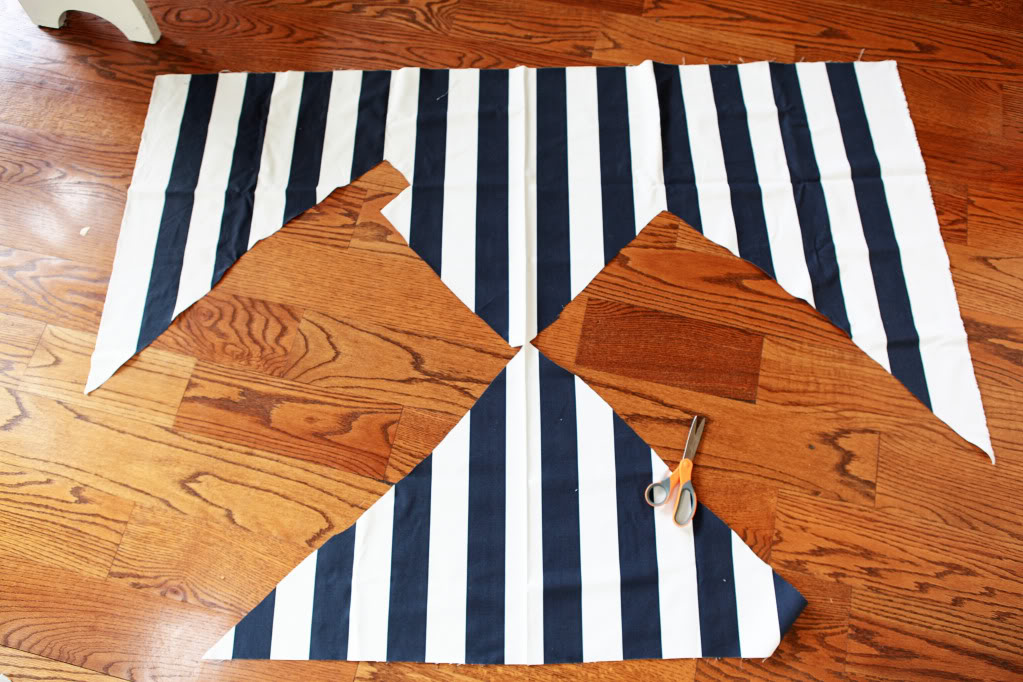
So now that I have my strips (if I was a good seamstress they would have been even 3″ but I am not a good seamstress so I just eyeballed it).
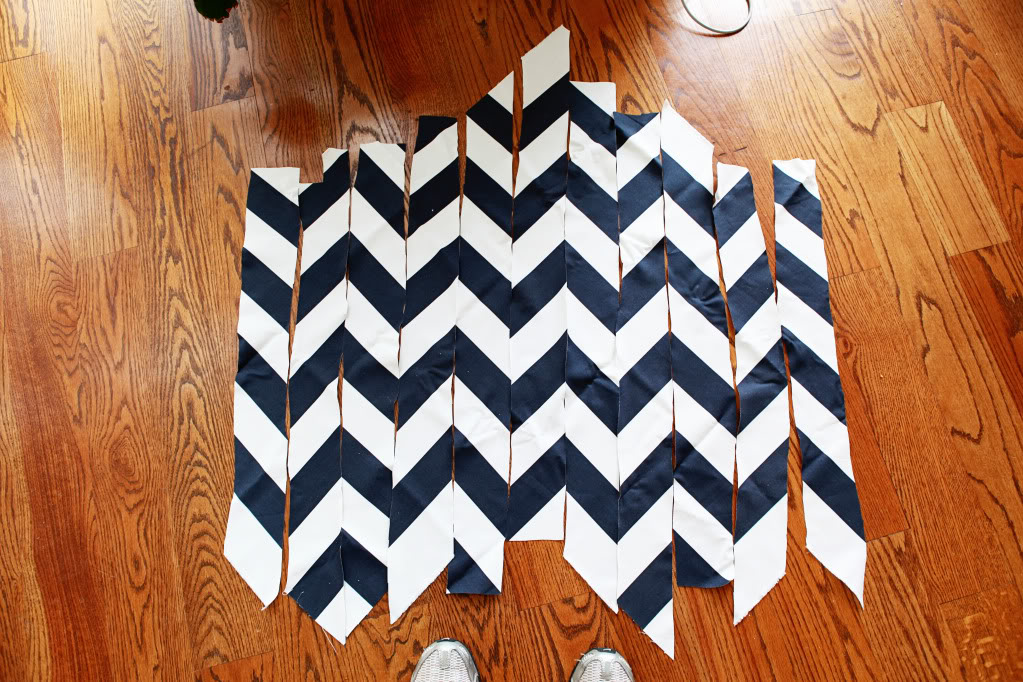
Okay – line up the faces together with the stripes together and then seam.
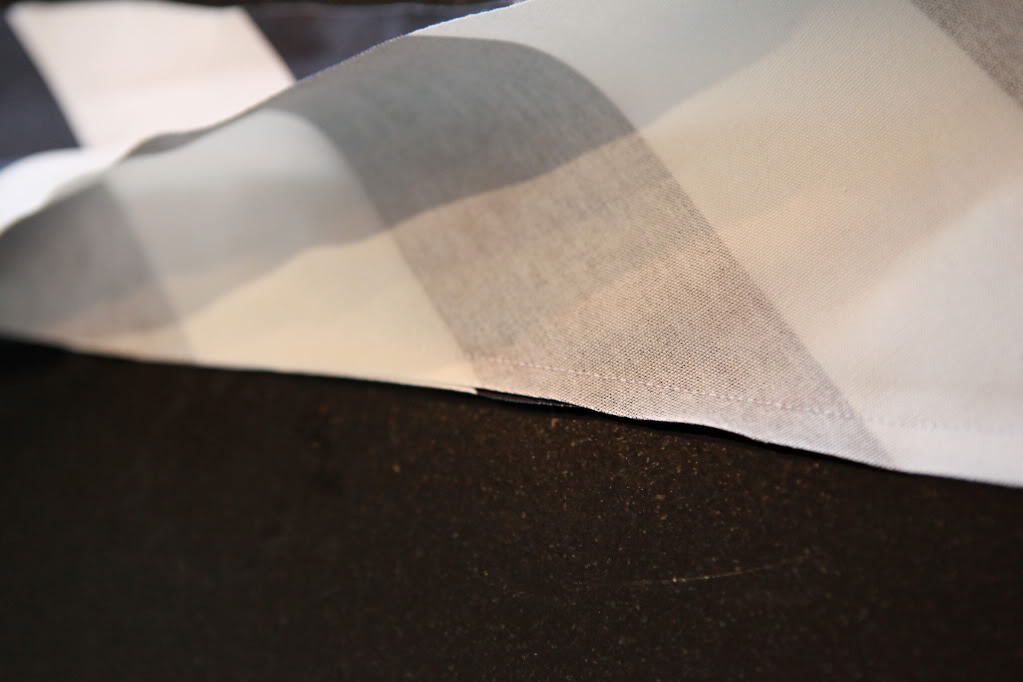
If I was a good seamstress now I would have ironed it. But like I said…not a good seamstress…and I have no idea where the iron is in this house. I’m thankful that I can find toilet paper. And when I say ‘find’ – I mean, shimmyshake over the potty till I can waddle to it with my drawers around my ankles.
TMI, huh?
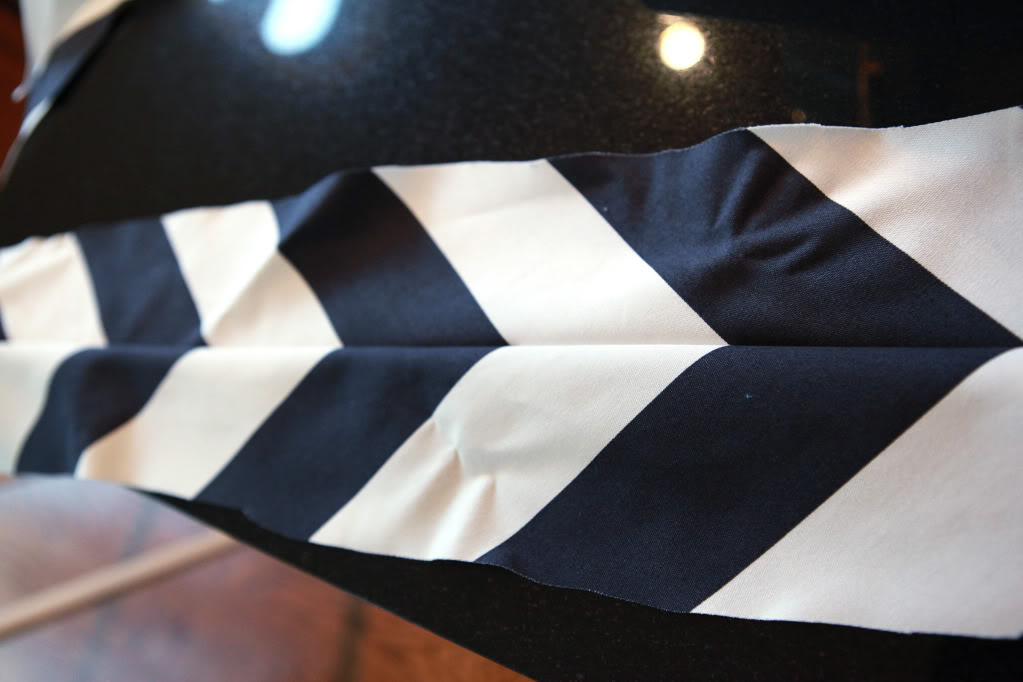
After they are all sewn together, you will have something like this. This pieces was actually long enough to make either one long lumbar pillow or two throw pillows.
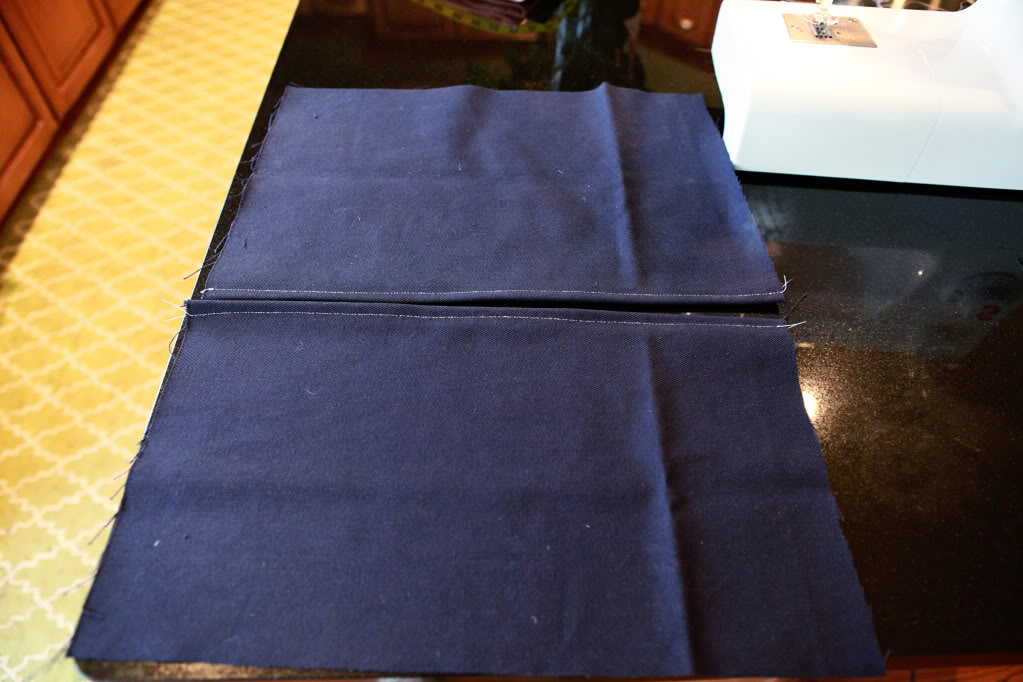
Then I made the backs – they were just made from simple navy fabric. See how I folded and hemmed one end? Those are the overlapping edges….I overlap them at least 5 inches just to be sure that it covers the entire back of the pillow insert.
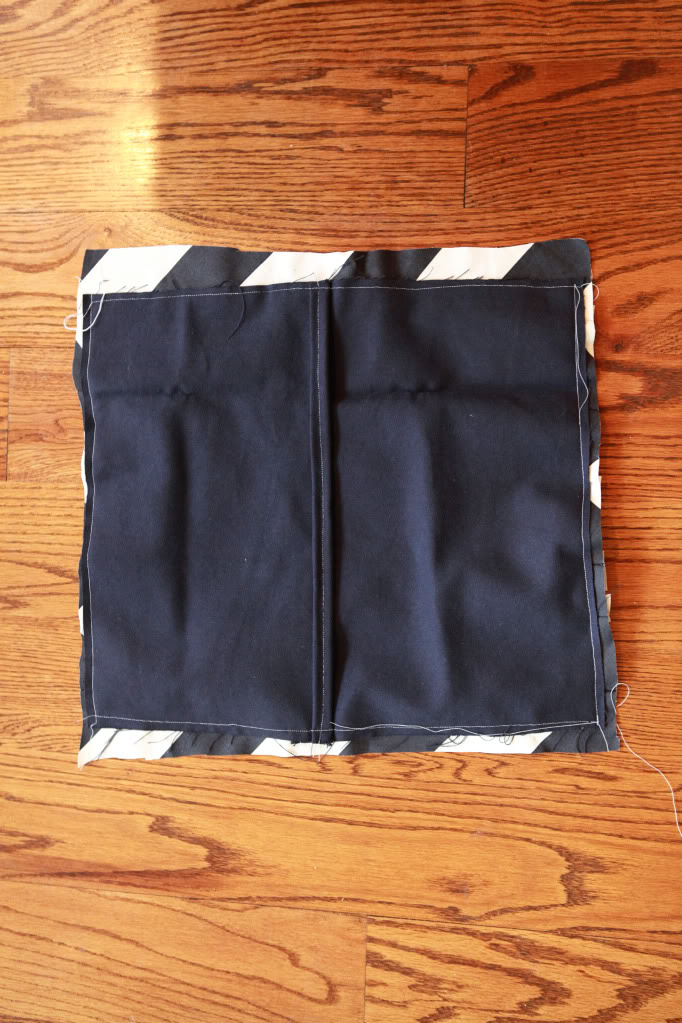
So you put all three pieces right side in….and sew all around the perimeter. Turn right side out and your done!
Next up is the bolster pillow….the little orange one….

Here are some instructions….
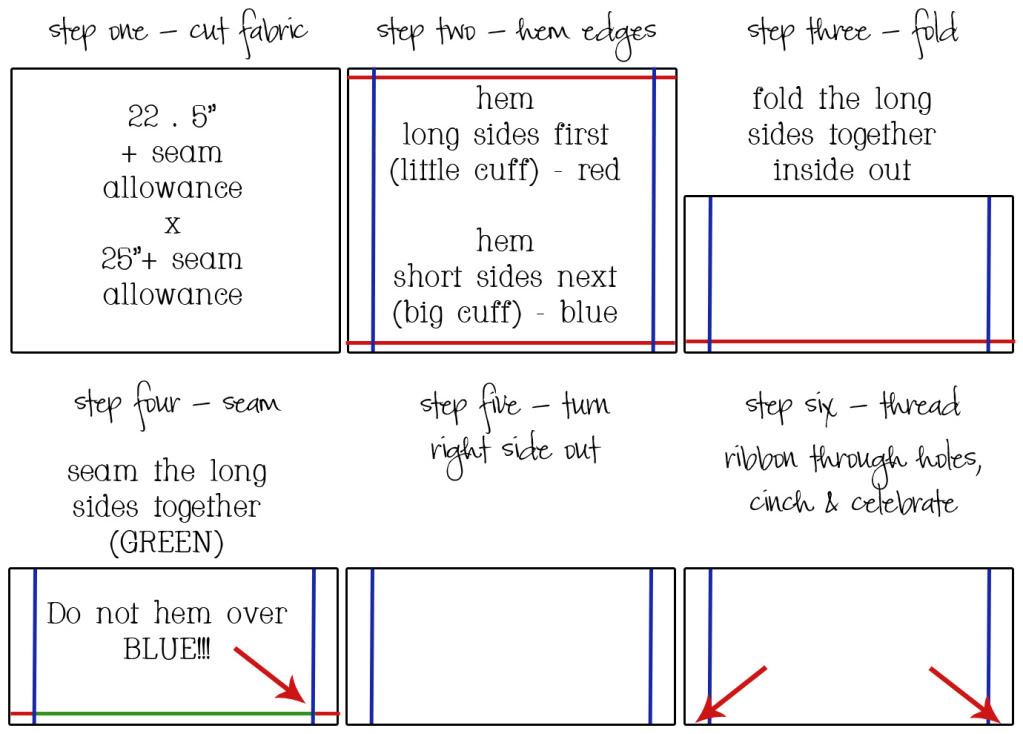
This is what your fabric looks like after step 2….
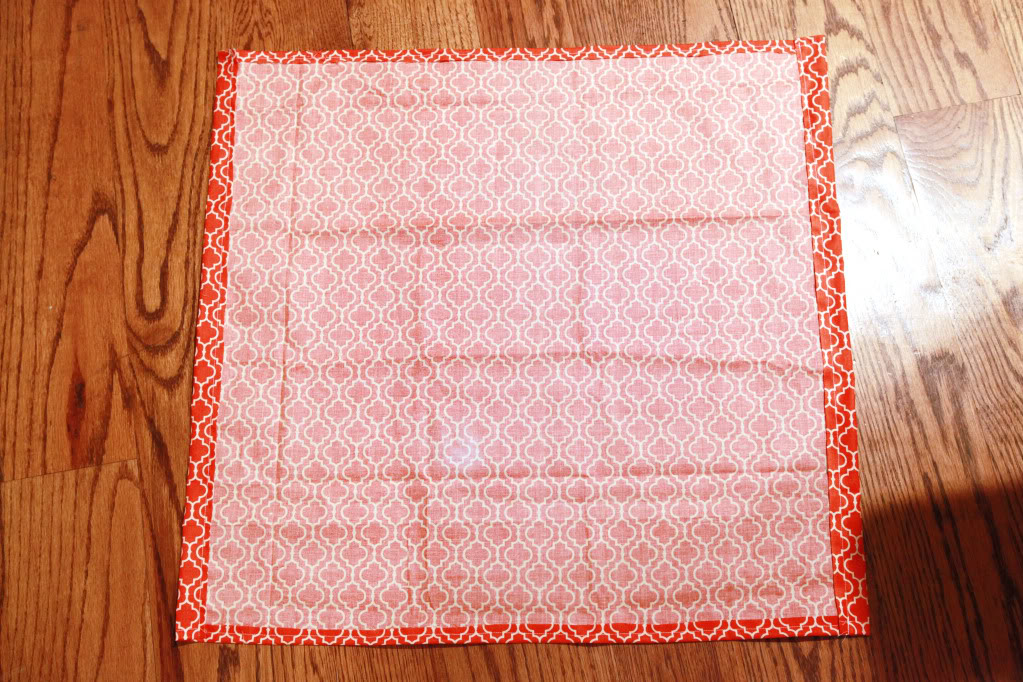
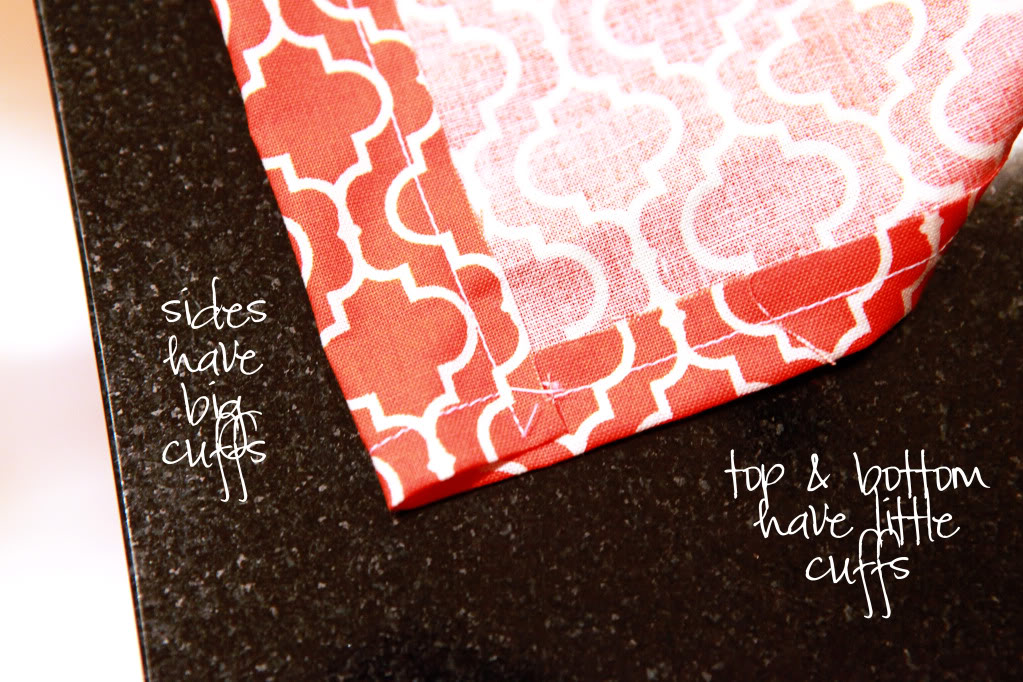
And this is what it looks like close up –
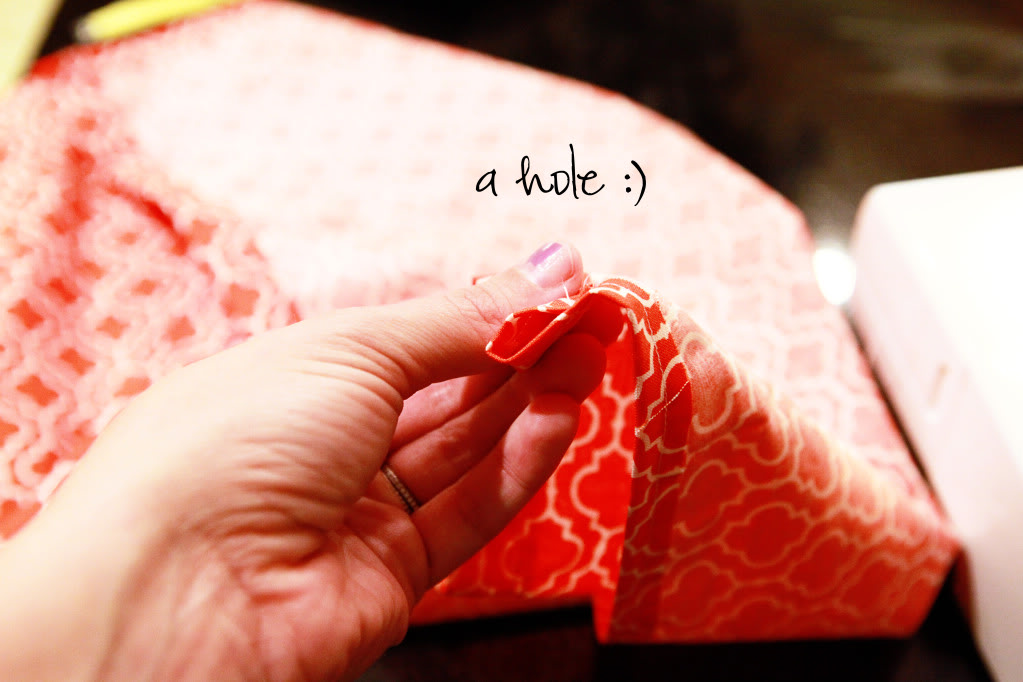
And here is the hole that you are gonna put your ribbon through…
After you have done step 4, it’s time to thread your ribbon through….I use an extra long hair bobby pin to thread stuff through tight holes…
that sounds gross…sorry for the gutter-brain.
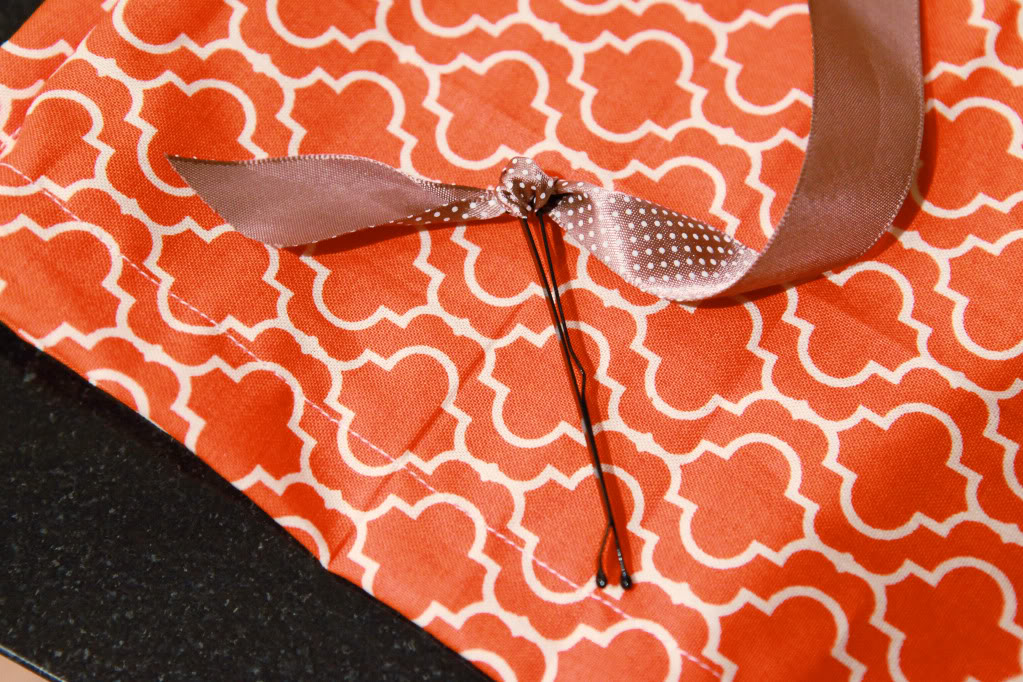
And there it is – two easy pillows tutorials.

Have you guys been pillow-crafting lately? Any fabric.com shoppers? Bolster lovahs? How bout chevron? What is your current fabric affair? I’m just glad that I can make cheap pillow covers because I have somewhat of a problem with collecting them. Of course, that isn’t my only problem. Of course, you already know that 🙂
Wow those are really nice and that process looks pretty simple. Maybe I’ll make a bed full of pillows like from “along came Polly.”
I’ve been browsing the selection from fabric.com and hoping to find something nice so I can make some curtains for the living room. Any extra fabric we have will be used on pillows so this tutorial is awesome! Thanks, Katie!
Thanks for sharing this tutorial! I’ve been looking at fabric.com for a fun graphic pattern to make curtains for our office . . . but I might move on to making pillows instead now 🙂
I love the chevron pillow! And that’s a great trick for making the back of the square pillow so you can change the covers… I’ve never tried that. I always just sew the pillow into the cover and end up stuck with it!
I love the orange pattern! We had a very graphic pattern on our previous couch so I had plain-ish pillows but our new couch is pretty plain so I need some bold colors and patterns to liven things up!
Thank you for the tutorial, I never would have thought to make chevron like that. I recently made chevron curtains for the Playroom by painting on the stripes. A lot more messy! http://oneprojectatatime.blogspot.com/2011/10/85-painting-chevron-curtains.html
Katie– I love the tutorial! I was looking at the original post of the chevron pillow the other day trying to figure out how you did that, but my brain turned to jello and I had to give up. I love that you just eyeballed it — that’s the way I sew too!
Thanks for the tutorial! I have purchased fabric to make pillows for our living room couch but haven’t had time to tackle them yet. I bought zippers thinking I would try to make zippered covers (have you ever made those?) My mom tells me it’s really hard and I should try the overlapping pleat at the back like your chevron pillow so thanks for the tips!
OK, your post title made me snort with laughter! Seriously…it was embarrassing! Anyway, I love your new pillows! Creating the chevron from stripes = genius!
I sewed a couple pillows last week:
http://thejunkhouse.blogspot.com/2011/11/bird-is-word.html
I got some samples from fabric.com a while back when I was trying to get brave and have slipcovers made for our sofas. Big $$$ equlas a nervous me! Still. Haven’t pulled the trigger on it. The selection there is awesome though!
Love your pillows!! And tutorial makes the bolster pillow see easy enough. I’ve got a couple pretty pillows on my Christmas list but if we don’t appear under the tree I’ll probably be making a few of my own after the holidays!
So cute! Next time I make it to Ikea, I think I’ll be buying a pillow form or 10 🙂
Totally impressed that you MADE the chevron pattern!
just did a few pillows myself with a little fabric.com fabric. but I totally cheated and had my mom behind the sewing machine. take a peek and i’ll let her know what you think!
http://casabraaflat.blogspot.com/2011/11/frill.html
by the way you are a genious making that chevon pillow like you did. but you probably already knew that!
Thanks for the tutorial. I love chevron! I was originally going to paint but this seems simple enough even for me!
– Diana
Dang it, I can’t sew!
Thank you! One of those will happen at my house soon.
Oooooh … I didn’t notice last time that you’d made the chevron pattern with strips. Fancy! I love the touch the seams add. 🙂 Thanks for the tutorial!
I second that!
Oh wow! I didn’t realize you made the chevron pattern- I thought the fabric was already printed that way- so COOL! Stealing it! ;o)
I just posted my sort-of-tutorial about making a bolster with piping.
http://chictweaksalterations.com/2011/11/28/sewing-and-crafts-making-a-bolster-pillow-with-piping/
But, I think I like your version better. I like how the ends are more rounded-plus the addition of the ribbon is too cute. I’m definitely going to try this version next time.
Hope you had a lovely Thanksgiving! Thanks for sharing!
Thanks for the tutorial! Seems a whole bunch easier than the pattern I picked up at JoAnn’s… that’s still sitting in a to-do bin. 🙂
Funny that you ask, because YES, I have been reinventing my household pillows lately. I’m glad I’m not the only one who doesn’t want to use a zipper… Or an iron.
http://riotandfrolic.typepad.com/blog/2011/11/pillow-talk.html
I love it! Thanks for the tutorial!
I cheated and bought some new pillows this weekend. Haha. I am awed that you made the chevron pillow from the stripes. Your such a creative girl!
Oh and btw, I am lovin’ the new header!!!!
OMG i love those pillows!! chevron is awesome!
Totally love the green header! Way to keep things fresh and interesting!!!
TMI a couple times 🙁
Thanks for the tutorial. The pillows are so darn cute. Now if I can only get past my fear of sewing!
I really love the texture on the chevron pillows… makes them way more unique than if you had just bought them! And I like your new header…I was wondering what was going on this weekend!
Ohhh, LOVE! Thanks for the tutorial, it’s actually really easy isn’t it? I think I will be making some pillows soon! 😉
oh and I”m a n00b to sewing so this’ll be interesting!
Katie, I love your idea for the striped fabric turned chevron! The pillows turned out so cute. Now if I could just get my machine to cooperate…
Great tutorials — Thanks!! I just ordered supplies to make some throw pillows in a meaningful print (my BF’s “family plaid” — they’re very Scottish on his mother’s side, but trust me, McIver plaid is hard to find!) and this is great inspiration. 🙂
Love the pillows. Matching up all the stripes seems like it would be tricky. I tried my hand at a sewing machine this weekend while making this pillow.
http://a-can-do-attitude.blogspot.com/2011/11/christmas-present-more-than-year-in.html
Love the new header!
So awesome Katie!
Keep on sewing..
Got your note, laughed my bootie off. When you’re ready for the fabric for *that* project, you let me know.
xo
Sandi
Oh Sandi – you’ll be the first 🙂 I lovingly stroke the swatch everyday!
xo – kb
I totally dig it!! And don’t worry EVERYONE has made the waddle of shame!!
Thanks for the pocket pillow tutorial! I never realized how easy that could be! And I’m making new pillows for the couch right now. Great timing!