Operation Heart of the Home : Hood Prep Edition (not to be confused with the rapper style of Preppy in the Hood)
One of the biggest challenges in the kitchen was trying to figure out how to do a hood over the stove top. The existing stove top has a down draft ventilation system which doesn’t work very well. And since steam goes up, we figured that we should befriend Mr. Science and go with the flow (literally).
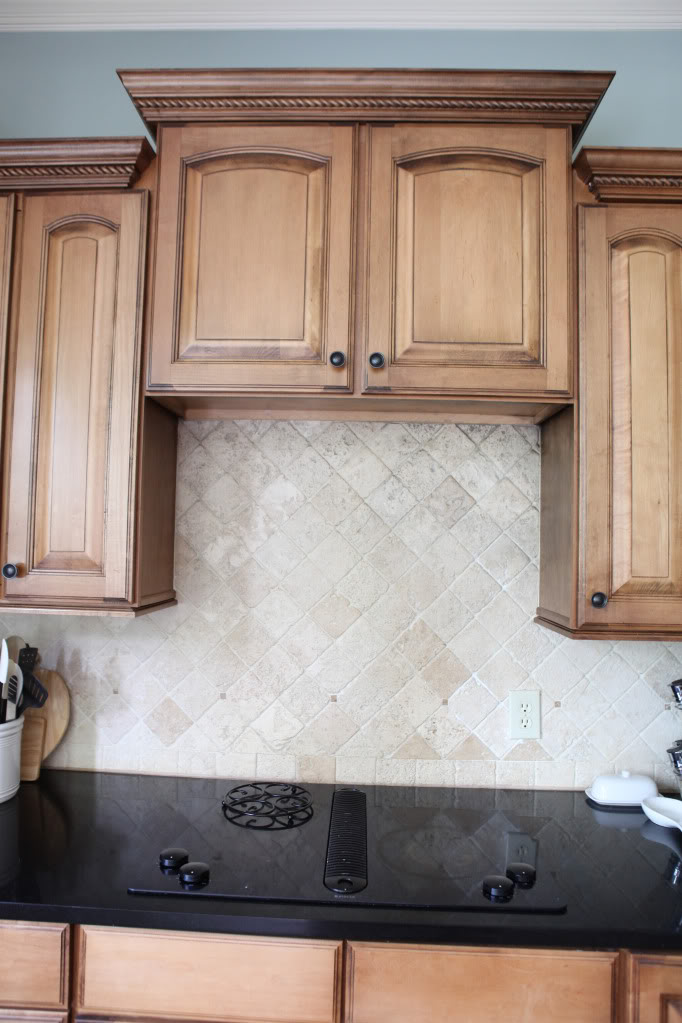
After we removed the overhead cabinet, we started brainstorming ways to get an overhead hood without having too much trouble (aka work….aka we are lazy bums). We thought of a bunch of different options but in the end we found the simplest one was the best for us. Here’s what we wanted:
- no bulkhead
- vented hood
- built in cabinetry look for around and above the hood
The real problem was this: What the heck would we do with the ductwork?!
Jer suggested that we run the ductwork into the wall and then down through the studs to the existing vent. No bulkhead? check. Vented hood? semi-check….I felt like that would be ineffective…remember Mr. Science?! Instead of going down, we thought of a way to go straight up and then out to the left to the exterior wall. Did we have room in the floor above? No.
If it went above the current cabinetry and left the ductwork in the kitchen, it would mean a bulkhead. That left us with one option…going through. At first it sounded crazier than wiping out the national debt….but the more we brainstormed, we realized that if we could go through the wall, the ductwork would enter the laundry room…which has room for a bulkhead above the current cabinetry in that room. Oh yeah. We ate a bucket of cookie dough ice cream to congratulate ourselves for our genius brains. Not a joke.
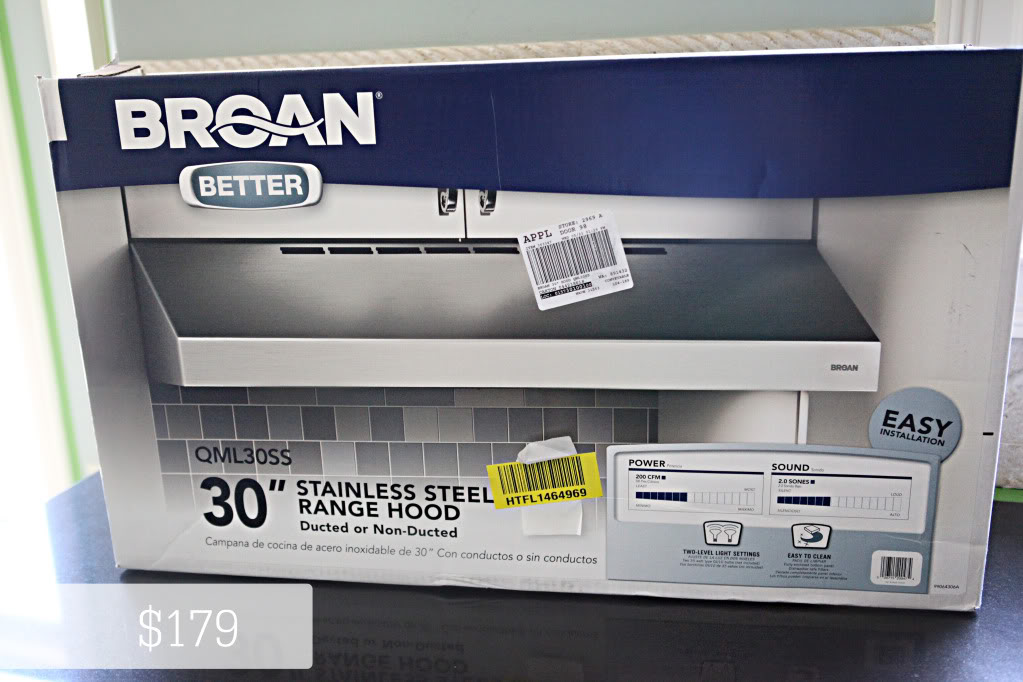
Like I mentioned before, we chose the Broan ducted or non-ducted range hood. We actually went with the 30″ range hood even though we had room for the 36″ because we wanted to have room around it to build the ‘cabinetry’. Then came the time to figure it all out. We first researched the distance that it would need to be from the stovetop. A lot of people recommended 28″ for maximum venting….some went as high as 36″. We decided that we probably would like to be no higher than 30″ so we had some demo to do…
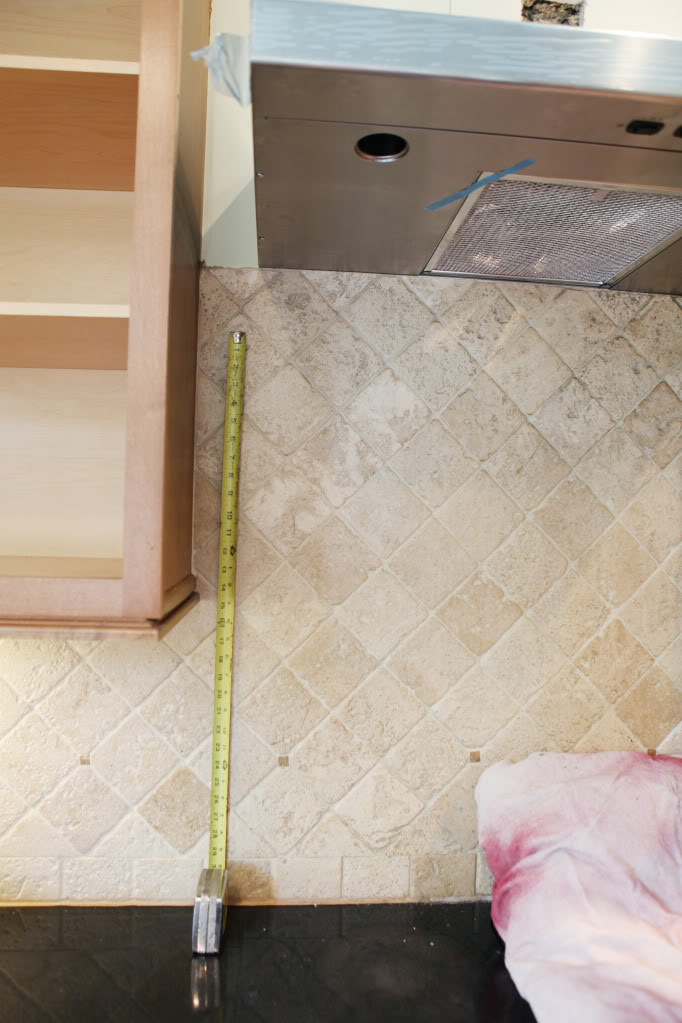
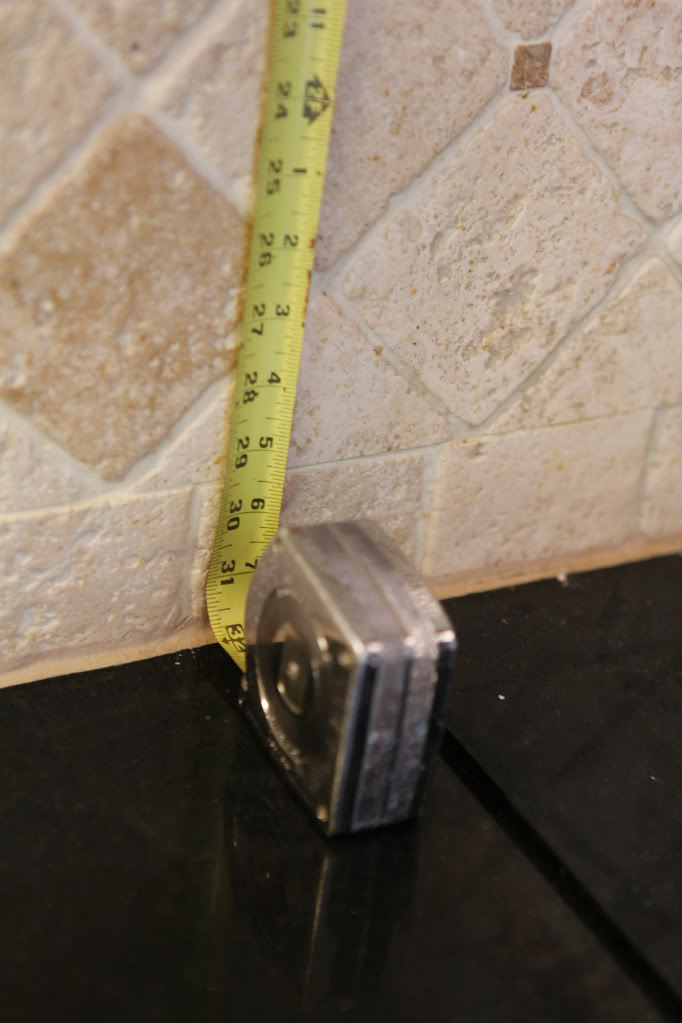
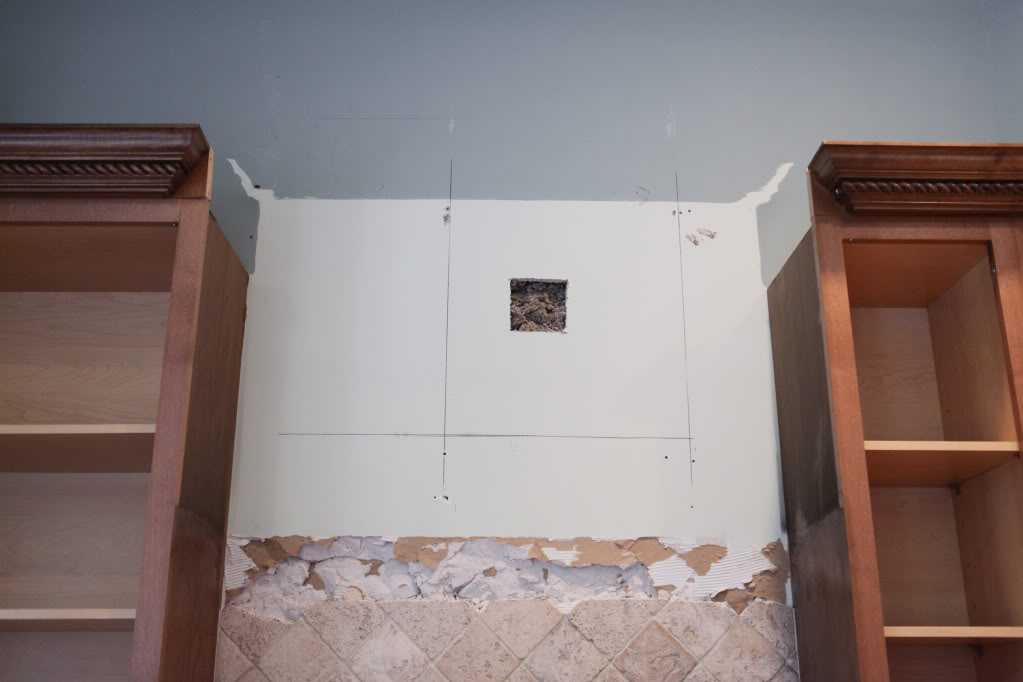
We marked the spot where we wanted the tile out…
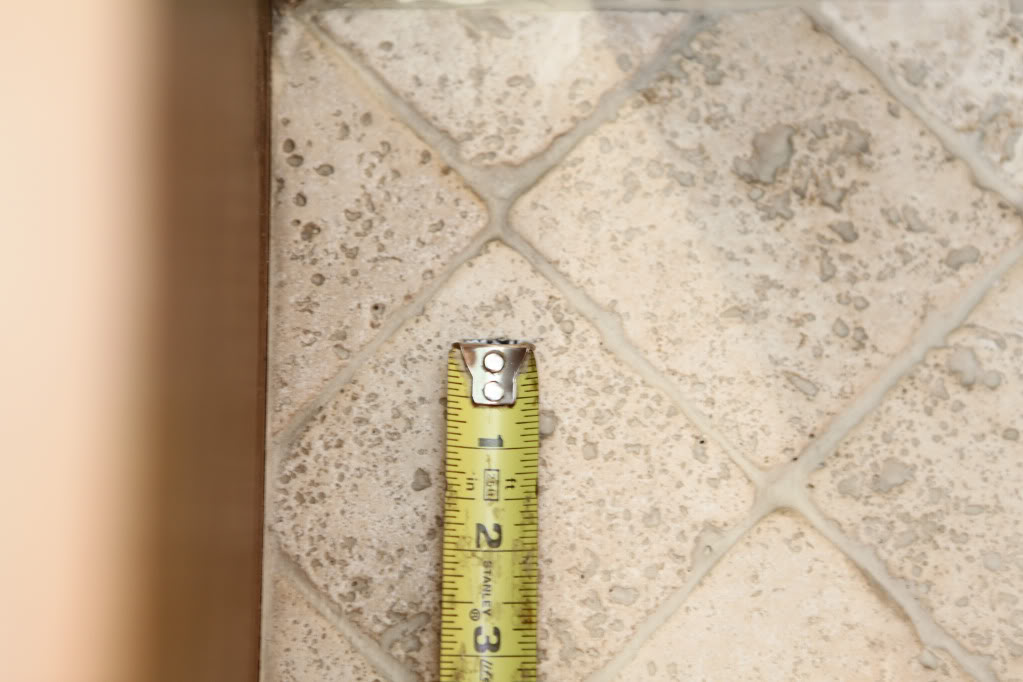
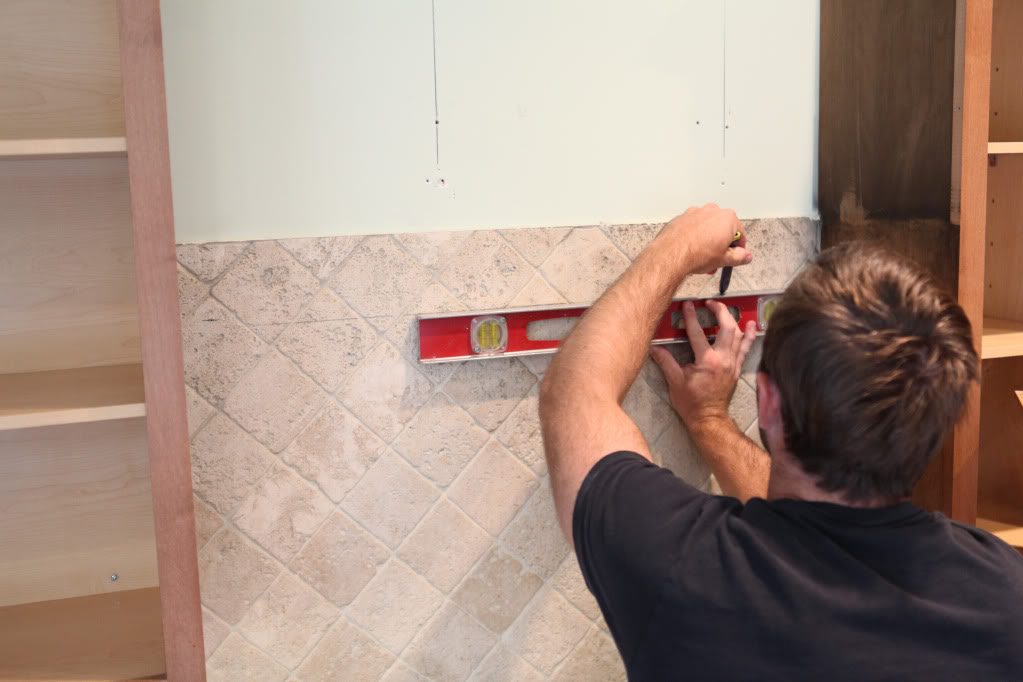
And Jer penciled across the tile so that we could knock it outta here…
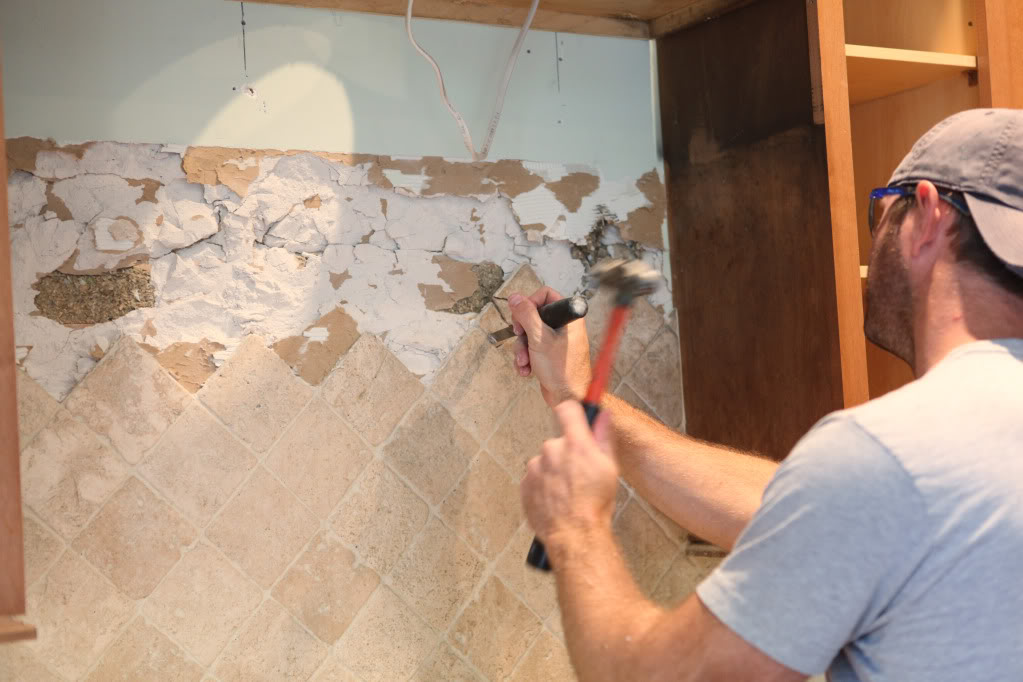
A day or so later (yes, we are just like you guys with busy lives so we squeeze in an hour here or there…hence…we might get a prize for longest kitchen remodel ever), we decide to chisel out the tile. We scored those beauties first and then just bang bang bang. Insert dirty joke here.
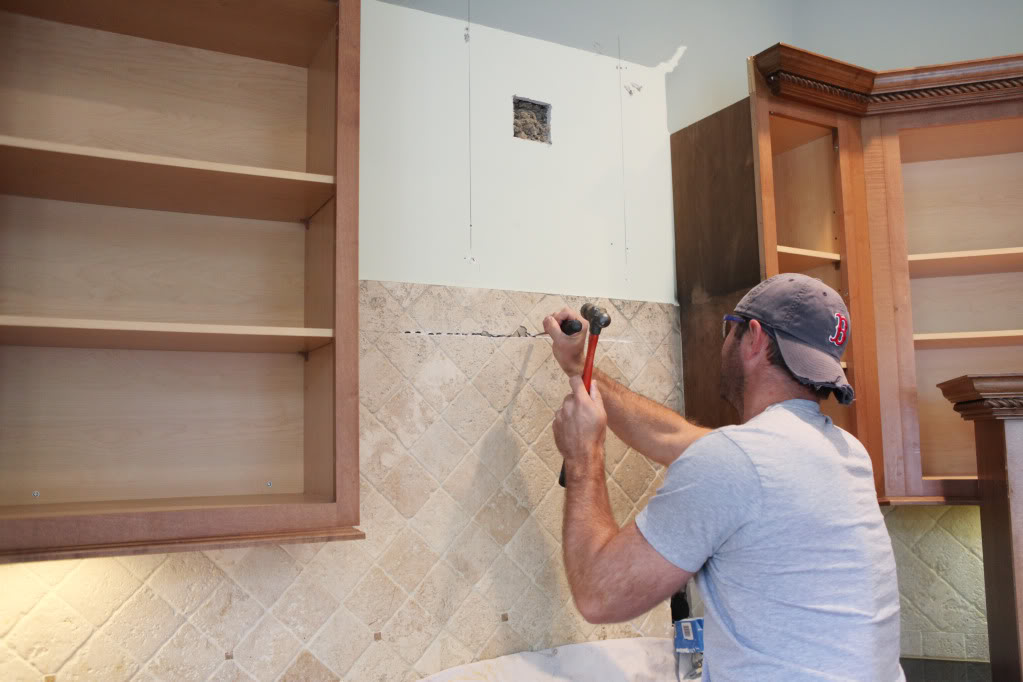
Apparently the tile didn’t want to be removed. So that led us to the next assumption…we are gonna have to do some tiling IMMEDIATELY after the cabinets are painted. And with some tiling comes some redrywalling. joy.
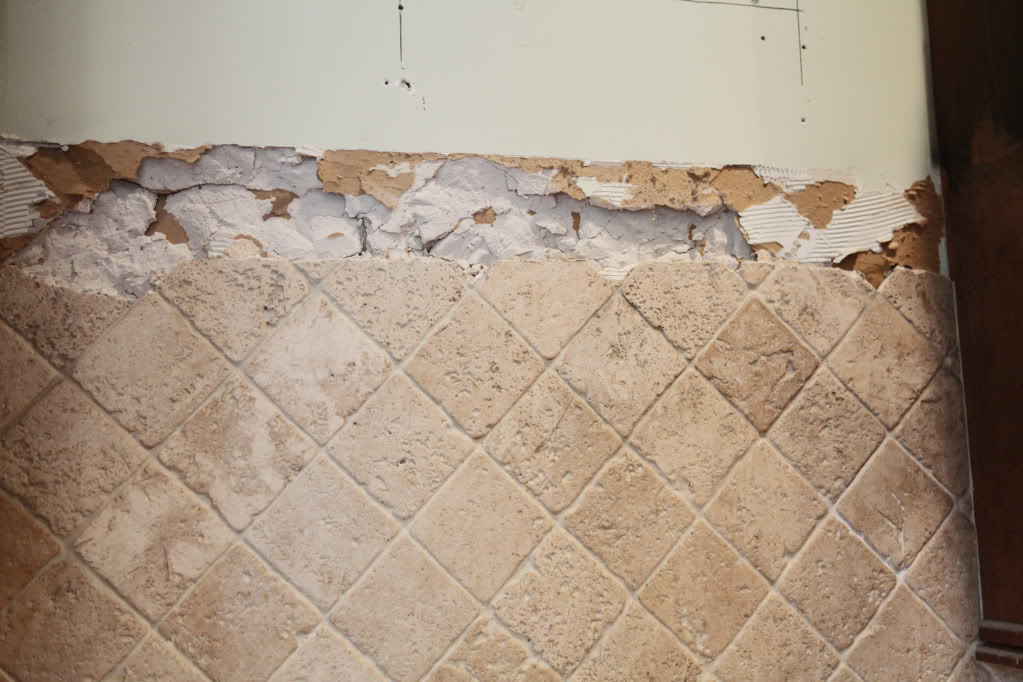
You may have noticed that little square hole. We figured that it was probably a safe bet to cut a hole in the drywall (later to be covered by the hood cabinet) to check for any random pipes or stray electrical lines. What did we find?
Insulation.
Yup…this house of ours apparently has insulation on interior walls. Which normally I would say, wow…good job Napolean for making this house a little more sound proof!…but in this case I said “ARE YOU FREAKING KIDDING ME!?” followed by a choice word or two. Yeah. Thanks Napolean for making this house a little more of a headache for a pregnant girl.
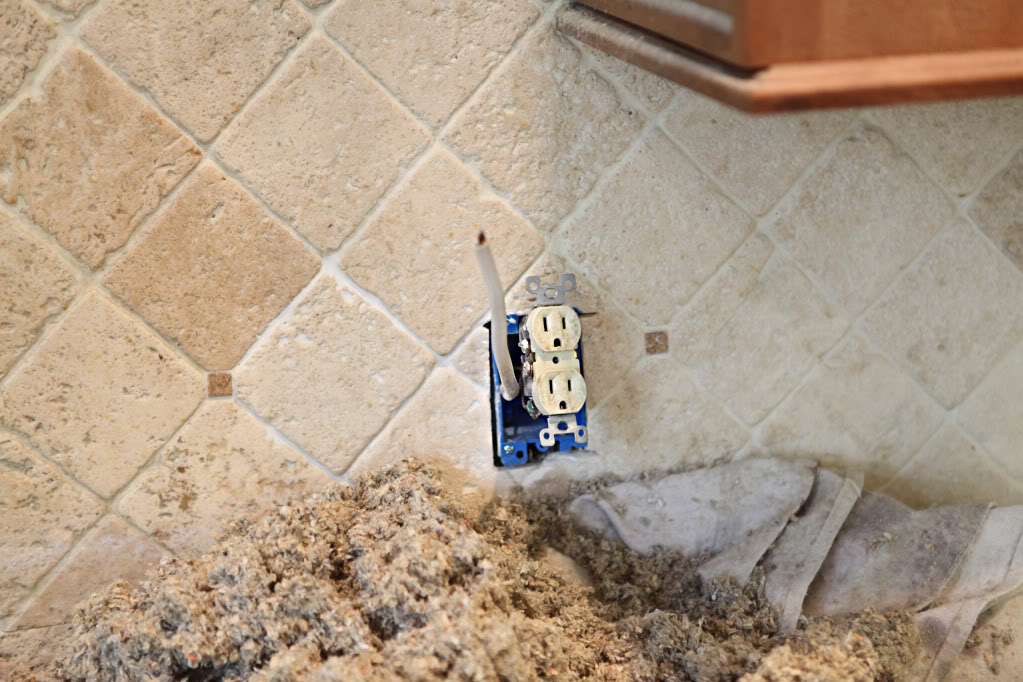
Okay…now fast forward a day or so…past my complete and utter frustration about the insulation thing…we knew that we would need to run electricity to the hood…put a little Bower Power in the hood per se (I’ve been dying to say that!)…so Jer checked out the nearest outlet to see how everything connected.
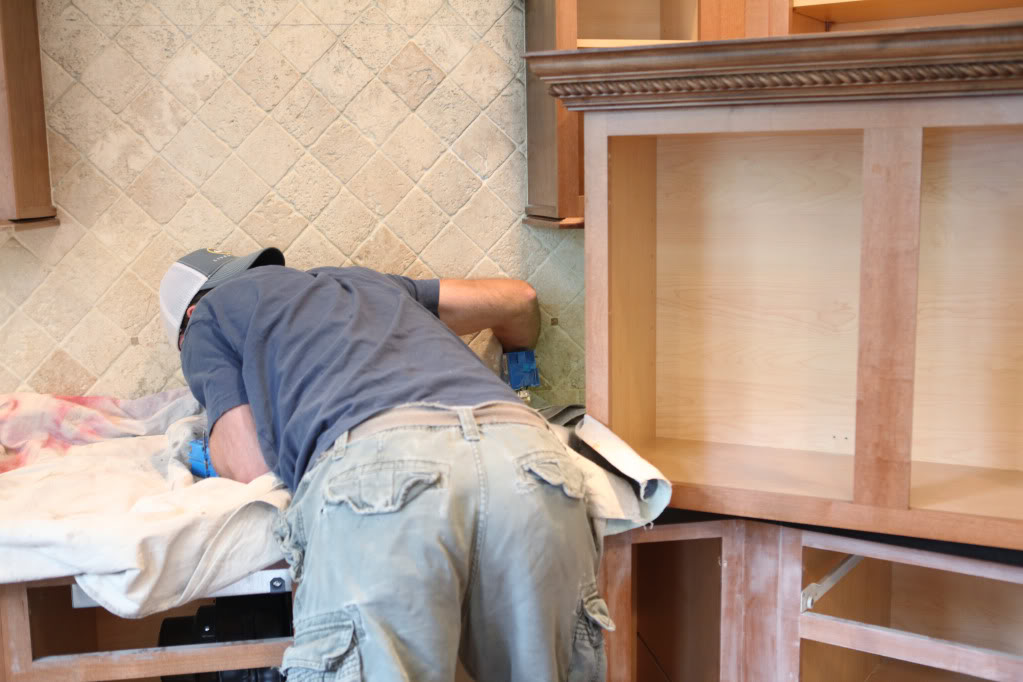
You’re welcome 🙂
And in the end, we decided that we would have to remove the insulation entirely from where the ductwork goes through the wall. So we cut a bigger hole.
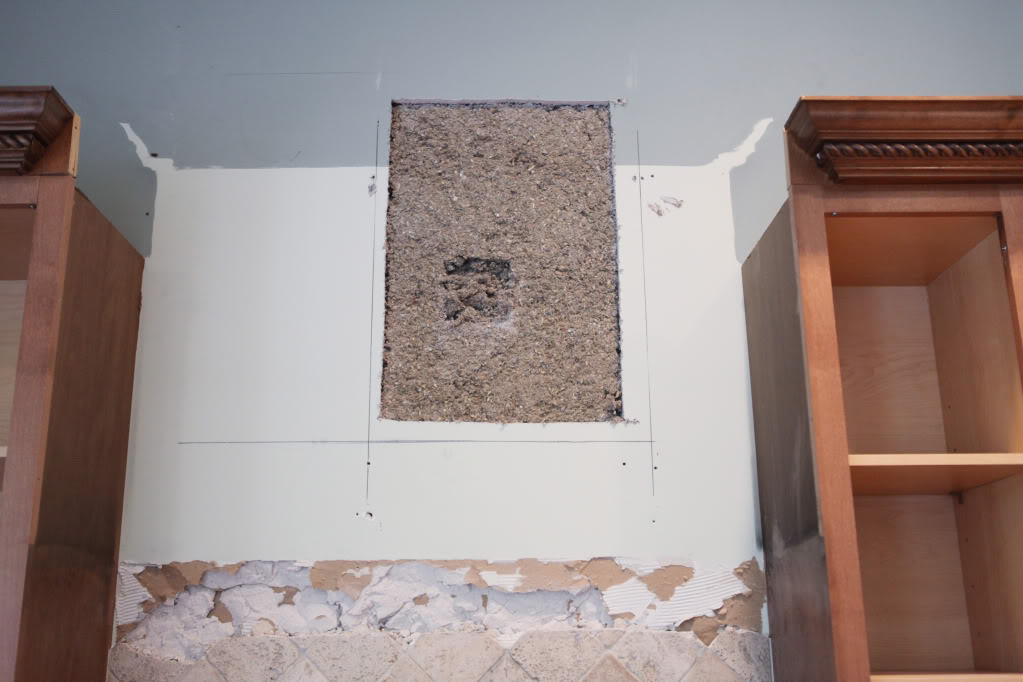
Note the marks on the wall….the vertical lines are the studs….so we knew where to attach the cabinet back to the wall. The horizontal line on the bottom marks the bottom of the cabinet.
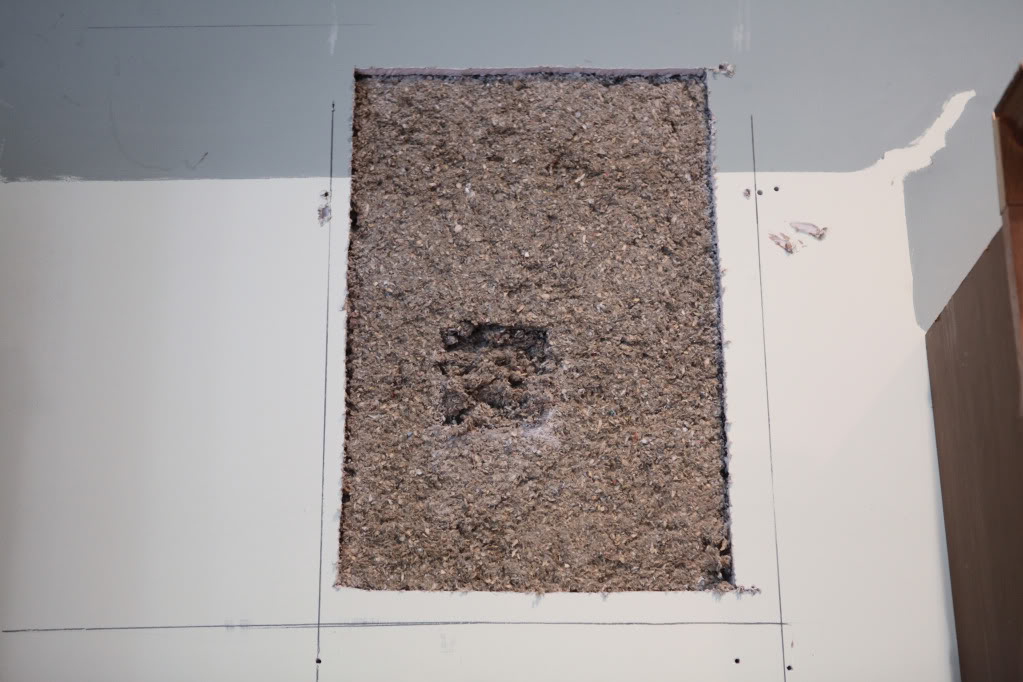
After cleaning out the insulation (good job Jer)….my darling boyfriend drilled a hole in the stud so that the wire would have a way to pass through from one stud shaft to another. Saying stud shaft makes me snort by the way.
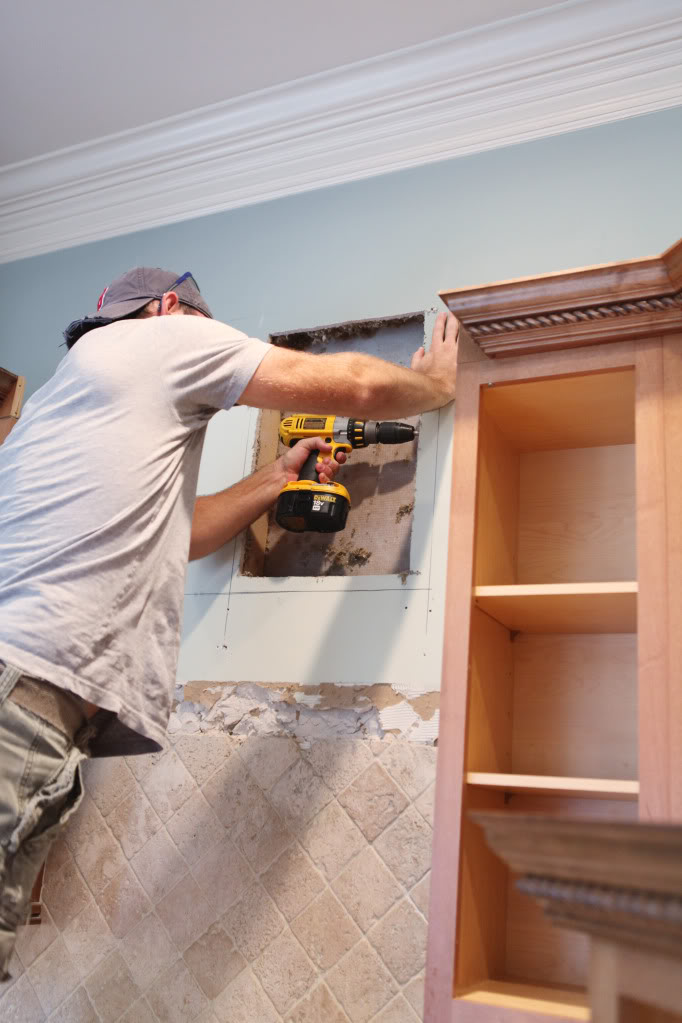
WAHLA! Hole in the stud.
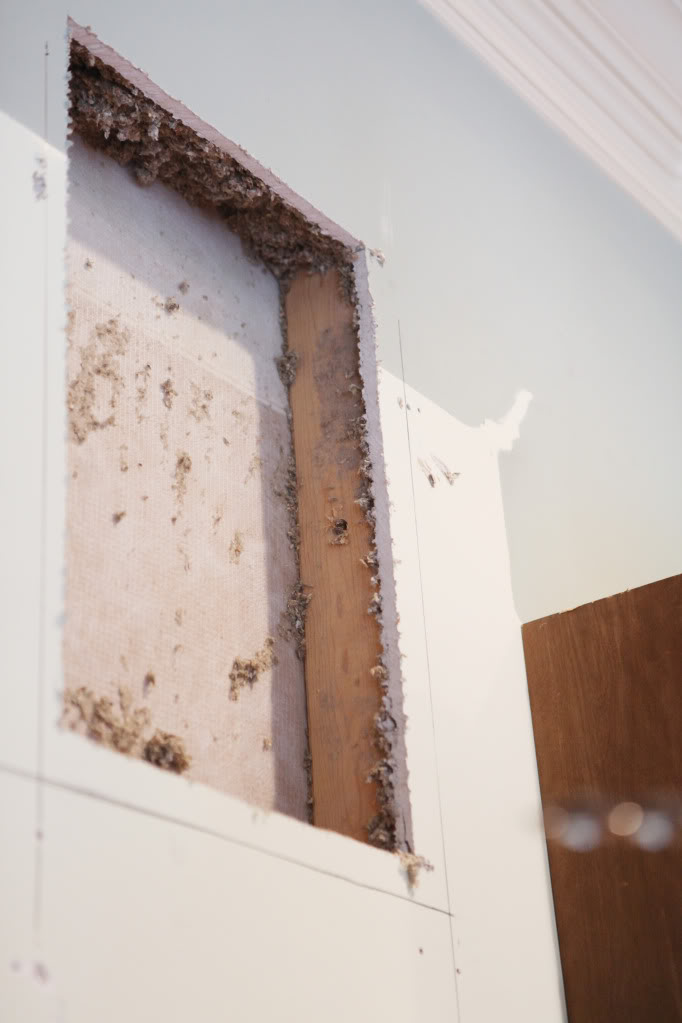
Okay…so now we have a big hole in the drywall with a little hole in the stud which leads to the neighboring stud shaft that is directly above the power source that we are tapping into…
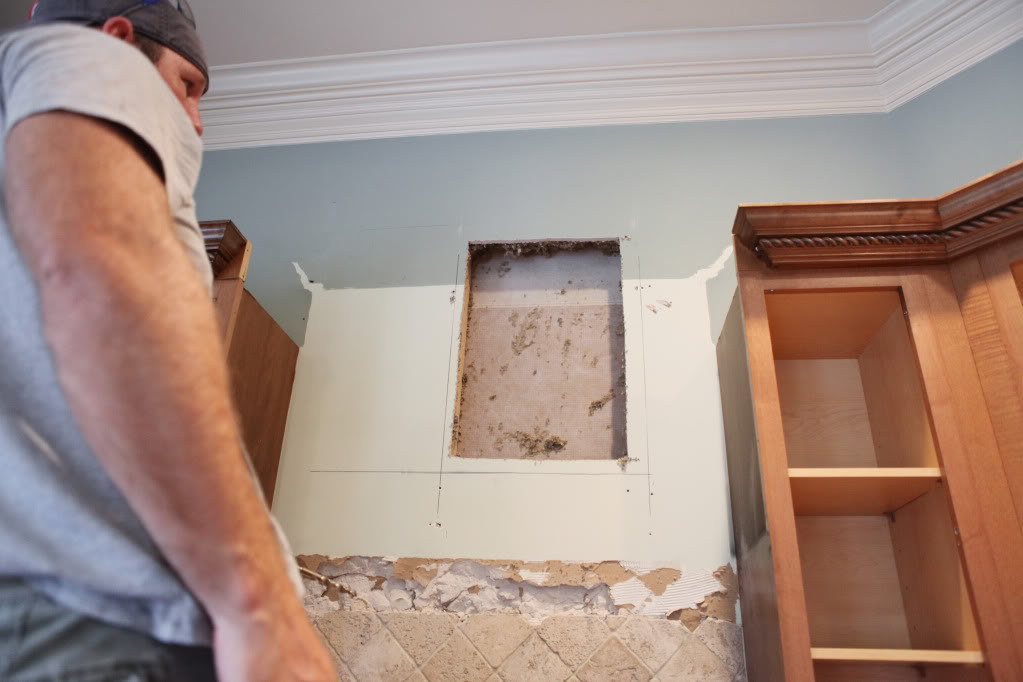
This is when Jer decided to test out the stud shaft to make sure it was clear for the wire. He checks things like this for reasons I have no idea about.
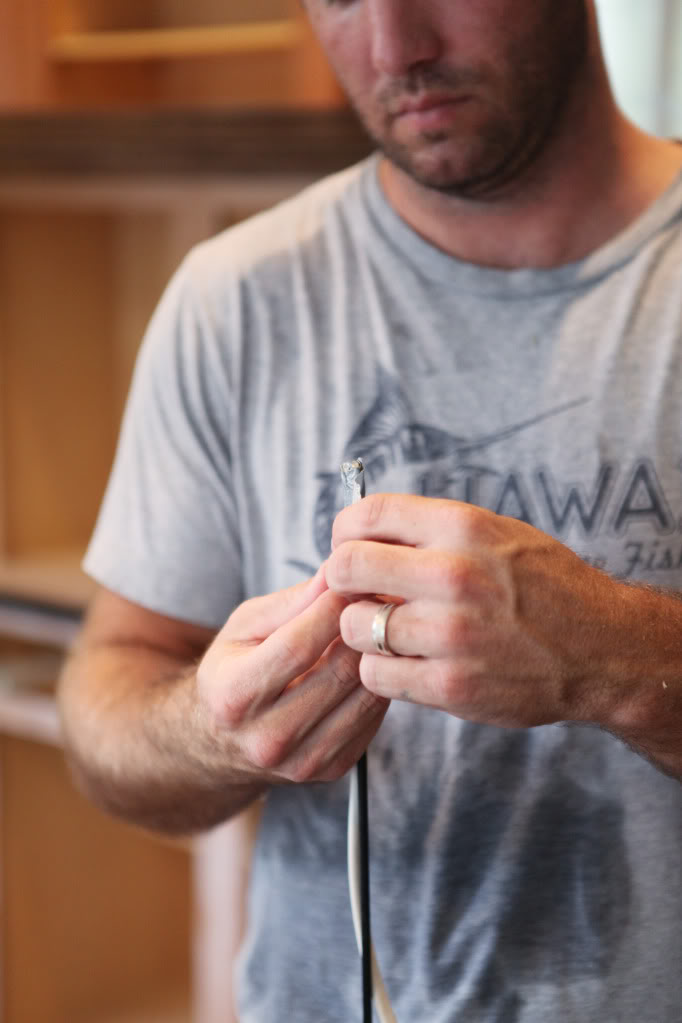
Basically he uses his long flexible drill bit and tapes the wire to it and pushes it down the shaft to make sure the wire will reach the power outlet.
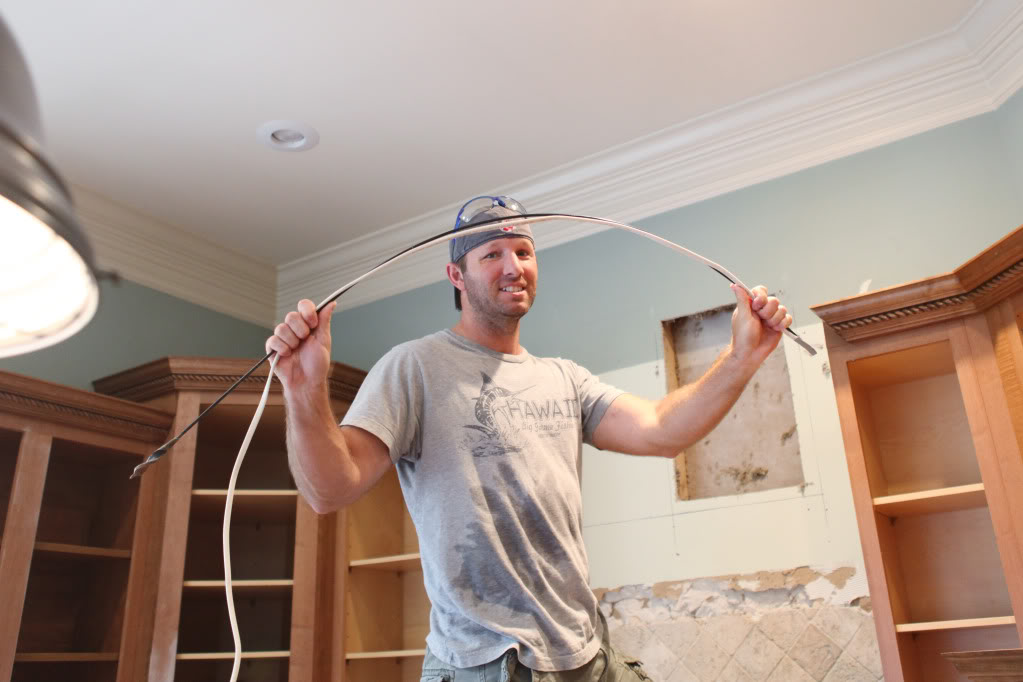
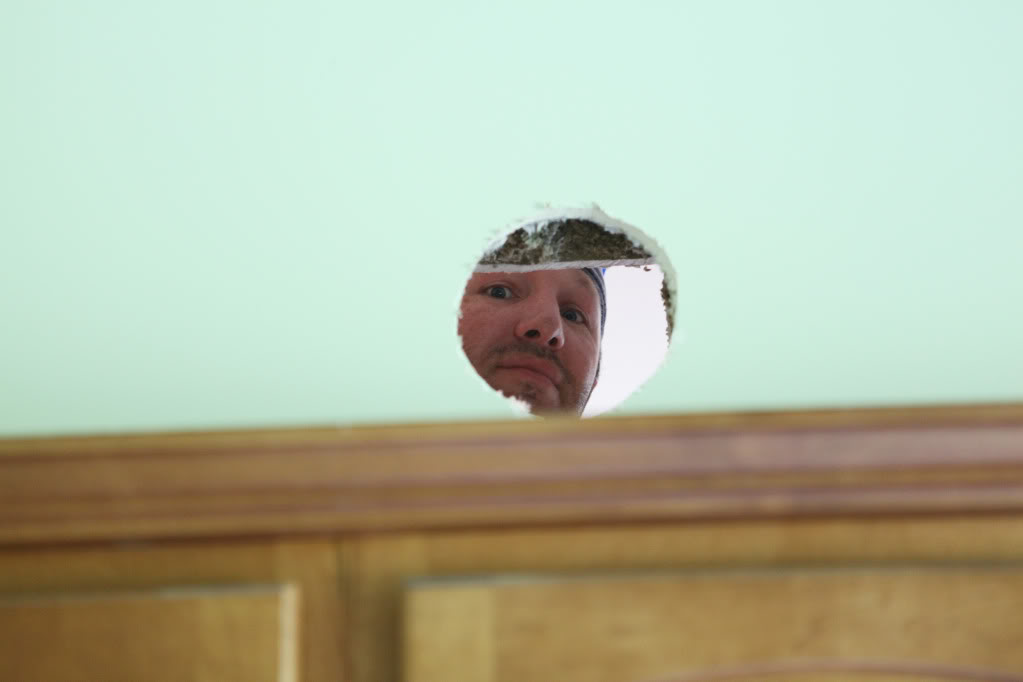
Here he is testing it out through a little hole in the drywall….
okay…now here is where surprise #2 happened.
We hit a cross beam. Apparently the vertical studs holding up our ten foot ceilings needed a cross piece to prevent bowing. Imagine us with an open palm to the forehead.
So Jer pulled out the drill bit, cut a square in the drywall in the crossbeam shaft and drilled a hole in the crossbeam and restrung the wire.
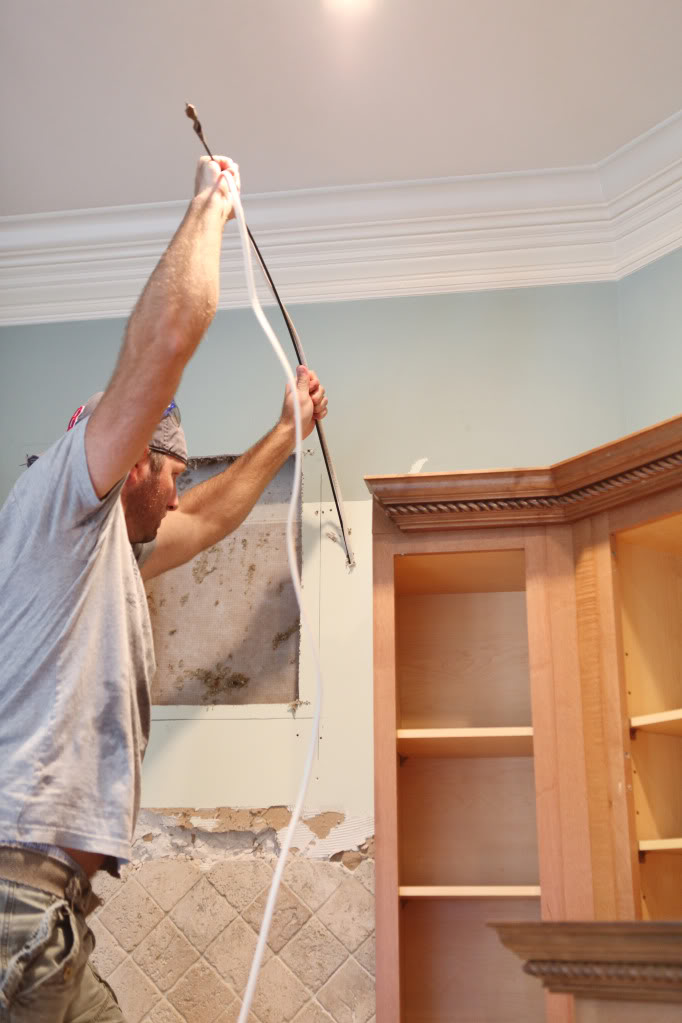
This is what it looked like when it was all over…
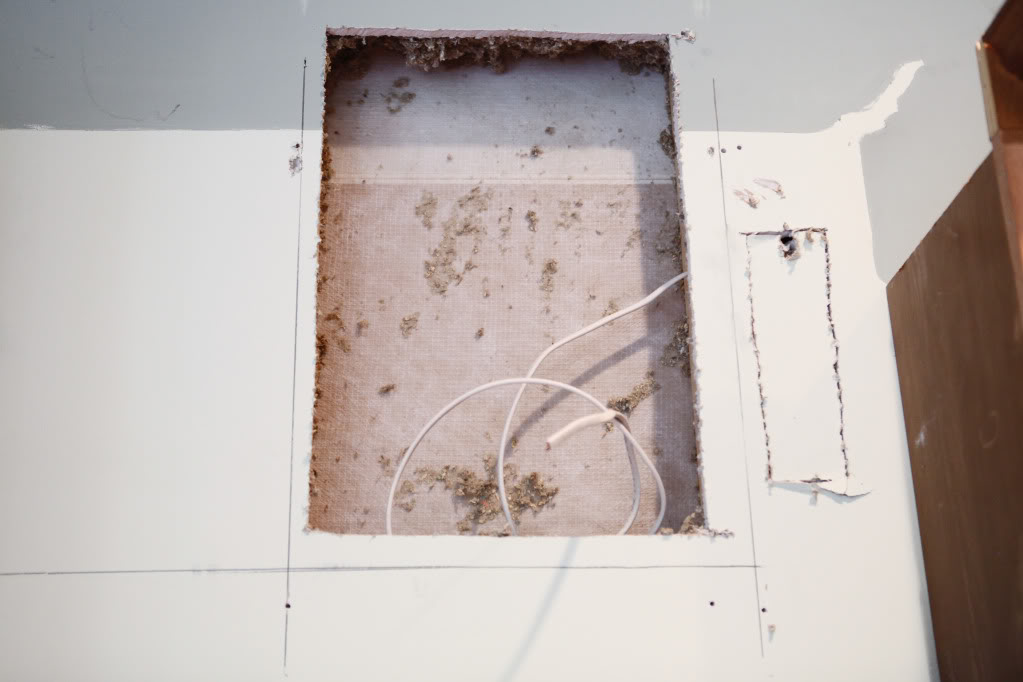
FINALLY…a line for power for the hood…
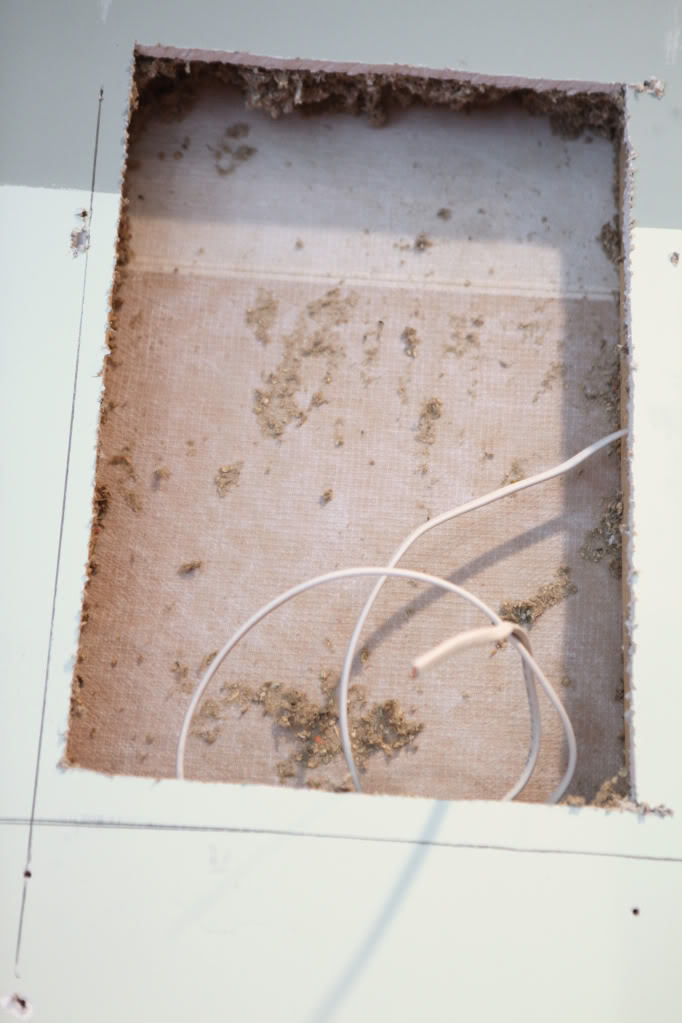
The other end came out to the outlet so we could tie in to the existing power source.
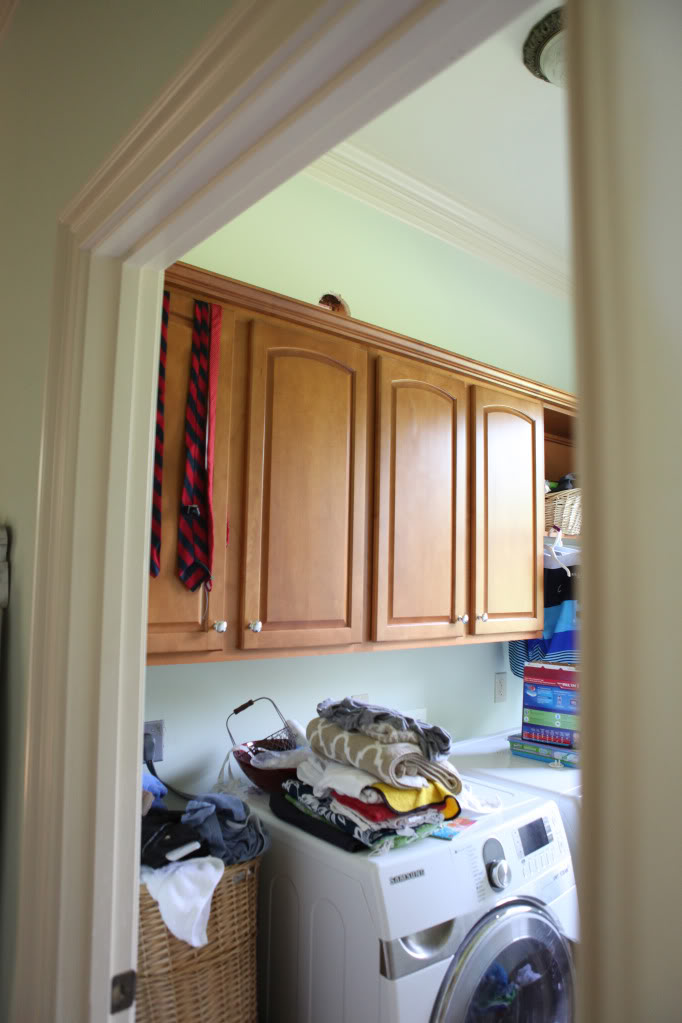
Now that the power was semi-ready…we had to move on to ventilation. In order for us to have a ducted vent hood, we needed to cut through the laundry room wall for our pipe. After a little measuring and doublechecking that we were indeed gonna clear the cabinets on the other side, Jer cut our hole.
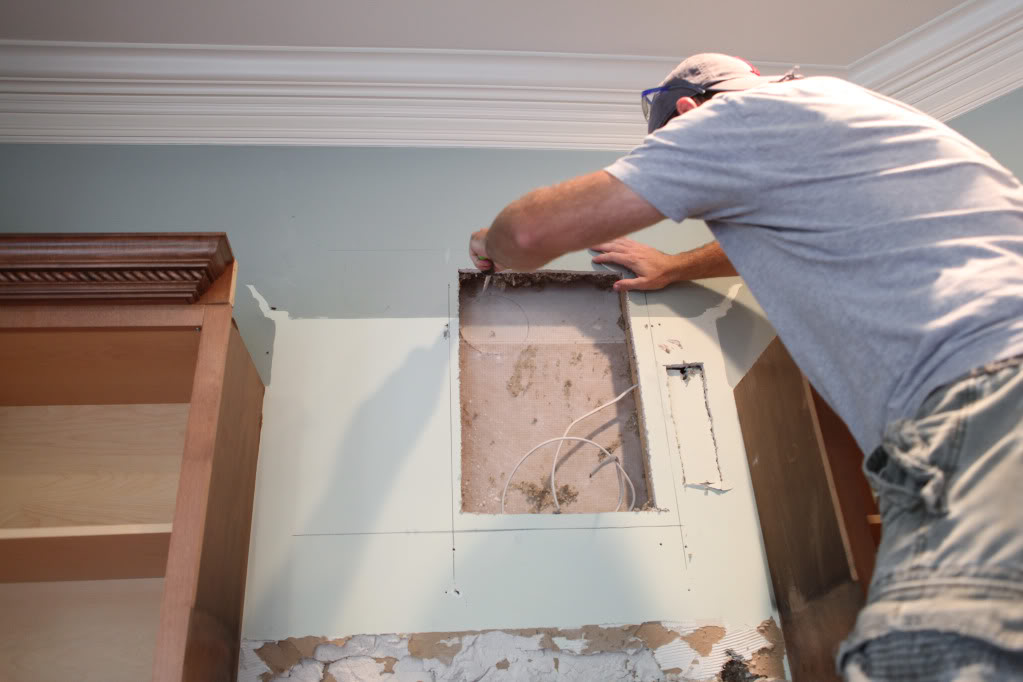
See it up there? That’s where the duct work will come out and run to the exterior wall.
I held the camera over my head to snap a close-up shot…when I pulled the camera down to see the photo…this is what I saw 🙂
Jer figured out that the 6″ elbows were gonna line up just peachy…
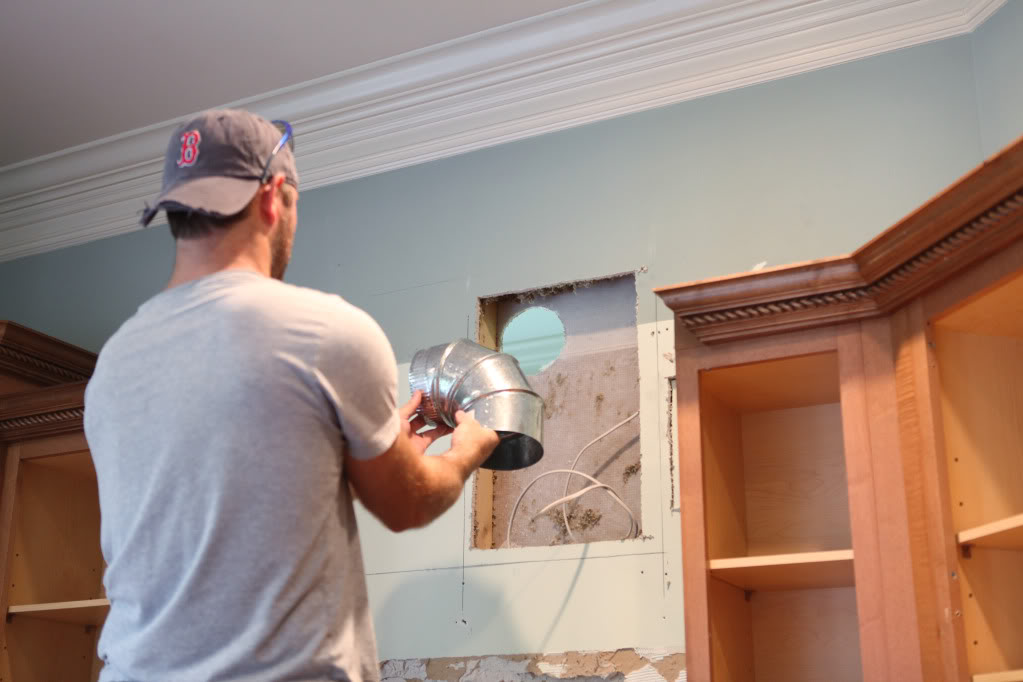
So he moved on to the cabinet. The cabinet we removed we decided to keep and use as a upper support for the hood. Not only did it already have the right measurements but it also had the little rope detail that was on the rest of the cabinetry so it would blend in.
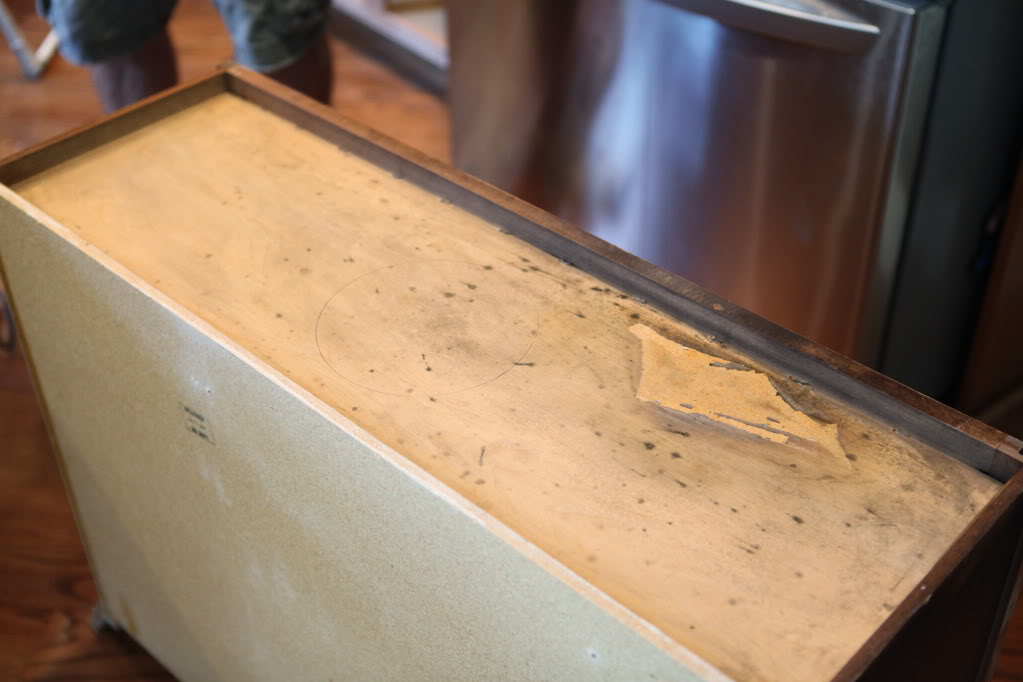
After Jer marked where the duct would go in the bottom of the cabinet, he used a drill and a jigsaw to cut out the hole.
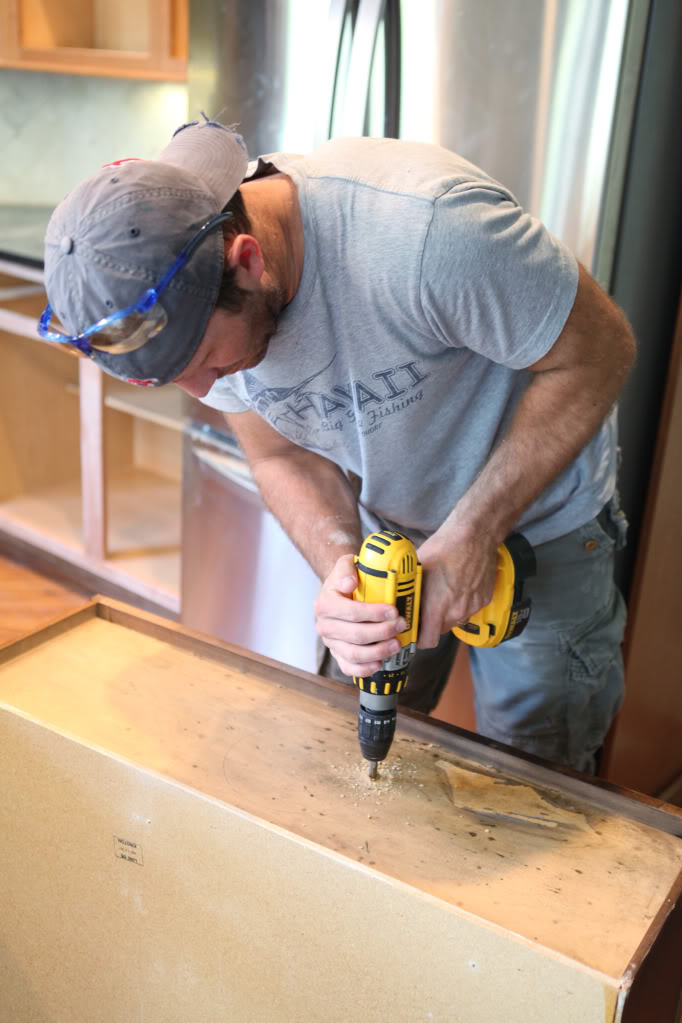
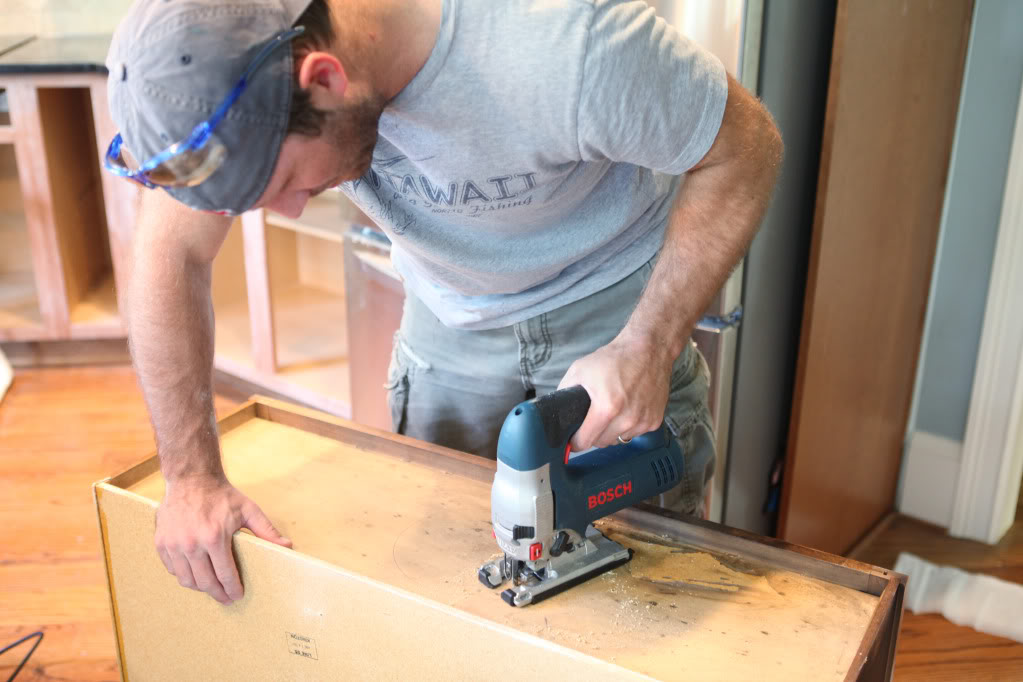
Then he cut a hole in the back of the cabinet as an access hole to the passthrough to the laundry room…
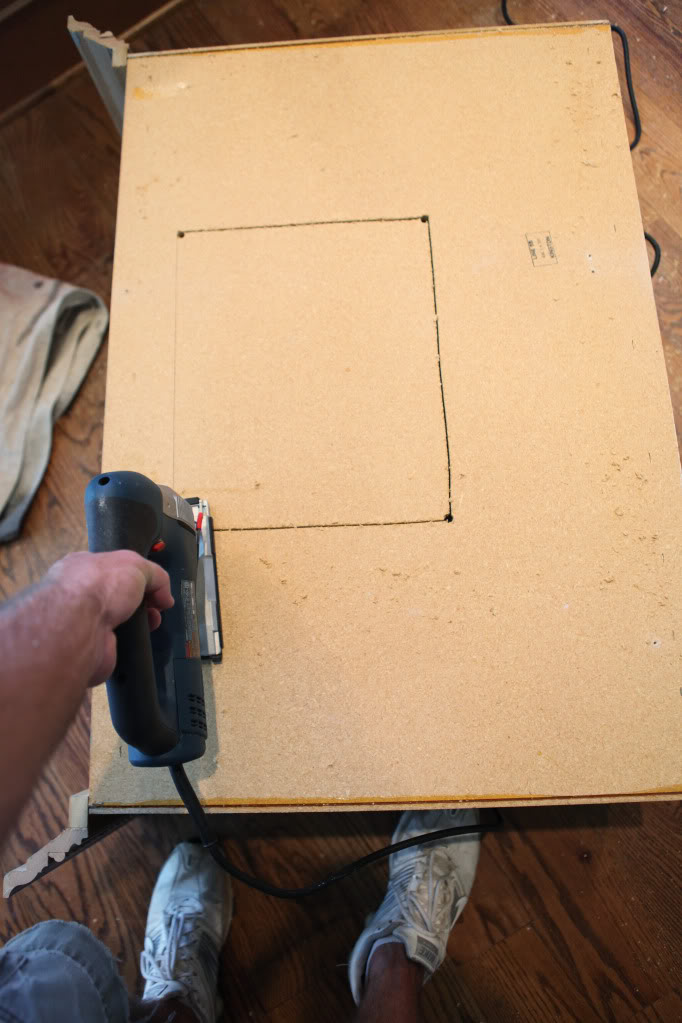
Basically how it works is the duct comes up from the hood, through the bottom of the cabinet, attaches to the elbow duct and turns through the back of the cabinet, through the drywall into the laundry room.
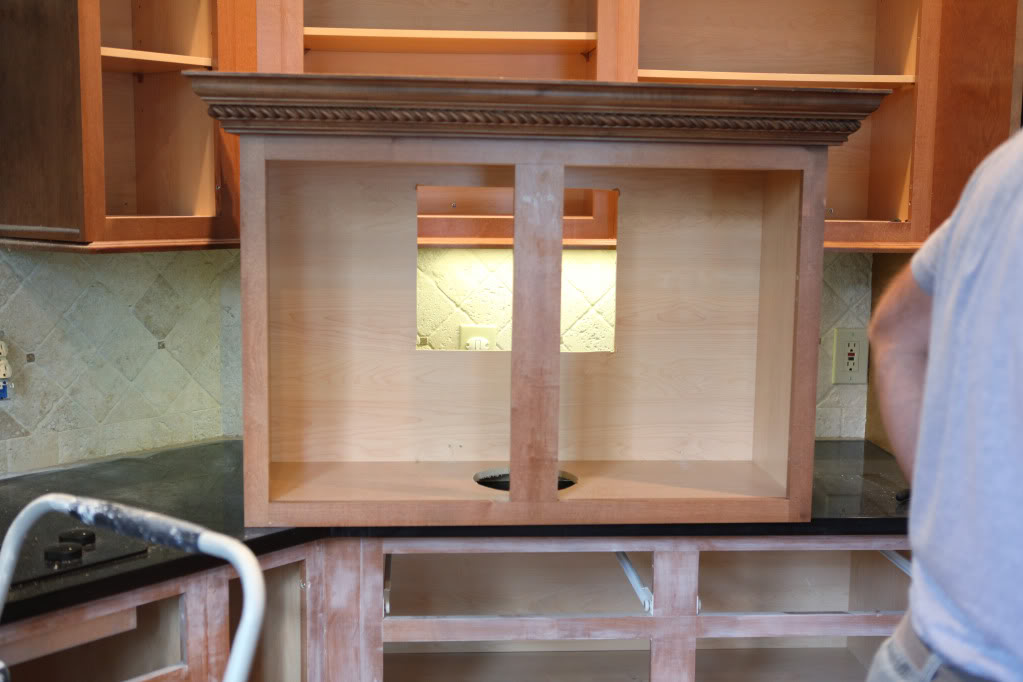
Jer clamped the cabinet in place and pulled the wire through the cabinet.
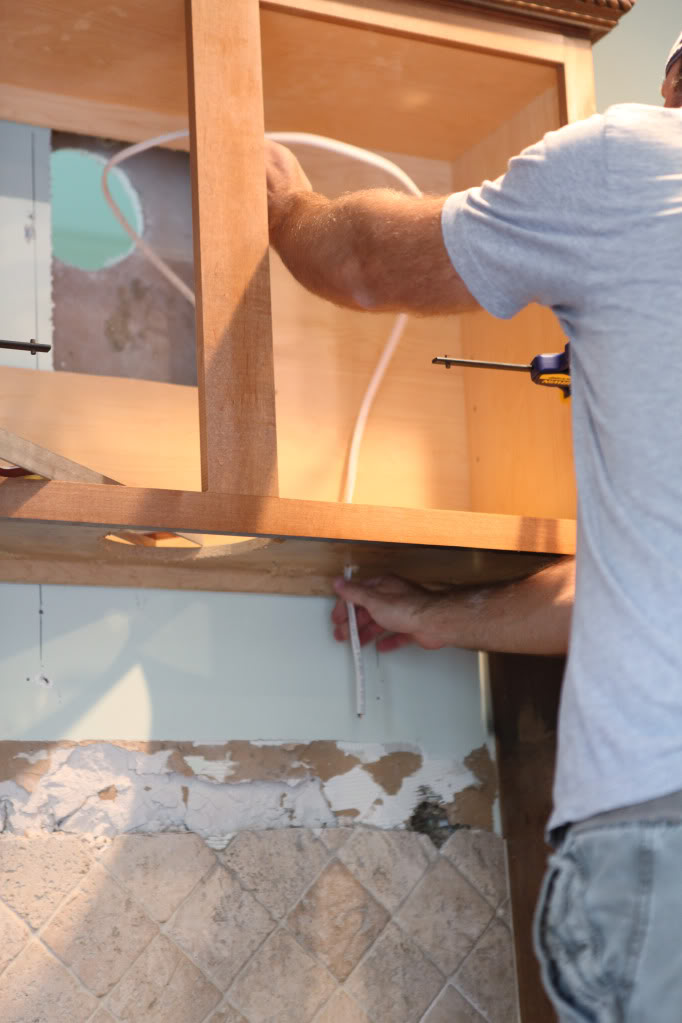
Self explanatory photo…
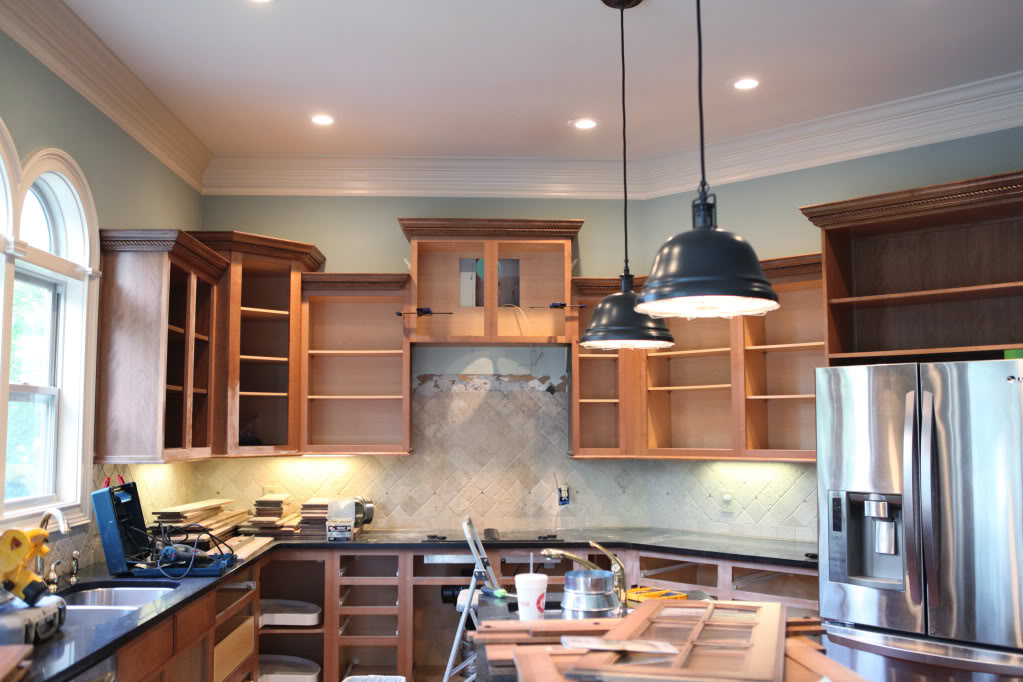
Jer attaching the first piece of ducting onto the hood. I think this bad boy is called a reducer. Or a reductor. Or a reducimiser.
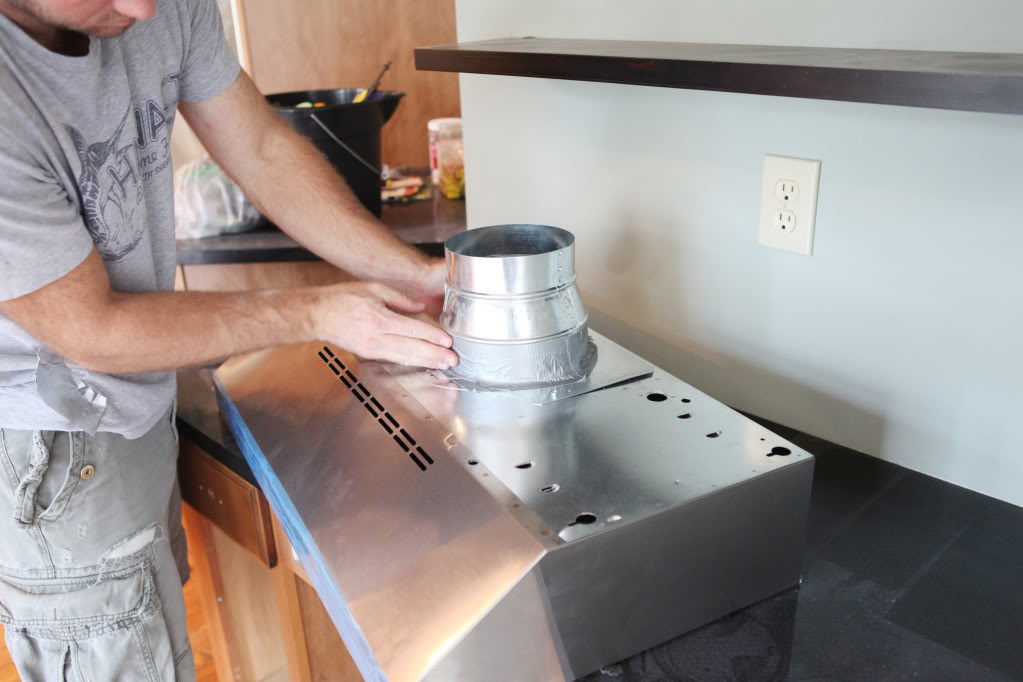
And then we slipped in the hood to the cabinet to see how it looked.
We actually thought it looked a little too high. Since functionality-wise, it would have worked, we were really going for what looked ‘right’ to our naked eye. And the eye said high.
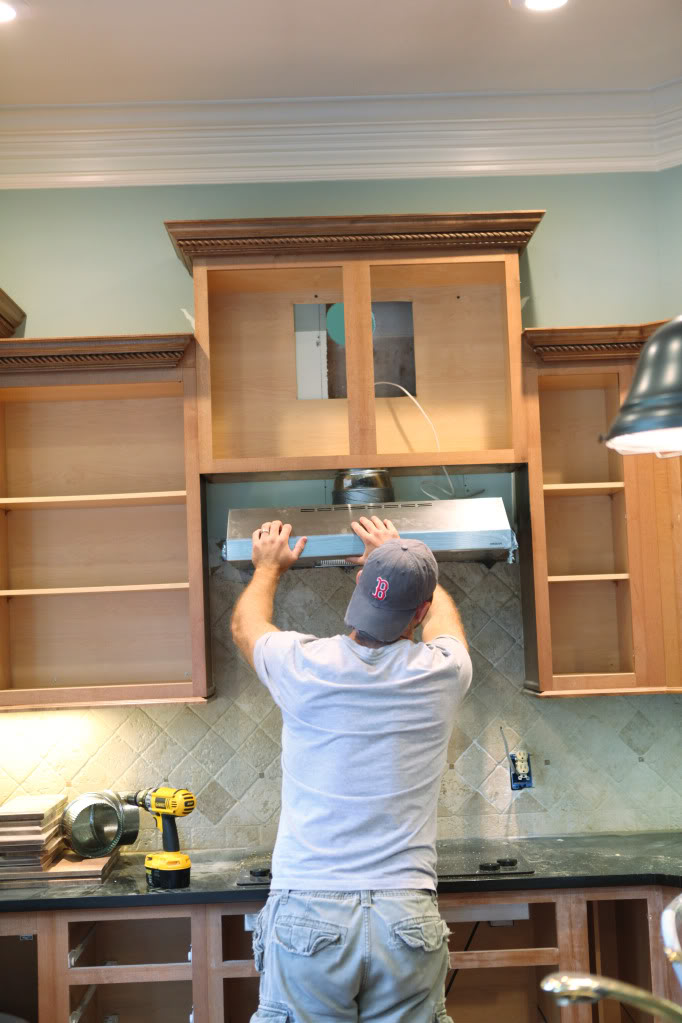
So that meant a little more of this…
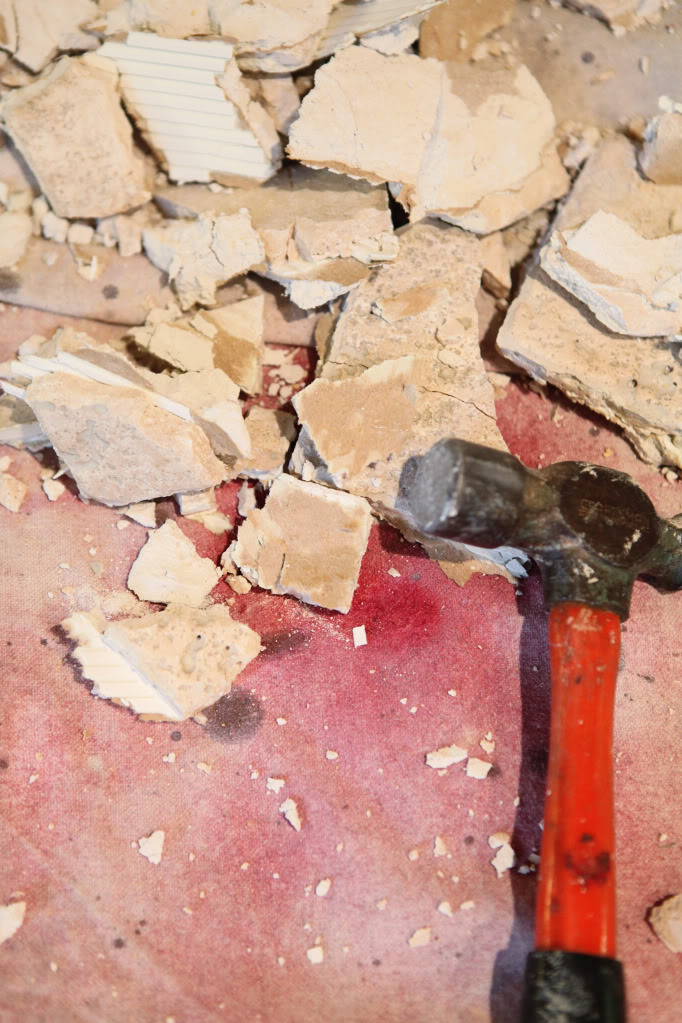
This time around we figured ‘what-the-heck, we-already-have-to-replace-drywall-immediately?!’ so we just hammered those extra tiles out. And when I say we…I totally mean I sat on my siatica while Jer did it.
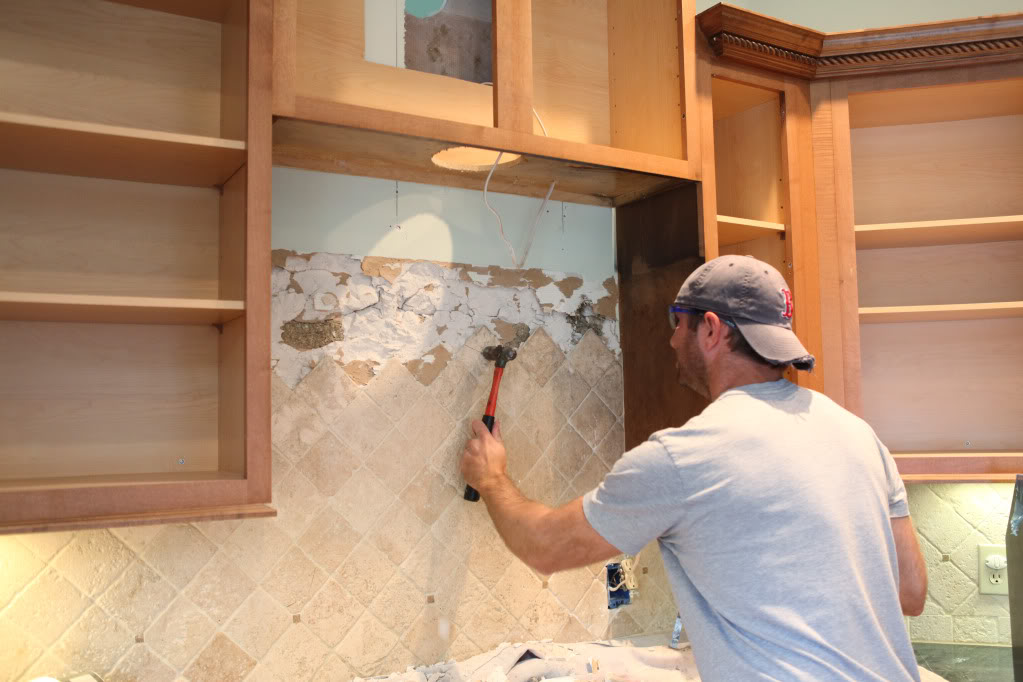
The tile was way easier to remove if you just smacked it really hard in the middle and then chiseled out the grout area.
So that’s where we are at. I figured forty or so photos would be enough for one update. Next I figure we can go over how we built the cabinetry part around the hood….it was very technical…it involved cardboard and bandaids.
p.s. I don’t know if it was all your good advice or emails or prayers but amazingly, this past Sunday my sciatica pain has dulled to a fiercely low roar. It’s now a punched-in-the-crotch feeling that I had with Will….it sounds terrible to have the feeling of your taco as a pinata but I would take it every day of the week over the stop-you-in-your-tracks-bum-seizures. So thanks guys. And yes, I still plan on seeing a chiropractor…but you should know you get the credit for the pain management 🙂
I don’t know how you manage to make renovations so funny and filled with innuendos. You’re amazing!
As annoying as that insulation is, I’m at the point of being curious what new Napoleon issue will pop up next. It’s always something crazy random.
Love it Katie!! A post full of photos (including your BF’s behind), update on the kitchen situation, some humor, and news that you’re able to move semi-easily!!! Keep up the work, I love following the progress:)
Couldn’t you just leave the tiles and attacht the hood in front of them? That’s what we did and it looks nice (the carpenter actually suggested that the cabinets overlap the top of the tiles by two inches from the tiles’ top rim).
The hood is really going to improve the functionality of the kitchen and really kick it up a notch (there’s nothing that throwing phrases around used by 90s-era celebrity chefs). Think of all the bacon you’ll be able to cook with that think installed! On a more serious note, I hope your sciatica pain dies down. I never had it during my pregnancy so I can’t imagine what it feels like.
I don’t know why I didn’t think about recommending this earlier, but before you get “adjusted” try a pregnancy support band. Like the Mini Cradle Support belt. They have all different sizes and kinds to help take some of pressure of backs and hips and legs. I thought I was going to die with some of the pain I had with my first and the doctor suggested one of these babies and it was love at first wear. Don’t be put off by the way they look. They work and your clothes cover them easily. Try it, you’ll like it 🙂
Why don’t you just cut out the bottom of that cabinet you are putting back over the hood anyways and place it around the hood. Wouldn’t be usable later with the hood and duct in there but it would be easy cover. Does the hood stick out from the wall more than the cabinet?
Did you already announce all the winners from your week of giveaways and the pack and play? I wanted to make sure I didn’t miss it!
Hi Holli,
We email the winners directly to tell them they won the giveaway…we use the email address provided when you comment (that’s why it’s important!). We do not announce it on the blog just simply because it’s not really important to the masses or my family if someone else won 🙂
xo – kb
Well, in theory that’s a great idea. In actuality, the bottom of that cabinet is crap…did you see how it was damaged? And it’s not real wood so it will paint differently than wood. And yes, the hood sticks out farther than the cabinet…so we definitely needed to build around it to cover it. PLUS, the hood has to attach to something – it hangs from screws on the top.
xo – kb
We could have if we were keeping the tiles…but we are not. And since the rest of our cabinets are flush with the wall, we wanted the upper cabinet (and thus hood) to also be flush. We are cool with tiling right up to it 🙂
xo – kb
How wide is the opening from cabinet to cabinet? Would a 36″ hood have fit without the “cardboard and bandaids” repair? Love your blog. Keep up the good work.
I am watching with baited breath because I have that exact tile in my kitchen and I hate it, but it seems very overwhelming to demo something so cement-like.
You already gave me a great idea to update my heardware with black, which I ordered. So, basically, thanks for being a guinea pig for a chicken like me.
Hey Katie,
I have a chiropractor recommendation for you. I live in midtown Atlanta and see Dr. Laura Scheiner (i’m 21 weeks pregnant) here is her website http://www.naturallywellatlanta.com/dr_laura_scheiner.html. She specializes in pregnant ladies and i really like her. She’s near the Cobb energy center so i’m not sure how far that is from you. Also, you can take Will with you! she has a little playroom that is open to everything. I take my 2 girls and they play while i get adjusted. Also, check your insurance it may cover it.
Good luck with the kitchen!
Cayce
Katie- are you using a heating pad on your hip/but? I had terrible sciatica pain and that was the only thing that helped!
The kitchen is looking awesome!!
Oh shoot… there are always unexpected surpries to remodeling. Looking good though. I must say, you’re pretty brave for taking on this project when you’re about to have a little one. 😮
“Taco as a pinata”?? I’m dying over here. Best explanation ever.
Wow, what a monsterous project. What abt cooking for the lill boy n with a prego u? And any particular reason why u didnt choose a plain stand alone hood? Would’nt that have been an easier task. Cant wait to see the end result.
Great job so far! I agree that cookie dough is the best way to celebrate any and all accomplishments! Can’t wait to read more!
psst- its “Voila”
This sentence is so sexual I can hardly stand it. “Basically he uses his long flexible drill bit and tapes the wire to it and pushes it down the shaft to make sure the wire will reach the power outlet.”
haha. i love being immature at 34.
Love seeing the progress!
p.s. if you don’t mind sharing…how old are you and Jeremy? Been following your blog for a while now and don’t remember if you ever mentioned?
All of your puns are cracking me up over here today!!!! 🙂 I was in desperate need of a good laugh this morning too <3 I owe ya!
Thank you baby jesus for the nice booty shot of your hubby! Oh and the kitchen is going to look great too! 🙂
Hang in there…I know it seems like a slow process but it’ll be worth it! Can’t wait to see your beautiful kitchen. Your readers will continue reading no matter the content or frequency of your updates:)
Glad you are feeling a bit of relief!
YAY for a vent hood! I have a few questions:
Is it up and working now?
Are you patching up the tile you have or replacing all the tile with something new?
Does it sorta scare you to put holes in your walls?
Little by little! Oh the joys of DIY! Looks great so far 🙂
and glad to hear you’re feeling better!
I love this post. I was expecting a short post for some reason, but that darn Napoleon strikes again!! And I almost spat my coffee onto my screen after the pic of Jeremy’s bum and you said “you’re welcome” cause I thought “oh thank you Katie” right when I saw it. Can’t wait to see some cabinets! I’ve been dying ever since I saw the instagram pic of the sanding dust all over the floor from doing it inside!! Good luck and I’m glad your sciatica pain is dying down! This is a lot of exclamation points.
Your final paragraph of this post had me rolling! Glad the kitchen remodel hasn’t ruined your great humor!
Wow! What a project. Good luck with the rest and as always, thanks for sharing the updates (the good and the bad) with us as you go along. I always learn so much from these posts 🙂
It is up and working now…although it’s not vented outside yet. So it just blows into the laundry room…but to be frank, we aren’t done with the rest of the kitchen so it’s not being used either. Hopefully we can get it vented before everything else takes over 🙂
We are planning on replacing all the tile with something new. More on that to come.
And sure. It used to scare me a lot. But when I was a teen my brother would always punch holes in the wall…something about proving his manliness I believe…and so ever since I saw my mom fix one, I got over it. Then in our old house we replaced LOADS of walls with new drywall and things got less scary.
xo – kb
Jer is 35 – soon to celebrate his trifecta birthday…and I am 31 🙂
xo – kb
haha…yeah, I do that to drive my mom crazy 🙂
xo – kb
Oh definitely a stand alone hood would have been easier…but we really loved the look of a built in hood…so that’s what we are trying to fake. We like plain stand alone hoods too…just for this kitchen we opted for the built in version. And I don’t really cook that much anyway so it’s not that big of a deal. Ever since I got pregnant, cooking seemed so daunting anyway so most of our meals were cold, grilled or microwavable anyway. If I really need to bake or stovetop something, I can always run next door – our neighbors are awesome and would let us use their kitchen 🙂
xo – kb
I was trying everything…the heating pad didn’t do a lot for me but a hot bath did! Same difference I guess 🙂
xo – kb
Thanks Cayce for the recommendation!
xo – kb
The opening is 36″…and yes a 36″ hood would have fit but it would have left no room for building in around it for that cabinetry look. So we opted for the 30″ which gives us three inches on either side for wood stuff. And the ‘cardboard and bandaids’ reference is in regards to the hood but not how we built it…Jer got a bad cut on the ductwork (hence bandaids) and cardboard is how we figured out exactly how things would look when it was all finished!
xo – kb
i can’t even pretend like i have a clue what i just read.
that said, thanks for including a picture of your mister’s rear… 🙂
xo!
Yay for feeling better! And for progress on the kitchen– it’s going to look great. 🙂
I LOVE that you refer to the previous owner as Napoleon! I crack up every single time! Can’t wait to see the completed kitchen!
your p.s. made me lol @ work. that doesn’t happen often.
What size is your cooktop? Usually it’s recommended to have the hood a few inches wider than the cooktop to better capture everything. (though I guess since you’re used to a downdraft, a 30″ hood over a 30″ cooktop would still be a huge improvement)
I’m not the kind of person to read or watch things and laugh really hard out loud, just more giggle inside to myself, but the booty shot followed by “you’re welcome” seriously cracked me up. You have such an entertaining style of writing. Thanks!
Great remodelling. Best of luck
Currently we have a 30″ 🙂
xo kb
I love reading your blog! You are so cheeky and make me giggle all the time! I heart that you refer to Jer as your boyfriend!! Keep up the awesome momma!!
That “You’re welcome” comment – hilarious!!!! Totally wasn’t expecting that, you’re a hoot Katie B. 🙂
Ugh, I had the worst sciatic nerve pain with my son. It was the same thing you’re decribing. I couldn’t move. I’m a teacher and my students (high school) thought that it was hillllllarious. Any way, my OB told me the best thing for the nerve pain was delivery. Grrr. I have never wanted to punch an adult so badly in my life.
I laughed out loud at the gratuitous Jeremy butt shot.
🙂
Lots of work! Looking forward to seeing the final product. Also, interested when you to get to full tile removal, as we’re contemplating replacing the tile backsplash in our kitchen. It’s black….solid black. Can you imagine?
Also, noticed the duct tape on the ductwork ….should check with John ( I think you know him from Young House Love?! Haha…) I think I recall that he received a tip to use special metallic foil tape on the duct vent above their stove hood reno. He could likely elaborate more, as I’m no expert 🙂
I don’t want to be that Internet person who tells you what to do but I just had my second baby and I had that crotch pain with both kids and I had a bit of the sciatica pain this time around. I was planning on sucking up the pain this time around when my friend recommended her physical therapist who specializes in reproductive area therapy (not sure of her technical name). Anyway I went to her and through appointments with her and easy exercises at home my pain got so much better and for a few weeks actually went away. She labeled my issue pubic symphesis diastis. Pretty much my entire pubic bone was shifted causing a ripple effect with pain so we worked on building up the muscles to hold it in place once she would adjust me each week. I had no clue my crotch pain was a real thing and am so glad I went to her. It truly made a difference in my pregnancy. All that to say, you should call around and see if you can find a PT that specializes in that area. My pt says that she works on pregnant and postnatal girls all day long with these types of issues…
There were a lot of comments and I dont have time to go through them all to see if anyone already commented this but here goes…
I think that the kitchen cabinets would look SOOOO much better if they were aligned on top. Now you have different levels on the cabinets and it just looks messy. And now you are adding the cabinet again but at a different height again. In my book it is such a NO NO! Perfect straight lines. That is the way I would go. So the corner cabinet would also need a redo in my book. At least think about it. If you are going to redo the lower part of that cabinet anyway. Why not try to align the top of it with the other cabinets?
In person it doesn’t look weird. But I am sure that photos it looks different 🙂
xo – kb
We have used the special metallic foil tape in the past but in this case we used metal screws first and since this wasn’t as used as, say, a heating duct, we decided to just use regular ole duct tape. All tapes have their disadvantages…so I always recommend that you do the research for yourself!
xo – kb
“…it sounds terrible to have the feeling of your taco as a pinata” made me laugh, hysterically, until people in my office were staring. not to mention the references to “shaft” and “banging”….oh yeah, i’m a 13 year old little boy at heart. thanks for being fabulous 😉
literally just spit out my drink when i read “your welcome” after the lovely bum shot. LOL!
🙂
First and foremost, I think you did a fantastic job supervising this little project!! I watch your house DIY’s hoping that one day I will be able to have these adventures to tackle! I definitely like the term reducimiser and the visual I got when I read “it sounds terrible to have the feeling of your taco as a pinata” seriously made me lough out loud by myself in my humble abode!! Keep up the good work, I’m glad that the sciatica pain is better, and lots of luck on future projects!!
Your kitchen reno is coming along great!
I wanted to give you the name of 2 chiropractors (brothers) that I went to in Dallas, GA when I lived in Marietta for a few years. Dr. Michael Anderson and Dr. Patrick Anderson at Anderson Specific Chiropractic. They are wonderful and helped me with several health issues including sciatica! I don’t know where in Atlanta you live, but they are worth the drive! Good luck and I hope everything goes well with the rest of your pregnancy!
Have you considered trying some prenatal yoga classes or videos. Some easy poses that might help you with the pain are Cat/Cow (which is just being on your hands and knees and flexing your pelvis) or Pigeon Pose. Just be gentle and don’t push through the pain or anything, but these might help. I’m glad you’re feeling a bit better already! The kitchen progress is so exciting too!
What was this post about again? I neither read anything nor looked past any photos once I reached #9. Thank you for that! 😉
Is it wrong that all your readers like checking out your BF’s behind? lol hope not too much…
Hope you feel better soon. 🙂
Ang I’m with you, I kinda zoned out on the technichal/math/drill stuff. I can’t imagine even thinnking about trying this! It’s gonna look amazing though, love a good kitchen reno with tears in my eyes humour thrown in 🙂
Hey!
My wife turned me on to this project. My question is the plan to run the vent outdoors. We would be going into our garage and the idea is to also vent for smells.
Presently we have a Over range microwave wich just throws everything up and grease.
Any help or plan would be helpful.
Good job! I would like to know what color you choose for the cabinets and if you are gonna keep the new knobs and harware that we recently see on them.
I ended up choosing Simply White by Benjamin Moore and yes, we are definitely keeping the hardware 🙂
xo – kb
Hey – you don’t hide the Mona Lisa right?!
xo – kb
Yup – I got prenatal pilates and yoga…which help a little but man sometimes, it just hurts!
xo – kb
We haven’t yet blogged about this yet but when we do, I hope you can check it out!
xo – kb
Thanks Martina! I’ll definitely check em out 🙂
xo – kb
Might be the photos or it might be just me being very focused on lines :)I know it drives my husband crazy….
Looking forward to seeing the kitchen in white!
Hi Katie,
I had awful sciatica pain during pregnancy – the kind where I’d fall on the floor groaning and wasn’t able to get up. I tried massages, chiropracter, screaming. Then finally, I started doing basic yoga stretches every night. The yoga really, really helped! Hope you feel better soon – I know it’s miserable! Also, I love your blog. 🙂
I feel your pain! 2 weeks ago, we moved our micro/hood over our stove up 7 inches (I couldn’t put a pot on the back burner of the stove) and now we are waiting on tile and figuring out the paint situation of the cabinets. Since tiling and cabinet painting were the former owner, it’s been fun trying to color match and figure it all out.
Apparently, the new trend in professional cabinet painting is using Enamal with Laquer. Who would have thunk? Sherman Williams has not been much help, either has HD. It was by chance a friend was over last night, took a look and told us exactly what was used. Sigh- I now I have to fix what I was trying to fix to put the final fixes in place.
I had the pain with my first son too. There’s nothing like it! Because he was so insistant on sitting on that nerve for 6 months, I had to have 4 months of PT to walk normal again. Maybe preggo pilates and yoga would have help. Should have tried. It was just easier to complain ..lol
So glad your sciatica is better. Hate to tell you but you have a long way to go before you get the “longest kitchen remodel” prize. Try 3 years 7 months and 7 days! (http://vonrousehouse.blogspot.com/) Of course there was probably only about 6 months out of the whole time that we couldn’t use the kitchen. Bathroom sinks are definitely not ideal for washing dishes!!! It will be over soon and its gonna look SOOOOO awesome!
Ugh. Karen you win.
xo – kb
I actually like the varied heights, gives it a lot of visual interest. I think it’s just a personal preference thing because it’s definitely not a no no.
I’m a kitchen designer by trade, and this is actually a very common design element called “Castle-ing.” It’s a great way to add architecture to a space, as straight lines in such a large kitchen like this can get very boring. It’s obviously a “to each their own” as design is all subjective, but I think, Katie, you are doing the exact right thing for your kitchen. The lines look great and I actually really appreciate that you RAISED the hood height compared to the corner cabinet. It’s really adding more depth to the space than just matching it. Also…just as an FYI and you probably won’t even notice that much, for every 90 degree turn your ductworks makes, you will loose a little of the venting power of your hood. You want to try and have as long a run as possible, so I don’t know how its exiting the house…but since it looks like you have 2 po degree turns already….if you can functionally help it try not to make another upon exit. Just a little tip. But I love the look and I really love how you are upgrading them! Aristokraft isn’t the top line out there, but they are definetely good enough to keep and re-vamp. I can’t wait to see what else you do!!!
Katie – I had horrible sciatic pain, had to get an MRI and what not. However, my doc told me to go to a massage therapist. She did a deep tissue massage on just the butt check. Sounds weird, but the pain is ALL gone. And they were talking possible surgery and steroids. So try a massage. Or if Jer wants to do it, he can use his elbows. It’s gonna hurt like the dickens, but afterwards it was AMAZING!
Why do we need hoods at all? Our parents/grandparents lived without them.
After cooking something that burned, we simply opened the window. and stuck
a window fan in backwards to draw out the smoke.
Look at you guys cruising along on that kitchen! It really is going to shape up so nicely.
I laughed at the photo of your husband peeking out from the vent hole. Surprise!
You look like you two make a great team. It’s nice to see a couple working out like that (on a blog). Also it’s fun to see your pregnancy move along because my sister is due the same week as you (hers is baby girl #3) so it’s just fun to see her in person and you online both racing to the finish. Godspeed, Katie.
What a pain in the ass and what a mess just to install a range hood. I hate home improvements.
Hi Katie! I have a question about your hood! We are planning to do the same thing as you guys did. Get a 30″ hood to build around it to a 36″ space. My question for you guys is how good this hood has worked out for you guys… Is it efficient? All the power packs and inserts are a small fortune so I have been wondering if perhaps this would be the way to go. Save that $$$
Ours is really quite efficient. Granted I may use it once a day at best…but so far, all is well here. MUCH better than the downdraft.
xo – kb
THANK YOU, THANK YOU, THANK YOU! This is JUST what I was hoping to hear! Let me place my order! 🙂 BTW, you guys ROCK!
Well done guys. Interesting tips and interesting blog.