Disclaimer – This is a sponsored post brought to you by Canon. All opinions are 100% my own.
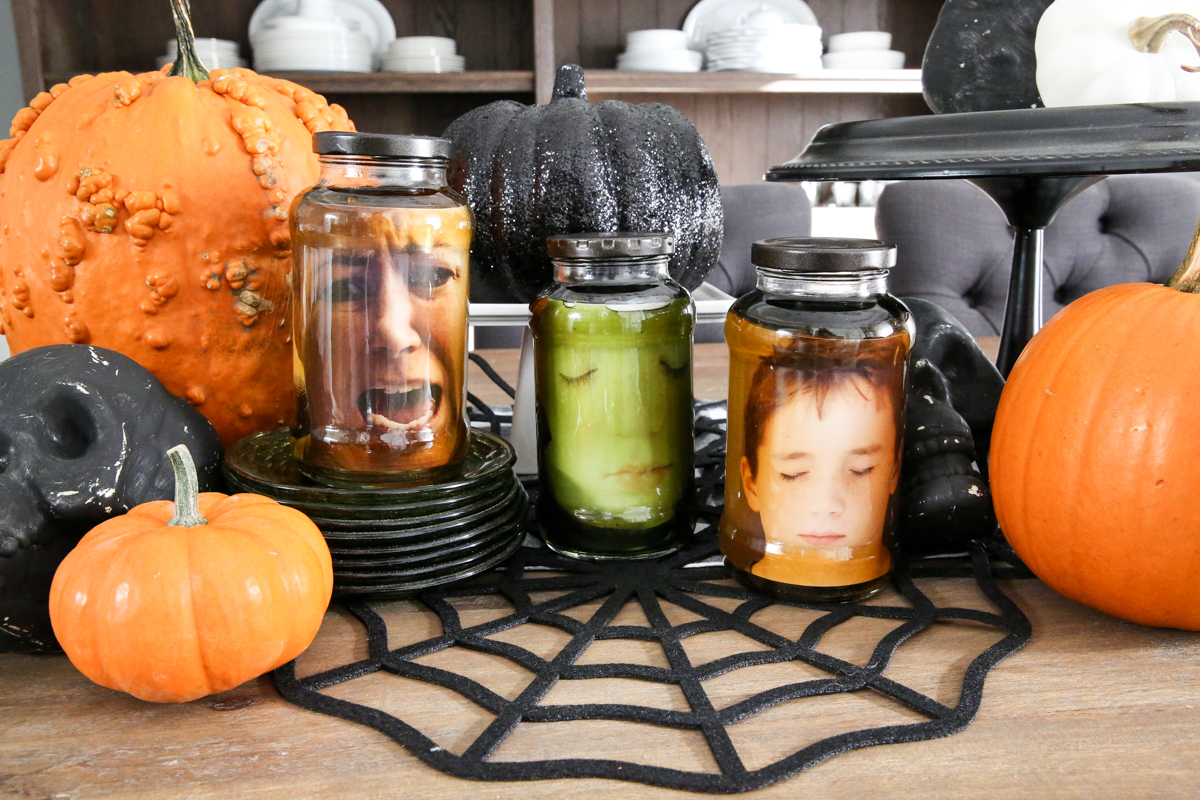
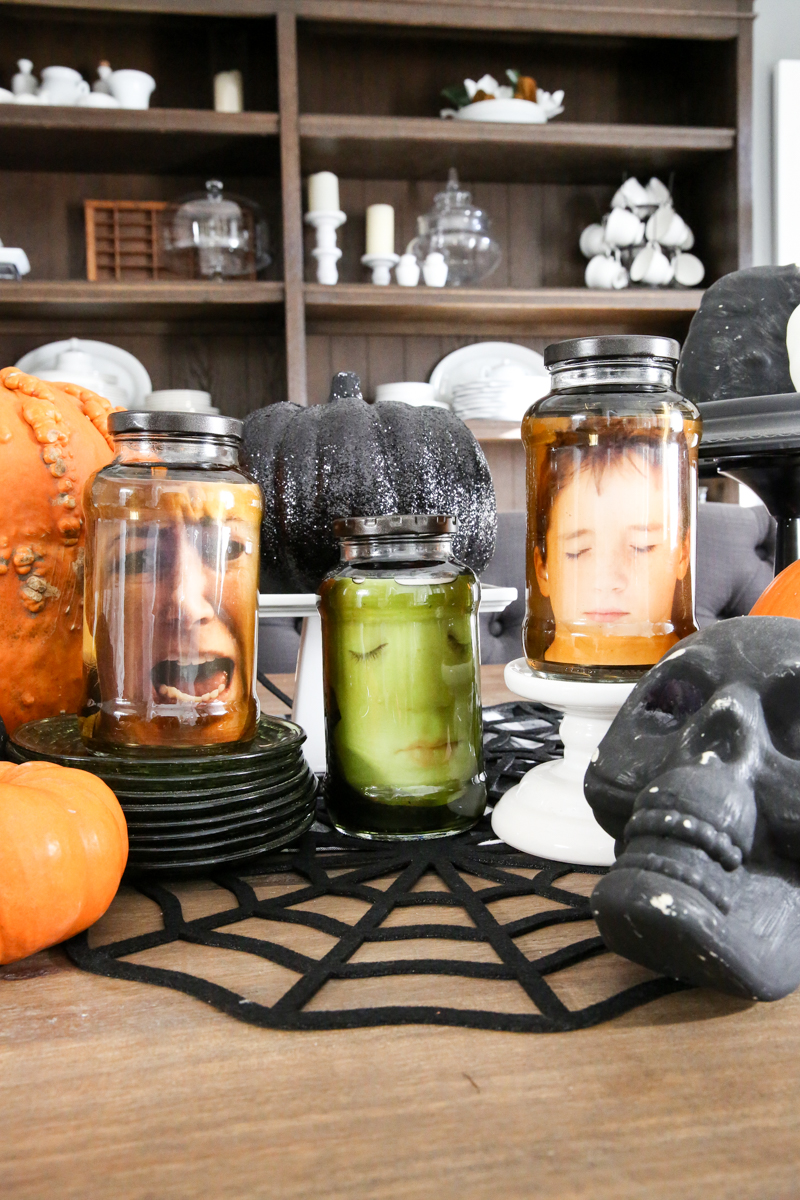
Three weeks till Boo-Day! I am so excited this year and so are the kiddos. The boys are doing a daily countdown and ask about 2.3 million times a day if it’s accurate. That’s not annoying. Nope. I love answering the same question ALL DAY LONG. But seriously – there is nothing more fun that seeing their little brains work to realize that Halloween is coming and that means CANDY. So of course, I have decorated for all things spookilicious with this fun and easy Head in a Jar craft!
You will want to do this with your kiddos because it takes only a couple minutes, very personalized and it looks super creepy!
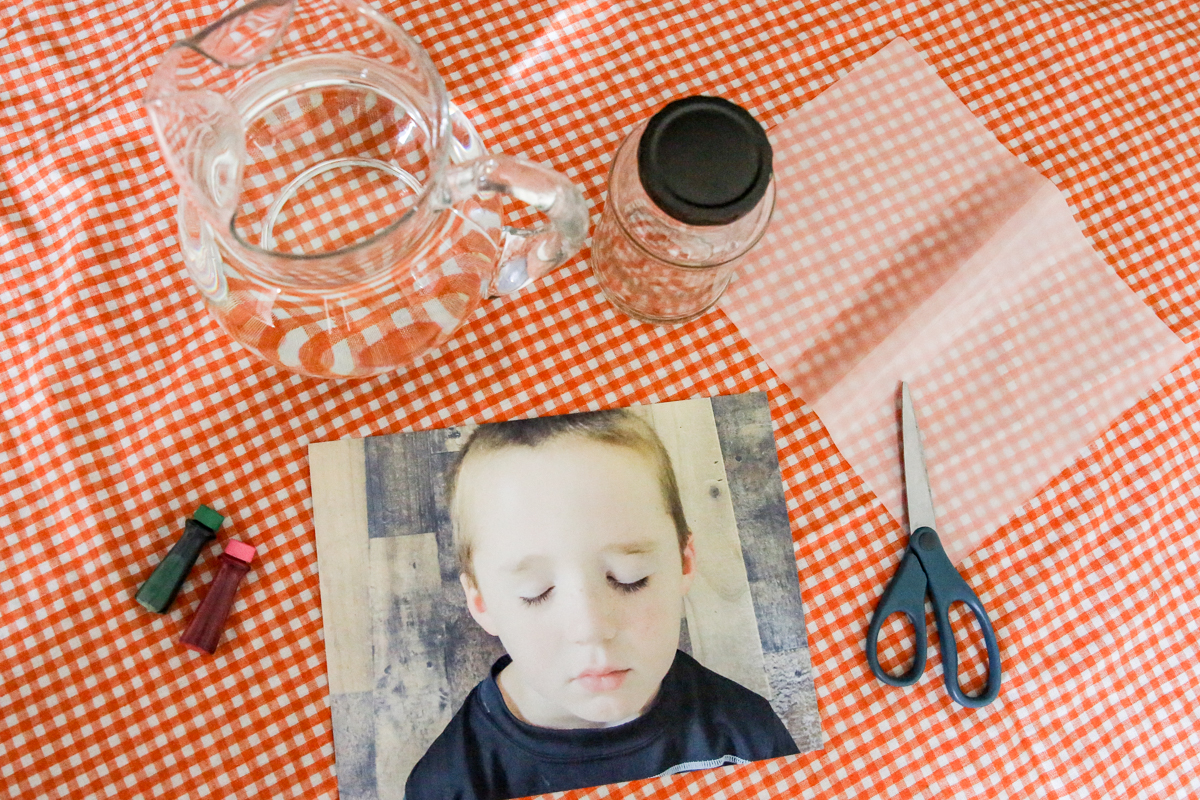
So for this craft, you will need a few supplies –
- The New TS9521C Crafting Printer from Canon
- 8×10 photo paper
- phone or camera
- jars
- water
- scissors
- food coloring
- laminator & lamination pouch
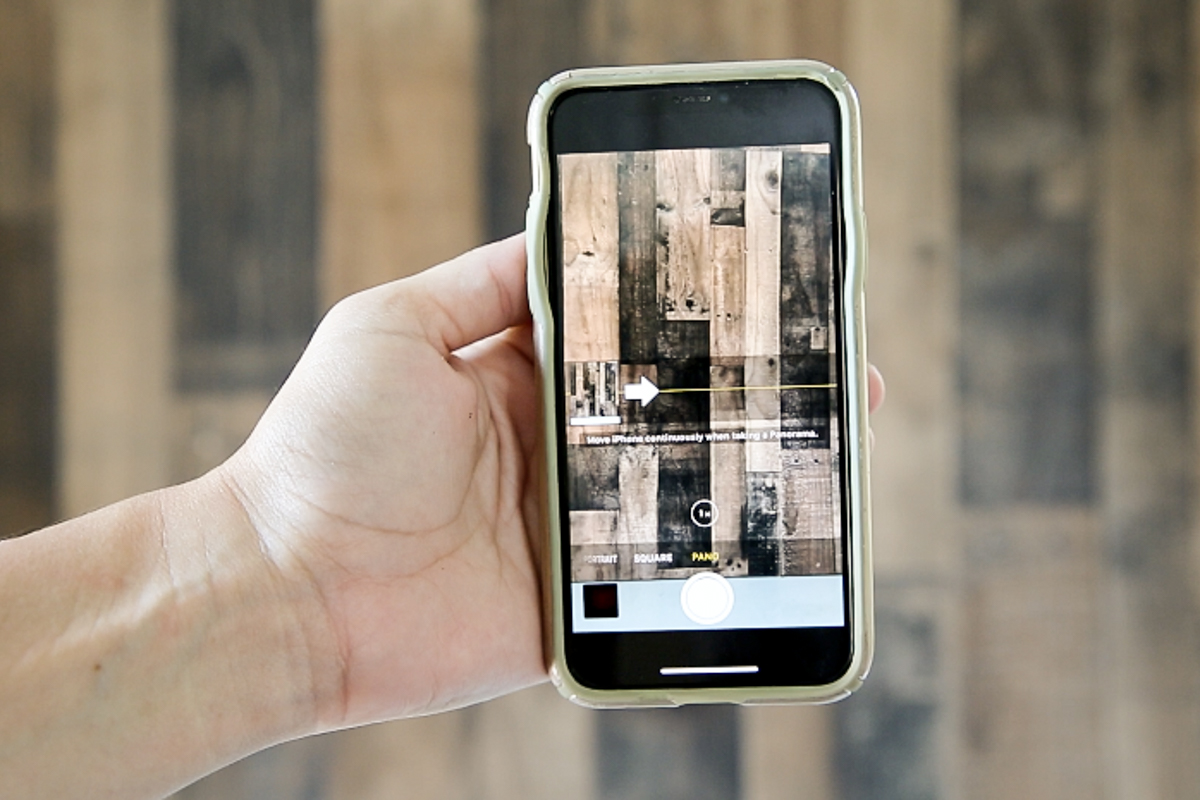
The first step is to use your phone’s pano mode to take a photo. This slightly distorts the subject and makes their face look just a tiny bit more creepy.
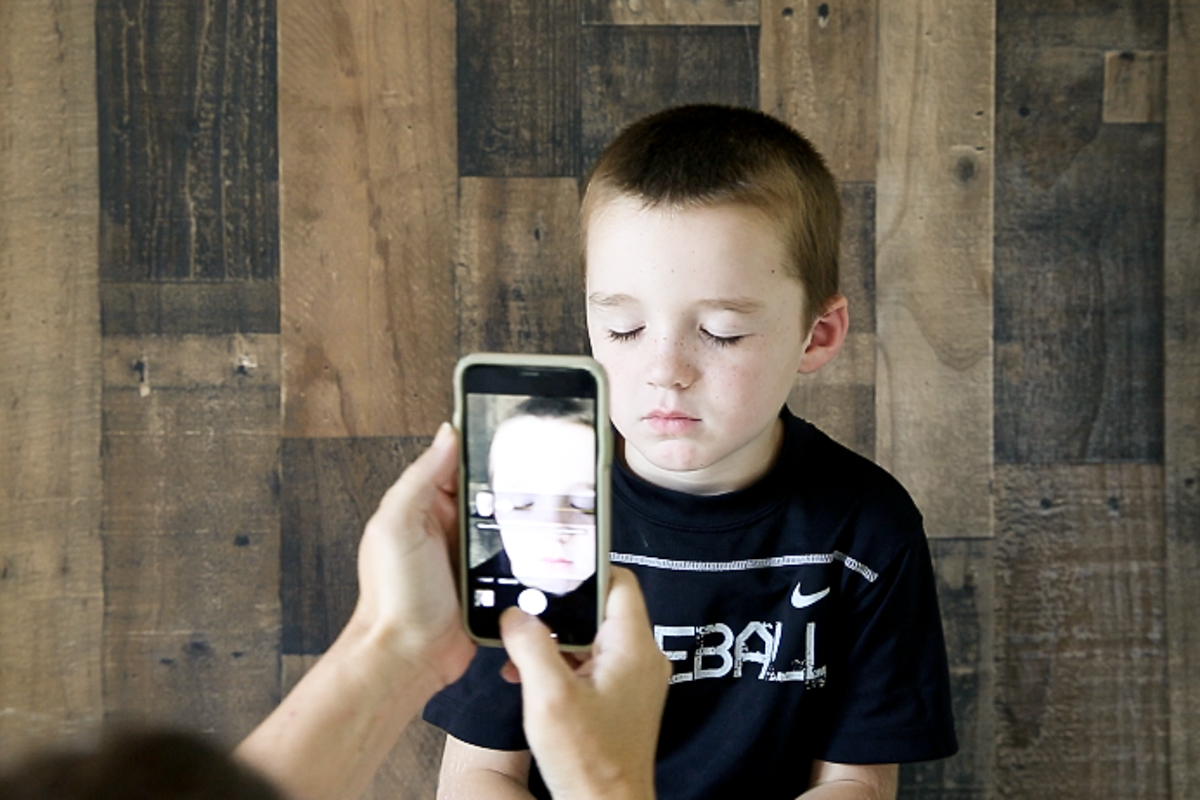
I took a photo of Weston in front of a dark background and this worked great.
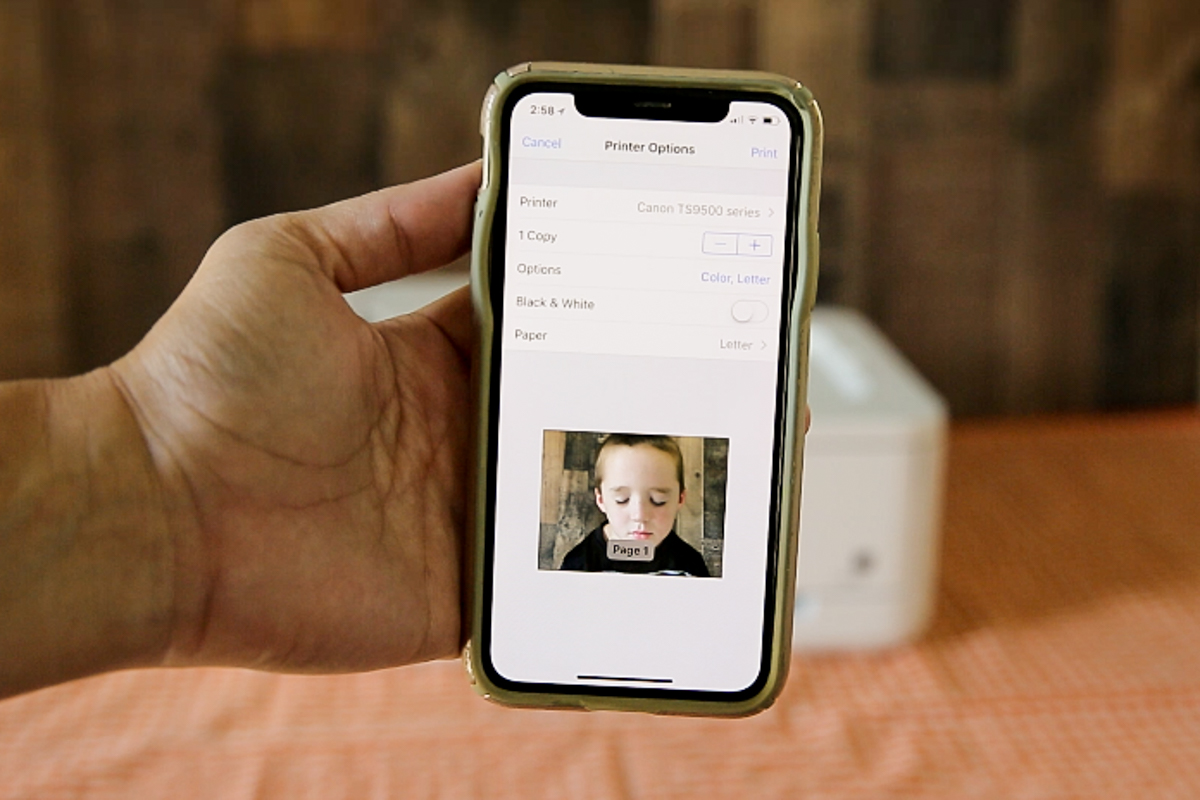
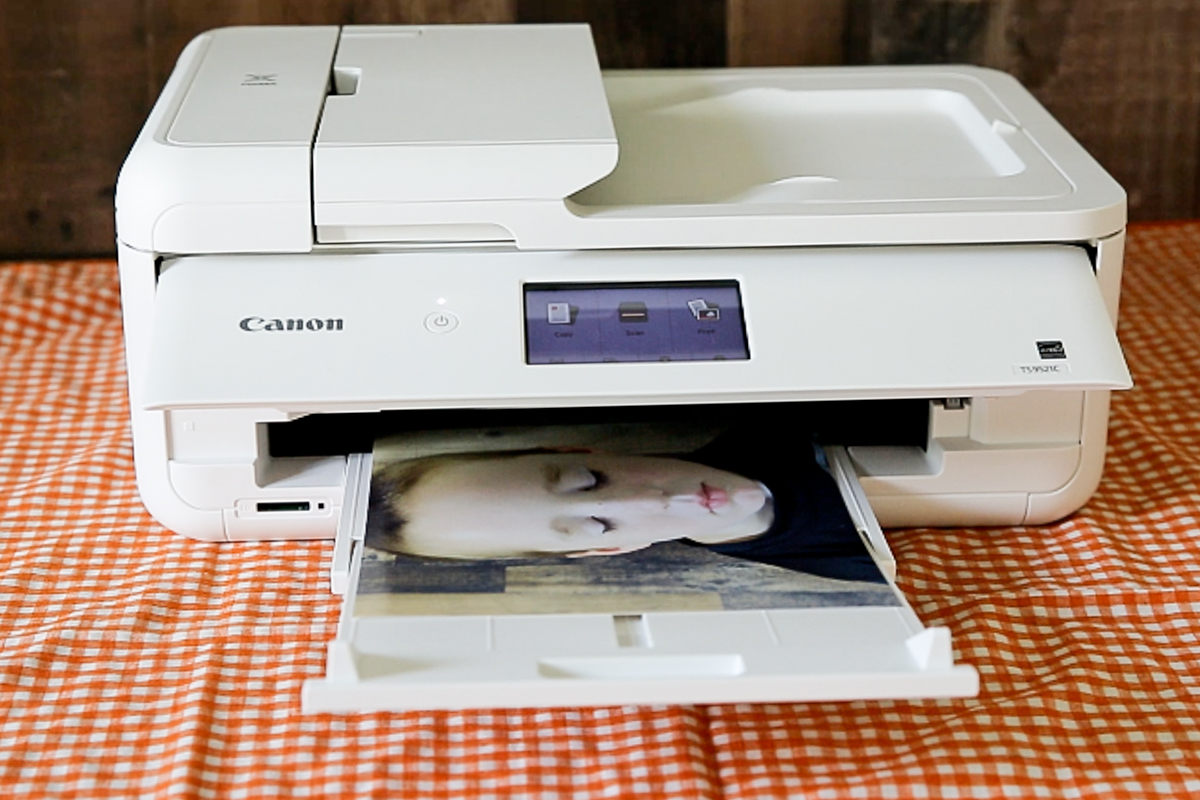
Then using the TS9521C Crafting Printer, I printed the photo. I love the wireless options of my Canon printer….I just printed these directly from my phone on photo paper.
The jars I had were tall so I needed my photos to be tall. I feel like now that I’ve made several of these, I learned that the larger the photo the better!
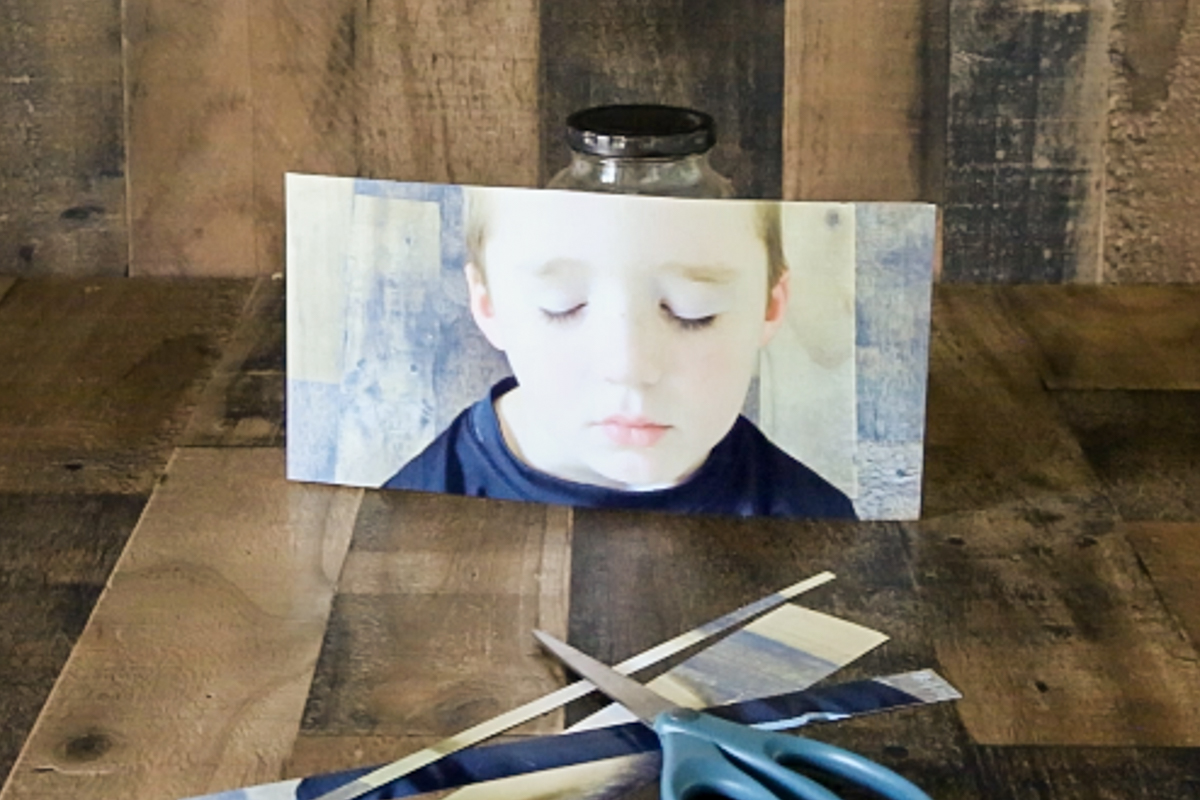
Now trim down your photo on the top and bottom so that the main features are the center and it can fit inside the jar. I also trim the sides so that the lamination material can seal up the entire photo.
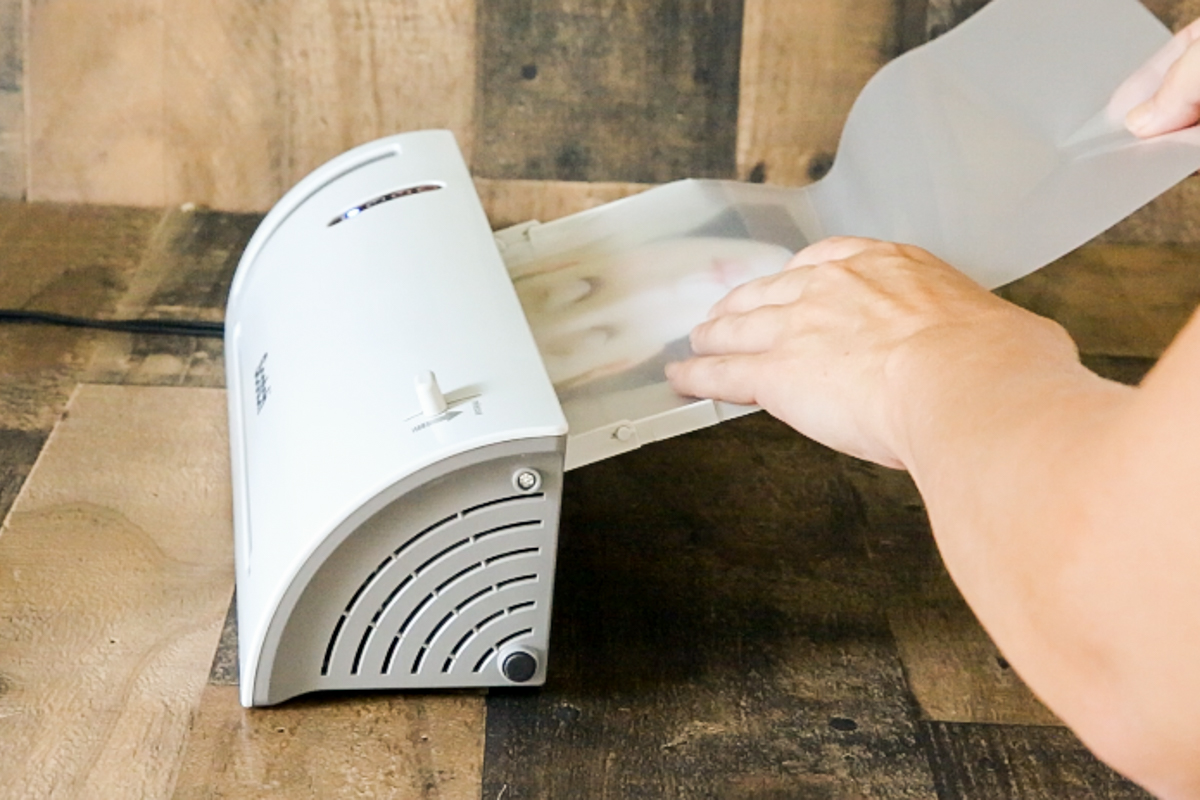
Speaking of lamination….go ahead and pop your photo in the lamination pouch and seal it up! I trim off any excess plastic and it now will survive swimming in its gory grossness.
Roll up the trimmed photo and pop inside the jar and make sure it is in place.
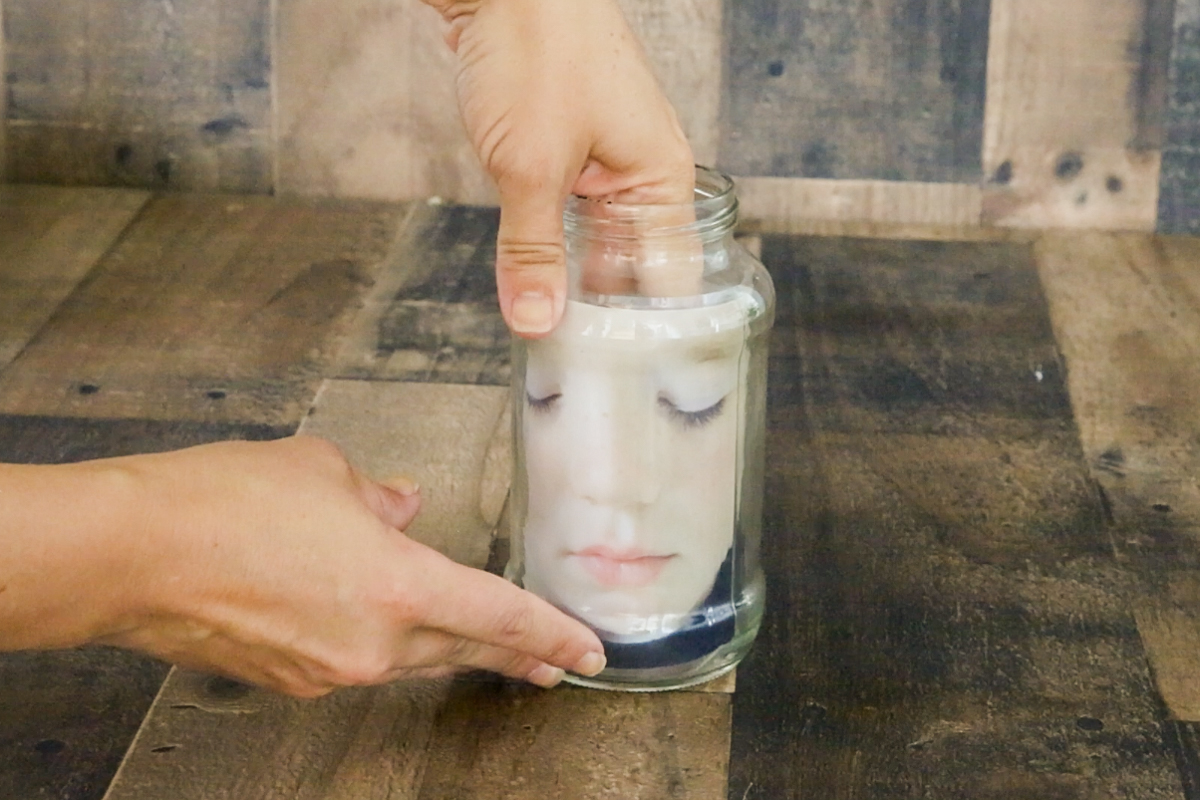
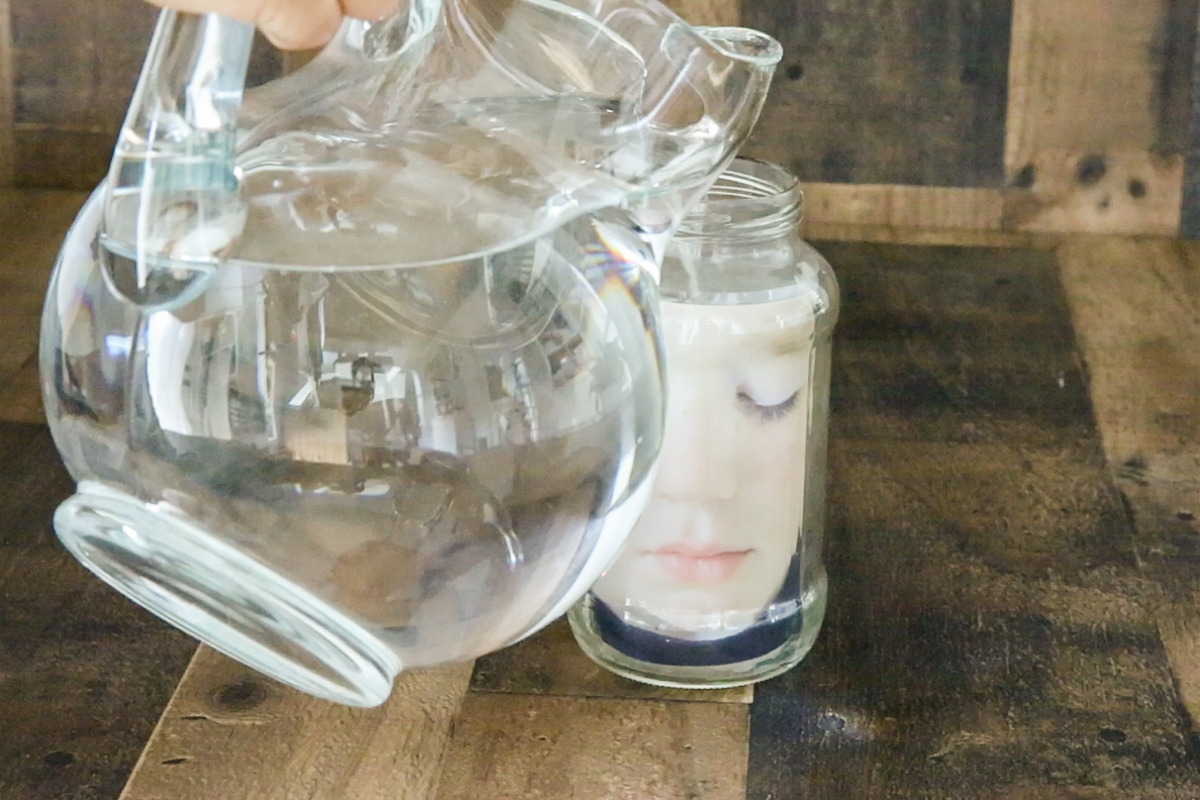
Fill the jar with water.
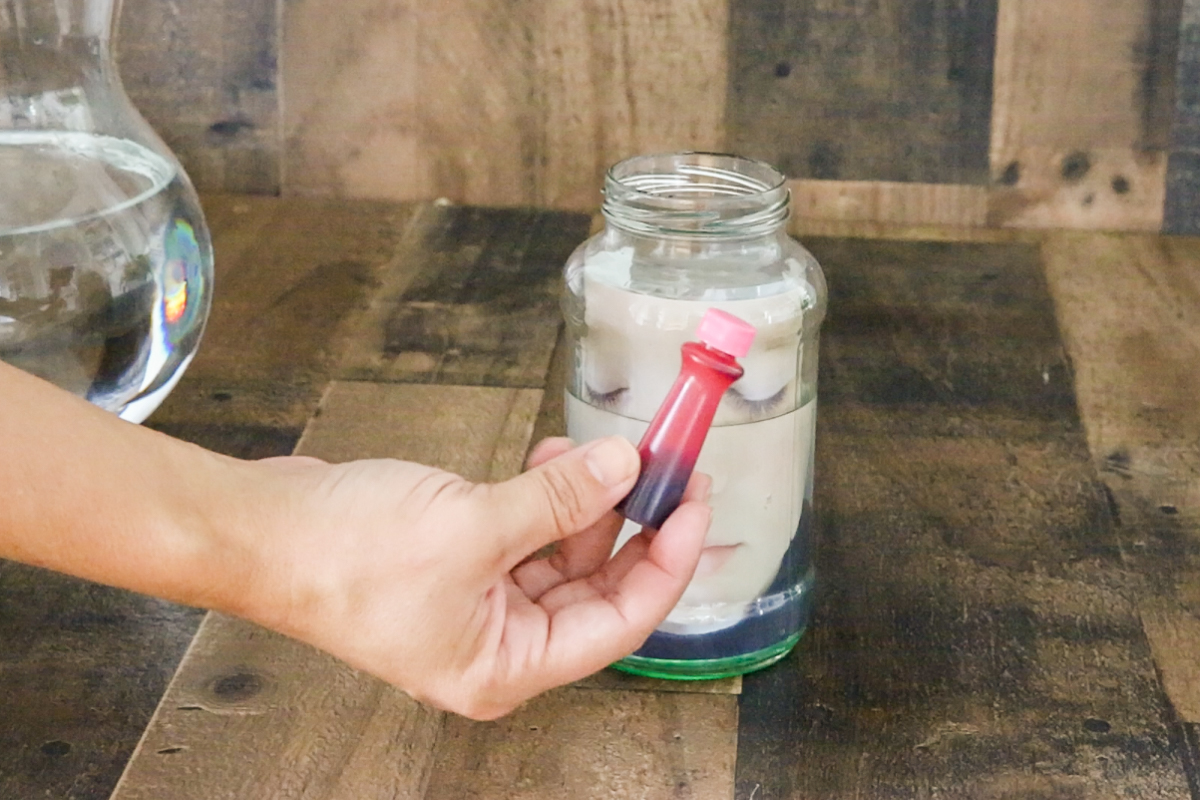
Add food coloring. My favorite blend was six drops green, six drops red and four drops of yellow.
Then you just put the cap on and shake the jar till the food coloring is throughout. It’s really that simple! You can add pickle juice if you want seeds in there and a fun smell or even hair clippings for floaters! Ha!
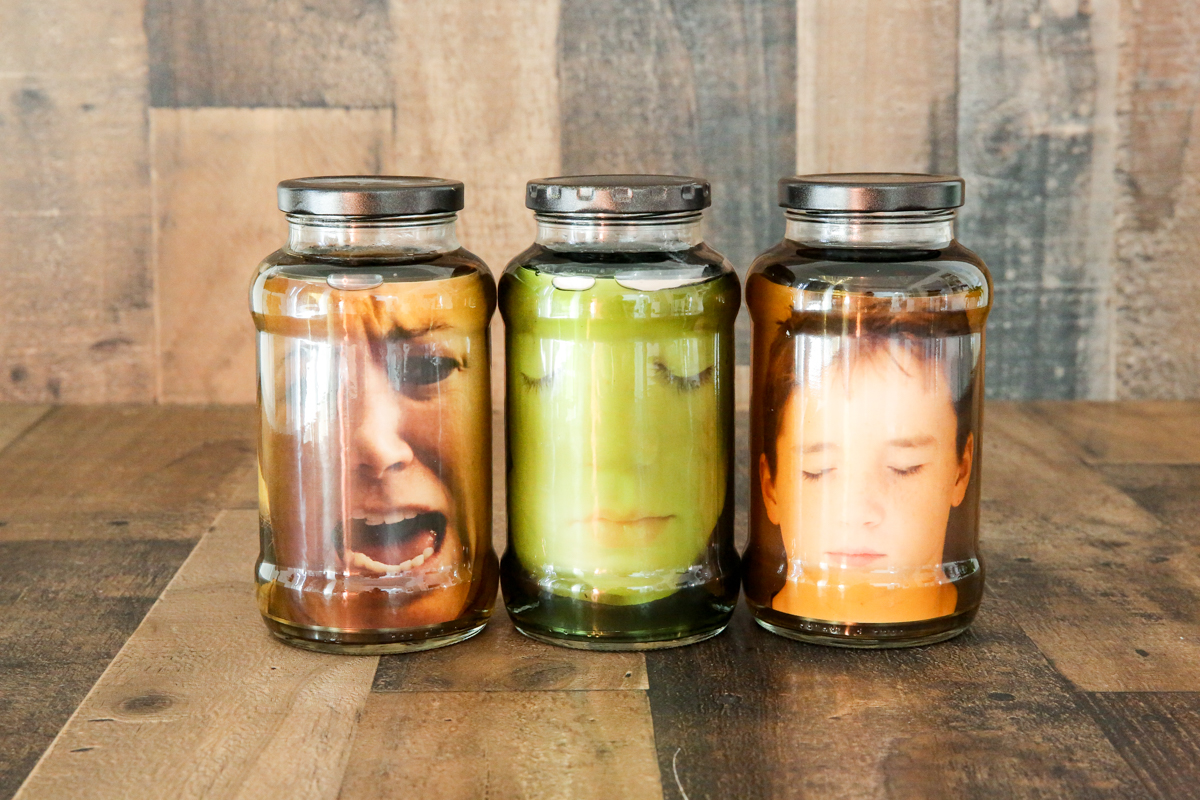
SO there you have it guys! I hope you try this project at home and I am super excited to show you this fun little video demonstrating exactly how easy it is to make!
Happy Halloween y’all!
Fun project! Another tool to use is Xerox Never tear paper.. I have used it in the past as it sometimes is cheaper than printing and then paying for lamination (if you don’t have one already). I split a pack with my sister and we use it all year long for many projects! Anyway the paper is waterproof so you don’t have to laminate.
OMG this is so fun 🙂 I bet the boys love it
These are both hysterical and so stinking cute!!!
That’s interesting! I’ve never heard of that!
xo – kb
This is so cool! My husband has a decorating contest at work and this would be so awesome with his co-workers faces in the jars Thanks for sharing.
I use paper chains for countdowns till special days. It’s a good visual for young children to “see” how long until the special day. Plus it’s exciting to see the chain get shorter every day.
I love this idea. I’m going to be using it to decorate for Trunk or Treat. I don’t have a laminator, but just did a test run overnight with a regular photo in the jar of water and it worked fine. I only need mine to last for a couple of hours so I think it will be an inexpensive DIY that will creep the kids out. Thanks for the inspiration.
I’d love to see it!
xo – kb
The Head in a Jar Decor was a success for our Trunk or Treat. You can read about it here: https://controllingcraziness.blogspot.com/2018/10/heads-in-jar-halloween-trunk-or-treat.html
The kids loved it. I added a bowl of brains (dyed spaghetti noodles) for a creepier effect too. Thanks again.