Happy Halloween! If you guys are anything like me then you are probably frantically running around pulling out storage bins with halloween gear and planning all the things last minute for tonight. How can these holidays sneak up on us so fast?! It seems like yesterday I had Ella and the day before that I was frantically trying to find the Fourth of July shirts! I need time to slow down so that I can catch up! Also I need to stop using exclamation marks (!!!).
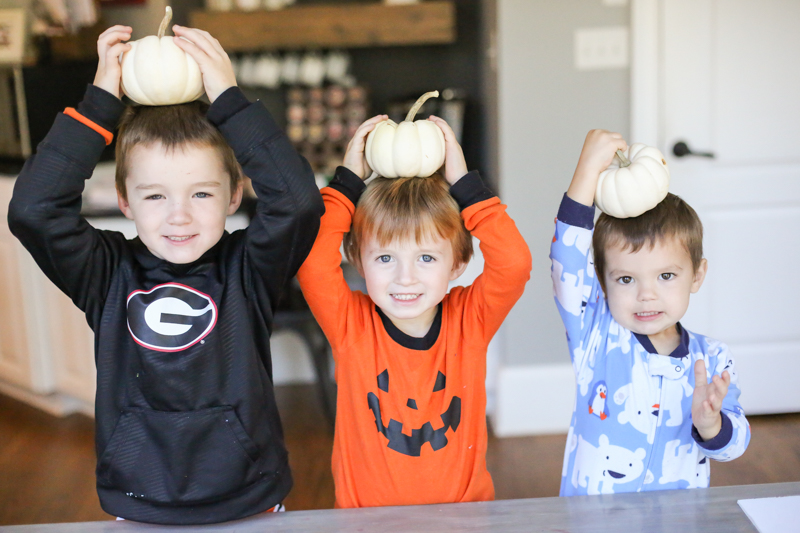
So yesterday I realized that we had done no toddler pumpkin with my littlest nugget and since all three little boys were home, I decided to do a craft with them. Introducing our newest arrival…..we shall call him Joseph. (get it? Coat of many colors? Any takers?)
All three boys were super into it. And since this was a ‘sitting-down’ activity….so was I. I’m into anything that burns the fewest calories possible 🙂
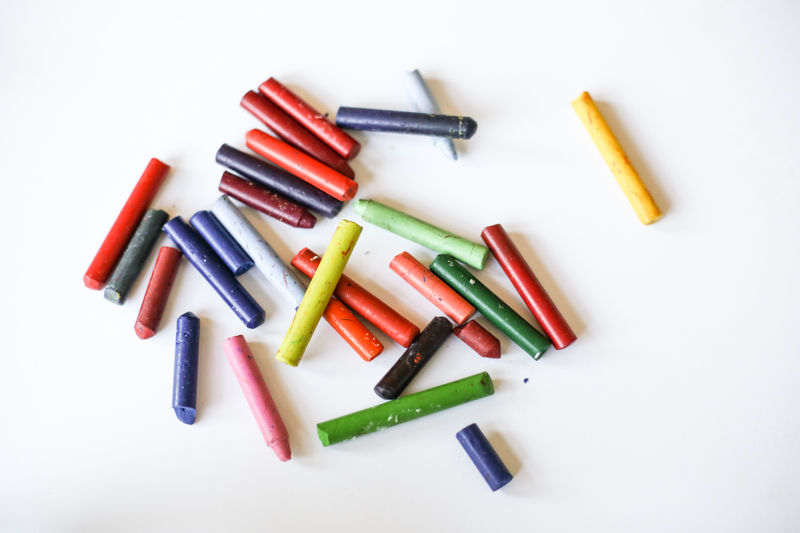
So the first thing that we gathered up was some broken crayons. We have plenty of those. Actually all of our crayons were broken….because my kids apparently have the forearm strength required to lift a rhinoceros.
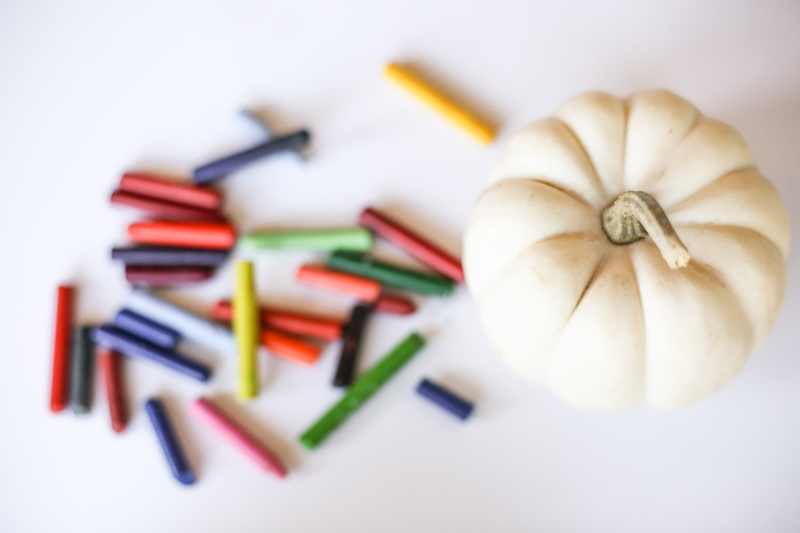
And you need a little white pumpkin. We got ours at a grocery store. And now that grocery store, along with Walmart and Home Depot and all of Loganville has no more carving pumpkins. I wish I were kidding but since I delayed….now I am gonna have to carve a watermelon. Or spending $30 on one pumpkin. I’m still weighing the options.
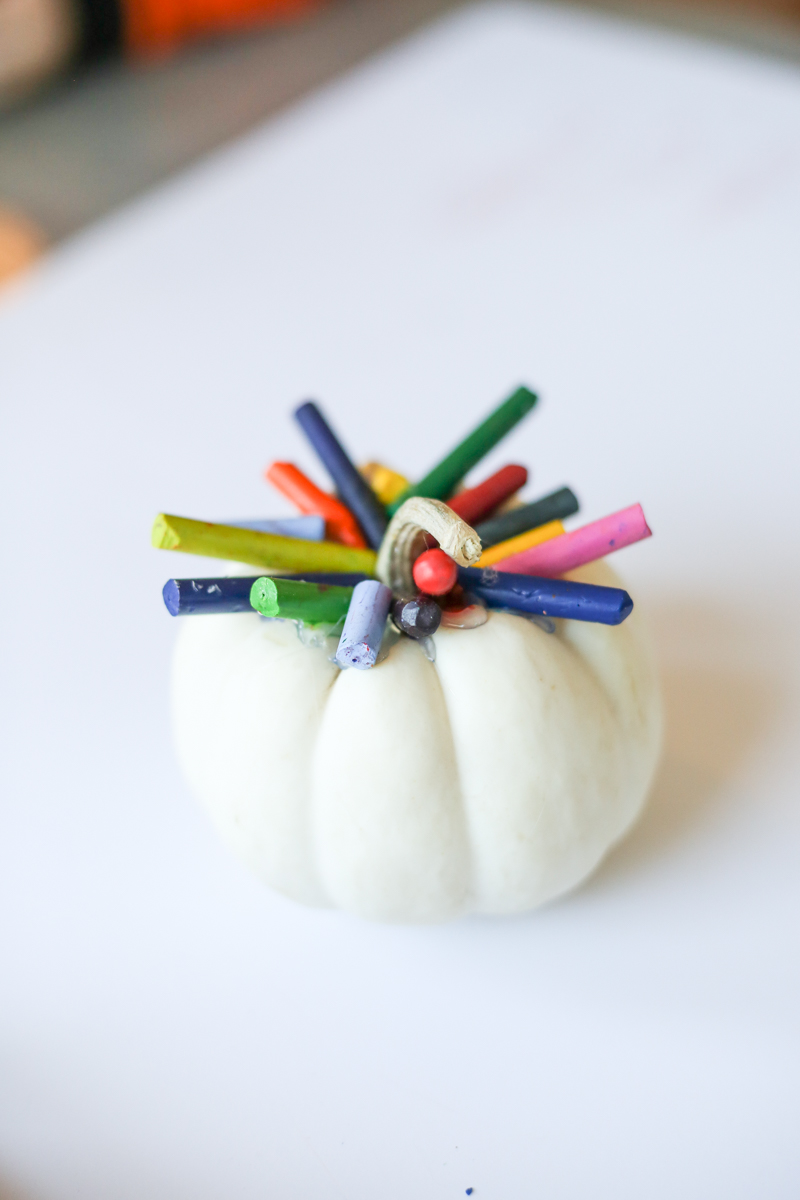
So we took the crayons and hot glued them into the top. The kids took turns picking the colors.
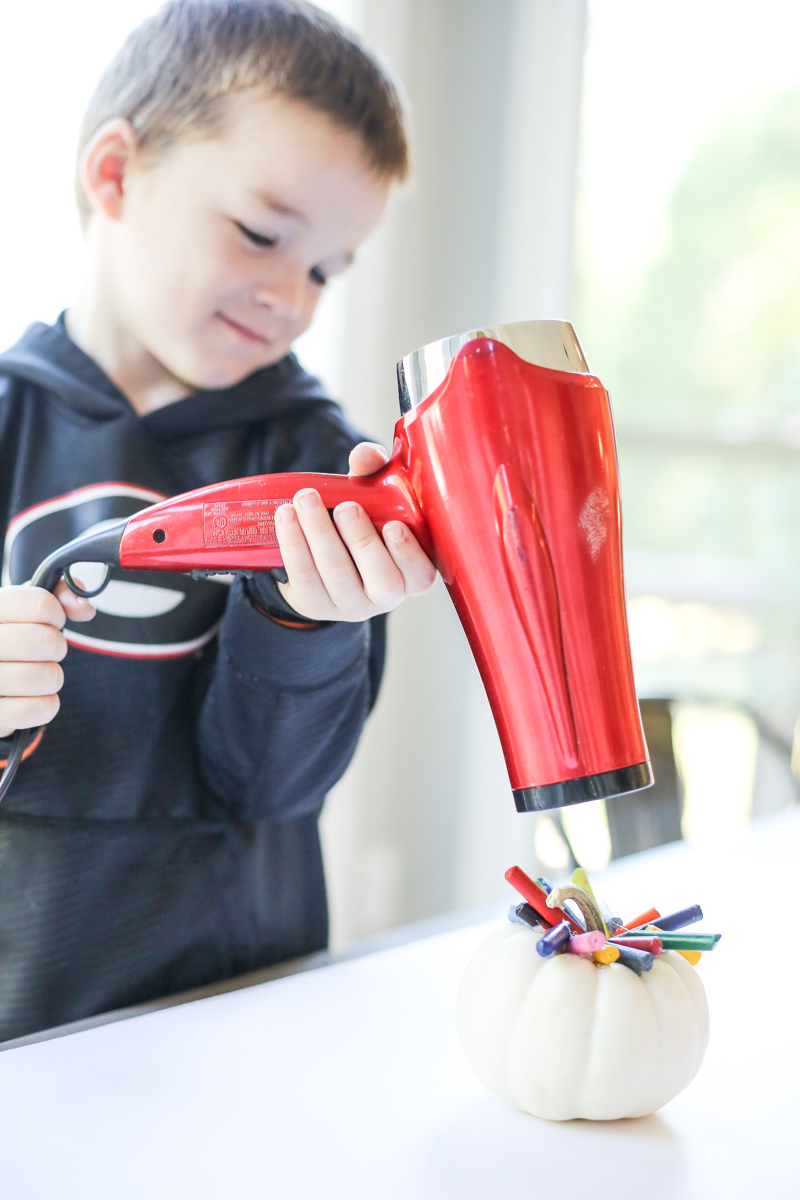
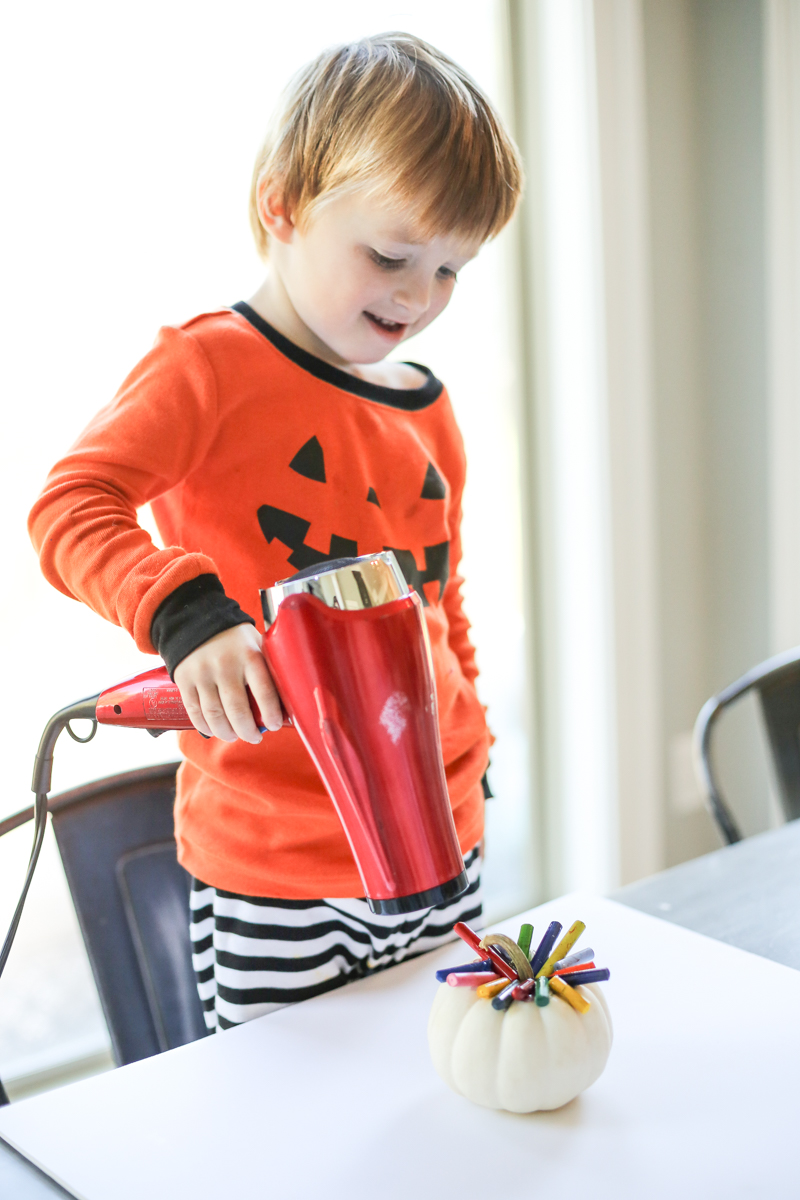
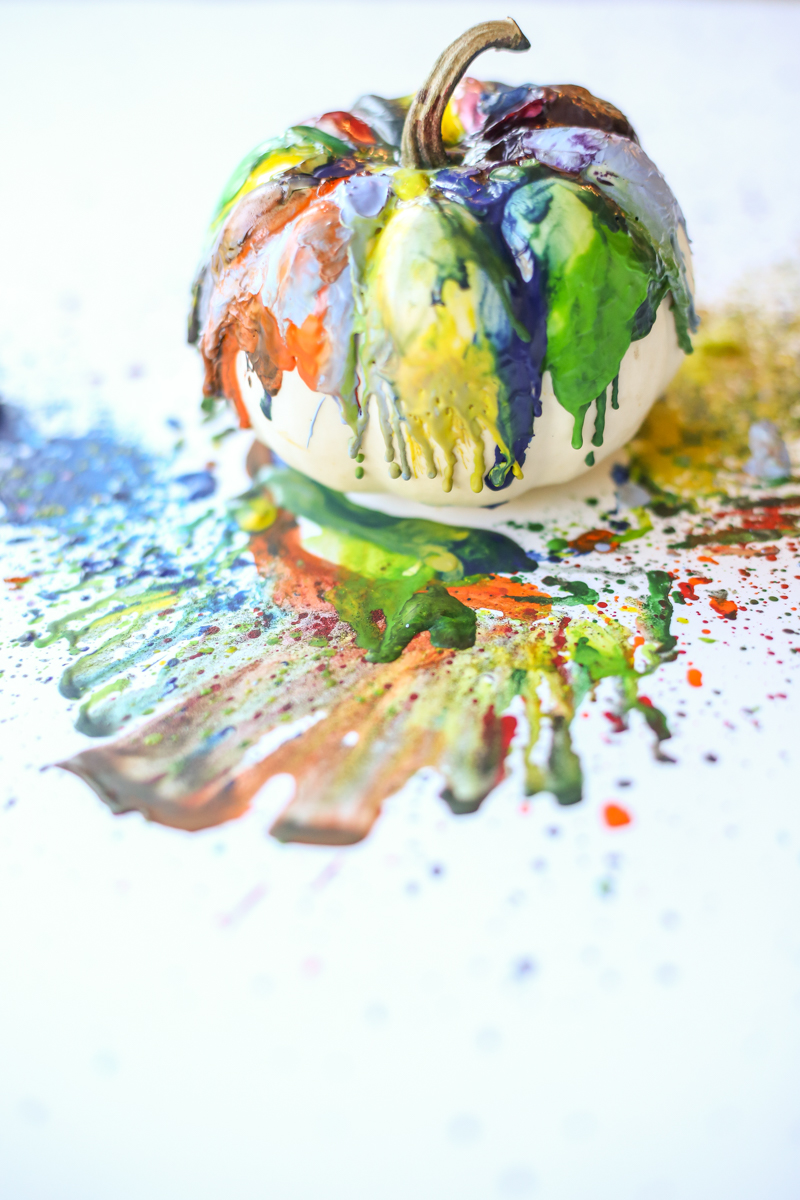
And then they took turns with the blowdryer. Guys…..I have seen this waxy-pumpkin-tutorial on Instagram and it took less than 7 seconds for all the crayons to melt and blend together. DO NOT BELIEVE THESE LIES. It takes a solid 12 minutes….the kids will loose interest….so you mom will end up blowdrying a pumpkin for 11 minutes….at least.
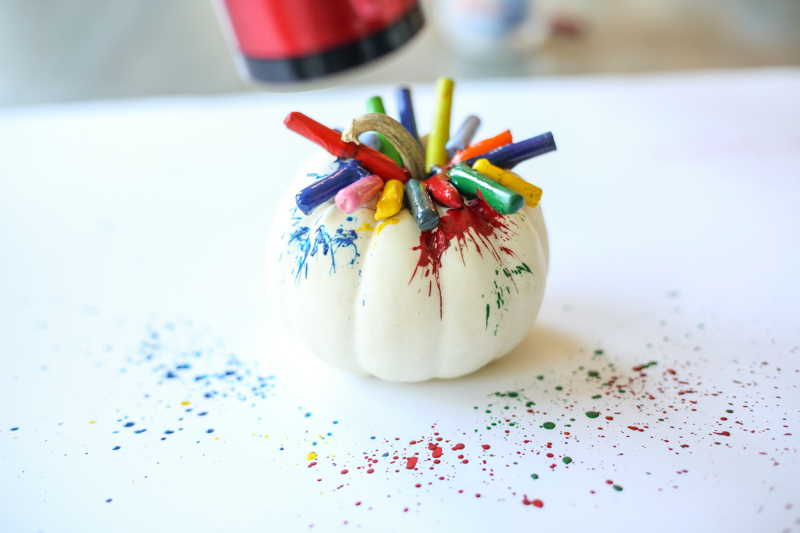
And it is definitely messy so you want a board under your project. But the shrieks of excitement are pretty fun when the crayons start to melt….and those are just noises from you….you should hear the kids! ha!
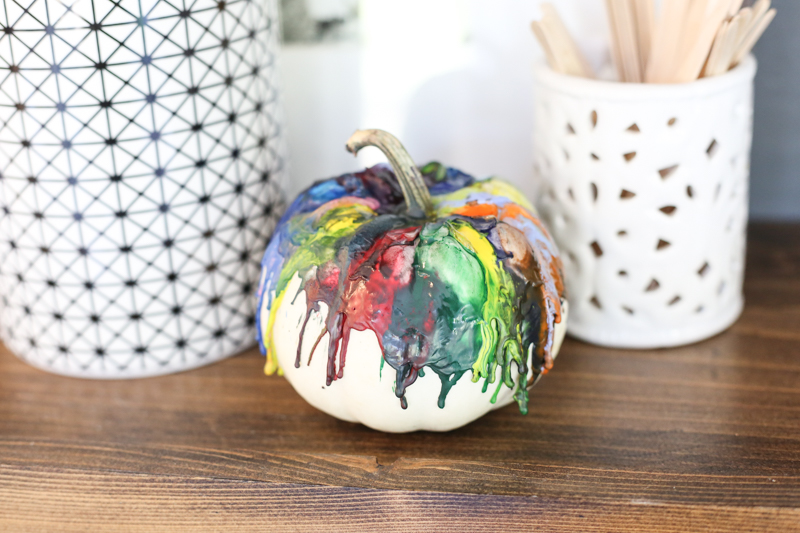
The end result is so fun….
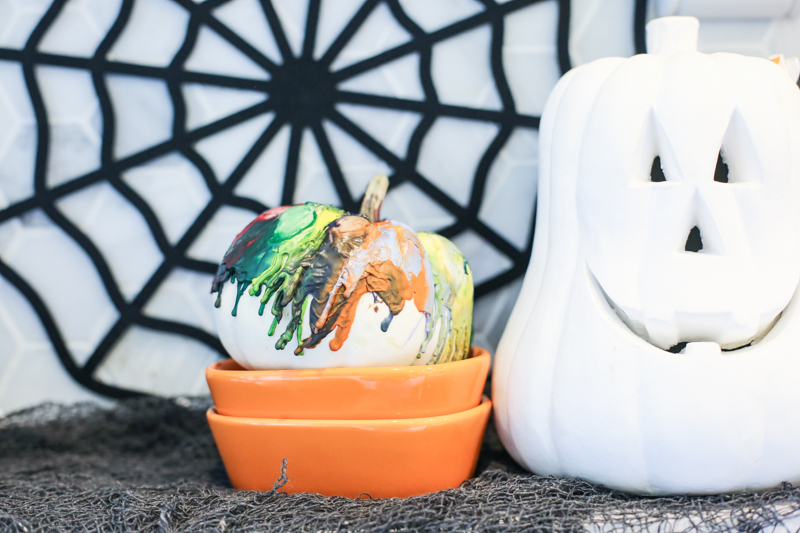
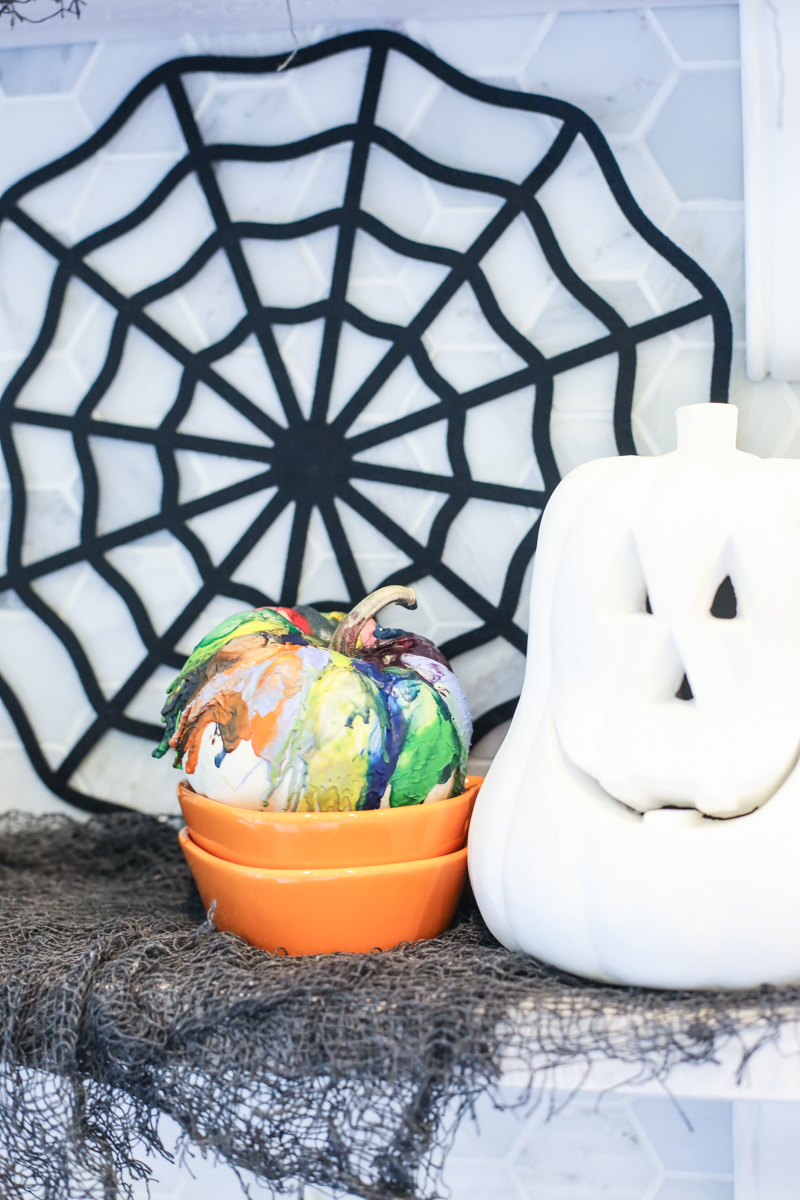
We put ours up on the shelf after the wax hardened up and it looks like artwork. And the benefit over doing this with paint is….paint rubs off when you handle a pumpkin….this doesn’t.
It’s super cute right? I definitely see us trying this again….maybe next time with a heat gun instead of a blow dryer….because I think it would be less messy and displace the crayons less at the top.
Have you guys cones this project with your kiddos before? What did you find worked best….heat gun or blow dryer? And did the types of crayons matter? It definitely helps to have a white pumpkin so at least we did that right! And now I’m off to get all the costumes together, find our pumpkin carving stuff, buy candies for the trick or treaters and try to work in a shower! Stay safe y’all and hope you get it all done!
I did this with my kiddos too, but I cut the crayons in half and they seemed to melt a lot faster that way. It likely took 3-4 mins with the blow dryer when the crayons were cut.
What a cute idea! If you saved the cardboard that was underneath, would it make a neat piece of art? (Since the pumpkin itself is perishable.)
What a fun and easy project!
Design by Sydnee | A Lifestyle Blog
Ha! Ok I feel you. We did a similar project and I gave up and got the heat gun from the garage looks cute and easy entertainment though!!
Can you instead put the crayons (one at a time) IN a glue gun (instead of a glue stick)? I don’t know if that would work, or if it would ruin the glue gun forever, so it’s just a thought! I bet someone else on here will know the answer. Of course, you don’t want little ones handling a glue gun (probably not even a low-temp one), so I guess it would be more of a “watch mom melt crayons” project.
Hi there!
For the past week, when I try to view your site on Google Chrome (from my phone) your site freezes up. When I view it from safari it works ok. Any ideas there?
My hubby and I did this last wk. We used 2 heay guns and ended up doing one of 2 crayons at a time. I wanted to glue them all with the glue gun before hand but…..ah well. It definitely took longer because of it. What I didn’t like is how the drips don’t stay to the shape of the pumpkin after they cooled off. They stuck out a bit so I heated them back up but when cooled off, they went out again. Still cool tho’.
Ugh, excuse typos. There’s such a delay on your site when commenting for some reason. I get impatient and hit send too soon.
What a fun project! I will try this for myself! Ha, ha!
I’m thinking the board underneath with all the splatter probably makes some cute art as well. 🙂
This turned out super cute! I haven’t done this project with kids, but I used the same basic technique to make some abstract art on a cheap canvas. Just wanted to mention one thing (that may be obvious, but I didn’t think of it) the wax may not rub off on your hands but at the end of the day it is still crayons, so it will DEFINITELY still rub off on walls, etc. Probably not an issue for the pumpkins, but my canvas left a few marks from rubbing against the wall. Whoops! Haha
This is really cute! I wonder if you could pop them into the oven for few minutes on low. I suppose it would depend on what your white pumpkin was made out of. I put up our Halloween decorations a couple of hours before dark so no judgements here
If you get the right kind of paint it won’t rub off when you touch them. We painted ours and they have sat outside in the rain and are still fine.
I decided to do this pumpkin crayon melting project a couple weeks ago, but hadn’t actually read “instructions”. I didn’t use anything to put the crayons in place, but glue – duh! ha, ha. It still worked, but I had some run away crayons.
Obviously I have issues because if I buy actual paint for my kids….99% of it will end up on their clothing 🙂 Hence washable everything.
xo – kb