When we bought our house, the guest bathroom was hideous. My camera was stolen shortly thereafter so I don’t have before pictures. Then I got to renovating…and forgot to take more. I did manage to download a few during so you can get an idea of what it looked like.
Here is what the bathroom looked like after I stripped *heehee* off the wallpaper.

The wallpaper was pretty horrific. Pink acid washed jeans is probably the closest description. Here’s another picture of it just in case you forgot how crazy-ugly it was:
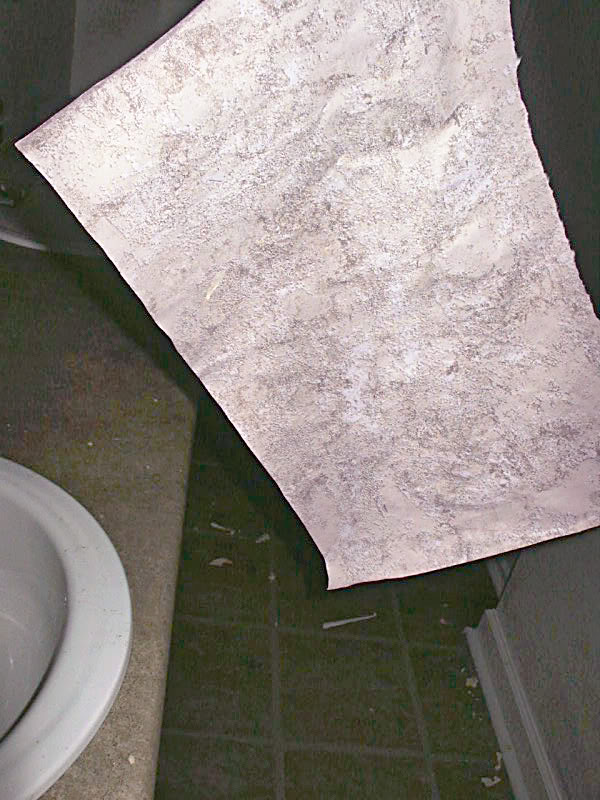
(don’t look away. you can do it. stare the demon paper right in the eye and know that you have seen the soul of evil!)
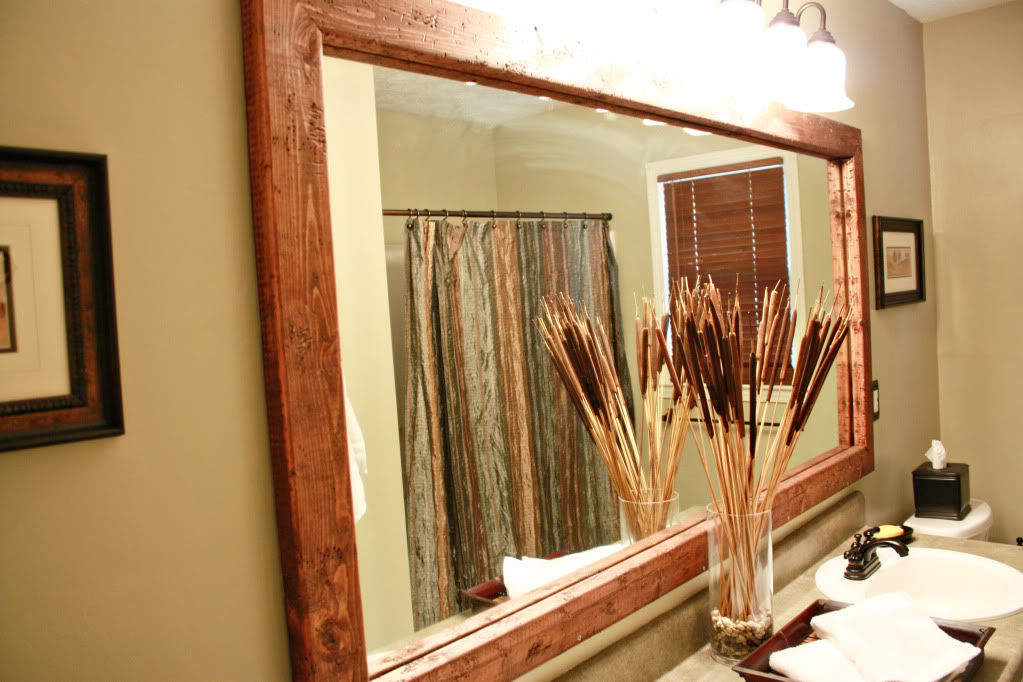
Okay. Now that you have seen what hades is wallpapered with…let’s move on to the real point of this post: the mirror.
Our mirror was just glued right to the wall…there was no possible way of removing it without it cracking worse than a plumber.
So we decided to frame around it. We bought three 2×4’s and just beat the crap outta them. Sorry mom for saying crap. Oops. I said it again.
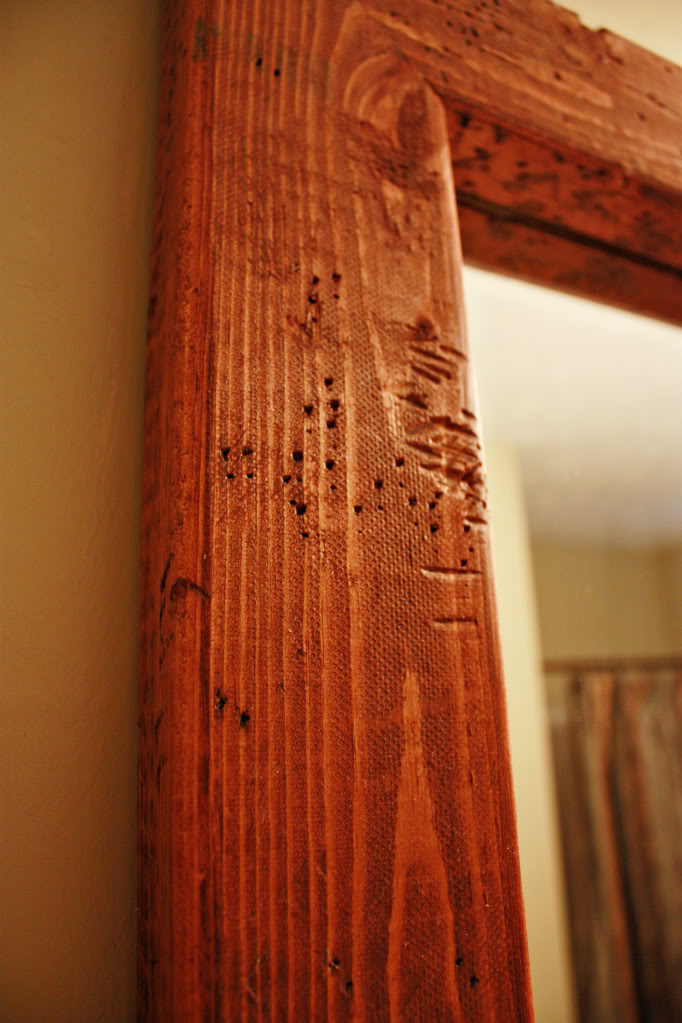
I spent a couple hours taking out the aggression at the previous wallpaperers on these boards.
Hammers, chisels, chains, anything with a pointy end was thrown at these things.
Because that is how I would treat an acid-washed wallpaper fiend. I fight like the devil. Just call me Disco Inferno.
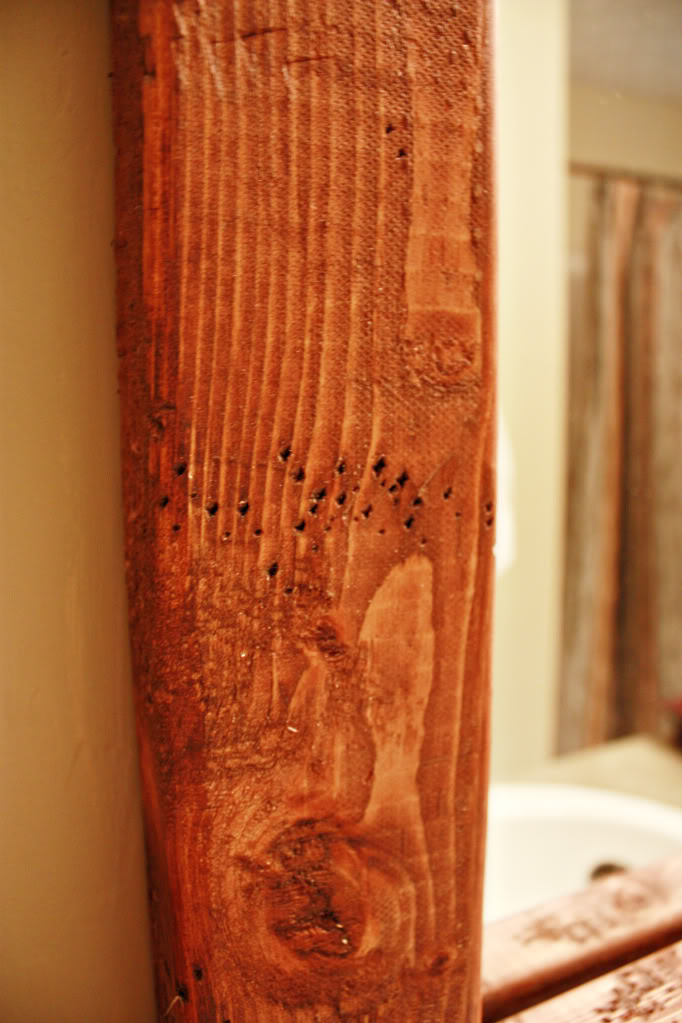
I had to make sure that I did it to all three sides – one broad face that would be parallel to the plane of the mirror and the two little faces that would be visible from the side.
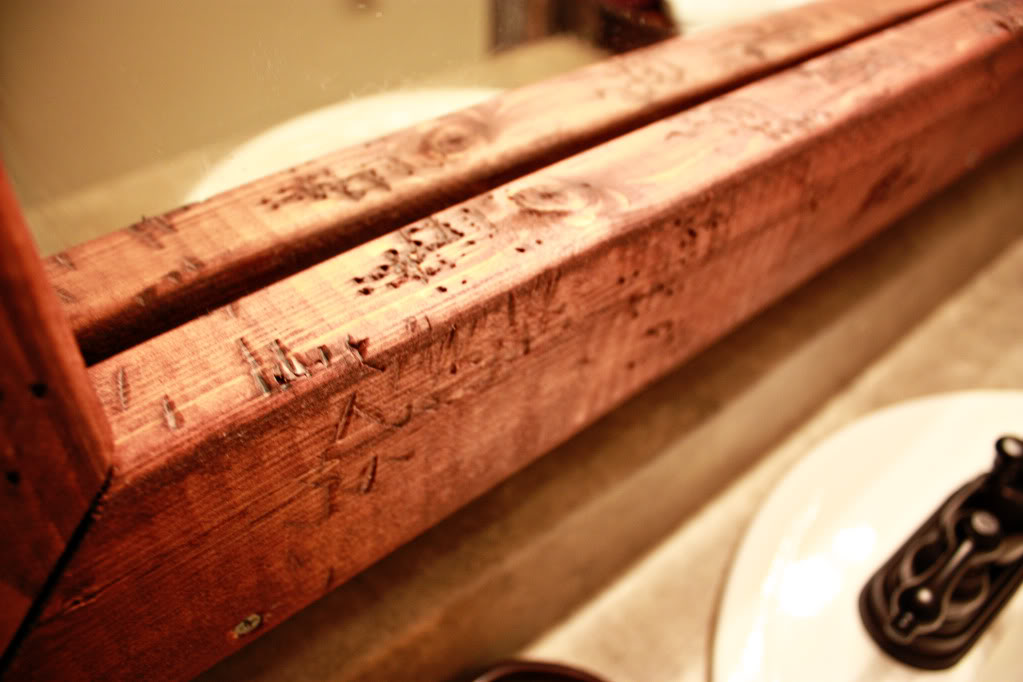
Then I rubbed some cherry colored stain on it. Nothing fancy. Just wiped on. The wiped off.
So now that the boards to frame out the mirror are prepped. Let’s take a look at the planning process.
Our mirror actually sits about four inches above the countertop ledge. I did NOT want the frame to touch the ledge or even come close…afterall, I had to fit a paint brush in there, right?
And our second conundrum was that we didn’t own a router. So that meant that we couldn’t cut the boards to fit the mirror inside…the wood must sit ON TOP of the mirror.
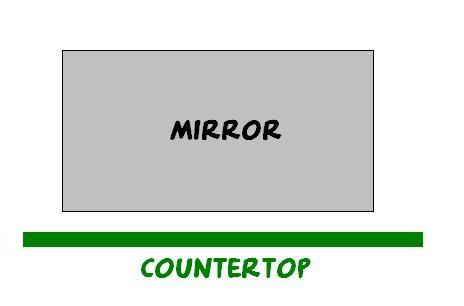
Our little idea was to attach plywood strips to build up the wall around the mirror and allow the wood to sit flush with the mirror and still be sturdily attached to the wall.
It had to be sturdy.
Sturdy enough to support my boyfriend’s full weight.
That’s the test.
with everything.
Can this toilet paper holder hold up? Let’s put it to the 180+lb test!
Is this picture hook sturdy enough? I guess I should hang on it and find out!
I play Jeremy. I love your sturdy-test. I mean, I passed it, right?!
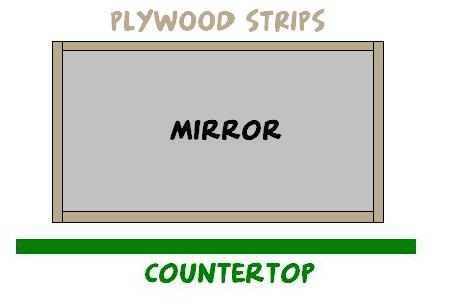
After we LiquidNailed the plywood strips around the mirror, we stained it also so that it would blend in with the boards that were soon to be applied on top.
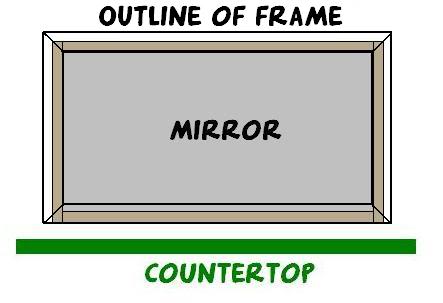
So now comes the tricksy part – the planning of the frame.
The frame was cut to show the maximum amount of mirror while still allowing for a three inch gap between the wood and the countertop ledge.
This is how it went.
We measure the top piece first – then mitered the corners.
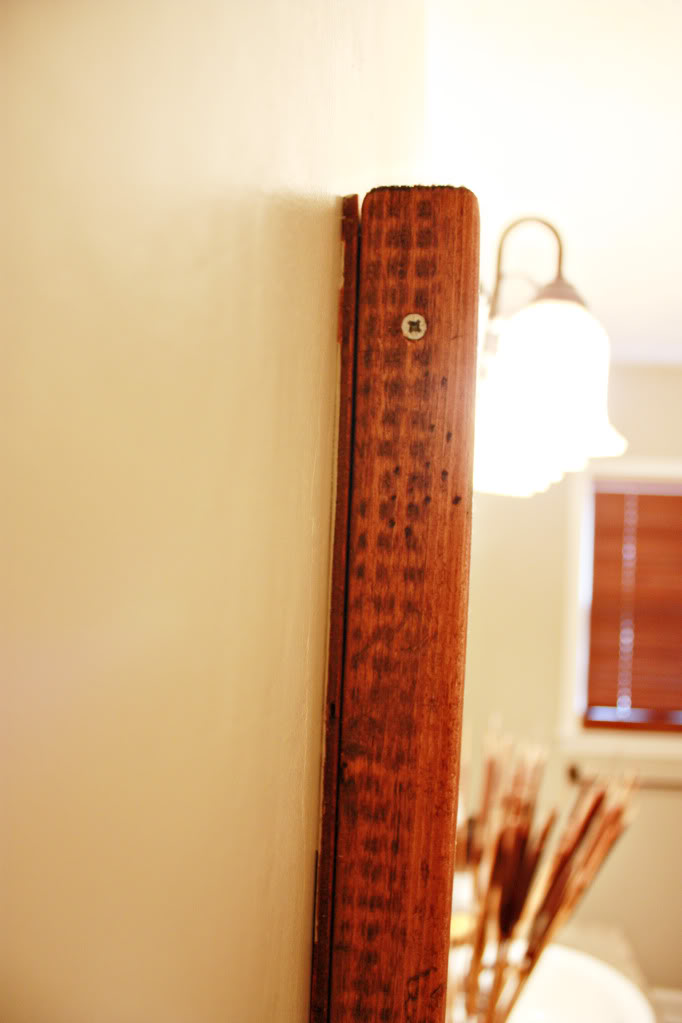
The second piece was the bottom which you notice was lined up so that the bottom of the board was in line with the bottom of the plywood strip.
This meant that we needed to screw in the bottom of the board as close to the bottom as possible. Too high – we would crack the mirror. Too low – well, nothing would stay put.
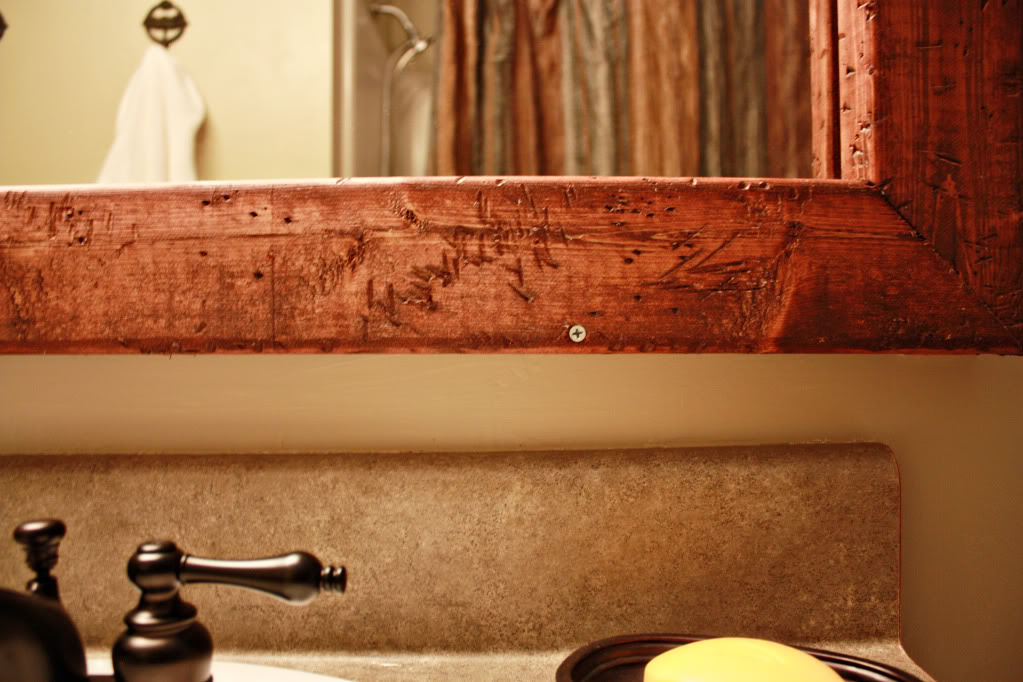
After cutting all four pieces, we screwed the top and bottom part of the frame into the studs (every 16 inches).
And the side pieces were attached to the top and bottom pieces by two screws. One on top. One on bottom. But the key was to screw them not on the face of the board.
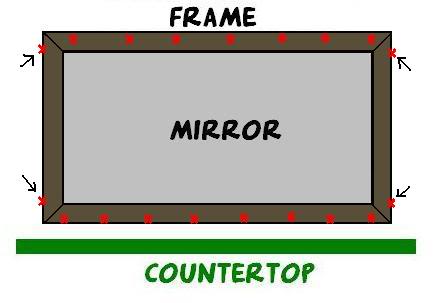
We went in from the side – diagonally. A little wood glue on the back helped too.

You might be wondering why we did that.
Well, it just so happened that there was no stud behind the wall right there. If we had screwed the sides of the frame directly into the drywall, it could easily be karate-chopped out and there is no possible way that my boyfriend would give it his seal of approval.
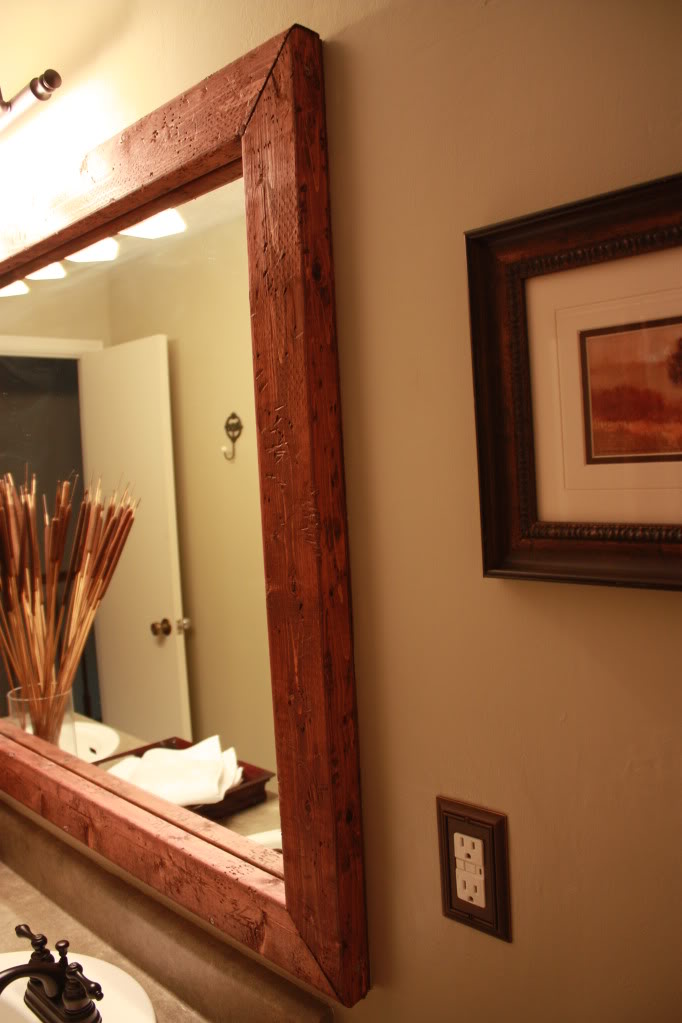
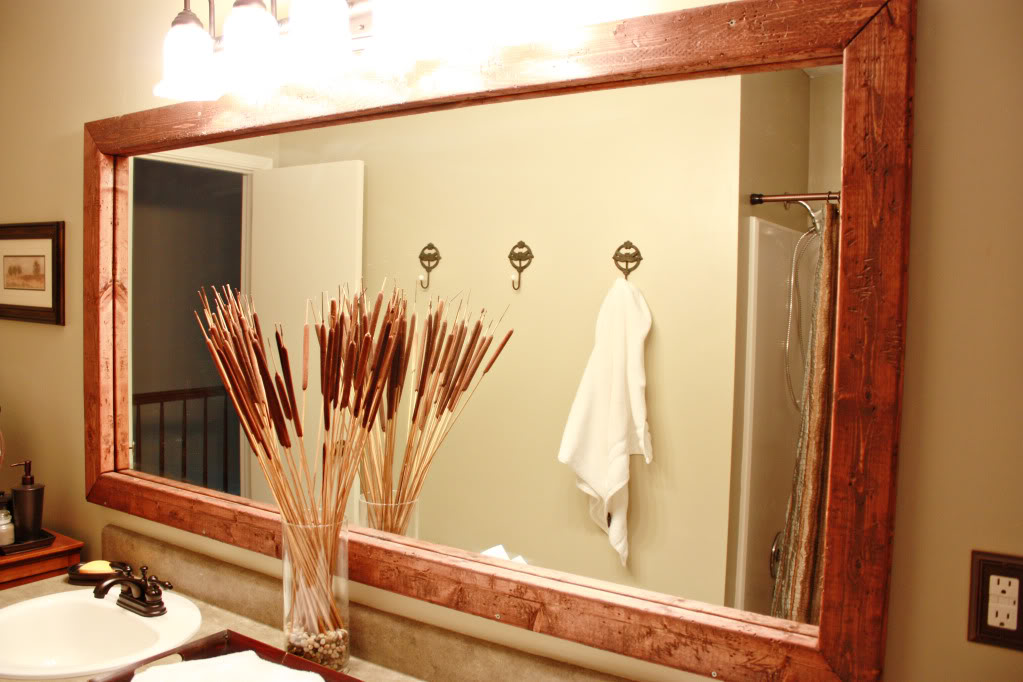
So there it is…one mirror renovation for the low, low cost of $12. Not too shabby, huh?
So now that you got to the end of this super-long post, I would like you to talk for a bit. My voice is just irritating.
Any mirror framing stories out there? Anyone add a little trim to your bathroom mirror? or how bout this one – any horrid wallpaper yarns you would like to share?
I know you do 🙂 That stuff is worse than cliques in highschool. I think 🙂
how bout i just realized that someone who lived in my rented house before me put up border in the kitchen and then decided they didnt like it so they PAINTED over it instead of taking it down. wth?!?!
Looks good, sorry I don’t have a mirror framing story to share but I was impressed by your before and after. Good job.
xx
Oh, do I have wallpaper stories for you…moved into a a 1954 house in college that had either a border or full wallpaper in every room. Let me stress this – EVERY room. What was worse is that most of the borders were hung only as high as the person could reach standing on the ground. They were all crooked and all horrificly ugly. Upon moving in my roommates and I decided to remove the wallpaper and paint. Would you believe that in every room as soon as we would tear off a layer of border there would another even uglier boarder underneath! Who does that?? Crazy people, that’s who. It was nuts but looked way better after we got our hands and scrappers on it. Great job with the mirror and bathroom – lovely place to sit a spell. Ha.
you are so awesome 🙂 i love that mirror and that whole bathroom!
great way to dress up a typical mirror.
Love that you posted about this- I always think of your mirror when I see the plain boring ones in houses. 🙂
We have two types of horrid wallpaper in the house we just bought. The one in the entryway is dark olives stipes mixed with gold and burgundy. Yummy. The second one in the kitchen is peach, gray and green splotches. Extra yummy. The odd thing is that our house is not particularly old – it was built in the 90’s – but I guess the previous owner had a thing for fugly 80’s paper.
Our new house has both!
We gave a medicine cabinet a quick face lift with a coat of paint. It’s in our rental apt. bathroom, so we don’t have to live with it. Not my first choice but it looks a lot better. The wallpaper we ripped out of our 2nd floor bathroom was pretty special too. I’d rather look at bare plaster than what was up there before. Pics are on our blog, if you’re interested – http://brickcitylove.com
Awesome! I so want to do this in my bathroom to the mirror. Thanks for the step-by-step.
CRAP! Oops.
Ah, I’m jealous! I tried… I bought trim for our bath and the downstairs 1/2 bath, painted it, cut it… and that’s where I got stuck. Our mirrors are hung with little bracket things that show on the front. They aren’t big, but they add enough that the wood wouldn’t sit flush to the mirror. I thought about trying to carve out a spot for the brackets but that seemed so tedious. Almost 2 years of them sitting in the garage and we took them to the dump. 🙁
Wallpaper stories…you shouldn’t get me started! The frame looks amazing! I wish I could hire you and the bf to tackle all my little home projects!
You worked so hard! It looks good, but any easier solution is MirrorMate Frames. It’s an easy DIY project. http://www.mirrormate.com
O my house gave birth to your bathroom wallpaper! I swear the old owners were in love with the grossest wall paper they could find! But not to worry. They hung all that lovely wallpaper to hide big holes in the walls!
Well, I’d spare you the details, but this story is WAY to good not to share. So I’m going to try to e-mail it to you, if I can find an address. It’s way too long to put on here as a comment, but well worth the read!
Dude, that’s just amazing. I have no mirror stories because I’m too lazy to do anything other than settle for what’s available at Target or Home Goods.
However, when I met my husband, he was living in a house he bought. He slept in a room with purple carpet. Said room was wallpapered in cream with giant purple flowers. IRIDESCENT giant purple flowers. He’s lucky I don’t judge a man based on his sleeping quarters.
This is great! The hubby and I are planning to frame out all three of our bathroom mirrors because we suffer from the same mirror-glued-to-wall problem. Only we don’t have a gap between the mirror and ledge, so we’ll have to apply the frame directly to the mirror. We’re planning to use trim instead of 2×4’s.
Thanks Cari for the link – it just goes to show that there is more than one way to shuck a turtle. I did check out the link and for a mirror my size, it would have costed $220 plus shipping and handling…so that is definitely a huge price difference…BUT if we didn’t have the right tools or know-how, it would have been a good option to consider if we desperately wanted to frame the mirror!
XO – Katie
We did this exact same thing in our old home. We used chair rail that I painted black. Hubby put pieces of wood around the mirror, screwed the chair rail in similarly and it looked great! I want to do it in my new home – not sure hubby wants to do it again, though.
I just finished removing wallpaper from another room in the 1948 house we just bought. So excited to paint! But Katie, that wallpaper is so tame compared to others; can you say peacocks and phesants? I am not joking. Plus another layer underneath, plus the paint underneath is a DARK teal, with a bright pink accent wall! I should email the pics, but I’m waiting till I have an “after” – right now it’s just a “before” and “during”! And we won’t even mention the floral roses in the bedrooms . . .
I so feel your pain with the wallpaper. Our kitchen was covered in it. The worst part was when I sprayed it, blue lines appeared. At first I just thought that it was the adhesive or something appearing when it got wet. But no…..it was another layer of wallpaper.
I love the mirror frame. We have just yanked yours, patched the walls and then hung a new one. Your way is sooo much cheaper and looks awesome!
um sooo the guy who owned our house before our family bought it was a carpenter…some people might think that would mean good things for our home. in some rooms he built entire organizers in the closets from scratch and we love them and then in other rooms he obviously lost his mind. our bathroom looks like the inside of a sauna…walls,floors and ceiling are covered in strips of cedar. also he completely changed the layout of the room and it makes no sense whatsoever. we have a long narrow bathroom, on the left side are a hugggggge area for linens and the tub/shower. on the other side are the sink and toilet. our bathroom is very narrow and i kid you not there is about 1 1/2 feet of space between the tub and the sink now. this wouldnt be so bad if the linen closet didnt take up 3/4 of the room and all the walls werent covered in about 2 inches of cedar…i havent been able to fix it up yet but man it needs it. i could win an ugliest bathroom contest.
Mandolin – wow! Sounds like Mr. Carpenter had a fixation with buying linens…which I can totally relate to 🙂 You should try to enter a ugly bathroom contest – there might be prize money involved!!!
XO – Katie
I think I am going to do that to my own guest bath! Thanks for the inspiration!
We just framed our bathroom mirror yesterday! We had some extra white chair rail so my husband cut it to size with a miter saw. Then we held it up and used the nail gun to attach it around the mirror. The mirror looks SO much better now! Who ever thought a piece of mirror smacked on the wall looked good?
Found it! I’m thinking I’m going to try and do this over my living room sofa. Would love to hear your thoughts on my latest blog post – it’s a question for the blogosphere on a shelving dilemma. Stop by if you want! http://wp.me/pAYXq-93
Love this mirror makeover! I was all ready to “attempt” to do the same thing…but I took a better look at our mater bath mirror, and ours it actually held t the wall by those little holing things with screws, and there is no space at all between the bottom of the mirror and the counter 🙁 Not to mention that there is an outlet plug right next to it on the left side :\ The only thing I can think of is to completely replace the mirror with a smaller one that’s already framed, or that I can frame. Do you have any suggestions?? 🙂
Two years after this post was made, I find it and know how to solve the problem because we had the same issue at our old house. I bought either 2×4’s or 1×4’s, did exactly like the photo except I used liquid nails to hold the mirror to the wall and removed the top brackets that held the mirror in (the bulky ones), then used liquid nails to attach it right to the mirror. Worked great and it’s not budging. Can’t wait to do it to our new house in a more temp. way.
Liquid nails 🙂 attach mirror to the wall with liquid nails, then frame directly to mirror. I held it up with duct tape until it was done drying.