Our master bathroom shower joints are pretty bad.
The grout is falling apart. And frankly, three weeks till Will’s due date is not the appropriate time to start a full-blown bathroom renovation. At least according to Jeremy. I thought we could do it. He totally busts my bubble. or doesn’t. Either way, there is no way that we can redo the grout.
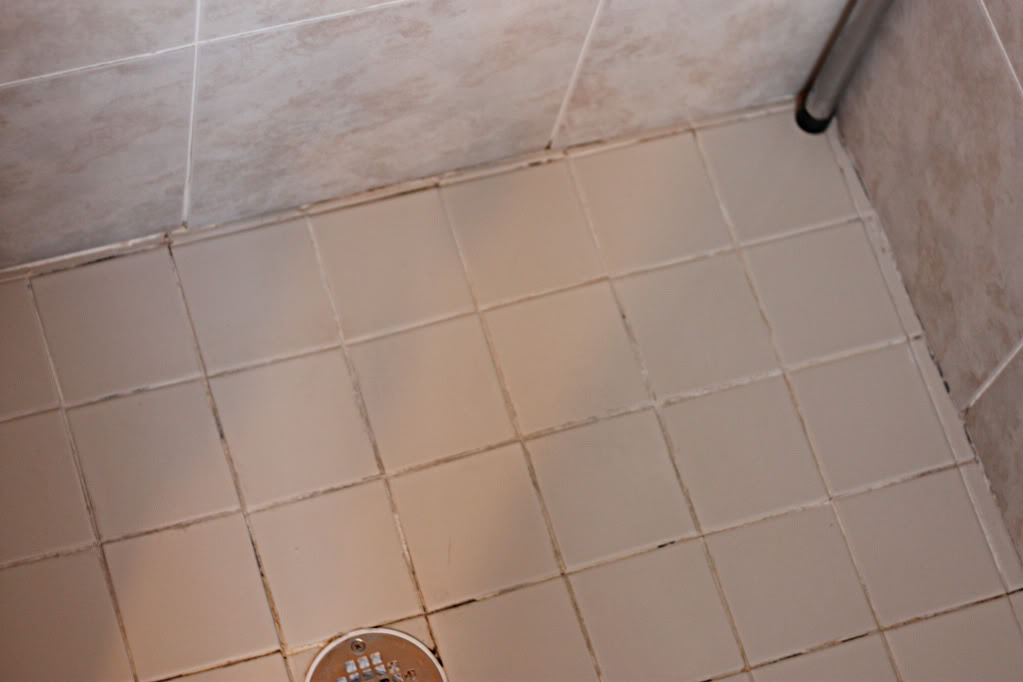
So instead of scraping out the grout, I did a bit of research on a quick fix.
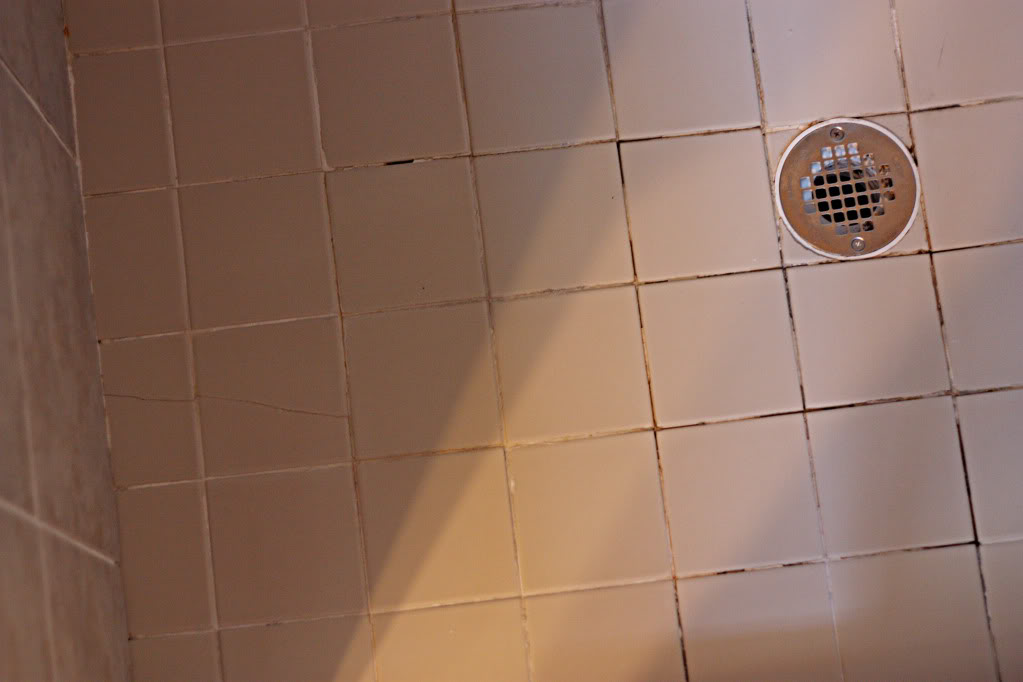
And when I say quick – I needed it to happen really fast because this grout line had more crack than Bobbie Brown.
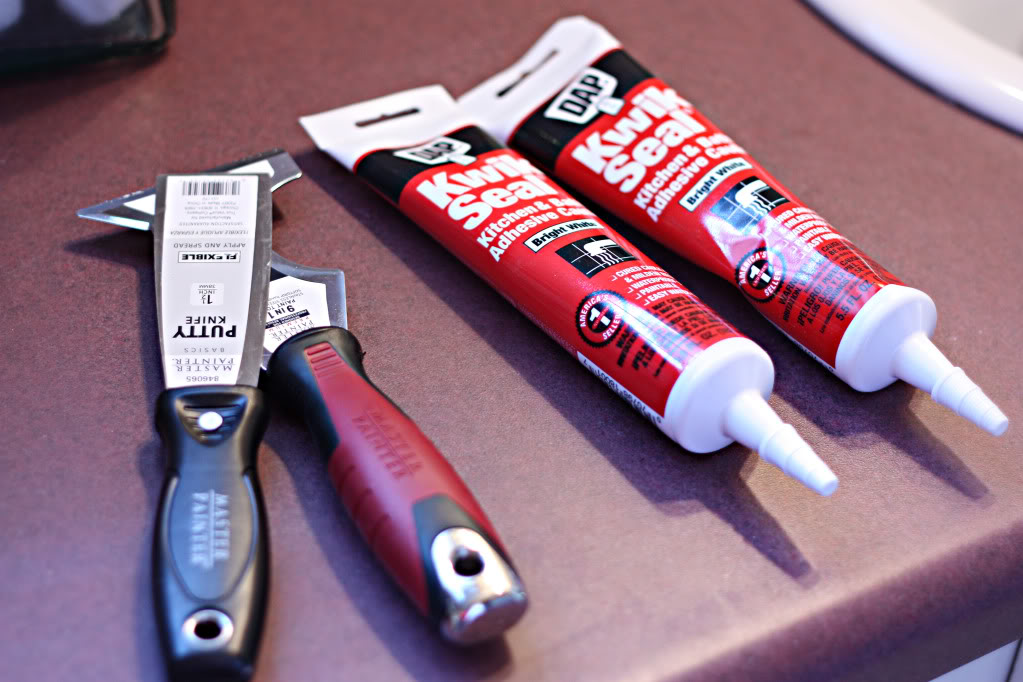
So I whipped out my handy putty knife and a paint tool and a couple tubes of DAP Kwik Seal Adhesive Caulk. This sealant is formulated for a waterproof seal and especially made for kitchens and bathrooms. Not only will it seal up the cracks in our grout lines but it should remain white…and it has a low VOC formula…so I felt very comfortable tackling this project all by myself. I just simply slapped on a mask and asseessed the situation.
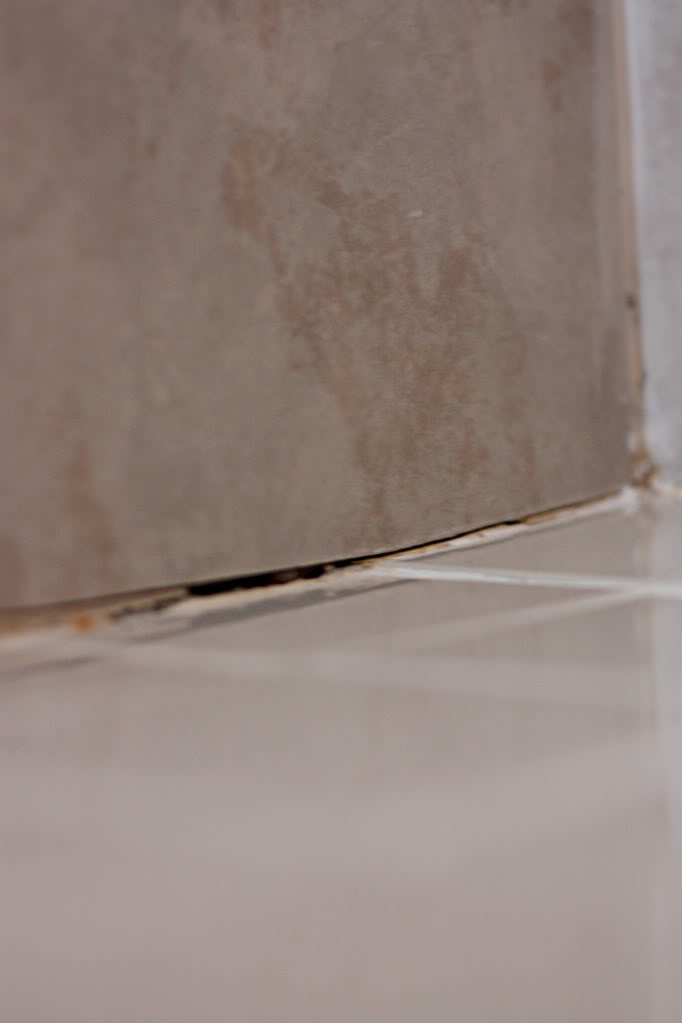
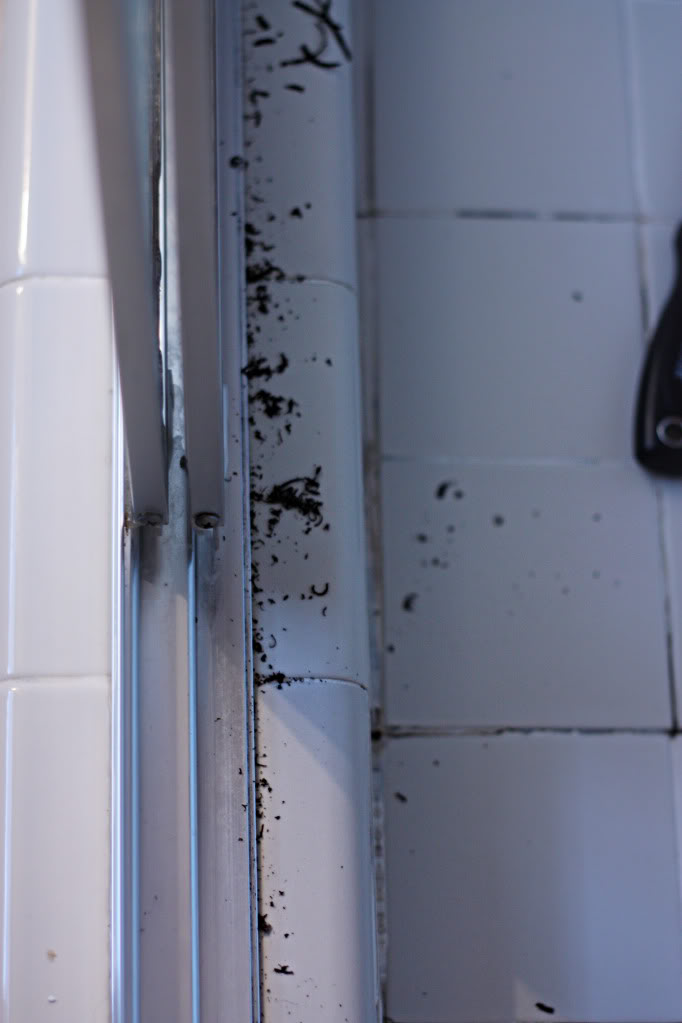
I had previously cleaned all the tiles & grout lines and let them dry for 48 hours. But the shower still had a lot of previous sealant that was stained dark brown still lodged near the door track. And after I scraped & scraped, it looked a lot like a dirty boot had pooped potting soil all over my clean shower.
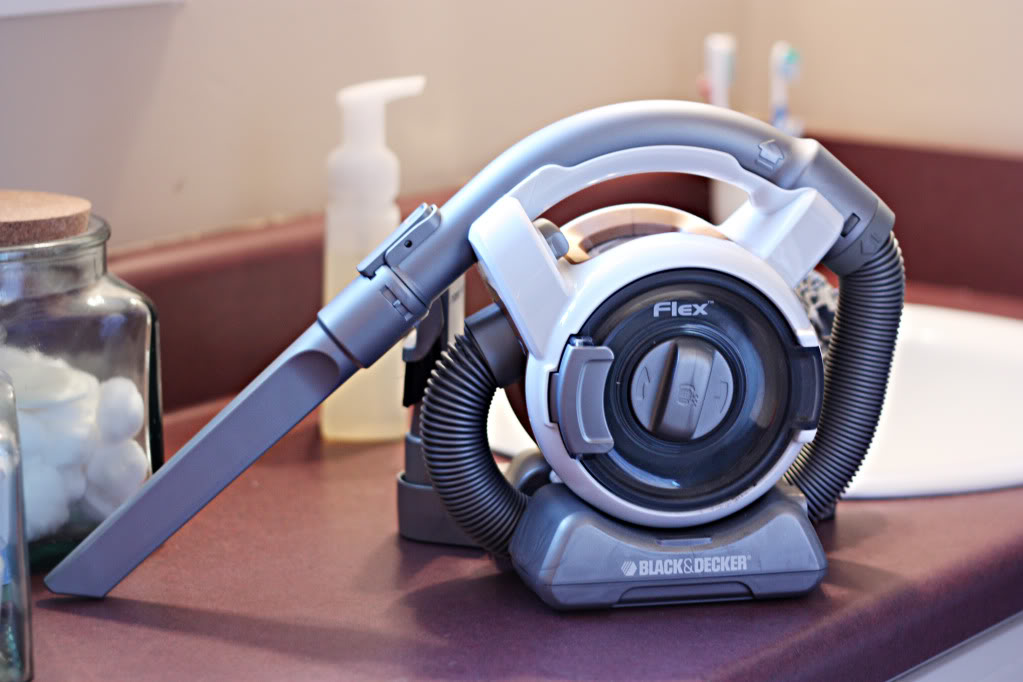
Clean up was a snap with the Black n Decker Flex. I know I haven’t talked about this little vacuum before but it is probably on my top ten of DIY tools. It’s like a mini shop vac. It’s tiny…so it is easy for peeps like me (all knocked up and tired of lugging around a full sized vacuum) but it is way more powerful than our Dust Buster. Plus it looks cool.
Ten minutes of scraping and sucking later, I was ready for caulking.
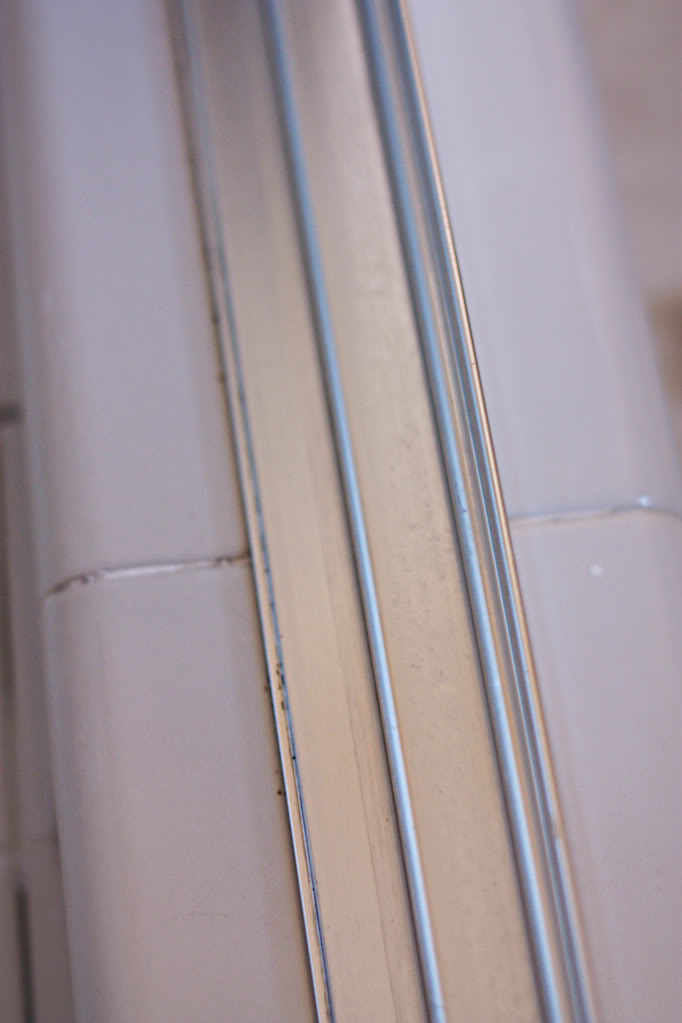
All I had to do was follow the instructions on the back of the package and wipe things clean with a damp finger.
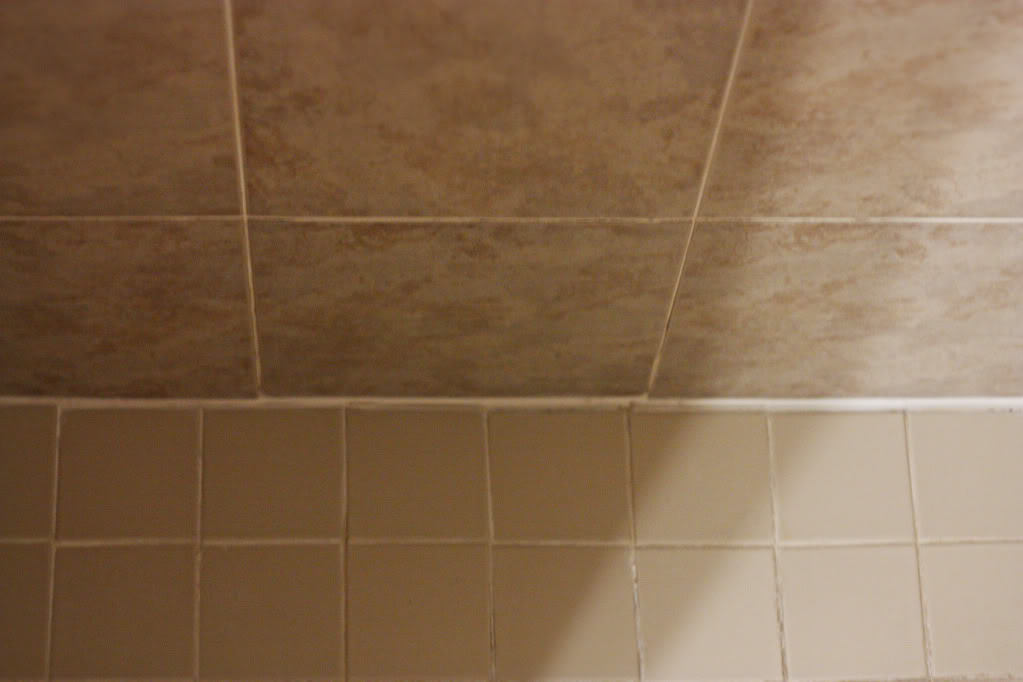
Some of the grout lines were still a little dark (and some of the darker edges of the uneven tiles were showing, but the overall effect was exactly what I wanted.
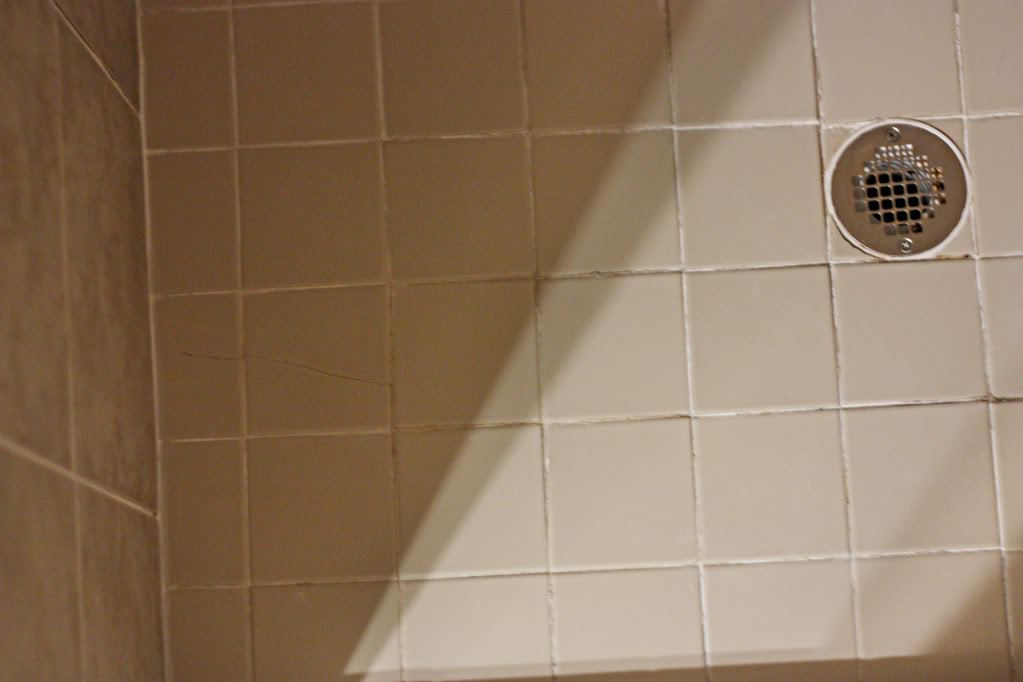
And my favorite part is that there are no more cracks in this grout line.
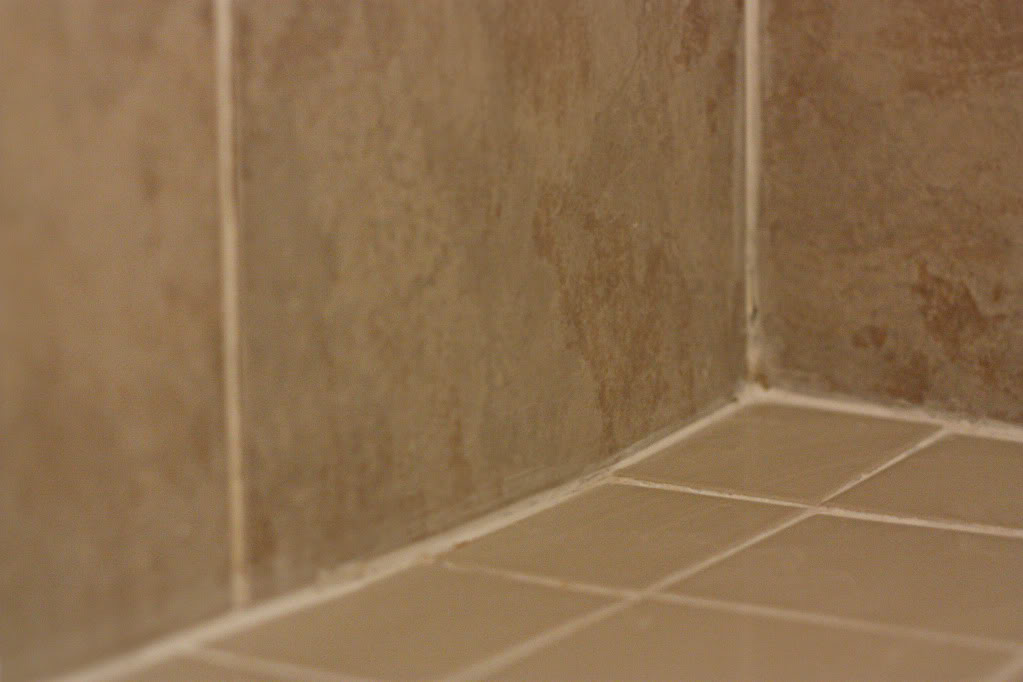
So there you have it….one fully caulked shower. Anyone else out there a huge fan of quick fixes? Or maybe you haven’t given caulk a test drive yet? Perhaps you need a way to spruce up your grout without a fullblown reno? Either way, this was the best $4 I have ever spent.
Hopefully this little quick fix won’t have to be a permanent solution…but until we can redo the loo, I won’t have to worry about the caulk turning black or the water leaking through to whatever is below the crumbly grout. Now the only thing I have to worry about springing a leak is…well….me 🙂
the fact that you are doing this at 8 months pregnant is shaming me like whoa because I’m not pregnant and my bathroom is currently half primed…for the last 2 weeks.
Lookin good…
My hubby just finished re-caulking our bathtub. Some tips from him (if doing the bathtub):
1 – fill the bathtub with water and stand it in providing the most amount of weight before caulking
2 – dab you finger in dishsoap when smoothing out with your finger
Nice fix! We have some cracks in the grout in our shower too, mostly in the corners. The sad thing is – our shower is only probably 2 1/2 years old! I think the previous owners took a few too many shortcuts when they renovated our bed & bath. Question – if I did want to really fix the grout and cracks, how do you do that? What’s the sure fire long term fix? You’re the tile pro now and a great DIY gal, so I figured I’d ask 🙂
Hi Jen,
The thing about repairing grout is that it is a time-consuming task but cheap and yeilds great results. First, you need to make sure that your tile is in good shape and that your tile foundation is a-ok. If all the tile is not cracked and your foundation is alright, then you need to scrape out the grout with a tool you can find at your local home improvement store (like the Grout Getter or a Dremel tool with the grout removal head). After cleaning up all the grout lines from the previous grout, you can apply new grout using the standard techniques.
Hope this helps!
XO – Katie
Wow I love how motivated you are, 3 weeks from your due date! Thanks for sharing – I need to do this badly.
First time commmentor, long time reader here. I have this same issue with my rental. The bathroom needs a serious overhaul but that is beside the point. I read a while back about grout colorant when I was fed up with cleaning for hours and still seeing nasty looking, dirty, dark grout. It drove me nuts! I’m sure people thought I just didn’t clean my shower but I swear I did- it was just stained and nasty. Anyways, here is the link I originally found that talks about how to color/paint the grout as a simple fix when a bathroom overhaul isn’t in the cards at the moment.
Great job. It looks as good as new. Hey, how would you tackle a big long crack in concrete. I have one that runs the entire lenght of my front porch, probably like 12′ long. I’d love your expert opinion.
Laura,
Good news! Most cracks in concrete can be patched. As long as the existing concrete is not crumbling or the porch is not moving, you can go to your local home improvement store and buy a concrete patch kit. You’ll have to clean the entire porch and it will take some time to fill your crack but I have seen very good results.
Good luck & don’t forget to let me know how it goes 🙂
XO – Kb
I’m glad you posted this. I need to do this exact thing in my shower. Thanks!
I definitely need to caulk both bathrooms in our house. I’m glad to know that you did it by yourself and that it turned out well!
I’ve decided the shower is the hardest spot in the house to keep clean and requires the most muscle. My husband has always treated the grout before use to help with the dirt build up and seal, but it seems pre-treatment makes no difference. I’ve tried every cleaner that claims to take away the dirt easily–spray it on, wipe and it’s clean! I have yet to find the one that really does the job. The only thing that works is a hard bristle brush and lots of woman power.
When we were selling our condo I needed a quick fix for dirty grout on the kitchen floor tiles. I found a cleaning product Bar Keepers Friend and it worked wonders. It did kind of dull the shine on the tiles but we were selling and all I cared about was sparkly white grout lines.
I did use the same caulk you used in the bathroom though, and can concur that caulking is very easy. In fact I think it may even be easier for women b/c we tend to have tinier fingers and a more delicate touch than men making for a really nice caulk line.
I love reading your posts…a dirty boot had pooped potting soil…haha. Nice work, it looks great!
Thanks Katy this post was right on time.
I’m having a baby in about 3 weeks and nesting like crazy. The caulk in our guest bathtub is pretty dingy and was starting to bother me. I spent half an hour last night scraping out the old caulk and I’ll be applying the new stuff this evening.
Do you have any tips for the application process?
Hi Bridget B,
Tips? Well, it really helped me to use the tube rather than the gun…I had more control over how much came out. I also found it very helpful to use a moist finger (and have wet paper towels on hand) to clean up the lines. Other than that, my only tip is to take the time to let the new caulk dry thoroughly before taking a shower in your newly refreshed bathroom.
Hope this helps!
XO – Katie
Very useful information! Thanks. And that is a cool looking vacuum.
I’m so on the quick fix train! I just whipped up a $5 window treatment, yay for inexpensive makeovers! Did you find that using the little squeeze tubes of caulk were easier than using a caulking gun? Because I definitely have not mastered that yet, so I’m thinking these might be right up my alley!
I’m glad you guys didn’t attempt a complete bathroom overhaul so close to the due date. I think it would have been way too stressful, and you and baby Will don’t need that {and I’m sure Jeremy doesn’t need it either}! The grout fix looks great 🙂
It turned out great. I really need to do this for my bathroom badly.
random aside — you have to grab a four pack of aden and anais swaddling blankets. they are amazing. I have three kids four and under. They did not make them with my first two. My third lived in them — enough fabric to swaddle correctly — ( or I would just lay her at one end and roll her like a burrito. they are my go-to new mom gift now. After they make awesome bug/sun covers on the stroller, picnic blanket, forts, etc. — you have to have these. http://www.adenandanais.com/
I have been wanting an easy solution for this. Thanks so much!
Your tile looks so much better. Caulk really makes such a huge difference. It and paint are my favorite things!
I just found your blog and have read almost all of your life story, and you have me rolling. Thanks for the laughs. If only I could be half as funny and witty as you, I’m sure my blog would be a lot more popular!
Keep blogging!
you have inspired me! i am buying caulk this weekend and touching up my bathroom! i’m excited to do this!!
p.s. new follower 🙂
Nice tip Alison! We’re also re-caulking our bathtub but it’s taking forever just to remove the old caulk. We’re having to wet rags and lay it along the edges to soften the caulk…otherwise it is too difficult to remove. I’m even using suction cups to hold the wet rags along the vertical edges. I don’t think this is normal to have so much difficulty removing the old stuff. Once we’re finally ready to caulk, I will use your tips. Thanks.
I can’t believe you have this much energy less than a month from your due date. I’m two weeks behind you, and if I get myself and my daughter dressed and supper on the table, I’m doing really well . . .
Holy Nesting!! It’s not just something you read about in a baby book.
Before my two were born, I cleaned as if the Queen of England was coming over for a white glove inspection. However, I never did the grout. Talk about impressive.
For those of you have asked. The tubes are SOOOOO much easier to use than the guns.
We definitely need to do some of this soon! Thanks for the tip!
Haha your want to do a quick bathroom remodel sounds like me! I tried to convience my husband we could do our small bathroom in a weekend and yes its tuesday and still bare. Oh well!
Looks great! I’m in a rental at the moment and the landlord recently paid a plumber to grind out the old cracked grout in the shower base and re-grout it. Your job looks way more professional than what this guy did! He left grout on the edges of tiles and it’s grey coloured grout so it looks dirty all the time. Any tips on getting rid of excess grout on tiles after it’s dried? I’m worried that I’ll scratch the tile surface if I attack it with too much gusto.
I am SO hoping you will read this!!! I was so inspired after seeing that china cabinet turned towel cabinet that I just bought a 50 Tall Boy unit (didn’t even know that is what they are called?!) and plan to paint and re-hardware it. ANYWAYS, just wondering, it likely has the same kind of veneer finish on it, it is solid wood though. SO anyways, do I need to sand the entire thing down really well to the wood (please say no) or can I just prime and paint it?
Well Sarah,
Congrats on your new piece! And I am a little confused….is it veneered or is it solid wood? Solid wood typically doesn’t have veneer added to it…but anyway…back to your question – sanding is a good prep technique especially for pieces that have scratches or marks. Also, sanding can remove any previous applications of poly or paint. I recommend sanding for furniture makeovers because MOST times, the piece needs it. If you decide that your cabinet is okay without sanding, then just make sure you use a oil-based primer to prep the surface area.
Hope this helps!
XO – KB
LOL! More crack than Bobbie Brown! Love It!