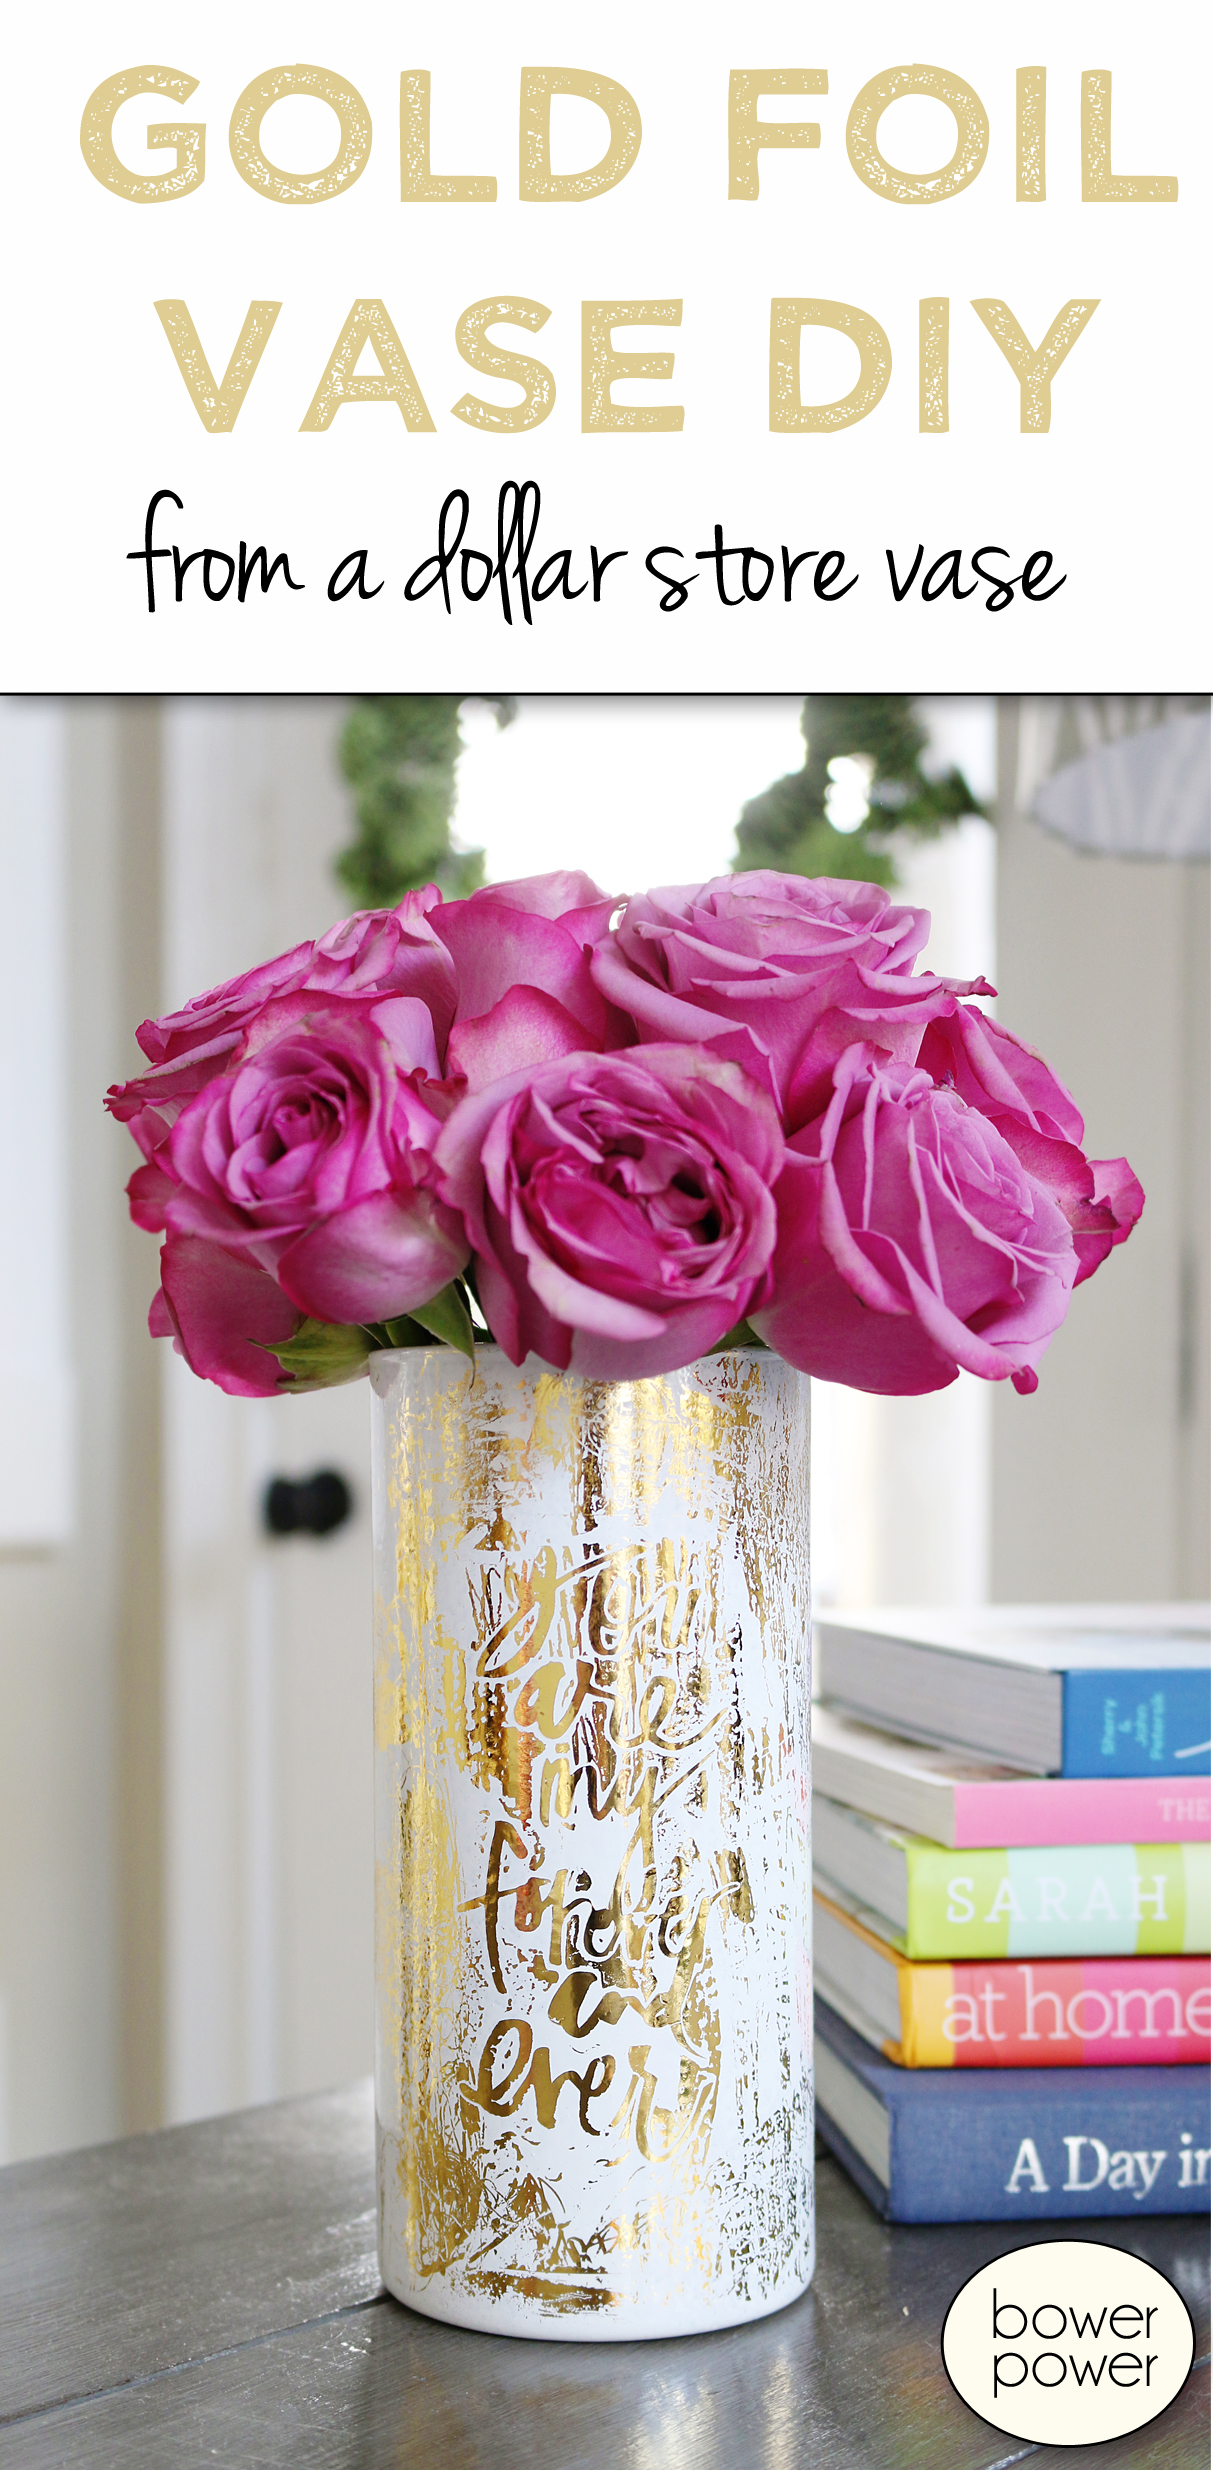
Are you ready for some vase-ing? That is what this weekend is all about and we are starting today! I will be sharing all four of the vase tutorials this weekend and I hope that you get crafty with me because Valentines day is on it’s way and you can make one (or all of these fun crafts) for holding your beautiful blooms.
These are all very budget friendly and I got all the glass vases at The Dollar Tree. They were…wait for it….a dollar.
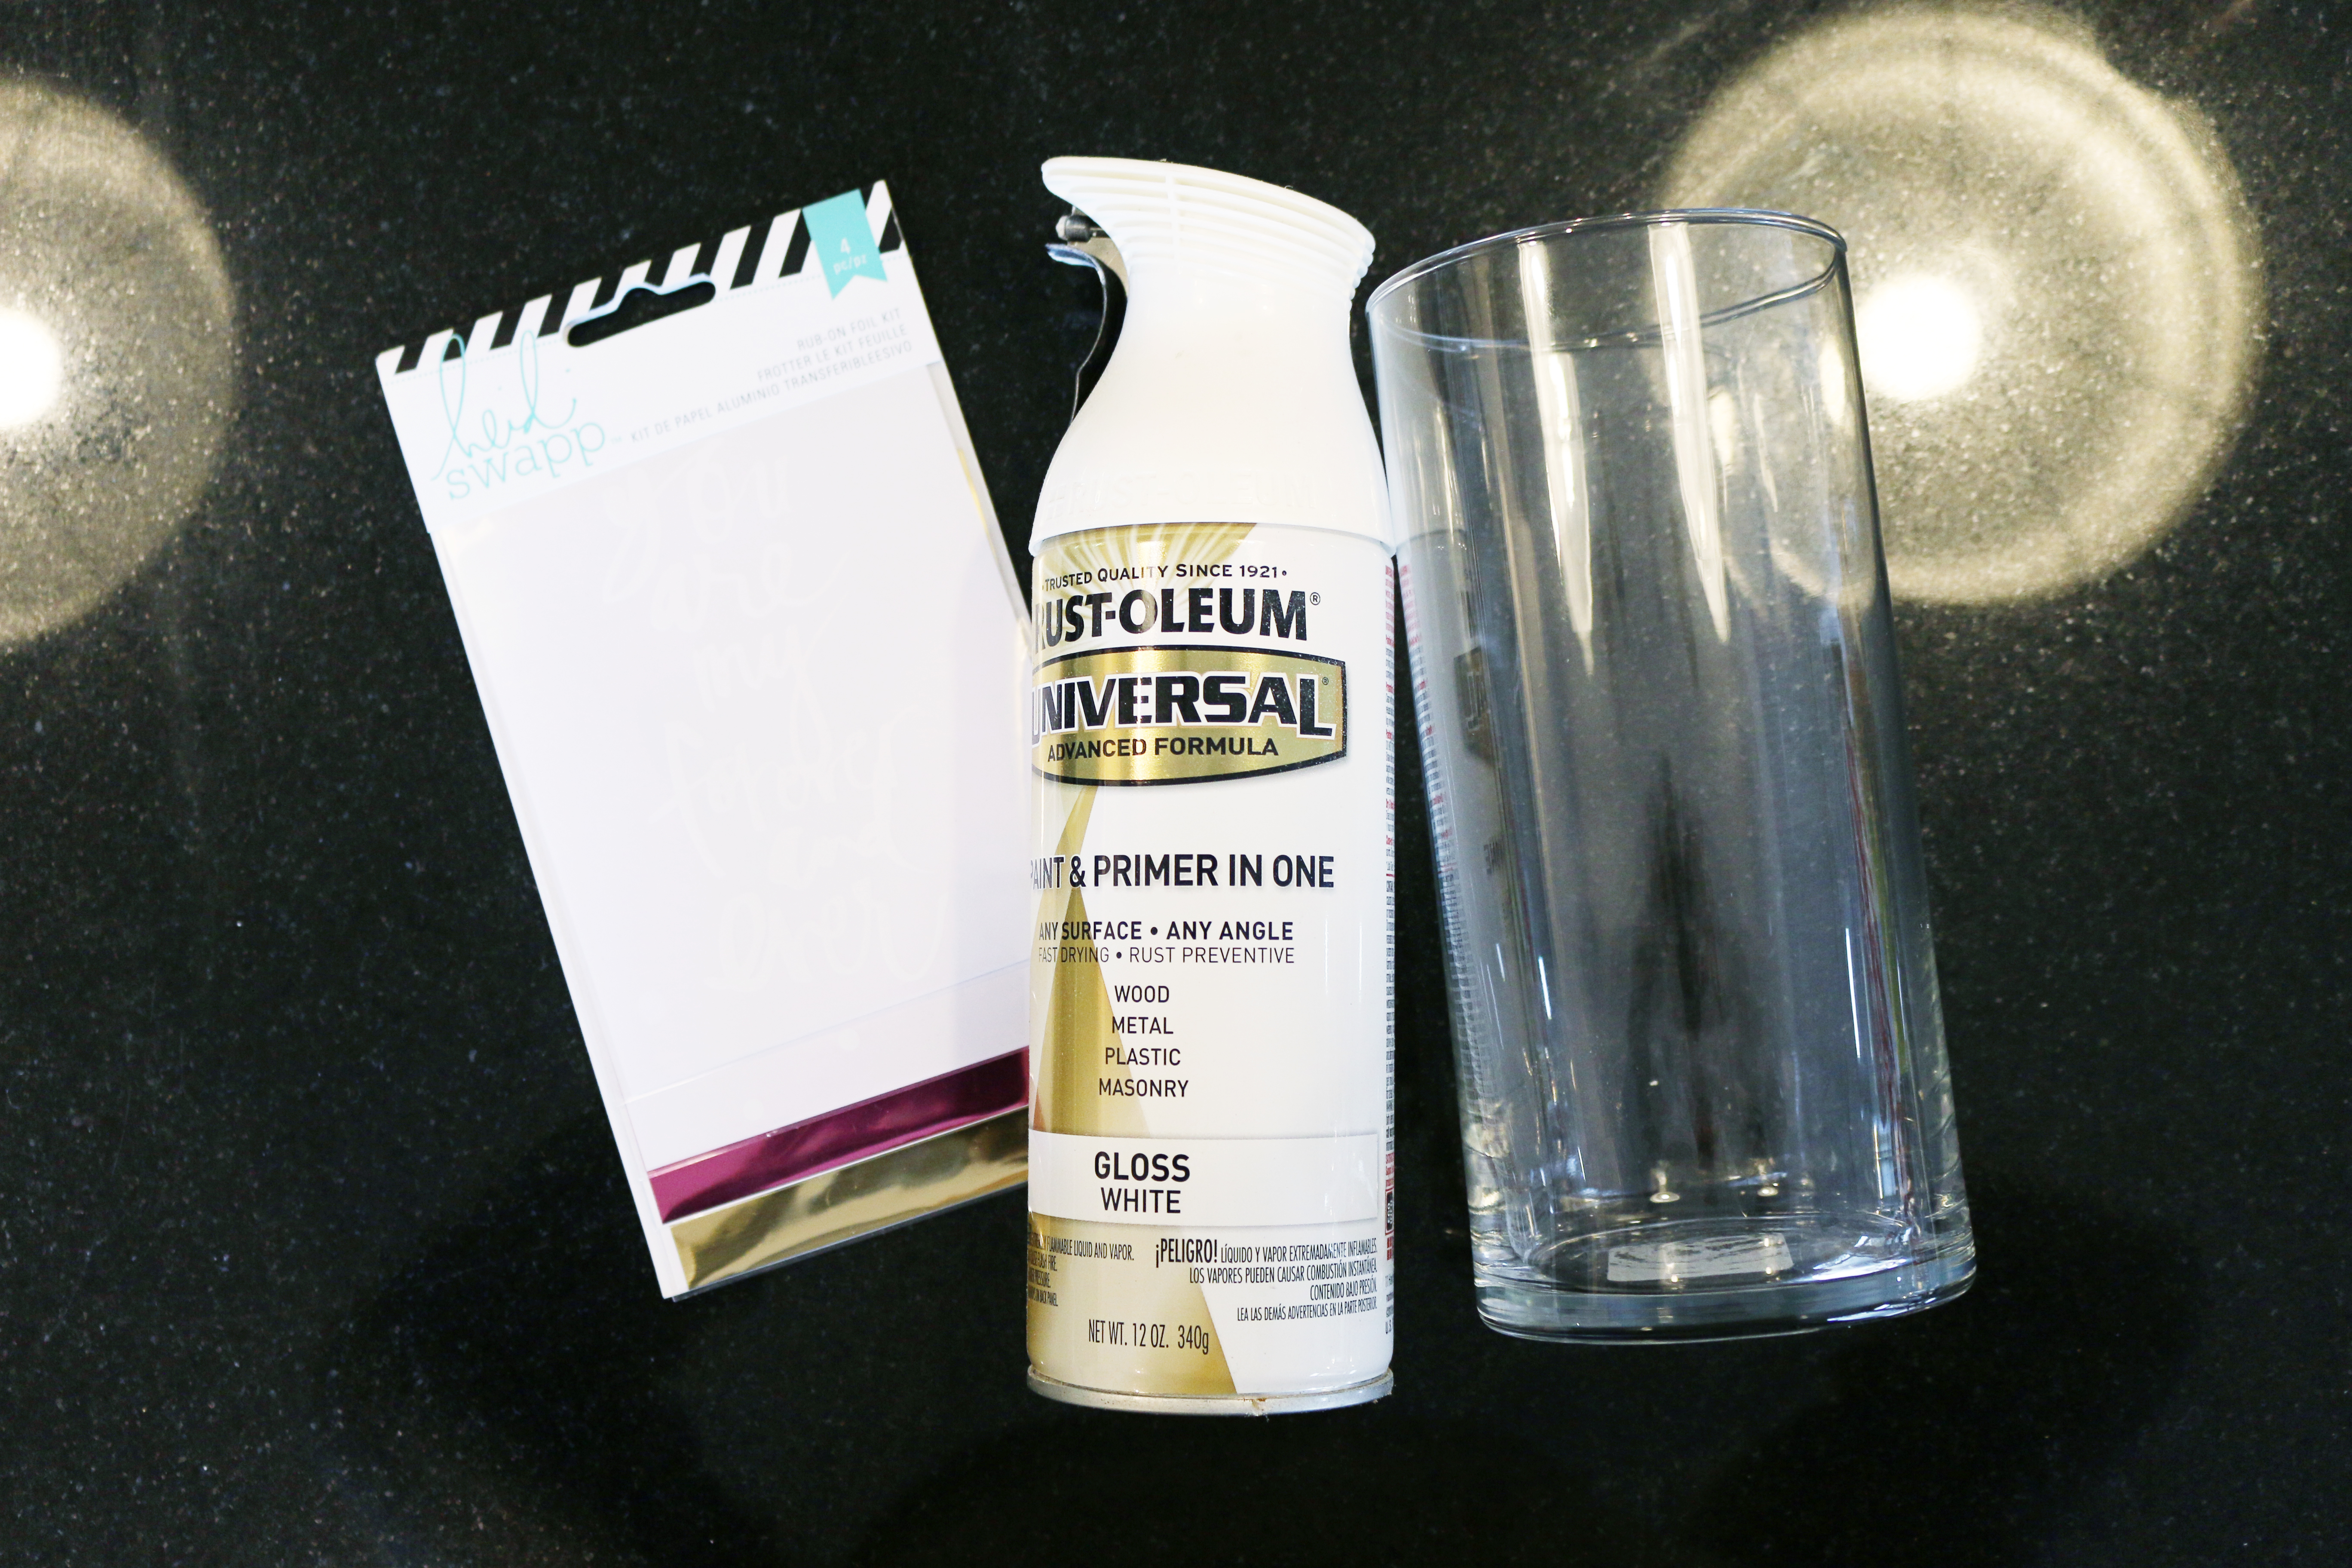
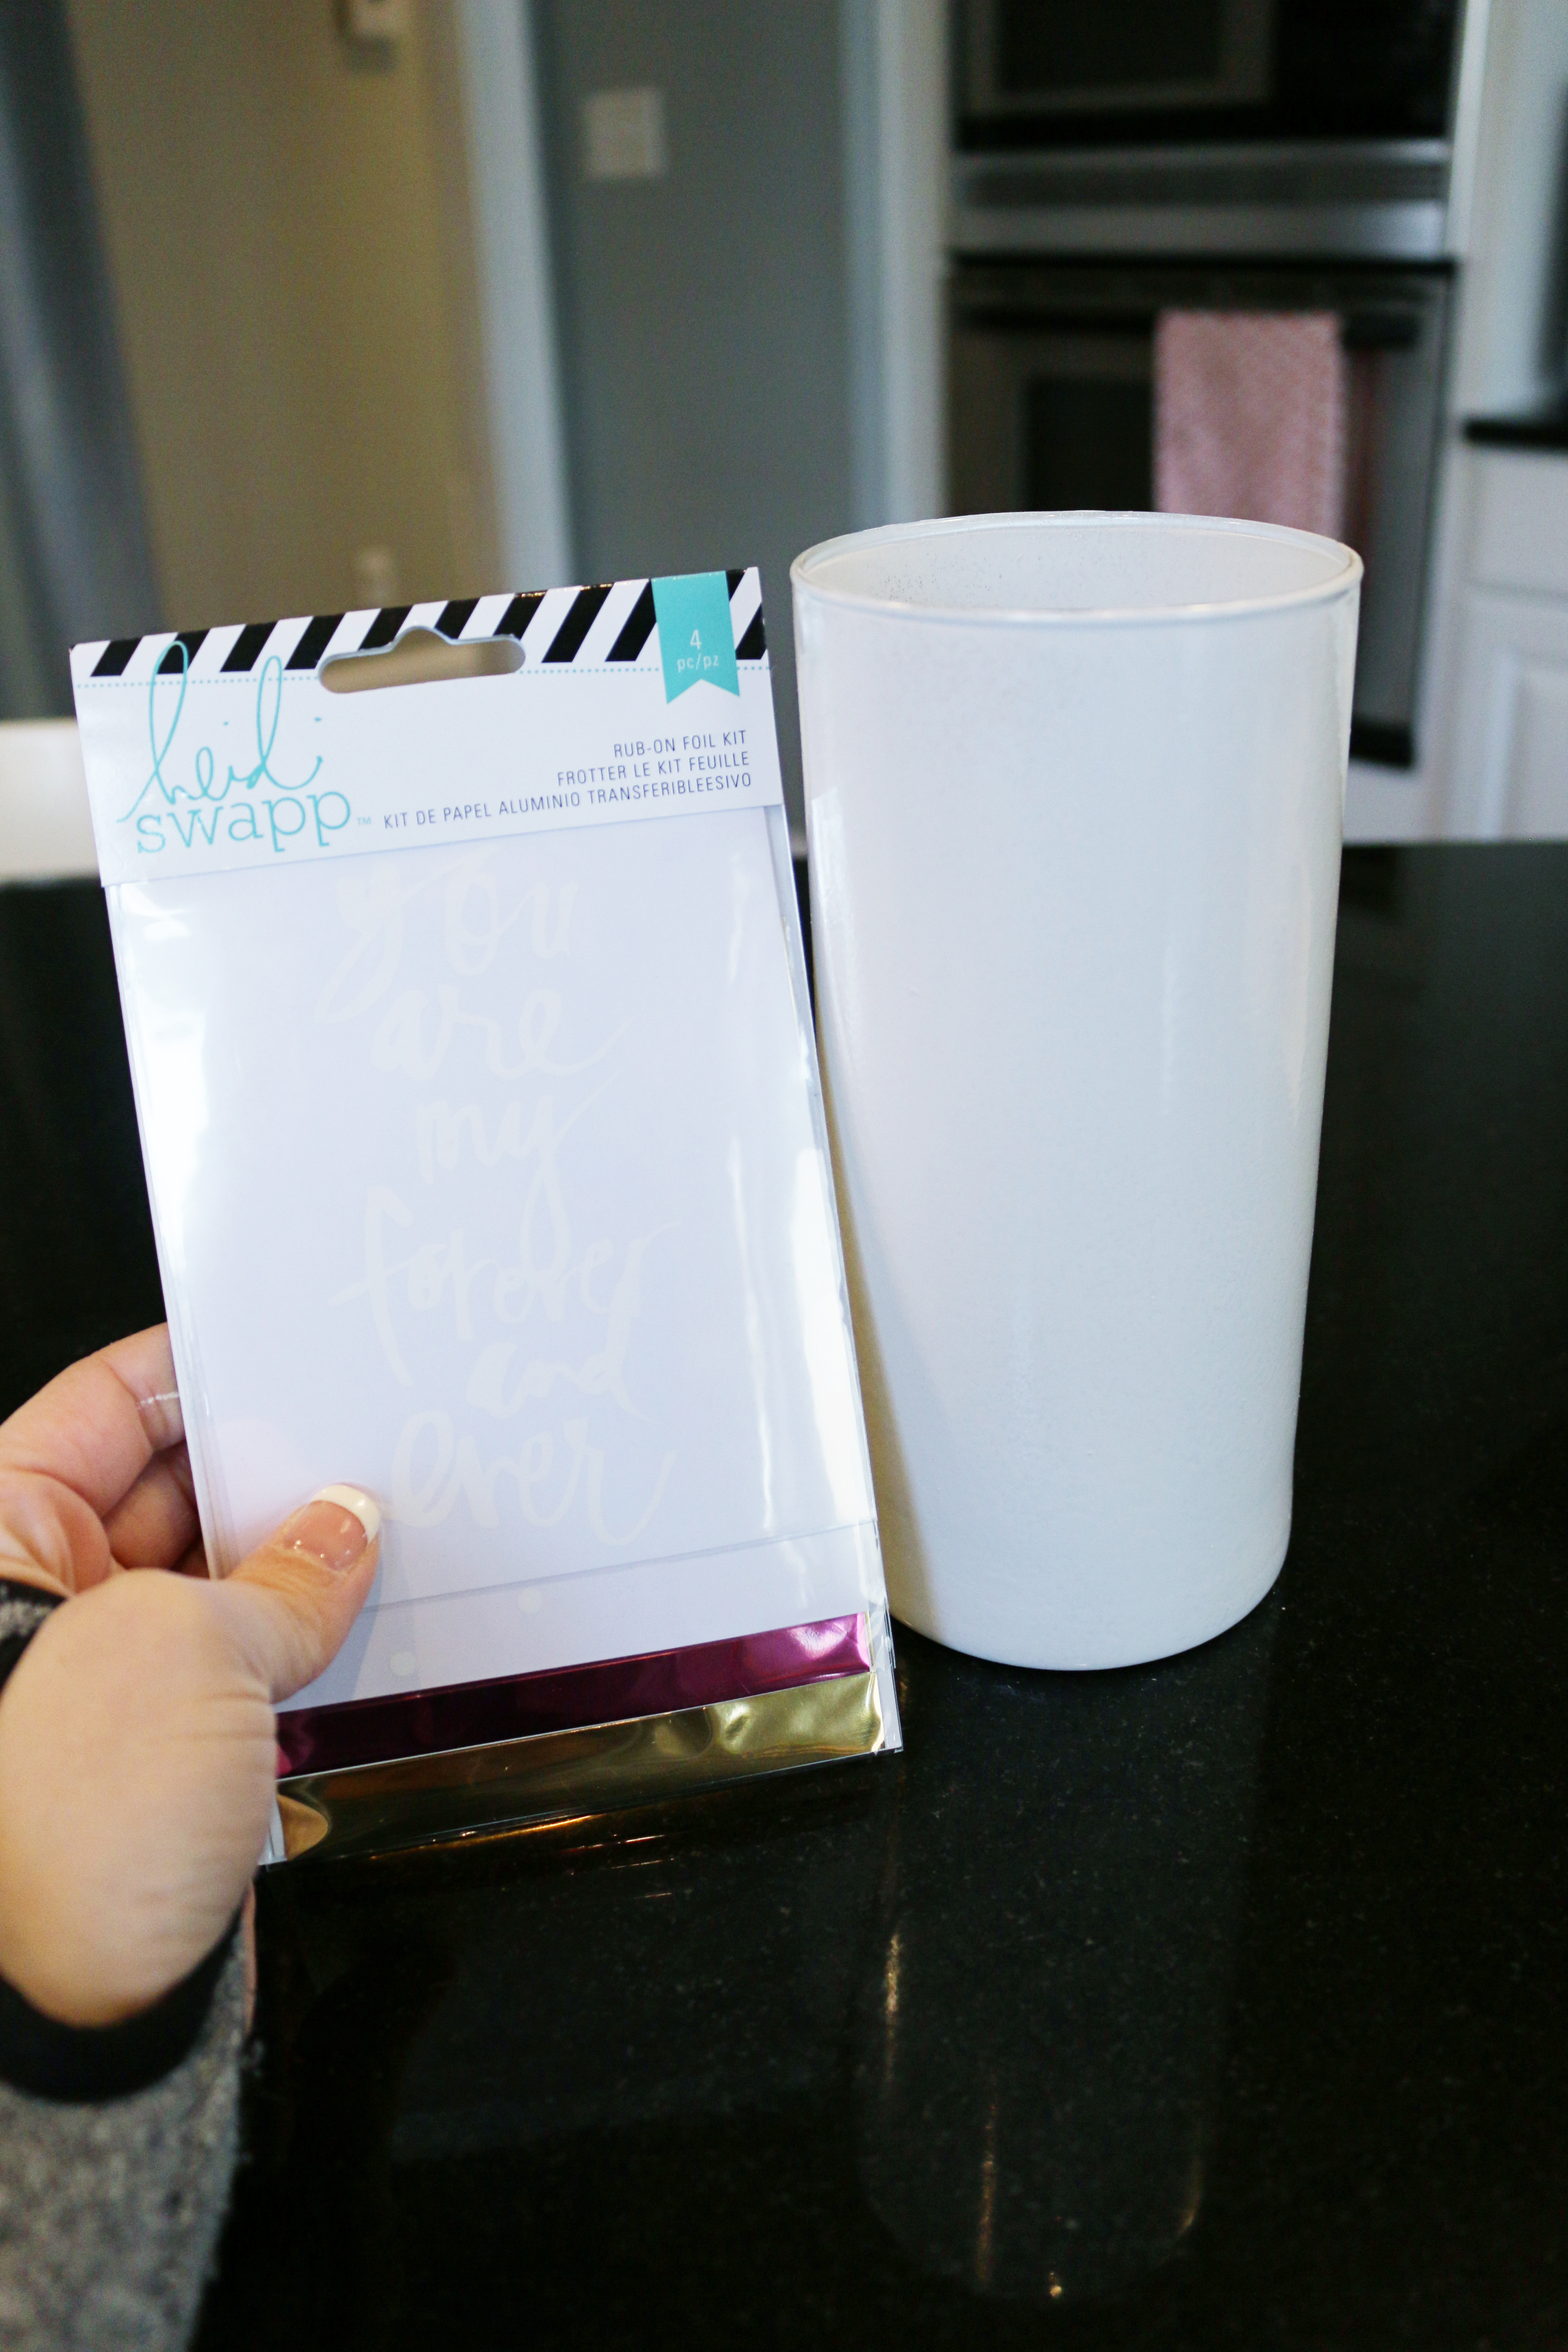
So the items you will need to make this are spray paint…I used Rust-Oleum’s gloss white…and a foil gold kit from Heidi Swapp. Here is the link to the online one but I got mine at Michaels craft stores for $2.49 on clearance. (good news is if you go buy this today, you can get 20% off your entire order). This isn’t sponsored or anything…I just like a good sale.
You will set your vase outside UPSIDE DOWN so that you are online spraying the outside of it. Do several light coats of it so that it is really opaque. Let it dry about 15 minutes. It will be dry enough to handle but if you push something on it, it could still be the slights bit tacky. Time for the foil.
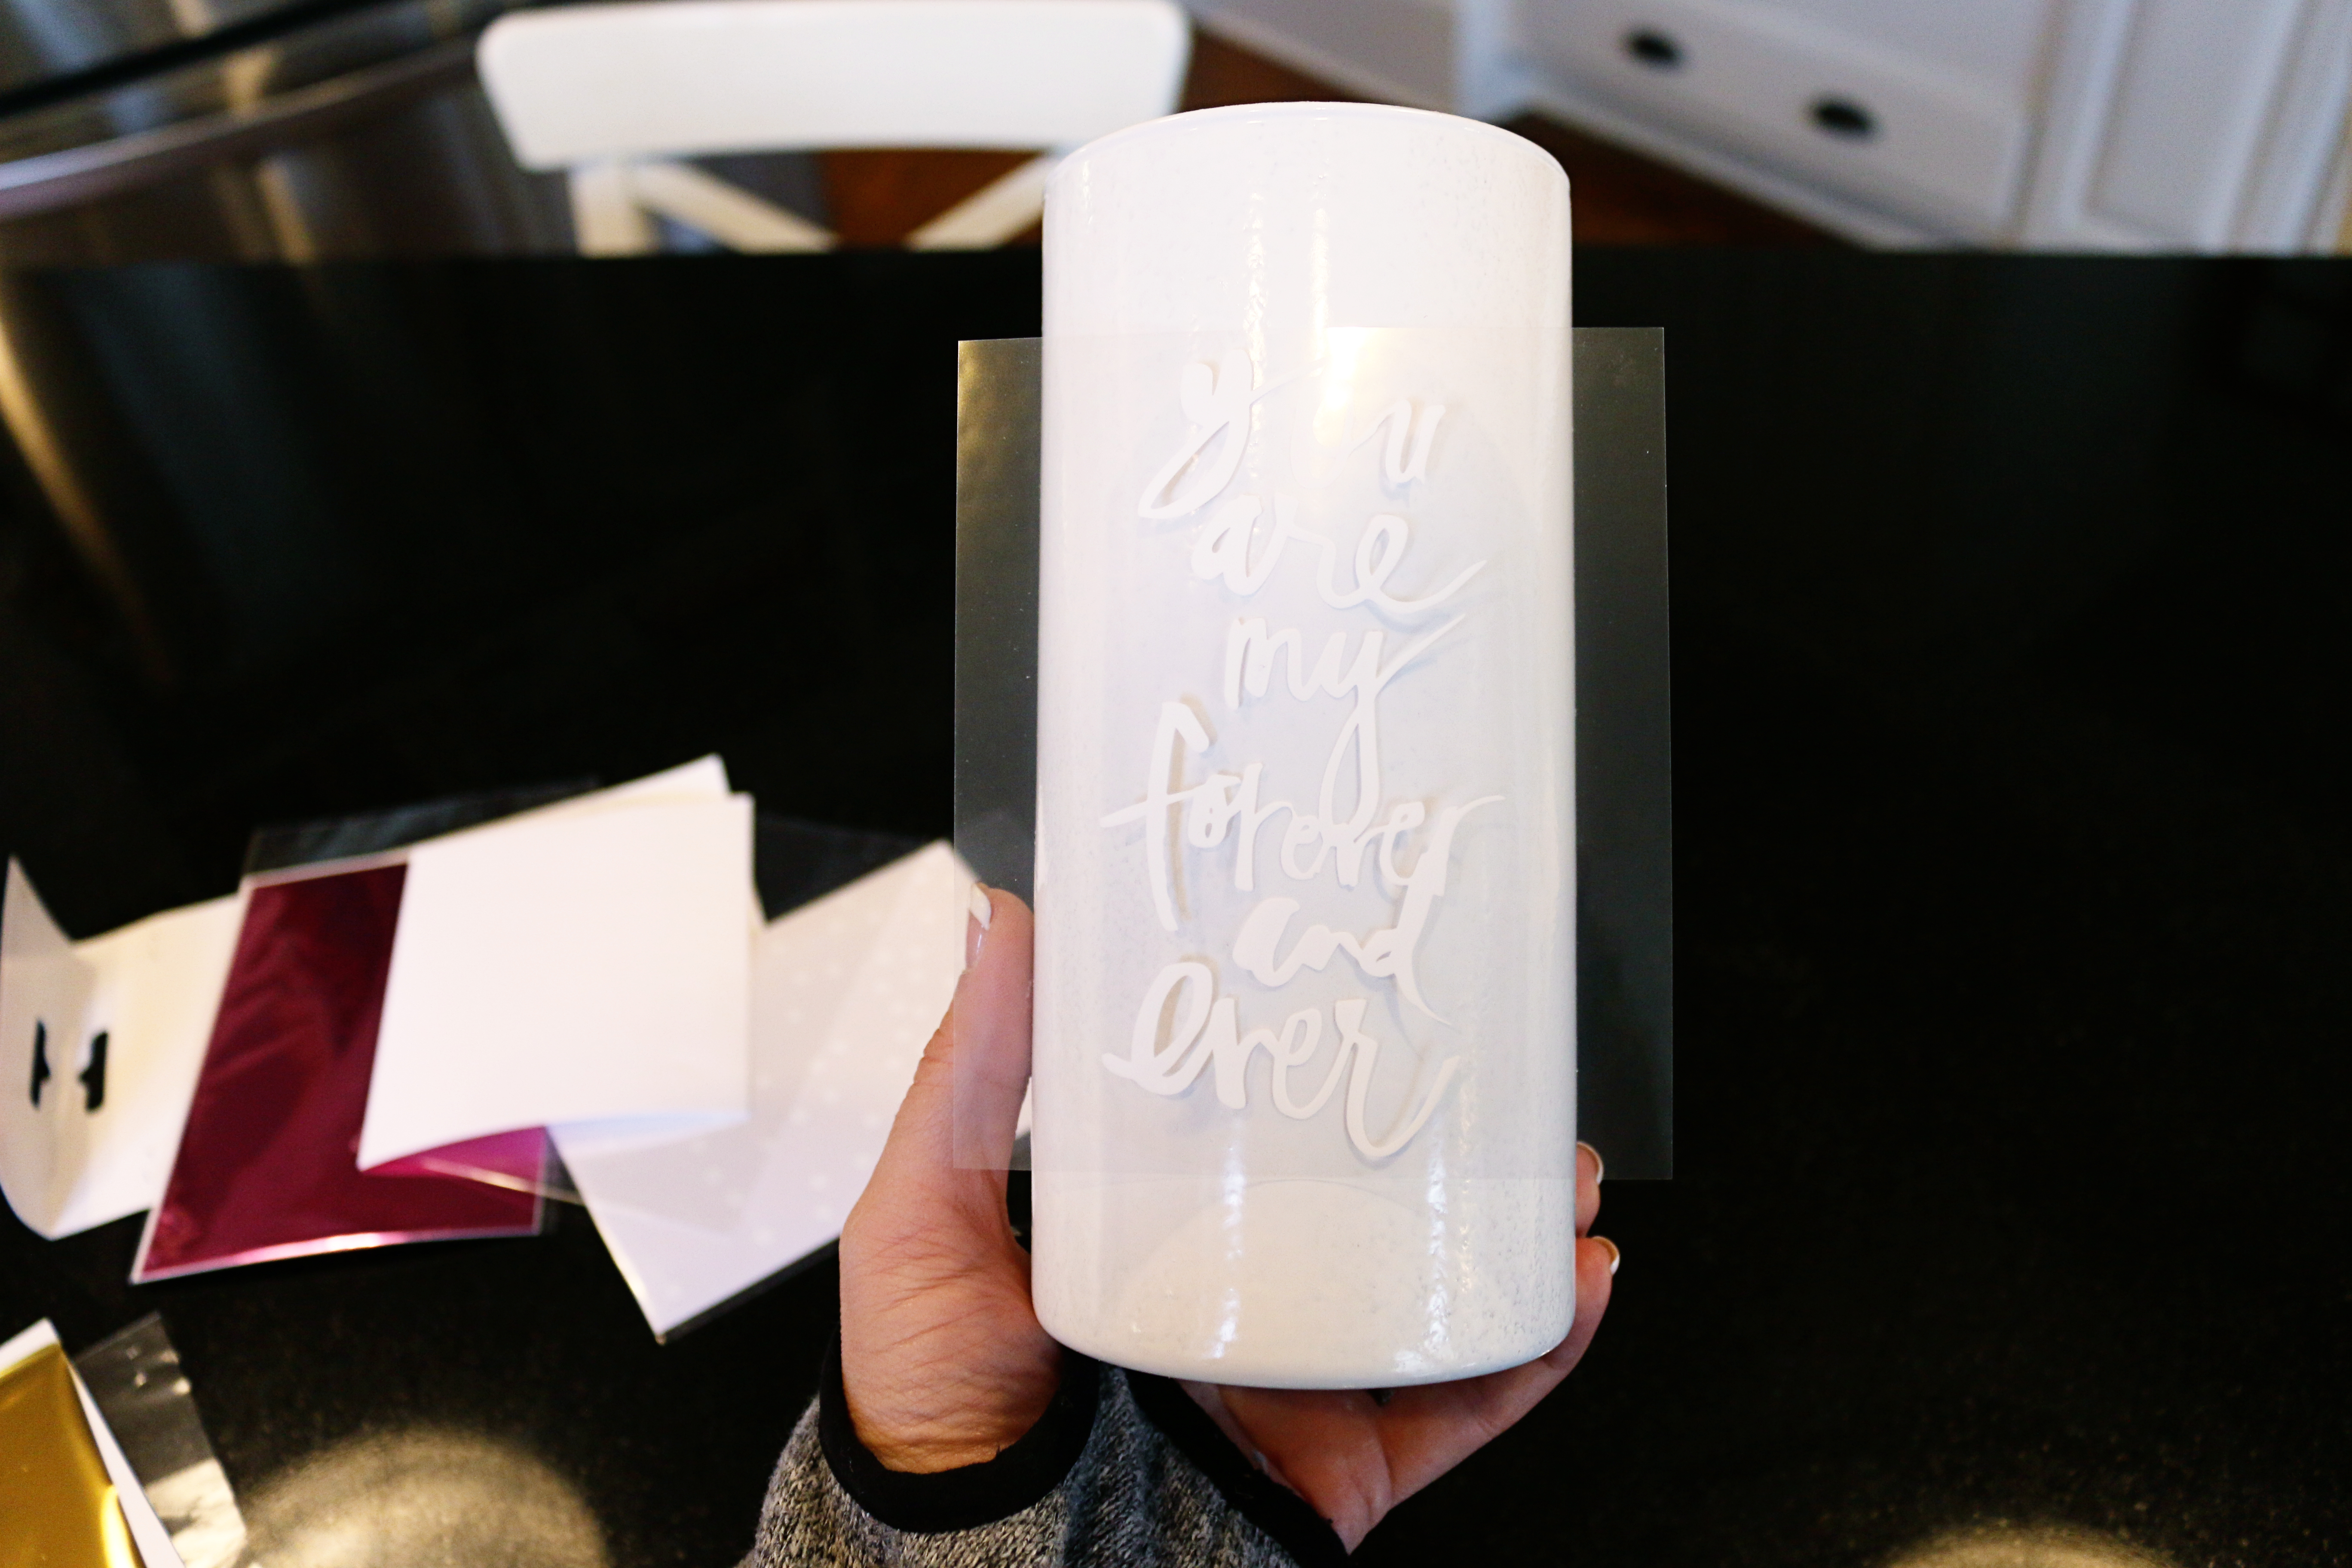
I have to admit, I didn’t know how to apply this at first. There are no instructions on the package. So I YouTubed it and found that you get your white sticky sheet and peel the plain clear sheet off of it and then stick the one with the words sticky-side down to your vase.
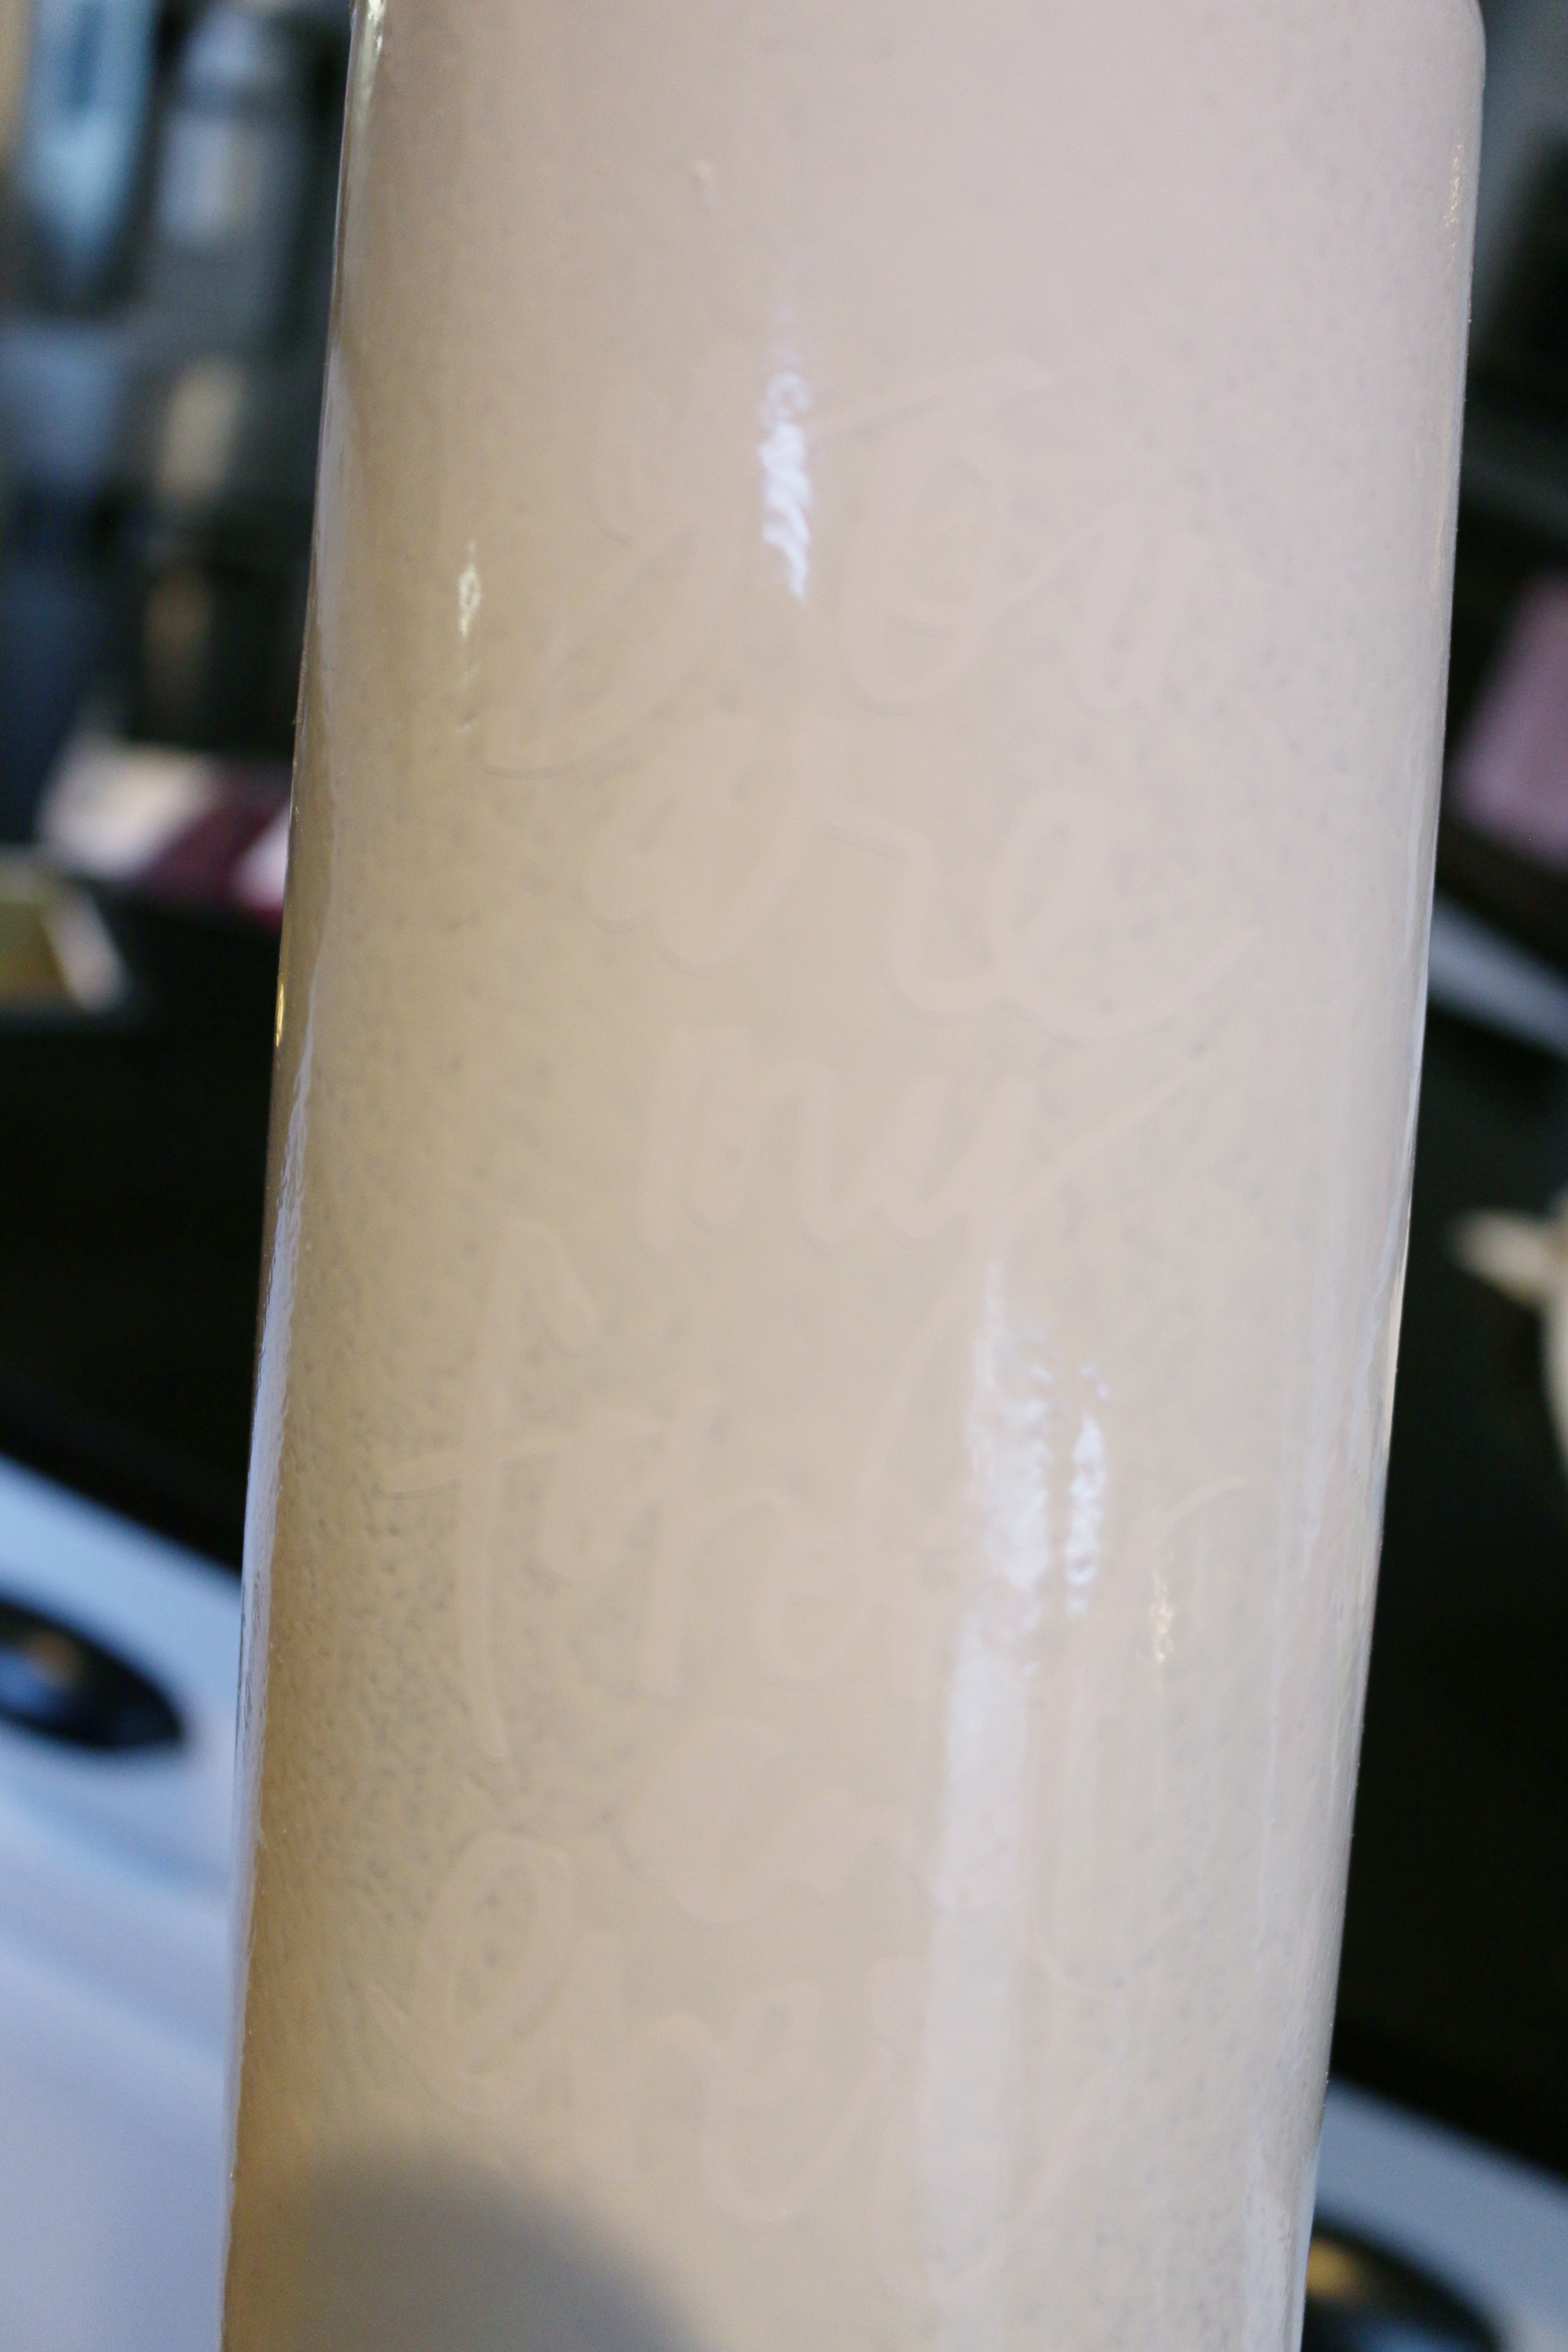
Then you burnish it (rub all over) the white bits with something hardish (like a popsicle stick…or in my case, the end of my toothbrush).
When you peel off the back side of the white sheet, it will leave the white stuff on the vase and
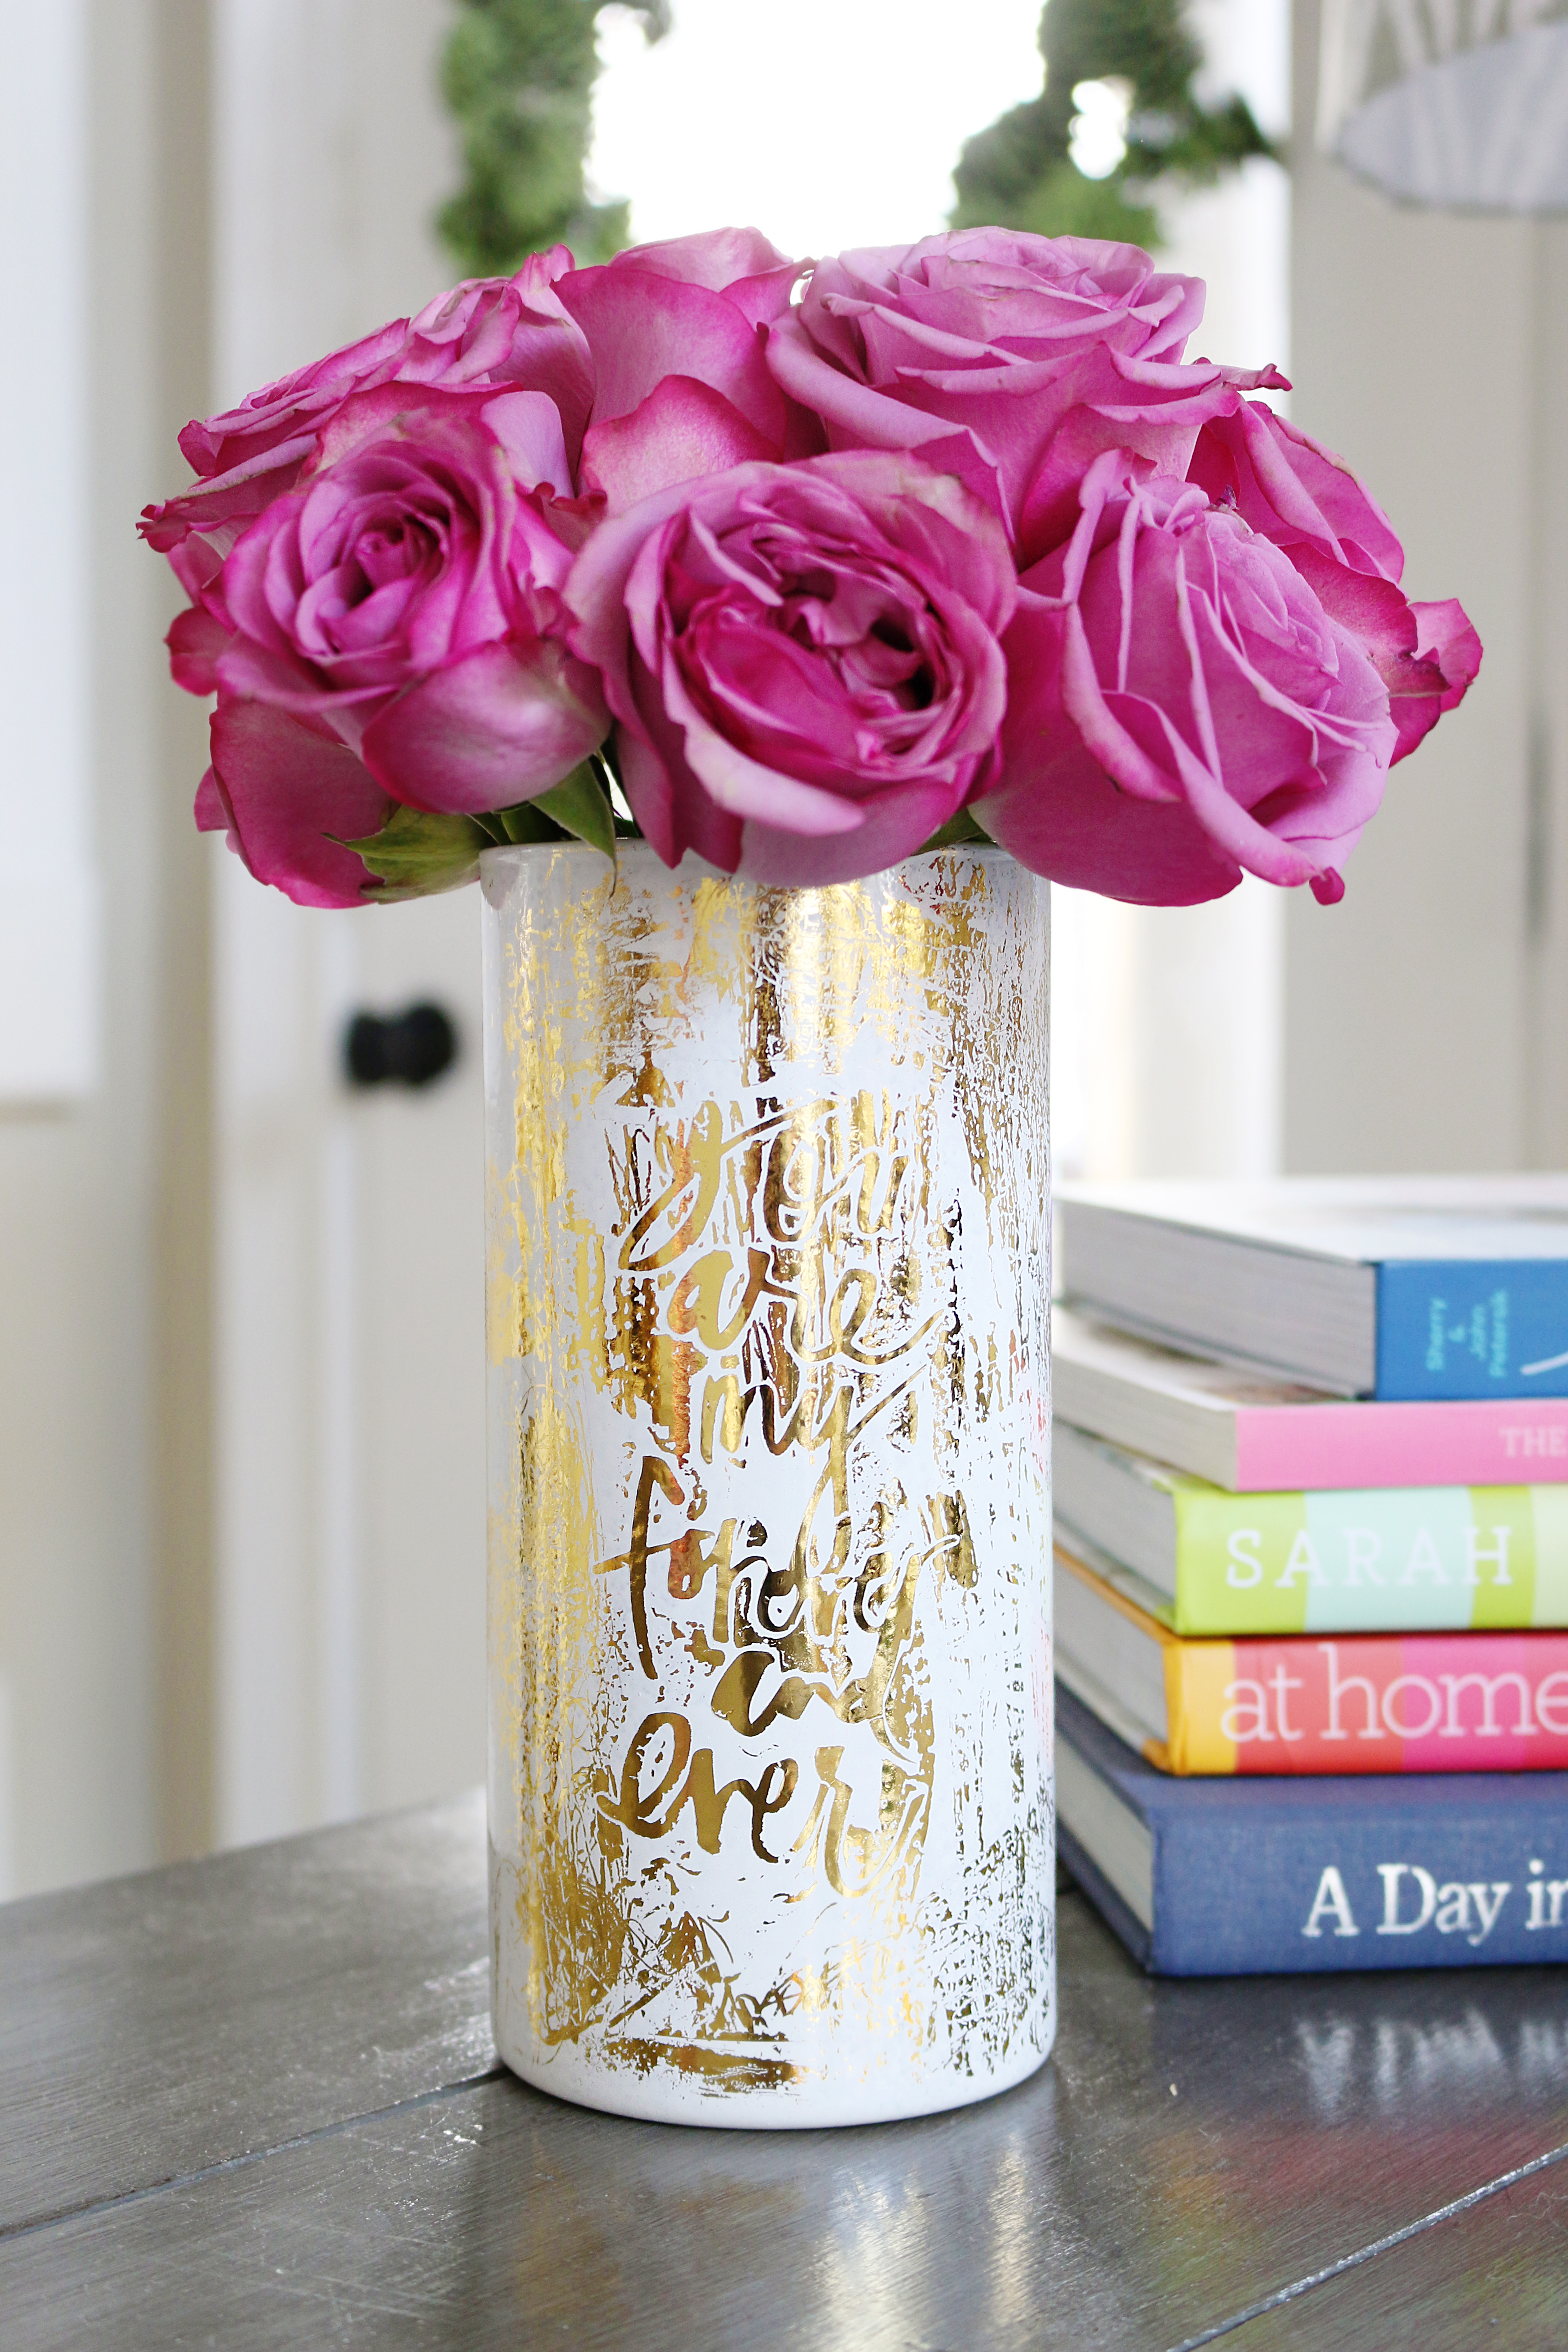
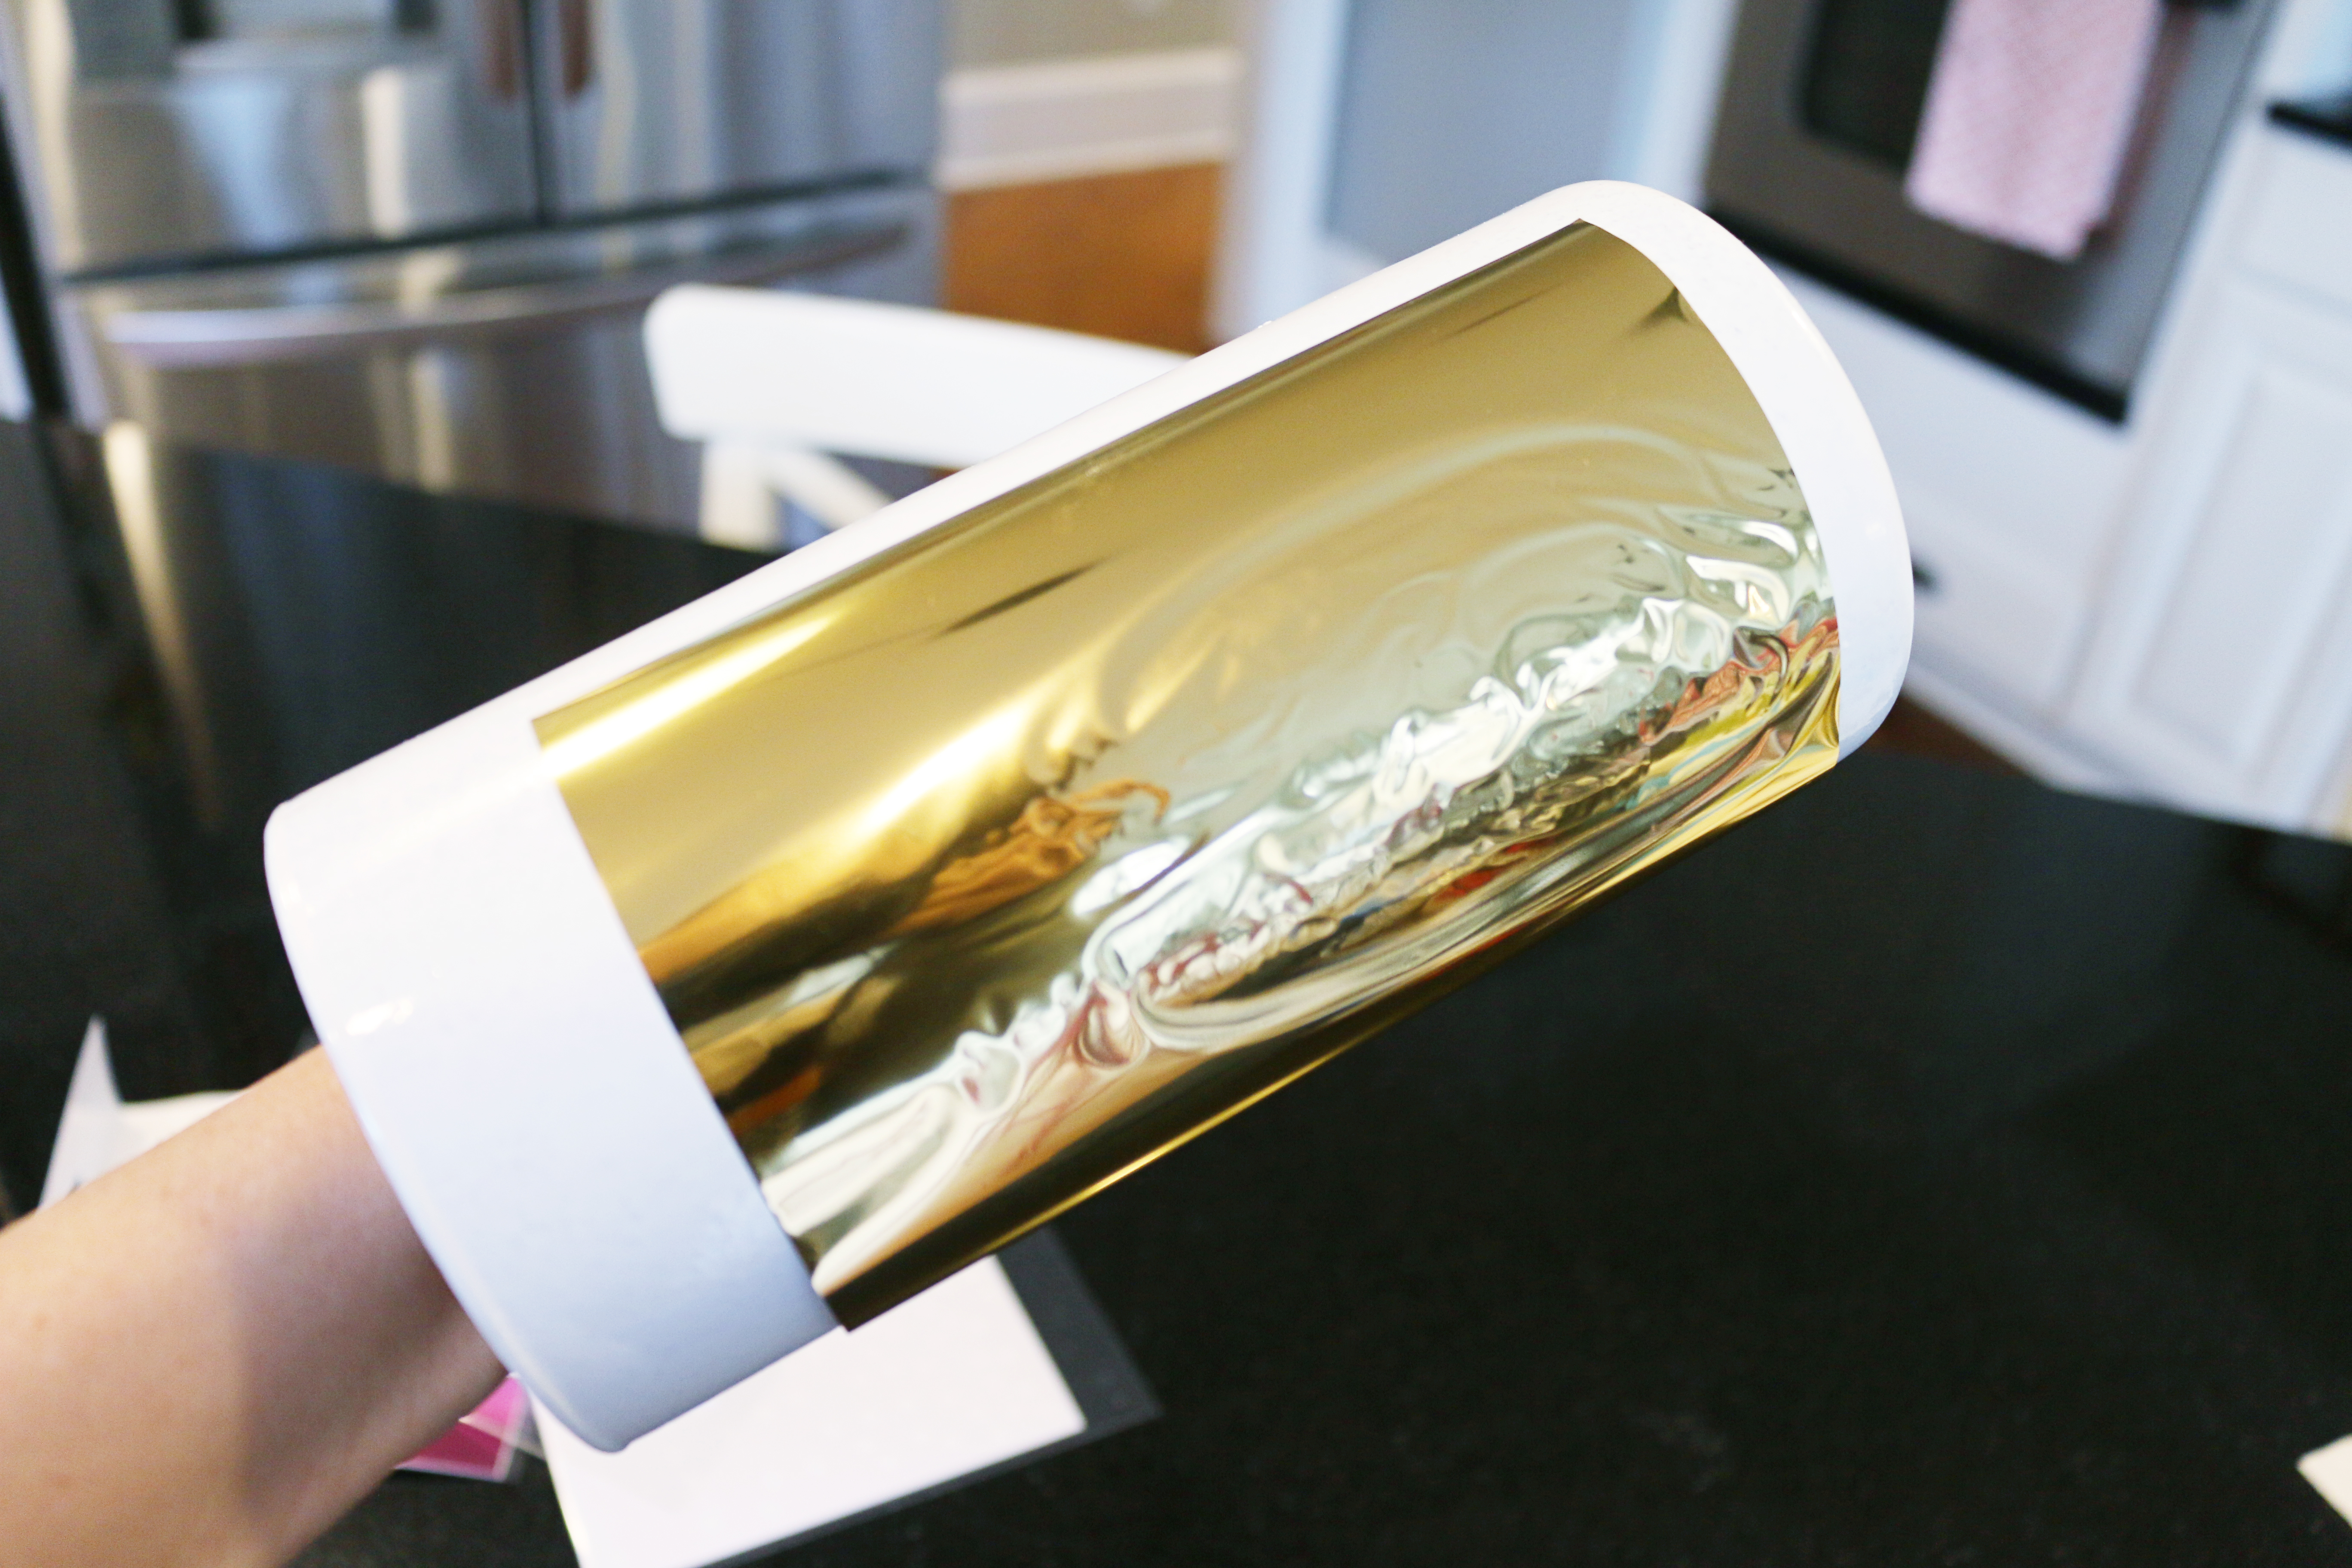
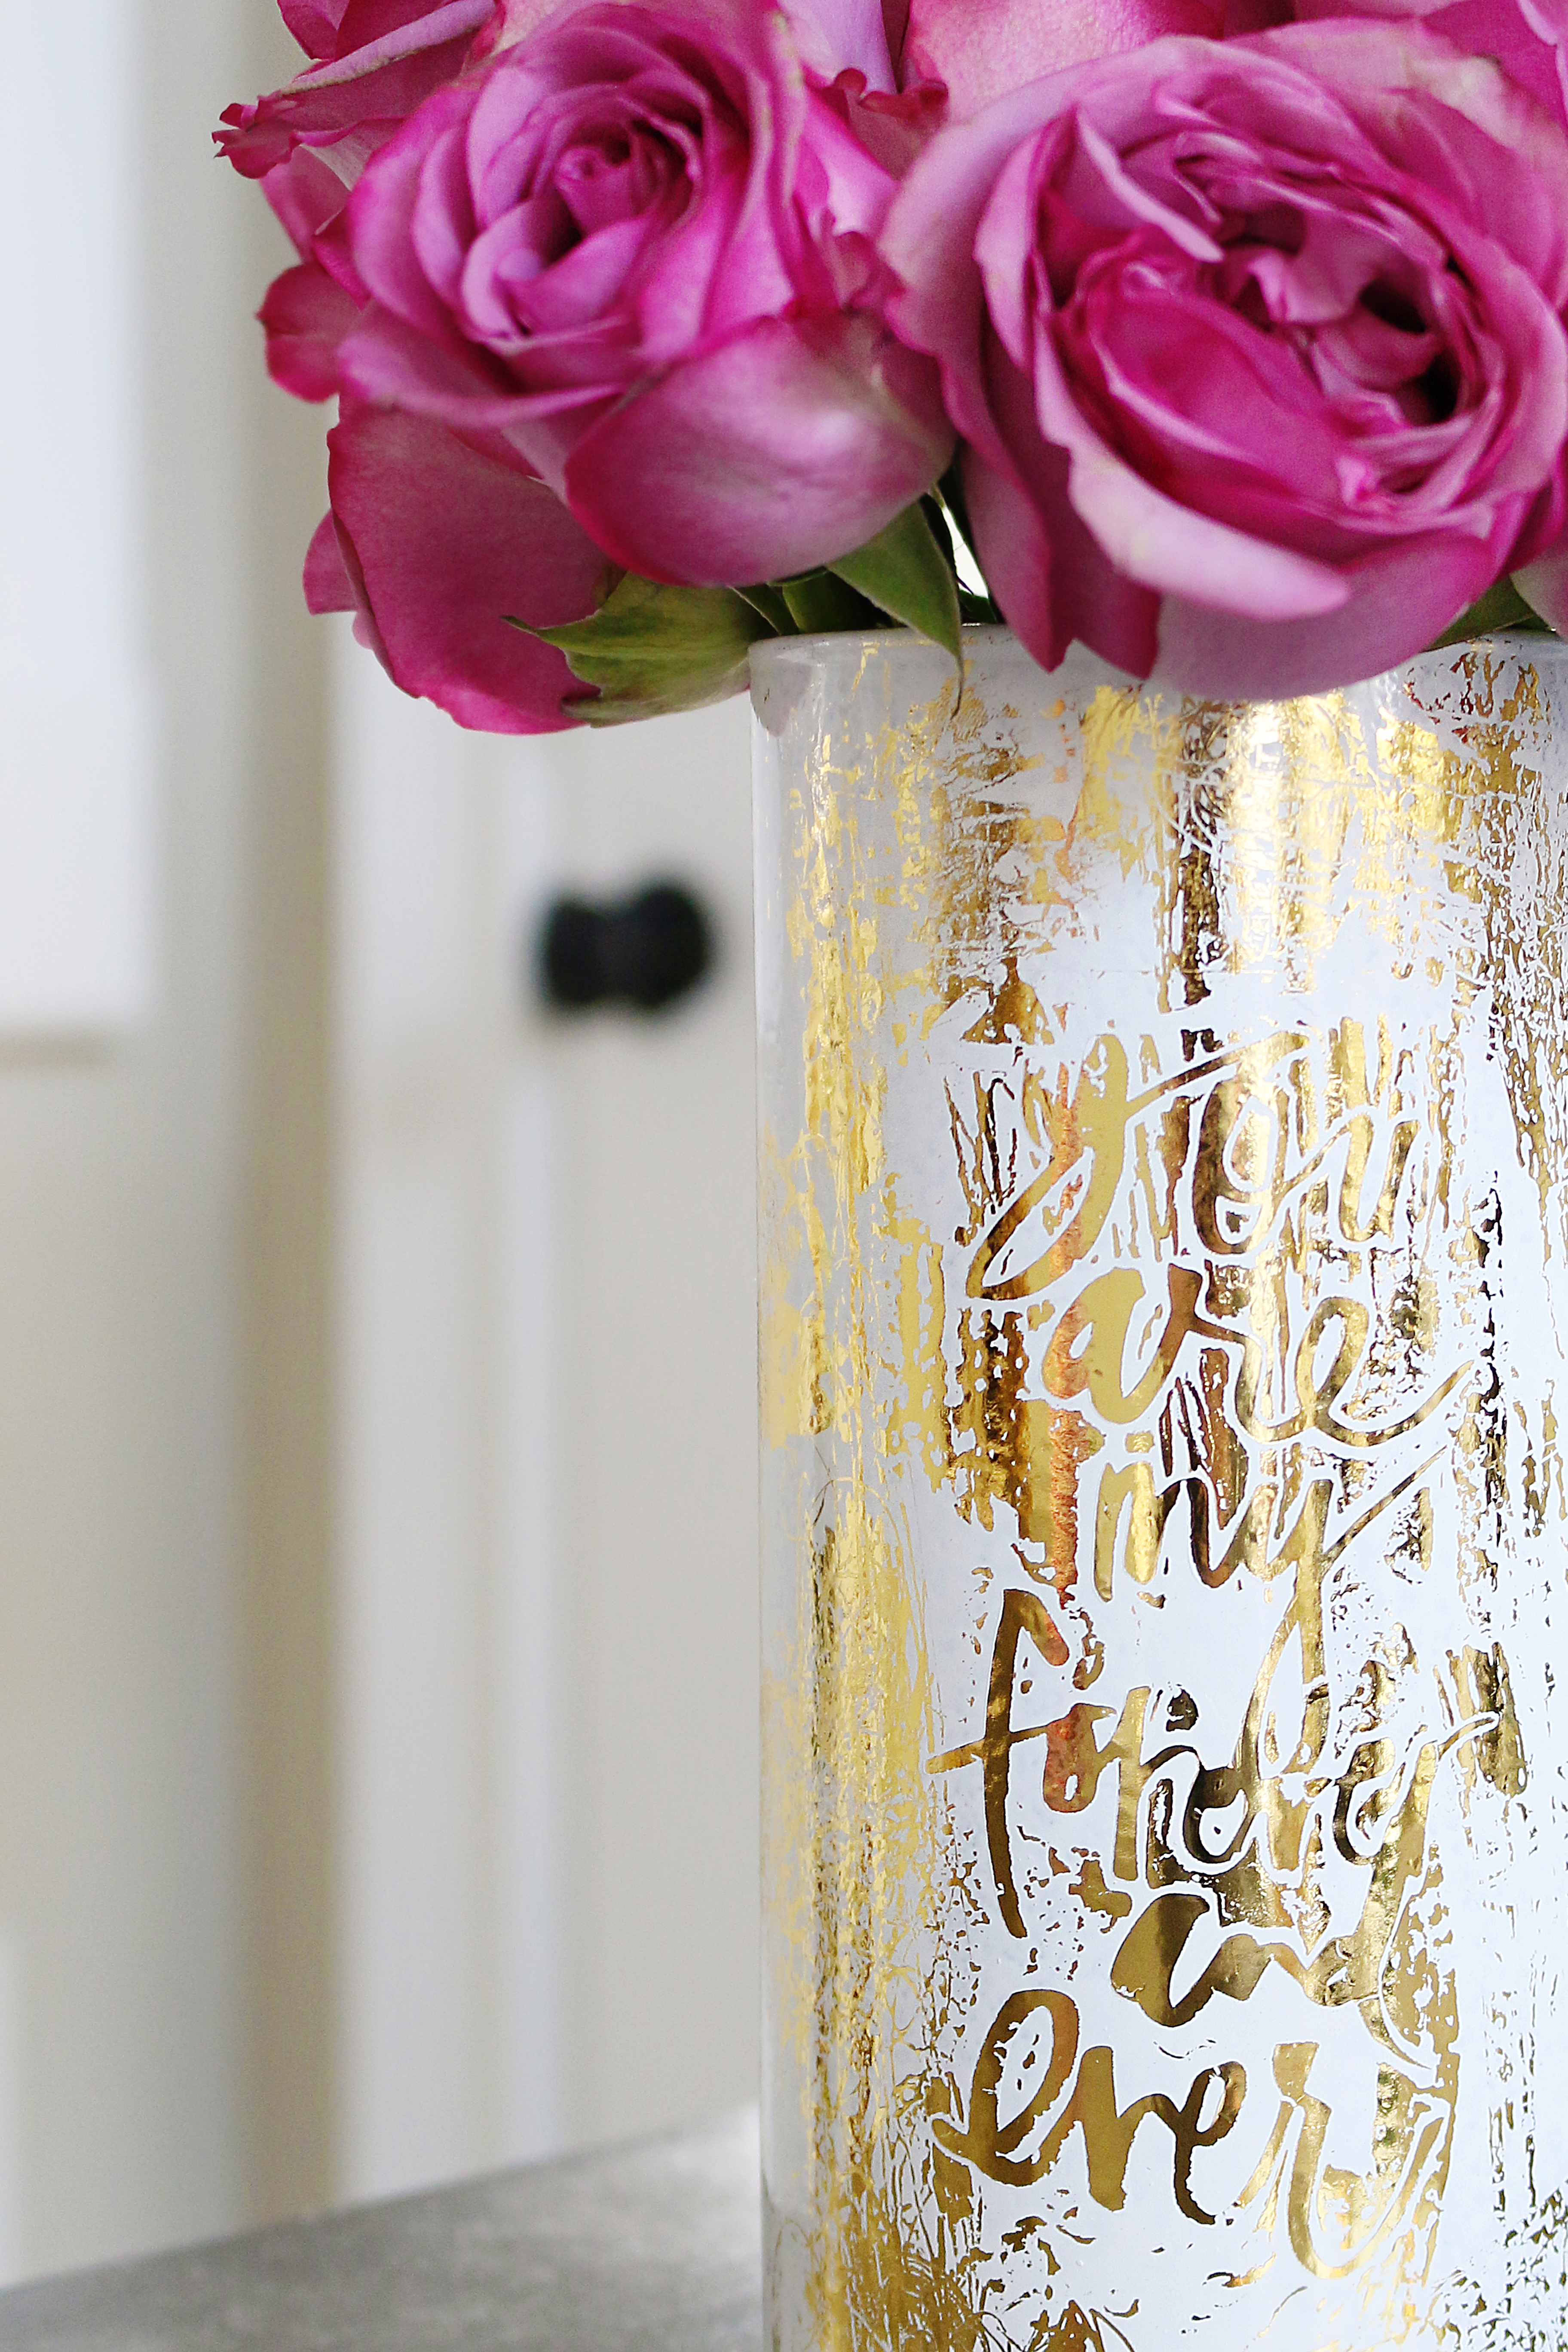
you are ready for foil. Take the sheet of foil (my kit came with gold and pink) and then rub ALL over. I focused mostly on the words with my toothbrush but I also did round and various direction rubs in other areas too. Then when I peeled it back the words and the surrounding areas were all-foil-fied. My gold sheet still had lots of foil left and this is why a barely-tacky vase comes in handy….the white paint acts as the adhesive for the foil. So just peel the gold up, place it back down in another area in another direction and burnish all over. Repeat till the gold is gone and your vase is covered in random gold bits.
Ta-da! Add flowers and water and enjoy!
Thanks for sharing and happy foiling 🙂
Look no further for more DIY vase inspiration! Here are some of my favorites…
What a great idea! I love the effect. Awesome job!
The flowers are gorgeous but I’m still anxiously awaiting the plans for the very awesome table you made for your brother’s foyer! I’m hoping to build it with my hubs before my baby comes in approximately 4 weeks!! Any chance they’ll be on the blog soon!?!?!?!? Love your blog!!!
Monday! I had to wait on the printable plans 🙂
xo – kb
This is cute … I wonder if I could make one that looks even half this good. Do you think anything needs to be put on over the foil to seal it?
You could seal it but honestly unless this is gonna be handled a lot (our vases typically are not) I don’t think it’s needed.
xo – kb
This is very cool Katie! Thanks for the inspiration!
I adore these! Love gold & great way to add bang with foil. Gotta try