DISCLAIMER: This is a sponsored post brought to you by 3MDIY.com. All opinions are my own.
I’m calling these shelves full-bodied…because frankly, calling anything chunky can be offensive. #thingsIlearnedfromtheinternet
On a more serious note, is it Christmas right now?!
Because somebody has new shelves over their potty and I am fairly certain that kinda thing is saved for the nice list on Jesus’ birthday. I know you are salivating to see them…so here’s what the before looked like…
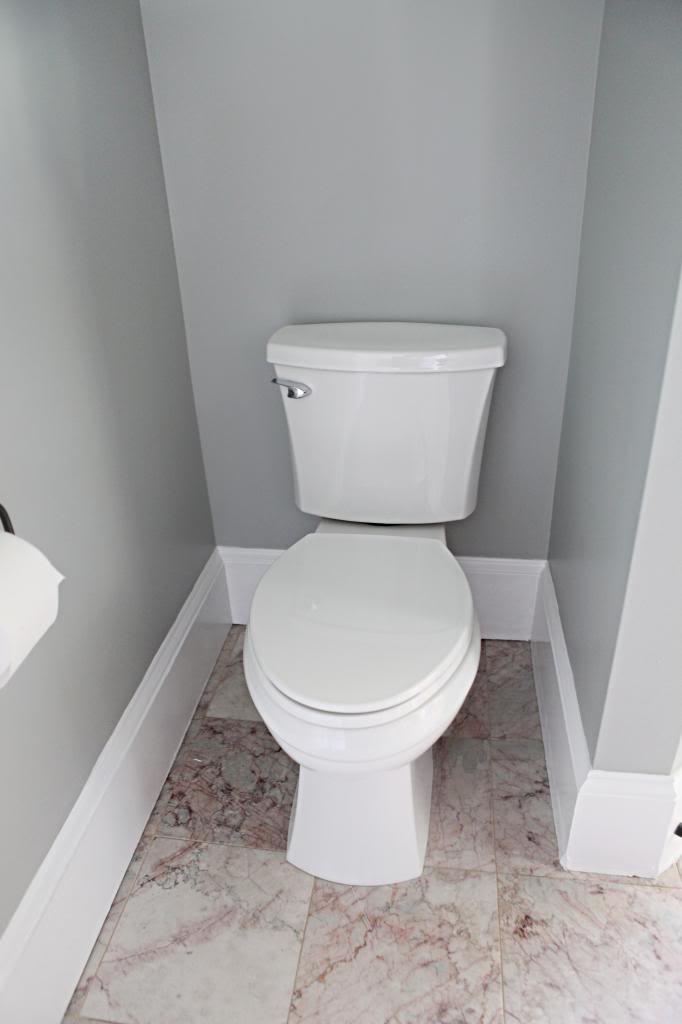
and now the fun afters…
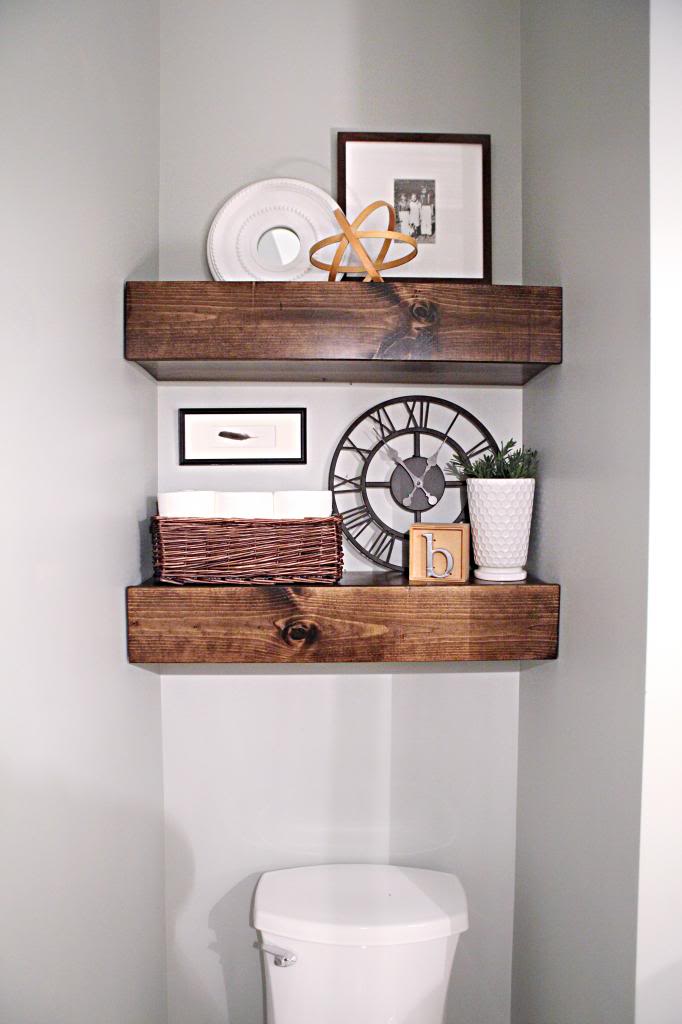
Great, no?!
Sorry about the crazy bad photos…this room is exposed to no natural light and the only two lights in here shoot down…so it’s shadow city (which is a good thing if you are not into seeing your lumber…a bad thing if you can’t see mine…if you know what I mean).
So here’s how I did it (and girls…this one is easy. Even if you are a newbie to DIY, I promise that you can do it. You will need an extra pair of hands at certain points to hold things…but seriously…easy.)
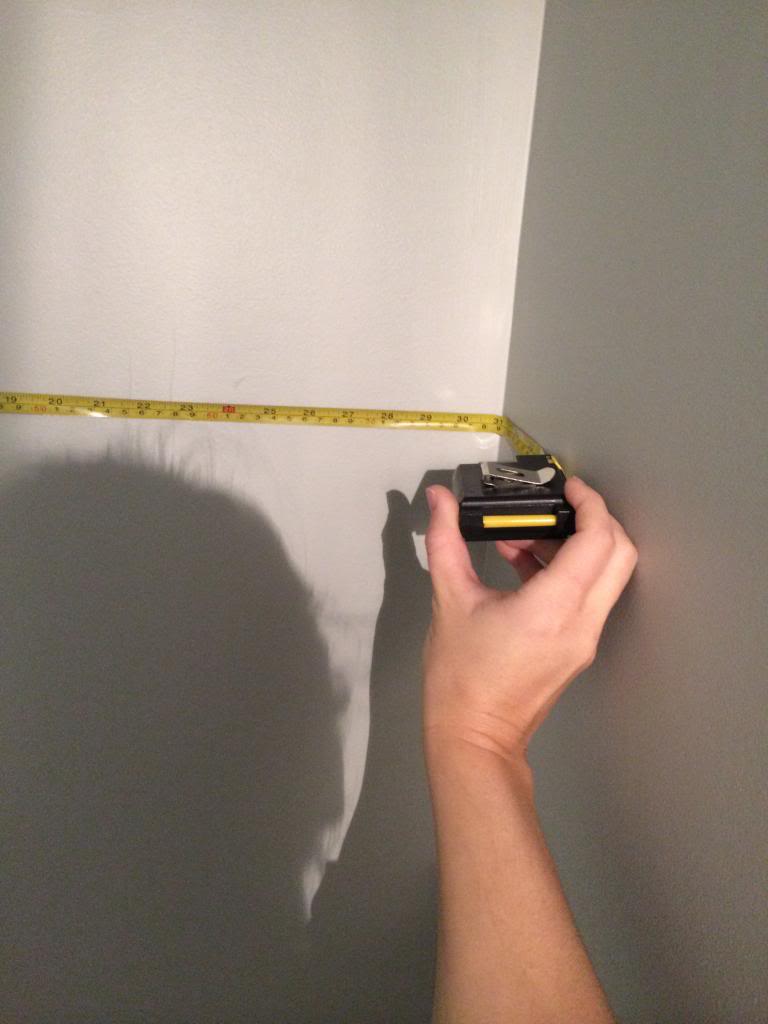
First, I measured the width of the space above the toilet. I wanted these shelves to appear to run from one side to another (even though the sides are not weight bearing, they needed to go from side to side)
Then I got ready to cut my boards. I had bought a couple of studs, a couple 1×6’s and a couple 1×10’s. For the most part I followed the idea of the chunky shelves that Desert Domicile had done a while back. They used furring strips…I used studs. They attached the sides…I did not. There were some other modifications that I did…but the idea was still the same…build a base unit and then attach the pretty parts to it 🙂
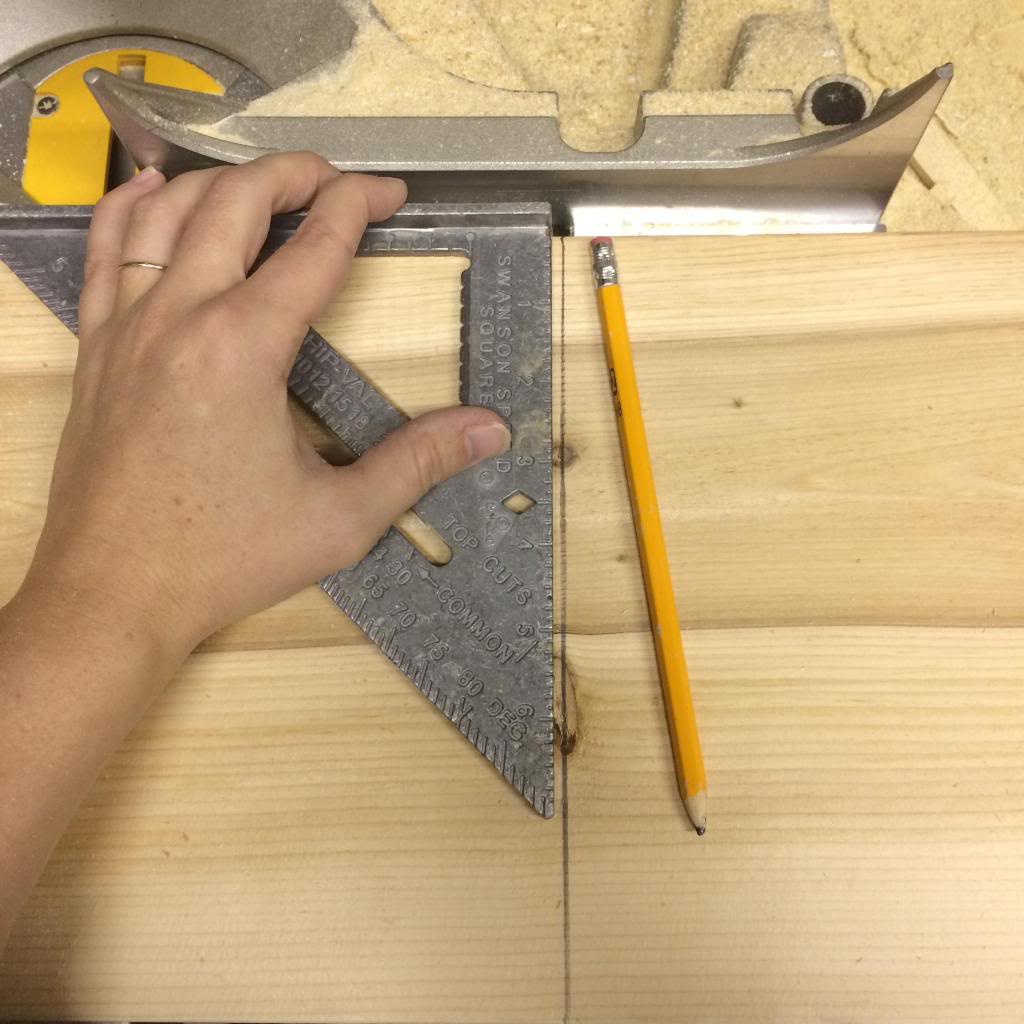
I marked my boards with the right length…(excuse the sawdust…the workroom is on the list of MUST-DO’s)
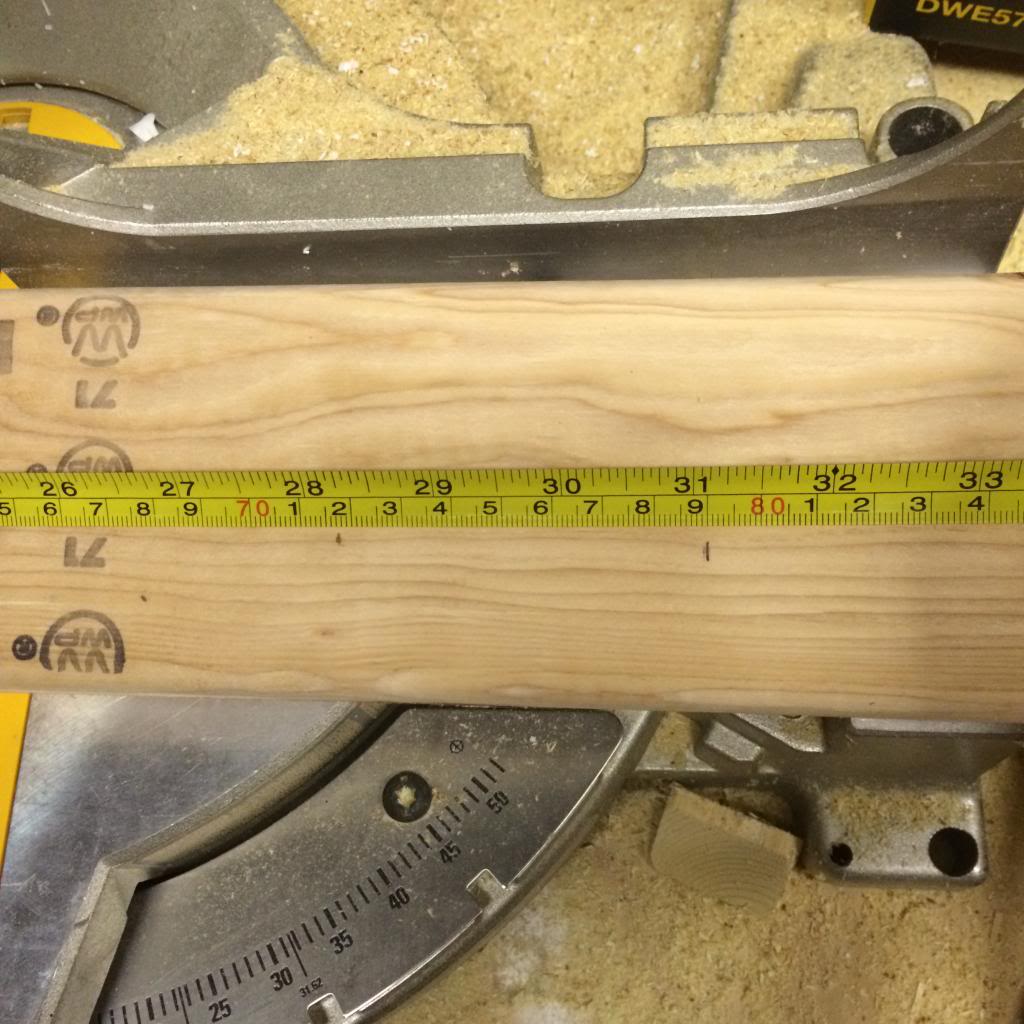
Always double check your measurements (on the wall and on the board)…
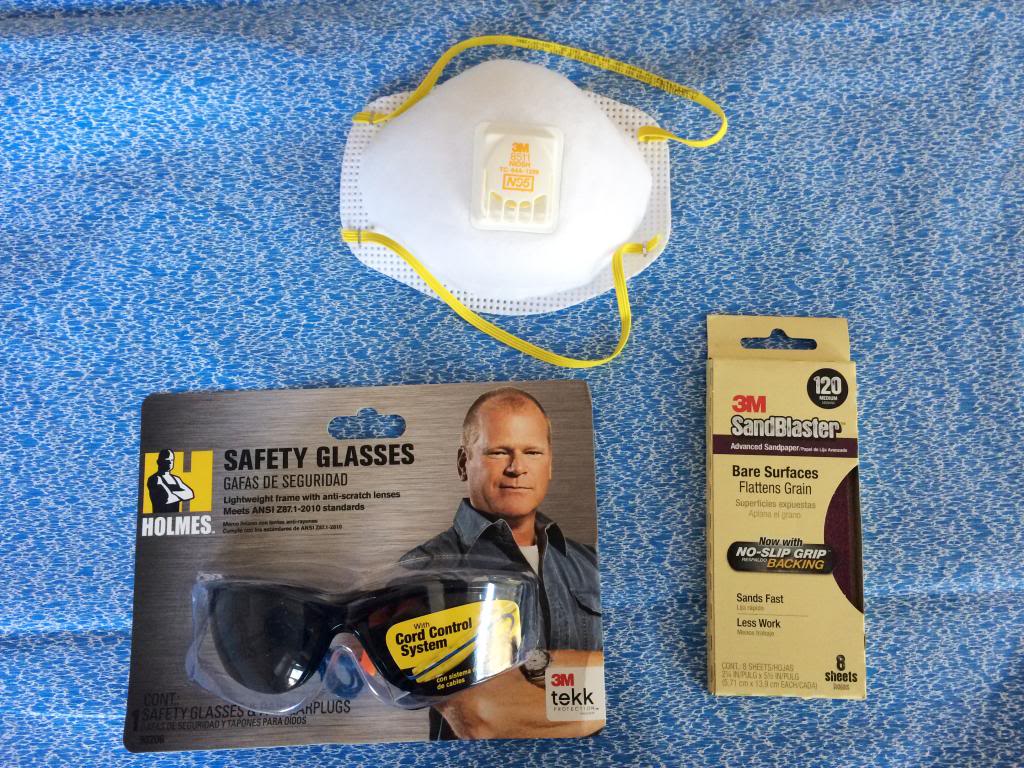
And then make sure you break out the safety equipment. (special thanks from me and LJ to 3M for providing all the 3M™ Safety Products for this project!) For cutting, I like to use safety glasses and a mask (like I said…we have a bit of a sawdust issue) and I also make sure to have a bit of sandpaper on hand because after I cut, I immediately smooth away the bits that could stab me in the hand. Even carrying a board with sharp edges makes me all nervous.
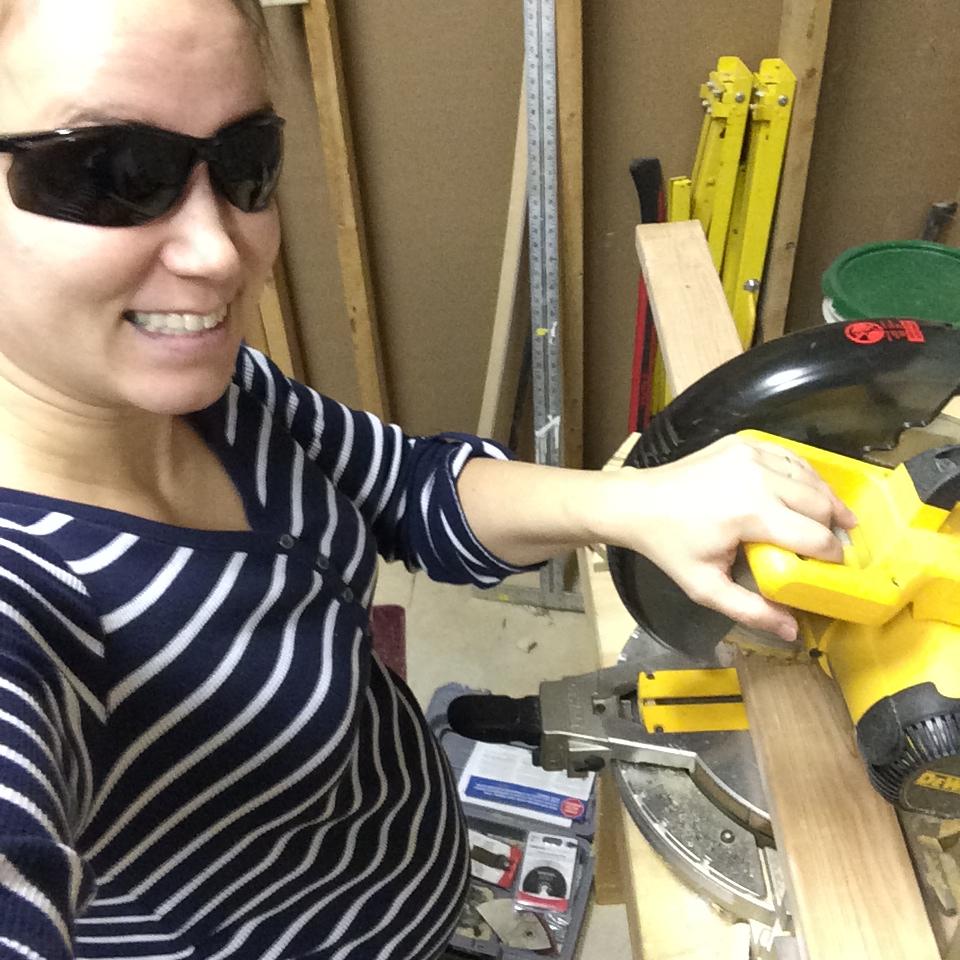
Make sure you do a fake pose with your miter saw…
And then do your cuts.
Mine were the following:
(2) 2 x 4 x 31″
(8) 2 x 4 x 7.5″
(4) 1 x 10 x 31″
(2) 1 x 6 x 31″
When I cut the 10″ wide boards, I have to do two cuts because my saw isn’t big enough. I know Jer has always wanted a bigger one…I should have saved up for that this year. #mentalnote
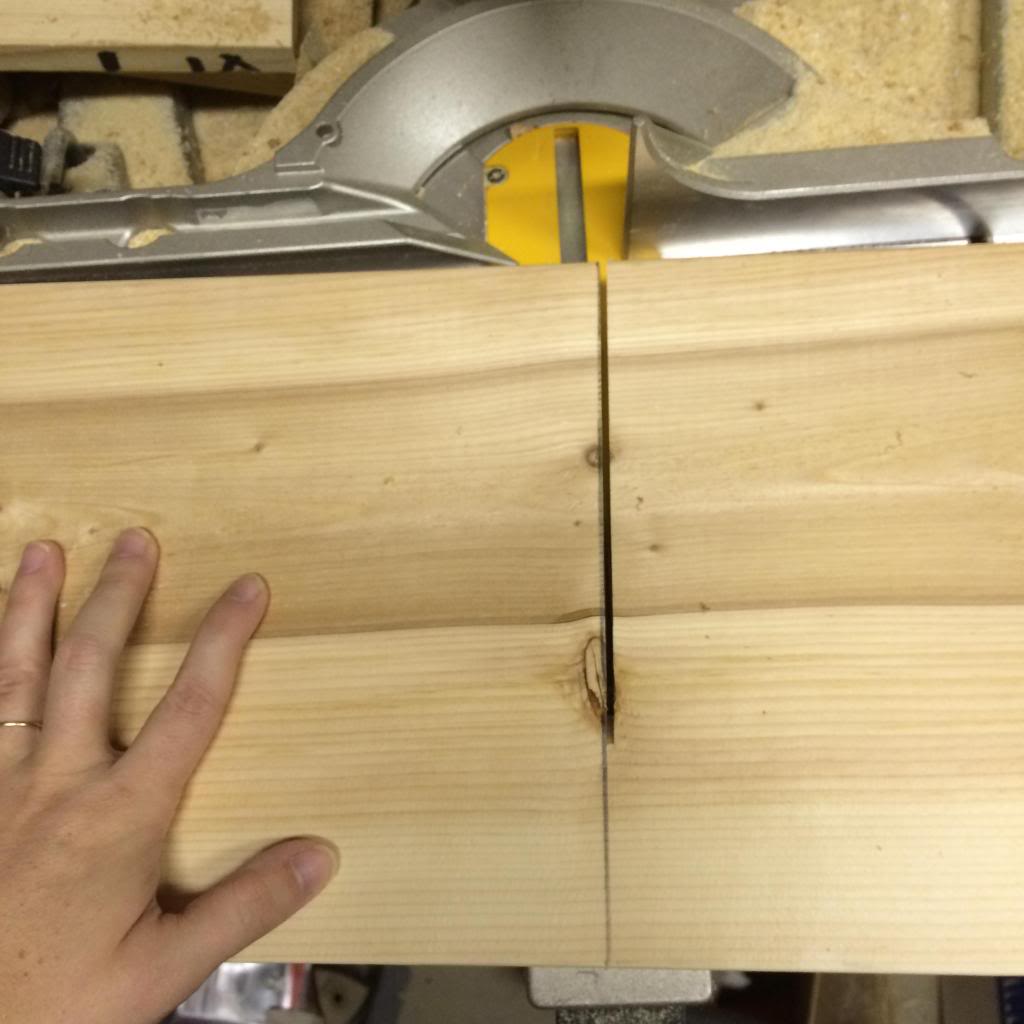
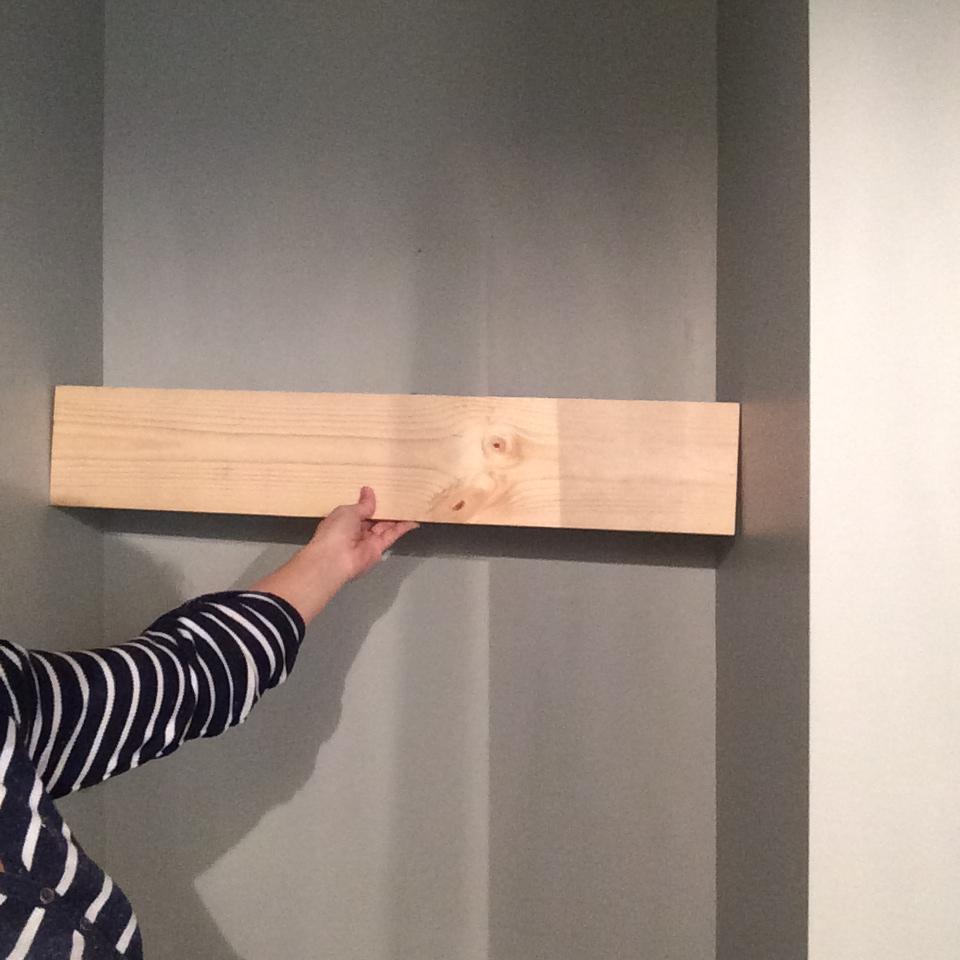
After the boards were cut, I double checked everything to make sure it would fit properly.
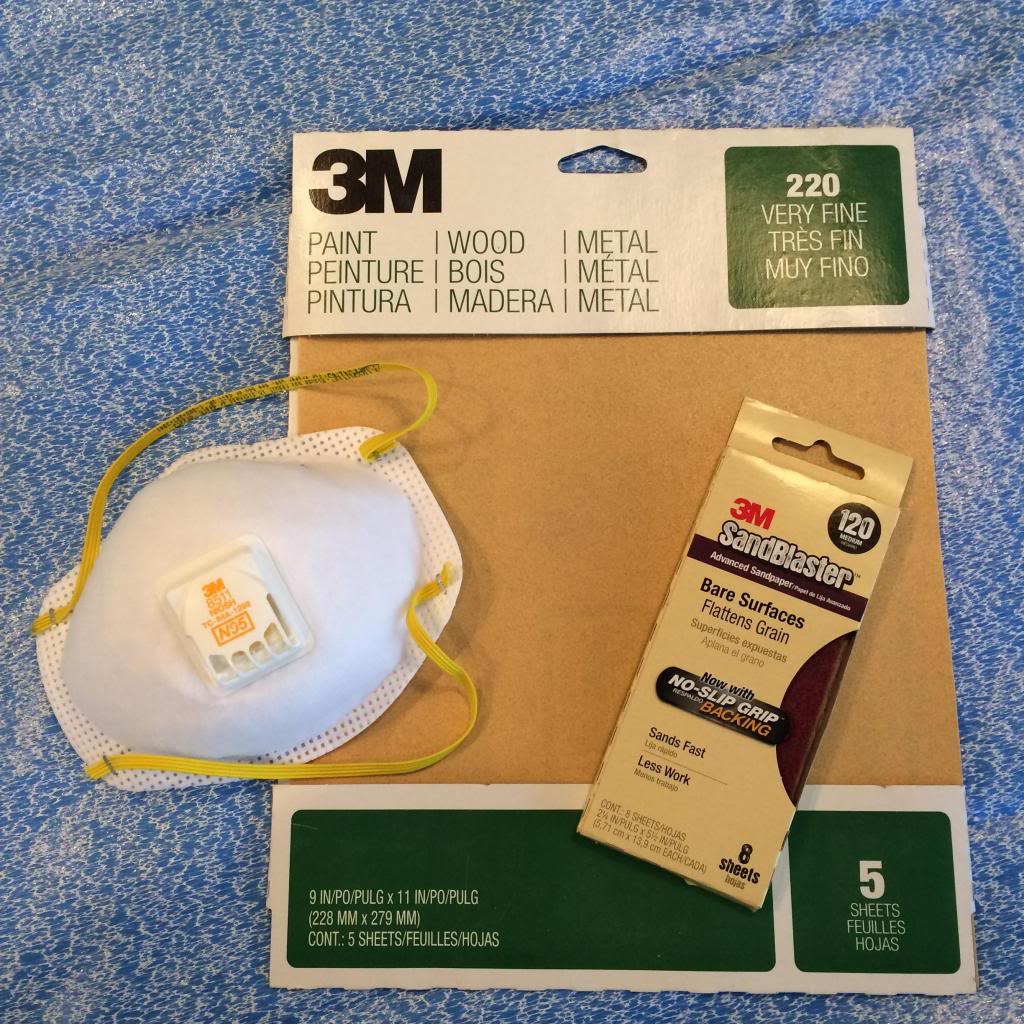
Then I got to sanding. I kinda hate sanding but it makes such a huge difference. I sanded all the flat bits that would be exposed and the corners too. (I used the 3M Sandblaster 120 first and then the regular 22o sandpaper).
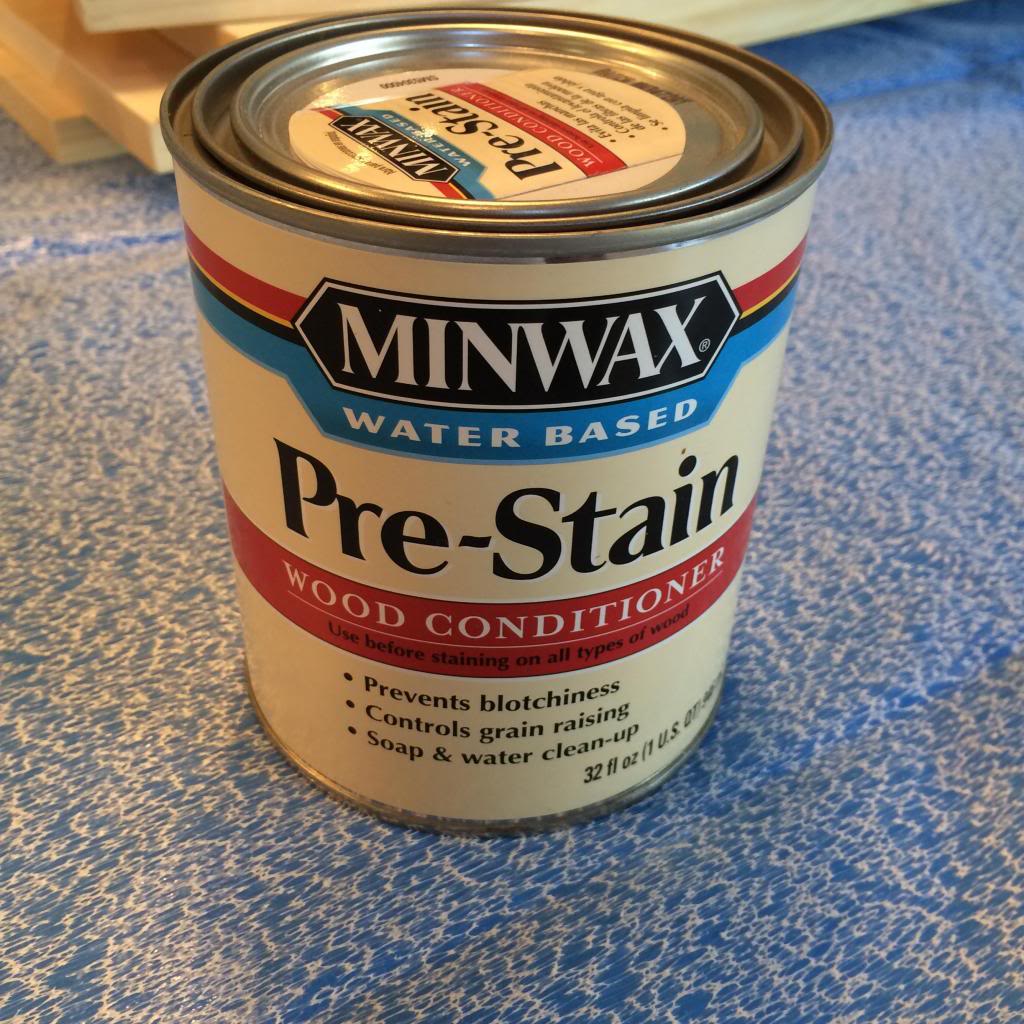
After all the boards were smooth, cleaned and ready for staining, I broke out the wood conditioner. I never had used this stuff before (and after reading the label, I saw that it was a no-no for pregnancy so I recruited Jeremy for this step)….
I was still wearing a respirator to quickly step in for a photo…just for you worry-warts. Basically this step is for prepping your wood. It’s the foreplay if you will. And trust me when I say…it’s worth it. You do a couple coats and wait 15 minutes for it to dry before you stain.
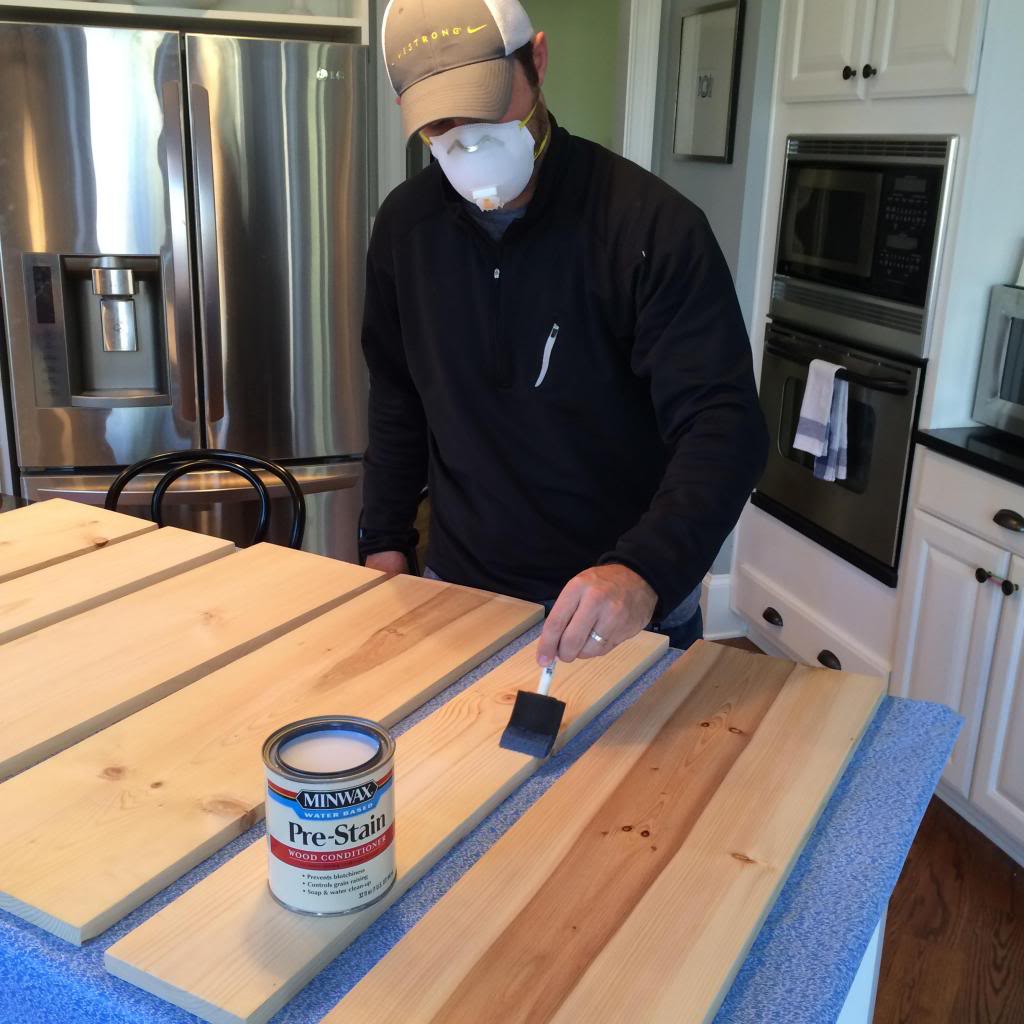
Dry time…
side note…I did this project inside and up on the kitchen counters. I loved it. It was so nice not to be hunched over this pregnant belly and be able to reach everything so easily. I just draped the countertop with a drop cloth and after I was done, just folded it back up to go in storage. It was perfect.
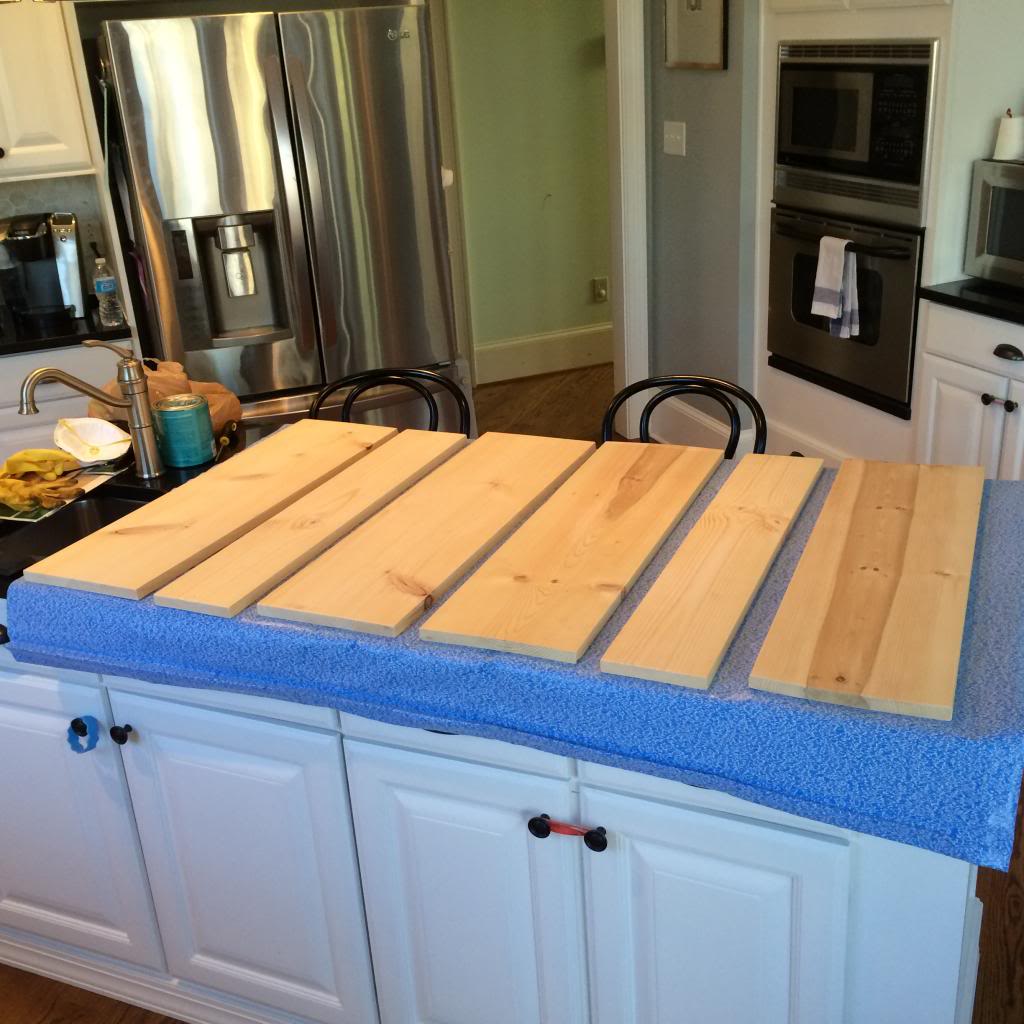
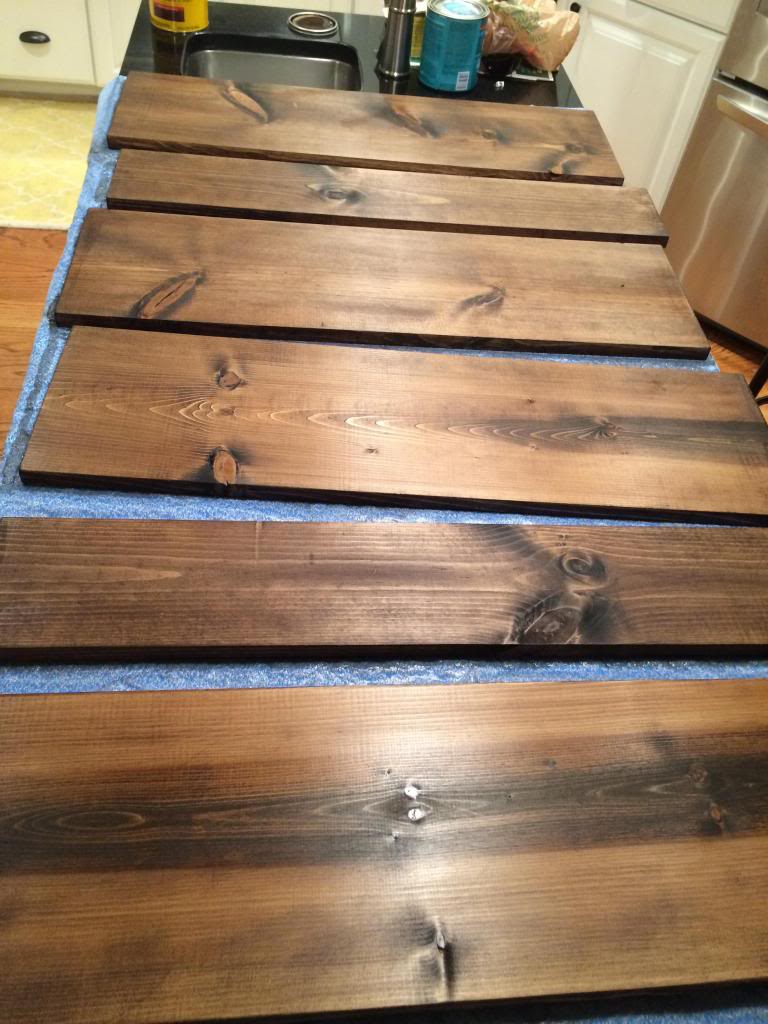
After the conditioning treatment happened, I broke out my favorite stain…Minwax Dark Walnut.
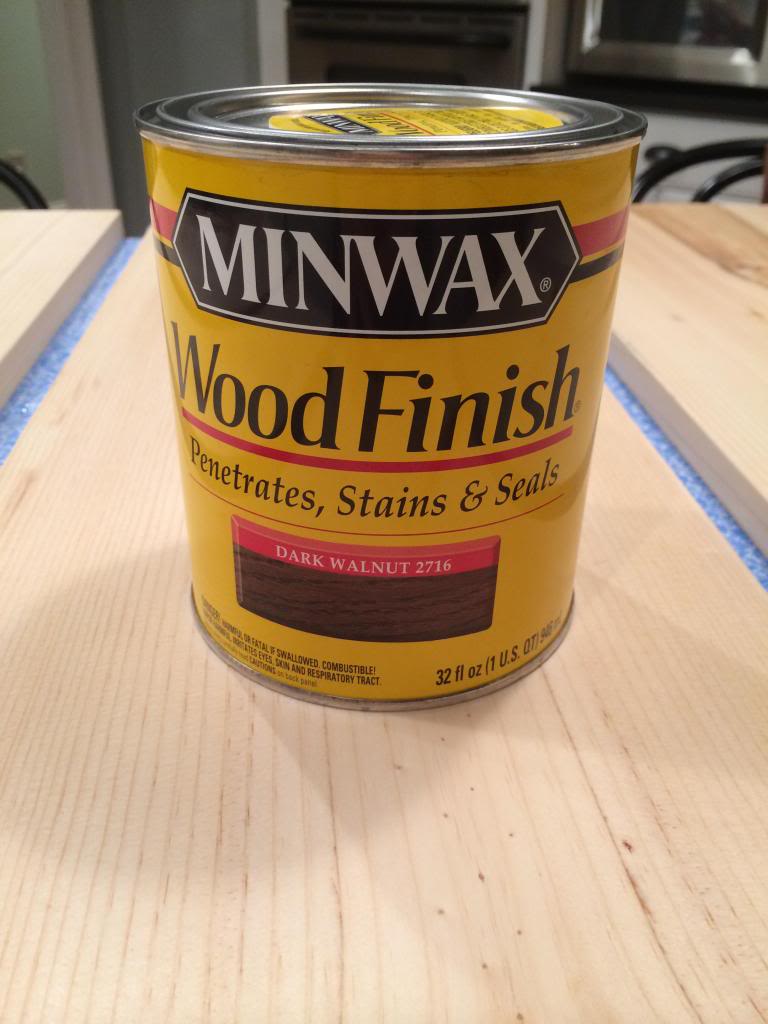
It’s super important to do thin coats and go with the grain. And pregnant girls…wear a respirator and open those doors and windows…or hand this thing off if you smell fumes or can’t get your hands on a good respirator.
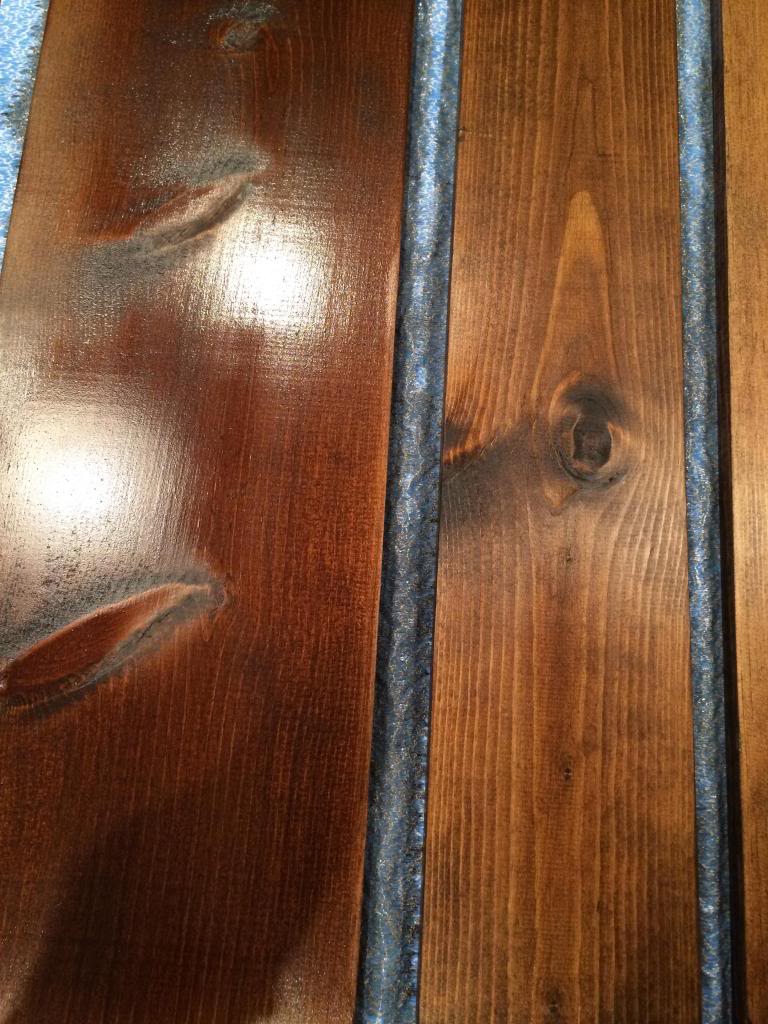
15 minutes of ‘soak time’ and then you wipe with a paper towel….
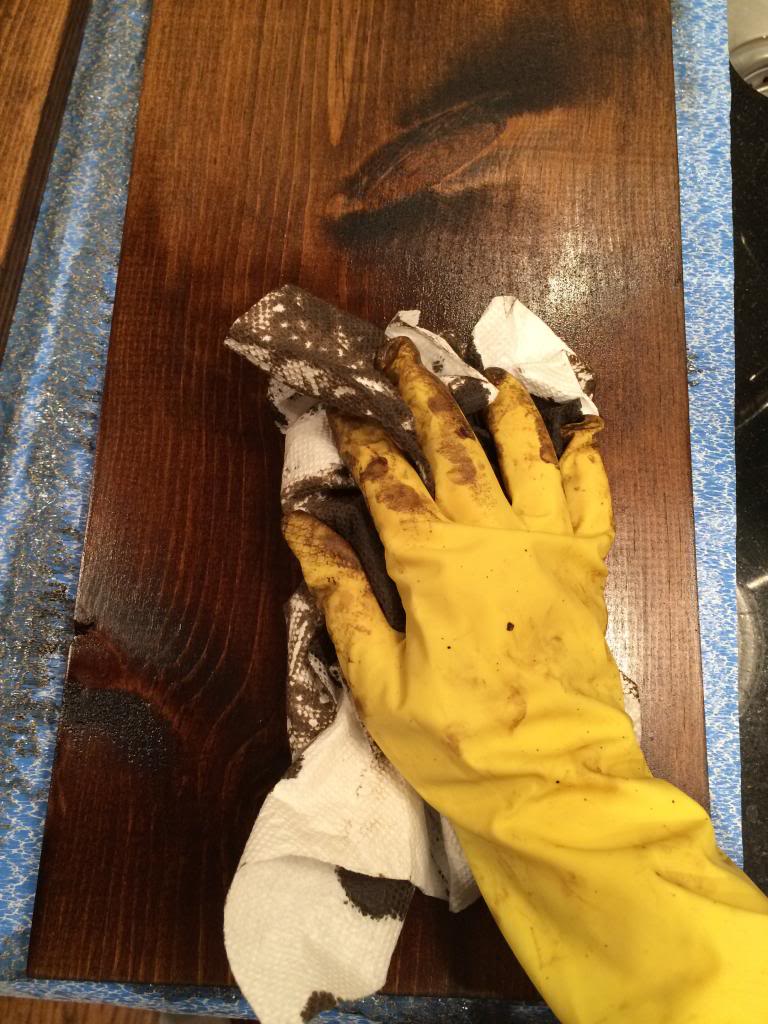
I did two different ‘coats’ of stain, waiting 24 hours in between for drying.
Okay…now here is what I really wanted to show you…the difference between using wood conditioner and not. The board is exactly the same wood…same prep and everything. The only difference is the wood conditioner. Cool, huh?!
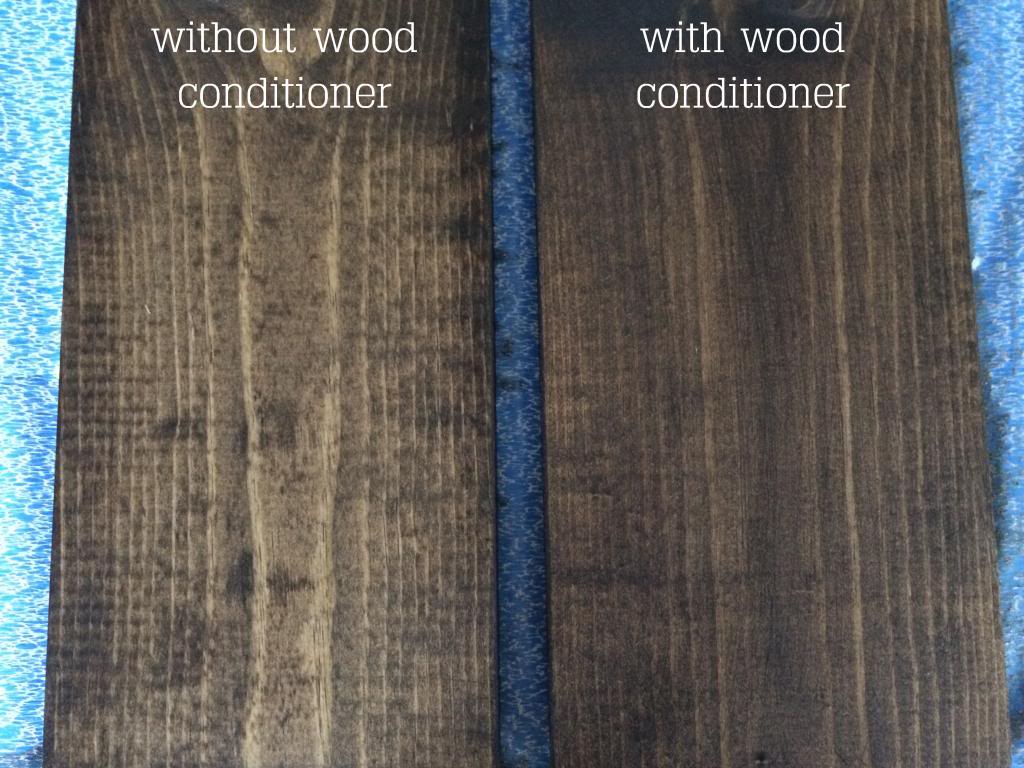
Here’s another look at it. One is blotchy…absorbs the stain weird…has drippy marks and is overall a hot mess. The side that got the royal treatment? It looks like a nicer piece of wood. Totally worth it.
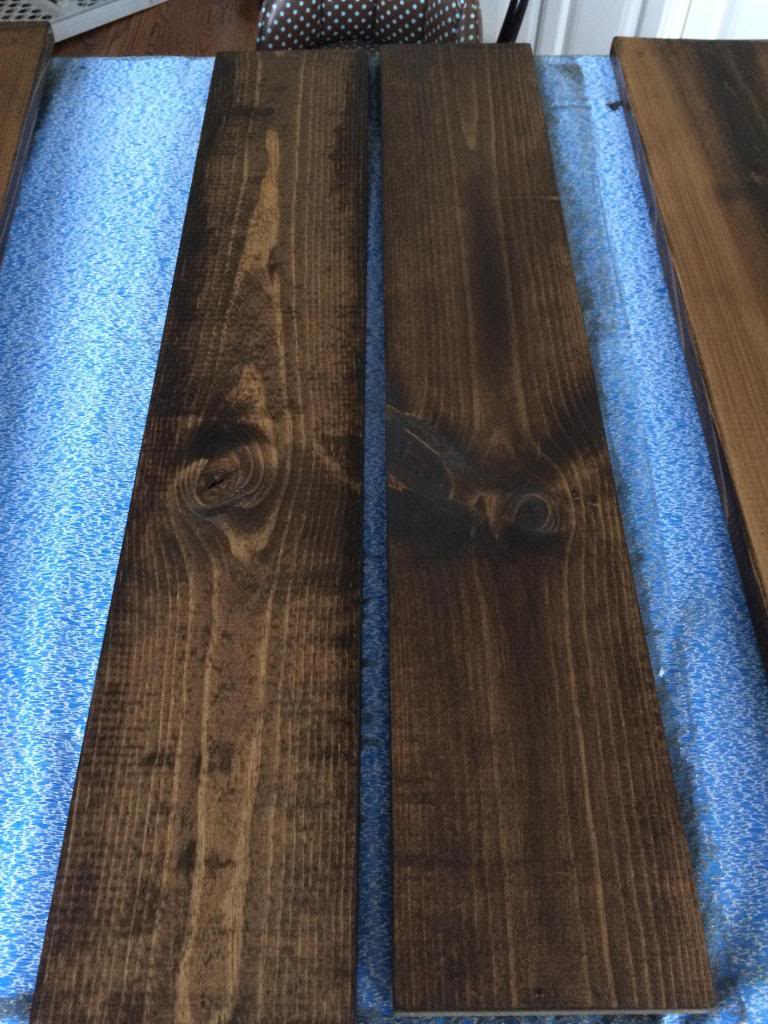
Then came time for sealing. I used water-based Polycrylic this time in satin and it was oh-so-purty. It goes on kinda milky white and then dries perfect. I did three coats on the boards but I think I missed an edge so I might be doing that tomorrow 🙂
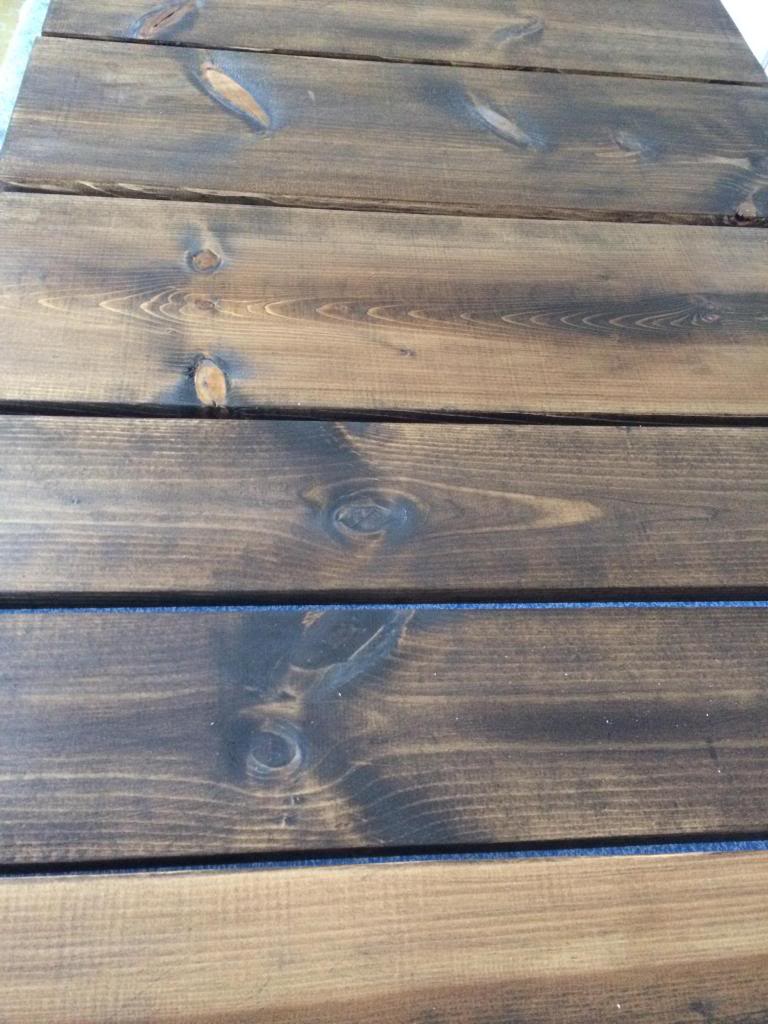
Okay…now that your pretty stuff is all prepped, let’s move on to the real structure part of the shelves. This is what I liked to call ‘the innerds’. You will need to assemble the boards according to your own needs. I knew that the stud in our wall ran down the middle so that is where my ‘gap’ is…but yours might be different so check where your studs are before making your innerds.
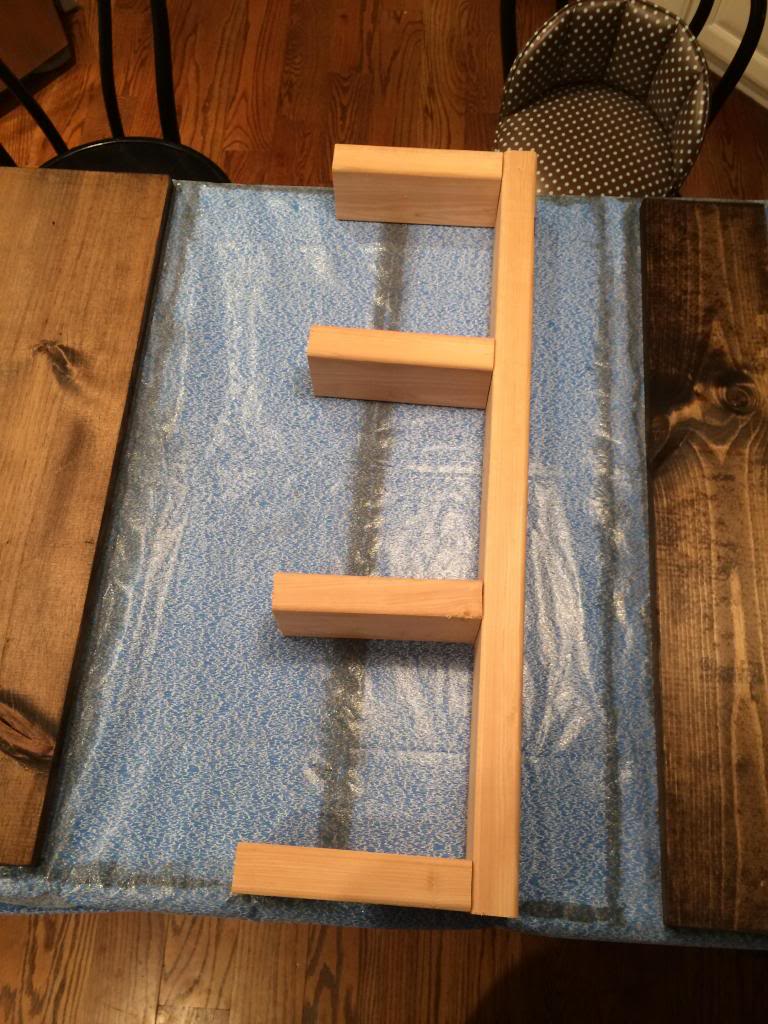
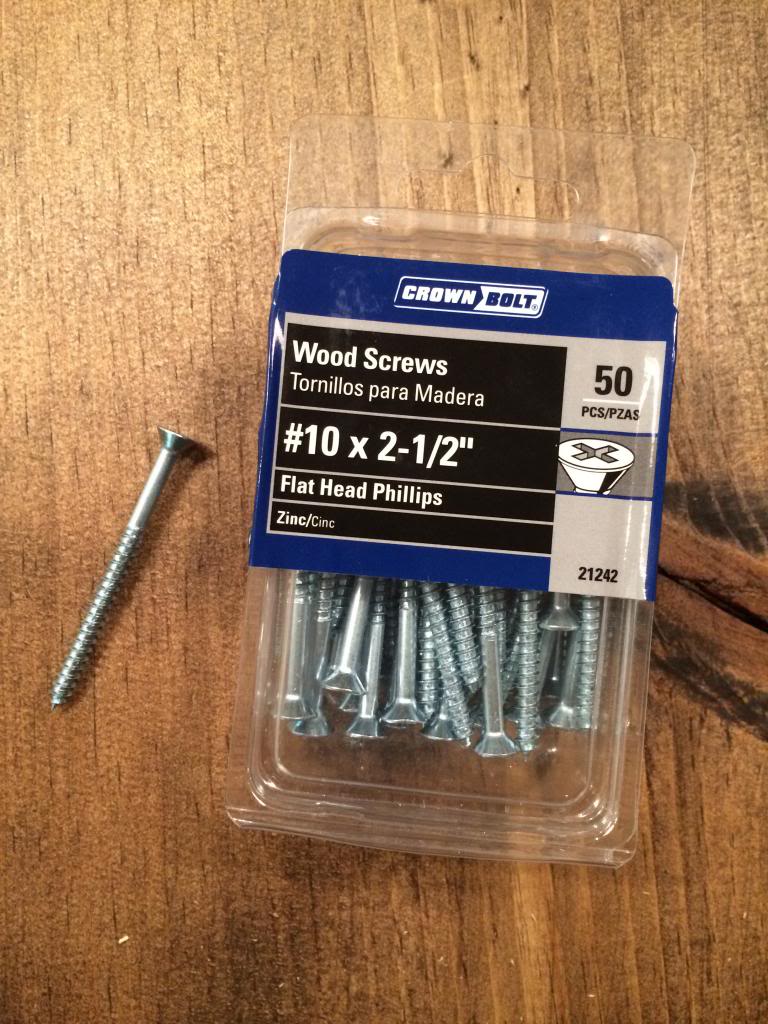
I used all my cut 2×4 pieces and these 2.5″ wood screws.
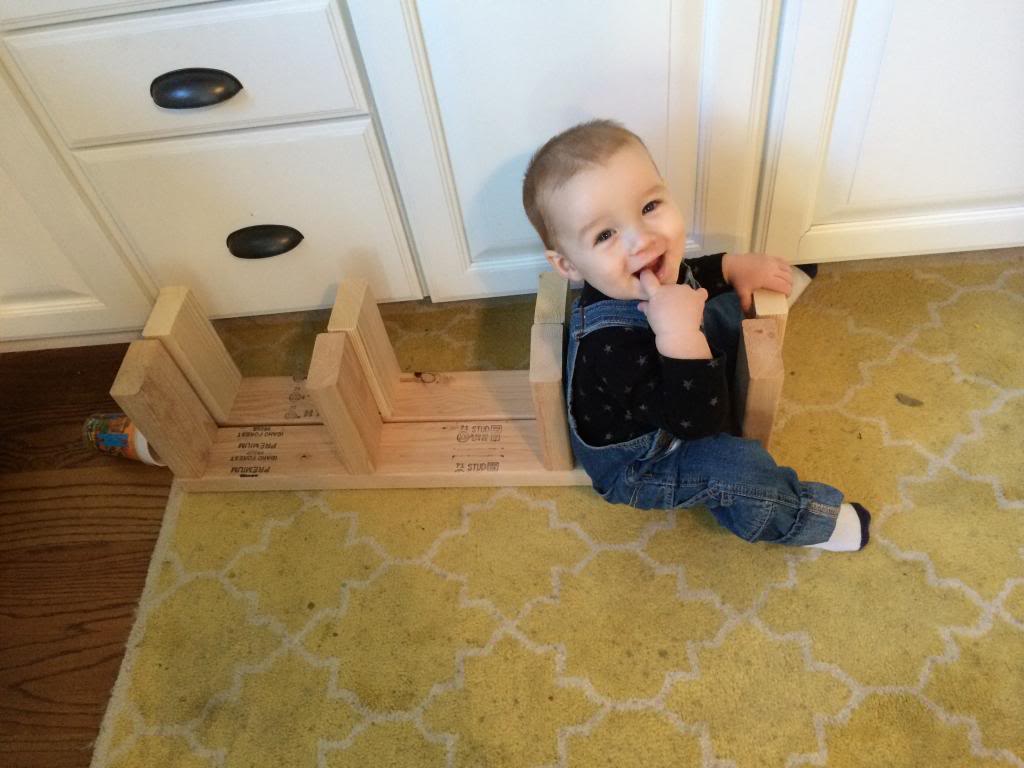
After assembling them all, a little Munch claimed them as his own. He must have sat here for thirty minutes. He would get a cup…go sit down on the boards….get a toy…sit on the boards….throw the car…sit sit sit. Now I know what he needs for Santa to bring him 🙂
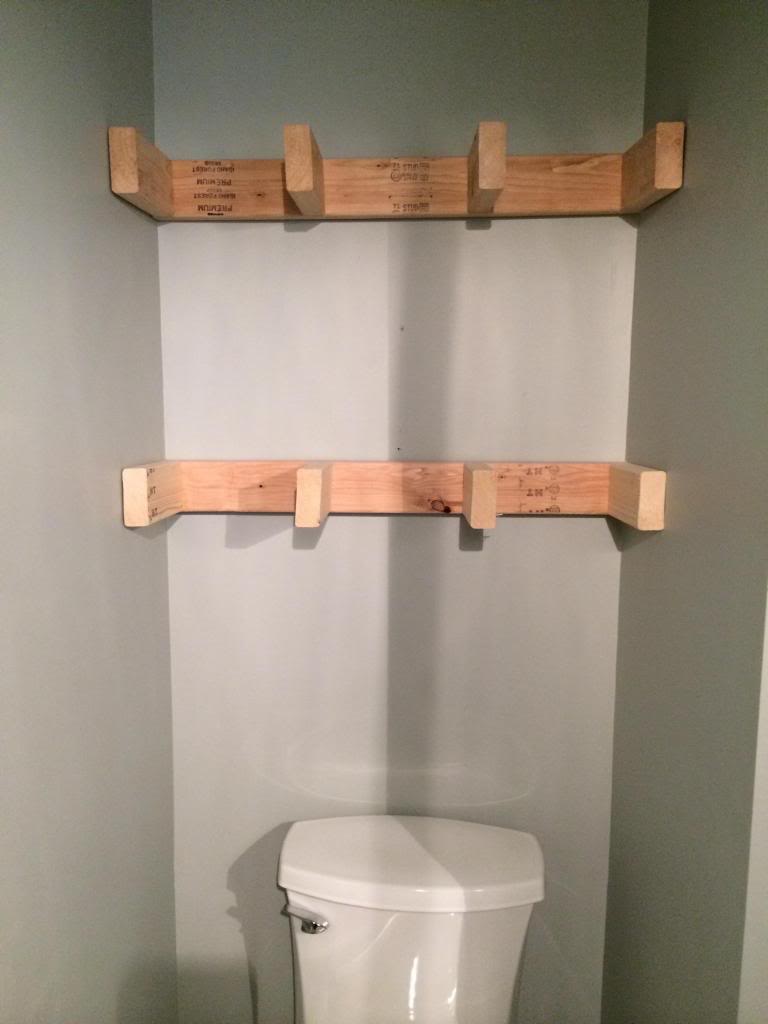
After the boards were all assembled and Munchie was removed, I put the brackets inside the bathroom walls. They were such a tight fit that this is actually them before fastened to the studs. Just hanging out. Jer helped with this part…he would screw them into the studs while I held them level and in the right place.
Then came time for the gluing.
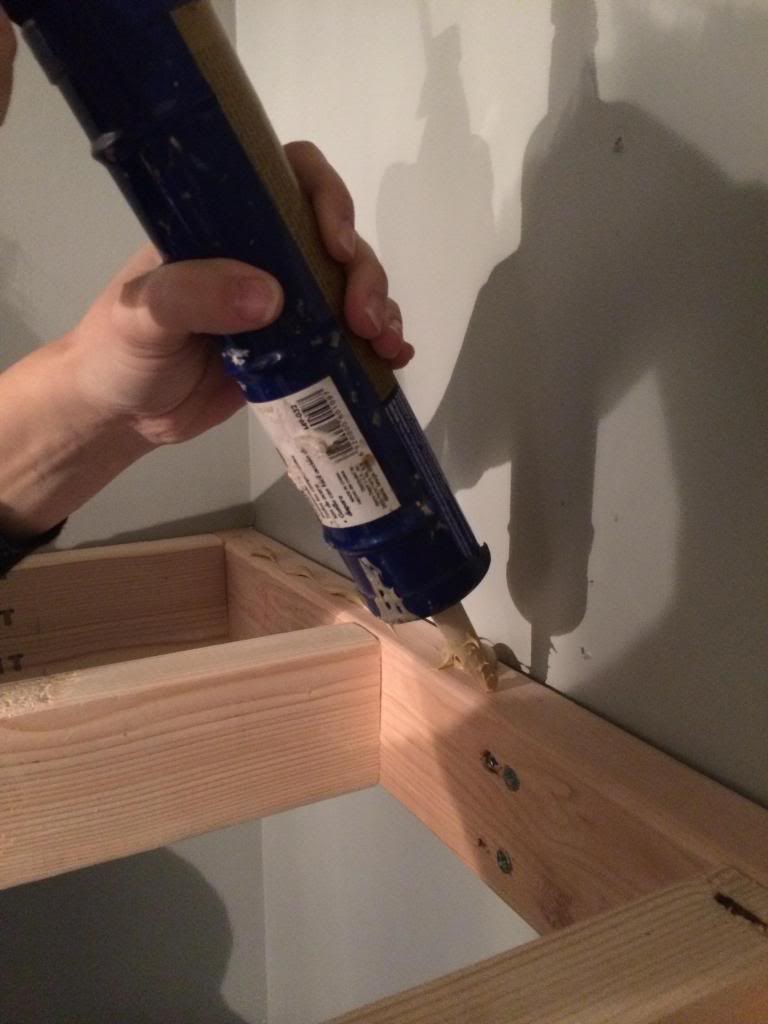
We used Liquid Nails and attached the top and bottom boards first.
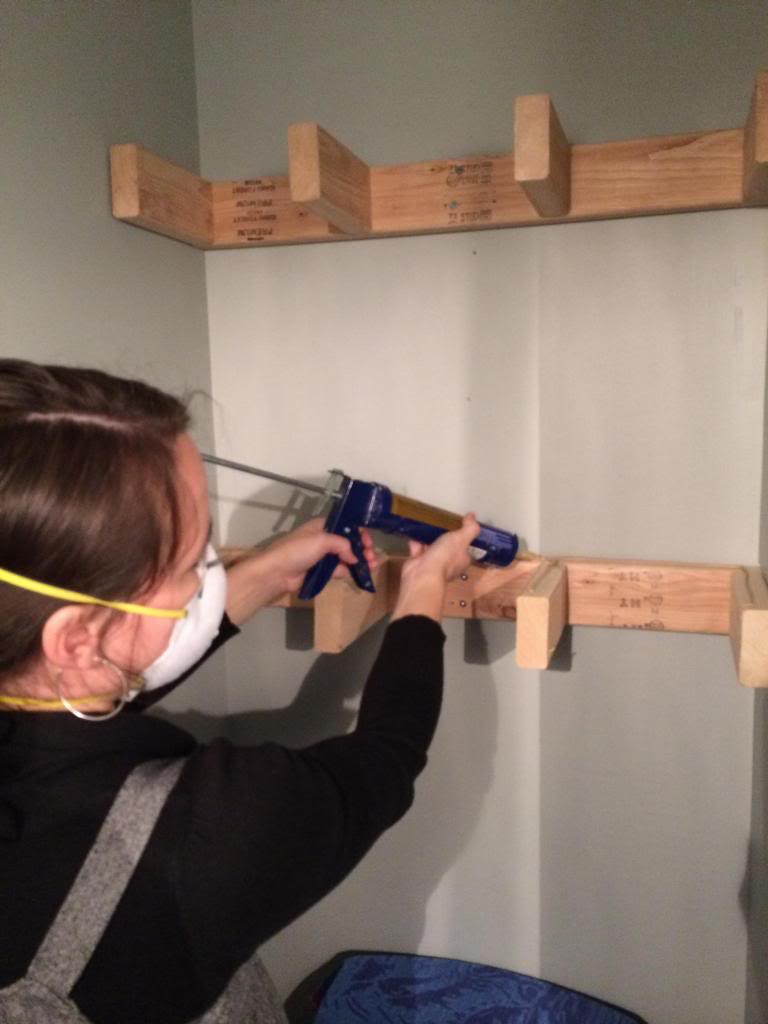
It was easy and super fast to apply all the glue. I think that I have a new favorite pastime now….gluing wood. That’s weird DIY brain for ya…
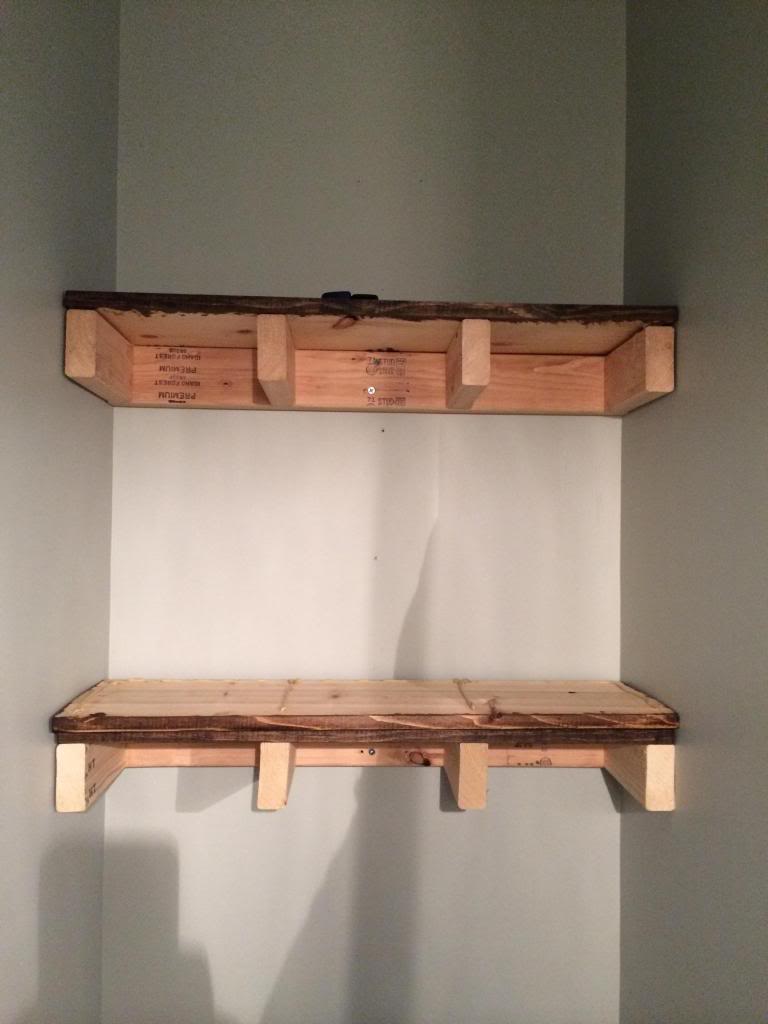
Everything was clamped together. The one ‘bottom’ board was slightly warped, so we figured out a way for the board to be pushed into the glue long enough for it to dry. Then we just glued the front boards on and clamped them in place too.
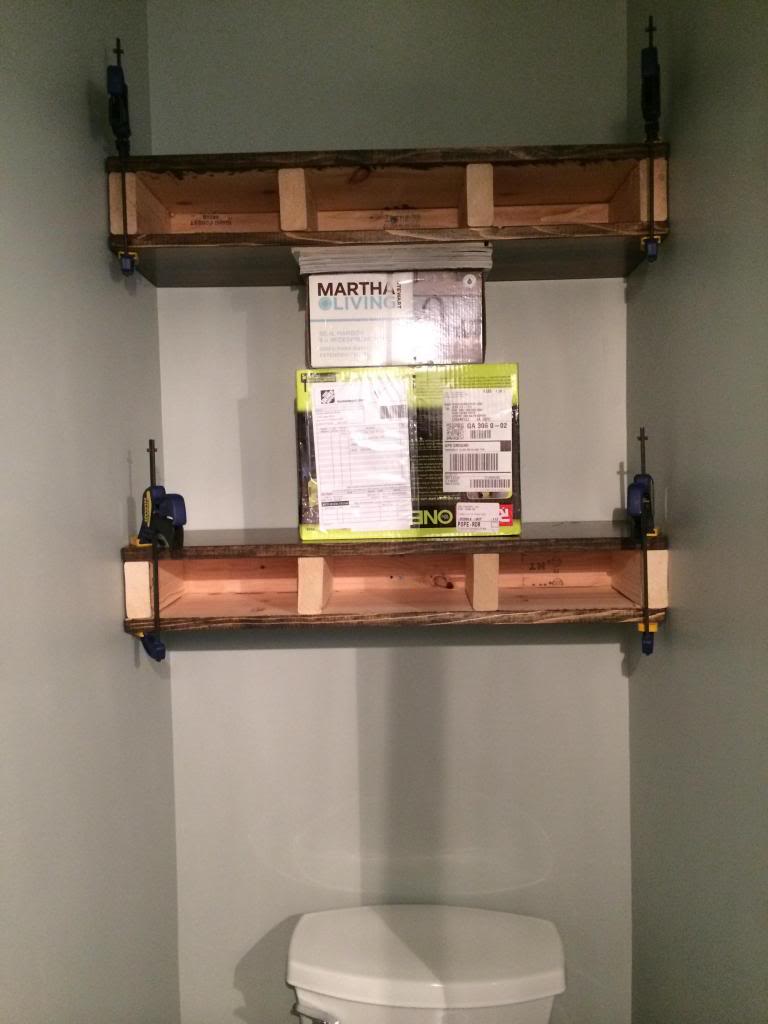
Overall, it makes such a huge difference. It looks so much more built in and makes sense of that awkward toilet cubby.
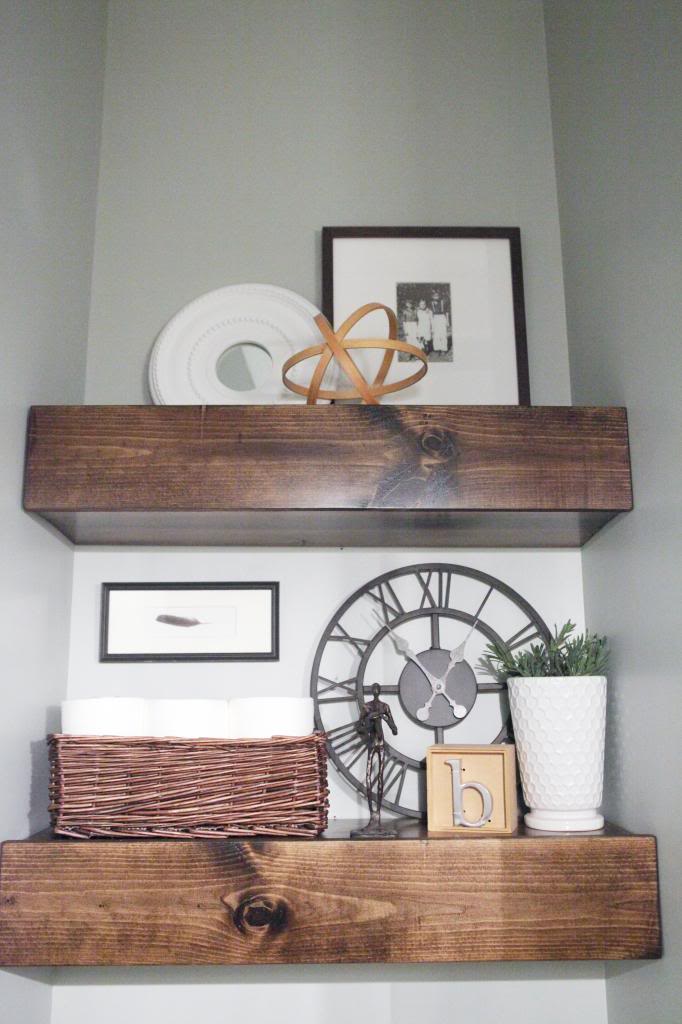
The shelves also make it nice because now there is a place for the extra toilet paper. Before we were putting it under the sink but nobody loves looking in someone’s sink for extra TP, right? Or is that just me? I feel like I’m invading personal space in a vanity search. But now? It’s available for all to see. Now to just teach Will how to actually put the roll on the holder and throw away the other empty one….my life would be complete.
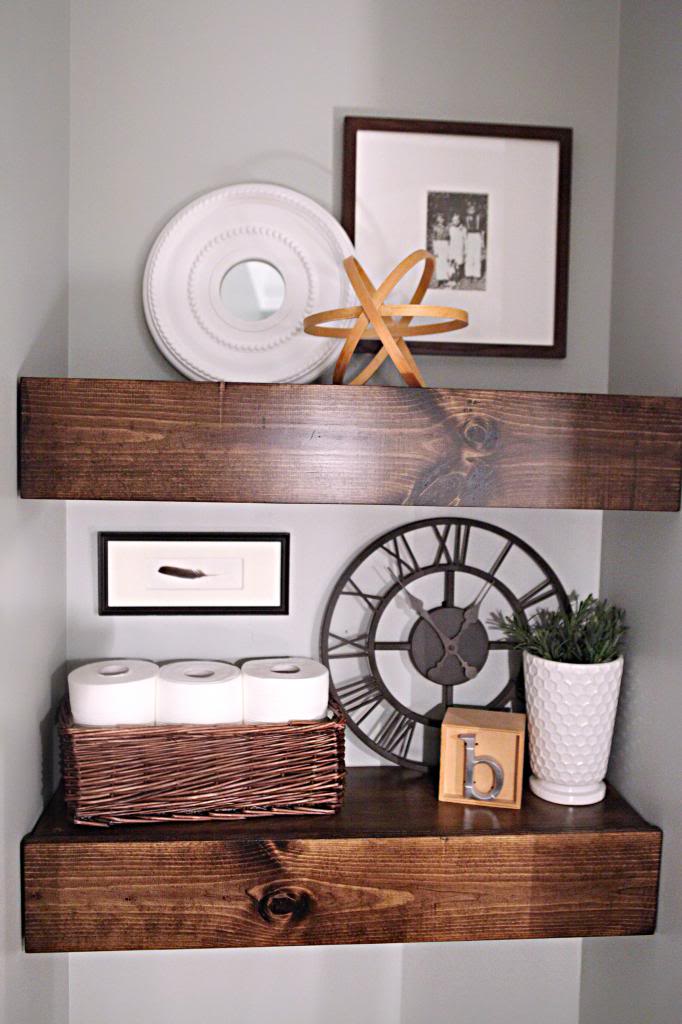
And the price was right too…about $15 for the lumber of each shelf. I had everything else on hand…but if you don’t, then it could run ya a little more (add $10 for the conditioner, $7 for the stain, $7 for the screws…all of which you will have a ton left over).

Here’s the actual budget breakdown (am I the only one that thinks it’s interesting to see the different cost of 2×4’s across the country??)
(2) 2×4 = $5.68
(2) 1 x 10 x 6 whitewood boards = $20.94
(1) 1 x 6 x 6 whitewood board = $5.32
Now if I could just decide on the right wallpaper for the nook (y’all made it clear that you feel the same way I do about the brush-treatment I did…it’s interesting but not something that looks great…if only the wallpaper gods would smile on me!), I would be oh so happy to call this bathroom ‘mostly done’!
This post is a collaboration with 3M DIY. To keep up-to-date on projects, products and sampling visit 3MDIY.com. Here they are on Facebook and Twitter.

The dark walnut stain is just lovely next to the colder gray and white trim. Really adds warmth and love the way you styled it. Looks so pretty! Can’t believe I just said a space above a toilet is pretty…but you have succeeded, KB!!
The shelves look great Katie! I have never used wood conditioner before and I think you have convinced me that I now need to use it on future projects. What a difference it makes!
Love the look, Katie! I love the home-y look of it!
This is not really related, but I wanted to ask about the yellow and white patterned rug that Baby Weston is posing on…How do you clean the carpet? If it stains, what are your methods for getting it looking spick ‘n span again? Just wondering… 🙂
Love the chunky shelves! Fab project!
Cute! But is that photo of you and the miter saw upside down?? 😮
I don’t see one that is upside down. It might be Photobucket acting up again. They are sometimes unreliable.
xo – kb
I have been on your blog tons… the last couple of days i have been getting pop up videos… I know that Young house has been getting them too…
Maybe others have been having the same problem?
Thanks for all you do. You are amazing!
A few of them are upside down for me too! But when I read the post on Bloglovin they were fine.
Those look so great Katie! Can you link to Desert Domicile’s shelves that you used for your inspiration?
Good looking shelves .The color too. I hope i can find some
Wood conditioner here in Denmark, cos it really maks a difference. Great Work.
I love the “full-bodied” shelves and the wood with the wall color! Now I wish I had a place that they would fit in my home
Try Thibaut (pronounced “Tebow”…like Tim) or Waverly for wallpaper! They have bright fun colors, and subtle tone on tone ones too, and I’ve seen a lot for $30 a roll or less (which is el- cheapo in the wallpaper world!)
Great tutorial! Those side by side photos without and without wood conditioner were awesome. I wouldn’t have thought the wood conditioner would be that noticeable, but I guess it really is a step that can’t be skipped.
http://jax-and-jewels.blogspot.com
Very nice! If you were ever lacking storage, turning those into pull-out shelves would help a lot as well. I was thinking about doing something similar with the shelving for storing the extra tooth brushes/pastes, q-tips, etc.
Love the stained look!!!
I love the shelves! The dark stain with the gray walls & white accents is such a great mix. As for the wallpaper for the nook, Cassie at Hi Sugarplum! did a great wall treatment using wrapping paper from Home Goods. Since this is just a half bathroom (with no shower to cause moisture issues), maybe something like that could work? At least in the interim until the wallpaper gods start smilin’? Here’s the link to her post:
http://hisugarplum.blogspot.com/2013/11/shine-baby-shine.html
Merry Christmas!
Love, love, love the shelves! Lookin’ great!
gasp. i LOVE these shelves.
The miter saw picture and the one two below it are upside down for me too, but only on my iPad! I am also getting the Aveeno pop-up, but not on the desk top either. Maybe it is an Apple issue? Love your shelves! So pretty!
They’re not full-bodied, they’re just “big boned.” 🙂
Gorgeous!! I love how these turned out – they really transform that empty nook in the bathroom.
These shelves look great. My husband and I added a shelf to our toilet cubby also, but I think two or more would be better than one!
Also, I really love the clock on the lower shelf! Do you happen to remember where you got it?
The shelves are great – I wish I had an appropriate nook to put them in!
Nicely done! Looks great! Do you remember where the framed feather is from? Thanks!
Love the shelves and how you decorated them.
Where did you get the frame just above the lower shelf- the one with the framed feather? I’ve been looking for a small rectangular matted frame just like that to no avail. Thanks!
Thanks for the tip and showing the difference with the wood conditioner! I will definitely try that next time! I really like the shelves and the styling – bravo Katie!
I.LOVE.THIS!!!!
i LOVE these shelves!!! Obsessed!
I had to chuckle at the pic of the boxes holding up the upper shelf. Last week my hubby was working in our half-bath, and the next morning I go in there and a 6ft level is wedged between the sink and the wall behind the toilet–just to keep the sink tight for glue. We call it MacGyver-ing!!! Great minds think alike!!! 🙂
Gorgeous! But I have to ask, the picture above the bottom shelf, it that a…….turd?
katie, i see that you are wearing a N95 mask, which is a very good mask, but is mainly for particulates. since min wax is oil based( http://www.minwax.com/wood-products/stains/minwax-wood-finish) a R95 mask would most likely be best the next time you paint, since an R type mask is oil resistant up to 8 hours.
great post! you always have wonderful wood working projects. plus seeing as how i work in lab testing for a company that makes safety products i love seeing safety posts!
Love, love, love! The full bodied shelves look amazing…I don’t think I would have thought of doing a thicker than regular shelf. I am going to pin this one! And I love the grey walls with the wood shelves. Nice balance of clean/modern with rustic. Bravo!
Ok these look fantastic. I’m salivating just looking at them. Now I must find a spot in my house to install shelves like this!!!
Where did you get the cute little “b” block Katie? Love it!
OH I LOVE LOVE LOVE THIS! LOOOOOOOOOOVVVVVVVVVVEEEEEEEEEEEEEEEEEEEE
I was stroking them through my screen. (TMI?)
Hi Katie – I just wanted to let you know how much I appreciate your approach to sponsored posts. You’re always so up front (literally) about what’s sponsored, so I read knowing it’s a sponsored post, but still find the content genuine. It’s a bit frustrating when some bloggers make no effort to disclose the sponsorship until the very end of the post, and I then think, “oh maybe that’s why they were gushing about xyz.” Your honesty with it is greatly appreciated. Thank you!
Btw, LOVE the shelves!
Wow this looks great and it was totally unexpected. I just assumed you put some typical, white floating shelves in that space, but this dark wood, extra thick – very cool!
these look amazing. you’ve inspired me to add some shelves to our living room!
I am so in love with these shelves. We have to bathrooms (guest and our master) with awkward toilet areas like this…we just have empty towel hangers but I love this SO much more! Thanks 🙂
These look great, I don’t have a nook but if I did I would be adding me some ‘full-bodied’ shelves this weekend! Now I just to find a place for some!!
Aahahaha!!!!!
I LOVE, love, love the “space”-looking object on the top shelf that looks like it is made using three wooden embroidery hoops…is it? I MUST make one of those ASAP! That would also look nice stained, but in a white space/white open shelves or built-in book cases.
This is awesome! Do you think you could do the same thing if you didnt have a nook?
Nice tutorial. They turned out great.
Great shelves!! Thanks for the tutorial, Katie. xox
LOVE Katie Bower! And you’ve totally sold me on wood conditioner. I’m definitely going to use it for my next wood project. 🙂
Merry Christmas!
Super classy! Love it.
You might want to know that an Aveeno ad pops up on your blog. That was happening on Younghouselove too & they managed to get rid of it.
Hey Katie,
I’m gathering up supplies for a similar project in my bathroom and I was just wondering if you could tell me how high above the toilet you placed that first shelf? Did you measure or just eyeball it? (I’m always prone to eyeballing, but my hubs is a stickler for measurements)
Thanks, Katie! (And the shelves look awesome!)
This is stunning, Katie–I actually said “wow” out loud when I scrolled down and saw them for the first time! job well done!! 🙂
Wow, you are brave messing around with power tool. GIRL POWER…women power I guess. Either way kudos to you!
Celia
http://lifeonmaplestreet.wordpress.com/
How many inches above the toilet / toilet seat did you hang ’em? I wanted to put a display shelf above our toilet but can’t quite decide on how far up it should be… I assume they are 10 inches in depth given your materials.
Great job! You are a handy couple 🙂 I’ve never tried a pre-stain conditioner but I will when I tackle a neglected dresser in my bedroom. The difference is remarkable.
I just stained my stairs dark walnut! such a rich pretty color! I have gray walls, and I think it works really well with them!! love your styling!
We have a wider awkward space in our bathroom above the toilet that would look really fab with some ahem ‘full-bodied’ shelves there. Actually being able to build them properly and have them looking as good as yours – zero chance. Sigh.
LOVE those shelves. Very nice. The grey walls are gorgeous. I noticed that cool textured effect you were going for behind the vanity and now plan to try wallpaper instead. I just googled ‘silver textured wallpaper’ and found some really nice results. Good luck in your search, can’t wait to see what you decide on!!
I hope the carpet gods teach you how to clean your rugs first. That yellow rug that Weston is near is nasty.
They look great! Also I’ve been singing “Get Me Bodied” by Beyoncé the entire time I read this.
Was this comment about the rug supposed to be rude? I hope not.
I LOVE the look of these shelves, and you styled the beautifully.
My one question, though… how would you get them down?
I have an identical “toilet nook” (sounds so pretty) to yours- same size, paint color and even toilet! A few weeks ago I put in 2 almost identical floating chunky dark wood shelves. I accessorized with fluffy white towels and fluffy white TP. I like yours and I like mine. Great minds think alike!
I also like that adorable little guy sitting on the rug- what a great smile! Nice job on both:)
Ditto what Lindsay said!
Who even notices the rug? I was too busy looking at adorable Weston and that smile!
These are definitely permanent but we wanted them to be. If you did not want them to be fixed then you could make the ‘sleeve’ out of the top, bottom and front and then just slide it on after attaching the bracket.
xo – kb
Birds of a feather build together!
xo – kb
Target a long long time ago!
xo – kb
Haha! It’s a feather 🙂
a feather turd 🙂
xo – kb
I made it. Will had found that feather on one of our walks and I painted a little thrift store frame 🙂
xo – kb
Lowes 🙂
It was one of their outdoor clocks but I like it inside too.
xo – kb
I saw that! She is too stylish 🙂
xo – kb
I found it at a thrift store and I painted it and put some fabric on the mat 🙂
xo – kb
Thanks for letting me know! I texted Sherry and found out what she knew about it (it always helps to get more info) and I think we both have it taken care of but if it happens again, please let me know!
xo – kb
Absolutely!
xo – kb
It is three embroidery hoops…super easy and took me all of ten seconds.
xo – kb
Oh…. Sometimes just water is used for certain conditions as a stain prep. I would have loved to see how water compared to the Minxwax water base prestain treatment.
That’s interesting! I love the idea of doing an experiment for all the preps and how it makes a difference!
xo – kb
Done! Sorry that I didn’t do that earlier!
xo – kb
I’m one of those obscure people that looks at this super-detailed post about bathroom shelves and notices what you’re using for cabinet locks….do I see an Orbit label and a rubber band? GENIUS! Love the shelves and your Munch and LJ bump are absolutely presh!
I LOVE these!! We DIY’d shelves above our toilet as well, but now Im wishing we would’ve gone “full-bodied”. Haha! You crack me up! I love your blog. 🙂
I hope the politeness gods teach you about manners. Your comment was nasty.
Haha! I have child’s locks on about six cabinet doors before I ran out! Rubber bands work great 🙂
xo – kb
Your shelves look great! Glad mine could inspire yours 🙂 #twinsies
Those are some beauties! Well done 🙂
Love them! Great job.
Katie-what type of wood conditioner did you use? They look fabulous. I am trying to get up the nerves to tackle a little wood bar in my kitchen and love the finish you got #copycatatheart
people can be so nasty behind a computer screen.
actually, when I saw the rug, I sighed in relief that i’m not the only one with a little wear on my carpets. I can imagine 2 boys keeps you on your toes! 4 dogs keeps me on mine!
We have a water closet also, and I love these shelves! Thanks for the inspiration♥️
Nice! Very similar to desert domicile which I’ve loved for awhile now!
http://www.desertdomicile.com/p/house-tour.html
That looks great! I need to get some shelves up in my bathroom too!
I LOVE IT!!! In our only full bath we NEED storage. When we moved in we bought one of those behind the toilet shelving units. It is ugly but serves our need. Well with 2 little boys missing the toilet all the time that thing is GROSS, SMELLY and UGLY. I have been trying to figure out what I was going to do in the space. THANK YOU
Thanks for the info Abby! I ordered a new respirator after reading your comment (I had an older R mask but it had logged more than 8 hours!) so I really appreciate your help! Better safe than sorry, right?!
xo – kb
Kim – No, I certainly did not intend for my comment to be rude. I’m totally new on DIY’ing and it was a sincere question I had about the carpet, as I’ve wondered about this for a while with projects of my own. I can now see how it might read as being rude and I apologize to Katie and to anyone who thought that…I sooo did not mean to offend in any way.
Just curious if you only used liquid nails and if so, how long did you leave it all clamped together?
We did use liquid nails on the tops, bottoms and face and we left it all clamped together overnight (maybe 18 hours?)
xo – kb
Clean your carpets! How gross. You have your poor child sitting on that filth. Also why blog about a project you didn’t come up with yourself? You didn’t link to Desert Domicile until someone called you out on it.
Hi Ines,
Yup…my kid sits on the ground outside too…in the dirt 🙂
And like almost all the projects on the internet, there is nothing really new under the sun. We did our own twist for our space but it is the evolution of our house and that is what we are documenting here. I did mean to link…that’s why I mentioned them in the first place…just forgot…like we humans do sometimes…hope you can understand that!
xo – kb
Man! This looks great. Especially love the wall color/stain tone combo. Have to laugh at the rug comments – Weston is so freaking cute I never noticed, but looking back I am relieved I am not the only mom of toddlers with muddied carpets, which only makes me love this post even more. A keeps-it-real mom with style that isn’t afraid of power tools and a little work, I love it!
These look great! Your tutorial is very helpful. I’m going to give them a try myself. Thanks!
Where did you get that awesome initial art on the shelf? I love it!
Target a long long time ago. It’s cute, right?!
xo – kb
I love this so much it is my plan for this weekend. I have a very similar set up in my powder room. Can you let me know how much space is between the tank and the shelf and also how much space between both shelves? Thanks a bunch. I love your blog!
There is 21 inches between the tank and the bottom of the bottom shelf. There is 16″ between the bottom of the top shelf and the top of the bottom shelf. Whew.
xo – kb
I hung them 21 inches above the top of the toilet (the distance from the top of the tank to the bottom of that bottom shelf). We have 10 foot ceilings so this might affect how high you want to hang them if your ceilings are different.
xo – kb
I eyeballed it based on our ceilings which are ten feet. The bottom of the bottom shelf measures 21 inches above the top of the tank.
xo – kb
What is the color on the walls?
It’s called Metropolitan by Benjamin Moore 🙂
xo – kb
I made these shelves following your tutorial and they turned out great! Thank you for your instructions!
Here is my blog post on them! http://oldhousetonewhome.blogspot.com/2014/02/chunky-wood-floating-shelves.html
They look so so so good! Great job girl!
xo – kb
I read your blog regularly and am about to sand and restrain a dresser in my house following these same instructions. I love how rich the color came out! A newbie to actual DIY beyond crafty stuff, so I’m a little nervous! Thanks for being an inspiration!
Awesome tutorial! I’ve been reading your blog for years now and love your sense of humor! I just started building these in my own bathroom and realized I don’t understand how you clamped on the front board while it dried! Haha – I’m new at this so it might be obvious. : )
So our clamps are C shaped and as long as your top and bottom of the clamp are tightly fastened, you can push the clamp all the way toward the wall to ensure the front is held in place while it dried. If you think it could be problematic, you can always put a book on the face of the front board to protect it from the clamp.
xo – kb
I did the same. She’s human. I was relieved that someone else’s kitchen rug looked like mine! No one is perfect so why pretend to be.
Or put hinges on front and have extra space since the shelves are so well constructed.