Disclaimer – This is a sponsored post by Canon. All opinions are 100% my own.
Hey friends! Summer is whizzing by at the speed of light and I wish it didn’t have to end! Just like my favorite flowers, the season is almost done and soon we will be moving on. But do we have to? I mean….yes, some of my favorite things about summer is being able to have all that freedom and going outside and enjoying nature. It’s amazing to have late night s’mores and visit farmers markets and eat fresh fruit salad and run through the sprinkler….or in my case, watch the kids run as I let my feet soak in a baby pool because running got struck off my skill list about five months ago 🙂 I am already feeling the urgency of getting everything done on my summer fun list. But the flowers that we see bloom all summer long…those we can make last and that is what this post is all about.
I thought it would be fun to share a little project that you can do to make those farmer’s markets bouquets last long past their expiration date. That’s right….we all love getting the brightly colored bundle but hate seeing them fade wilt or make a mess that you are expected to clean up later….which is probably happening right about now 🙂
Here is a really easy craft that you can do in an hour to make those blooms last EVEN LONGER. That’s right. Eternity of your summer blooms. Sounds amazing right?
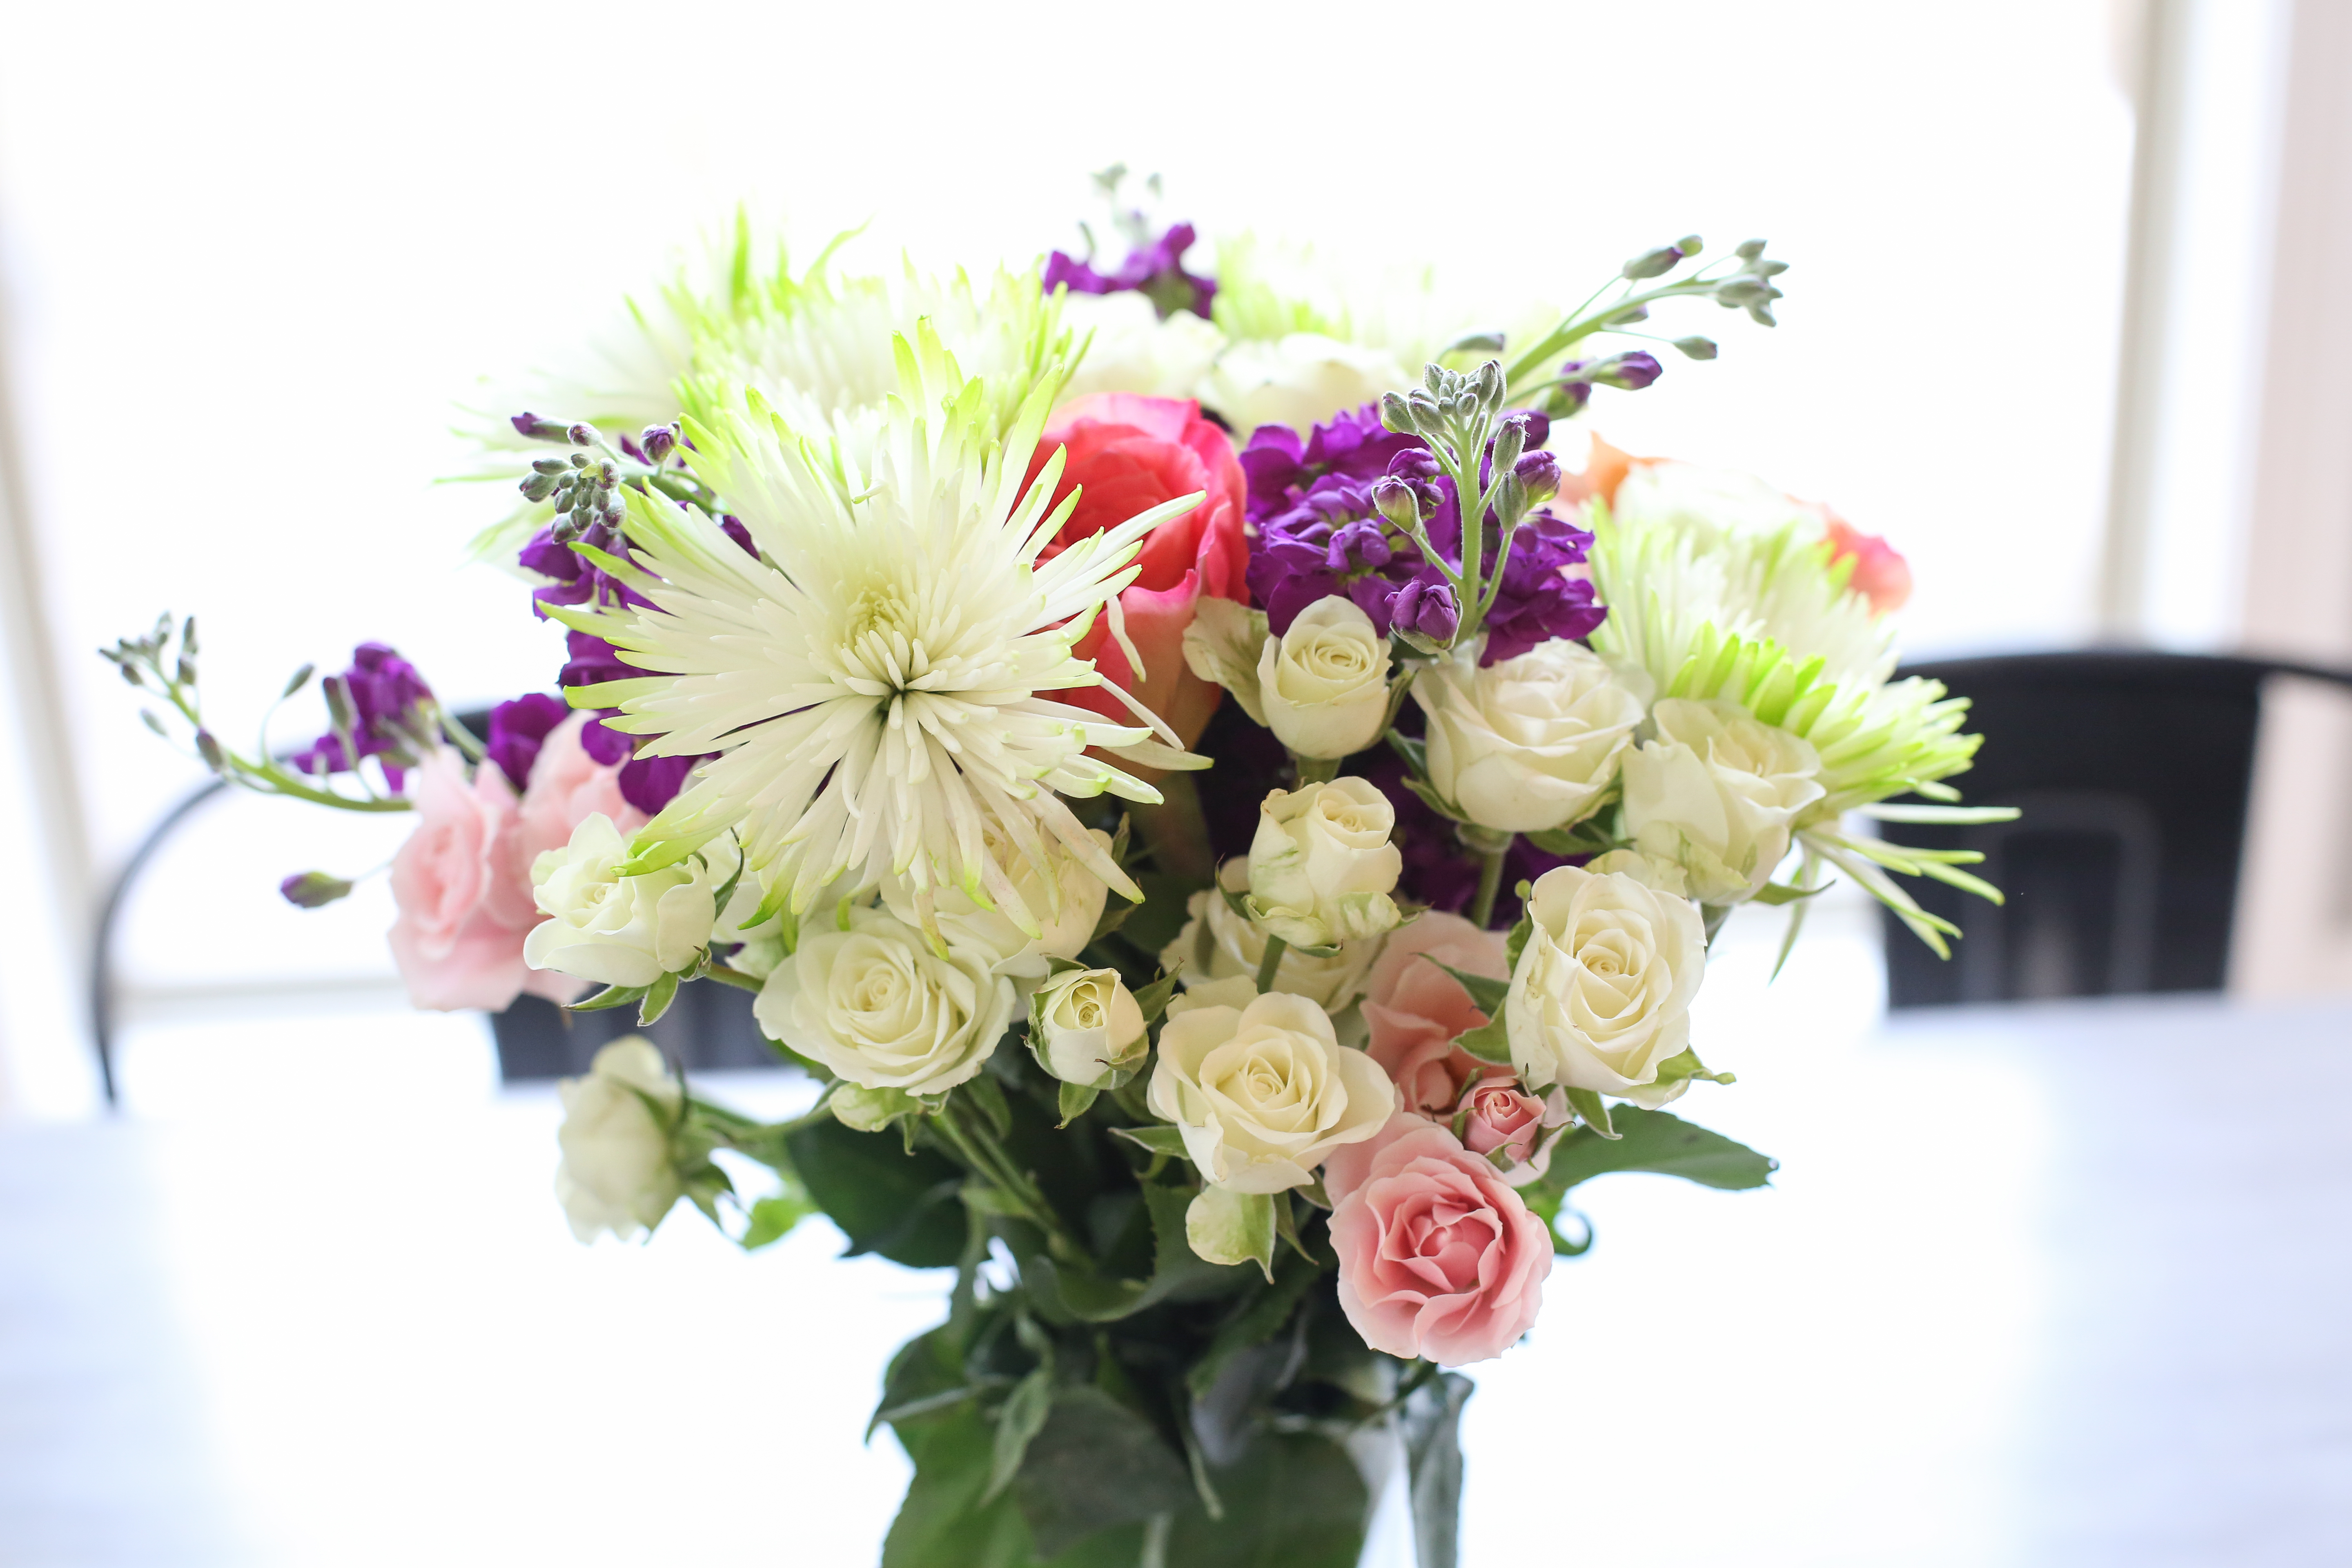
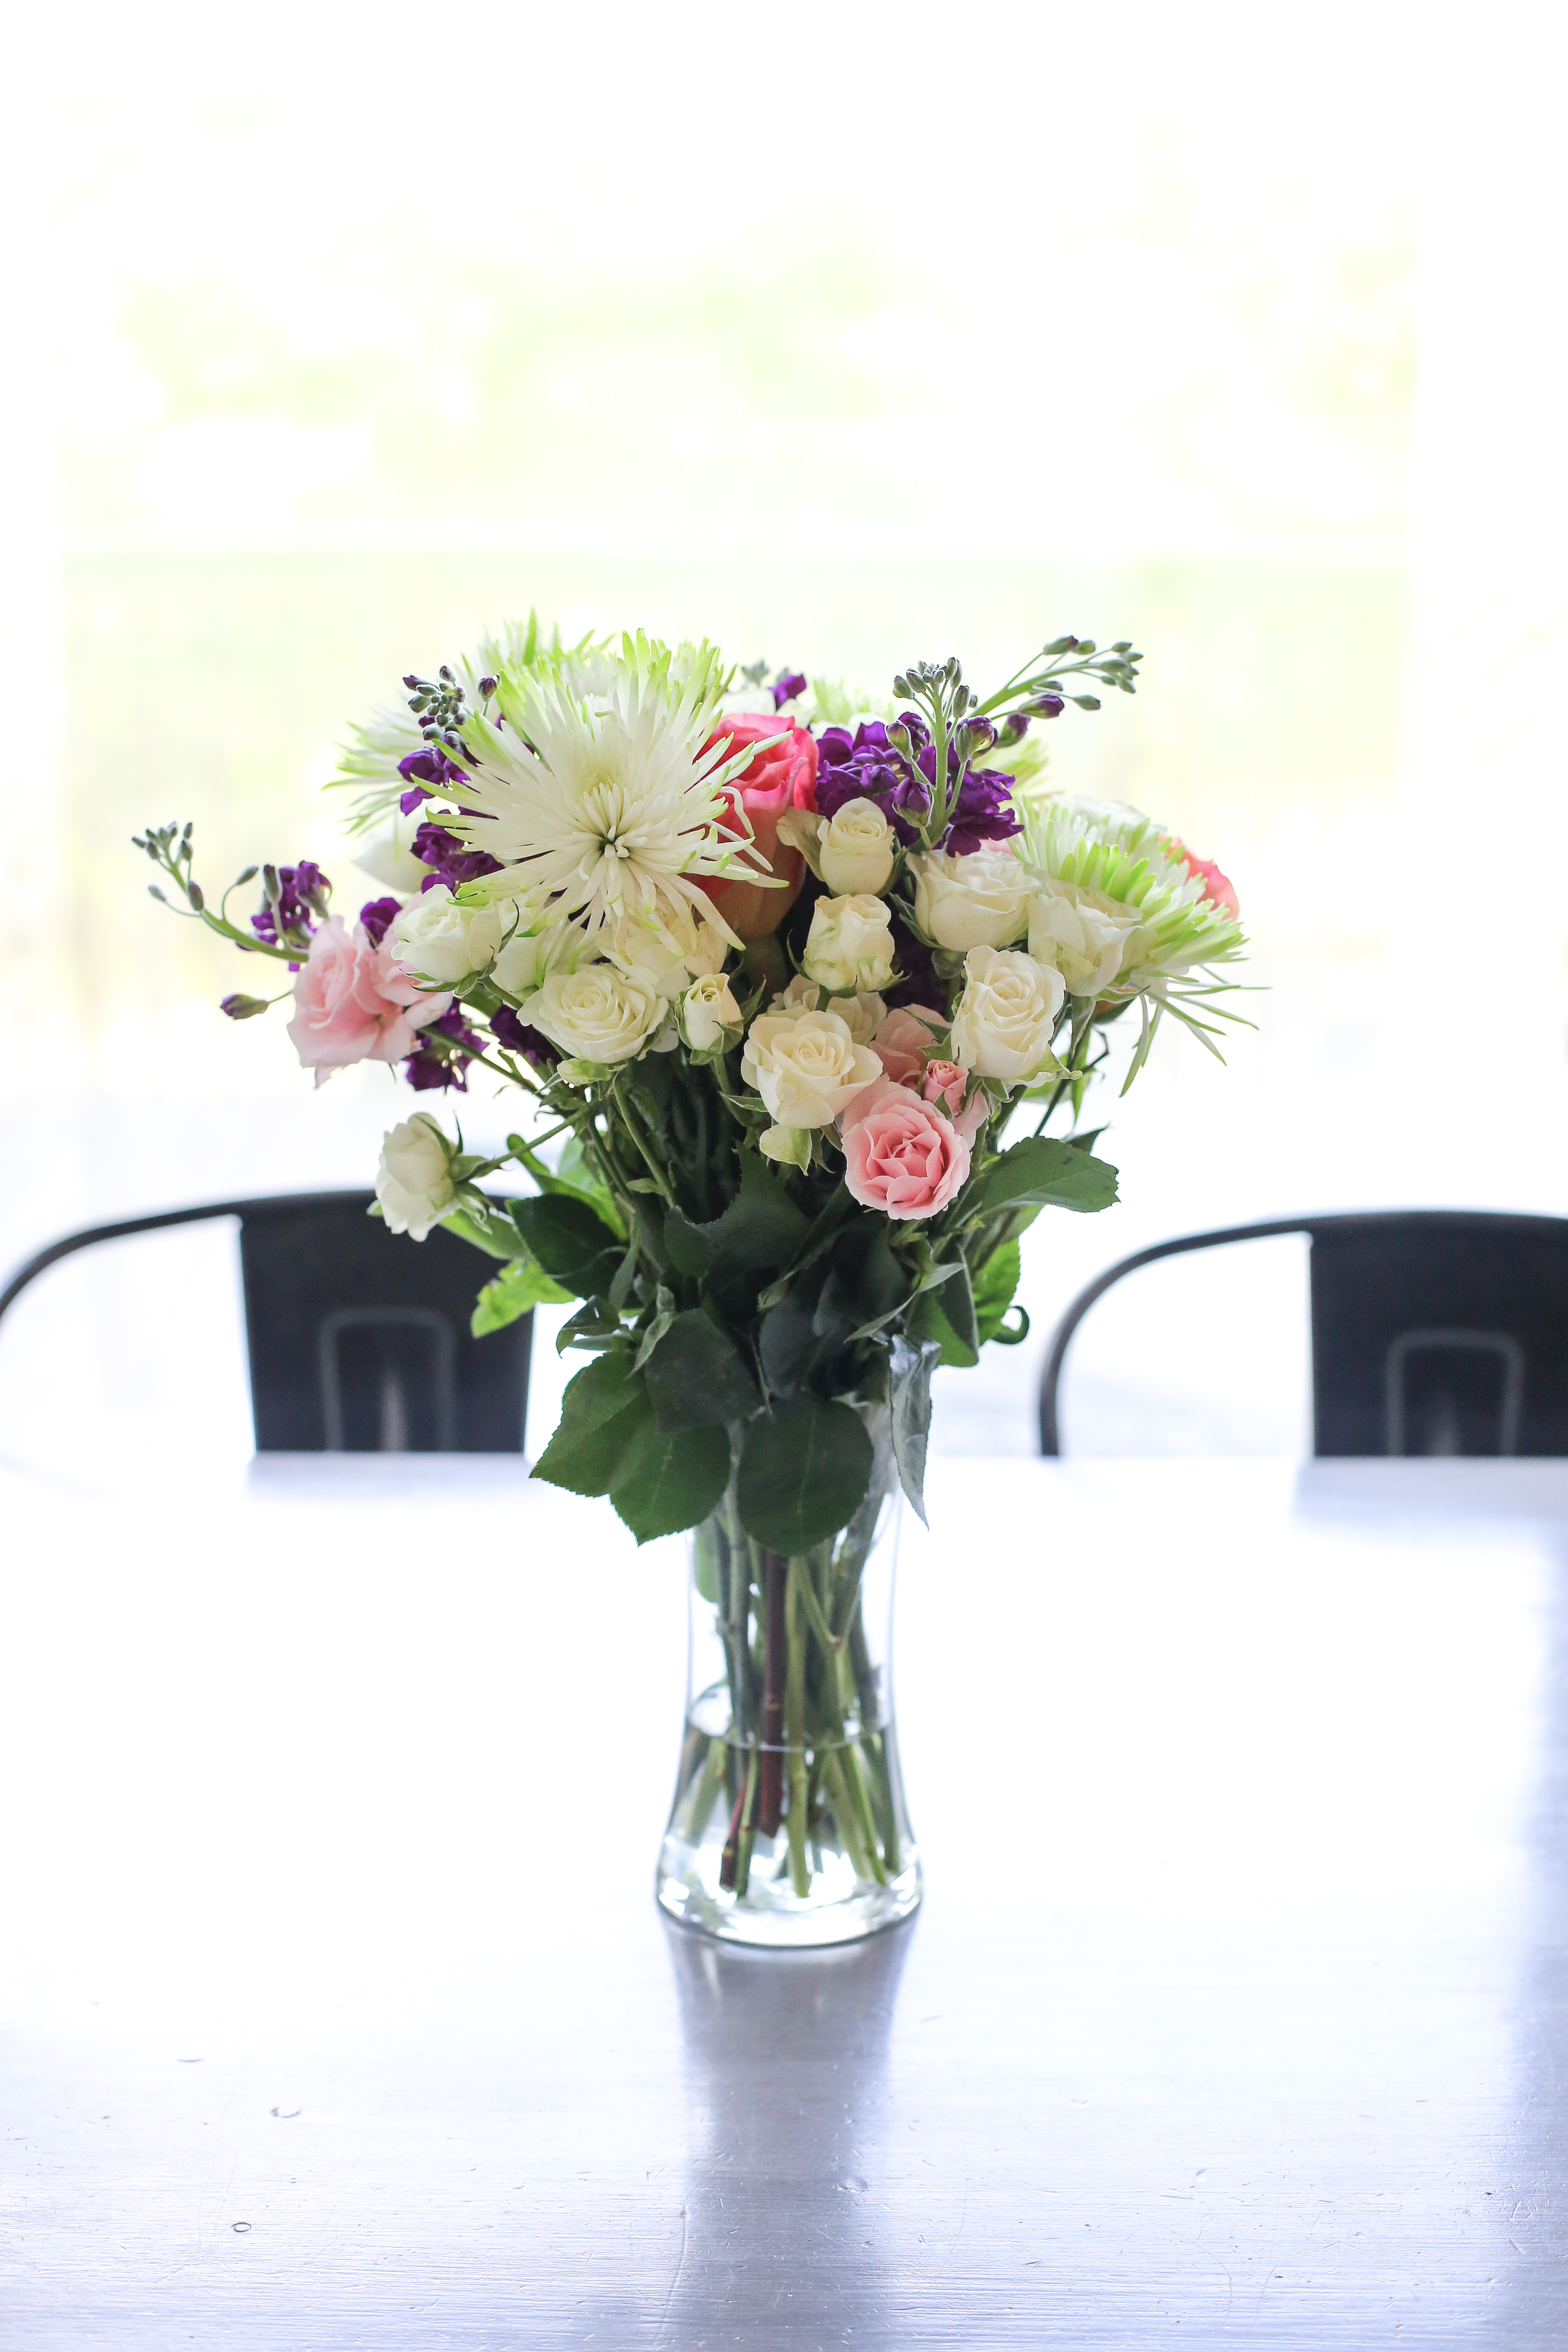
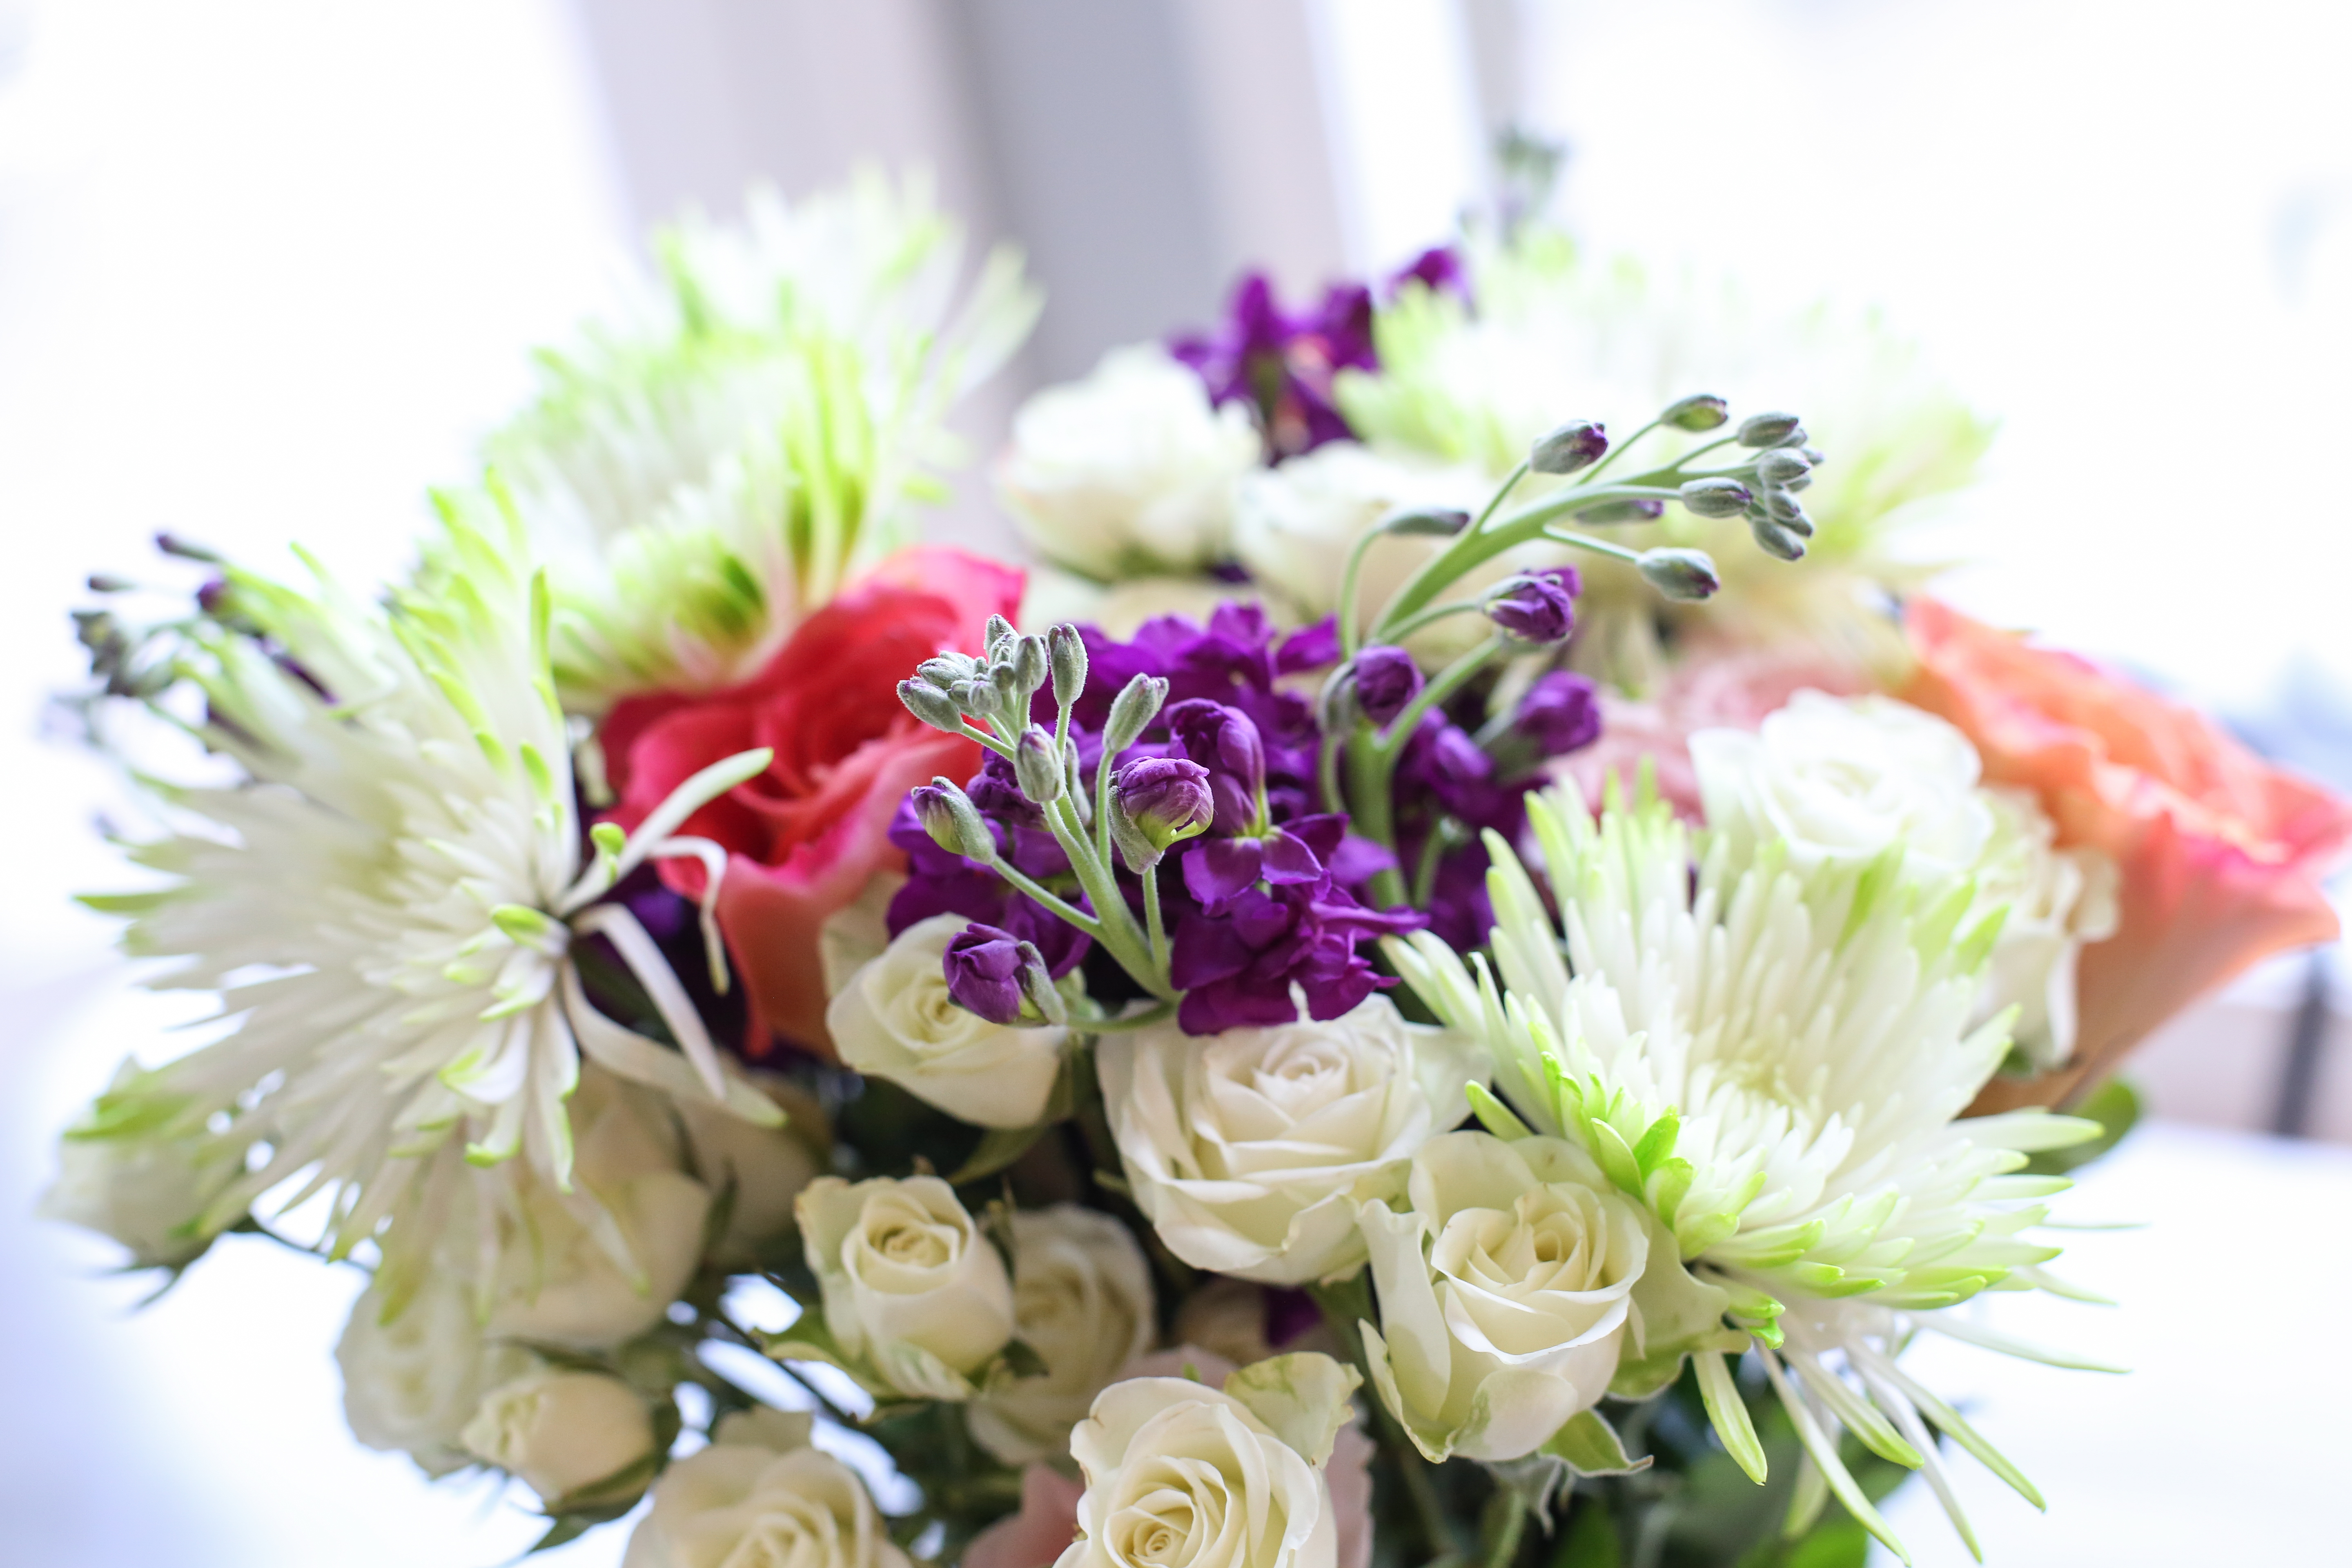
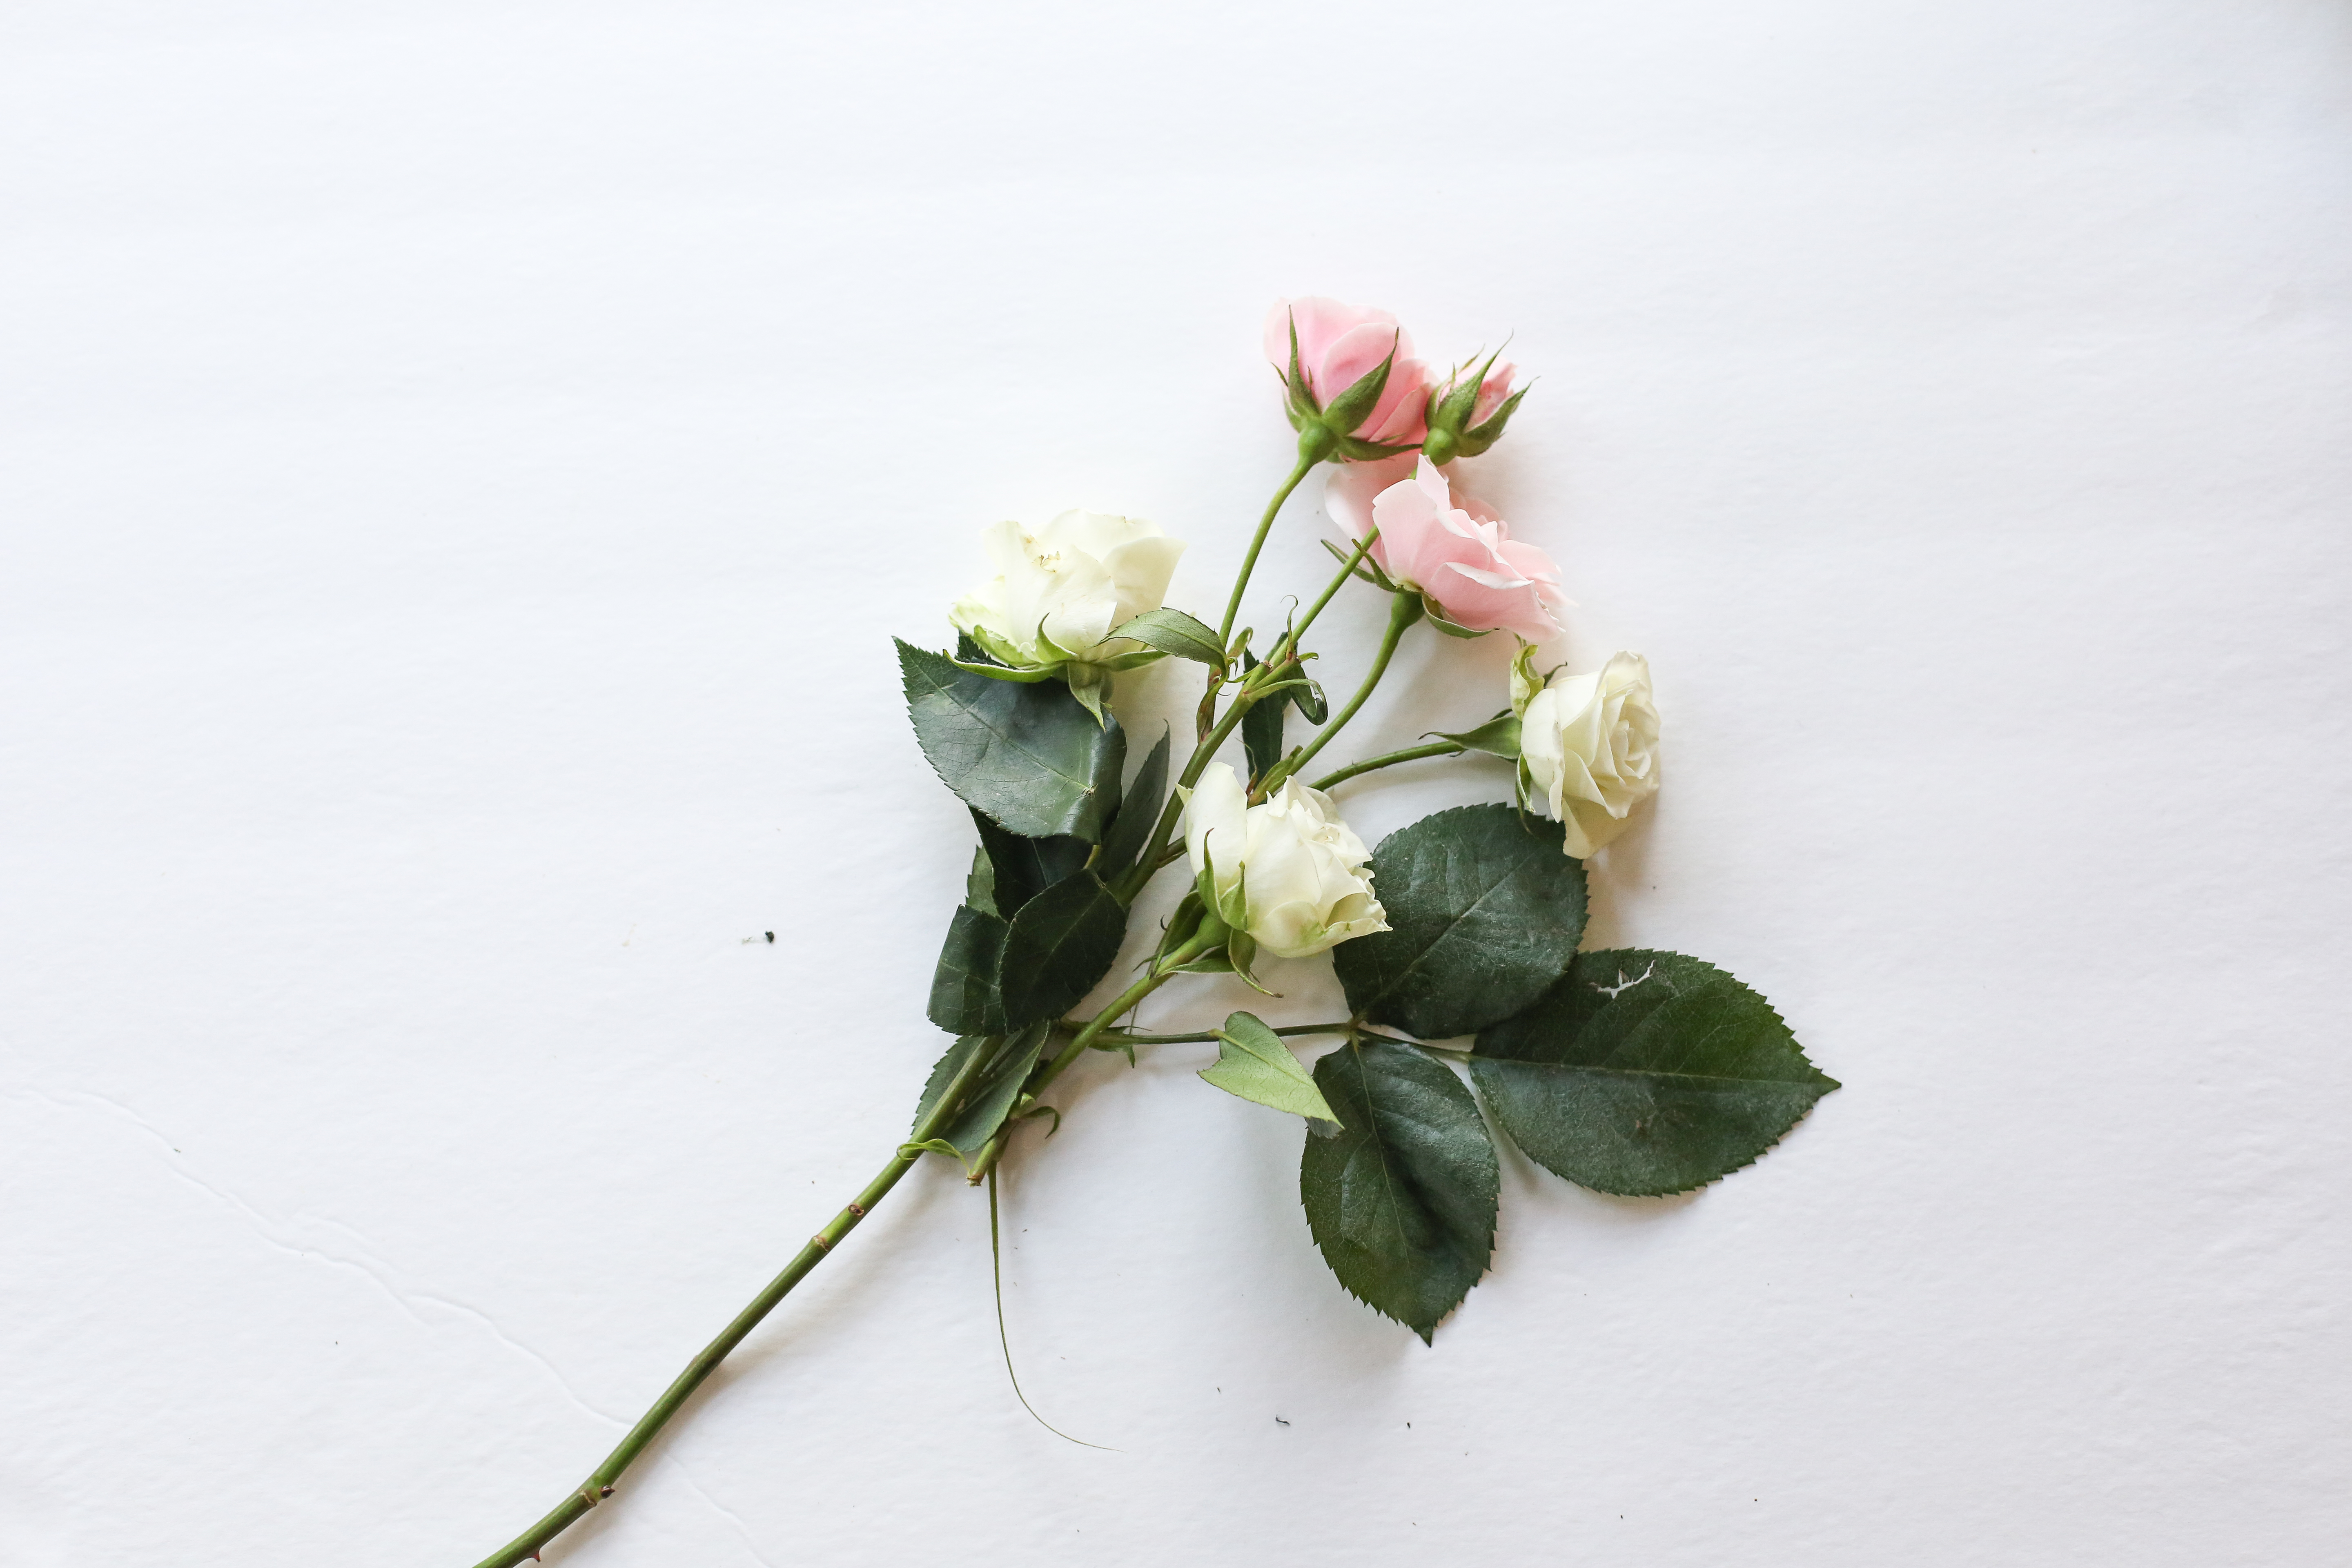
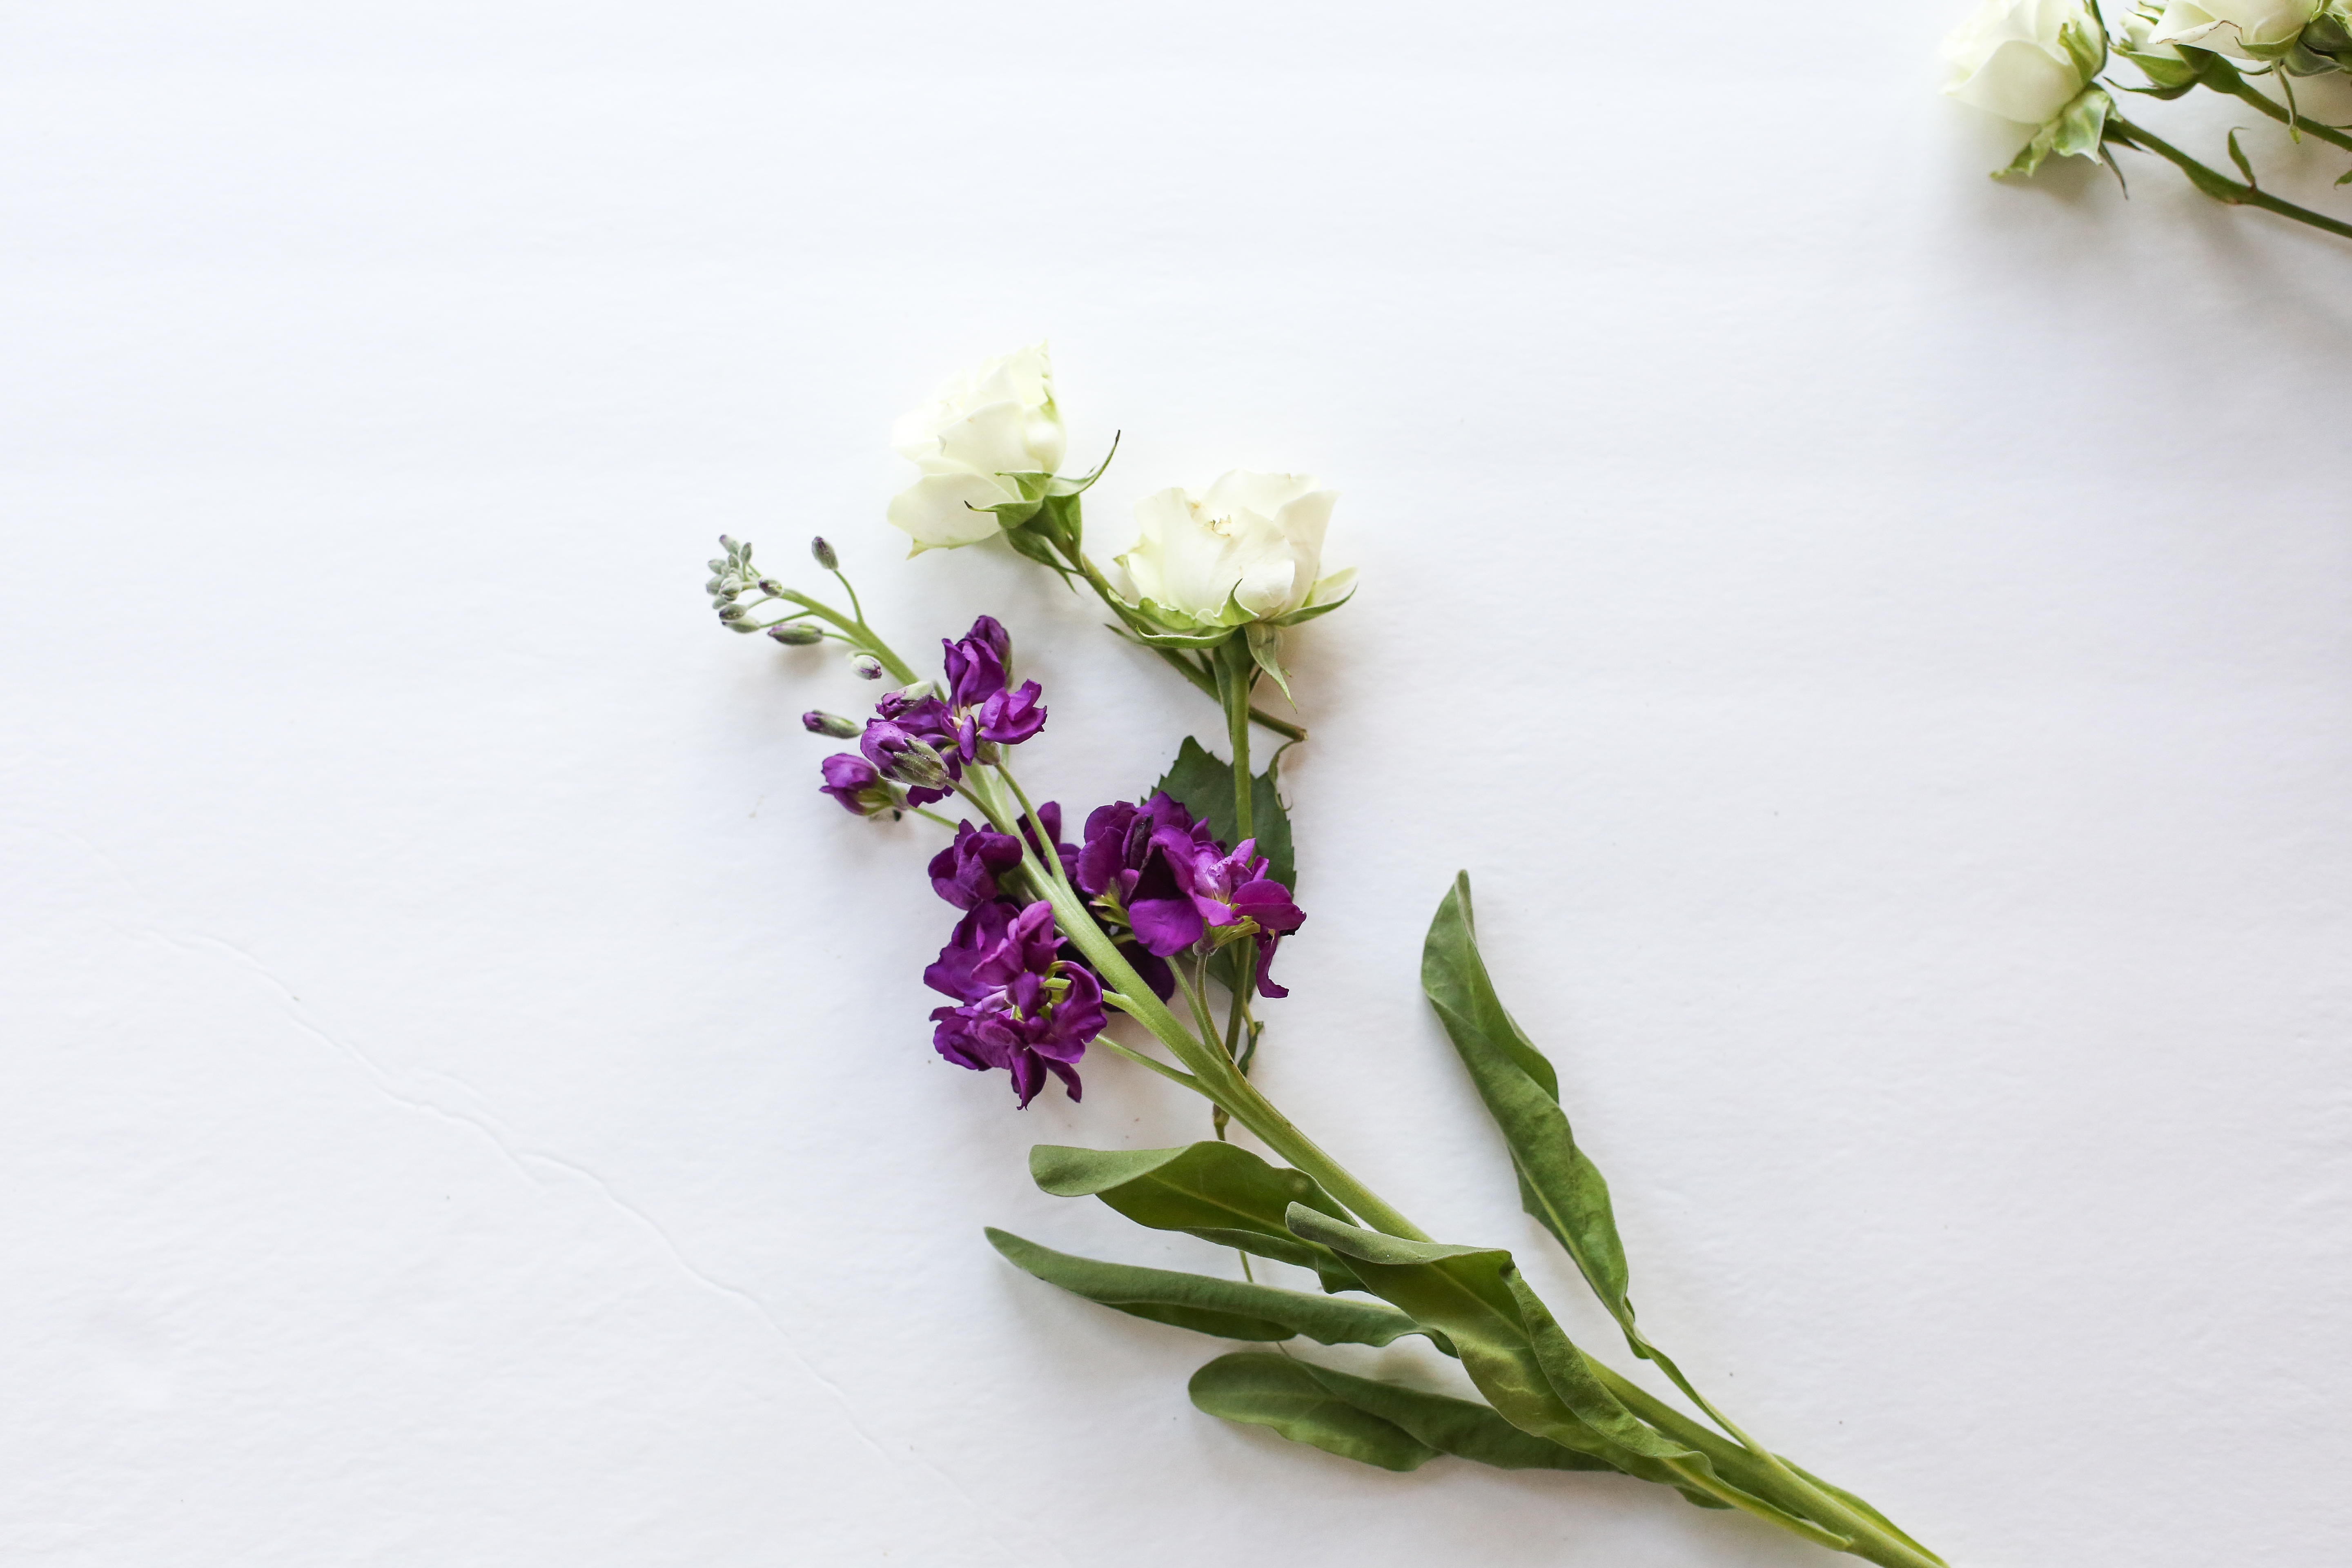
First you will need to get those flowers. This project is not picky…..any Mother’s Day, Birthday, even just side-of-the-house-because-I-am-a-master-gardener flowers will do. Just make sure you have the blooms.
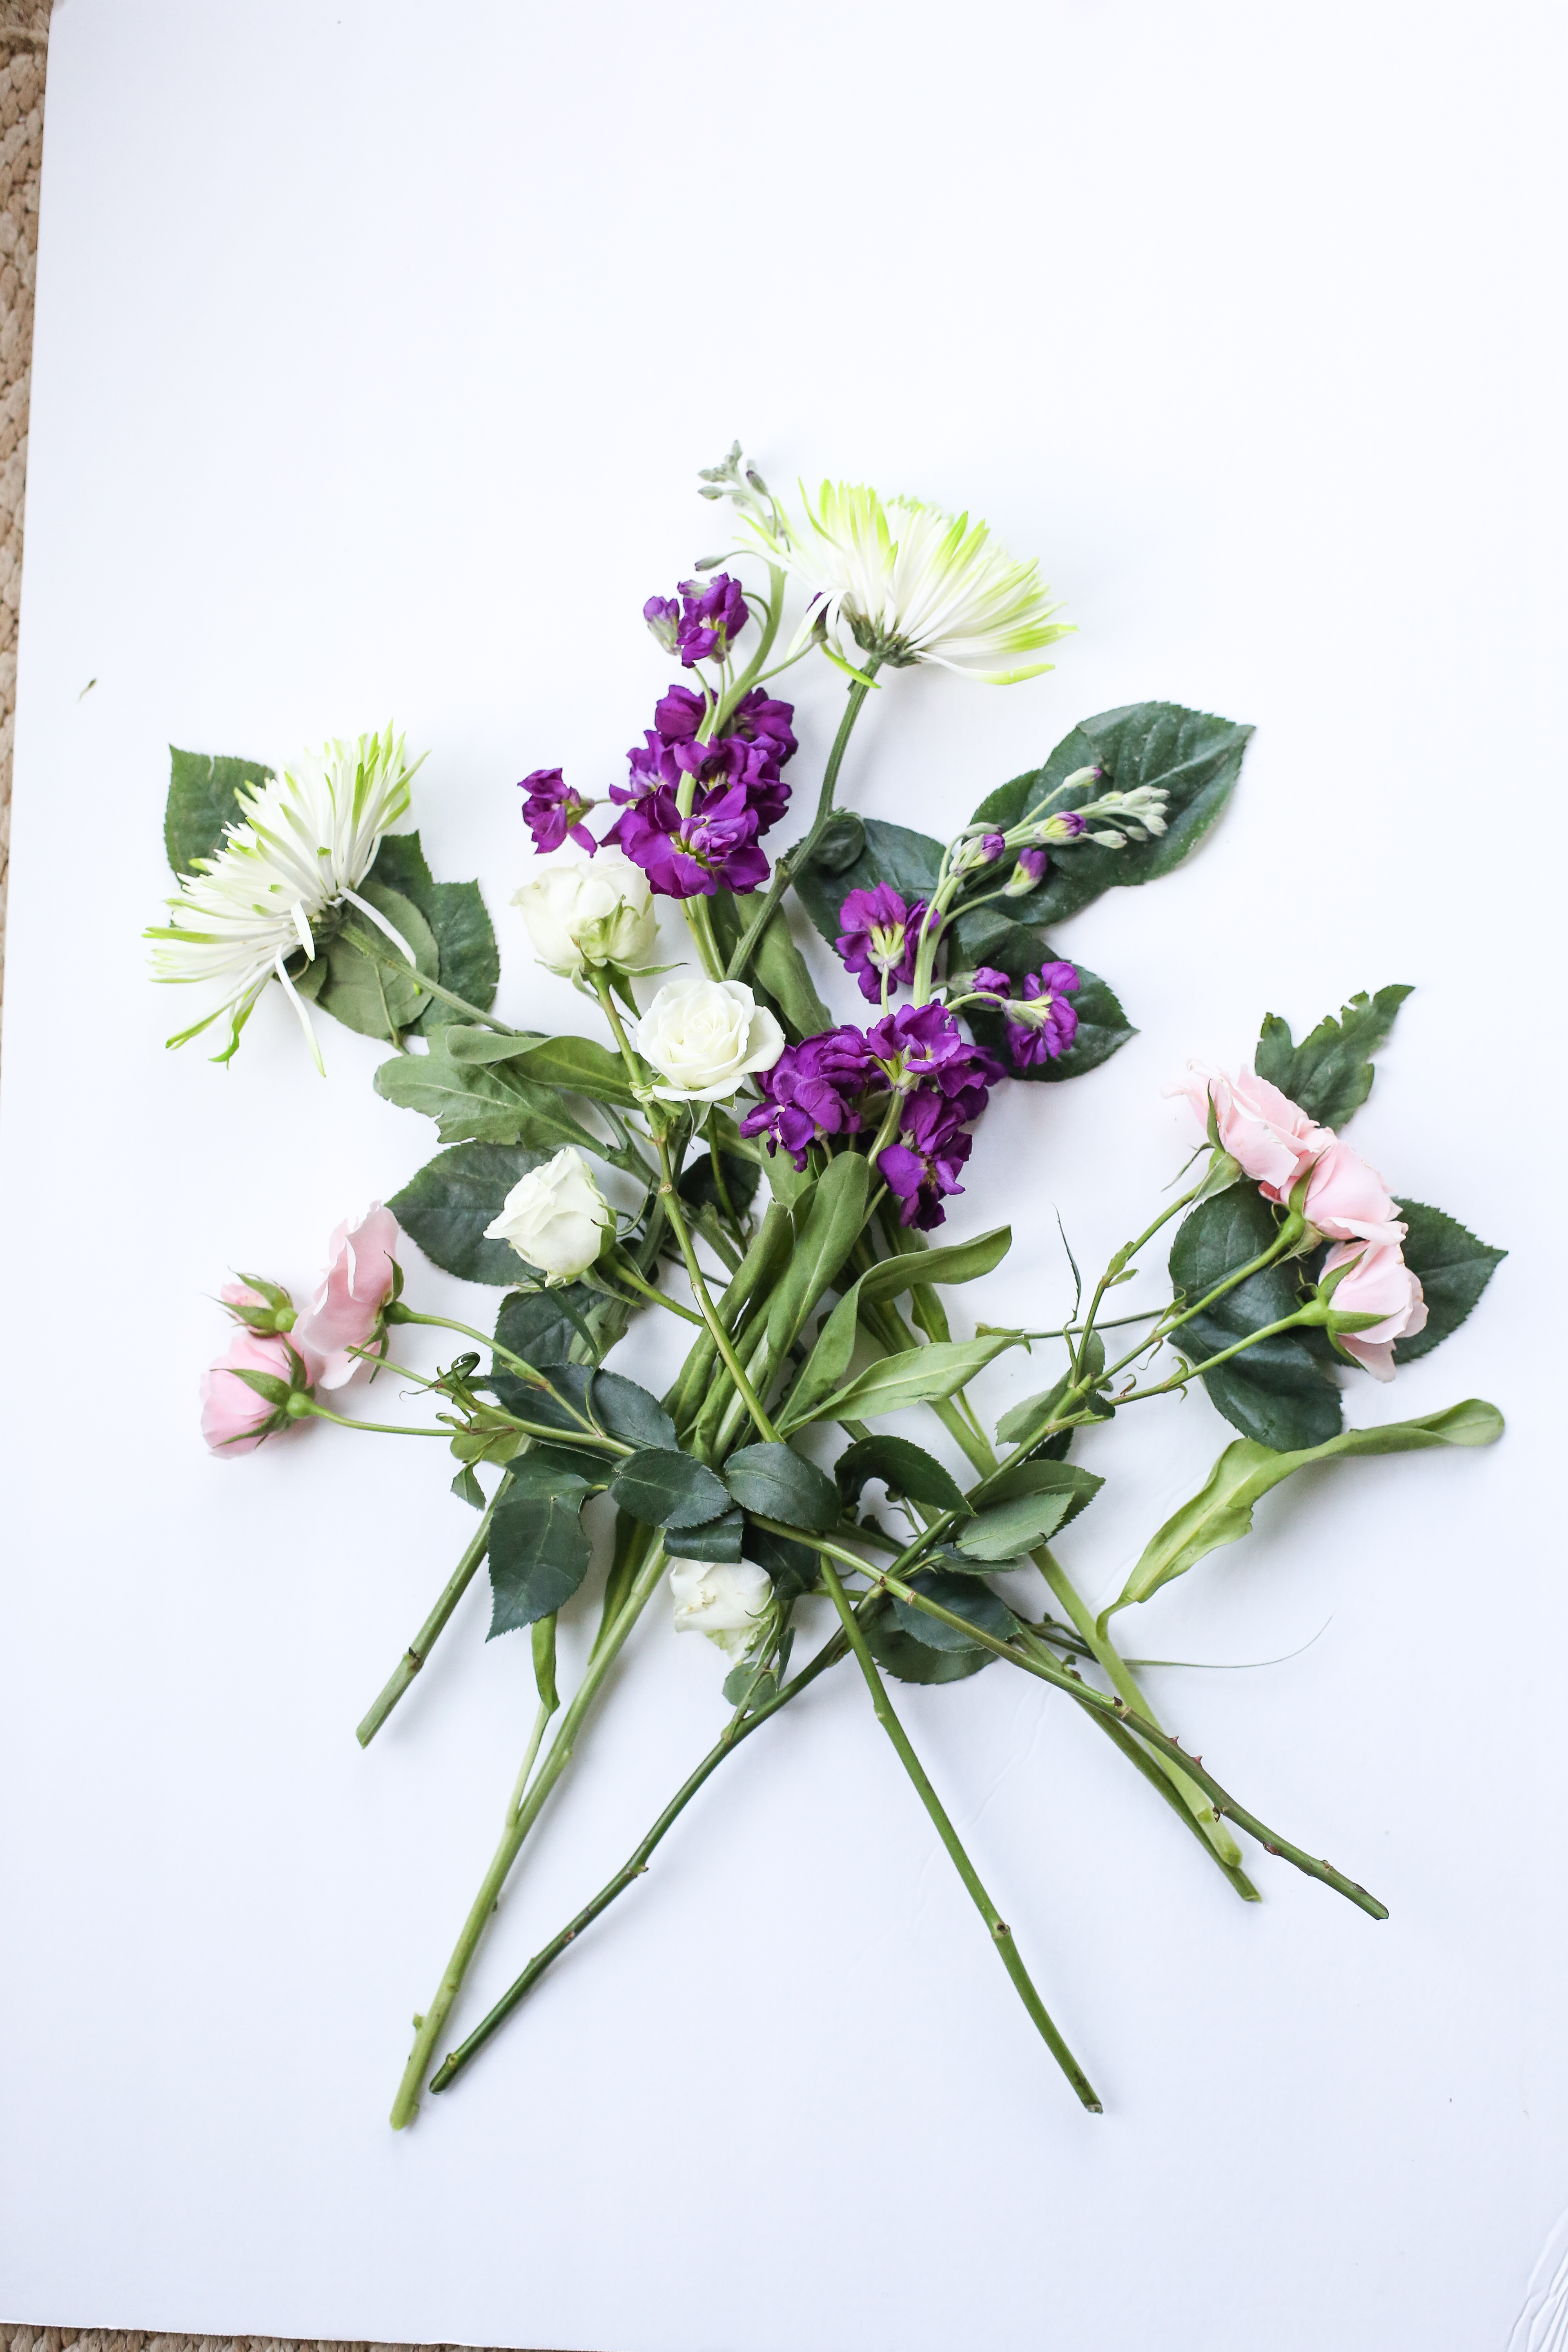
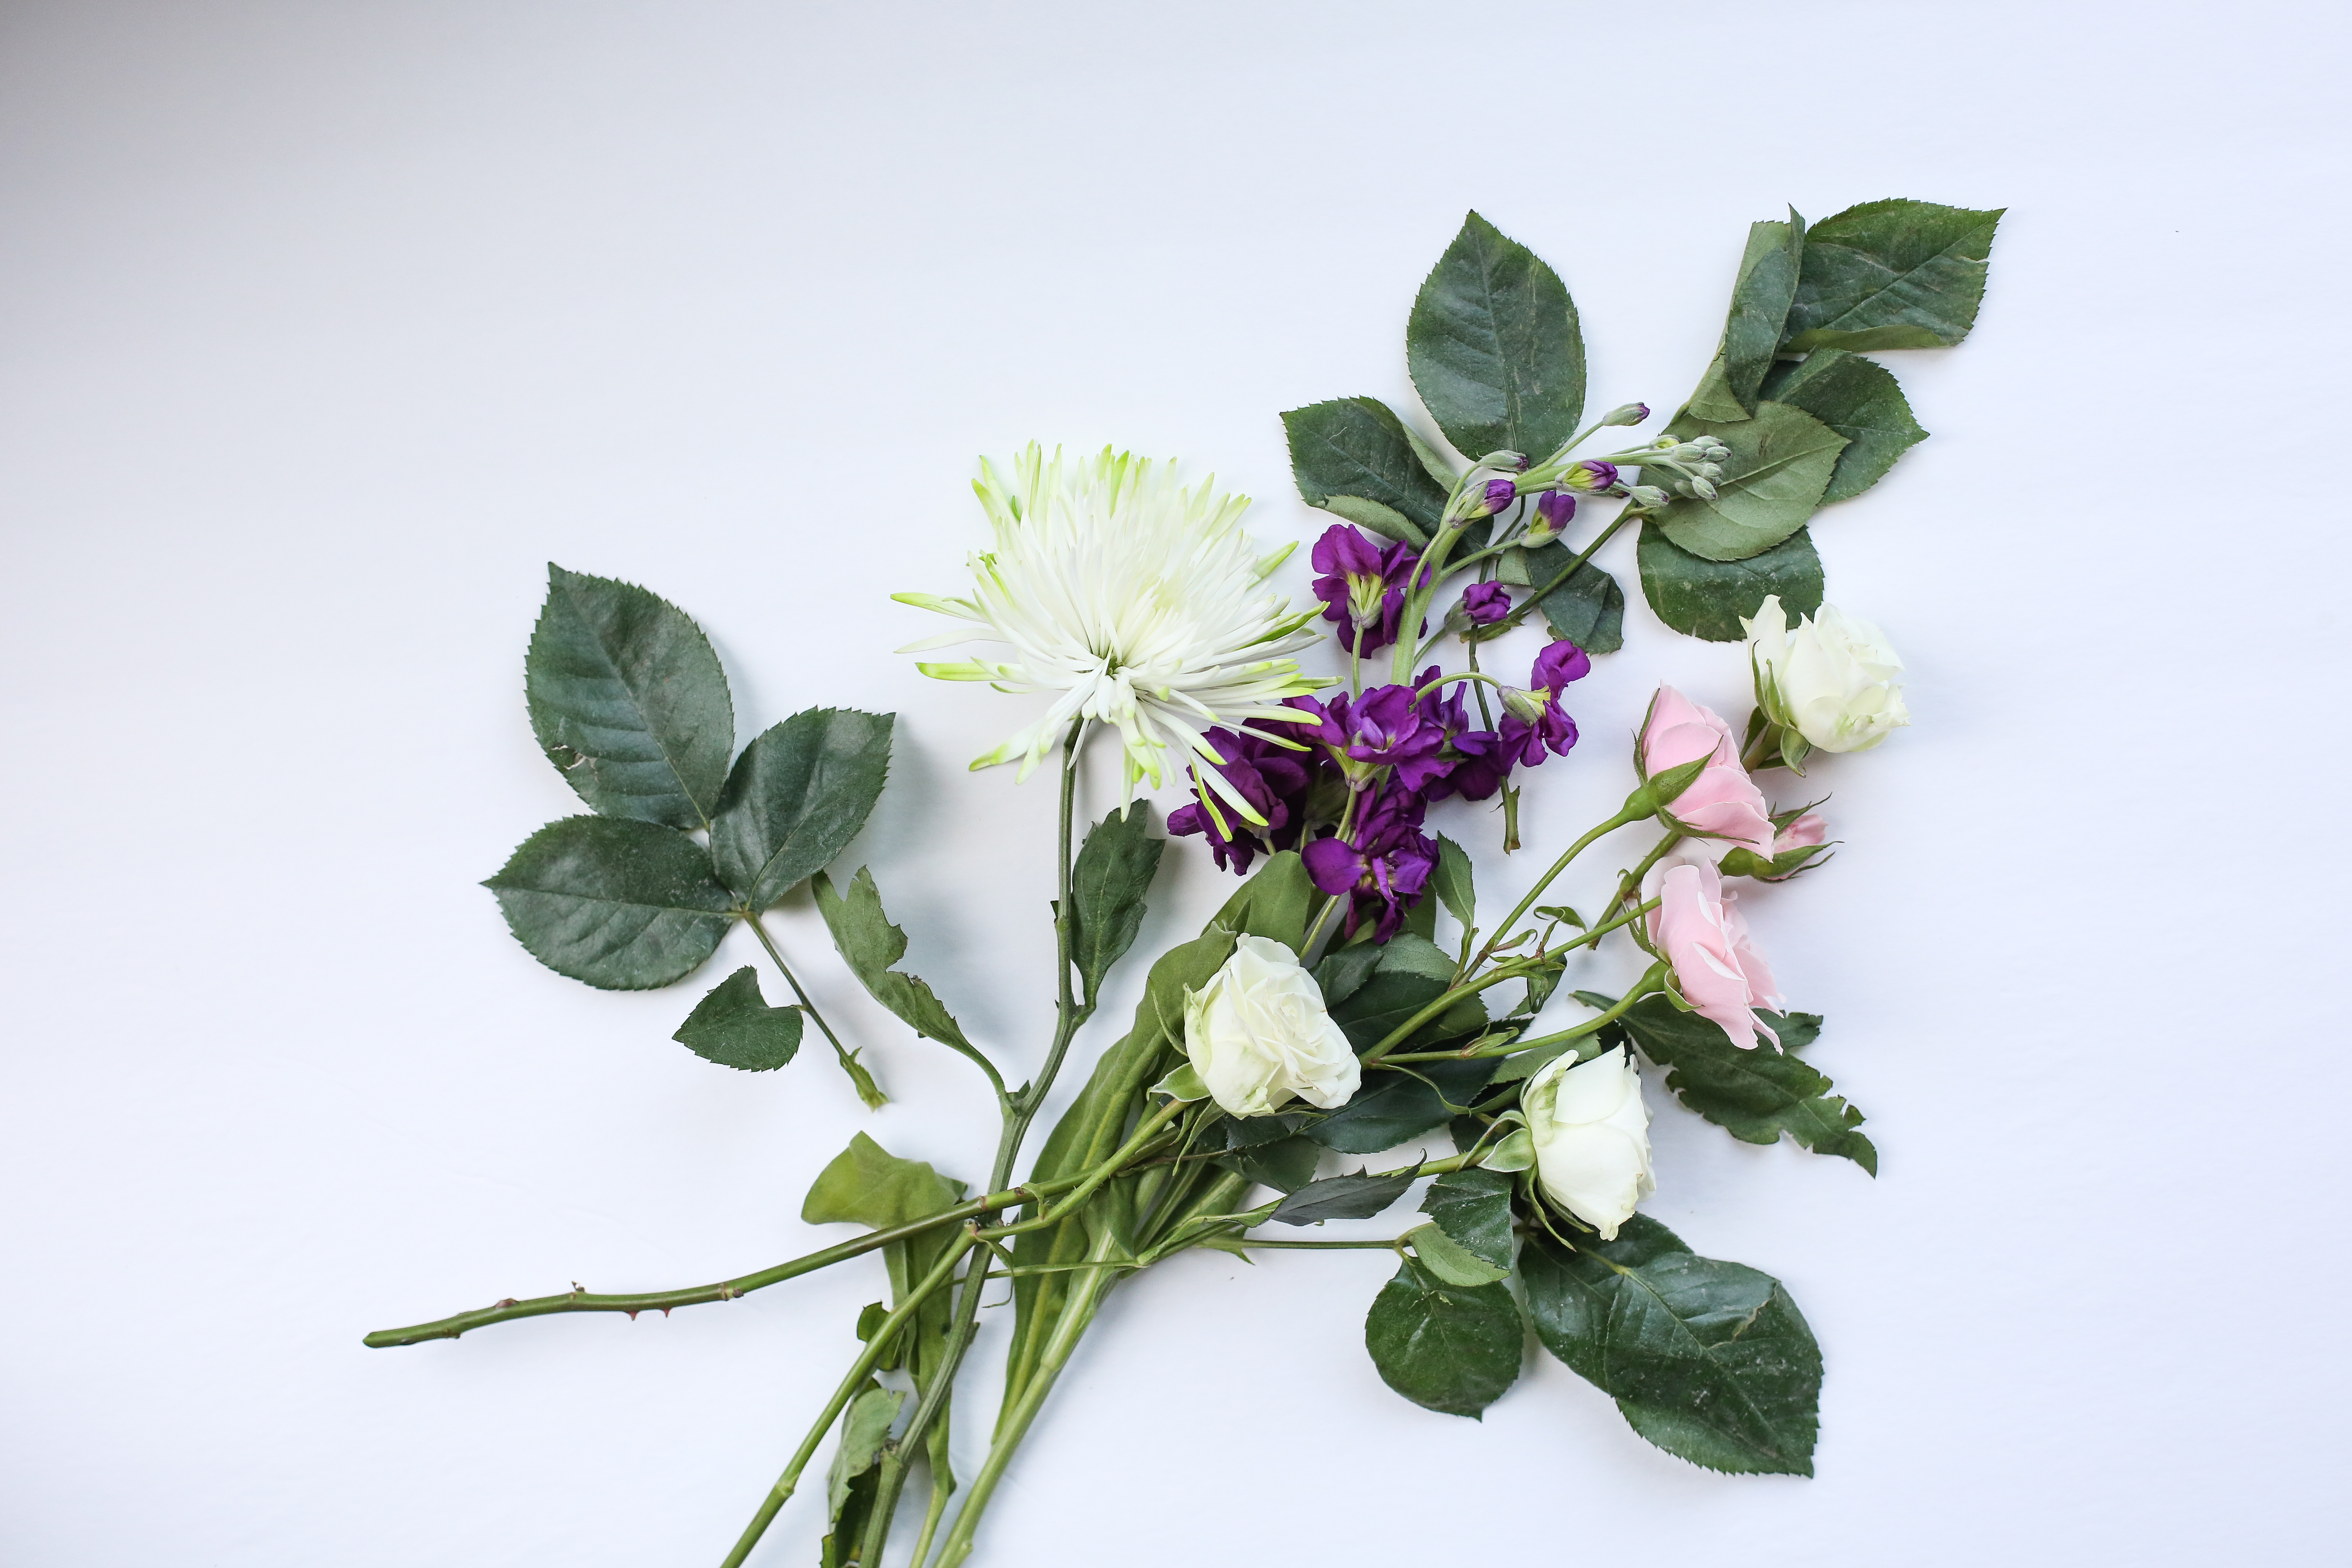
Set up your flowers on a backdrop of white. I used cardboard but you can use regular paper, a sheet, whatever. I wanted to make mine look more romantic and rustic (I was thinking more Fixer Upper style) so I would throw the flowers down into little scattered bundles. But if you are more modern, just take closeups of the blooms or use one flower at a time.
Take a bunch of pictures of different arrangements. The more variety the better.
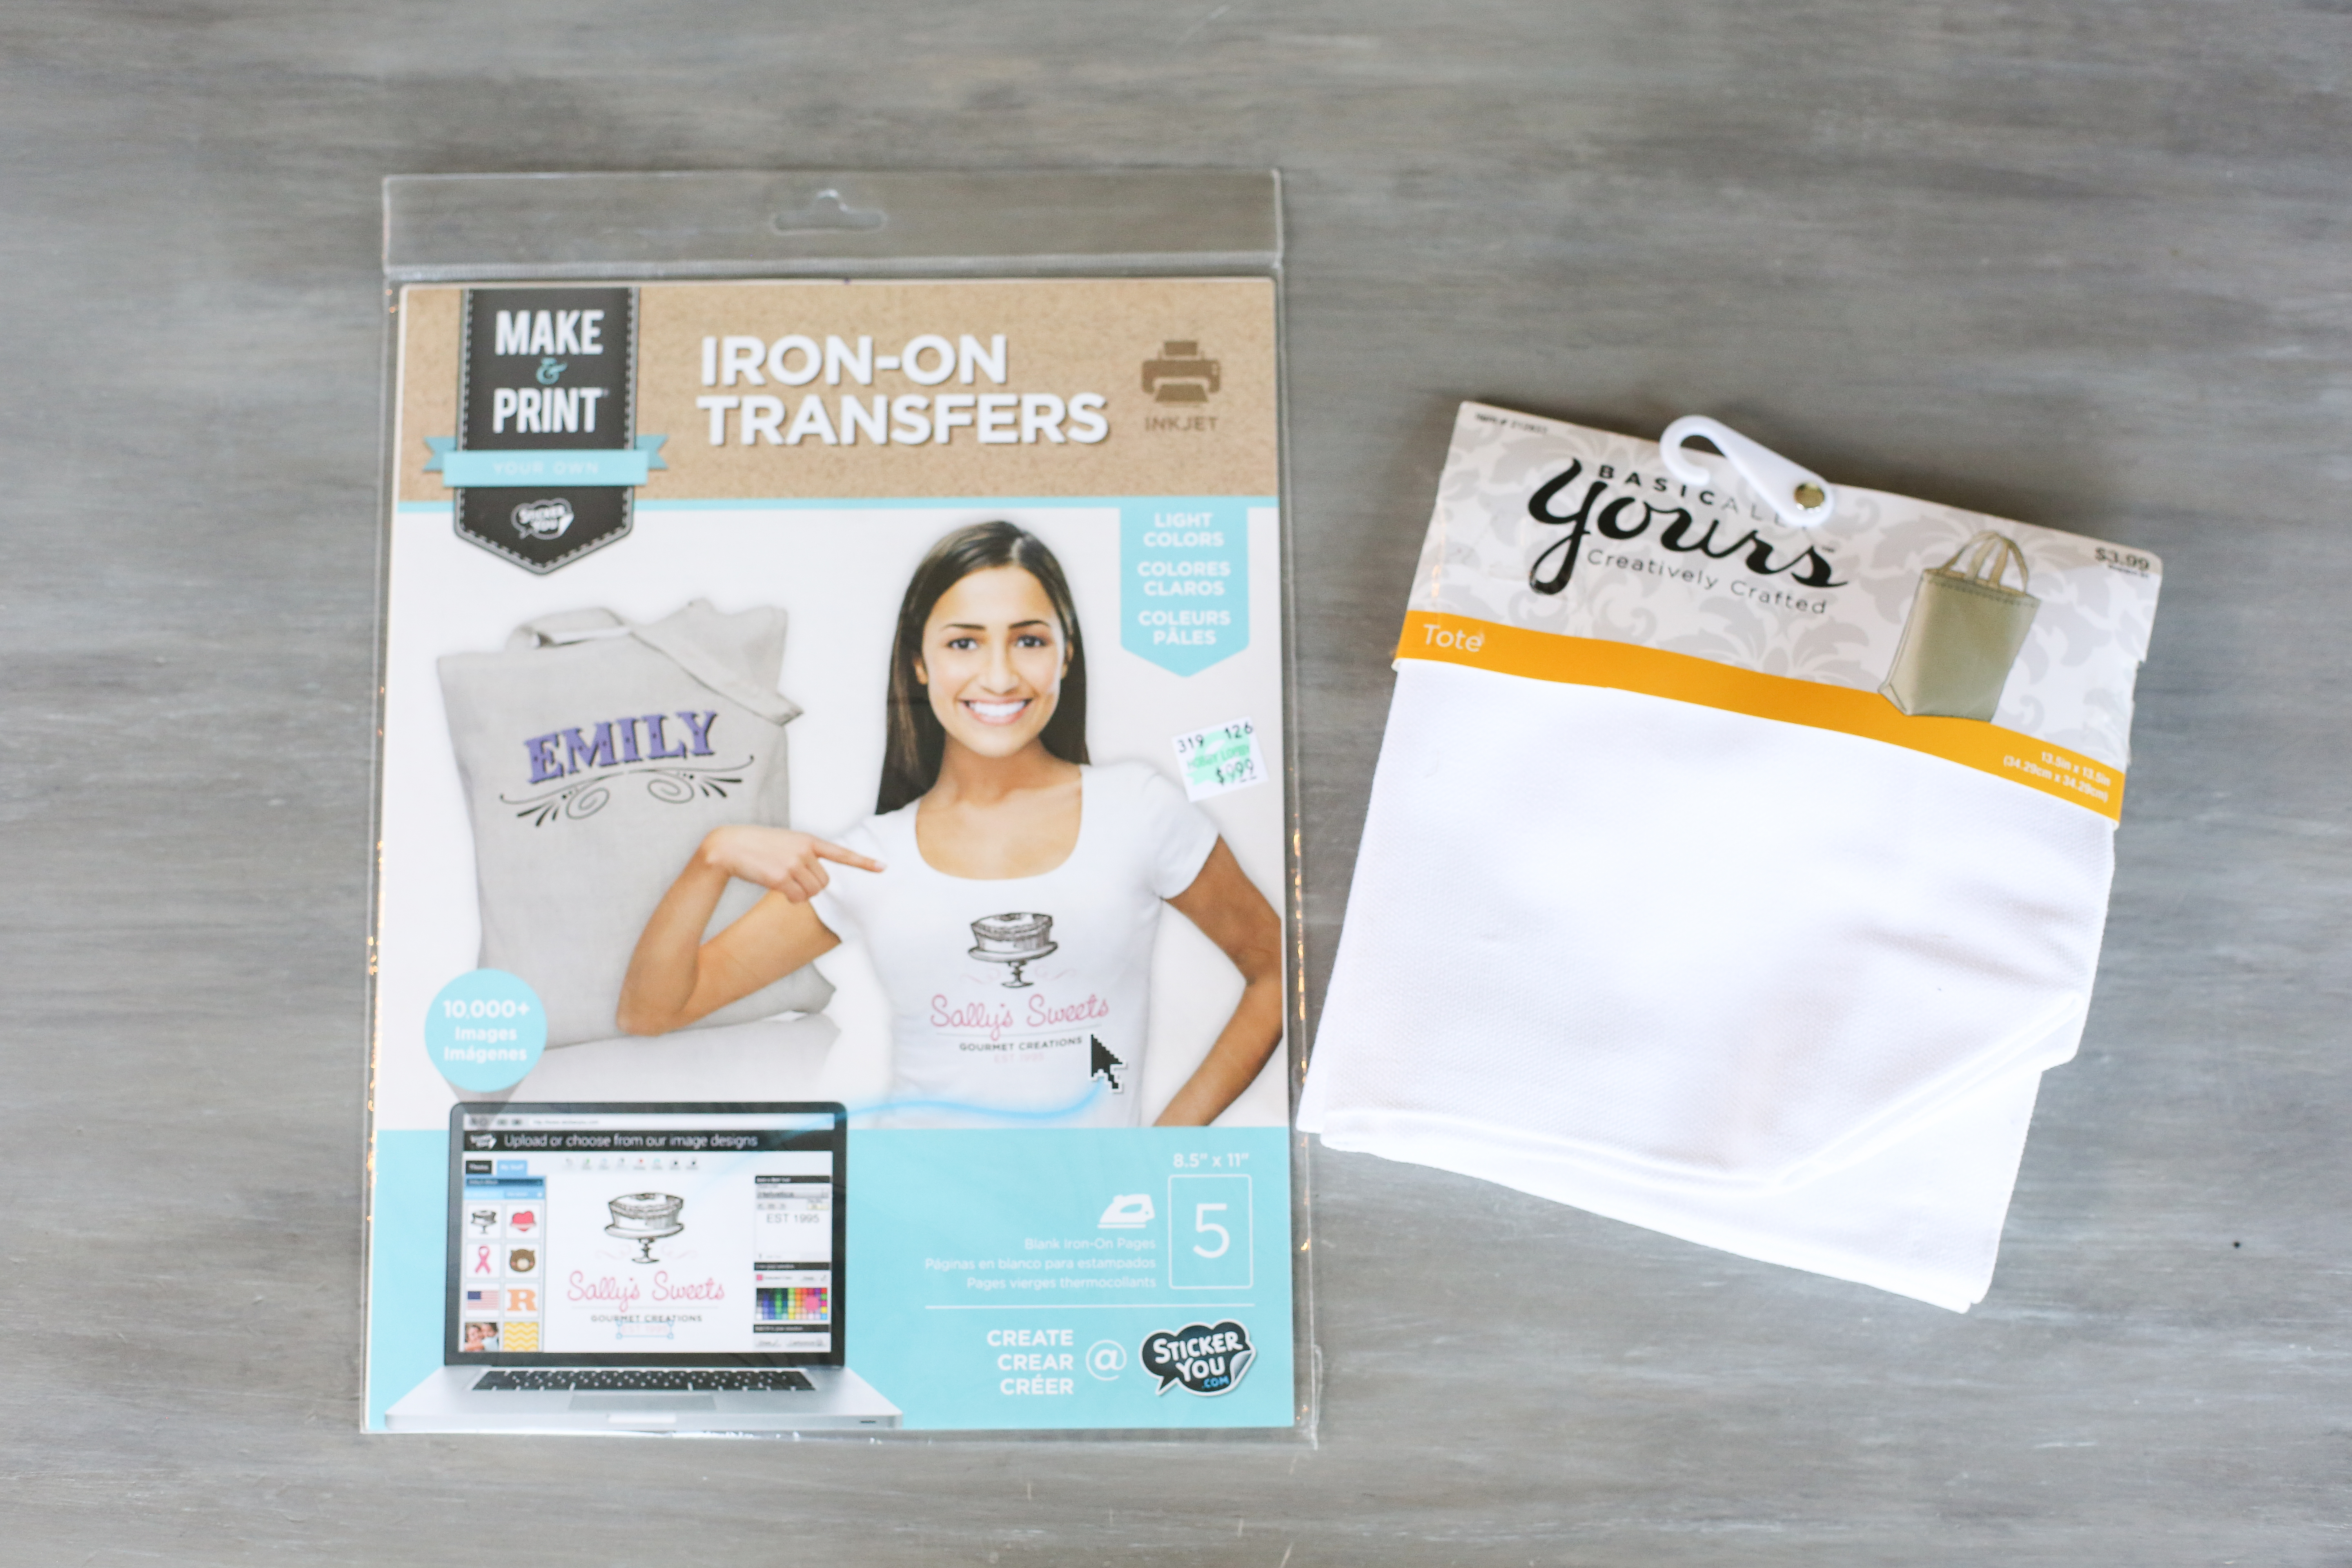
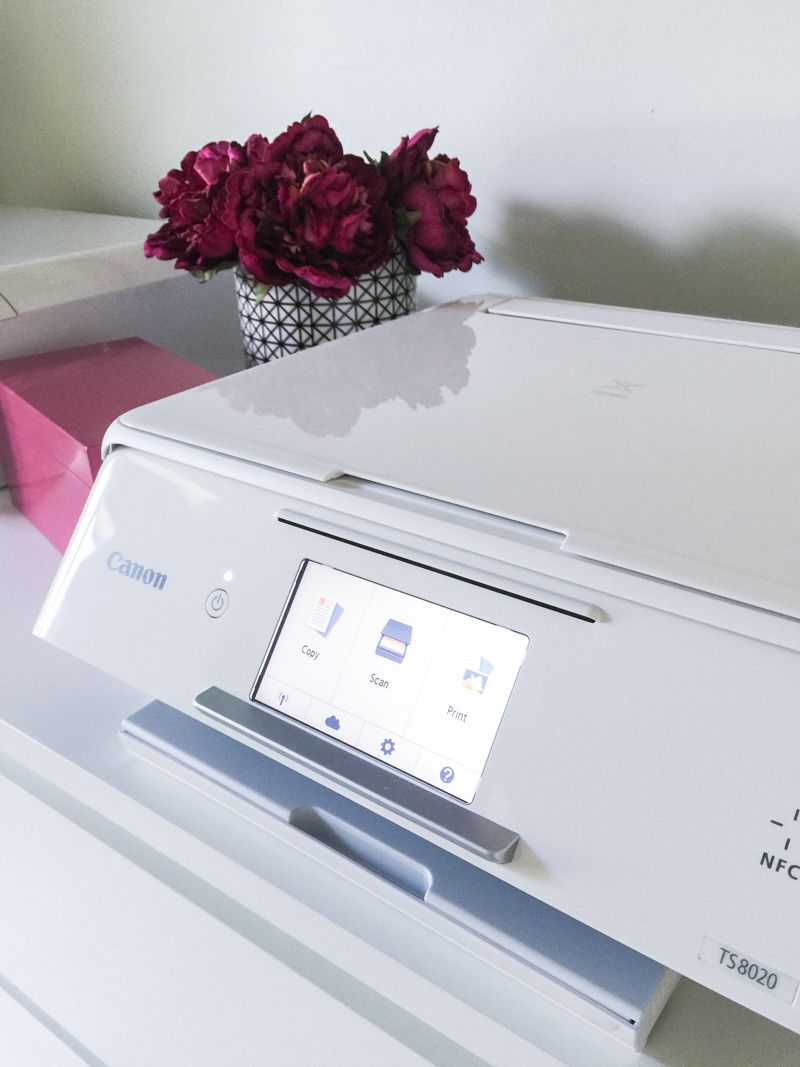
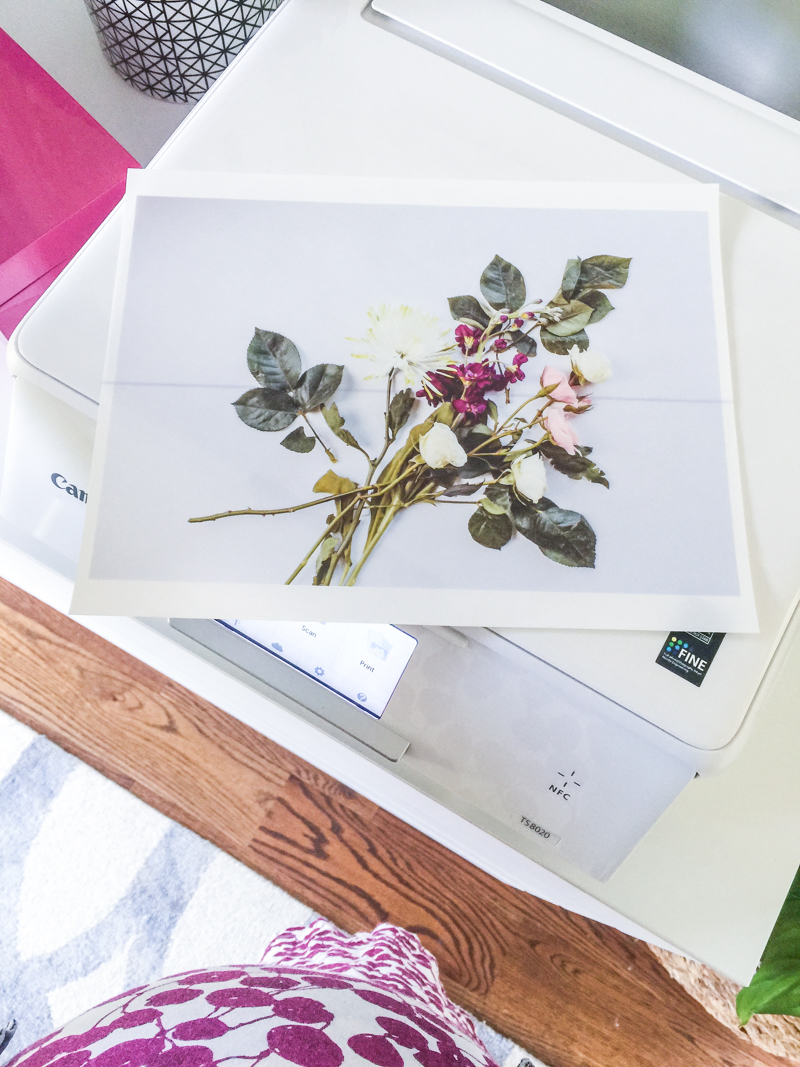
After you take your photos, open them up in any editing software, tweak to your desire and get them ready to print on your Canon TS8020 (it’s my favorite all-in-one photo printer!). BUT WAIT. Hold the cellphone guys….you don’t want to print them on just anything. You want to snag a iron-on transfer paper and a little tote. I scored mine at Hobby Lobby when they were 50% off so the tote was $2 and the transfer paper was $5.
Make sure you load your transfer paper properly into your printer and make sure you do a test print if you are unsure about how vibrant you want your transferred blooms.
I get a lot of questions about the printer I use – it’s an all-in-one (meaning we use it to print out bowling coupons on regular paper, photos in a variety of sizes and we can scan our greeting cards on it too…you know….because someone hand wrote in those!) and it’s got some ridiculous awesome features (wireless printing what?!) but the thing I love the most is the fact that it’s easy to switch to different sizes and types of paper (pro tip: leave your favorite paper in the cassette and use the rear tray to switchout materials). Apparently I am one of those people….that have stacks of card stock, regular sheet paper and every size photo paper.
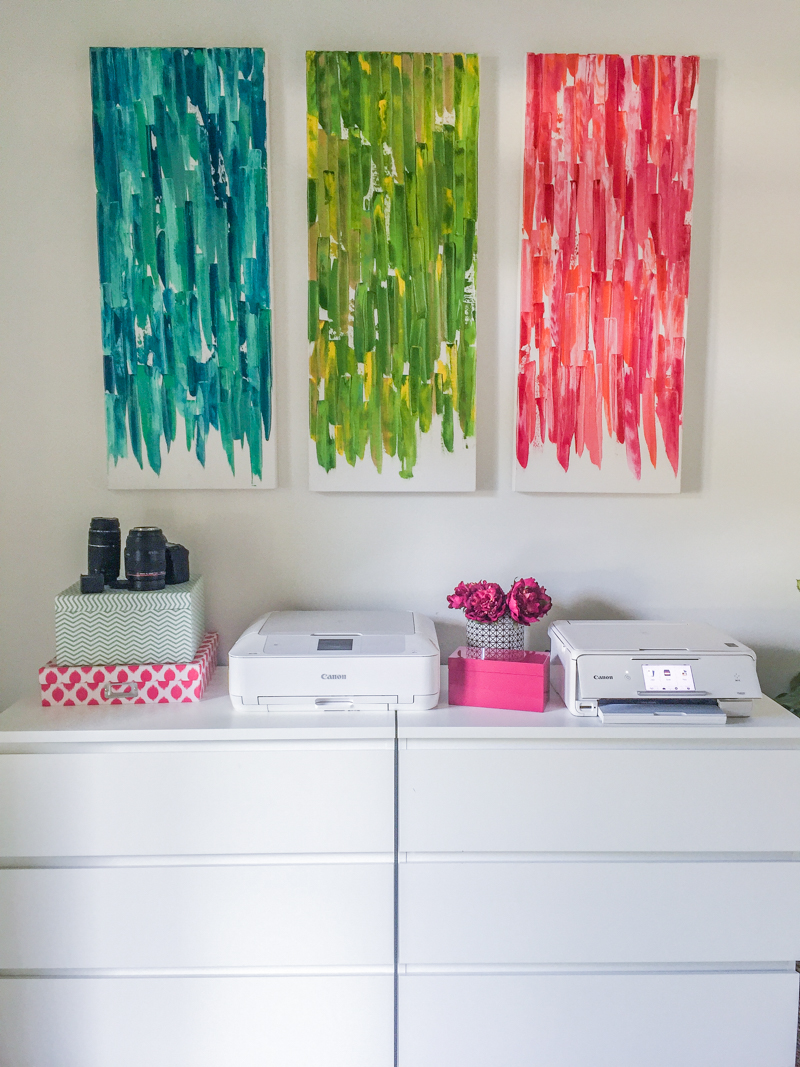
And you know I have a love for all white printers so don’t think I got rid of my other all-in-one. Jeremy confiscated control. He uses it for our office needs….which is actually pretty nice to have multiples….that way I’m not constantly checking to see if my photo paper is loaded!
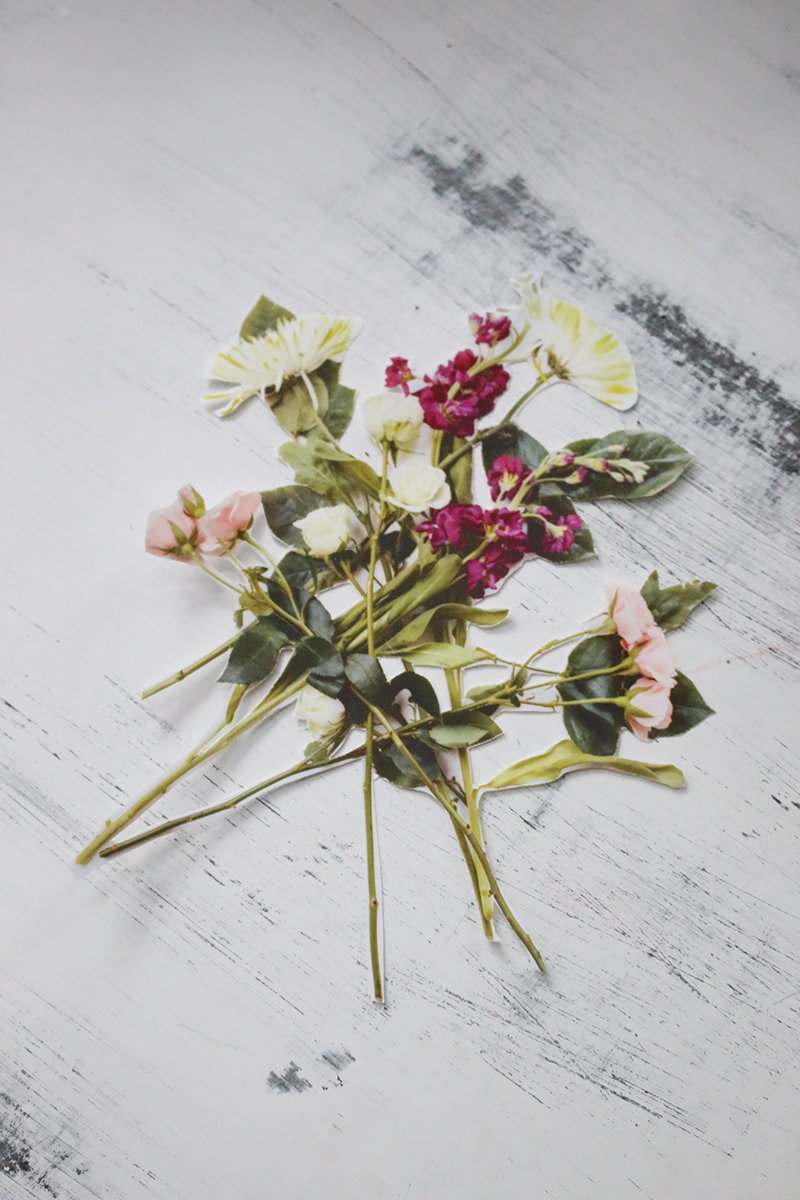
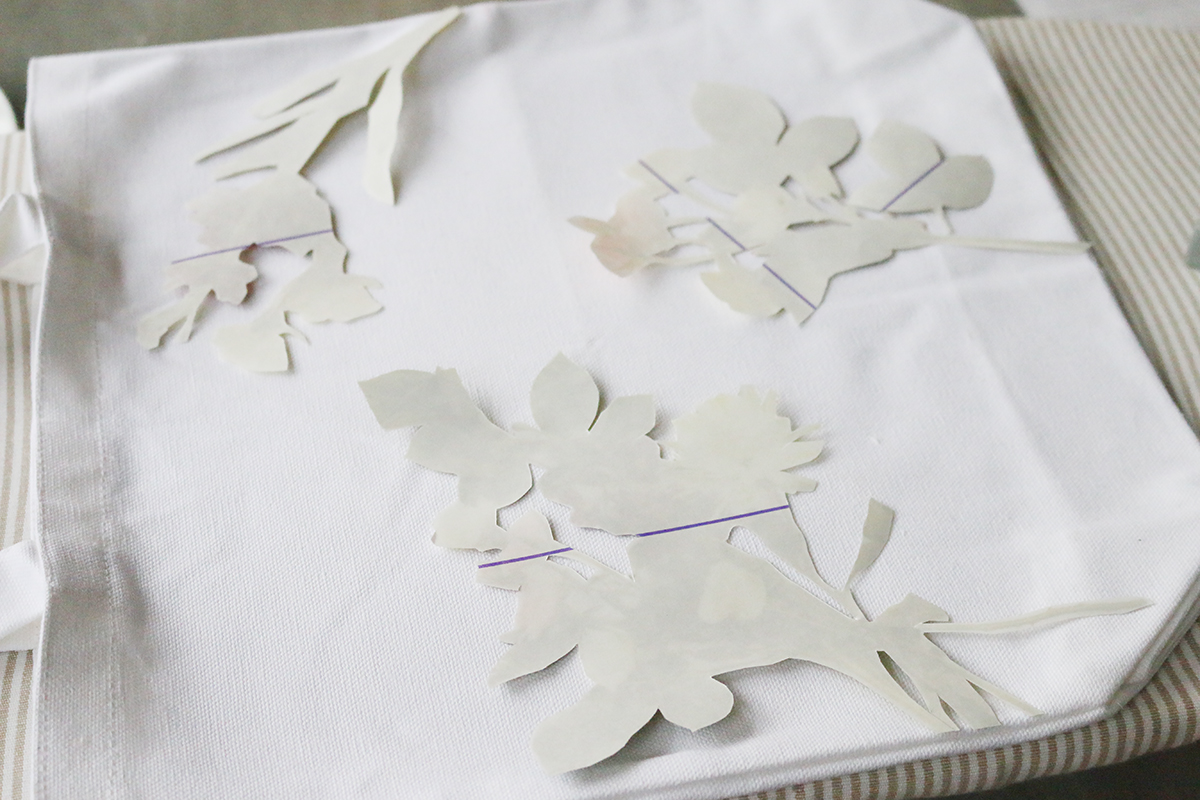
After the flowers were printed on the paper, I cut around the blooms making sure to trim any excess white areas off. Sometimes this required me to use an X-acto knife. (if your transfer is made for light colors a little extra white is okay as it should be see-through once ironed-on)
I laid out the flowers exactly how I wanted them on the bag and made sure to do the flower side down.
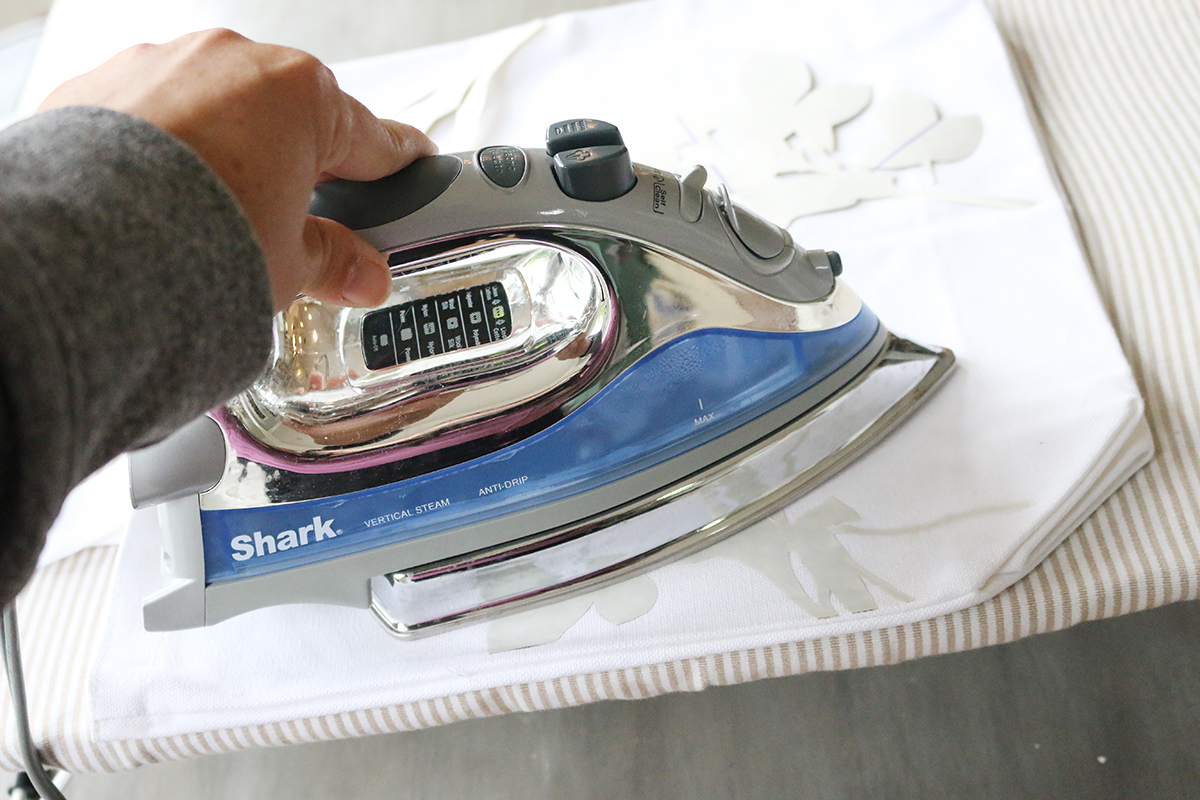
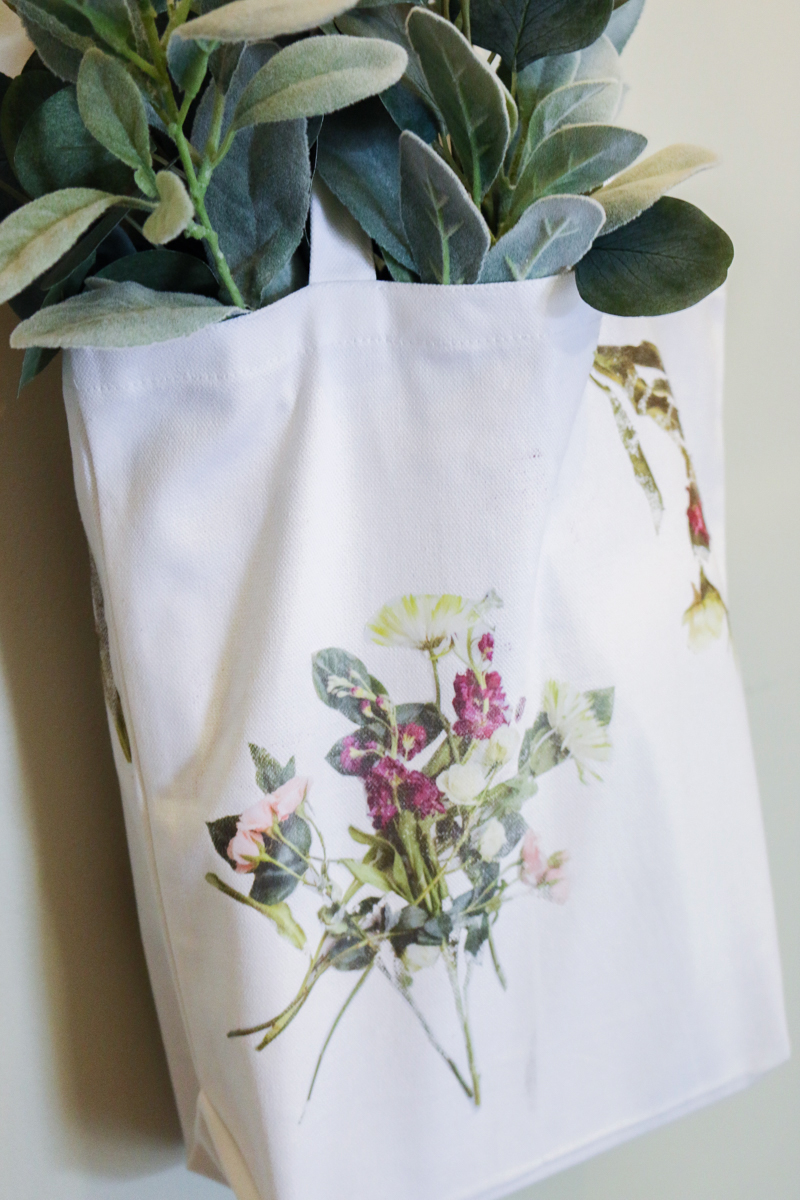
Then I followed the instructions on how to get the image to transfer. You use your iron (no steam!) on the cotton setting and hold down for 30 seconds in each area. The paper would have transferred the image perfectly but I wanted my bag to look broken in and worn….so I only held it down for about 20 seconds.
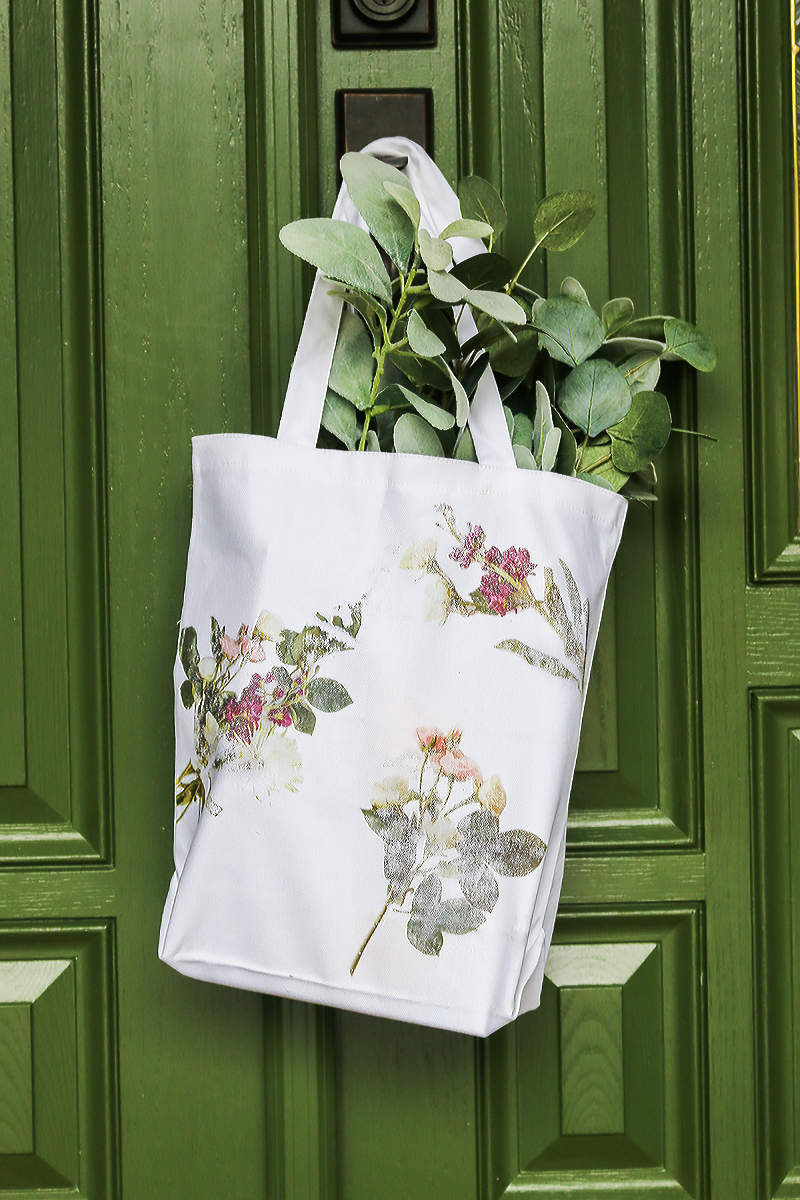
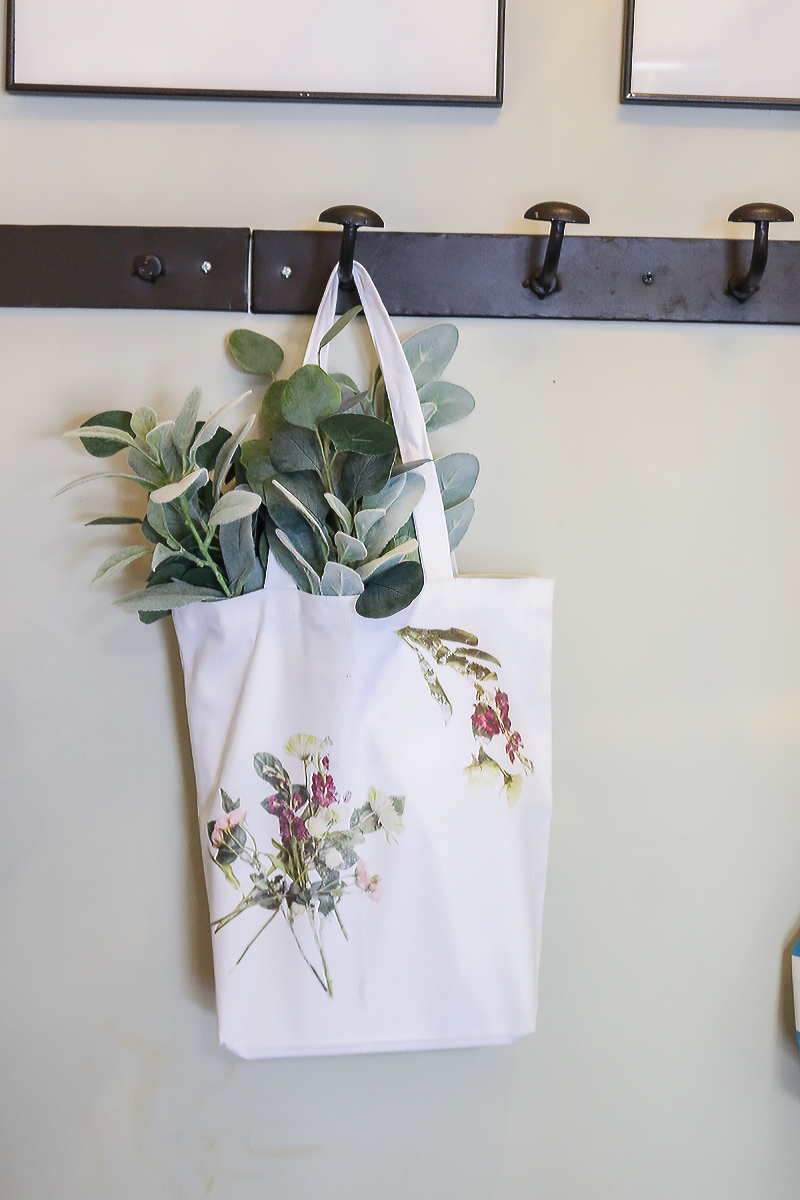
Then you peel the paper off the bag and you have a very vibrant but rustic looking tote that will share those blooms forever. And I don’t mean, high school crush forever….I mean like literally FOR.EVER.
On the other side, I decided to test and hold it down for a little longer….just to test and see if there was a difference….it definitely transfers more clearly with the full 30 seconds. Personally I like the rustic side a little better but both have their uses.
The color saturation (which is controlled by the printer) is still the same – so that is great, but I like the fact that the more worn version is more romantic somehow. Either way – the flowers can last a lifetime when you are able to put them on a bag or apron or any other fabric item.
With this easy craft, you can make summer last a little bit longer! I think this would be a great girls night craft or one that would work for any flowers that you want to remember. How cute would it be covered in pictures of the dandelions your kids picked?! Its perfect for any holiday where you get a special bouquet. Happy crafting!
Does this printer come in a white version or only red? I’ve been eyeing it for a while but my office has no red in it.
It also comes in black and brown! You can check out their site here.
xo – kb
Please tell me you did this wonderful DIY project a few months ago, and not now when you are 100 months pregnant! It’s absolutely fabulous. Just wondering how long it took you to cut out all of those tiny stems etc…? So cute!
Oh my goodness, I never in a million years would have thought of this. What a fun idea! I really like the more distressed version too – it’s so cute!
I am seriously 100 months pregnant…and am going to say that now whenever anyone asks how far along I am 🙂
xo – kb