Are you still dancing naked in the streets about my laundry room tile?
Well, go put some clothes on because I don’t want you to be reading this post and have some perv hack your webcam.
Unless you are into that. In which case…carry on.
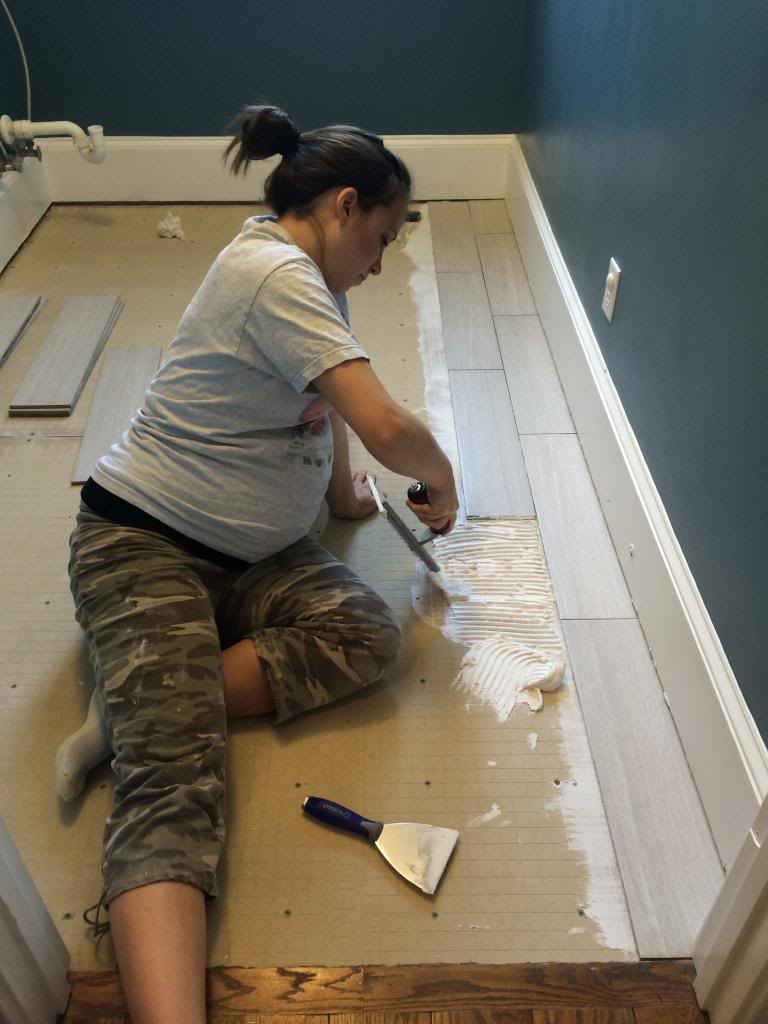
So we talked about our laundry room tile prep work. And how we got to the point of picking out tile. And how we use premixed thinset to adhere the tile to the concrete backer board. I forgot to mention that during this time (the thinsetting the tile) it is really really wise to use flexible mesh tape on the seams. Our local home improvement store had none in stock when we bought the tile and since the big Georgia Apocolypse snow-storm hit two days later (right when we got to the point of tiling), I decided to move ahead and tile because dude…I need to wash clothes. every. day.
Some folks say that the board tape doesn’t matter…and I admittedly have done tiling before without it…but it is necessary if you want your cement board warranty to not be void. People use tape because it makes the boards into one big piece which can reduce the chances of cracks in your boards affecting your tile. So if your state doesn’t shut down due to three inches of snow, use tape. The best tip I can give ya is shmear that thinset into the crack, press the tape into the thinset with your trowel and then do another layer of thinset.
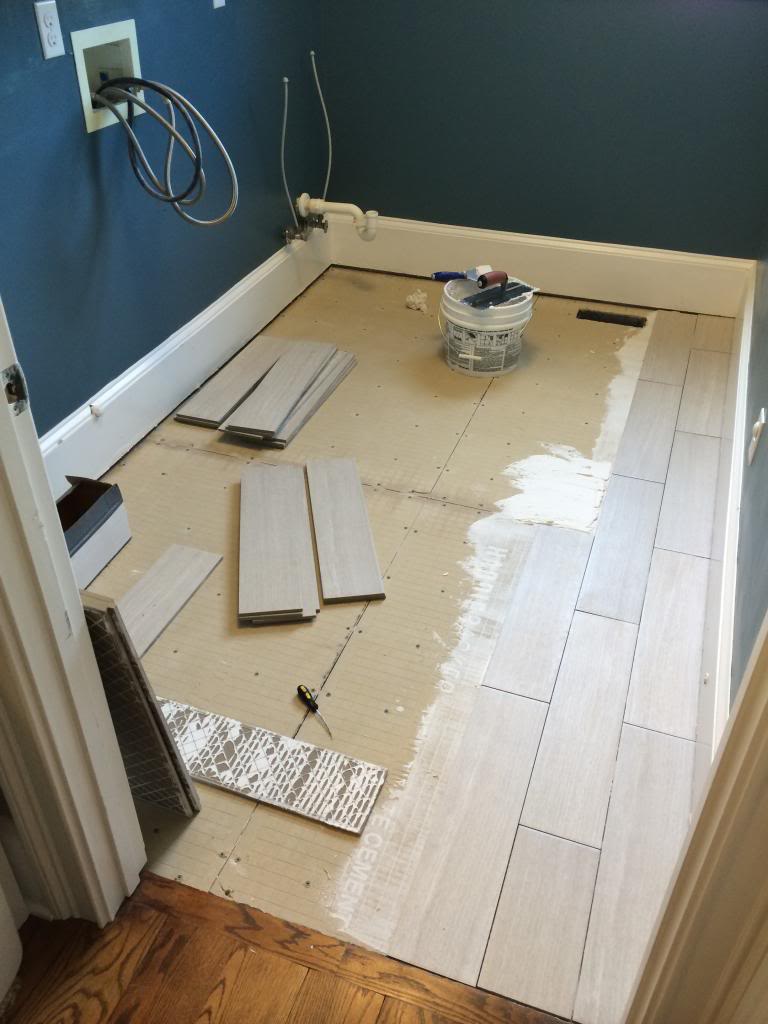
I have blogged so much about tiling in the past, I decided that you don’t need to hear that same info again. I am just posting new info here folks. If you are interested in reading about other tile adventures, here are some old tiling posts:
- tiling the kitchen hex backsplash
- tiling our old fireplace in slate
- tiling the half bathroom in travertine on the diagonal
- tiling a laundry room in travertine in brick pattern
- tiling a backsplash in subway tile
- some tiling tips
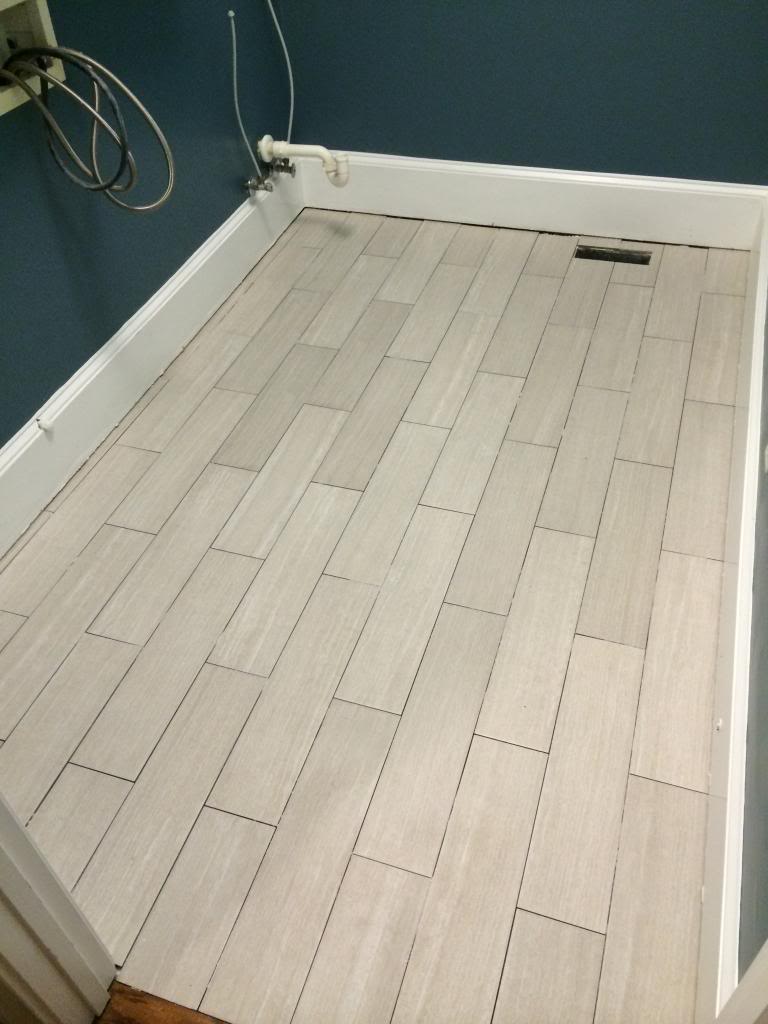
When we got to the vent, it took a particular set of cuts to make sure the tile went around the opening.
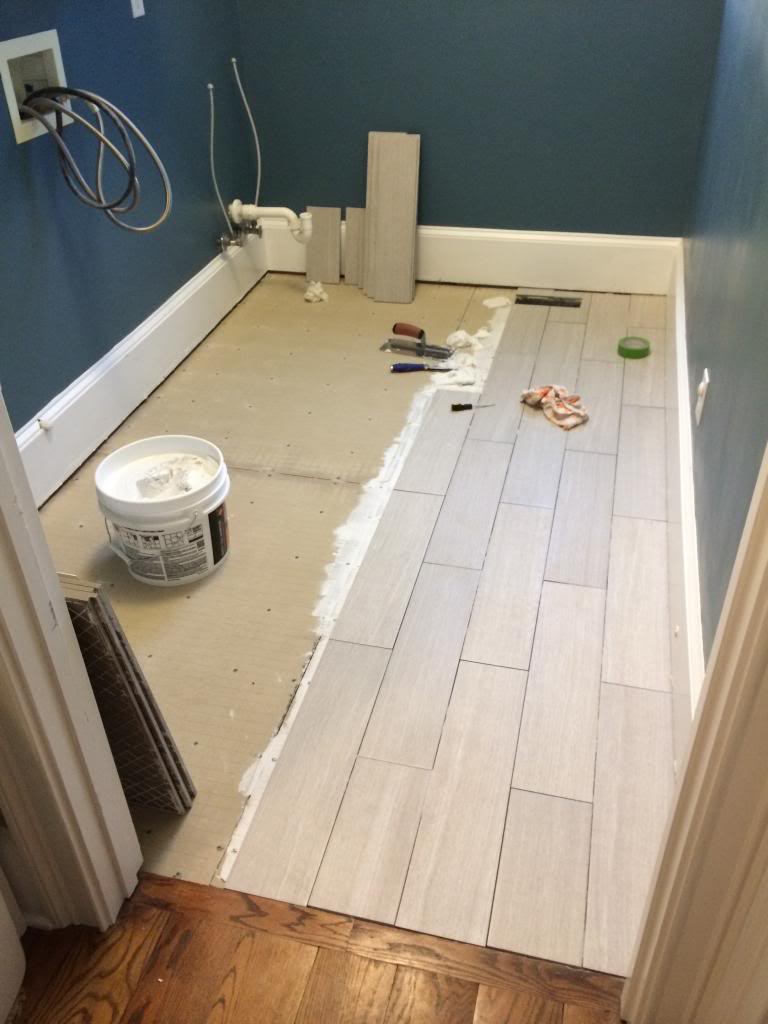
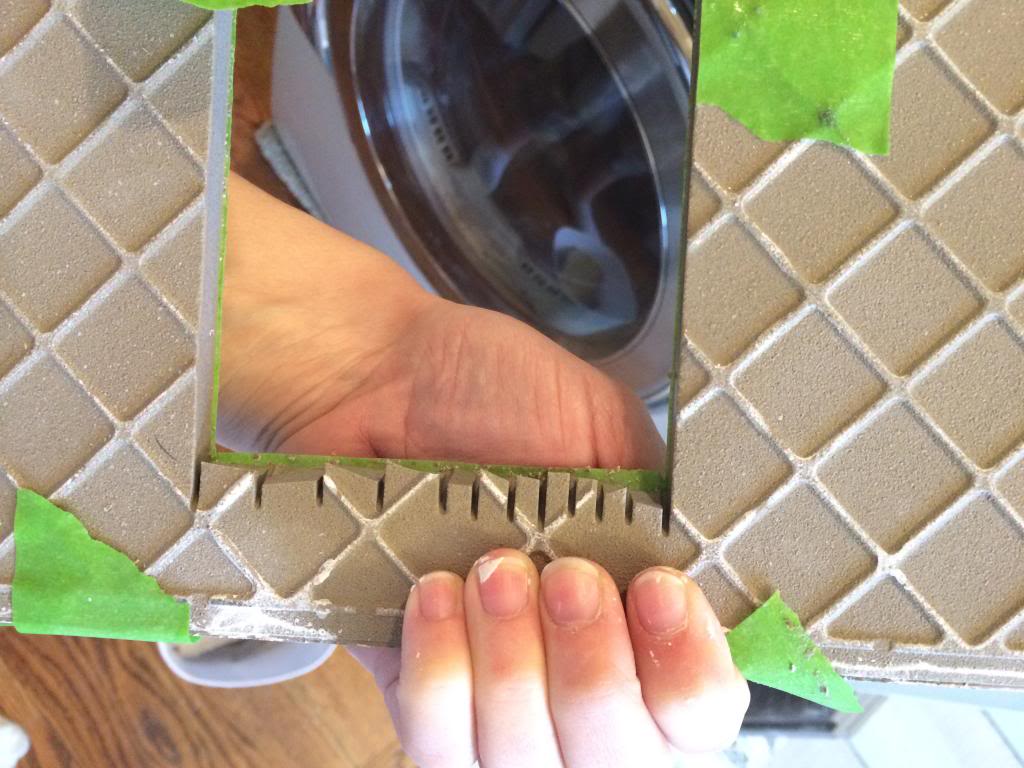
For one piece of tile, it meant cutting it in a C shape. I marked the outline of the area we needed cut with tape. Then I told Jer to cut the thin little cuts right next to each other. He repeatedly asked me if I knew what I was talking about…
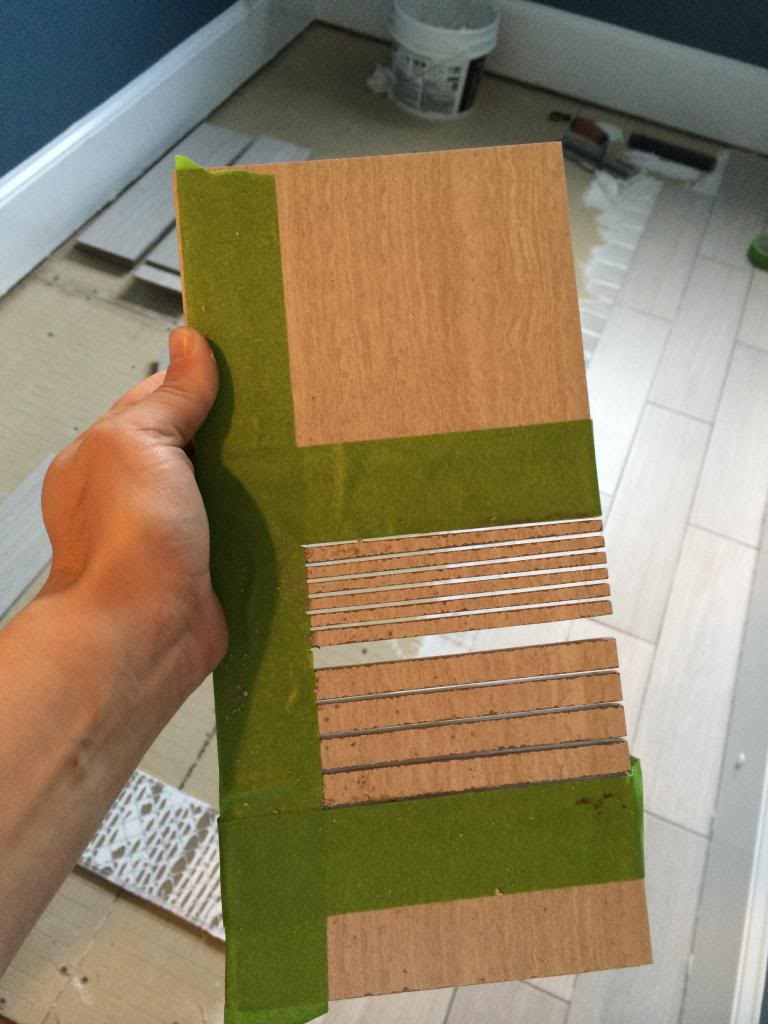
When he brought it back inside, I simply tapped on the ends of the little tile fingerlings to make them break.
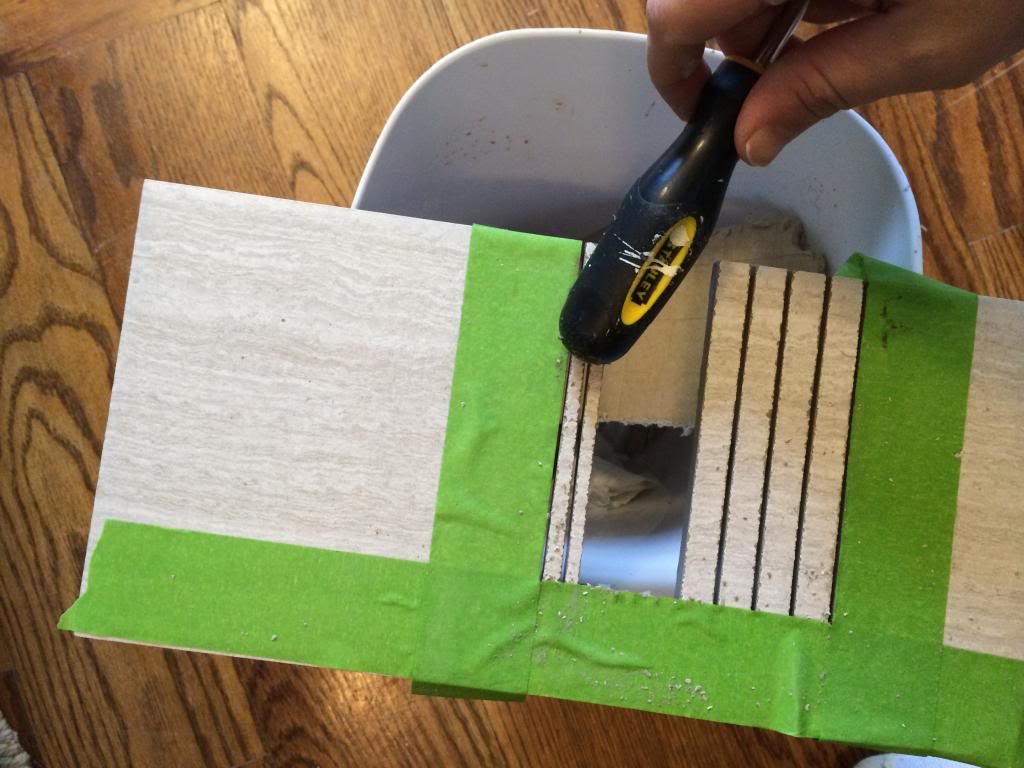
The top will look much cleaner than the bottom (seen below).
Right about here is where I got really tired. Like I basically wanted to cry. I think this is a normal reaction in most DIY adventures…there is a breaking point. A point of no return but no desire to move forward. Or maybe that is just me and my pregnancy hormones. I mean…I don’t see the Kitchen Cousins breaking down.
Speaking of pregnancy…it’s a running joke with Jeremy and I that if I am tiling something, I have to be pregnant.
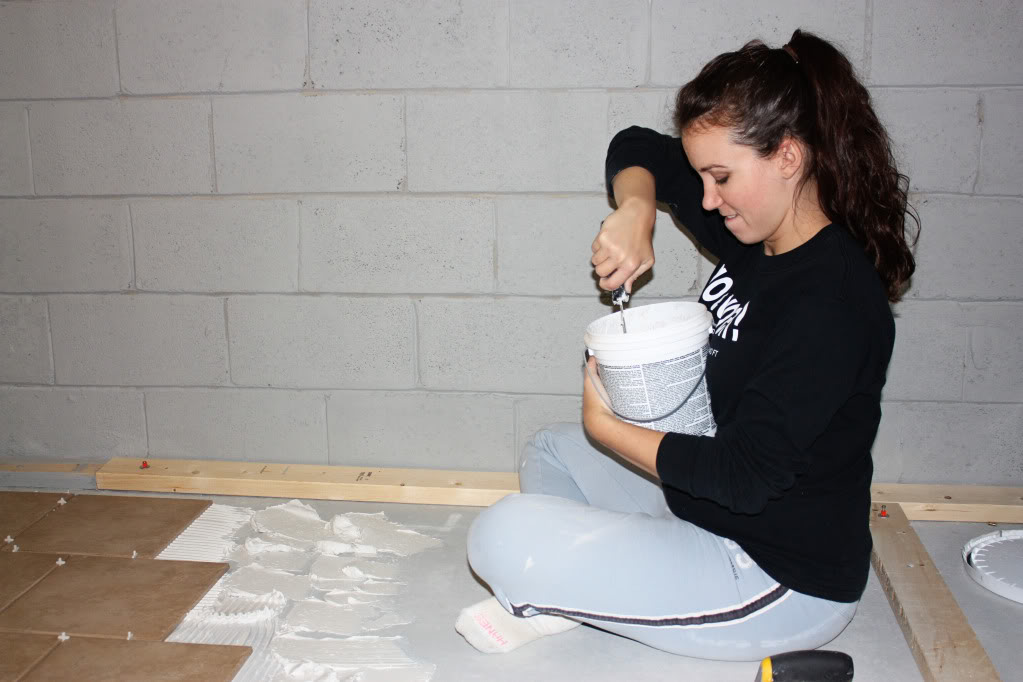
I was preggo with Will when I tiled the basement laundry room in our first house…
And pregnant with Weston when I tiled the backsplash in our kitchen…
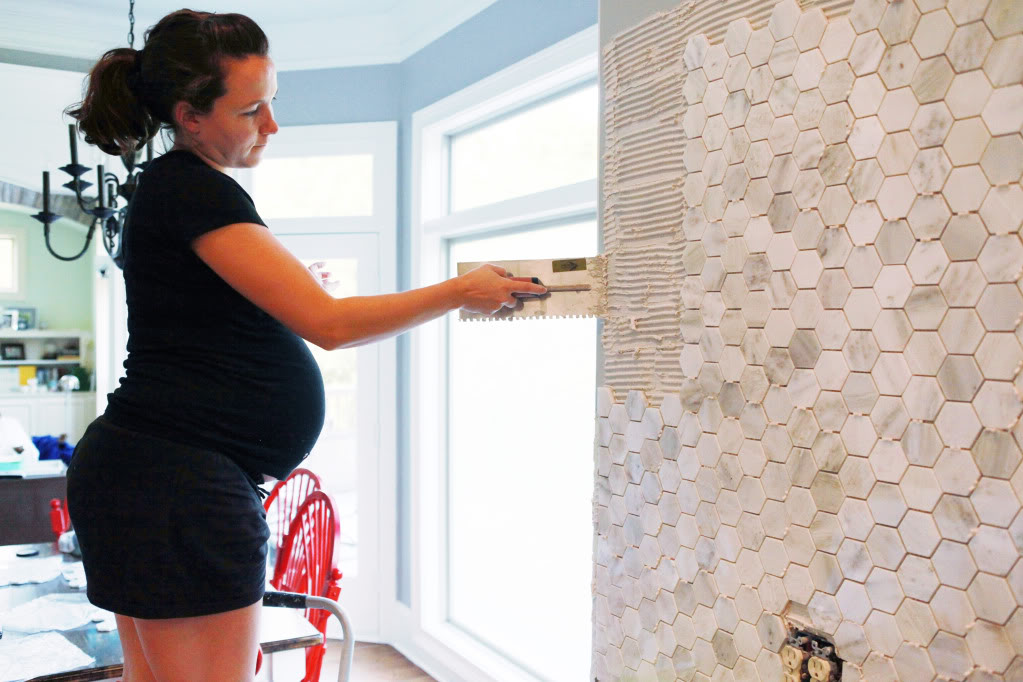
And definitely pregnant this time around.
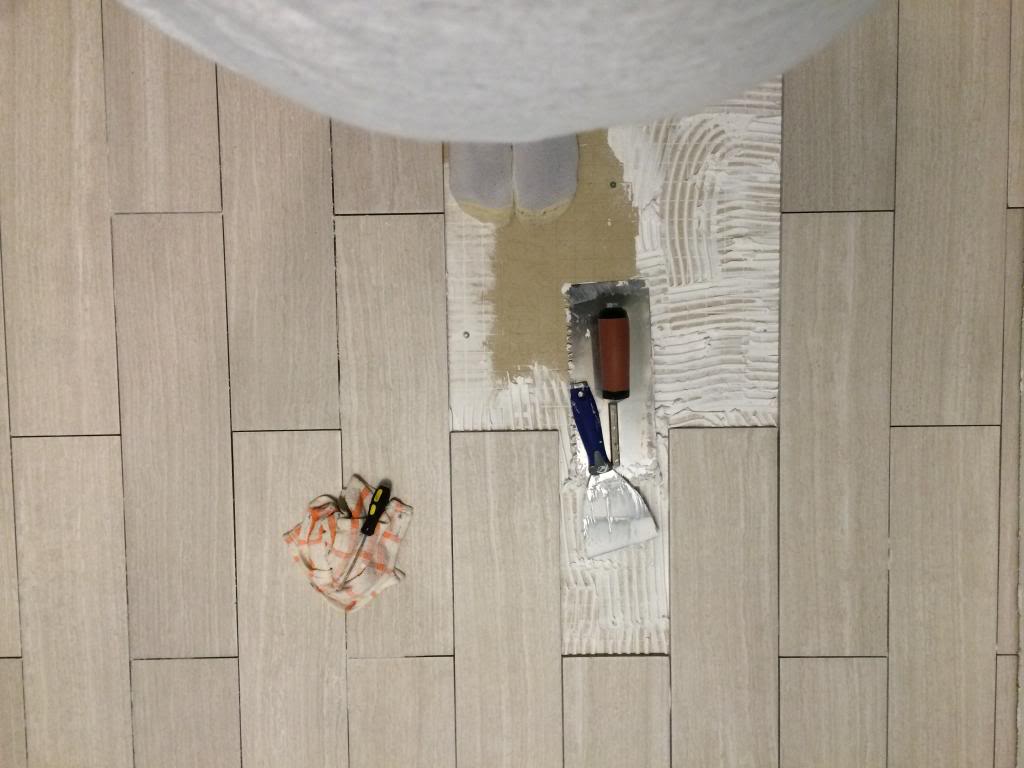
I hope that means we will have a little DIYer in utero 🙂
The good news is…I didn’t die. Almost. But not quite.
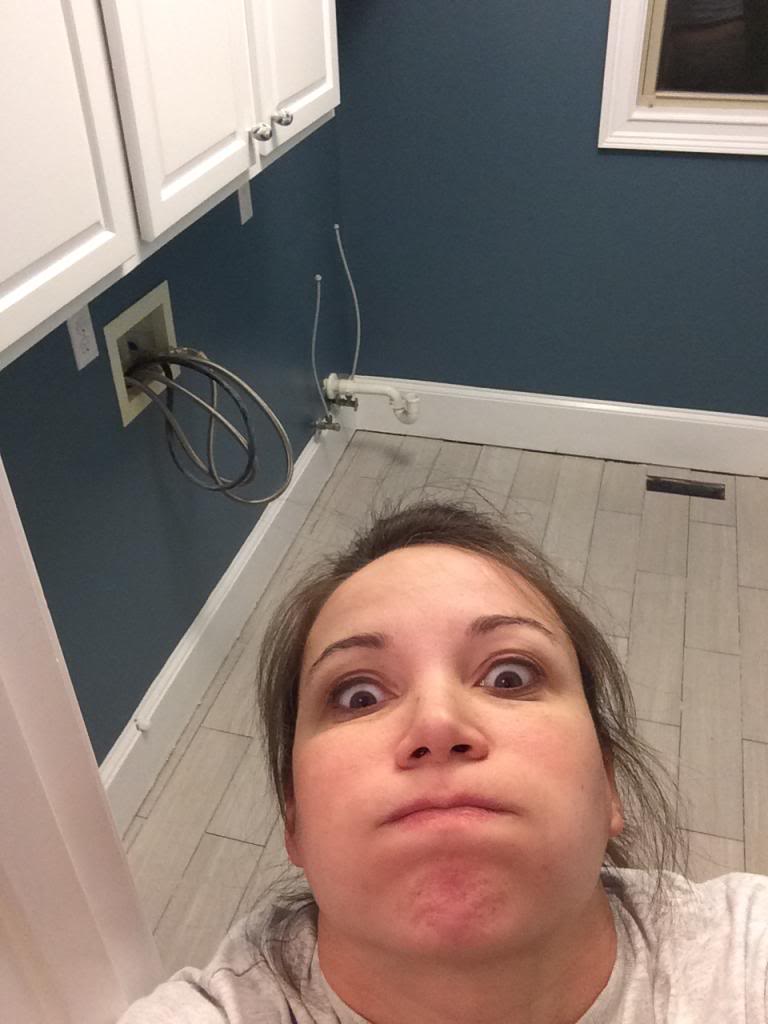
I did feel like this though with all the heartburn…
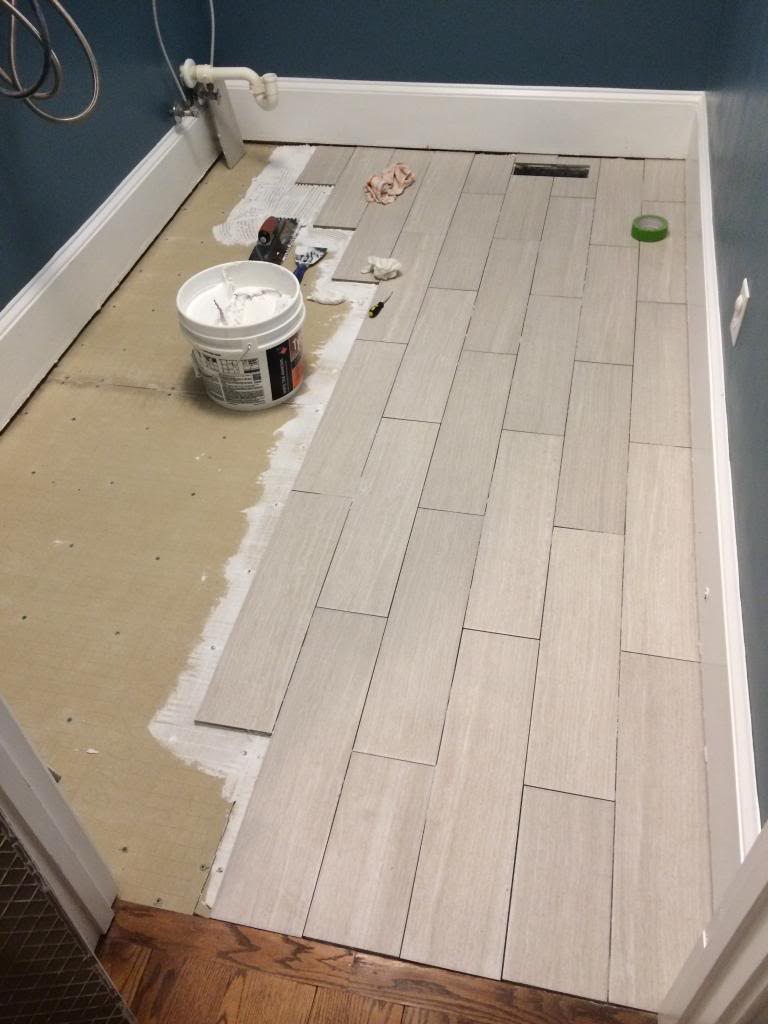
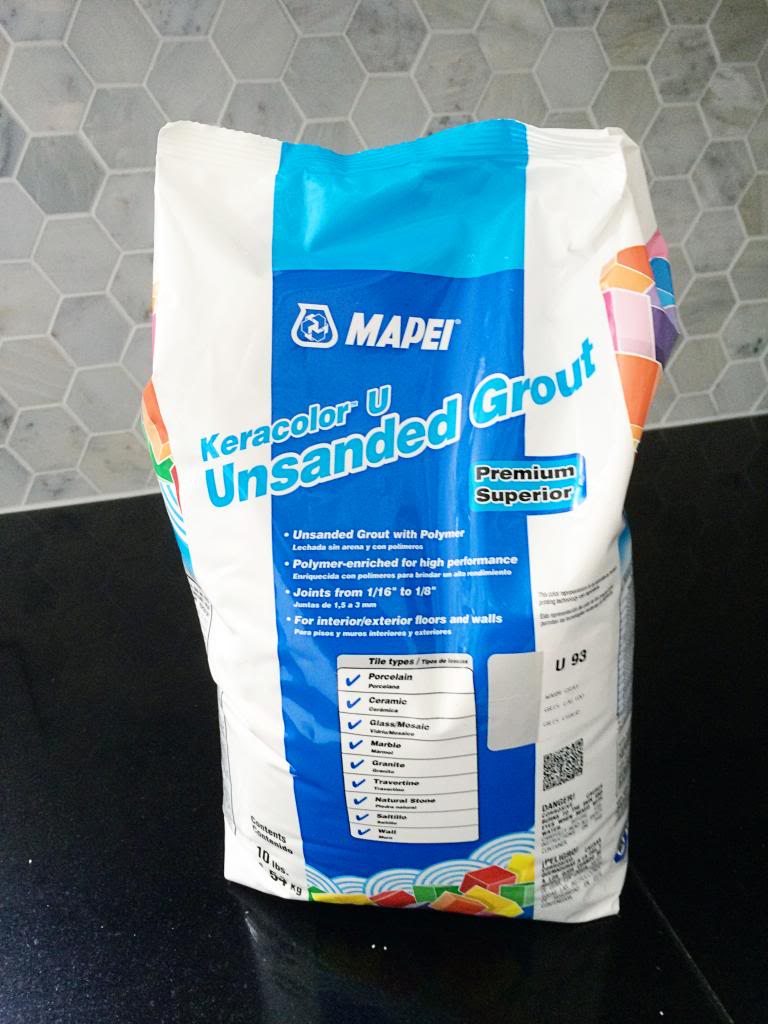
After waiting 24 hours for the thinset to cure, I decided it was time to grout. We used this unsanded grout in Warm Gray from Mapei.
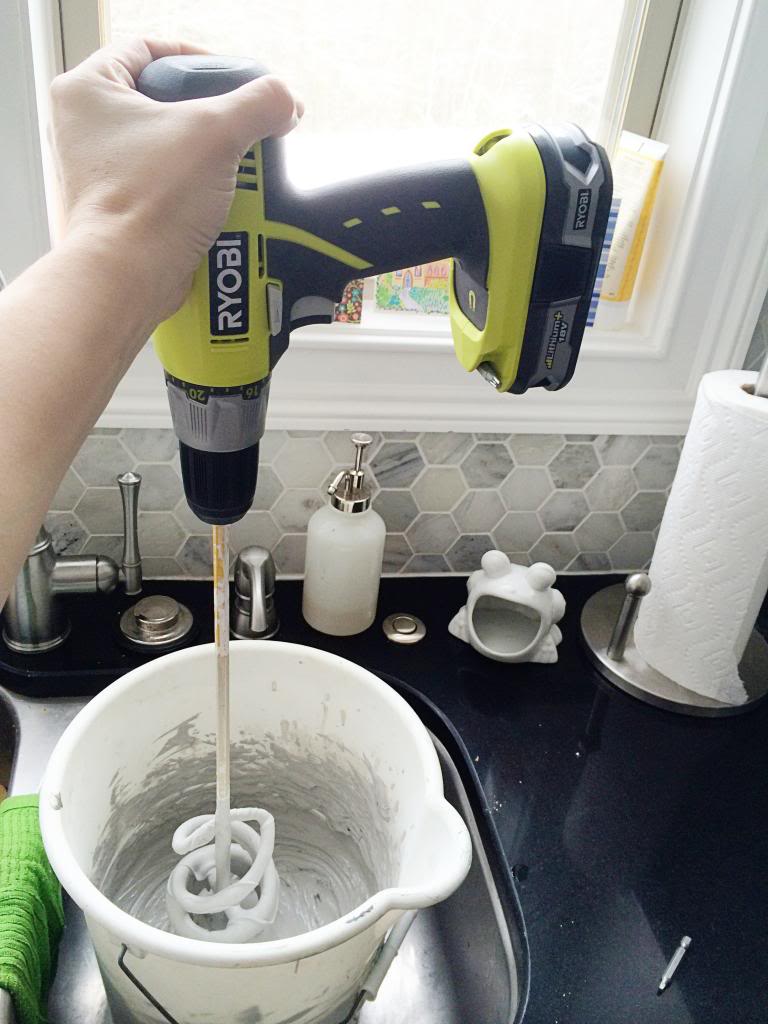
My favorite tool to mix grout (and paint and pancake batter, etc.) is one of these long stemmed mixer attachments. It goes into your drill and you can just go to town.
I had to do this in two sections. That’s what I could reach. I would really push it into the lines (the tiles are butted up to one another leaving a very small grout line due to rounded edges) and then move on. Honestly, the grouting process took five minutes to smear in….twenty minutes of waiting…and then thirty minutes of wiping.
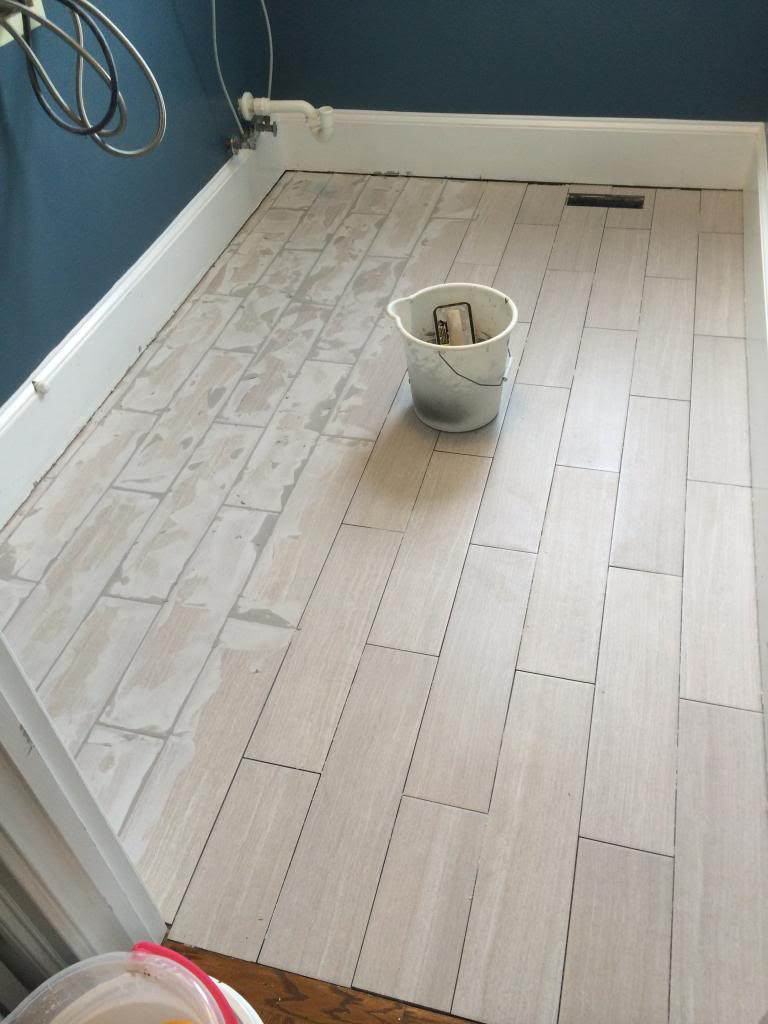
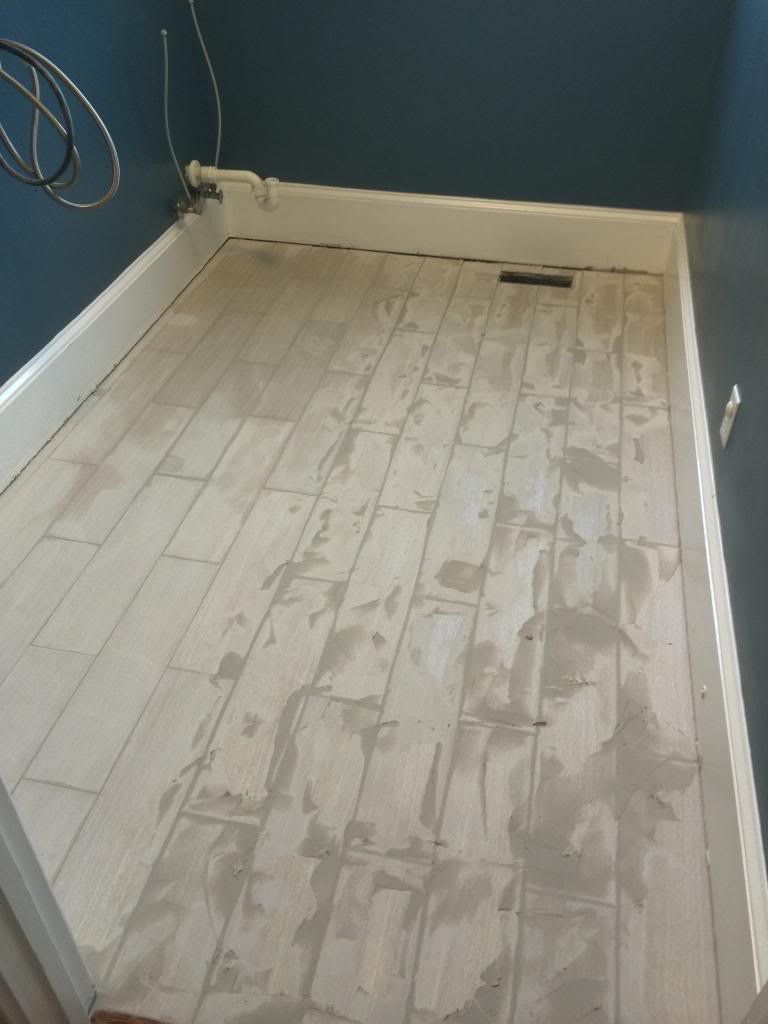
Usually we have two people doing this part….Jer will do the rinsing of the sponges and I do all the wiping. It just wasn’t possible in such a small space with two kids that were dying to go play in the snow (ok ok…Weston hated the snow…but he did like watching Will play).
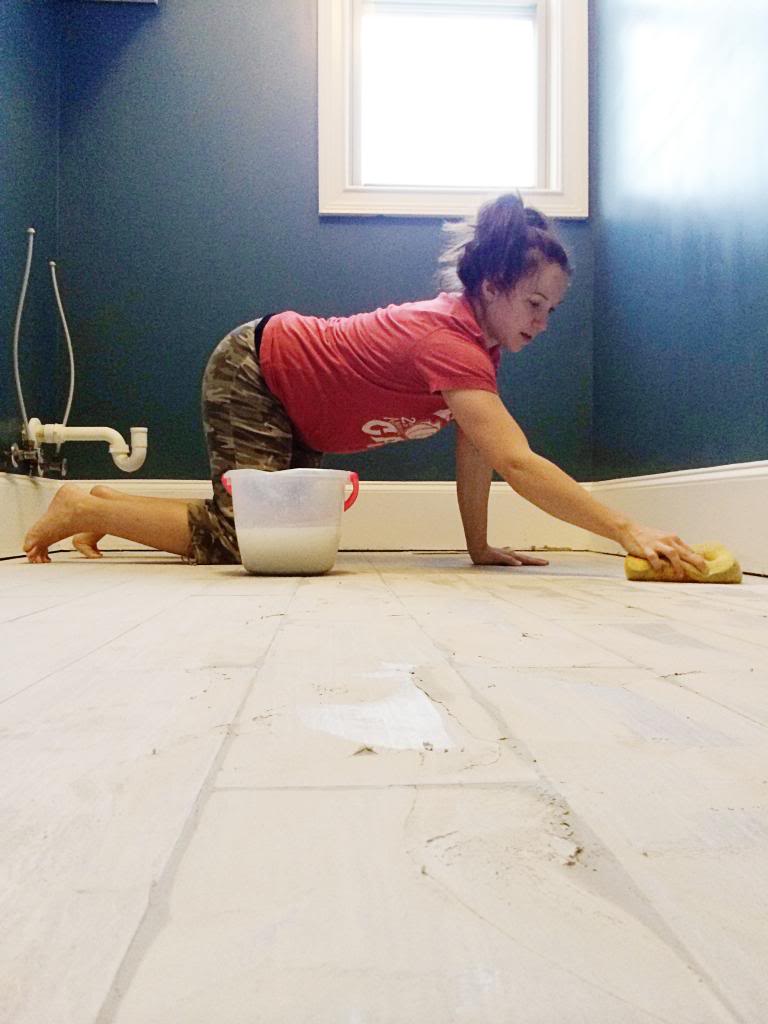
With any tiling project there is always the dreaded haze. I have only two tips on how to deal with this tile fog…A. tackle it in the first 24 hours and 2. I wipe with clean water 2-3 times and diluted vinegar once and then use Clorox wipes. That’s a lot of wiping. Not as much as a potty training mommy but still…
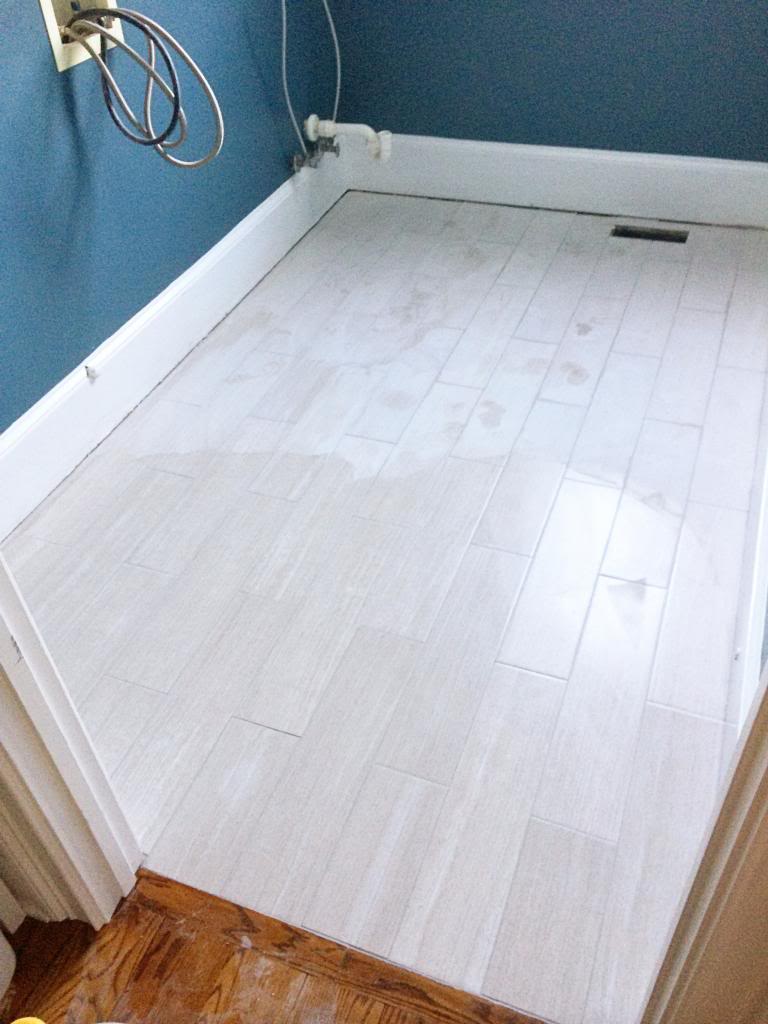
After the washer and dryer got moved back inside, I could really tell how much of a difference a floor can make.
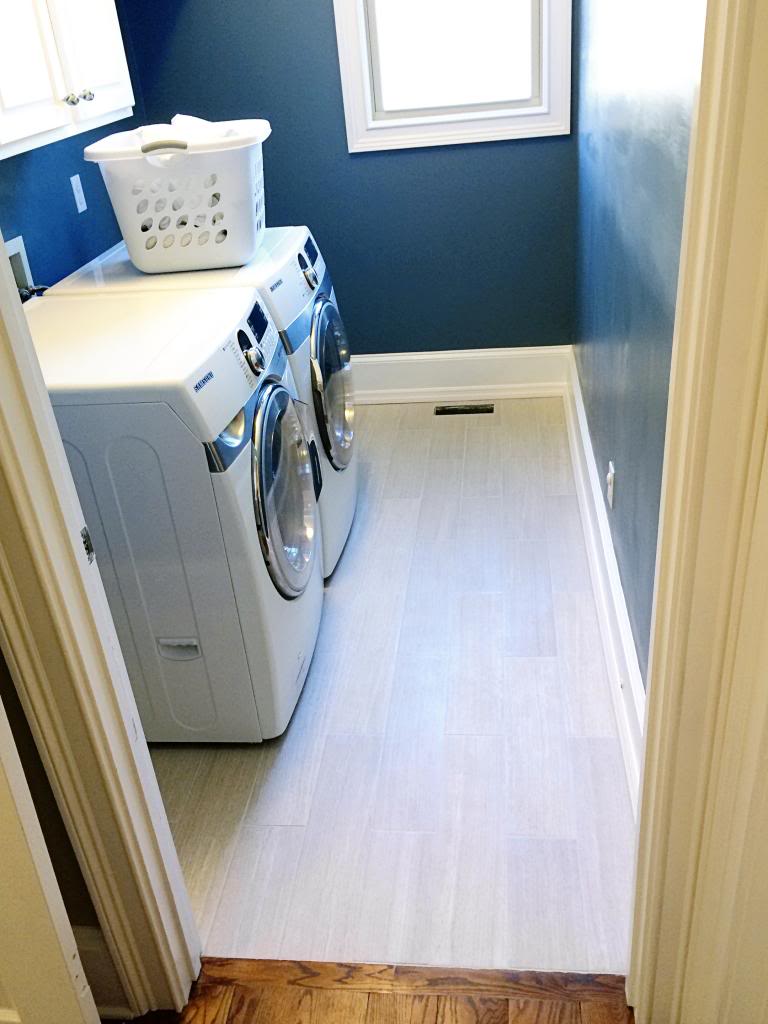
It might be my favorite floor tile job I have ever done. It’s really nice for this space. It’s not super slick or anything…in fact, it does feel different than normal tile. I can’t really describe it.
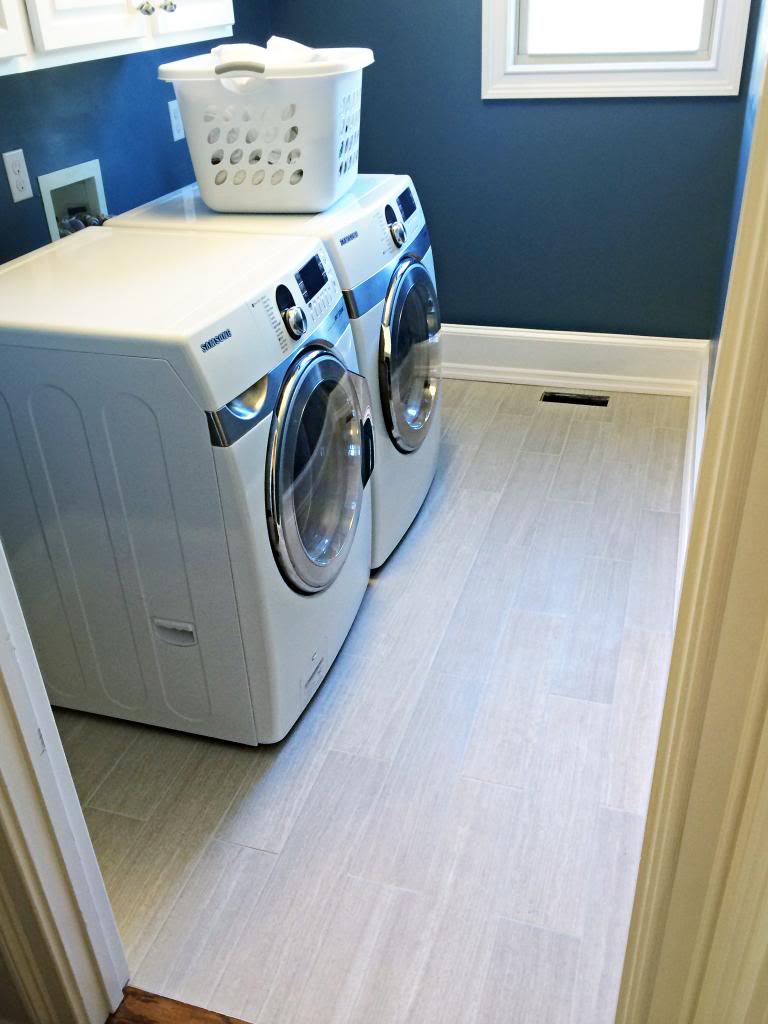
I am liking the light color too. I know it might be one of those controversial things – light colored floors – because wouldn’t they show EVERY SPECK of dirt? especially in a room that typically sees a lot of that dirt? Well, yes…it does show dirt more than the “Magic Eye” tile that was in there before…but I kinda like that it hides some but not all. It forces me to keep it vacuumed.
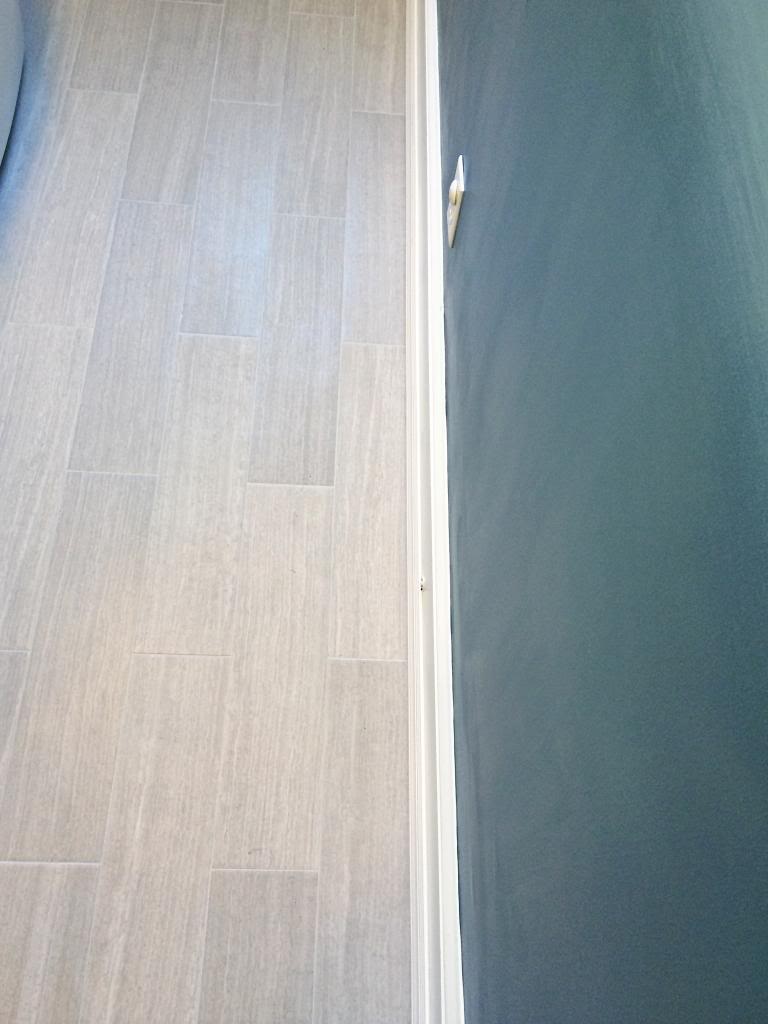
And now for the side by side…
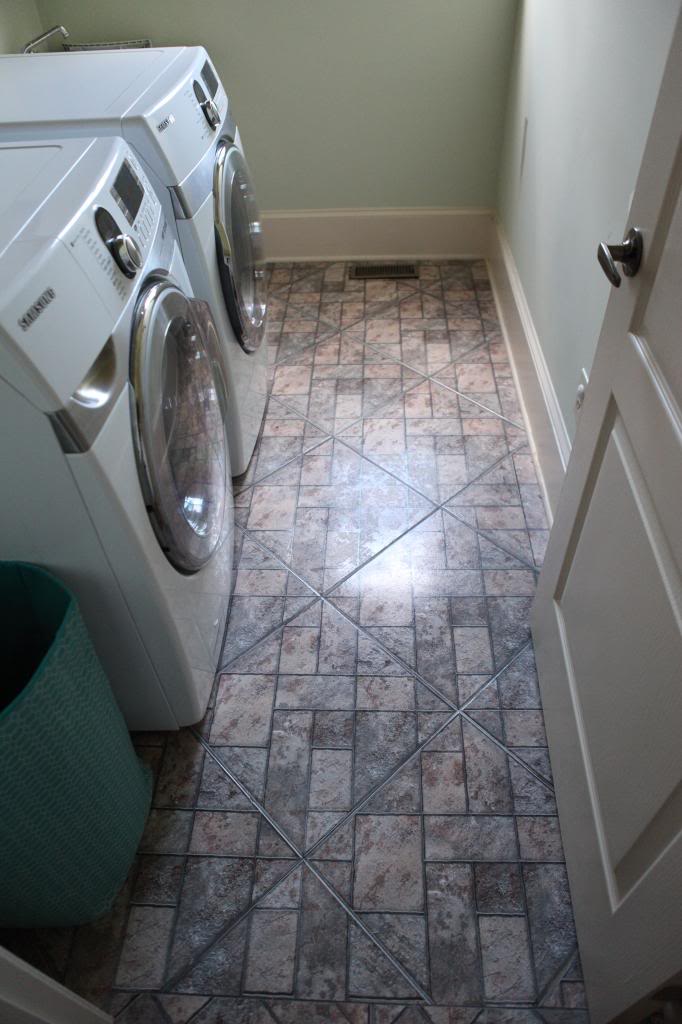

Huge difference right!?
I can not wait to get the counter in and some storage in there. And maybe some finishing touches. I have little newborn clothes I need to wash after all 🙂
It looks very nice Katie! Huge improvement! The laundry room now has a nice calming effect 🙂 Perfect for laundry!
Abso-freakin-wonderful-tastic job! Looks great!!
All I can say is…LOVE IT, LOVE IT, LOVE IT!!!! Awesome job, Katie!
Looks amazing Katie!! Such a small room, but a large amount of work and it all paid off! Great job and have fun with the newborn clothes:)
I love the tile choice! This looks great! I think you should change your tag-line to “Jedi-Knight of Tiling”! I’ve yet to tackle it and it scares me so!
Our new house has the narrowest laundry room. Like, six feet wide…maybe? Between the narrowness, the door that opens inward, the front loading appliances, and being 25 weeks pregnant…….I am having TROUBLE in that room. Getting a laundry basket in there and moving around with it, nearly impossible. Any tips Katie? #pregnantladyproblems
Dang, that looks so nice! Good job! Love your heartburn face. LOL
Love love love! Looks great momma! I’m using your gorgeous space as inspiration to tackle my own icky laundry room 🙂
Oh, that looks so much better! It is going to be such a great space once you get that counter in there (and all the pretty final touches I am sure are going in). Kudos to you for doing that while pregnant. I was so uncomfortable during mine I doubt I would have been able to get back up off the floor if I got down to do tiling. Ha ha.
It looks fantastic!
Loooove that tile. It’s looking great! And you heartburn pic made me laugh. Oh man, I used to go through a bottle of Tums every week when I was pregnant.
BTW, how many more weeks do you have left til LJ comes? It’s seems like this time around it’s happened so much faster than with Will and Weston.
It looks AH-MAZING! Love the light floors. Dark floors show more I think.
Great job!
What a tremendous difference. It is so much brighter in there and your tile choice makes it look “cleaner.” Thanks for sharing!
The tile is beautiful in that room!! I love plank tiles and hope to install them sometime. Gorgeous work!!
Looks fabulous! Love the heartburn pic! LOL
Wow Katie, looks great! I love your tile choice! Pairs beautifully with the walls!
Wow Katie, this looks fantastic! Does the tile feel cold like typical ceramic?
YAY!! Well DONE! I just wanted to say I am happy for your sake this is done, and I think the areas most used are the most appreciated once done. It looks wonderful! 🙂
looks great!!! I can’t believe you do so much hard work when you’re pregnant. You’re cray cray!
24 days till the due date!
xo kb
It does feel cold…it’s porcelain but it doesn’t feel slick.
xo kb
Beyond the fact that the floor looks bangin’ awesome, your selfies made me choke on my diet coke!
Also, you’re a total superhero for doing it all preggo 🙂
I may have missed it so sorry if you’re repeating yourself.
But what ‘s name of that tile? Where did you find it?
I’ve been looking for something for a similar application.
Thanks!
YAY! It looks fantastic!
How did you handle the tile meeting the hardwood seam?
Did I miss a post on where you picked out your tile? (where it was from?) Can you share the details?
I love it!
oh. em. gee. I love it! That tile is gorgeous, and it looks fantastic with the wall color. Seeing that makes me want to tile something, which is saying a lot since I swore to never tile again after doing my master bathroom a few years ago!
It looks great, Katie!
Looks lovely against the dark walls – so much better than before! – Jenna, islandbluebird.com
Wow! Looks superb! Is the tile you used made to look like wood? I’ve seen a lot of people using it as a cheaper option and I’m intrigued about your opinion. My hubby and I are finally (after 2 years!!) ripping out the nasty wall-to-wall carpeting in our house. 1,900 square feet of that stained garbage and so we’re weighing our options. Does it look like tile? Or does it have a wood look to it?
Thanks!!
Love the end result! It looks so great and is such a huge upgrade. Great job!
Fantastic job! It’s a huge improvement over the “magic eye” tile. Looks Great and I agree with the lighter tile especially in a tight space. P.S. Love the heartburn pic 🙂
I am having laundry room envy 🙂 very nice!
Your due date was my due date for my third child, (out of four kids ) and she actually came on her due date! She was the only one, the others were off by 5+ days!
Looks great ! A painter/tiler I know once told me that a good way to avoid haze is to wipe the grout when it’s almost dry with a wool textured cloth (like an old sweater or scarf). I haven’t had a chance to try this tip out so far but it sounds clever. Take care !
It looks great. Can’t wait to see your finishing touches. Thanks for sharing your adventures!
I love that tile with that wall color! We got similar tile at Lowe’s for our bathroom floors, only it was the dark brown color. I love the size and slight texture of it.
Wow that looks amazing. It balances the room nicely, light and airy compared to the darker walls. Stunning.
The laundry room is looking good. I don’t know how you and your hubby accomplish all that you do, but thank you for the inspiration!
LOVE the flooring, great choice. And huzzah to you for completing this project while pregnant!
So cool! It looks great!
amazing!!!!!!!!!!!!!!!!!!!!! warm gray is the best grout color eva! question how did you transition from tile to wood at the door threshold? i want to do this to my bathroom but there’s carpet at the threshold :/
I do like that tile!
And you look small for being due in 24 days!
The tile looks amazing!
Random, but do you have any issues with your front load washer shaking during spin cycle? If not, can you provide the make/model of your washer? I want to tile our laundry floor, but I am worried about the tiles breaking when the washer shakes like crazy?!?
LOVE the new floor tile!! Nice contrast with the darker walls – it looks great!
Hi Katie, how does Jeremy move the washer. I need to move mine and it’s virtually impossible. We don’t have a dolly or anything like that and the feet are really hard rubber. Once you move them, dont they have to be re-leveled? How do you guys pull that off. I’m dying to know because I’m pretty sure my favorite wool socks are hiding underneath the washer.
The floor looks beautiful! And i
Looks Ahhmazing! It even makes your nice washer and dryer look like they’re shiny and new. I love that you’re doing all this while pregnant. I think I’d be on the couch watching TV when I’m that pregnant 😉
We decided to tile right up to the hardwoods. If I was tiling up to carpet, I would do a threshold strip at the end of the tile so that it creates a clean line.
xo – kb
He catwalks the washer. It is really heavy but it’s nothing for my muscle-y man 🙂 No seriously though…you can always catwalk it onto a couple towels and slide it 🙂
xo – kb
We don’t have that issue. Here is the post about the washer and dryer with the links to more info.
xo – kb
That’s a great tip! I would love to know results if you ever try it!
xo – kb
I wouldn’t say that it’s the cheapest option out there (by far) but it is really nice for areas that are exposed to spills or liquids or areas that could have moisture issues (basements?) because it won’t warp like hardwoods or need refinishing. Sometimes you can find the wood-grain tile that actually looks spot on for wood…other times, it is more wood-grain-inspired (like ours that doesn’t have knots or is more uniform).
xo – kb
We tiled straight up to the hardwoods. We didn’t have any issues with elevation and there was already a perpendicular piece of hardwood so that made it easy for us.
xo – kb
Thanks for the info! 🙂
That’s about the same in here. It’s 5’x9′ and it really is a tight squeeze for the bellies! We had those same issues and we removed the door completely to help. I know that seems like an exposing type solution…but it has helped!
xo – kb
Looks great Katie. You’ve made me feel lazy for just watching metro Atlanta weather all day. I have watched the birds at the feeders some too. Maybe I’ll tackle a project tomorrow. You’re inspiration!
The tile is Style Selections Metro Wood White Glazed porcelain tile. It’s from Lowe’s. Here’s the link.
xo – kb
It’s from Lowe’s! Here is the link 🙂
xo – kb
WOW!! Looks so good!! Love the long tiles and the light color!
Eeeeeee….love, love, LOVE the new tile! It’s so sleek and fabulous that it (almost) makes laundry fun!!! Loving your upgraded space!
Huge Improvement! It looks like a different room. I love the light floor with the dark walls! Great job!
Okay, SOMEHOW I saw a picture of the “before” in the last post and thought you were done. This looks WAY better than what my silly brain thought you did. Haha.
I think I need more coffee. Carry on.
I’m working on brainstorming ways to make our laundry more functional. Unfortunately removing the door just isn’t an option, as it’s the only heated room off our garage. And the hookups are backwards (laundry should be on the dryer side and vice versa). It makes switching loads……not fun especially with a pregnant belly. Thank you so much for the inspiration. Someday we may have to invest in space efficient top loaders, just have to save the dineros for that!!!
I am in love with this tile and the paint color!!! I might copy you – sincerest form of flattery!
We used that same tile from Lowe’s in our new basement bathroom (the 18×24 size) and it looks so expensive (but totally not)! We went to the store with the intention of buying their calcutta marble-looking tile but grabbed this stuff instead and so glad we did!
I admire your energy level – I’m due in 9 weeks and ain’t no home improvement happening round here.
Katie, the floor looks really good! Very nice tile selection!
Ayisha, if you can get the washer onto some thick cardboard you can probably slide it around. Tilt the washer a tiny bit and slide it under. We have moved many heavy pieces of furniture this way. 🙂
Love the light tile with the dark walls. Because it’s such a tight room, would it have been possible to move the washer/dryer to the window wall giving you more wiggle room?
LOVE IT!!! =)
So much easier on the eyes! You’re a tiling machine :p
Love the floors! Are you still loving the ombre wall?
We have that same tile in our guest bathroom and LOVE it. People comment on it all the time how great (and spa-like) it looks!
It still makes me smile… but like I said before…it robably won’t stay that way forever. I love the idea of having a big wall that I could repaint with fun things (kinda like Drew Barrymore did in 50 First Dates) but this might not be the right wall for it because you can barely see it because you can’t back up far enough.
xo – kb
We considered that but the moving of the water lines and the electrical would have been really hard. So here they sit.
xo – kb
Our hookups are backwards too! I hated them so much I had to stretch the cords to make them work the other way! Is there a way that you could build little pedestals so that you could eliminate the bend-over? Would that be helpful?
xo – kb
The tile looks fabulous! Must be great to have a floor again! 🙂
Wow! I love that! I didn’t even know they made tile that looked like wood! I have to say you are amazing! How many woman that are prego would do that? Now I feel totally lazy! Now go lay down! Lol xo, Kathy
Looks great! I love your tile selection!
Love it! We just got new plank style tile in our playroom, and I love the look! Question for you– do you plan to do any kind of transition piece (I think yours looks fine without)? But we have an area of the plank tiles into square tiles and I want to make it look more finished.
That looks great! Love that tile and wall color.
Nice job! It looks great now and is a huge improvement 🙂
Wow! I didn’t like the floor at first, but now it looks great. Love the grout colour you’ve chosen.
Curious question… What did you use to cut the tile? I’ve been putting off our hall bathroom for awhile because putting stick on tiles again would be just ridiculous, but we also don’t have the big wet saw equipment for tiling. Is that the only option and option you and Jeremy use for tiling?
Katie, Love how the floor turned out – looks great! Makes me excited to get the tile down that has been sitting in my garage for the last six months!
Lovely! You are the (wo)man!!
E,
You might look at Chris Loves Julia’s blog (www.chrislovesjulia.com) They just picked out “wood” tile for the entire house and they showed a bunch of options. Might be worth looking into for inspiration, they showed stuff that looked like wood with knots and lines and then ones that were more uniform like Katie’s.
I love how you did the ‘c’ cut in the tile (for the vent I think), would you mind posting a picture of what that looked life from the top? I’m getting ready to tile our bathroom and we will have to do a similar cut. I suspect the top of the tile doesn’t matter that much since the vent cover will hide it right?
Anyhow, thank you for sharing!
Just wanted to thank you for being the inspiration my husband needed to agree for us to tile our downstairs bathroom. We were “scared” to try tiling ourselves because of the mysterious thin set/grout process. But after I showed you tiling while being pregnant (three times!) he’s feeling more courageous 🙂 Thanks to you we won’t be making the “lame” choice of peel and stick. Much thanks!
Looks great Katie ~ great job!! 🙂
Haha! I’m glad my bulge helped him get some courage 🙂 It really is quite simple. I recommend watching a few youtube videos on the proper angle for thinsetting…but that is seriously the hardest part! Good luck!
xo – kb
Sorry I don’t have one. I could take a photo of it with the vent cover on top (it is on right now) but we used caulk to set it on and I don’t really wanna have to redo that. Would that even be helpful?
xo – kb
Good recommendation!
xo – kb
We used a Ryobi wet tile saw. It comes with a stand and it is really nice to not have to crouch down to cut the tile. We have a manual tile cutter but honestly…with as much as we tile (and as much as we lend out our tile saw) it was well worth the investment.
xo – kb
We are not gonna do a transition piece. Some folks do…some don’t when it comes to tile meeting hardwood. I think that it definitely would need that perpendicular wood piece (you can see that in the photos) otherwise we would DEFINITELY do a threshold or a transitional piece. If you want to add more finish to two tiles, you may want to consider taking your plank and turning it perpendicular to create a visual end. It may help…may not but at least it would be the easiest option!
xo – kb
I LOVE! We saw those tiles at Lowe’s last week, we’re redoing our laundry room too. Or should I say “doing” our laundry room because let’s face it, it’s been subfloor since 201o. But I want to know about your quarter round, or whatever it is. It’s awesome!! So do tell..by the way, I LOVE the camo pants!! You can tell about that too. Love it!
I actually had a little issue with normal quarter round so we used door trim instead. It was about the same price (a few pennies difference) and sits up higher to cover the issues we had with old holes and things in the existing trimwork.
xo – kb
This look gorgeous, Katie! Bless your heart for being on your hands and knees tile-slaving away as a pregnant mama, but damn you look good doing it!!
Aww thanks Dusty. I am no DIY queen like you though 🙂
Are you coming to Haven this year?!?
xo – kb
That laundry room looks flipping fantastic. It almost makes you want to do laundry. Almost.
And I’m totally with you on the floor choice. Sure, it will show more dirt than a dark colored floor or the floor that was in there before, but that also means that when it’s clean, it really feels clean. Those multicolored floors designed to hide dirt never feel clean.
It’s beautiful! I love the tile!
Hi Katie, just curious what the name of the tile is? I am looking to renovate my bathroom, and I love this! Thanks!
Katie, I love it!! and Look at you!!!! I do not think you will ever slow down. Love all your Ideas. Just found six antique frames at Fish and thought of you. Only paid $12 dollars for them all. We are talking great find in incredible condition. Now to work a little magic and hangs some pictures. Thank you for all the great Ideas.
Looks awesome, I am wanting yo use this exact tile in the herringbone pattern in our new house. And you look awesome!!
Holy cats! This looks amazing! I admire your ability and energy (I know you are probably reading that like, ‘what energy?’ during this time. I know I was the same while pregnant but it can seem so hard to remember at times. Anyway, love the tile and room!
The tile is Style Selections Metro Wood White Glazed porcelain tile. It’s from Lowe’s. Here’s the link http://www.lowes.com/pd_397689-1813-1095272_4294696460__?productId=3815449&Ns=p_product_qty_sales_dollar|1&pl=1¤tURL=%3FNs%3Dp_product_qty_sales_dollar%7C1&facetInfo= .
xo – kb
Wow!! You did that while being very pregnant. That is awesome. And your tile looks great.
I love love love your laundry room! What tile from Lowe’s did you use? You have inspired me to tackle the laundry room on my own (with just a bit of help from my hubby)!
I have alot of family and friends who were caught in Atlanta’s snowpocalypse. Glad y’all were ok!
Here you go!
xo – kb
Hi Katie,
I know this is an old post, but I am hoping you can answer a question for me. My husband and I are going to tile all the bathrooms in our house over the next few months, and we want to do it ourselves. I have read ALL your tiling posts, and googled, done other research as well. Some people say start on one edge, some say its important to find the exact center and start there. (That seems more difficult to me, to have to find the center, but I want to do it right) What is your advice as far as where to start in a room? Thank you for all of your wonderful info.
I think it all depends. On a big space or one that you have centered entrances, I think that it’s important to find the center. On a room like our laundry room (long and skinny with half covered flooring, the center is not the site-line…the ombre wall is. I started on that wall because in the end, it doesn’t matter what the cabinet wall flooring looks like…because it is covered.
xo – kb
Hi–I am a DIY Newbie and beginner–I have been force into doing things myself because I have been taken advantage of by painters and handy men–it has been a night mare–anyways–I am switching over to gas–I cant past inspection because I need 18 inches from both sides of the stove and my cabinets are 16 inches—-well …mmm….I thought just cut the lip and it would pass—nope…..now mind you I am VERY new to this entire DIY—I just completed staining my cabinets ( Learned from you tube) because of the painter (Family Member) I had to paint my home…….. ruined them ( Along with my carpet….my furniture …oh yea my dogs—–all have paint on them— so I attempted to stained them myself and I did OK :)– So I hired someone who was referred by the repair man installing the gas lines—he says well we have to MOVE ALL your Cabinets up ^^^^ ????….. Sir Why not just move the cabinets that needs the clearance—NO—well …..they are moved up (500.00 ) and now there is about a 2 inch space all around the counter tops and I was thinking about adding some 2 inch tile to cover that space—and I googled and your blog came up…..Am I making a BIG mistake? Or is possible? I have no clue and I cant afford material to do any thing else right at this moment—Paint job disaster and switching from electric to gas (Stove and Fire place ) has went from 1500.00 to 4700.00 and its not complete—I have seen some very inexpensive tile at the salvage store and I thought I would give it a try…..You might not respond —-but this has been a nightmare and I know NUTHIN about this DIY—but I m single and smart …..and Staining my cabinets …..and oh yea I did my Kitchen pub table and chairs—It Looks really nice—has made a spark in me and I want to learn more—just don’t know how—-I have signed up for some DIY classes at Home Depot—hoping to learn as much as possible. By the way your floor looks AMAZING—–I hope one day I can attempt to conquer something so beautiful— Take care DIY DUMMEE
Oh man! So sorry to hear that you have such a headache! I would definitely not get only one opinion on hiring ANYONE. And I would love to give you some advice on the backsplash thing but it’s really hard for me to visualize. Can you send me a photo on email?
Thanks and I hope that it will get finished soon!
xo – kb