One of the most basic DIYs is making your own wreath. I wanted to explain how to make your own wreath because this is a super fast project that pretty much anyone can do with minimal materials and easily accessible tools. Actually there is only one tool…wire cutters (or in my case tin snips!). And the truth is, wreaths can run you anywhere from $30 to $60 in the store and that is for ones that aren’t even full or have lots of blooms. I made these wreaths for my front door last year and they have lasted the entire year outside and were super simple and fun to make!
So if you are on a budget this is for you! Or if you want to do a craft night with your friends – this is for you! Or if you just really like shopping at the Dollar Tree – this is for you! All of my blooms and greenery is from the Dollar Tree – so I spent roughly $13 on the picks and a grapevine wreath costs about $7 in most craft stores.
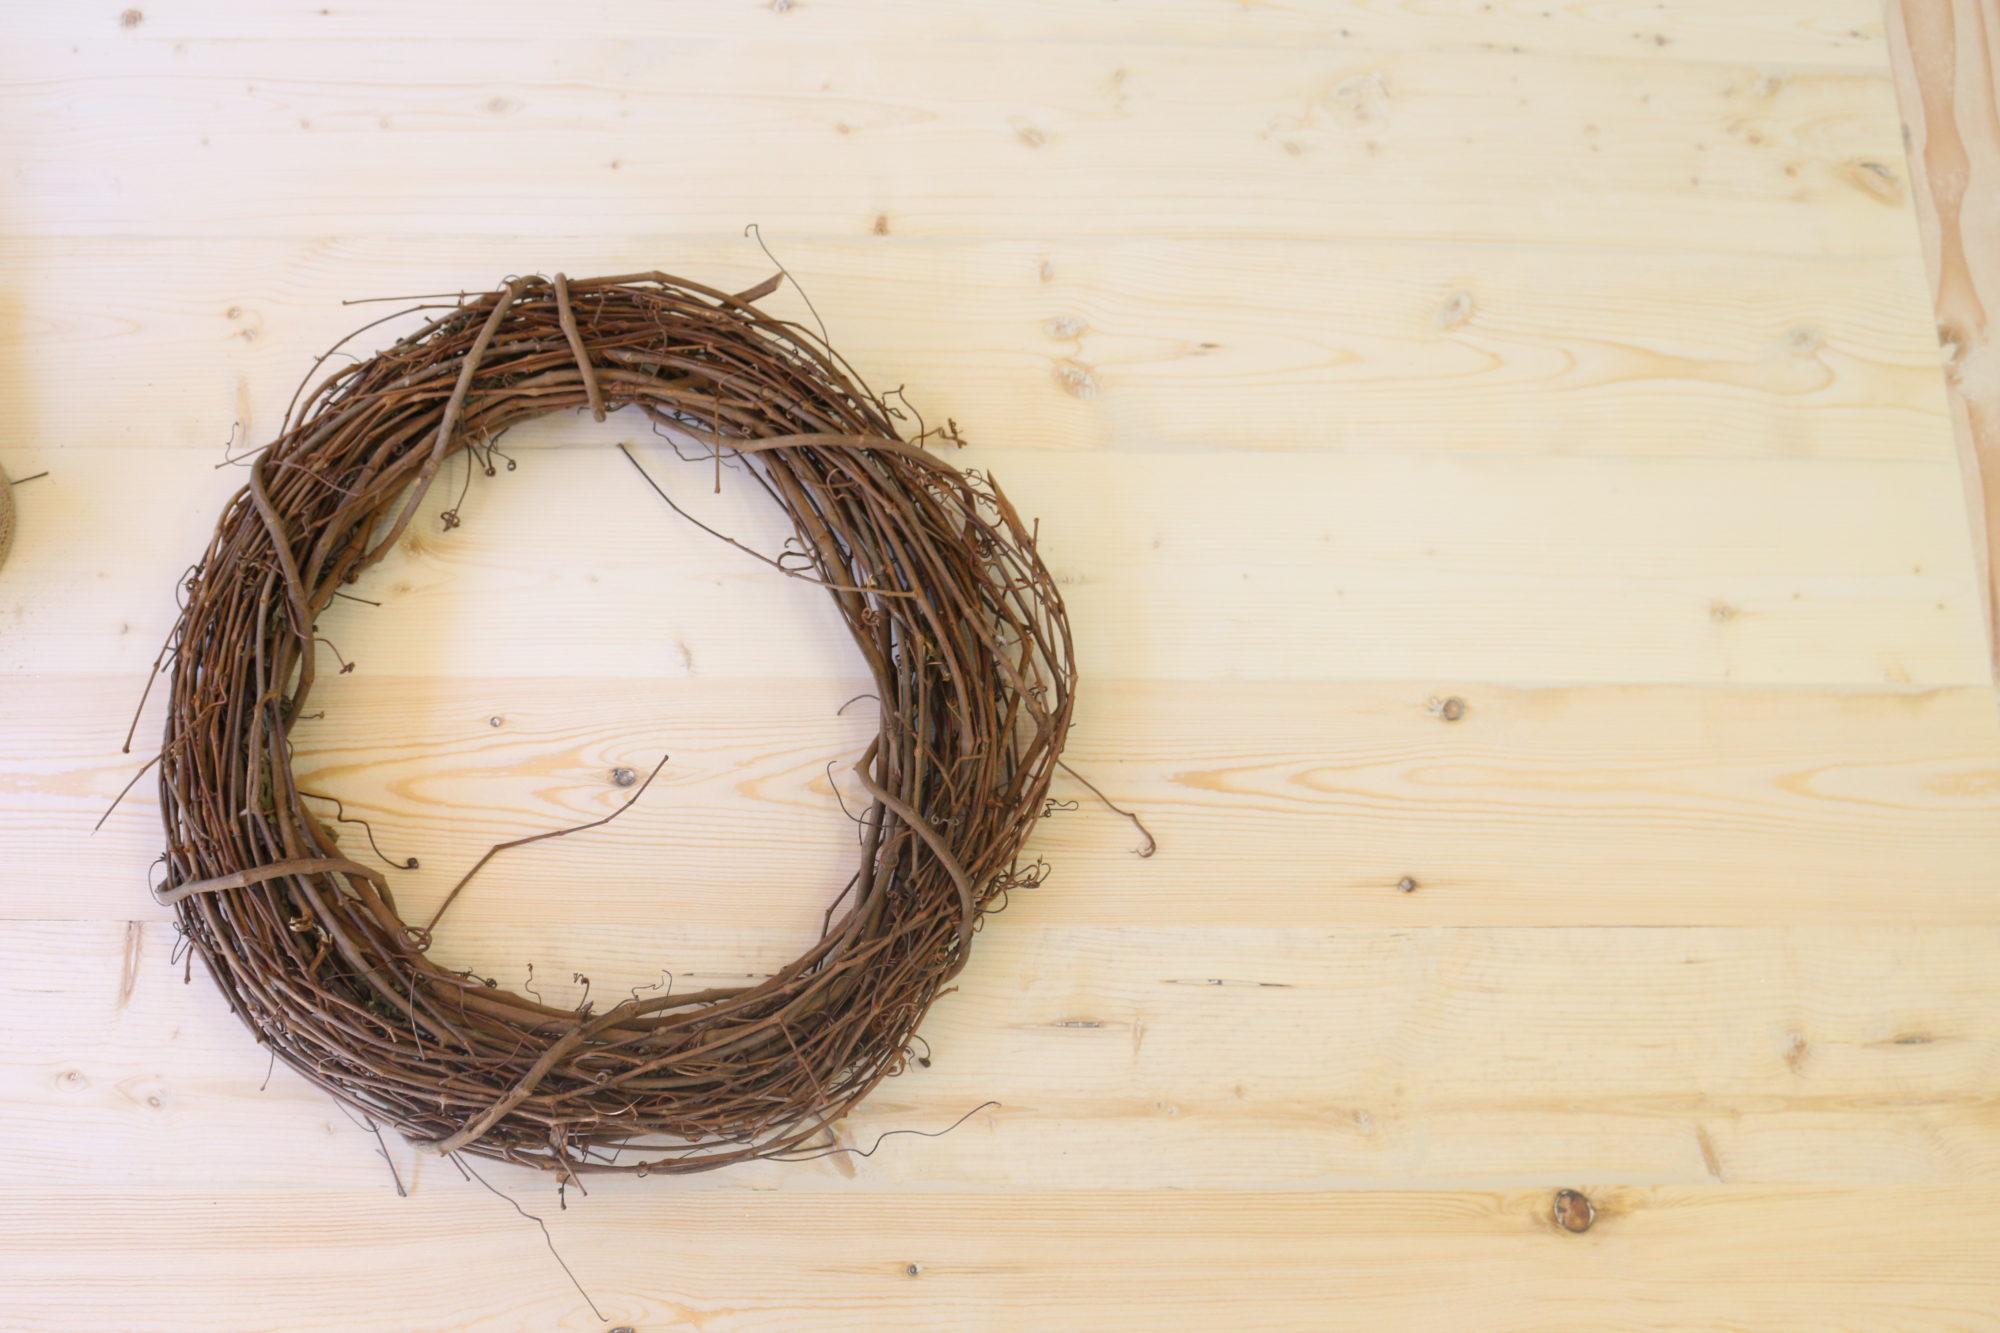
So that is your materials – the grapevine wreath (this is what those look like…)
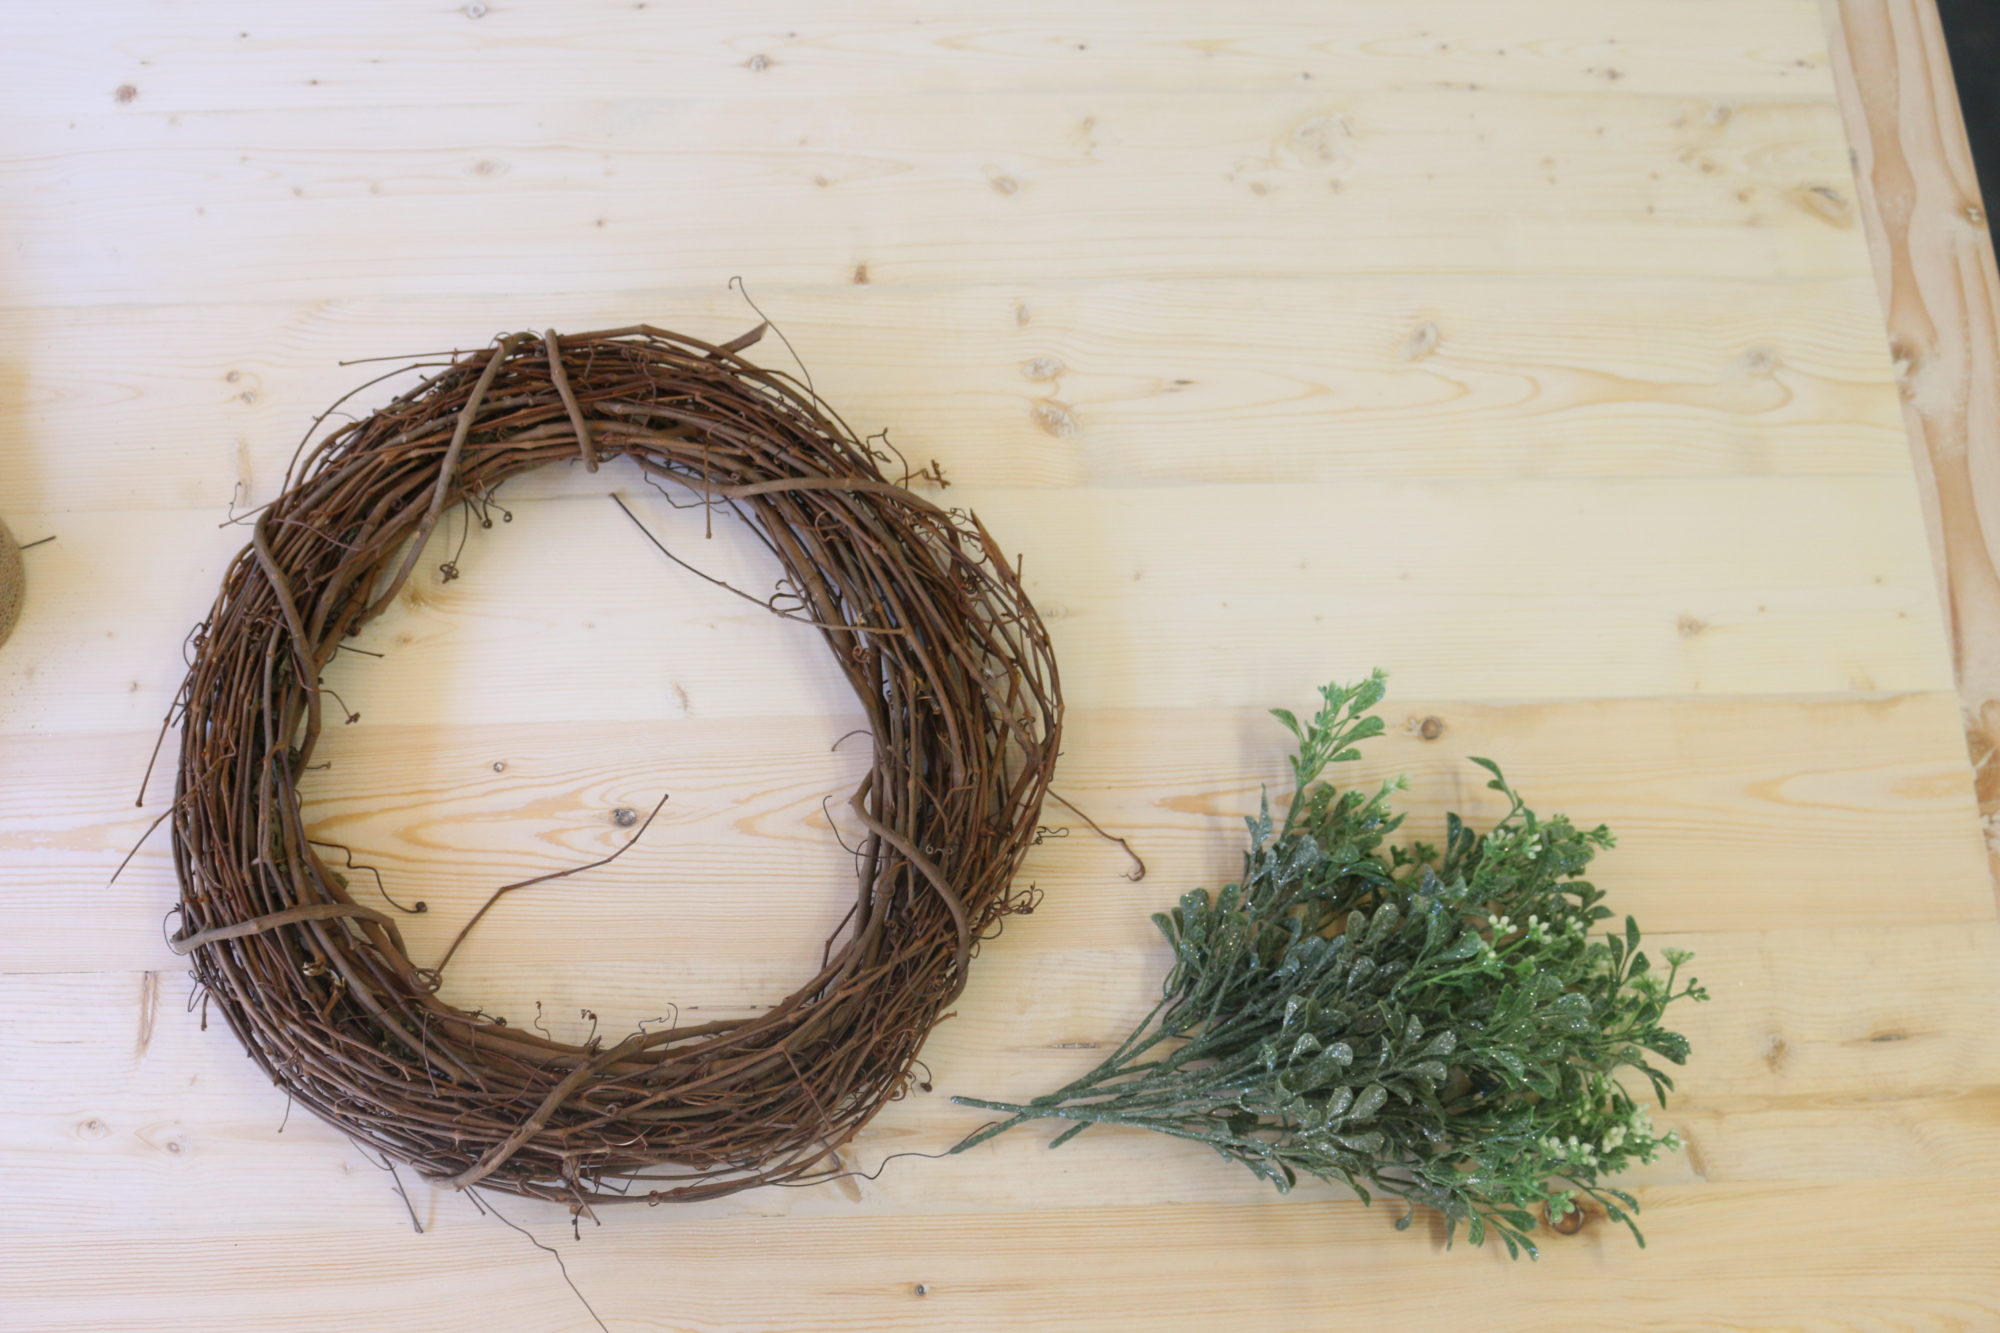
Some greenery – I use some of this simple ‘mistletoe’ style picks….
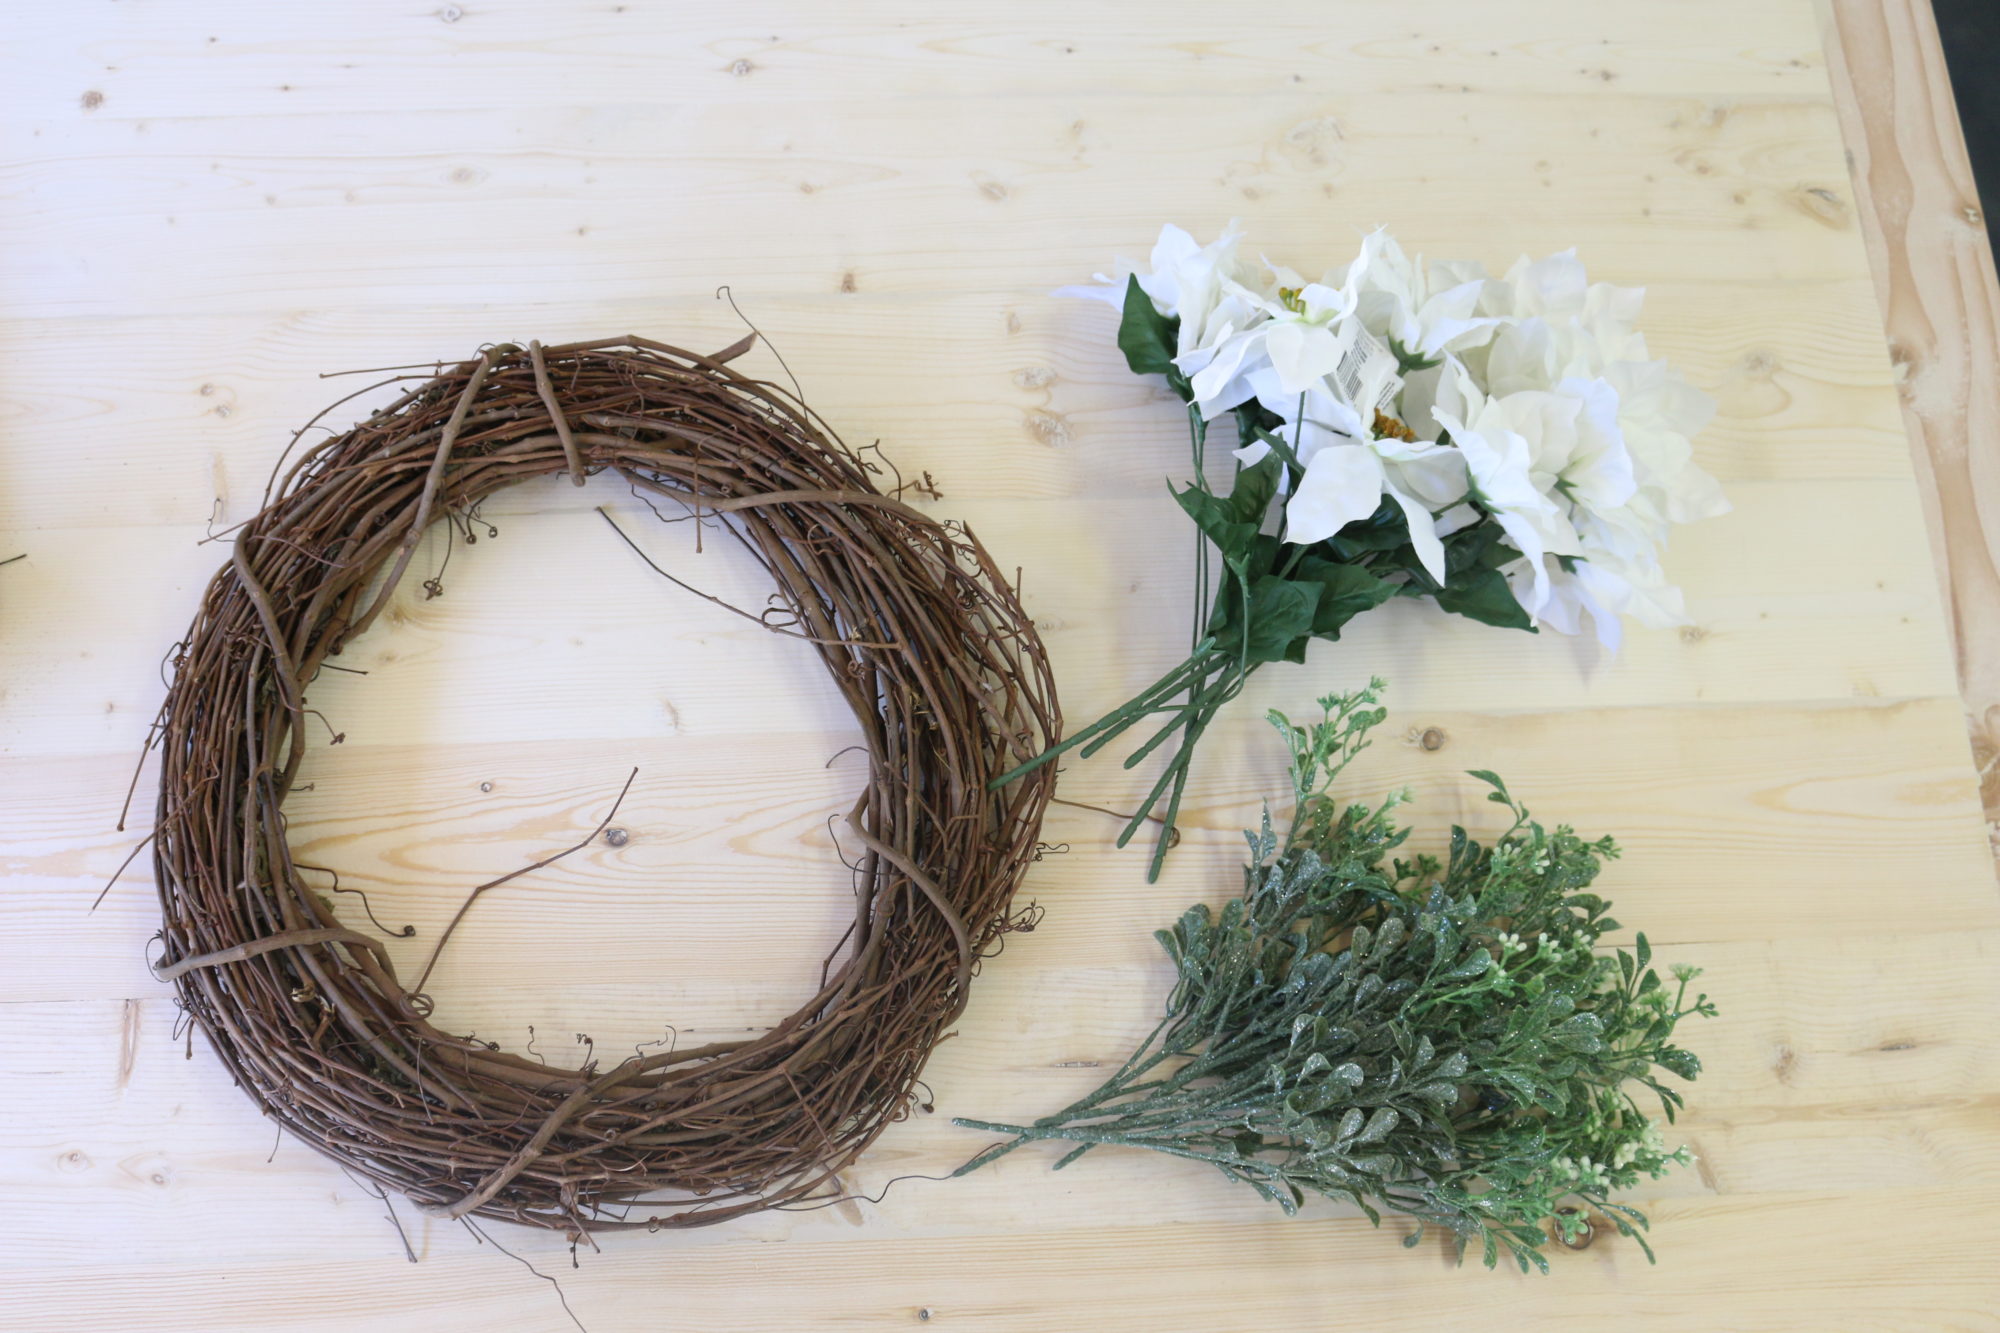
And then these white poinsettia flowers. They were about five blooms to one grouping…
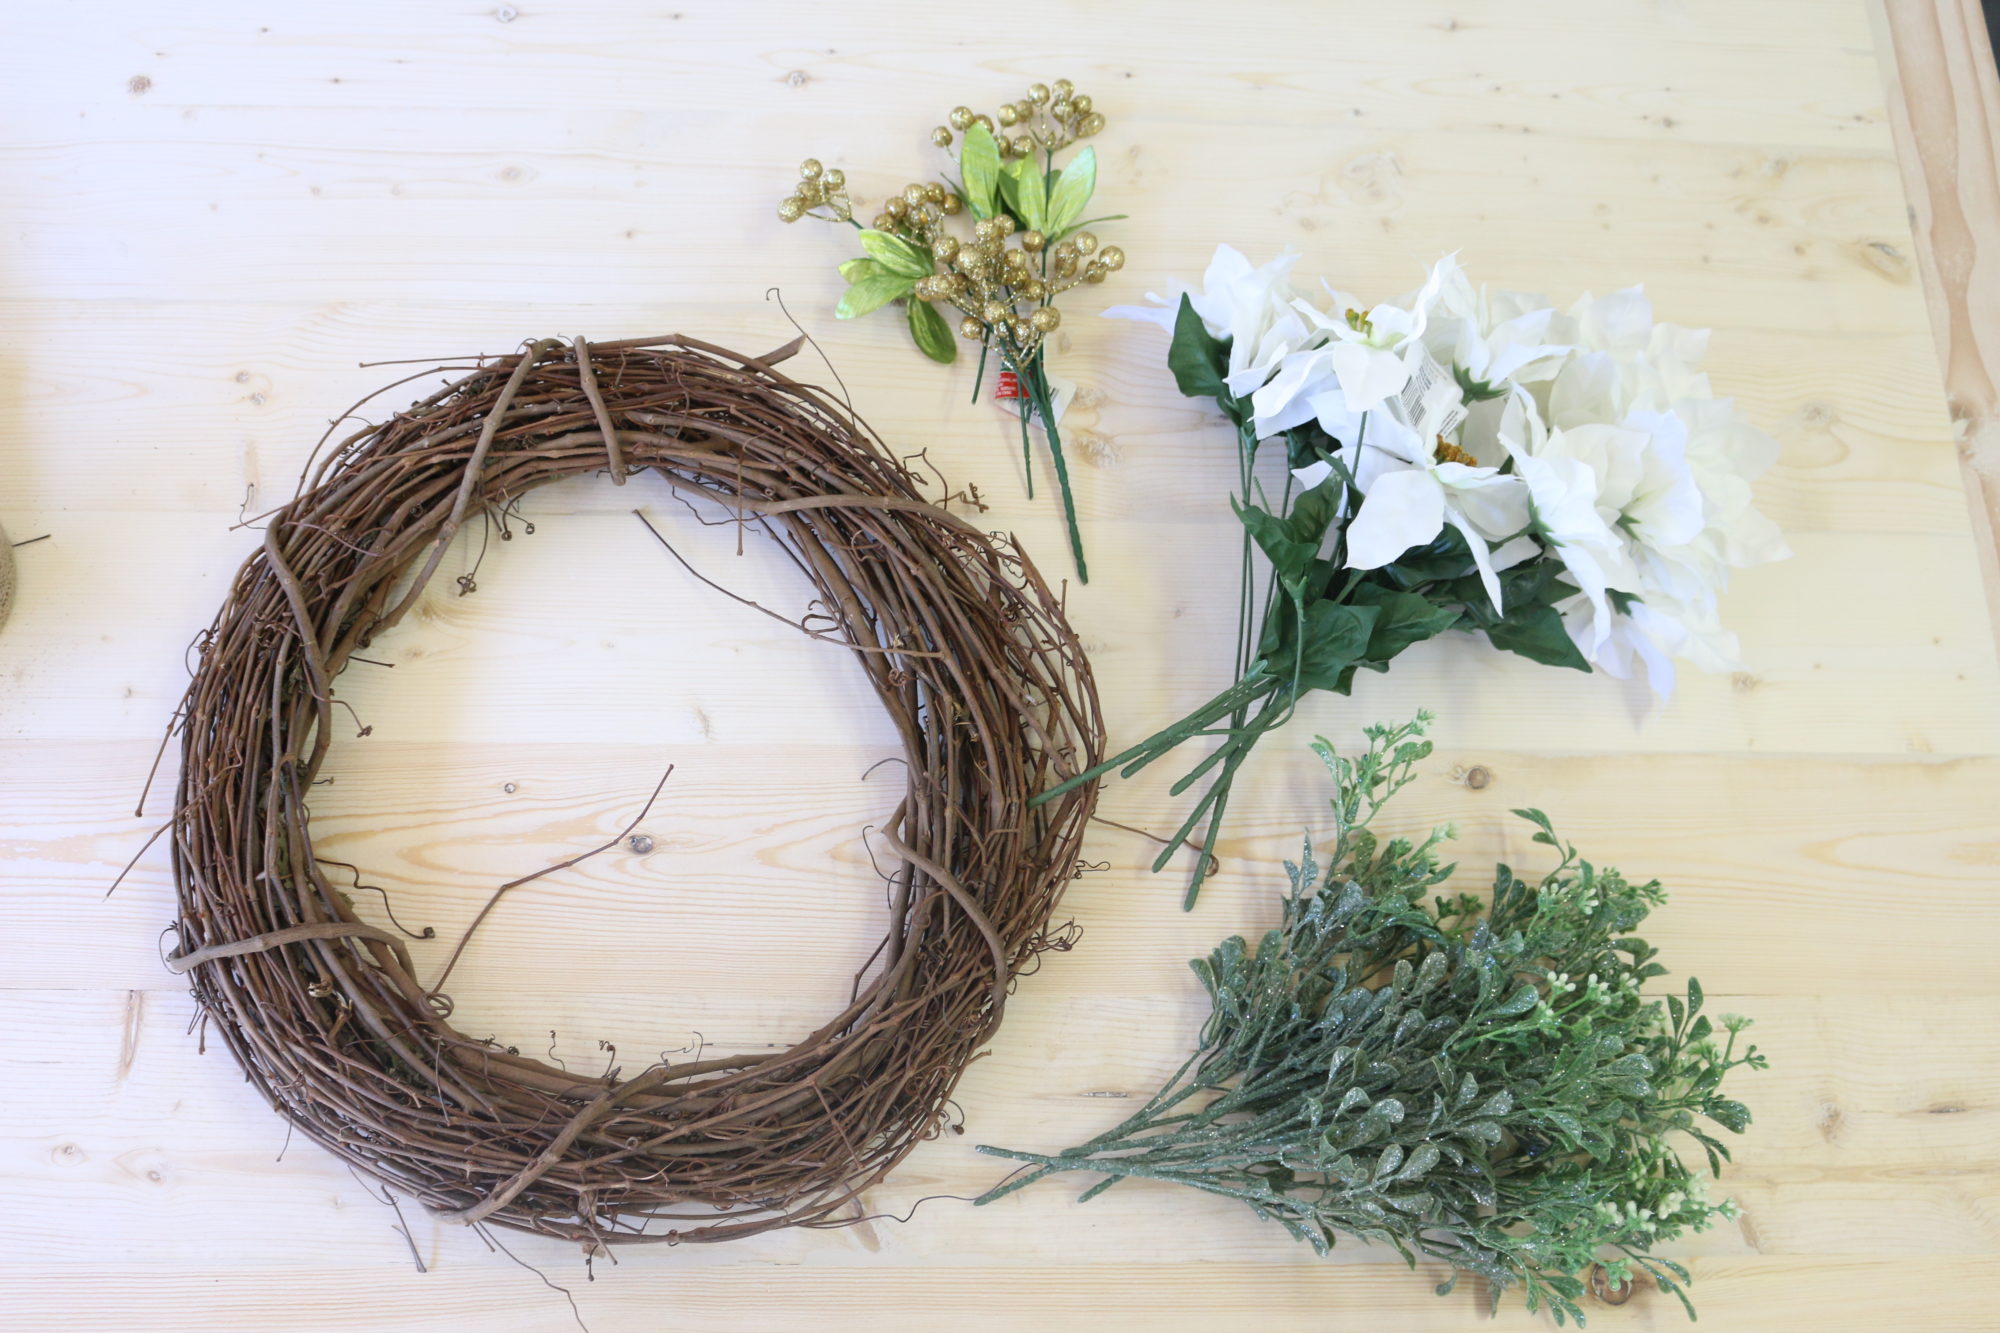
And lastly some berry picks that were gold and glittery. These had really ugly and fake looking leaves on them so I didn’t use the leaves. You can rip them off easily or slide them off after you snip apart the individual picks.
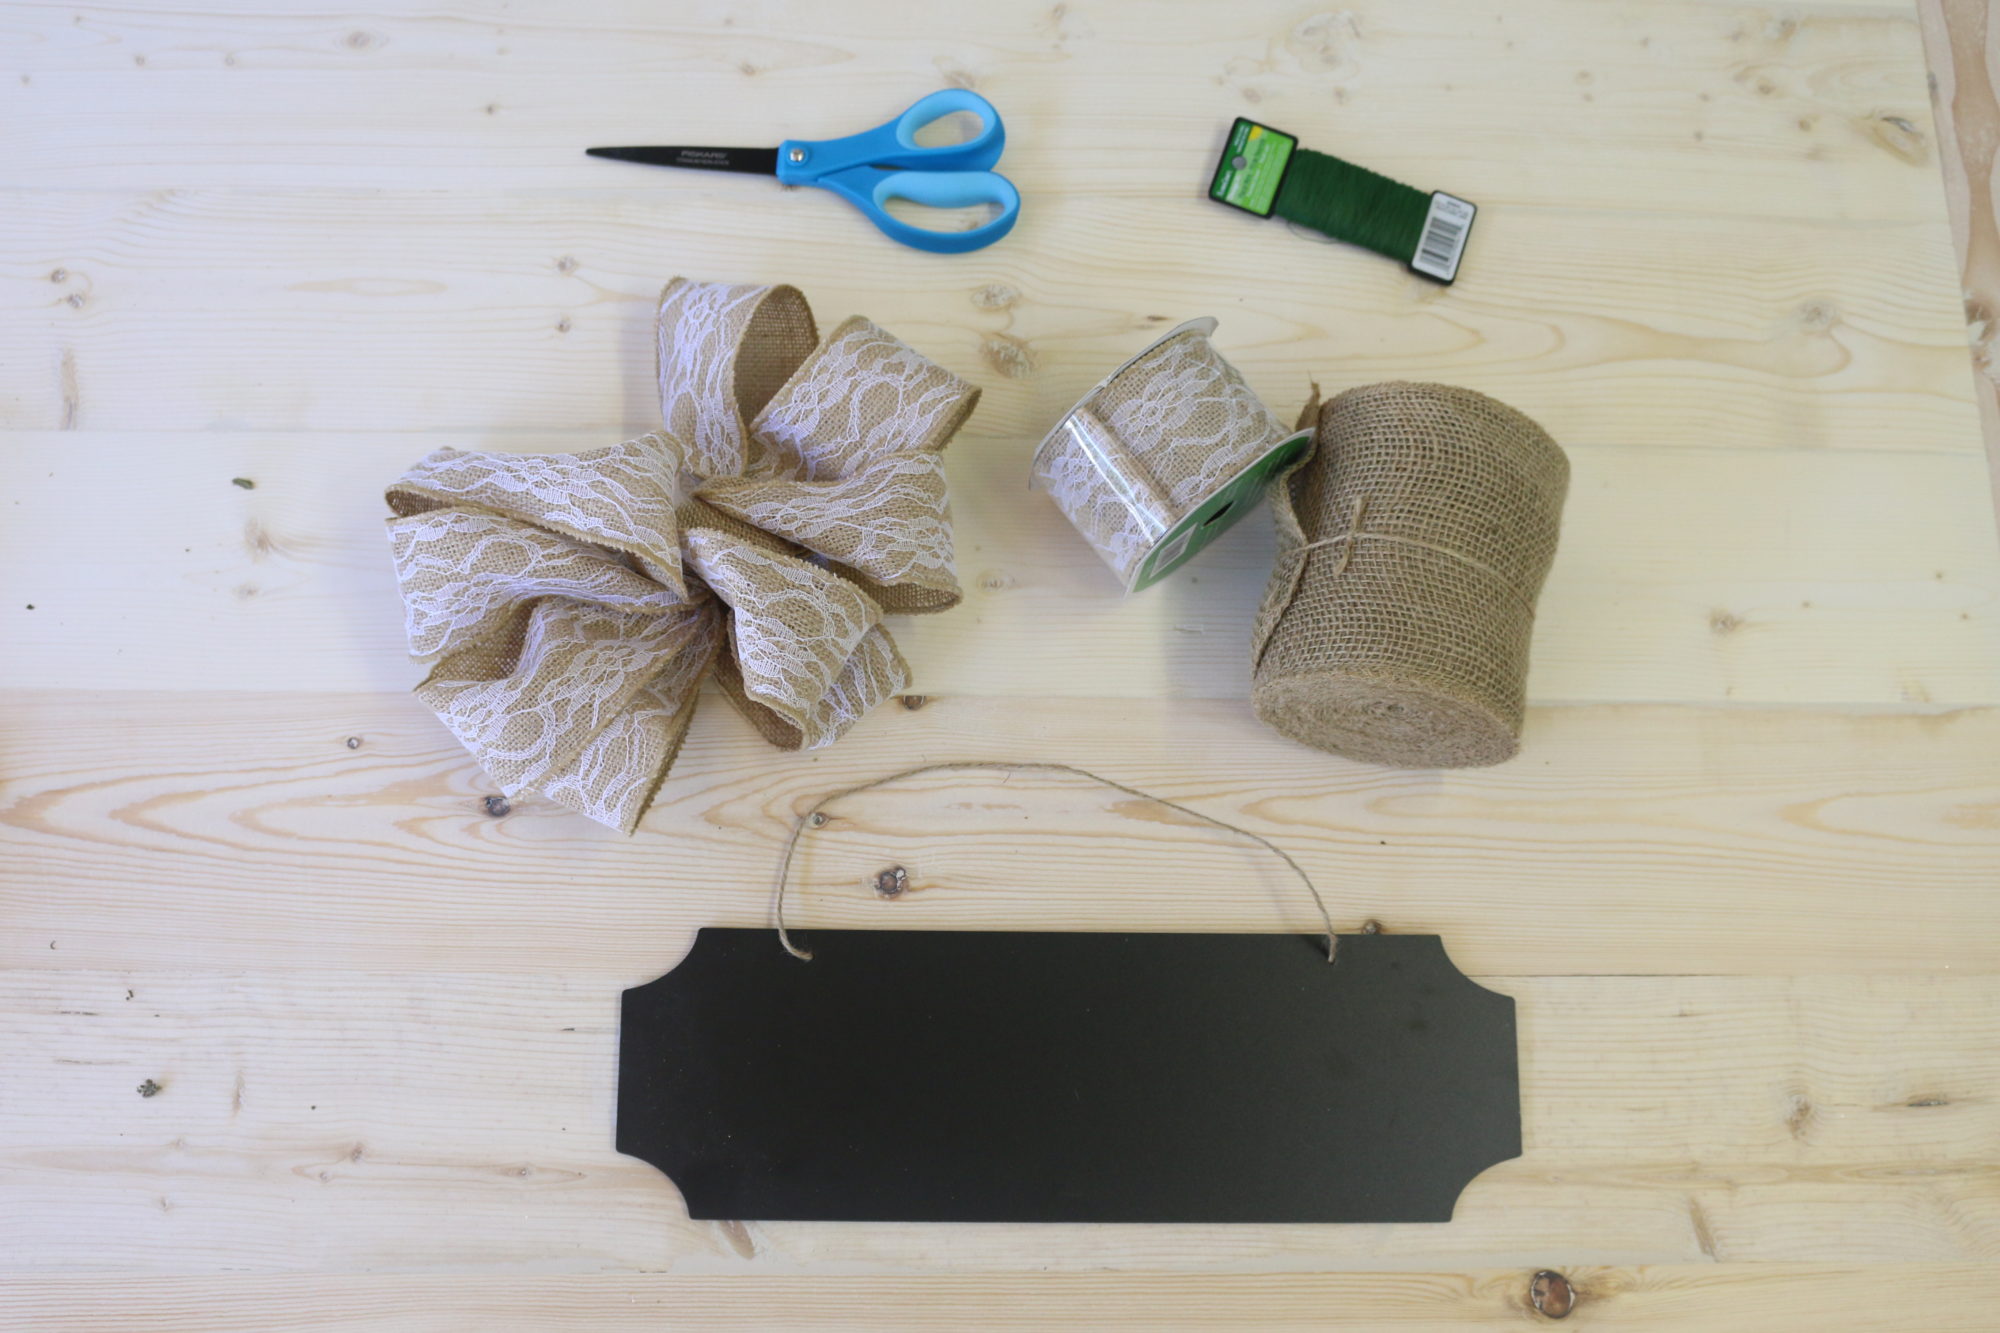
Other optional materials is wired ribbon (that is my favorite for bows), some greenery wire (if you are like Jeremy and think that all the things should be tied down and extra secure) or even signs (like the chalkboard sign below that would be great for leaving messages for your Amazon Prime delivery person).
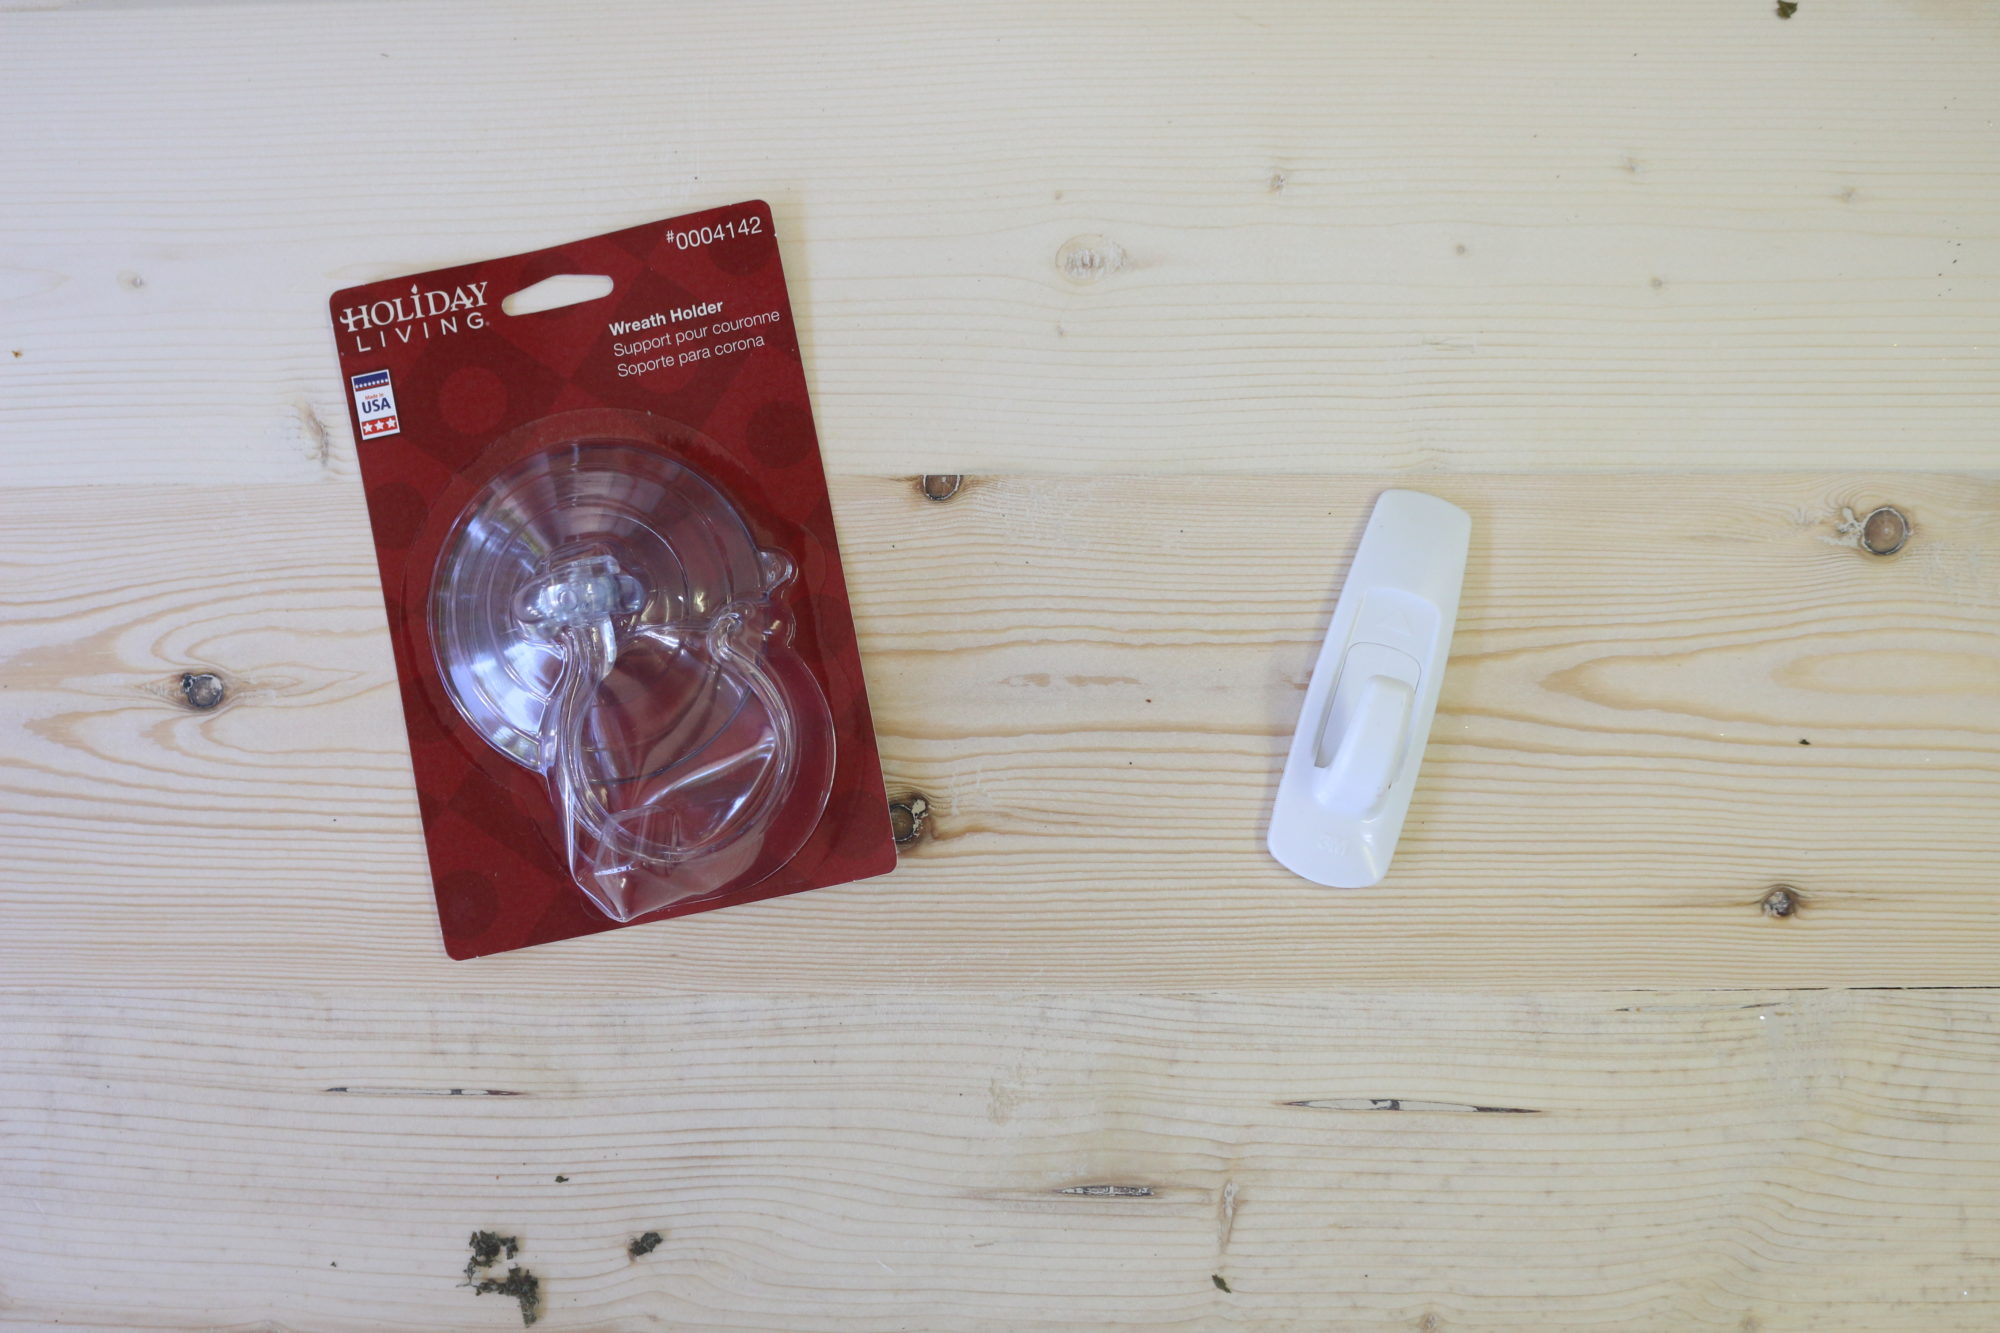
Lastly – I always use a suction wreath holder. They go on sale after the the holidays and they work GREAT on doors with glass. Otherwise I use a Command Strip hook for hanging them up.
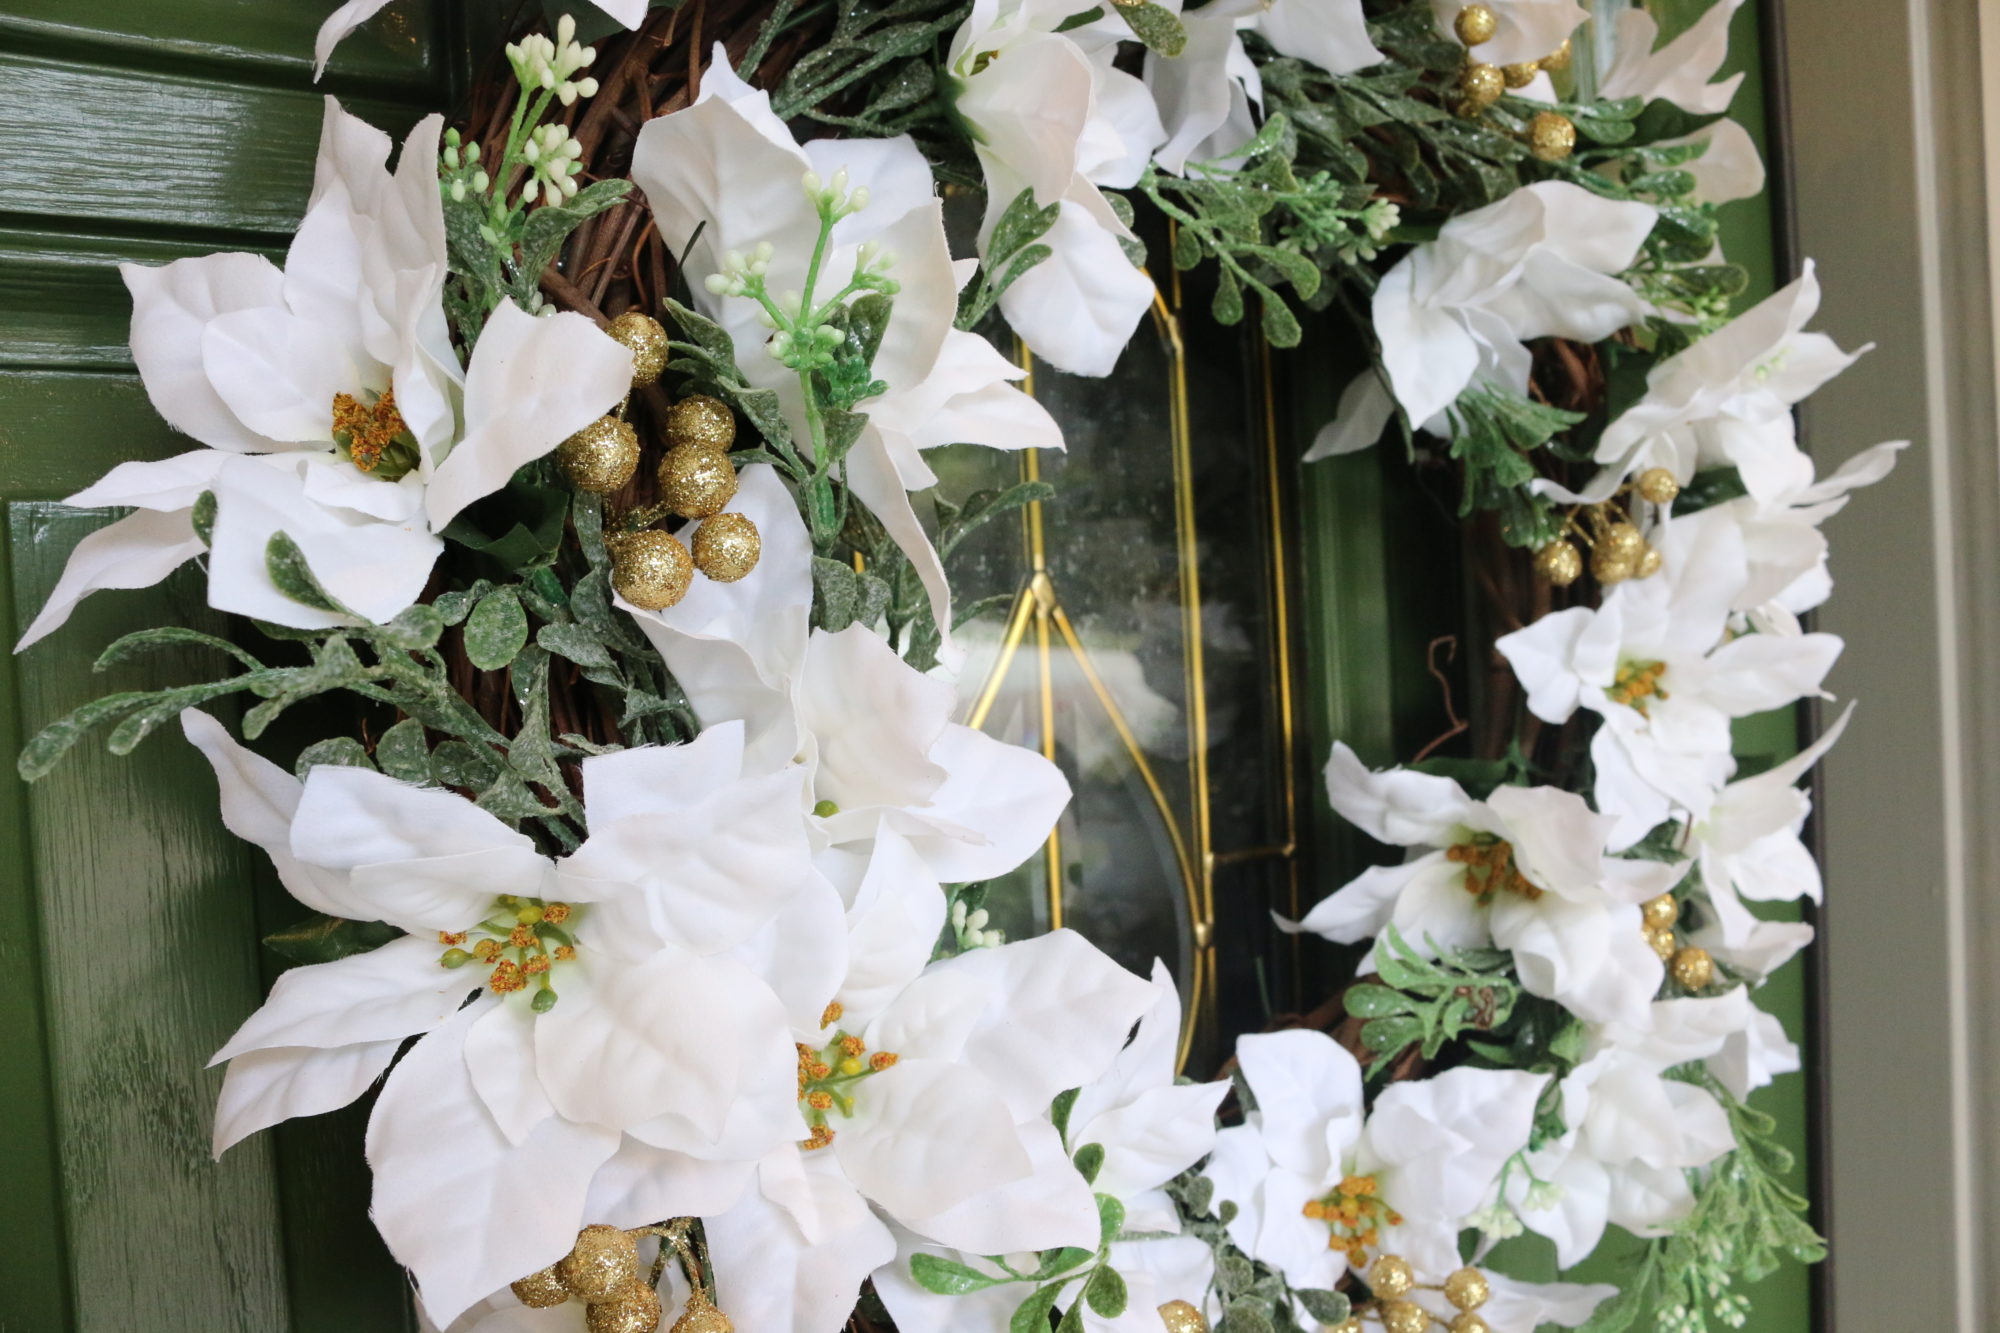
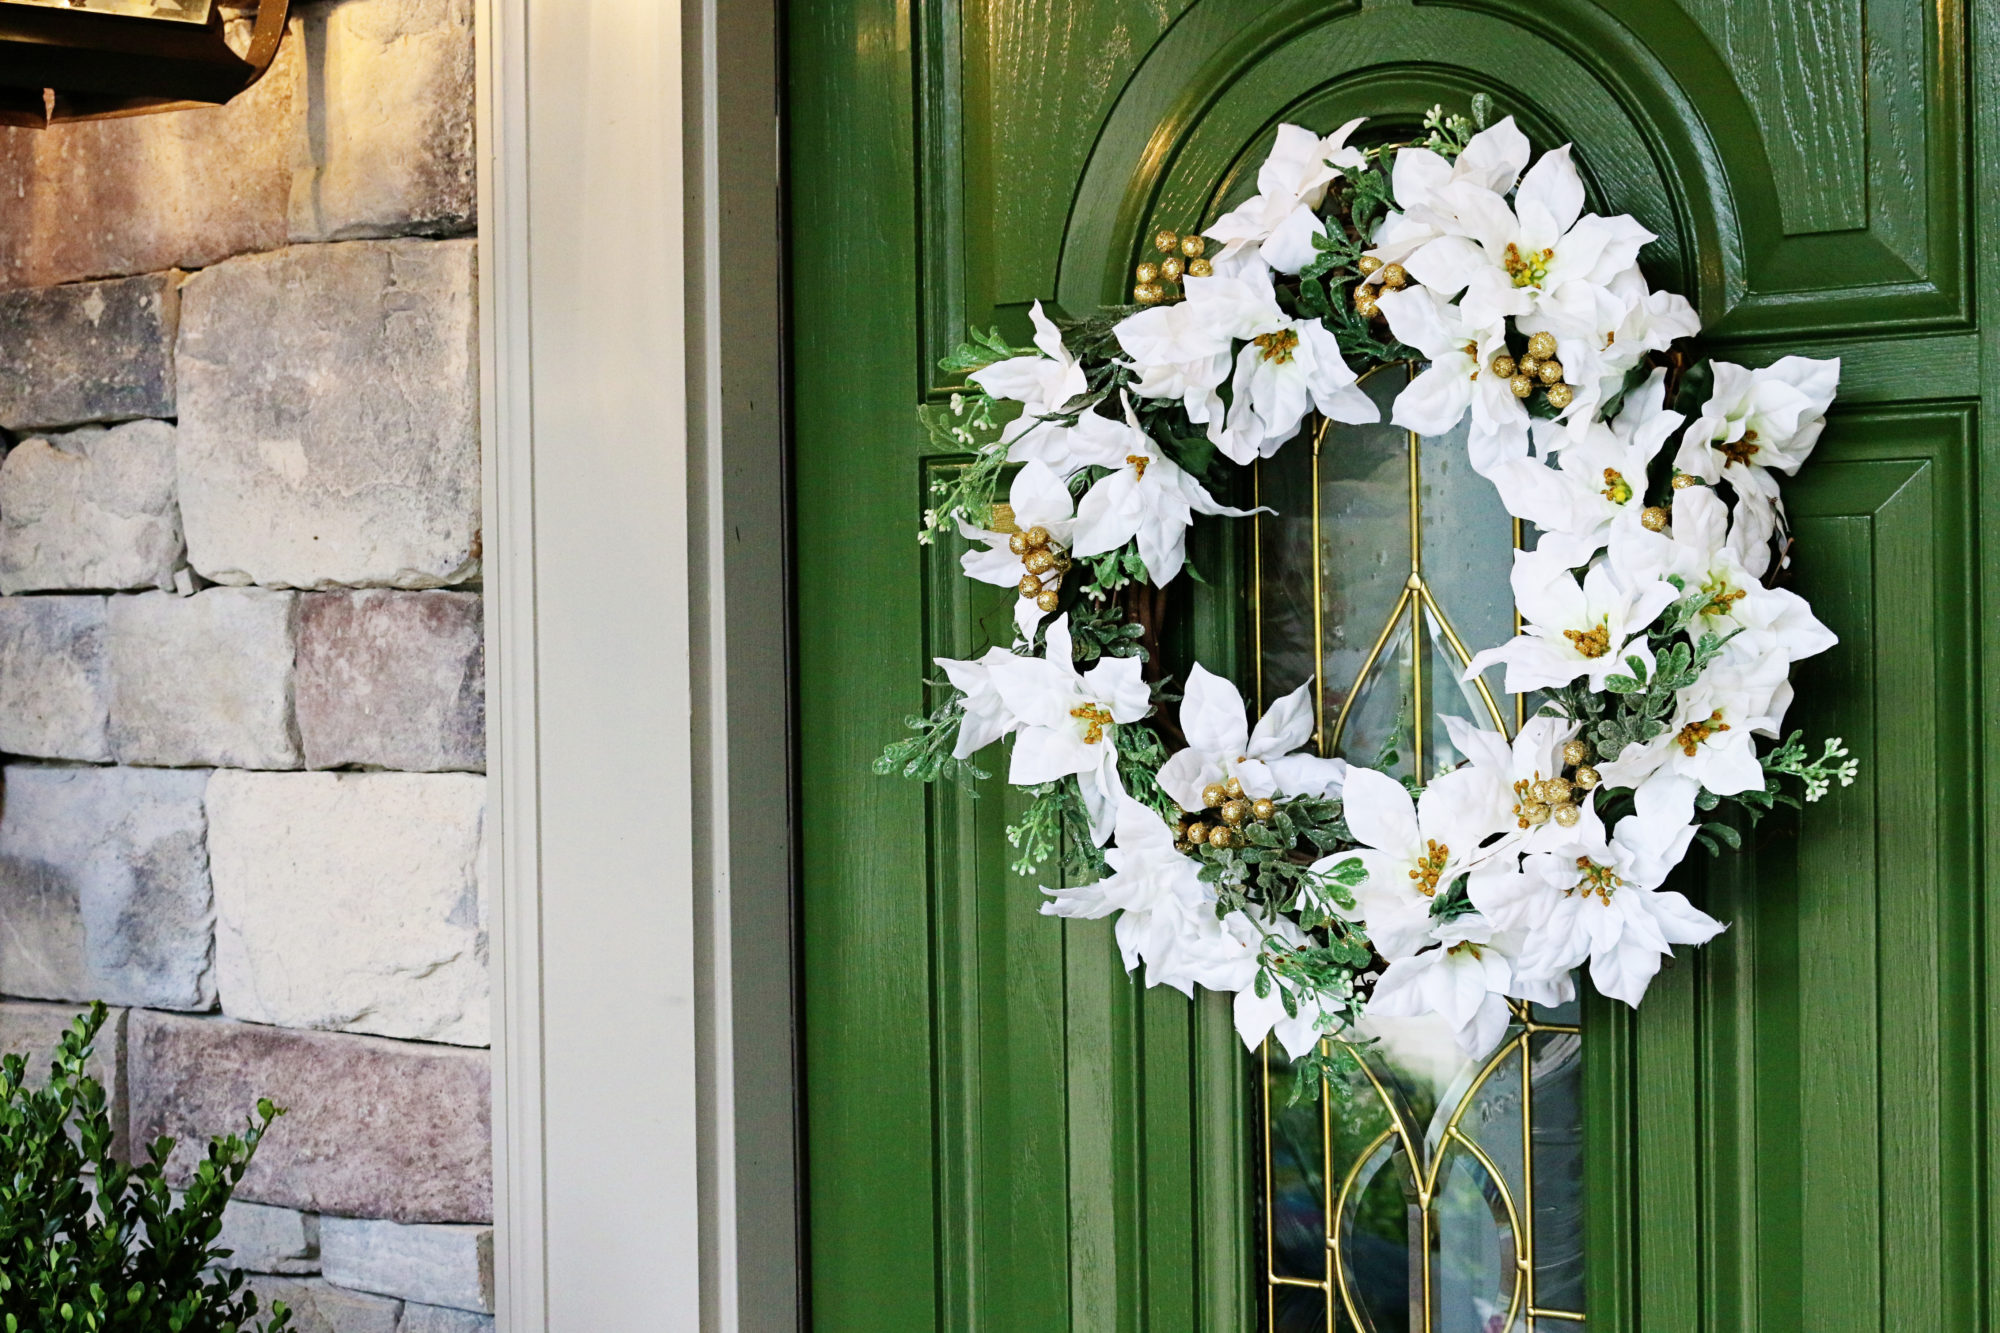
And just in case you were looking to see what exactly we are making – it’s this wreath right here….
We love it against the green front door. Always consider the color of the door or space where you are going to hang it! So here is the video on how we made the thang…
And if you are not the video lover, here is the play by play with photos instead….
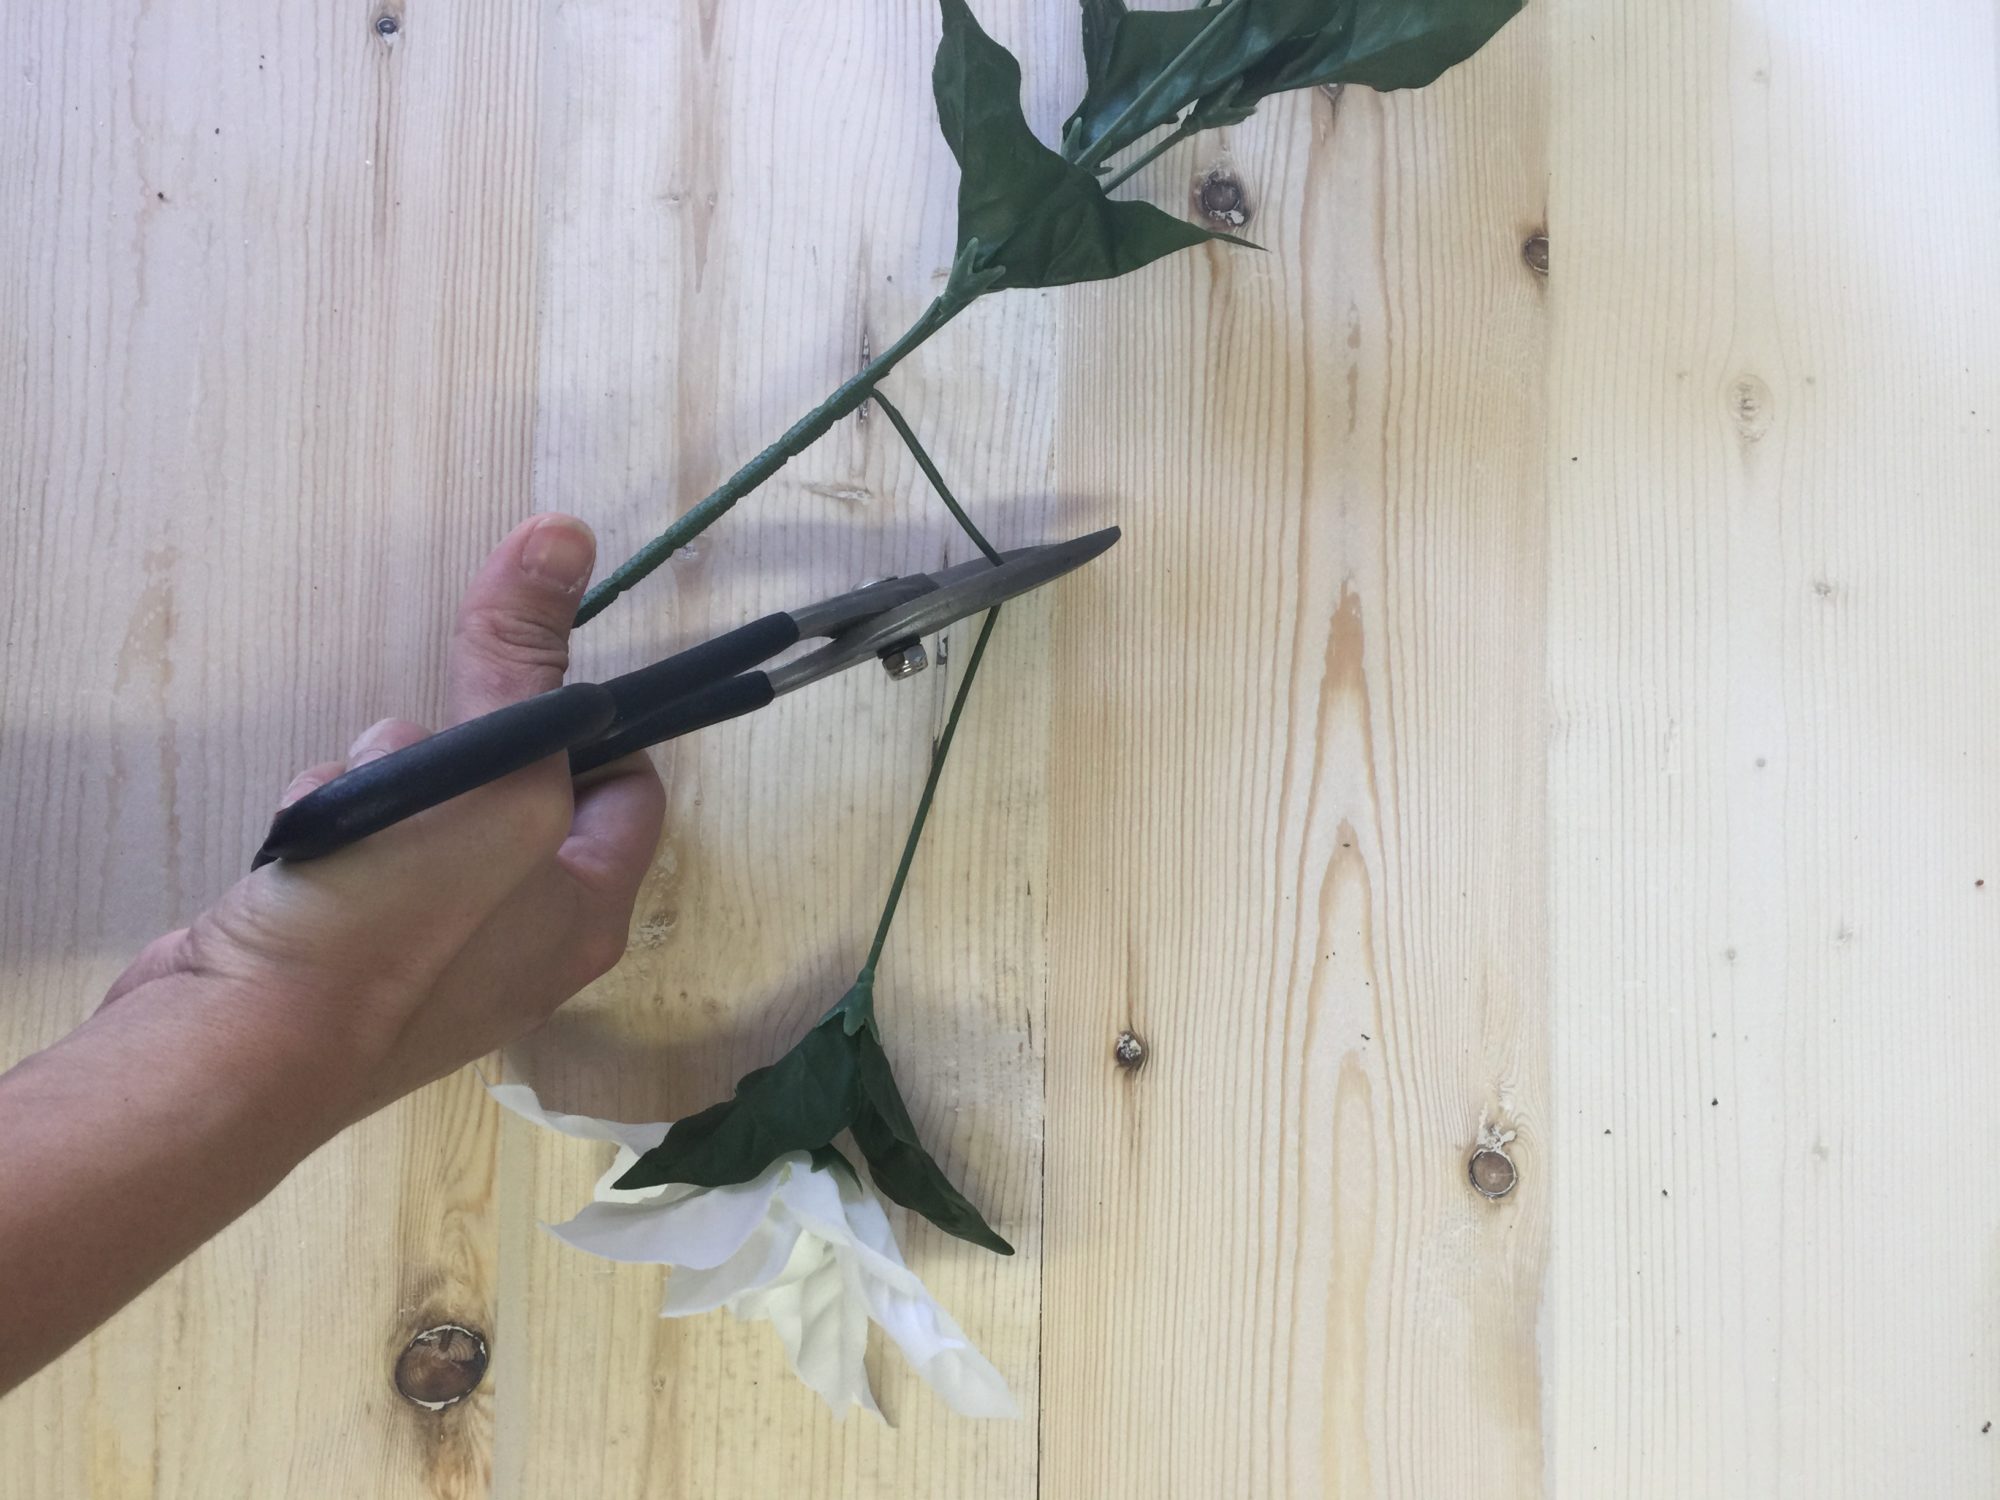
First snip all your flower picks and berries. I like to bend the stems as I snip them. This makes the process 1000% easier.
Then take your wreath and space out the greenery first to cover the entire surface. In order to get them to stay, I usually stick them into the center of the wreath form. If you nestle them in, they will usually stay. Make sure all the greenery is going in the same direction around the wreath.
Then repeat with the flower blooms. My best tip is to squint a little while you are doing this so that things visually from afar will look even and balanced. I like to have a very full wreath so I use lots of blooms.
Once the thing is full of flowers, I like to add a little pizzazz…either a bow or an accent pick or sign or something. In this case I used glittery berry picks and they added a little gold to the wreath which accented the gold in my front doors.
And there we have it – a very crisp and clean and full wreath! And guys – this thing cost only $20.
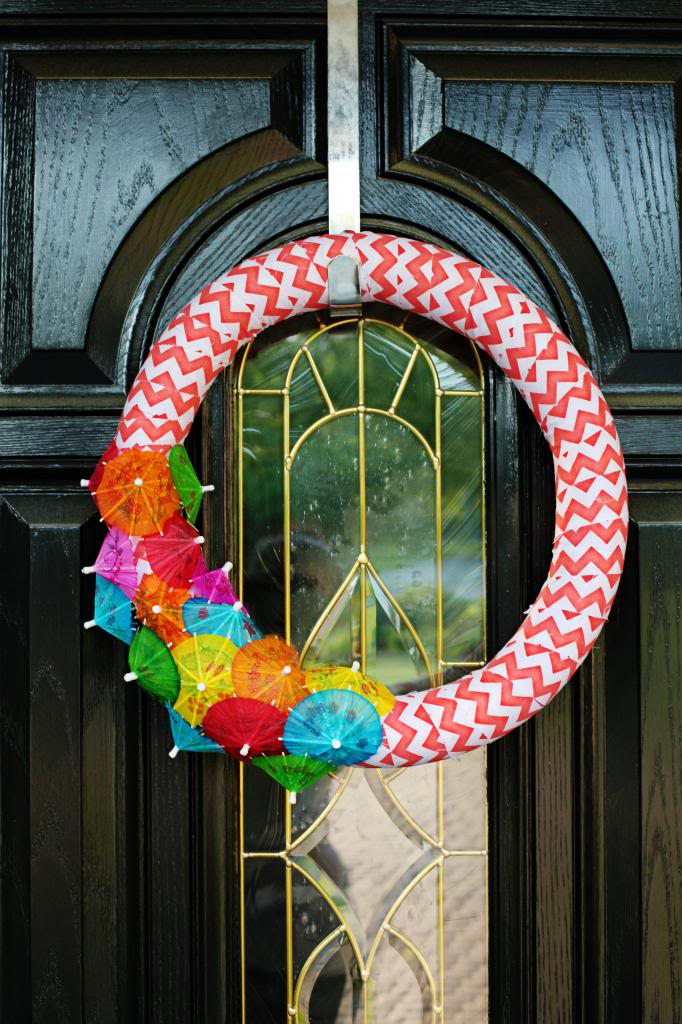
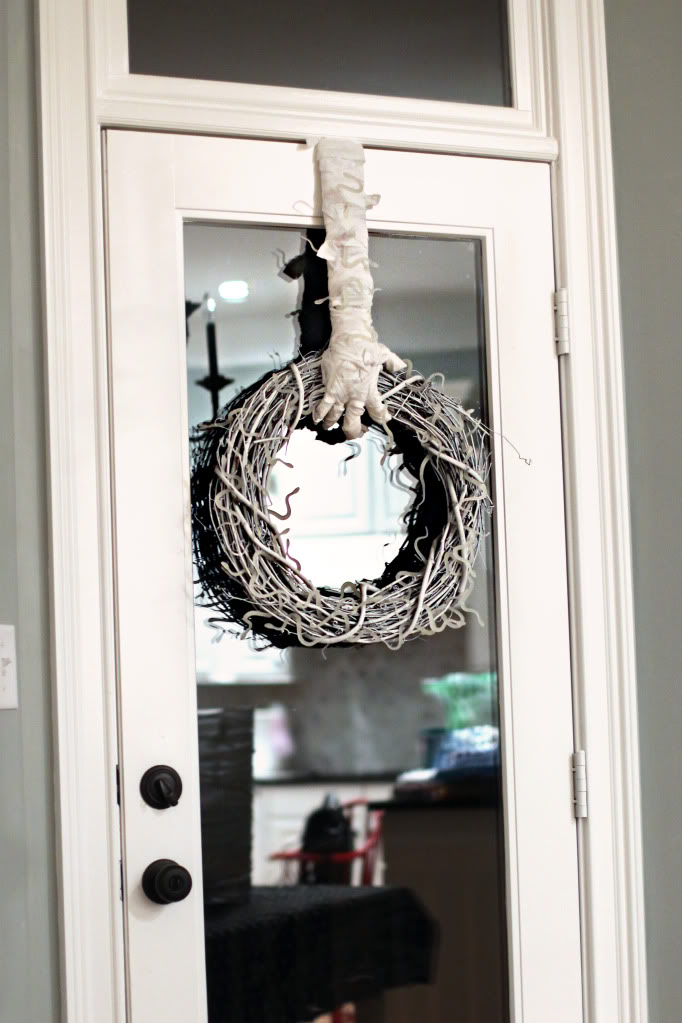
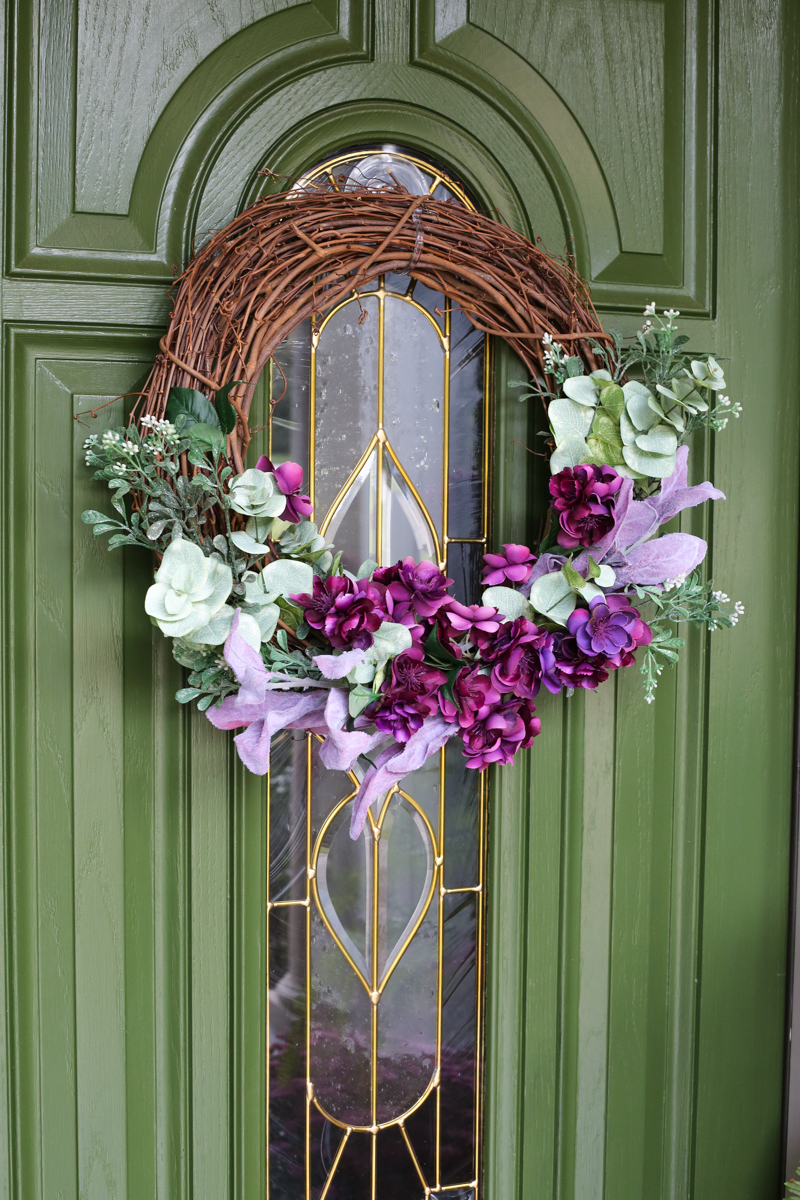
And if you are looking for other wreath tutorials – I love making my own and sharing them! Here are some favorites from years past….





Very nice and simple instructions to follow!
Yes! I love seeing an alternative to buying full-priced wreaths. You make it so easy. And a transitional wreath is a great idea! It’s nice to hang something pretty on the front door without having to change it very often. Your video was perfect. The bloopers made my day. 🙂 Thanks for sharing!