I’m so excited to share the final step in my friend’s fireplace makeover with you….the super easy DIY Mantel that we built in an afternoon! In the last few weeks we shared how we have been tackling this fireplace makeover and honestly it feels like it’s a child to me now. I love it that much. And it has been basically painless….which we all know makes a baby the FAVORITE CHILD. So maybe we should name it or something…..baby Ember. Sometimes it gets gassy. Sorry. Had to 🙂
Anyhoo….I’m here today to show our easy mantle update and how we finished off this sweet little spot just in time for the holidays.
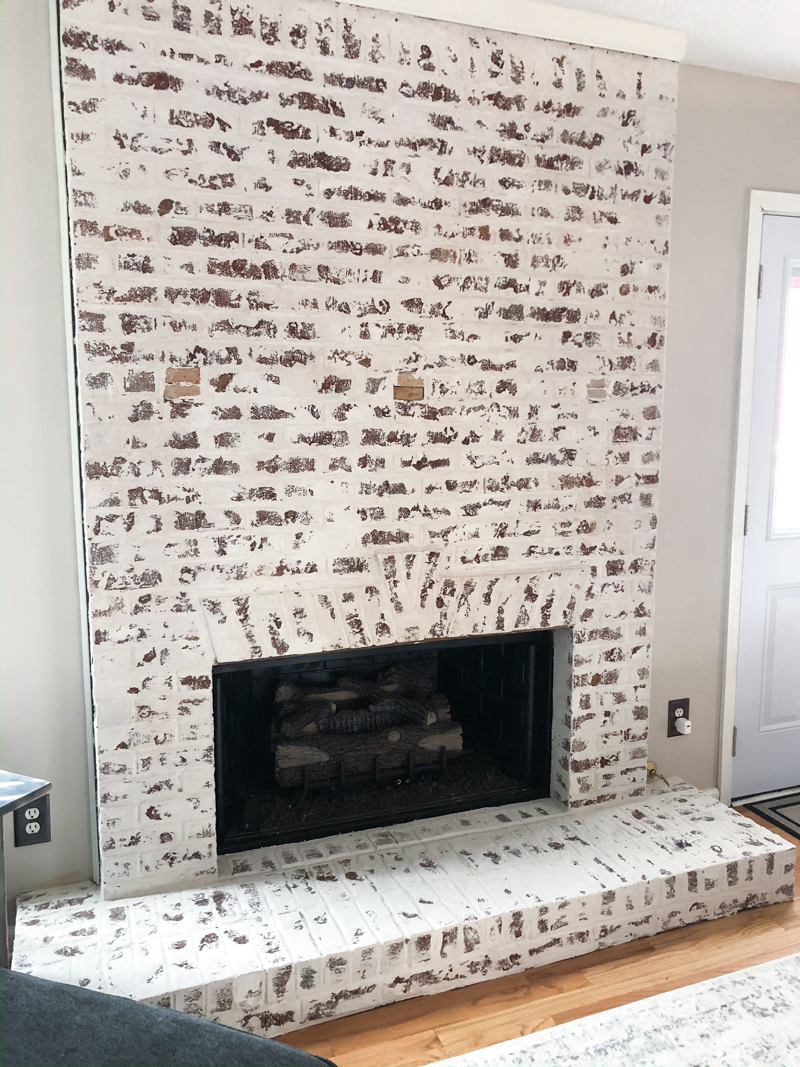
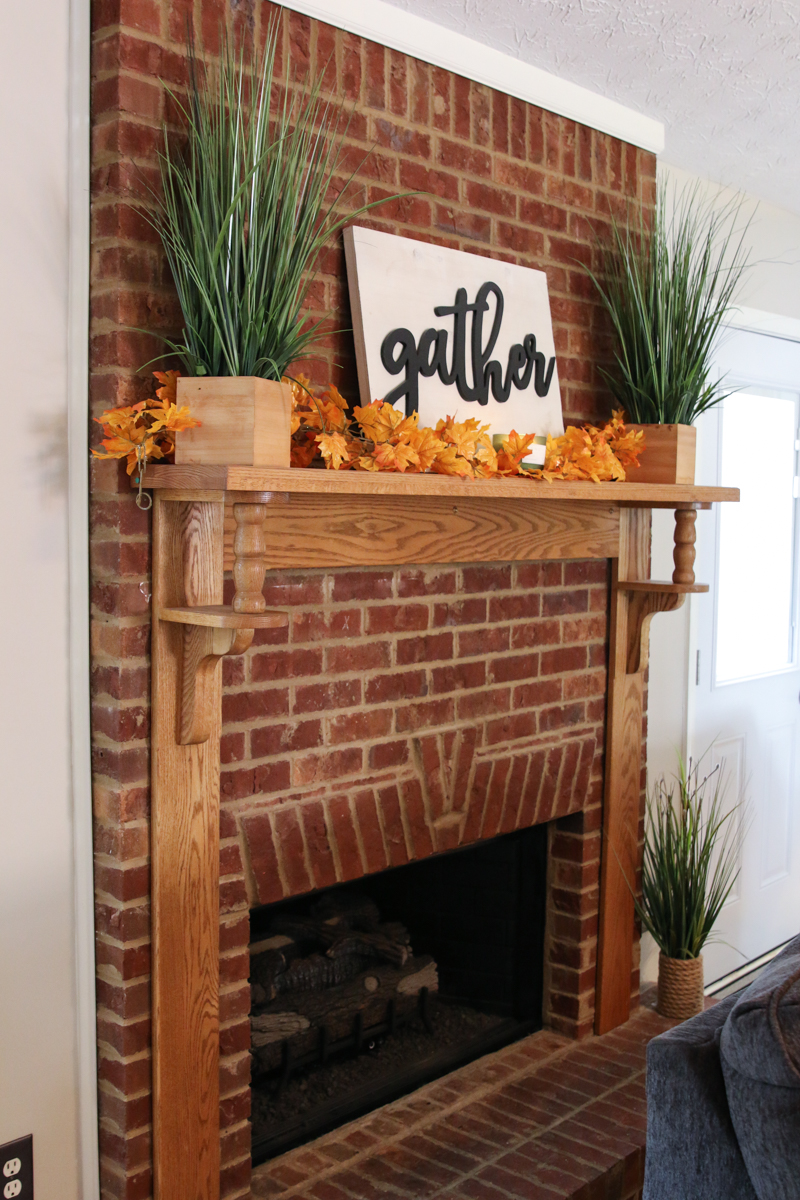
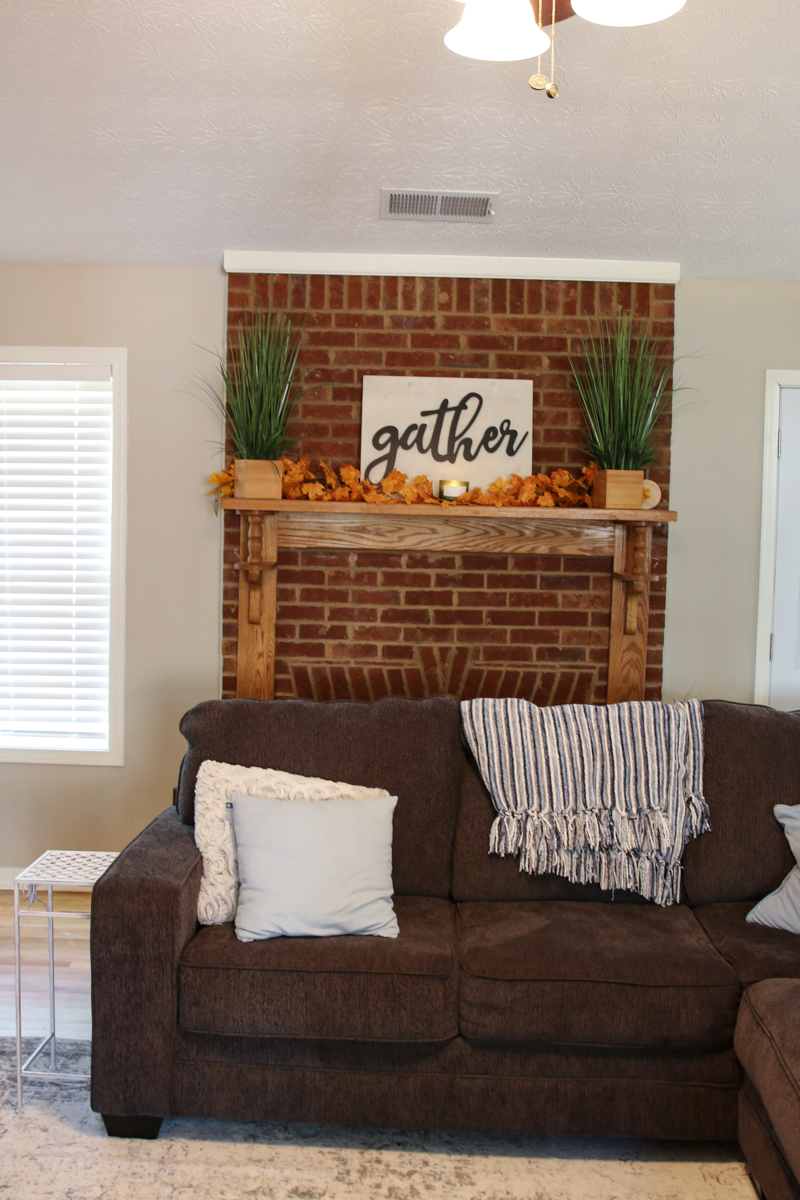
Just in case you were wondering…this was our starting point….
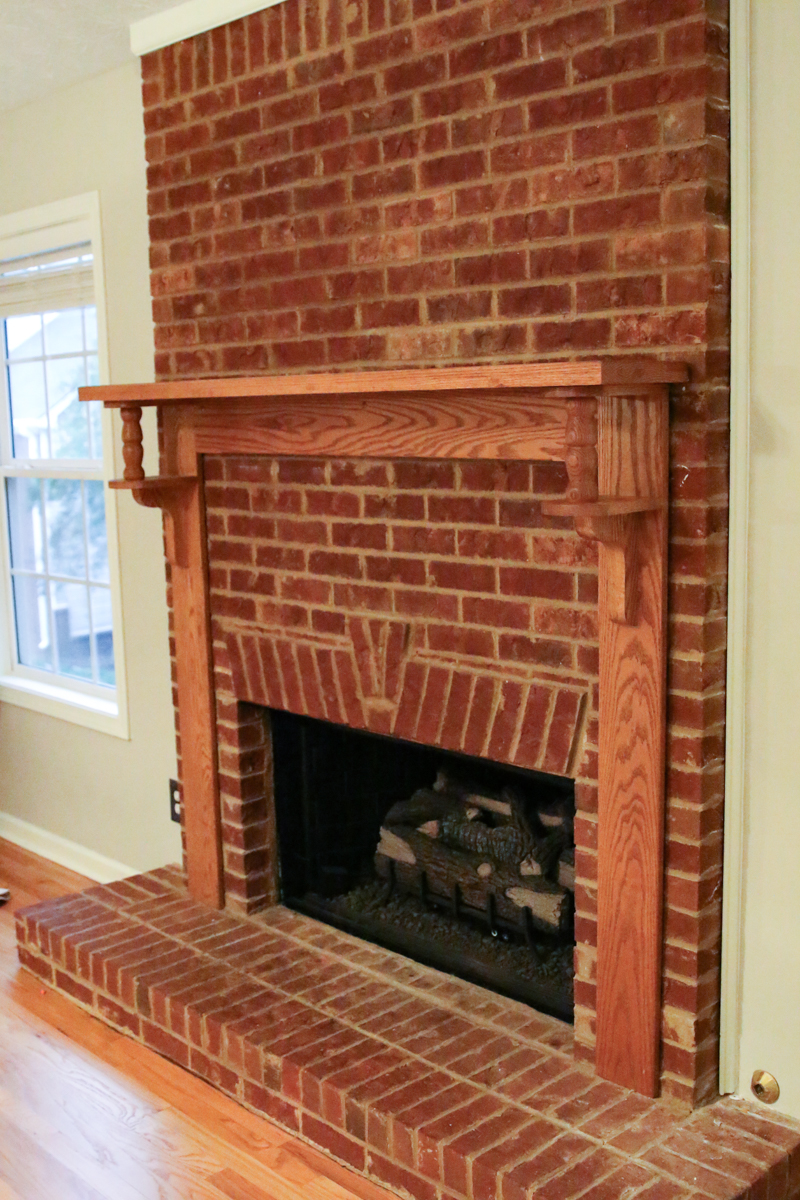
We did remove the old mantle and our friends wanted something more updated and modern. We had talked a lot about the length….if she wanted it to go all the way to the edge or stop short and in the end she said – to the end if not just a hair shorter. I photoshopped a rendering to get an idea of what the final look would be and I loved the chunky mantle with a dark stain to coordinate with her furnishings.
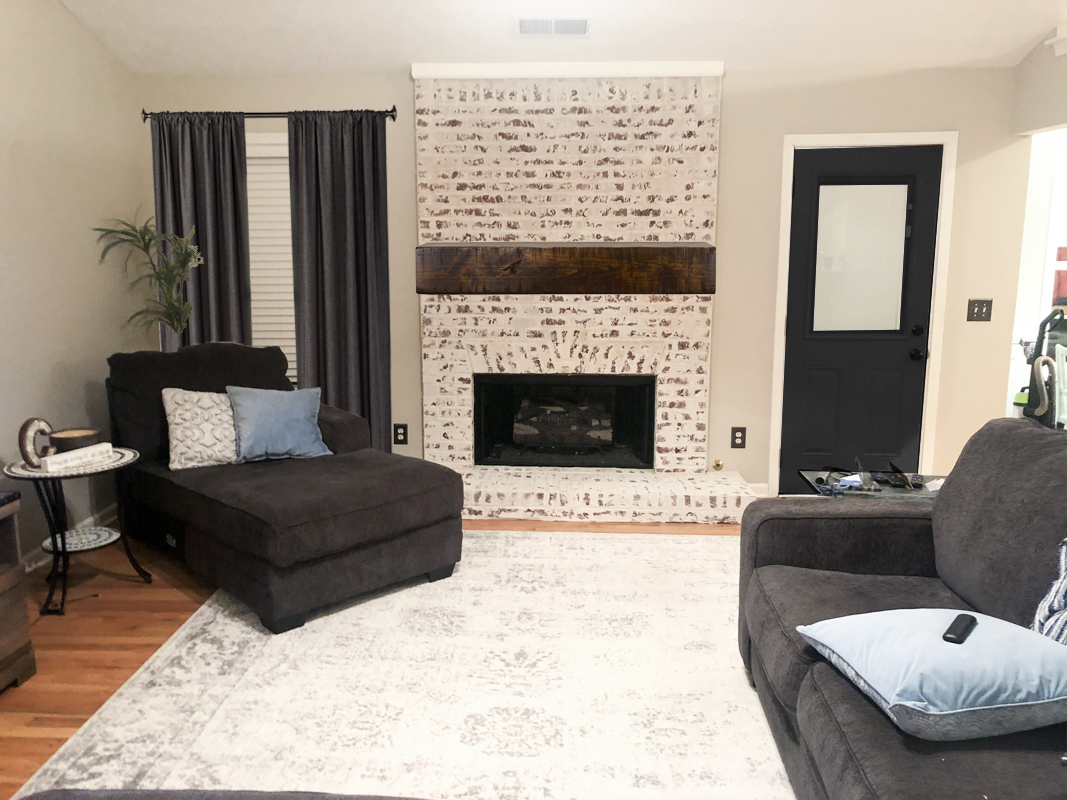
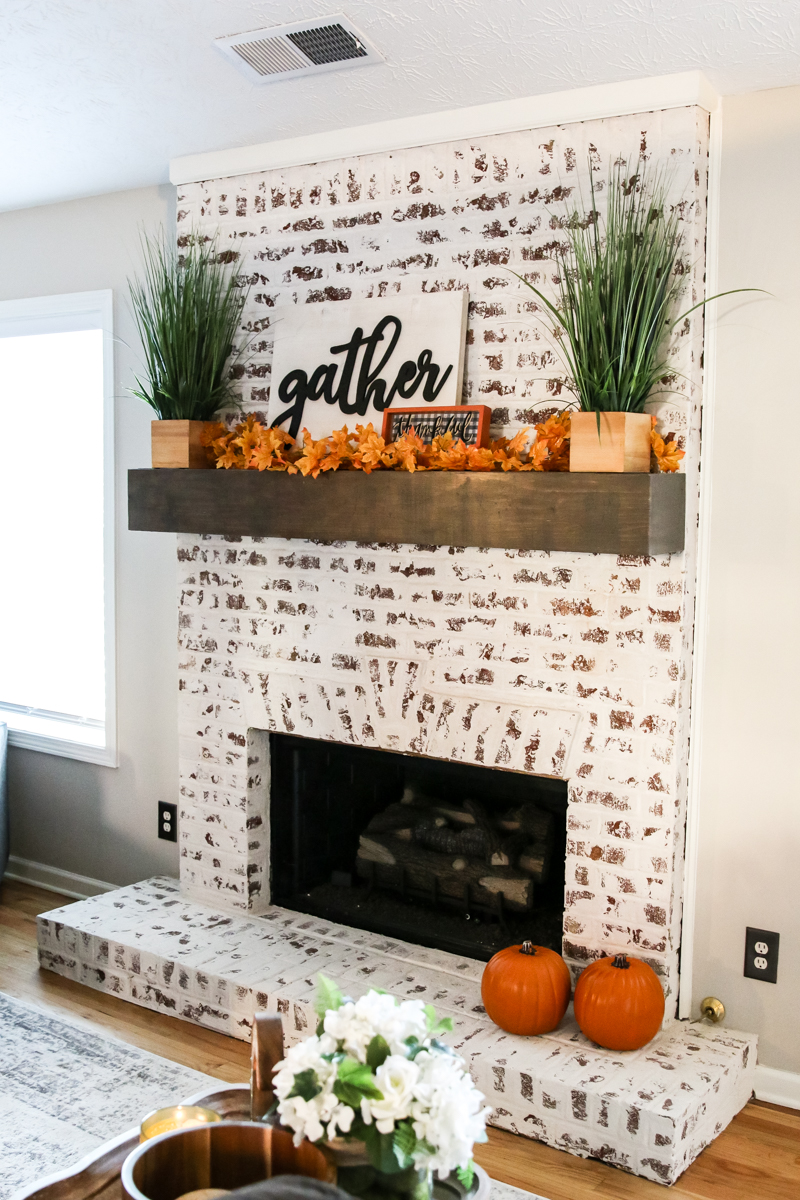
Yes…that was photoshopped. But this is how the end result looked….
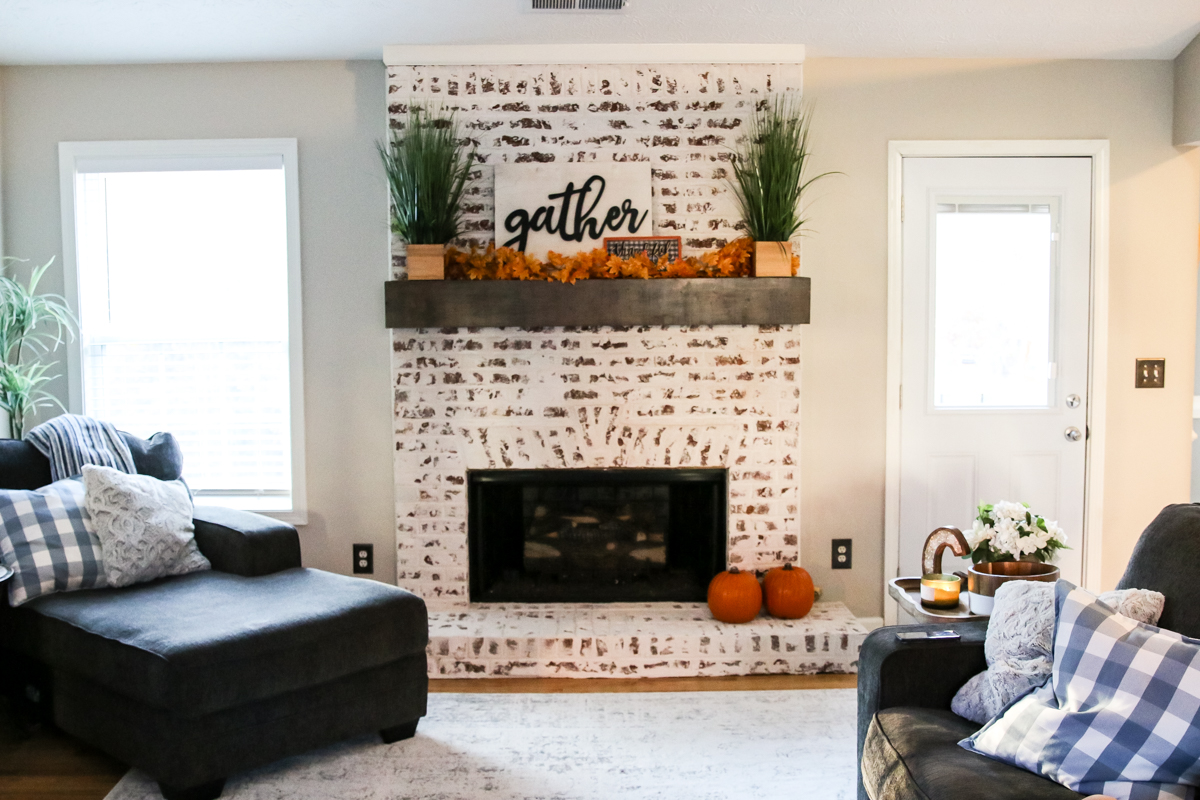
Pretty darn close!
We still have to paint that door and add some drapes….let’s get on that Courtney 🙂
So let’s walk you through this easy mantle – since that is why you are here and all…
HOW TO BUILD AN EASY DIY MANTLE
Step #1 – Determine the size
For this particular project, we wanted the mantle to go across the entire fireplace. So we measured the length and subtracted 1.5″ (the thickness of a 1×8 board (3/4″) times 2…this will make sense later). The thickness of the mantle can be whatever size you want. Our final size was 56″ long x 8″ deep x 7.25″ tall.

STEP #2 – BUILD THE HIDDEN SUPPORT
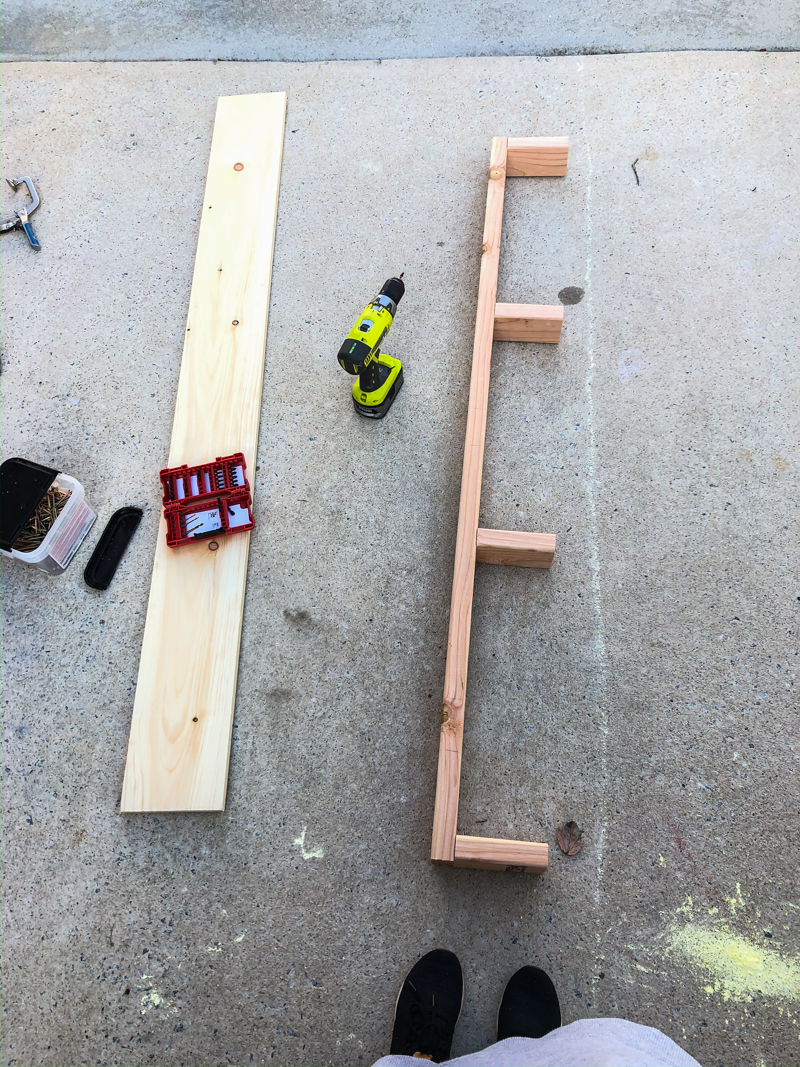
The mantle itself will be like a hollow box with the back missing. This box will slide onto a hidden support that will fit inside the cavity of the box. The support itself will hold all the weight and is going to be attached to the fireplace itself and then the box will simply be a sleeve that goes over it and looks really good!
Our hidden support was made of 2×4’s and it was 54.5″ long and then using 3″ screws, I attached the little legs to the stud. It is helpful to mark where you will attach the stud to the fireplace first so you don’t put a leg there. The legs were 5.75″ long.
STEP #3 – ATTACH SUPPORT TO FIREPLACE
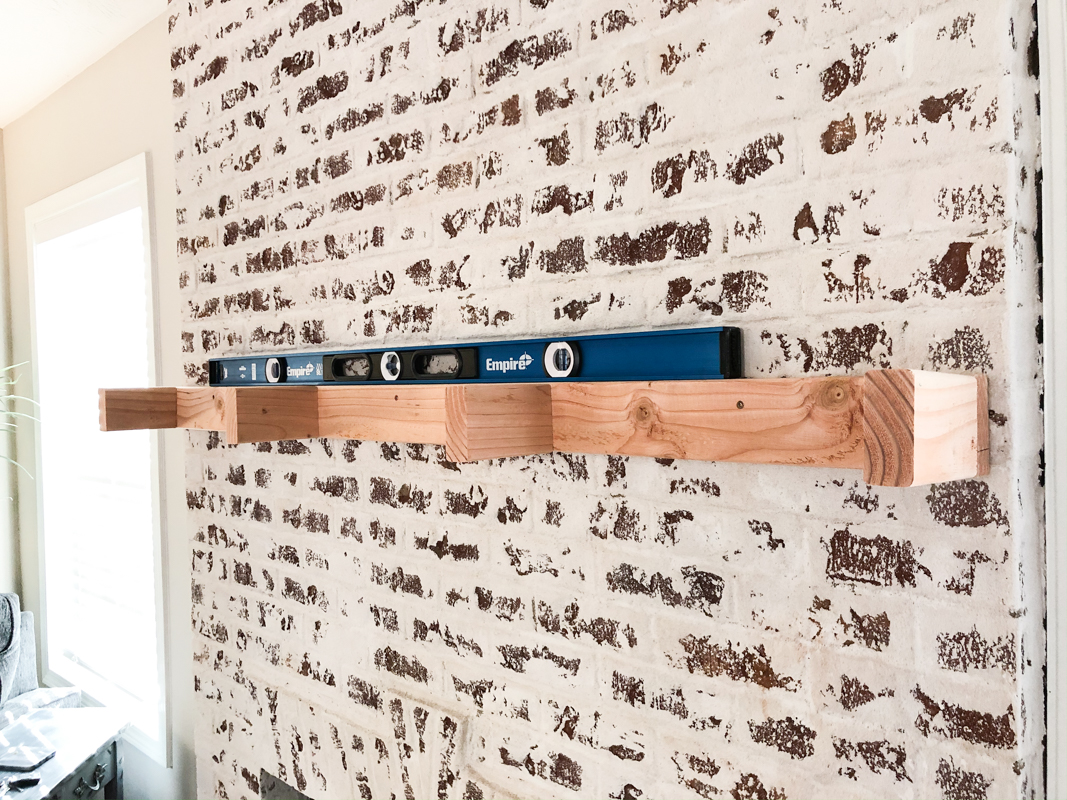
Attaching the support to the fireplace is a super easy step. We had three wood blocks that were already part of the fireplace in this situation but if you don’t….you can use masonry screws (TAPCON concrete anchors or bolts to go into the fireplace).
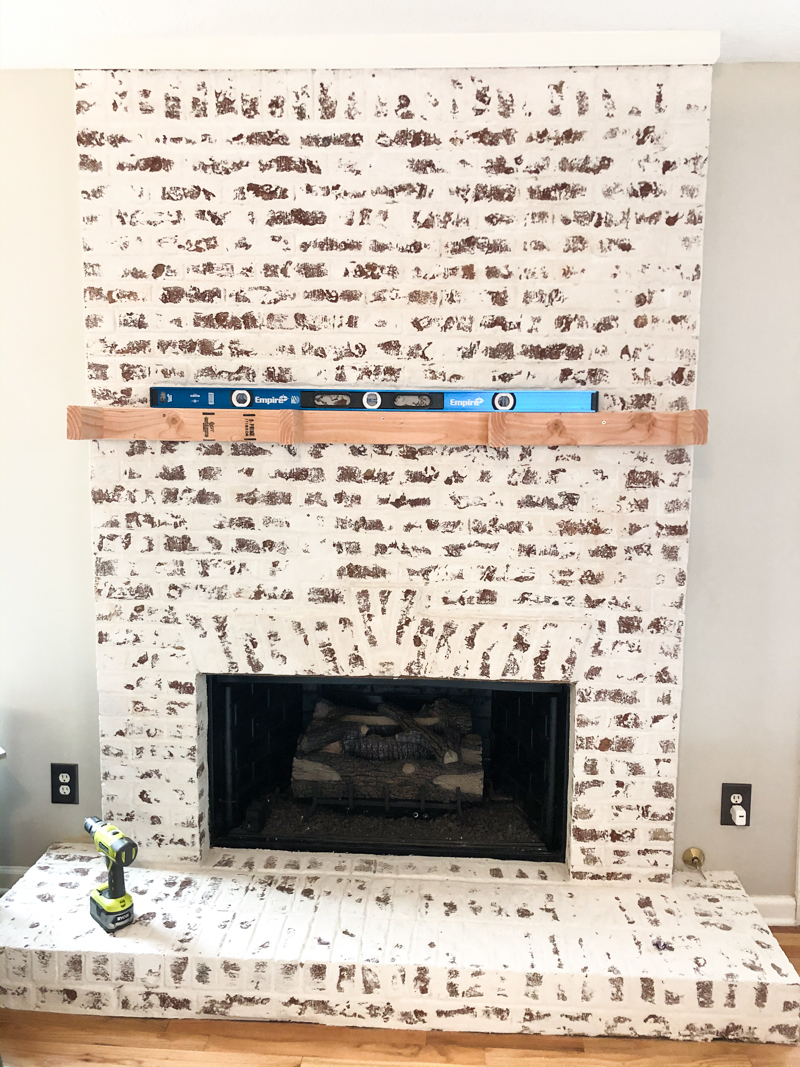
Make sure that the support is level not just with a level but also to the eye. Sometimes fireplaces are built off just a smidge and it will require shifting. At the end of the day…if it doesn’t ever look level (even if it is!) it will bug the ever-living-shifff out of you and you gotta live with it.
STEP #4 – BUILD THE MANTLE BOX
Time to build that hollow box that looks like a giant chunky mantle! Using 1×8’s we measured the length and then did miter cuts on each end. We needed one full length 56″ with a good 45 degree miter cut on both ends….then two for the top and bottom (no miters at 54.5″) and then two for the sides (miter cut on one end and length of 8″).
I talked our sweet friends into a more distressed finish so that it would look like it’s been lived in and blend a little better with their brick finish. Here they are beating the snot out of the boards with screwdrivers and such 🙂
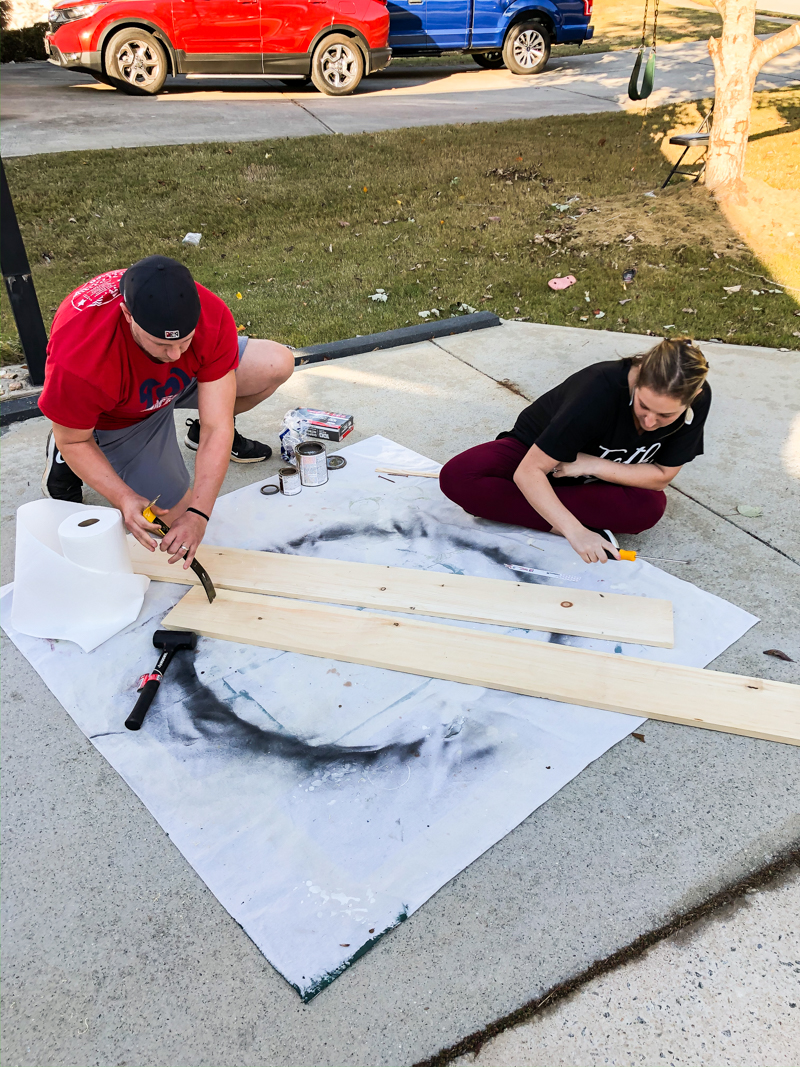
This was Courtney’s first time staining EVER and she kept saying how easy it was!
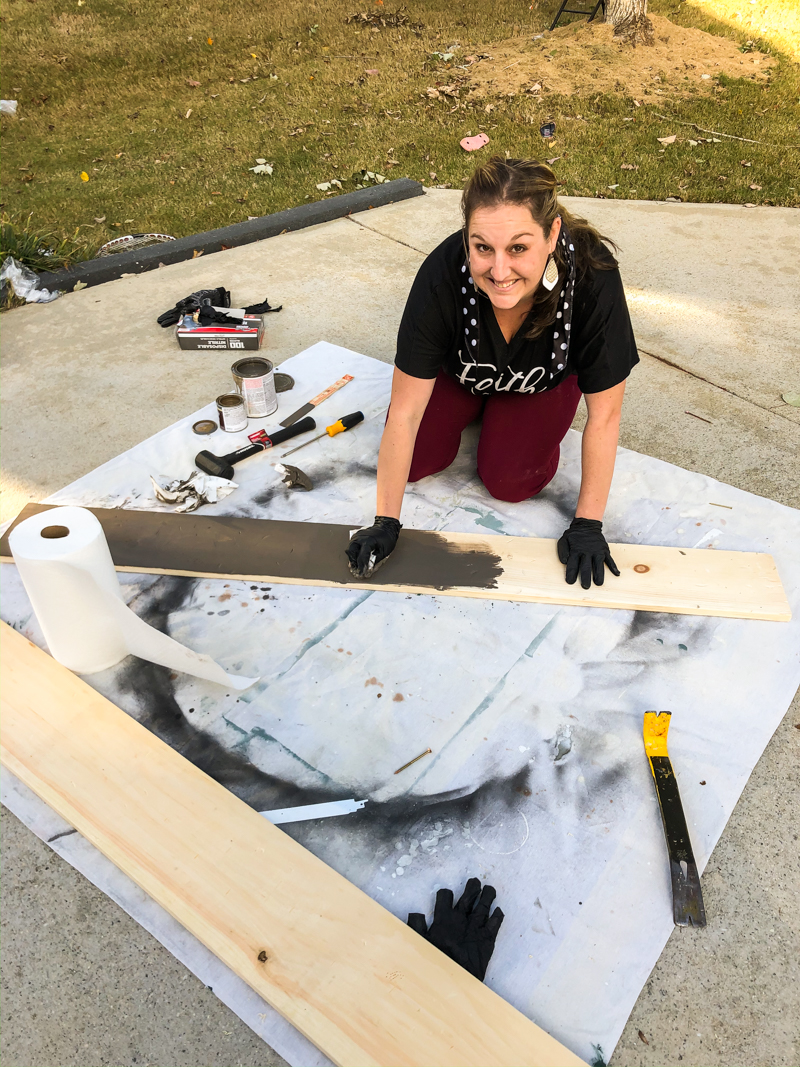
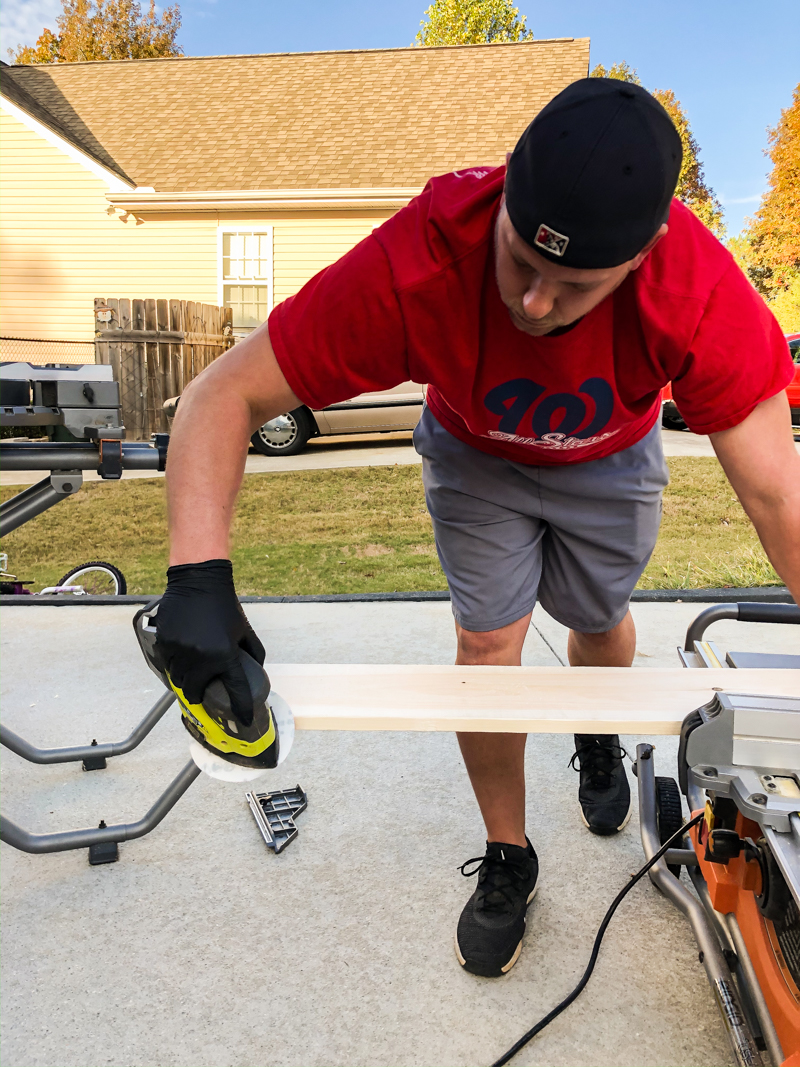
All the boards got a light sanding on the face and then the corners were knocked down too…
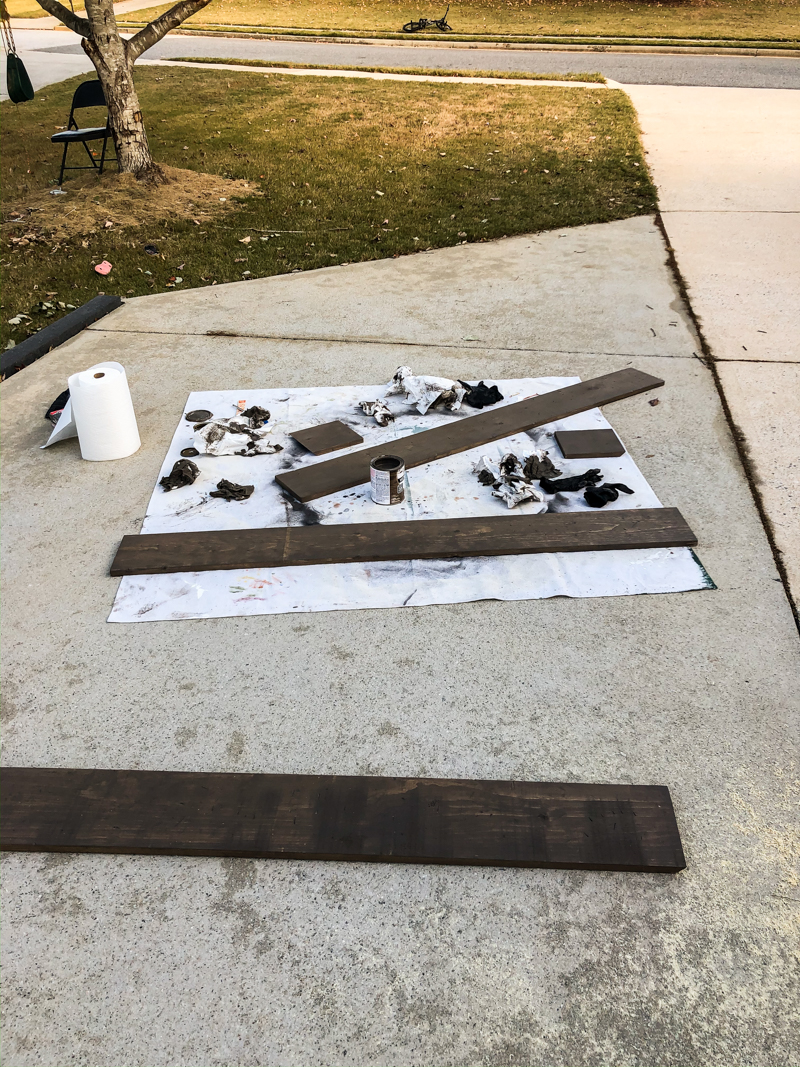
The staining process was the longest part – just simply because we had to wait for it to dry….
Our base coat was Varathane’s Briarsmoke….and we layered a few other things on later for dimension. Remember that stain should be dimensional and usually different layers will be used! So if you like a color in a store bought item – it’s usually because there is more than one ‘stain’ involved. It’s good to remember when finishing furniture!
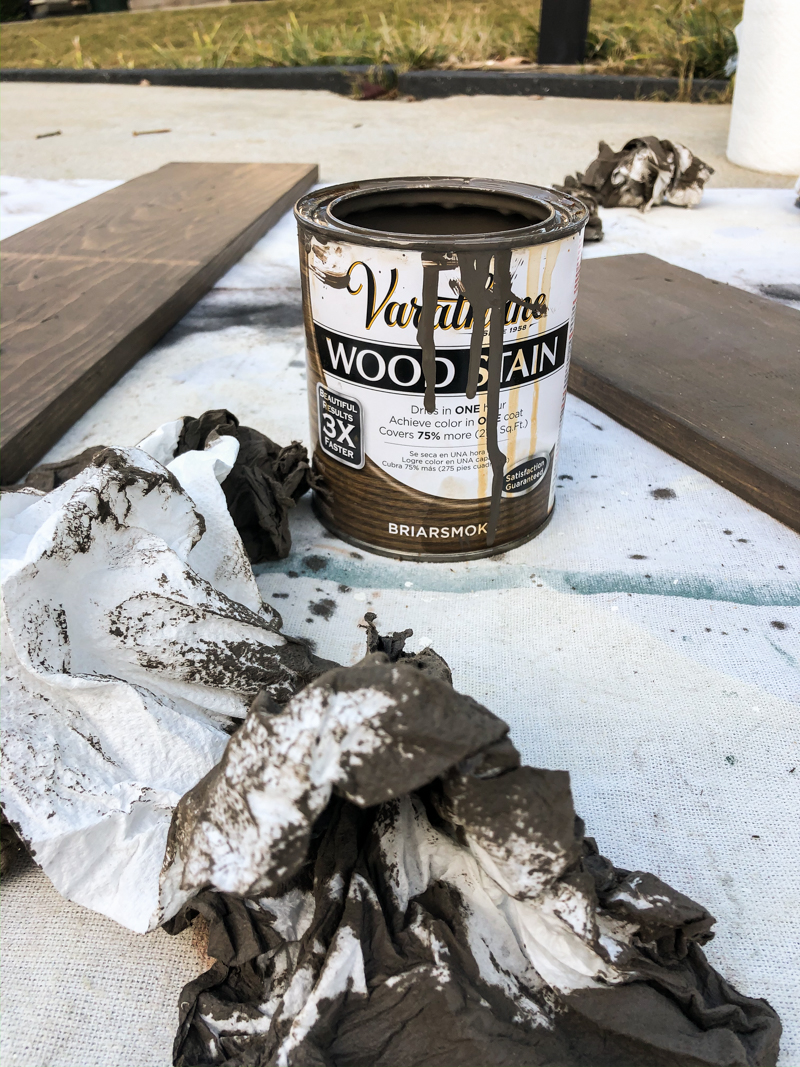
One of the techniques that I often use is to do a base color stain and then distress and add other colors after that. Usually you want your base color to be the darkest one.
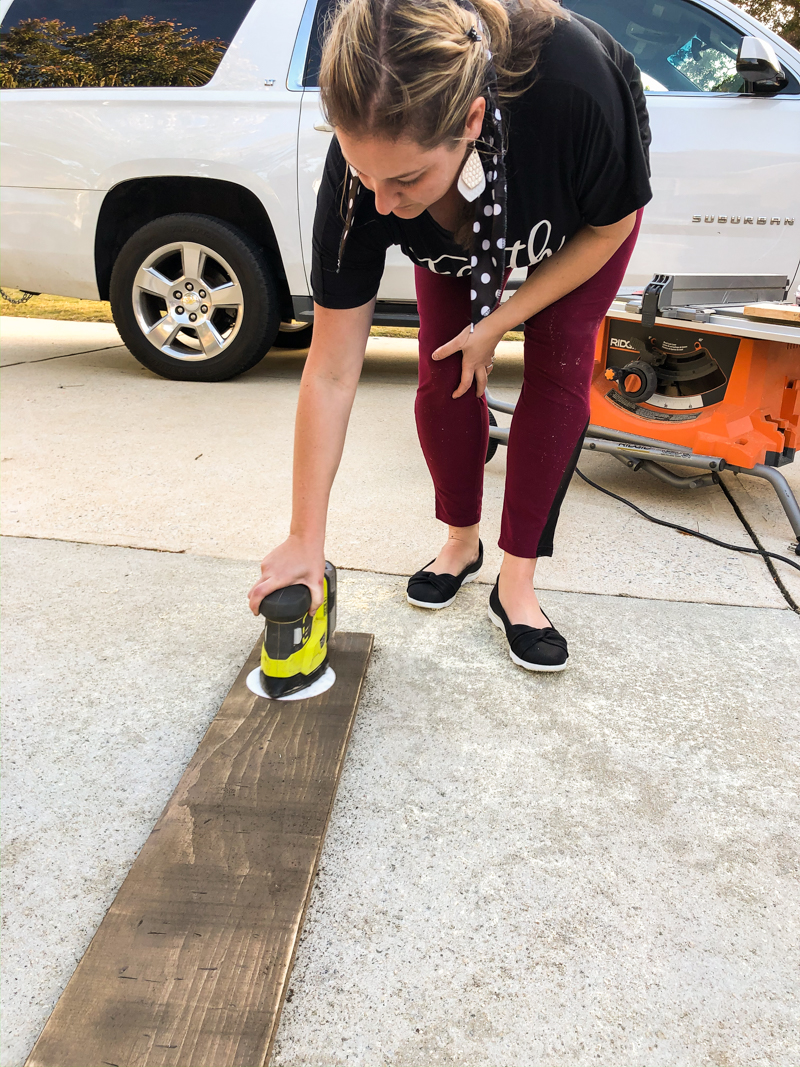
So for assembly…the box itself is a simple construction. Using wood glue and some brad nails, you want to attach the face of the mantle to the sides. Then using your pocket hole jig, make holes for the top and the bottom to attach to the face.
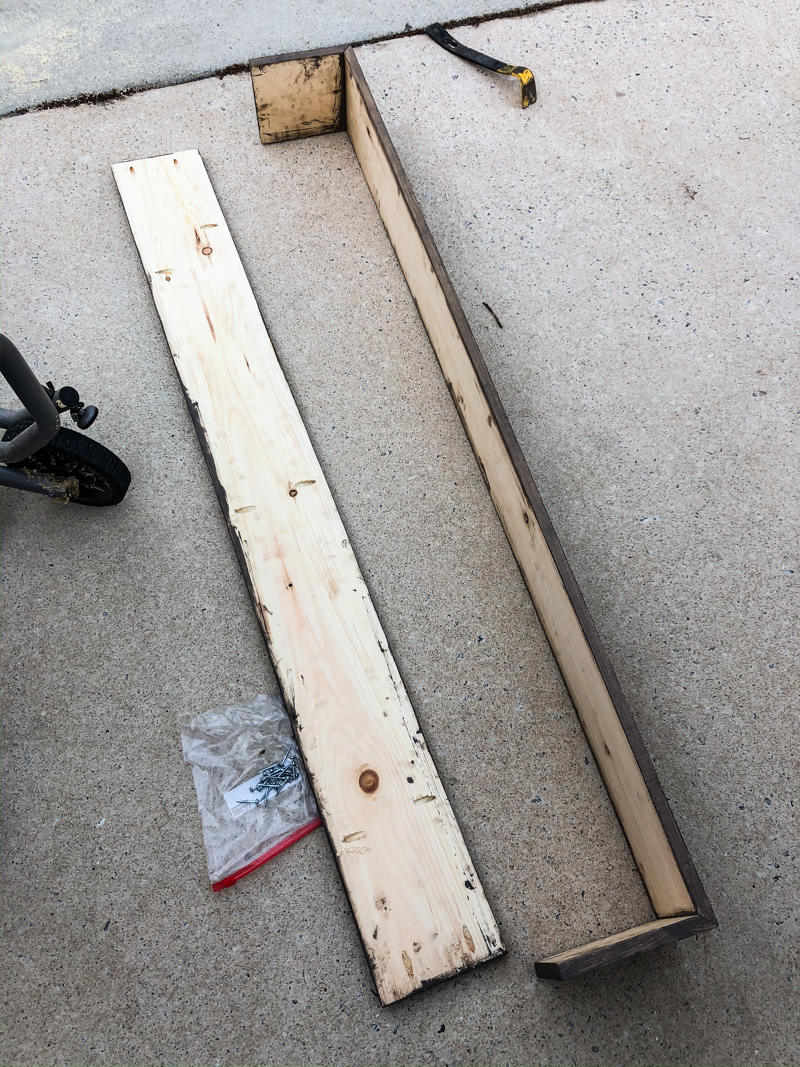
STEP #5 – SLIDE THE MANTLE ONTO THE SUPPORT
This is one of the final steps if you are 100% pleased with the color of the mantle. We weren’t done yet but I couldn’t spend the night waiting for stain to dry….Jeremy would have missed me 🙂 So we ended up sliding the mantle on and coming back to finish it the next day.
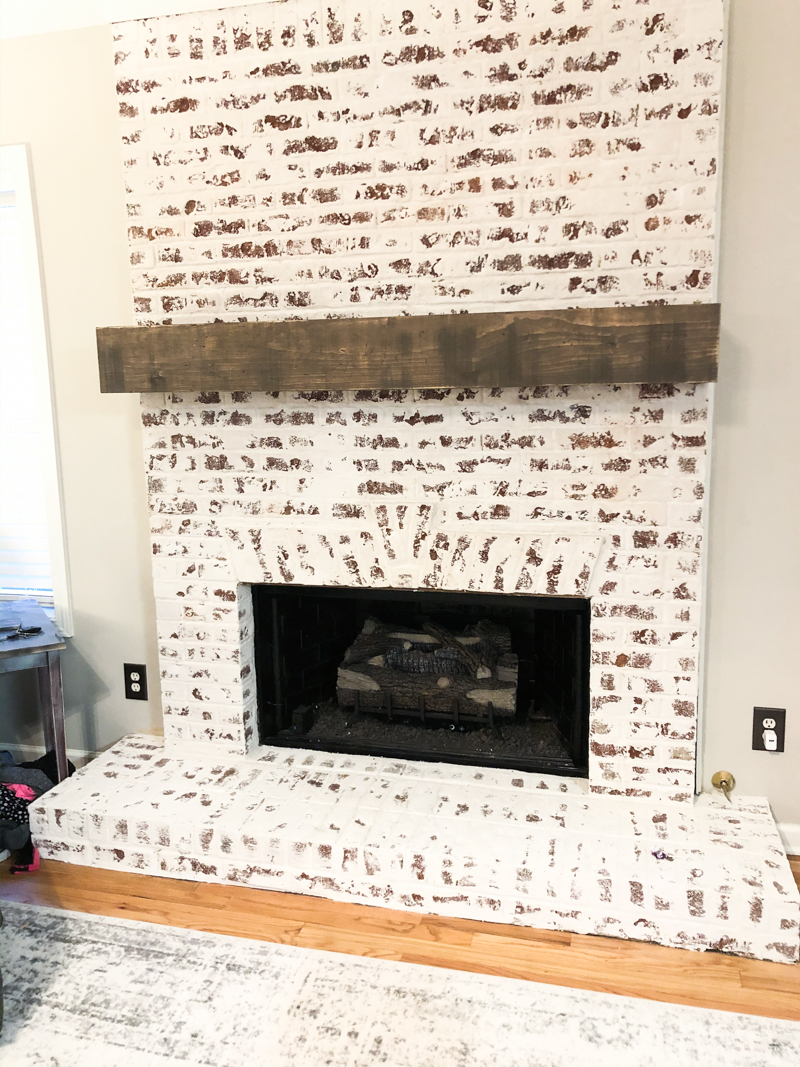
But this gave us a pretty good idea of the finished product.
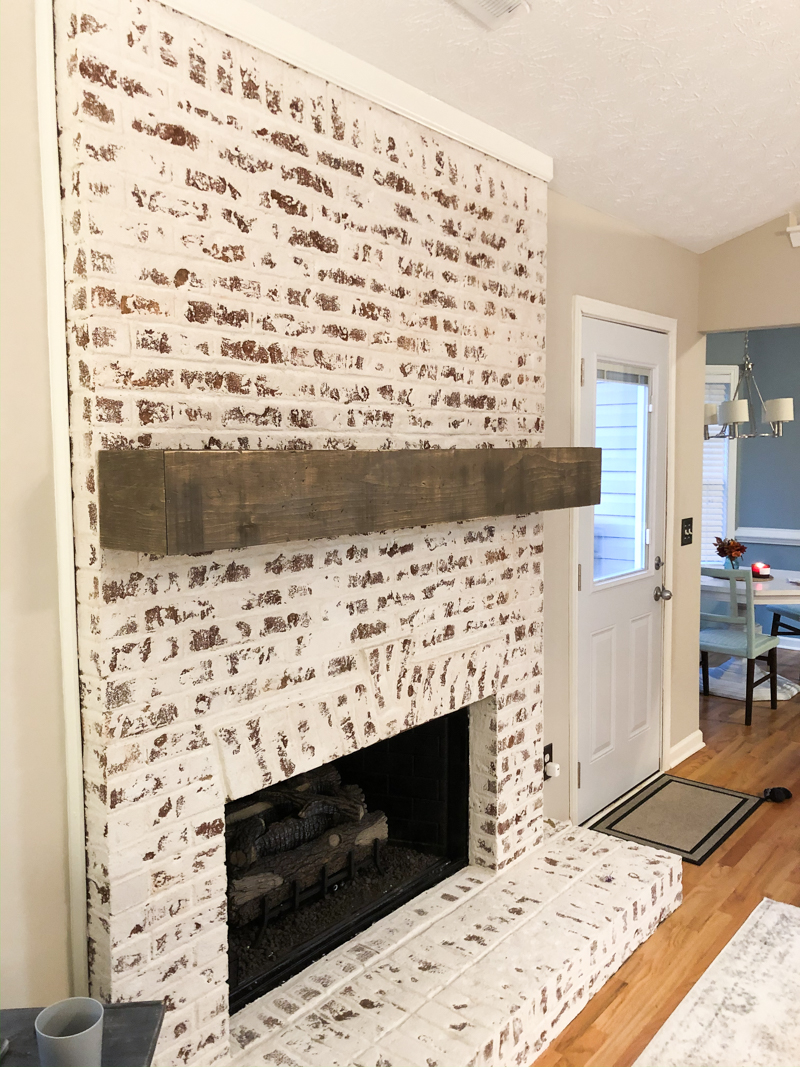
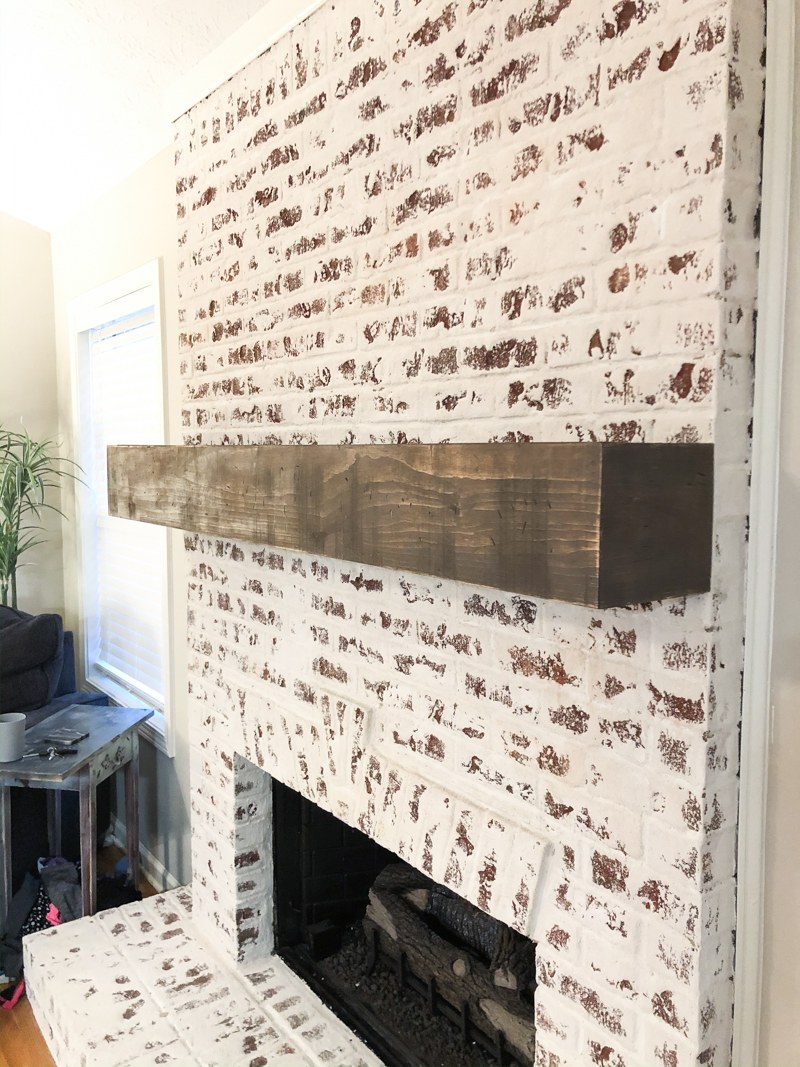
See how mitering the corners made the entire thing look like one giant chunky mantle? It was really nice to see it come together and it was such a tight fit that we didn’t need to even secure it (although we totally did because I live with a MAD MAN who would nail the toilet paper roll to the wall if I let him).
For the final step I came back and added some dark walnut stain (they wanted it to be darker) and some black grain enhancer to make it pop. Then we sanded out any darker spots and Courtney did two coats of triple-thick polyurethane to protect the entire thing.
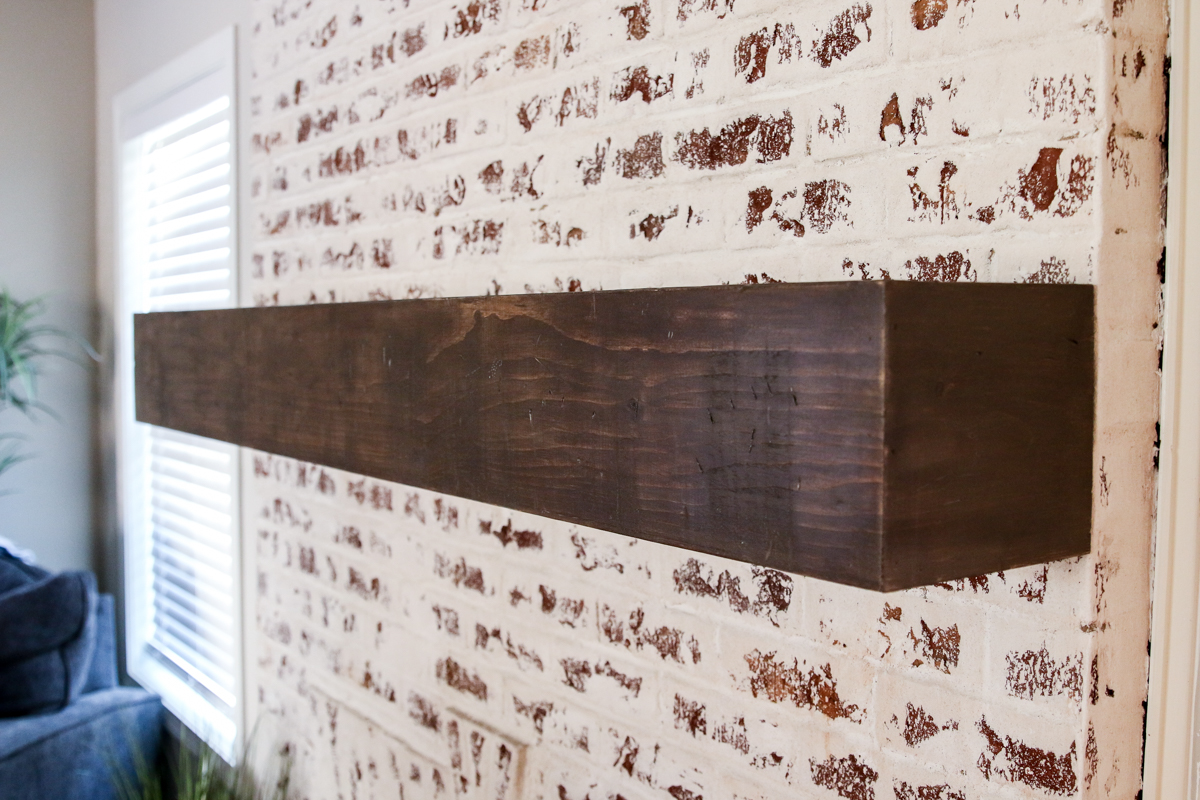
I came over to visit later and she had it looking SO good! I loved that it finished off the space so well and really balanced out the size and proportions of the hearth.
And just so you can remember – this is what we started off with….
And now…..don’t pass out from sheer joy….
The before was so not-their-style that they actually put their sectional IN FRONT OF IT. To completely block it from sight!
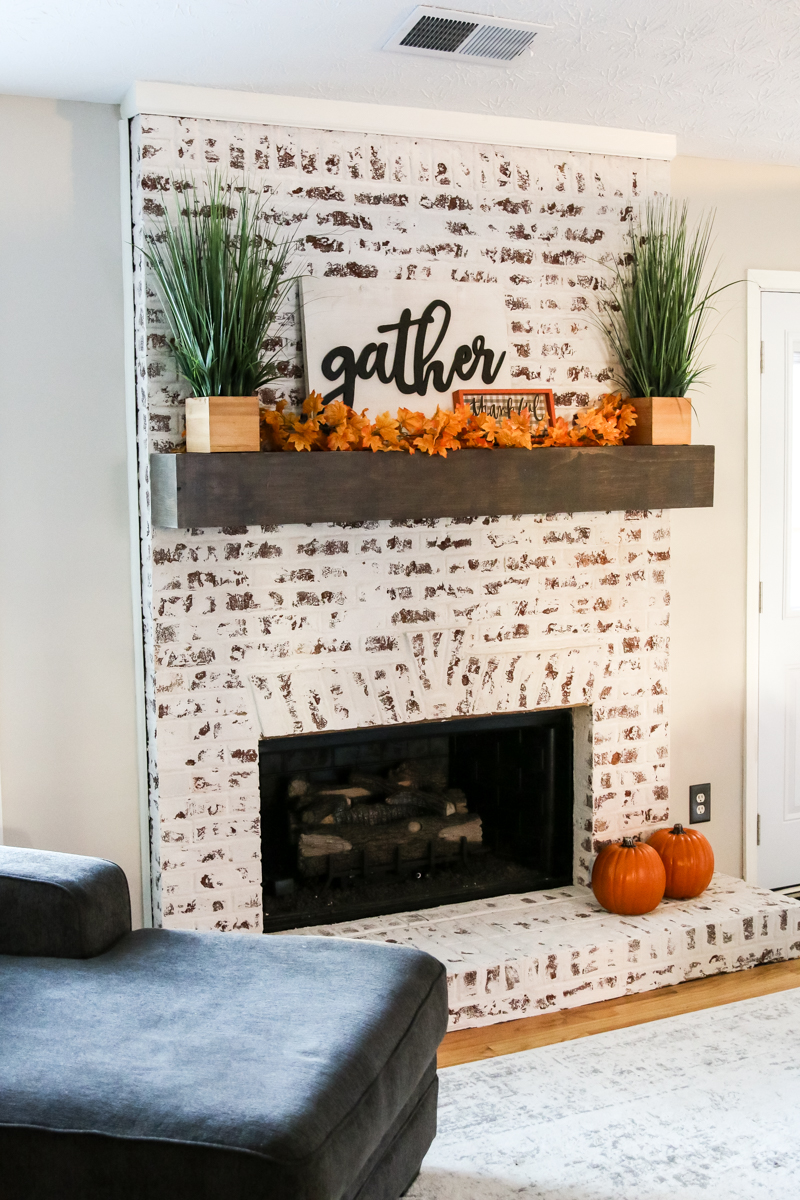
And now they have this gorgeous centerpiece of a fireplace that is really a selling-point instead of an eyesore! It looks extra homey and I think we can all agree that that the mantle was a step in the right direction!
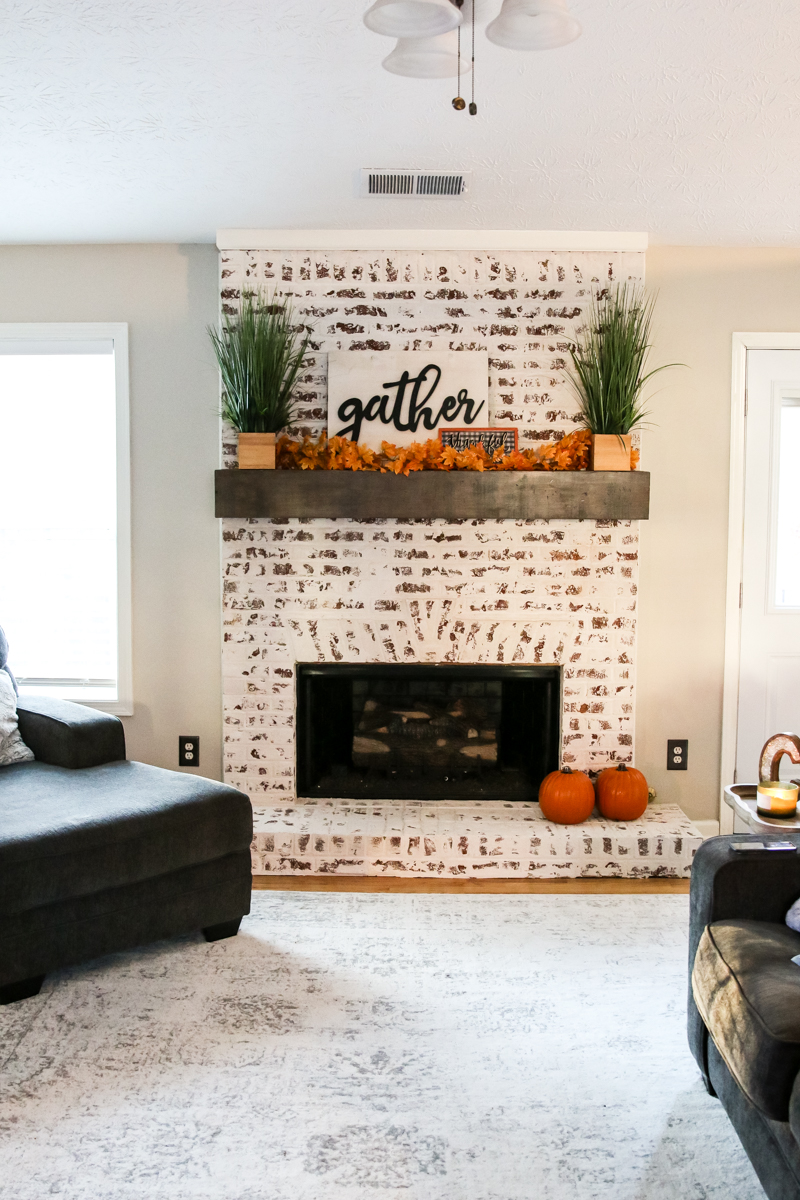
Now I want to add those drapes and paint the door! Also I am gonna see if I can talk Courtney into changing out those outlet covers….because I think that the dark covers for the outlets are making them pop….and usually we want those wall-acne to disappear!
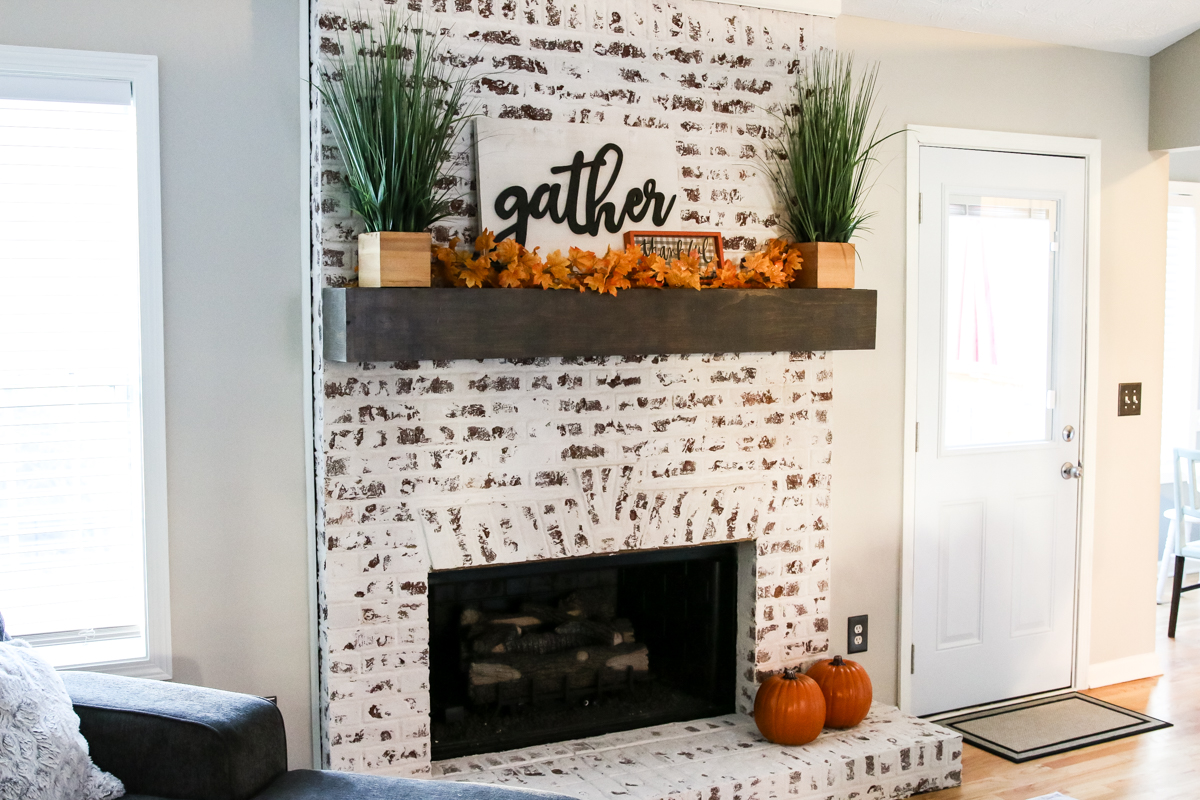
So that is how we did their fireplace and I will keep sharing more as long as our friends let me creep into their house and change things and take photos 🙂 And if you decide to build your own Easy Mantle – please share it with me on social media! I’d absolutely love to see it! I love cheering for your projects just as much as I love sharing our own! Happy DIYing!
